Builds Slight Change of Plans--A BJ42 Build

This site may earn a commission from merchant affiliate
links, including eBay, Amazon, Skimlinks, and others.

Awesome thread!!! Great work. Intrigued about the electrical diesel pump you used. Can share some details??
It was just a bog-standard off-the-shelf fuel pump from the nearest auto parts store. I can take a look at it later and see if there’s any info on the outside of it, but this was definitely a lucky fix, not a well-researched plan. All I know is that the truck doesn’t lean out at WOT, so it must be giving me enough GPH.
 
I built a bumper. It's pretty easy when you're social-distanced at home, but home has a welder and a nice garage. When last I posted, I had gotten my steel order delivered, but hadn't started building. Well here's the whole bumper build in one convenient post! Vacuum-packed for maximum freshness!

The main influence/inspiration for the bumper's design was the dual-swing bumper from 4Plus. I really liked their design, but I also wasn't super gung-ho about spending $2000+ after shipping on something I was still probably going to have to tweak to fit on my truck. I also wanted to try and keep a lot of the character of the rear of the truck, so utilizing the factory tail lights, bumperettes, and step were also goals. Finally, there were a couple additional functions I wanted my bumper to have.

First, I cut the main bumper sections. (2x6" 1/8 wall rectangular tube stock)

full


Next I milled out the openings for the tail lights, and drilled holes for the mounting bolts.

full


The bolt holes are VERY oversized so I could slide lengths of super thick-walled tube stock into the holes and weld those in place, so the bolts aren't just crushing the bumper. Like this.

full


The pivots for my arms are made from 1" ID thick-walled tube welded into the bumper (seen here) and MASSIVE 1" bolts. I also cut up and welded in a hitch receiver. I don't anticipate towing anything big, but I wanted some sort of rear recovery point, so a hitch shackle will do nicely, and if I ever want to use a bike rack or something, I can.

full


And here's the first benchtop test-fit of those arms. The bolts have a hole drilled down the center with outlets and channels for greasing the pivots.

full


And here's the test-fit of that whole ensemble, plus the end caps of the main bumper and the original tail light guards cannibalized and welded in. The end caps have bolt holes in them so I can attach a roof rack and arm for a hammock later. (some of the extra features I mentioned) At some point while moving the truck's spare parts or cleaning out a workshop, I must have lost the original bumperettes. Did you know you can STILL BUY THEM DIRECTLY FROM TOYOTA? Fun! I was hoping that by buying these ones, the originals would turn up. No such luck.

full


Now to make stuff to stick on those arms! Left arm (behind the passenger's seat since this is a RHD truck) is getting the tire carrier plus a place to attach that Hi-lift jack that keeps getting in the way. Right arm gets a basket to carry my knock-off yeti cooler and a license plate so the cops don't bother me about it being taped in the window. How do you make a basket? Take a bigger basket and chop it up, then weld it back together. In my case it began life as a hitch-mounted utility carrier from Harbor Freight that my dad used on one trip, and never needed again. Waste not, want not! This is partway through the construction. Later the basket will get reinforcements, hooks for a cooler-securing ratchet strap, and an expanded metal mesh floor.

full


With everything in order, it's time for paint! or, well, primer.

full


And then paint!

full


And now it's assembly time. Here's the main bumper fully attached, with the bumperettes and step, plus the latches for the arms tucked neatly behind the bumperettes.

full


And here's those arms attached! The tire mount is intentionally angled a couple degrees so the tire sits down onto it more easily.

full


And here's from the other side with the cooler. I swear I'm not sponsored, unless the owners of Vibe are on here and want to get in touch.

full


The arms have tabs welded to them that prevent them from swinging wider than this. And the doors won't hit the arms when fully opened either. Don't want them to hit the body work. If I'm gonna wreck my paint, it's gonna be on a trail.

full


So, there we have it. Full tire carrier basically complete! I want to tweak the fit a little bit, reinforce the tire carrier, and I still want that jack mount, but that's the majority finished.
Aaaaaand glamour shot.

full


'Til next time!
 
Love the rack, well done!

Curious about the hinges, are they threaded through the "receiver" portion? Looking to do something similar never thought to use gigantic bolts. Any rattling from your setup?

Cheers
Adam
 
Love the rack, well done!

Curious about the hinges, are they threaded through the "receiver" portion? Looking to do something similar never thought to use gigantic bolts. Any rattling from your setup?

Cheers
Adam
No, both the arm and bumper are smooth-bored. the bottom end of the bolt has a lock nut on it.
Literally just finished last night, one drive around today, so I haven’t had a lot of time to check for rattles, but I haven’t noticed any as standing out to me.
 
It was just a bog-standard off-the-shelf fuel pump from the nearest auto parts store. I can take a look at it later and see if there’s any info on the outside of it, but this was definitely a lucky fix, not a well-researched plan. All I know is that the truck doesn’t lean out at WOT, so it must be giving me enough GPH.

Are you talking about an in-line pusher pump in addition to the injection pump on the side of your 3B? Your IP shouldn’t need any help and if it does I’d imagine it’s pretty worn out..
 
Are you talking about an in-line pusher pump in addition to the injection pump on the side of your 3B? Your IP shouldn’t need any help and if it does I’d imagine it’s pretty worn out..
Yup, in-line pump. All I really cared about was making the truck run in time for that trip. And now I still haven't replaced the injection pump because a new one costs $1300.
 
Mate that is one of the best bumpers I've seen. It still looks factory. Great job!
 
Well look at that, it's been over a year again. Oops. I guess I'll give a few little updates. About a month after I finished the bumper, I took it on a little inaugural trip for an afternoon off-road picnic. Drove it down into the first puddle and promptly got stuck. No biggie, that's what the winch is for. Stopped to take a quick post-mud photo:

full


Continued on for a bit, then got it stuck in the NEXT puddle too! Winched it out again, but as I'm just getting clear, I hear a hissing sound. I had sheared off a valve stem. Hooray for high-lift jacks and carrying a breaker bar in my tool roll, I guess!

full


Oh and here's a post-trip shot from the car wash. No pavement princess here!

full


A few weeks later, Kiwi started to take more and more effort to start, until eventually it wouldn't start at all. I'm guessing the starter wasn't a big fan of its undersea adventures. There's a shop just down the street from my work that rebuilt the starter quite easily, though.

full


Other than that, not a whole lot to talk about, I guess. I have some parts on the way to "finish" the rear bumper (a hi-lift jack mount and a proper, lighted license plate holder) and the swing-out for the tire arm keeps coming unlatched. I think I have an idea of how to fix that. You can probably expect pictures of that in the next few weeks.

I also have a milsurp 40mm ammo can and a couple of gimbaled cup-holders, so I'm gonna endeavor to build a custom center console, and adjust the seat sliders a bit while I'm at it. Right now, as installed, my seat is ALL THE WAY FORWARD for my 5'8" self to touch the pedals. If I'm gonna have anyone shorter drive it (Like, I dunno, a girlfriend?), I should probably change that.

So that's most of it. I'll leave you all with the best photo I've taken of Kiwi.

full
 
I saw your mention of a 40mm ammo can console and thought I'd share my rudimentary version, cheers for updating the thread because it inspired me to do the same. What I did on my ammo can was super simple, yet it stands as one of my favorite mods I've done on my rig:
 
I saw your mention of a 40mm ammo can console and thought I'd share my rudimentary version, cheers for updating the thread because it inspired me to do the same. What I did on my ammo can was super simple, yet it stands as one of my favorite mods I've done on my rig
That looks a lot like the basics of what I’m planning! I’m gonna add some cupholders and a bit of padding on the top too.
 
Oh hey, will you look at that, it's been... THREE YEARS?!? Ah jeez...

So in my last post I said I was gonna build a center console out of a 40mm ammo can?
Well I didn't.
It's still sitting on the floor in the garage.
I did something else though!
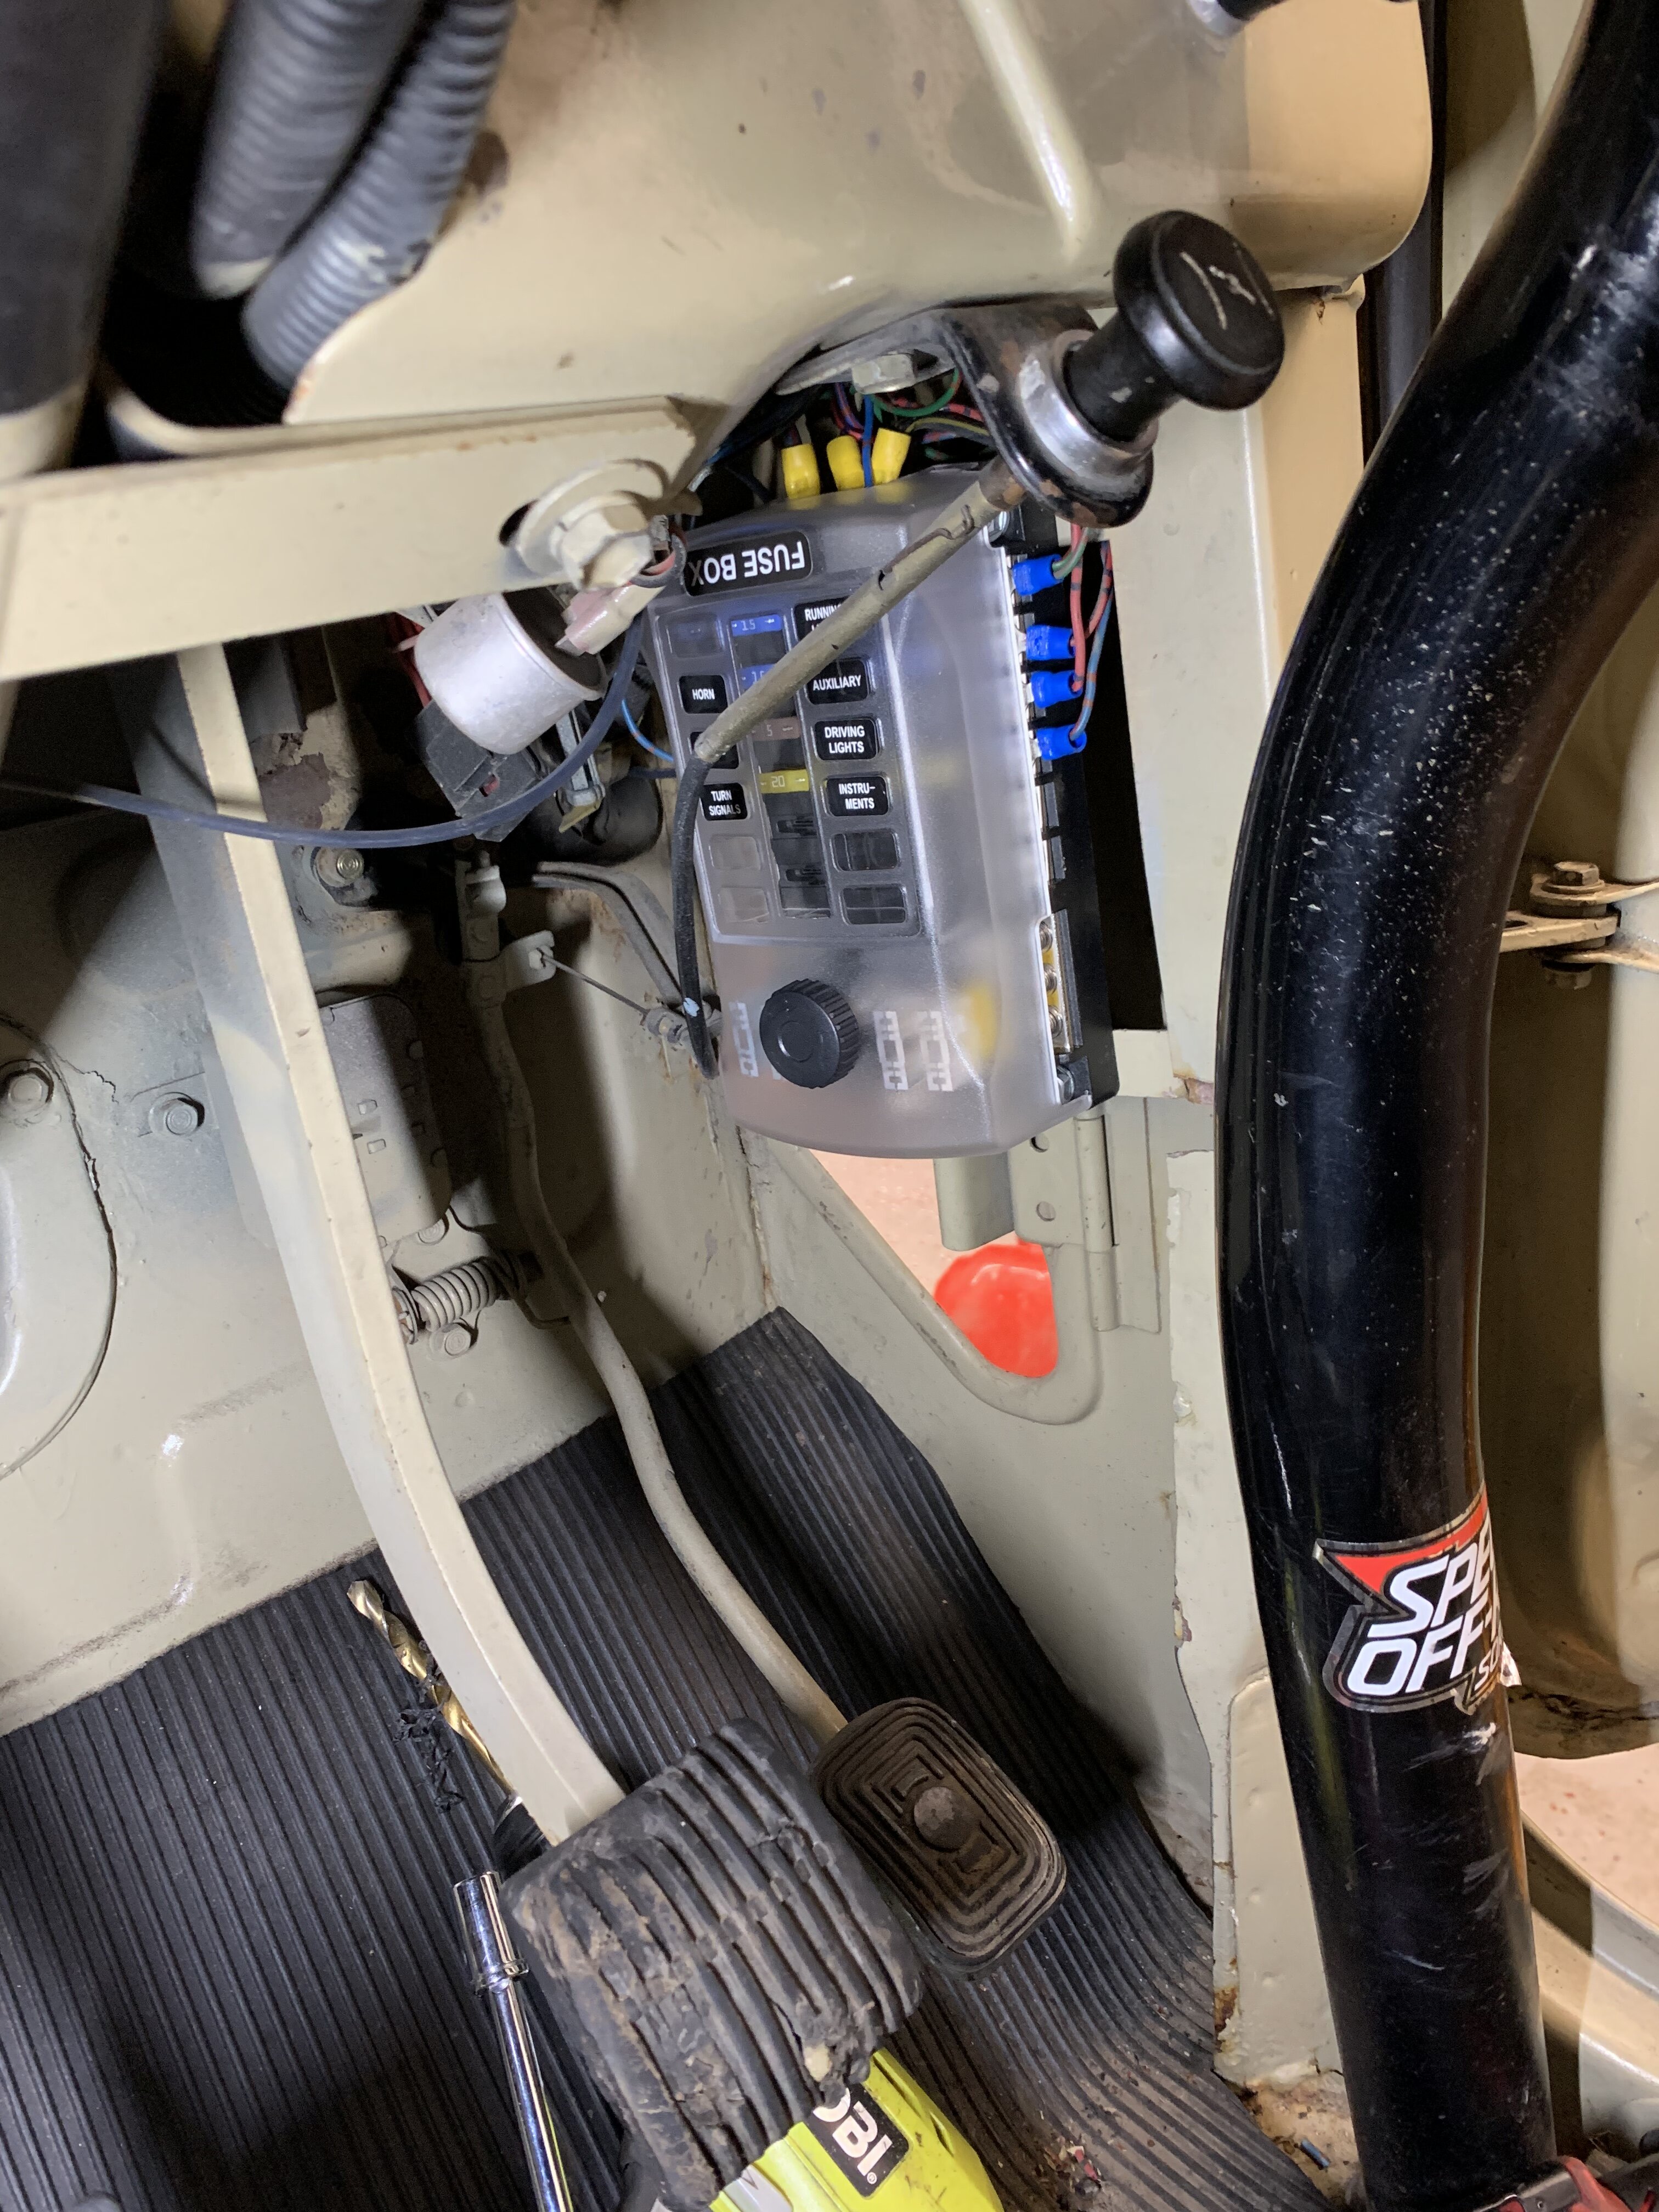
First I pulled out the old tube fuse block, swapped it for a blade-style one with a few extra slots.
full

It was like 20 bucks on Amazon. I think it was meant for a boat, because some of the optional labels for the cover said things like "Fish Finder" and "Anchor Lights" but hey, it works great!
The electrical system upgrade was useful, as it made it much easier to hard-wire in my GPS:
full

and a CB radio:
full

(I showed you my 4' whip antenna, pls respond)
full


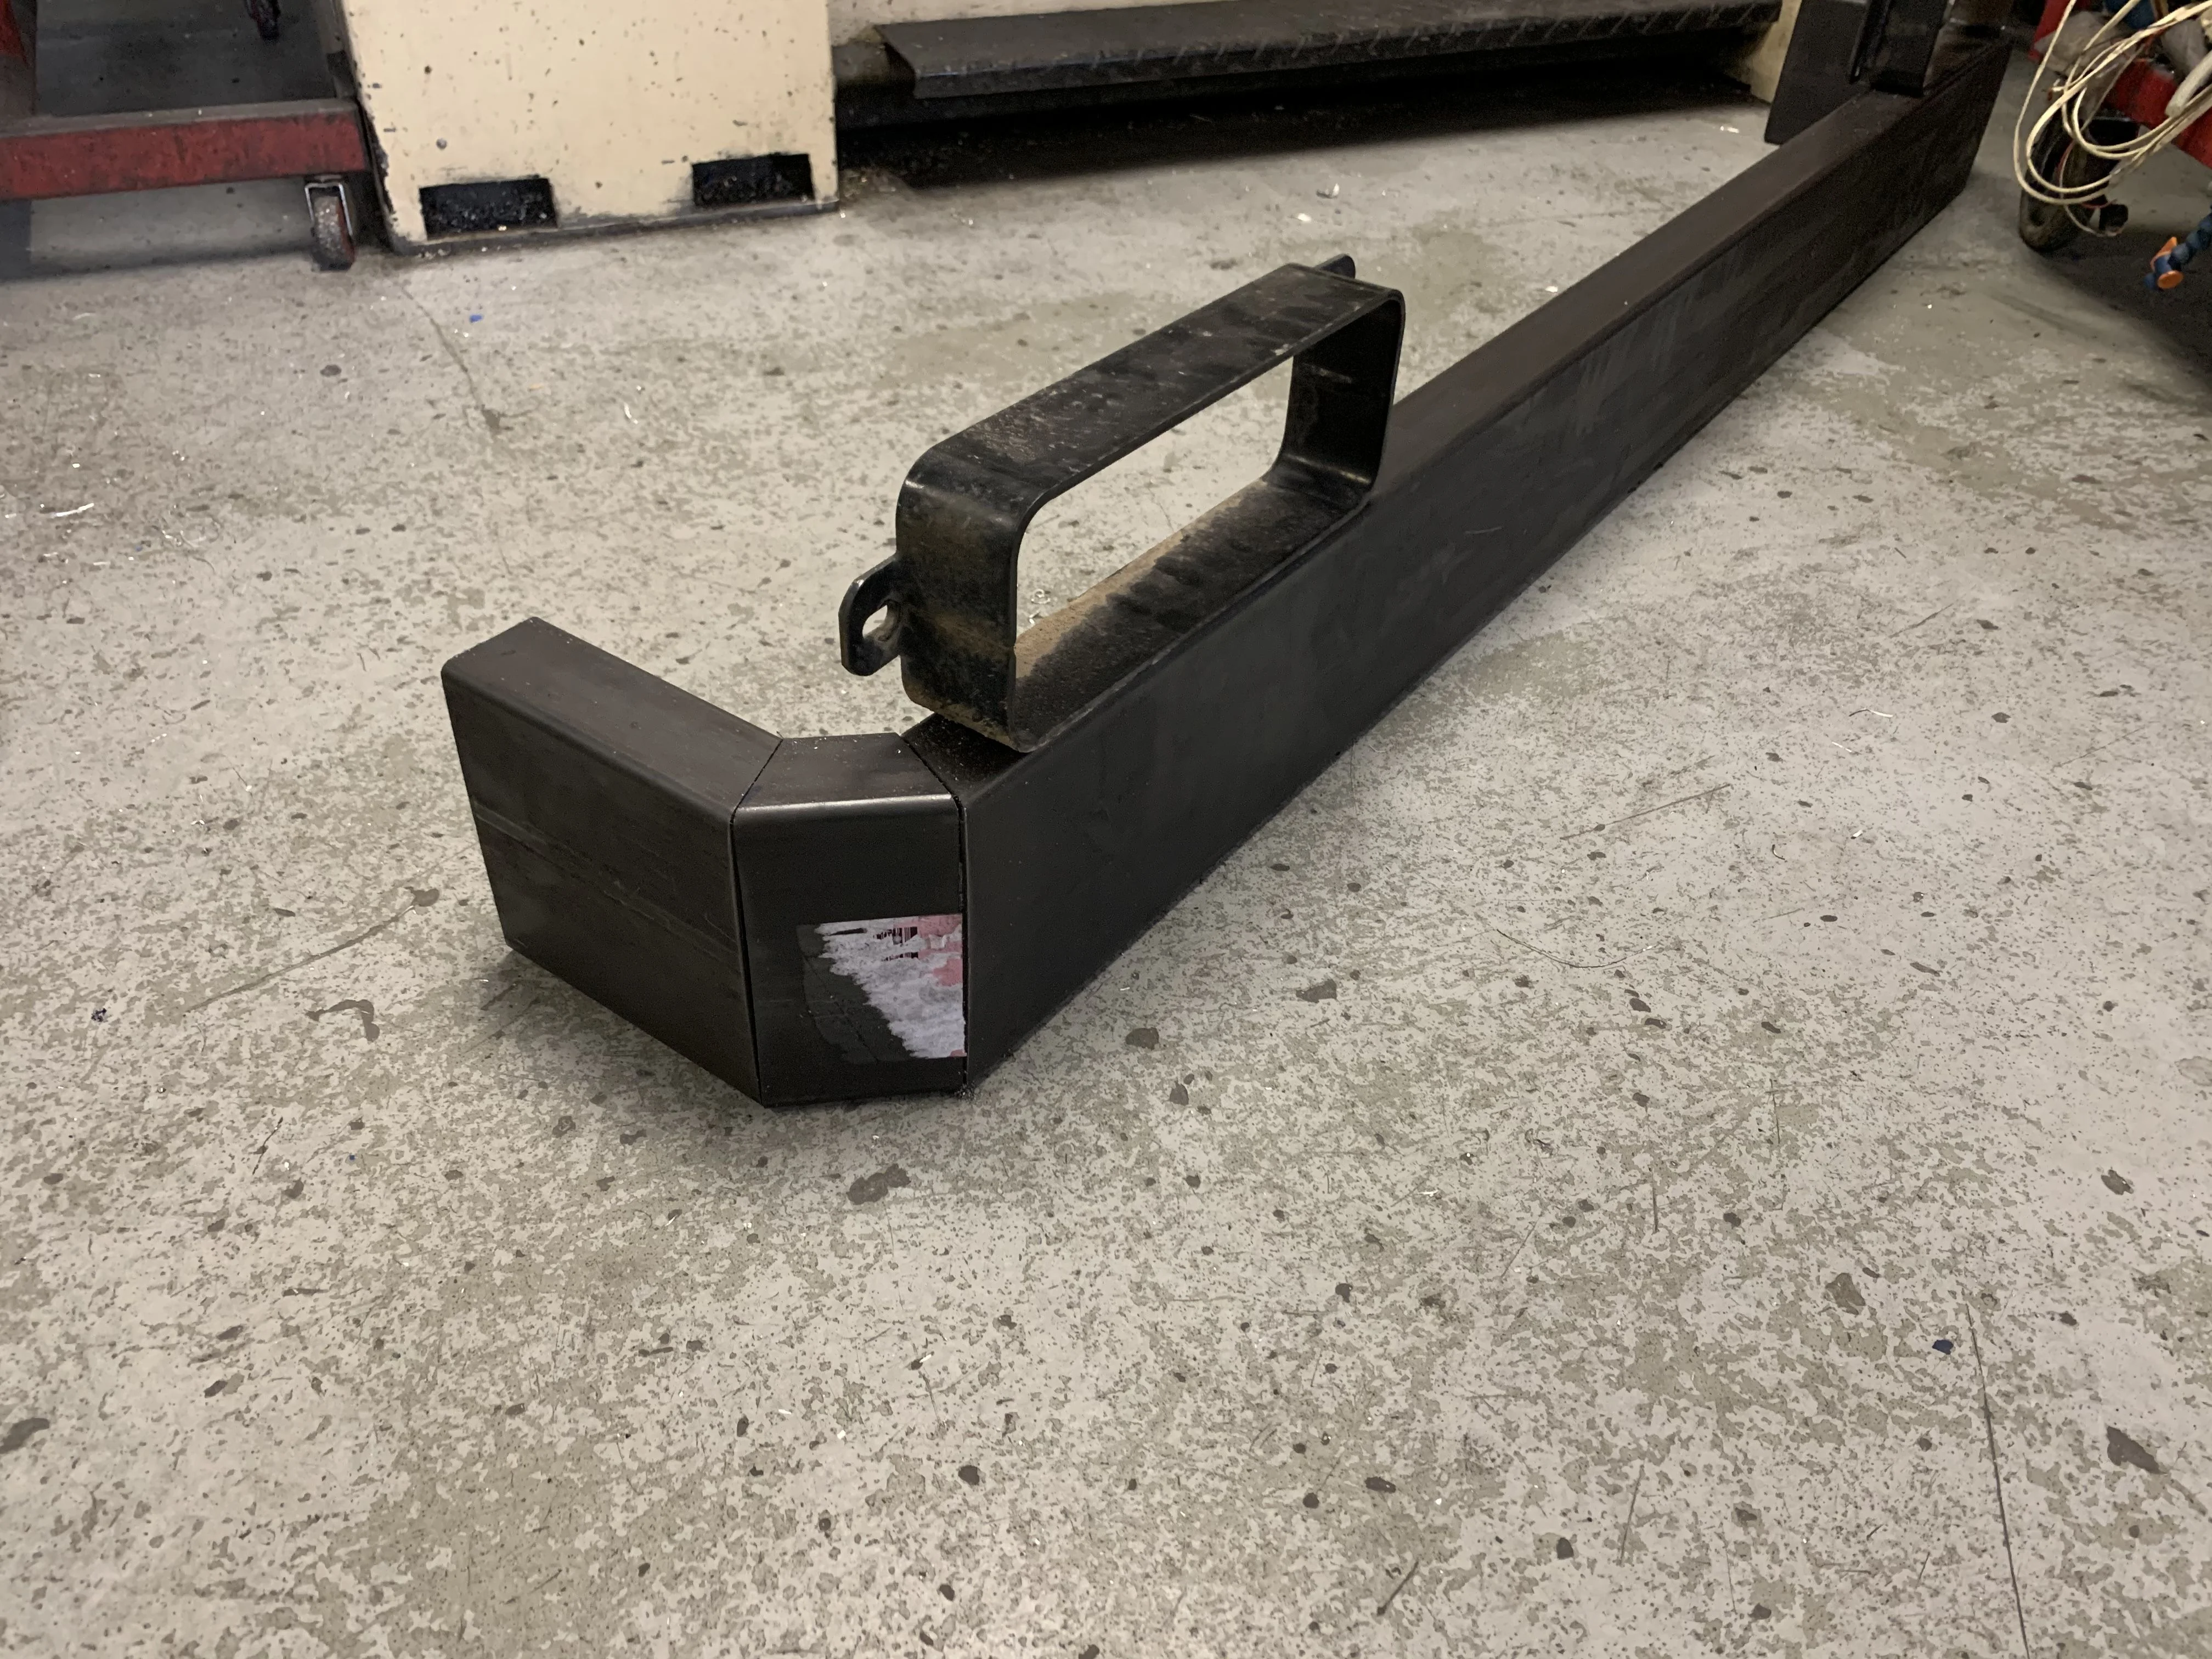
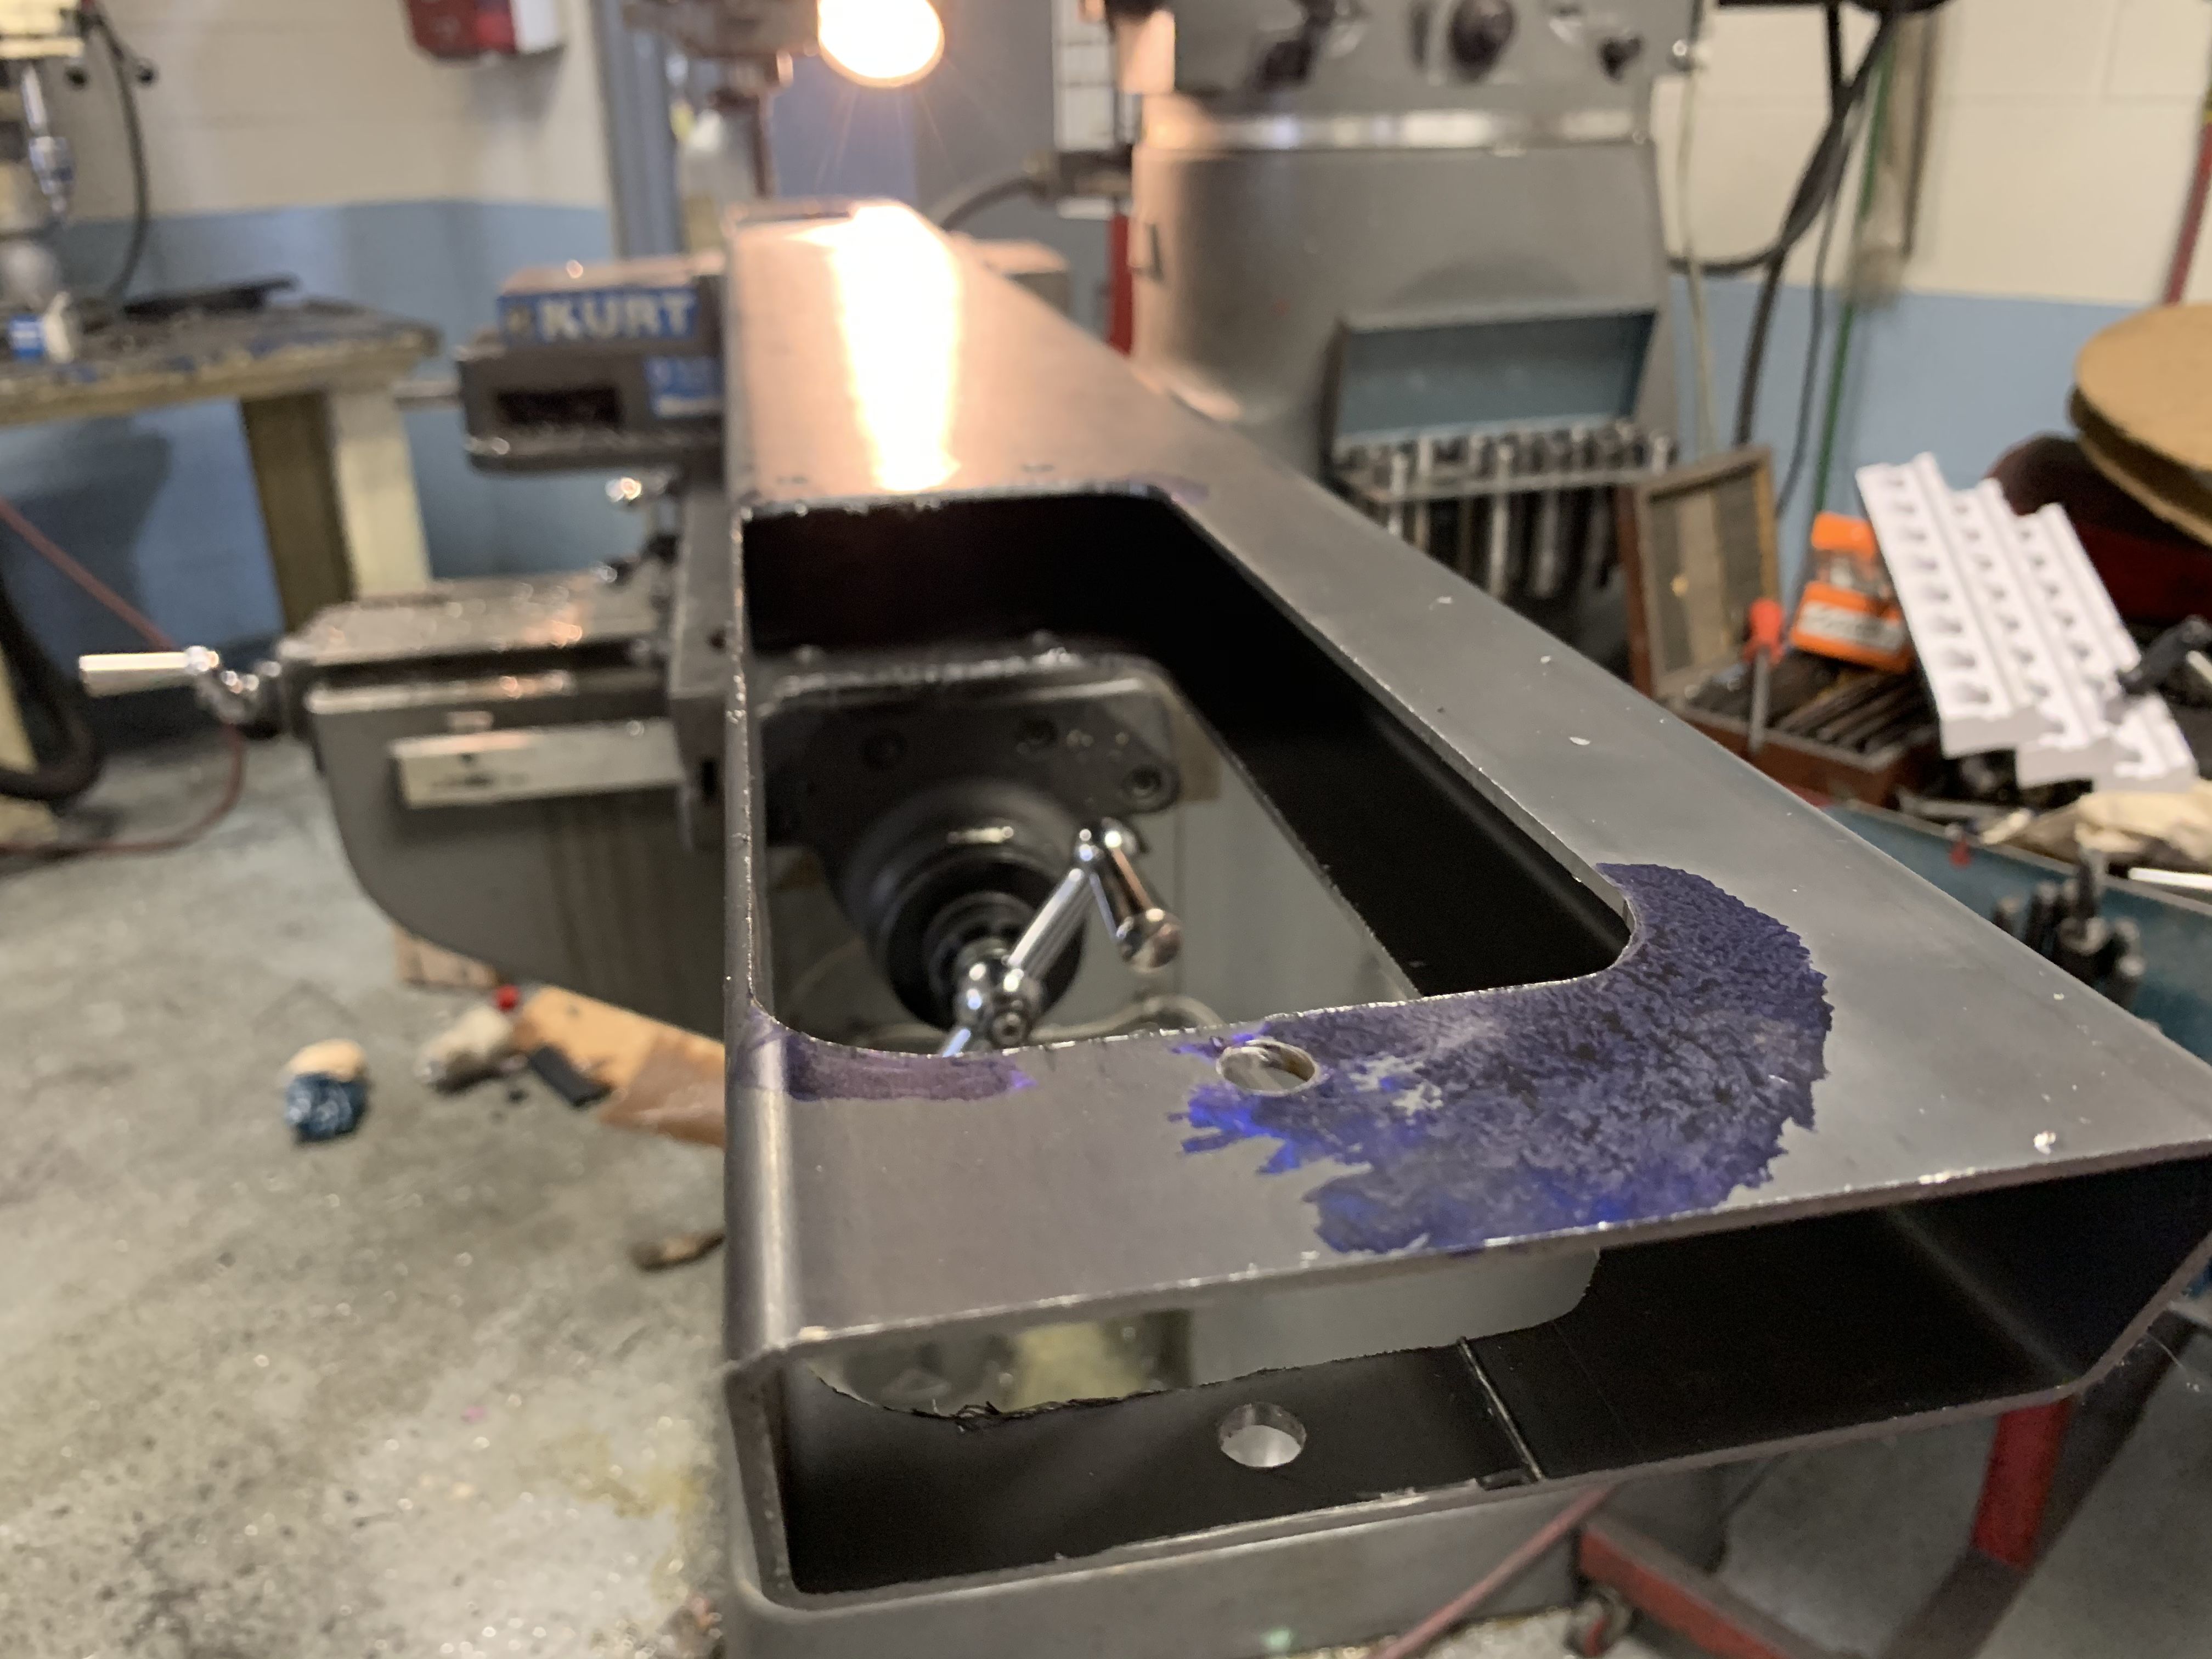
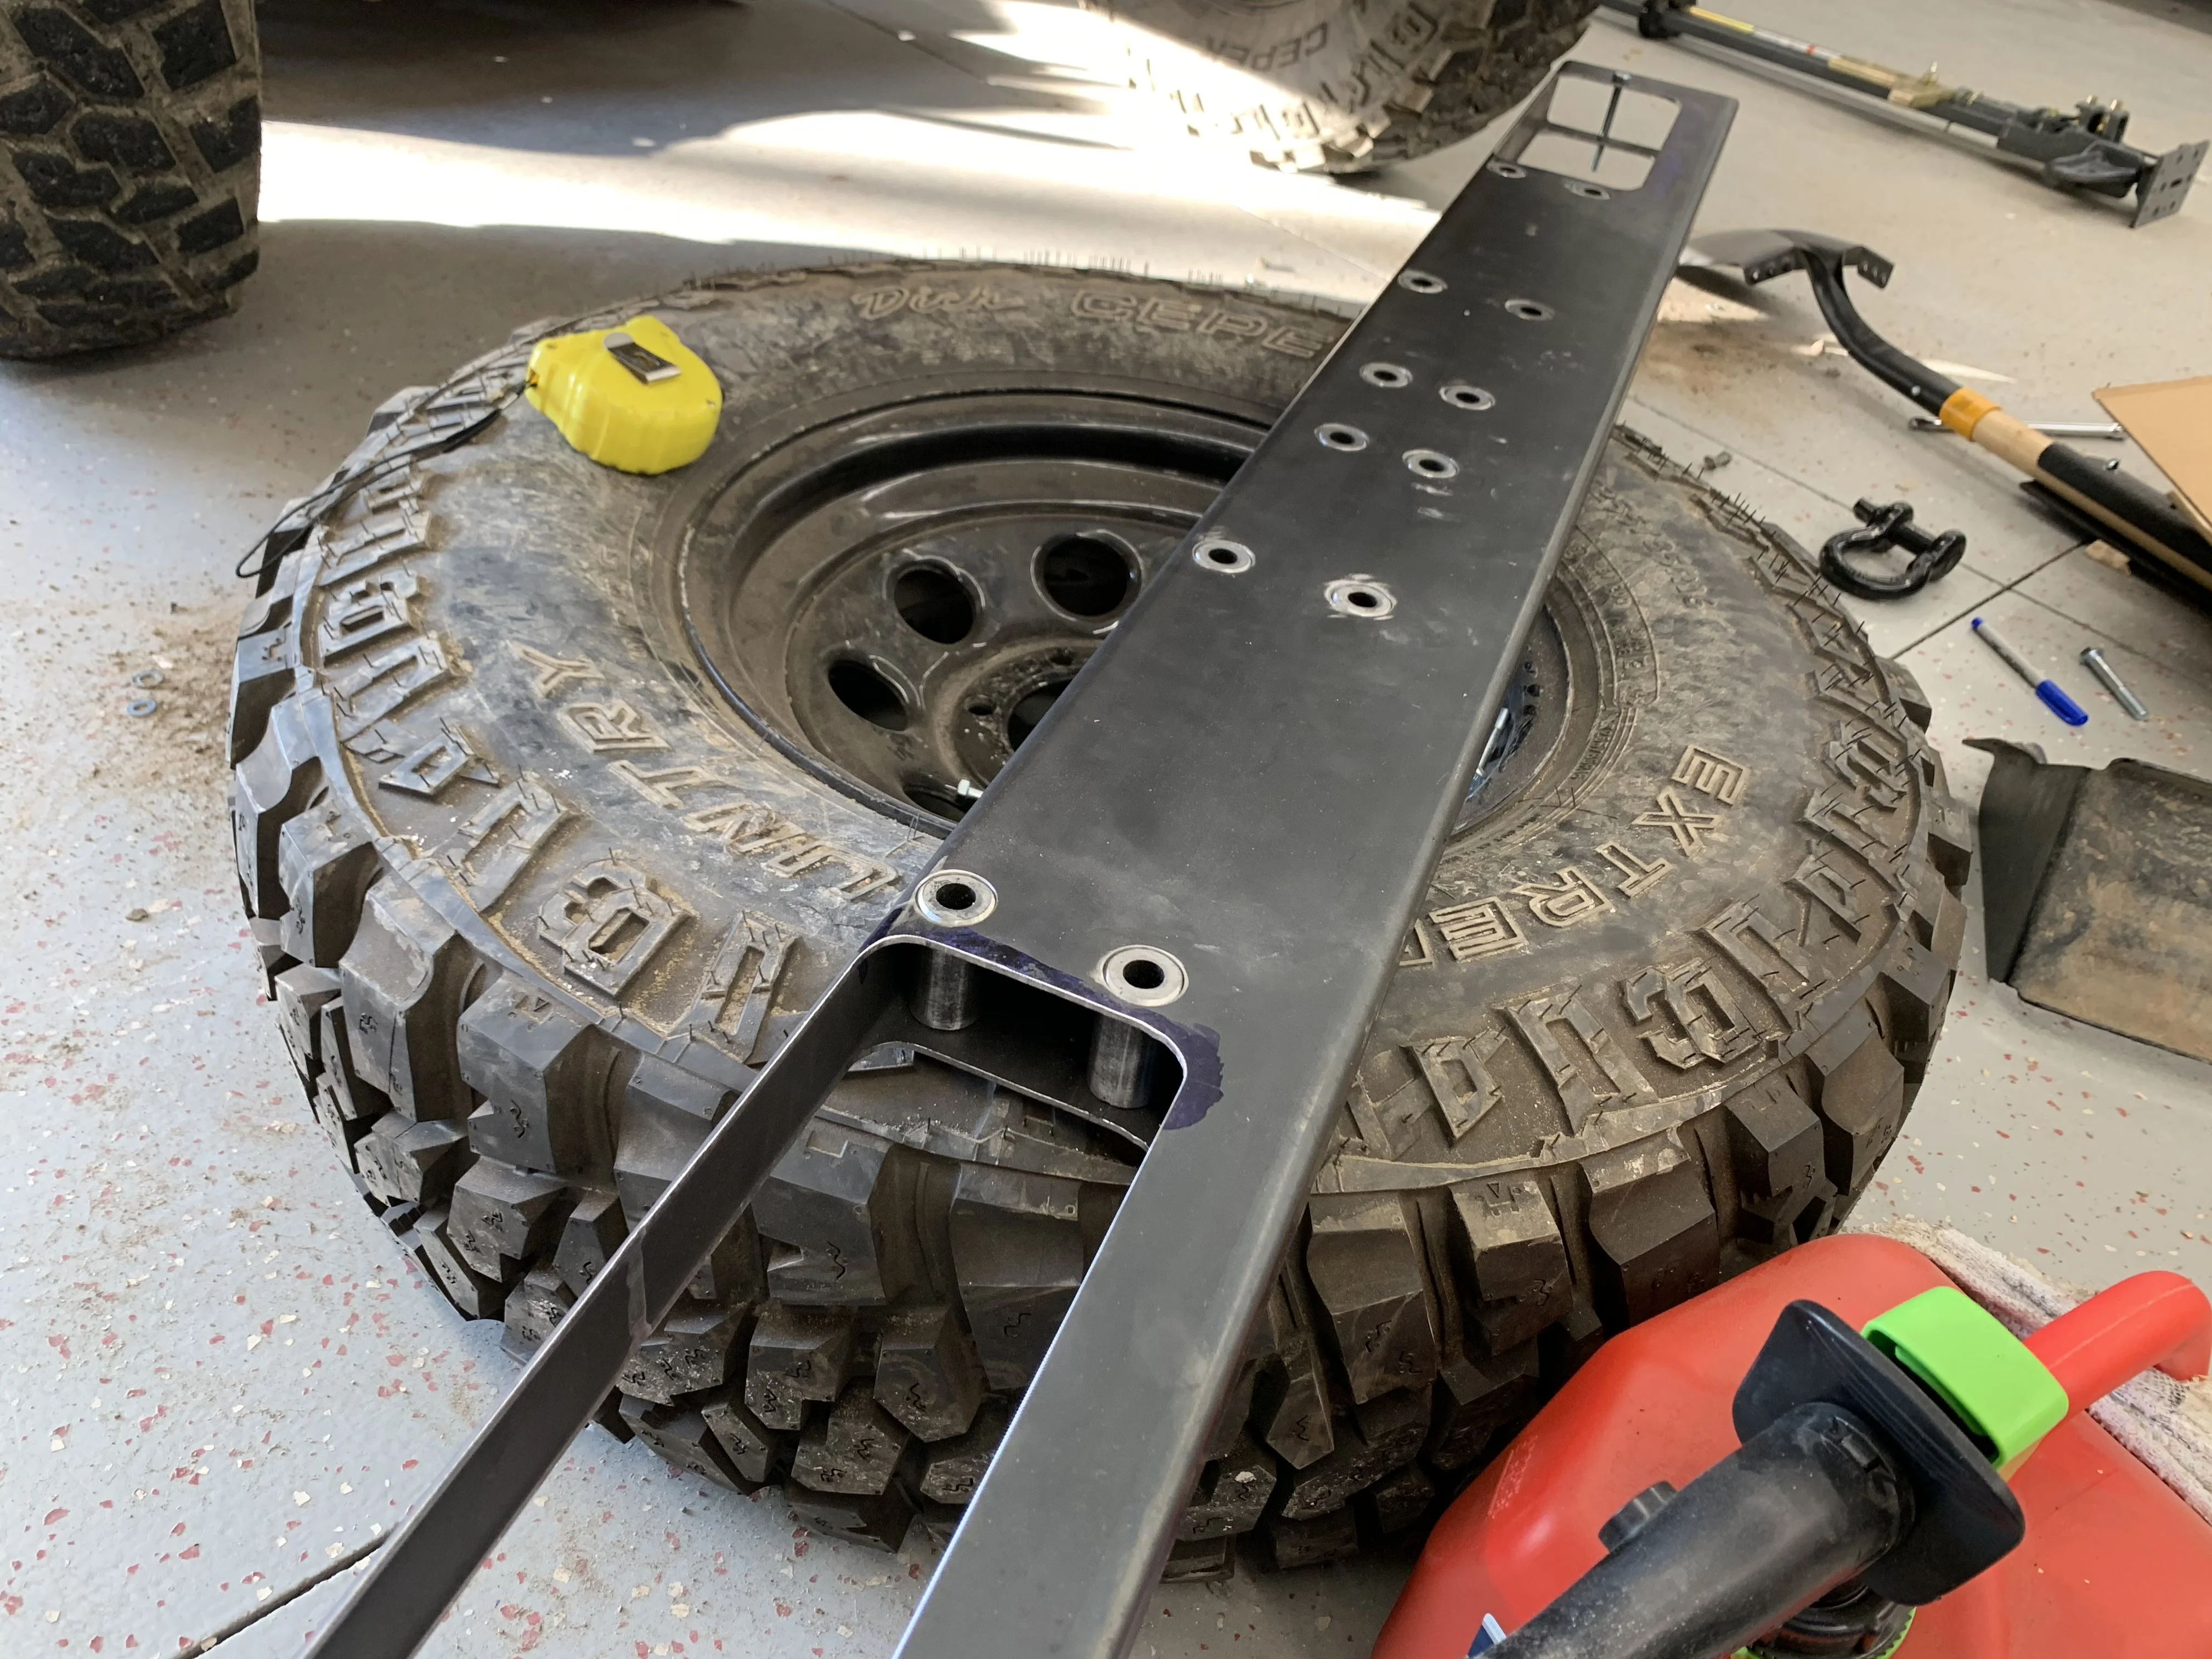
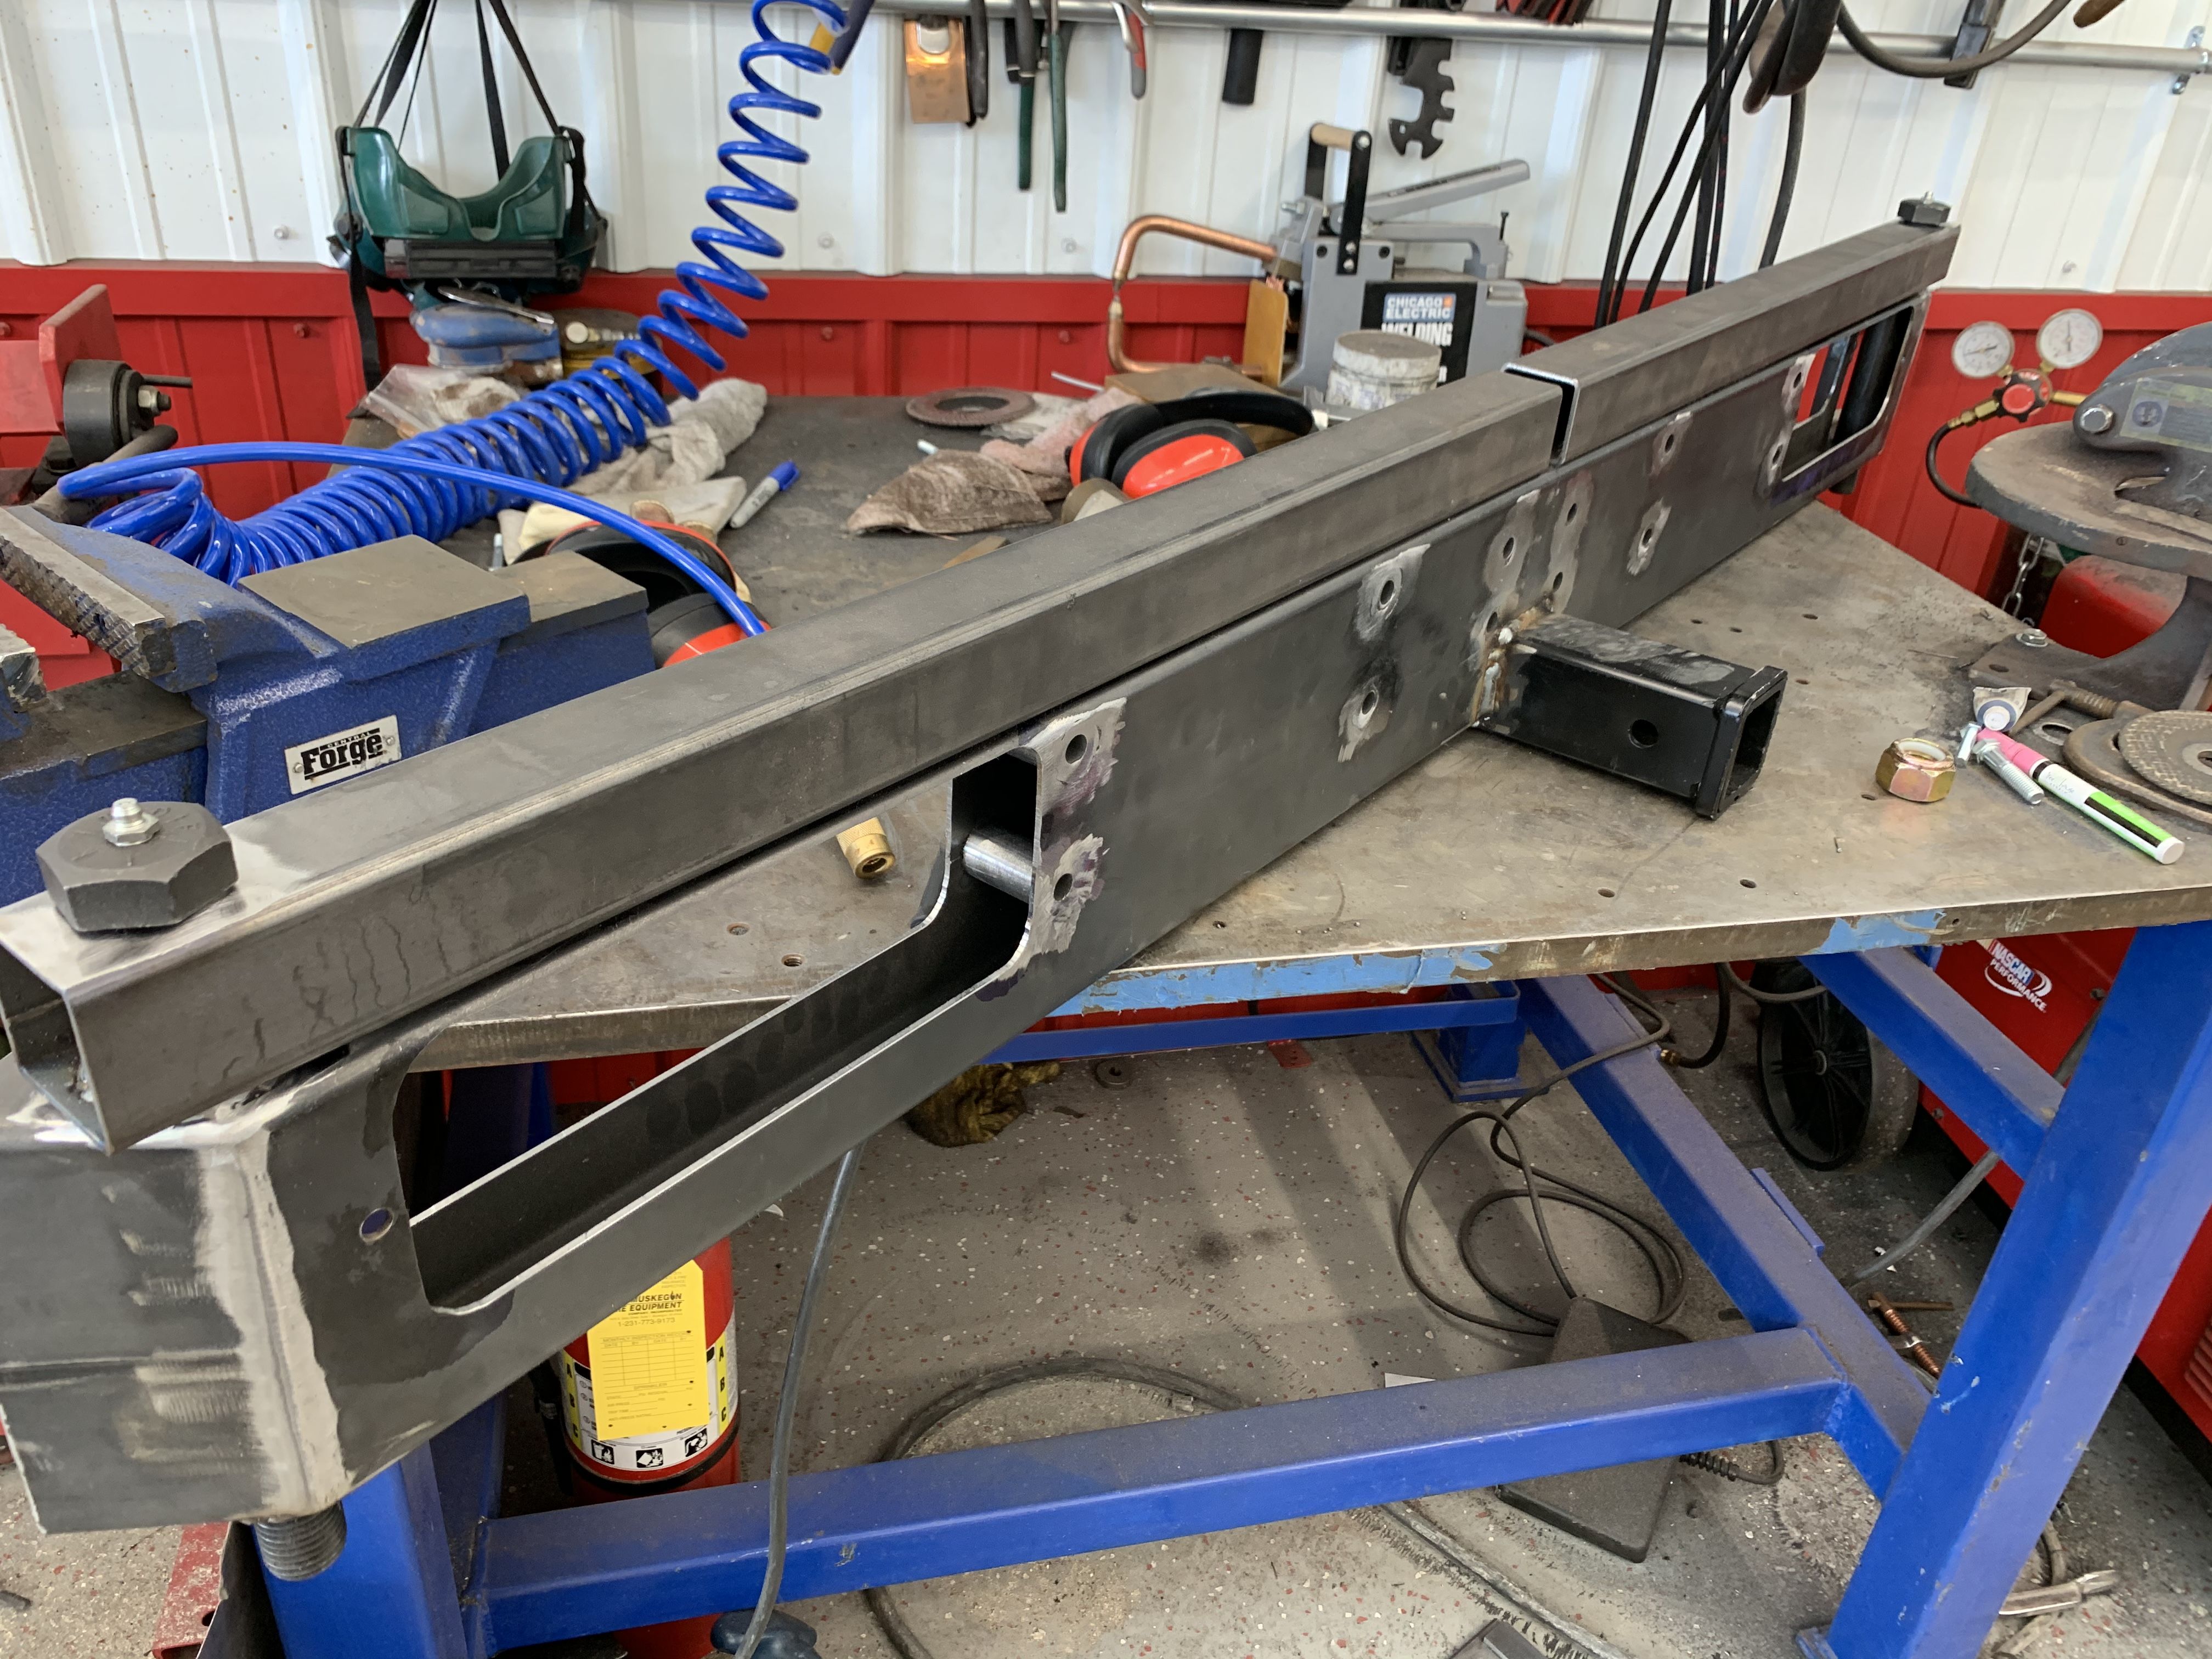
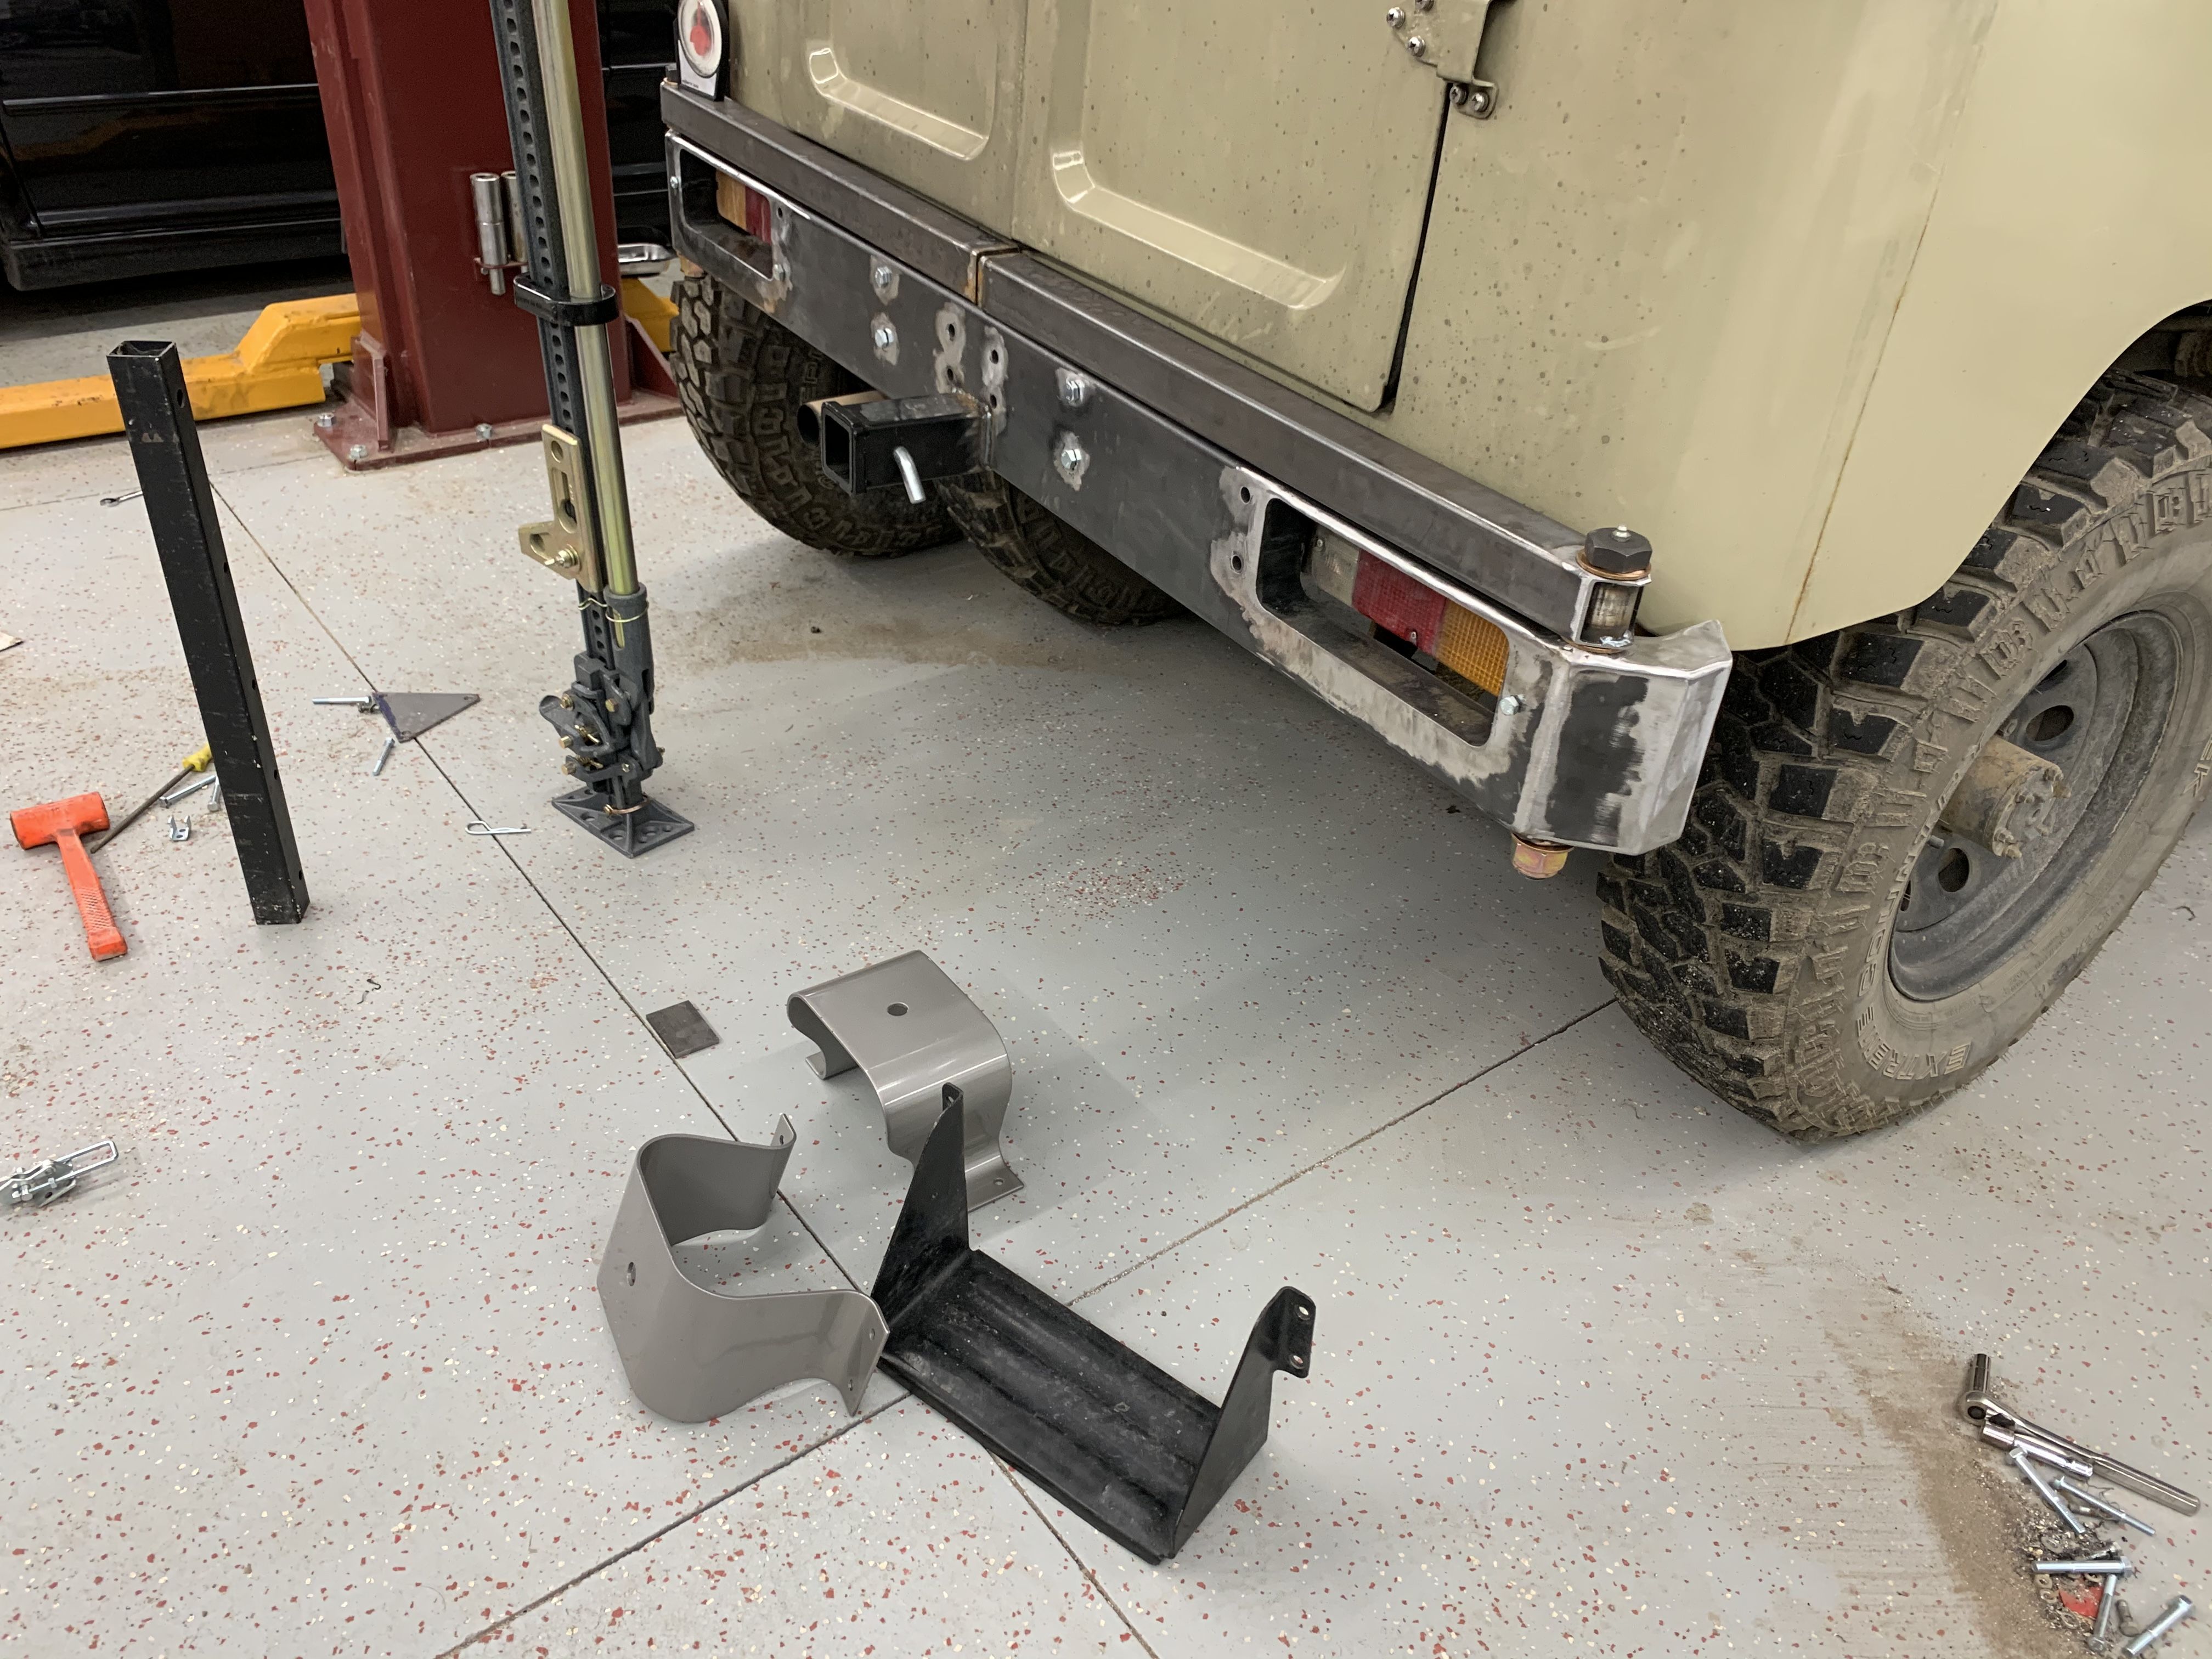
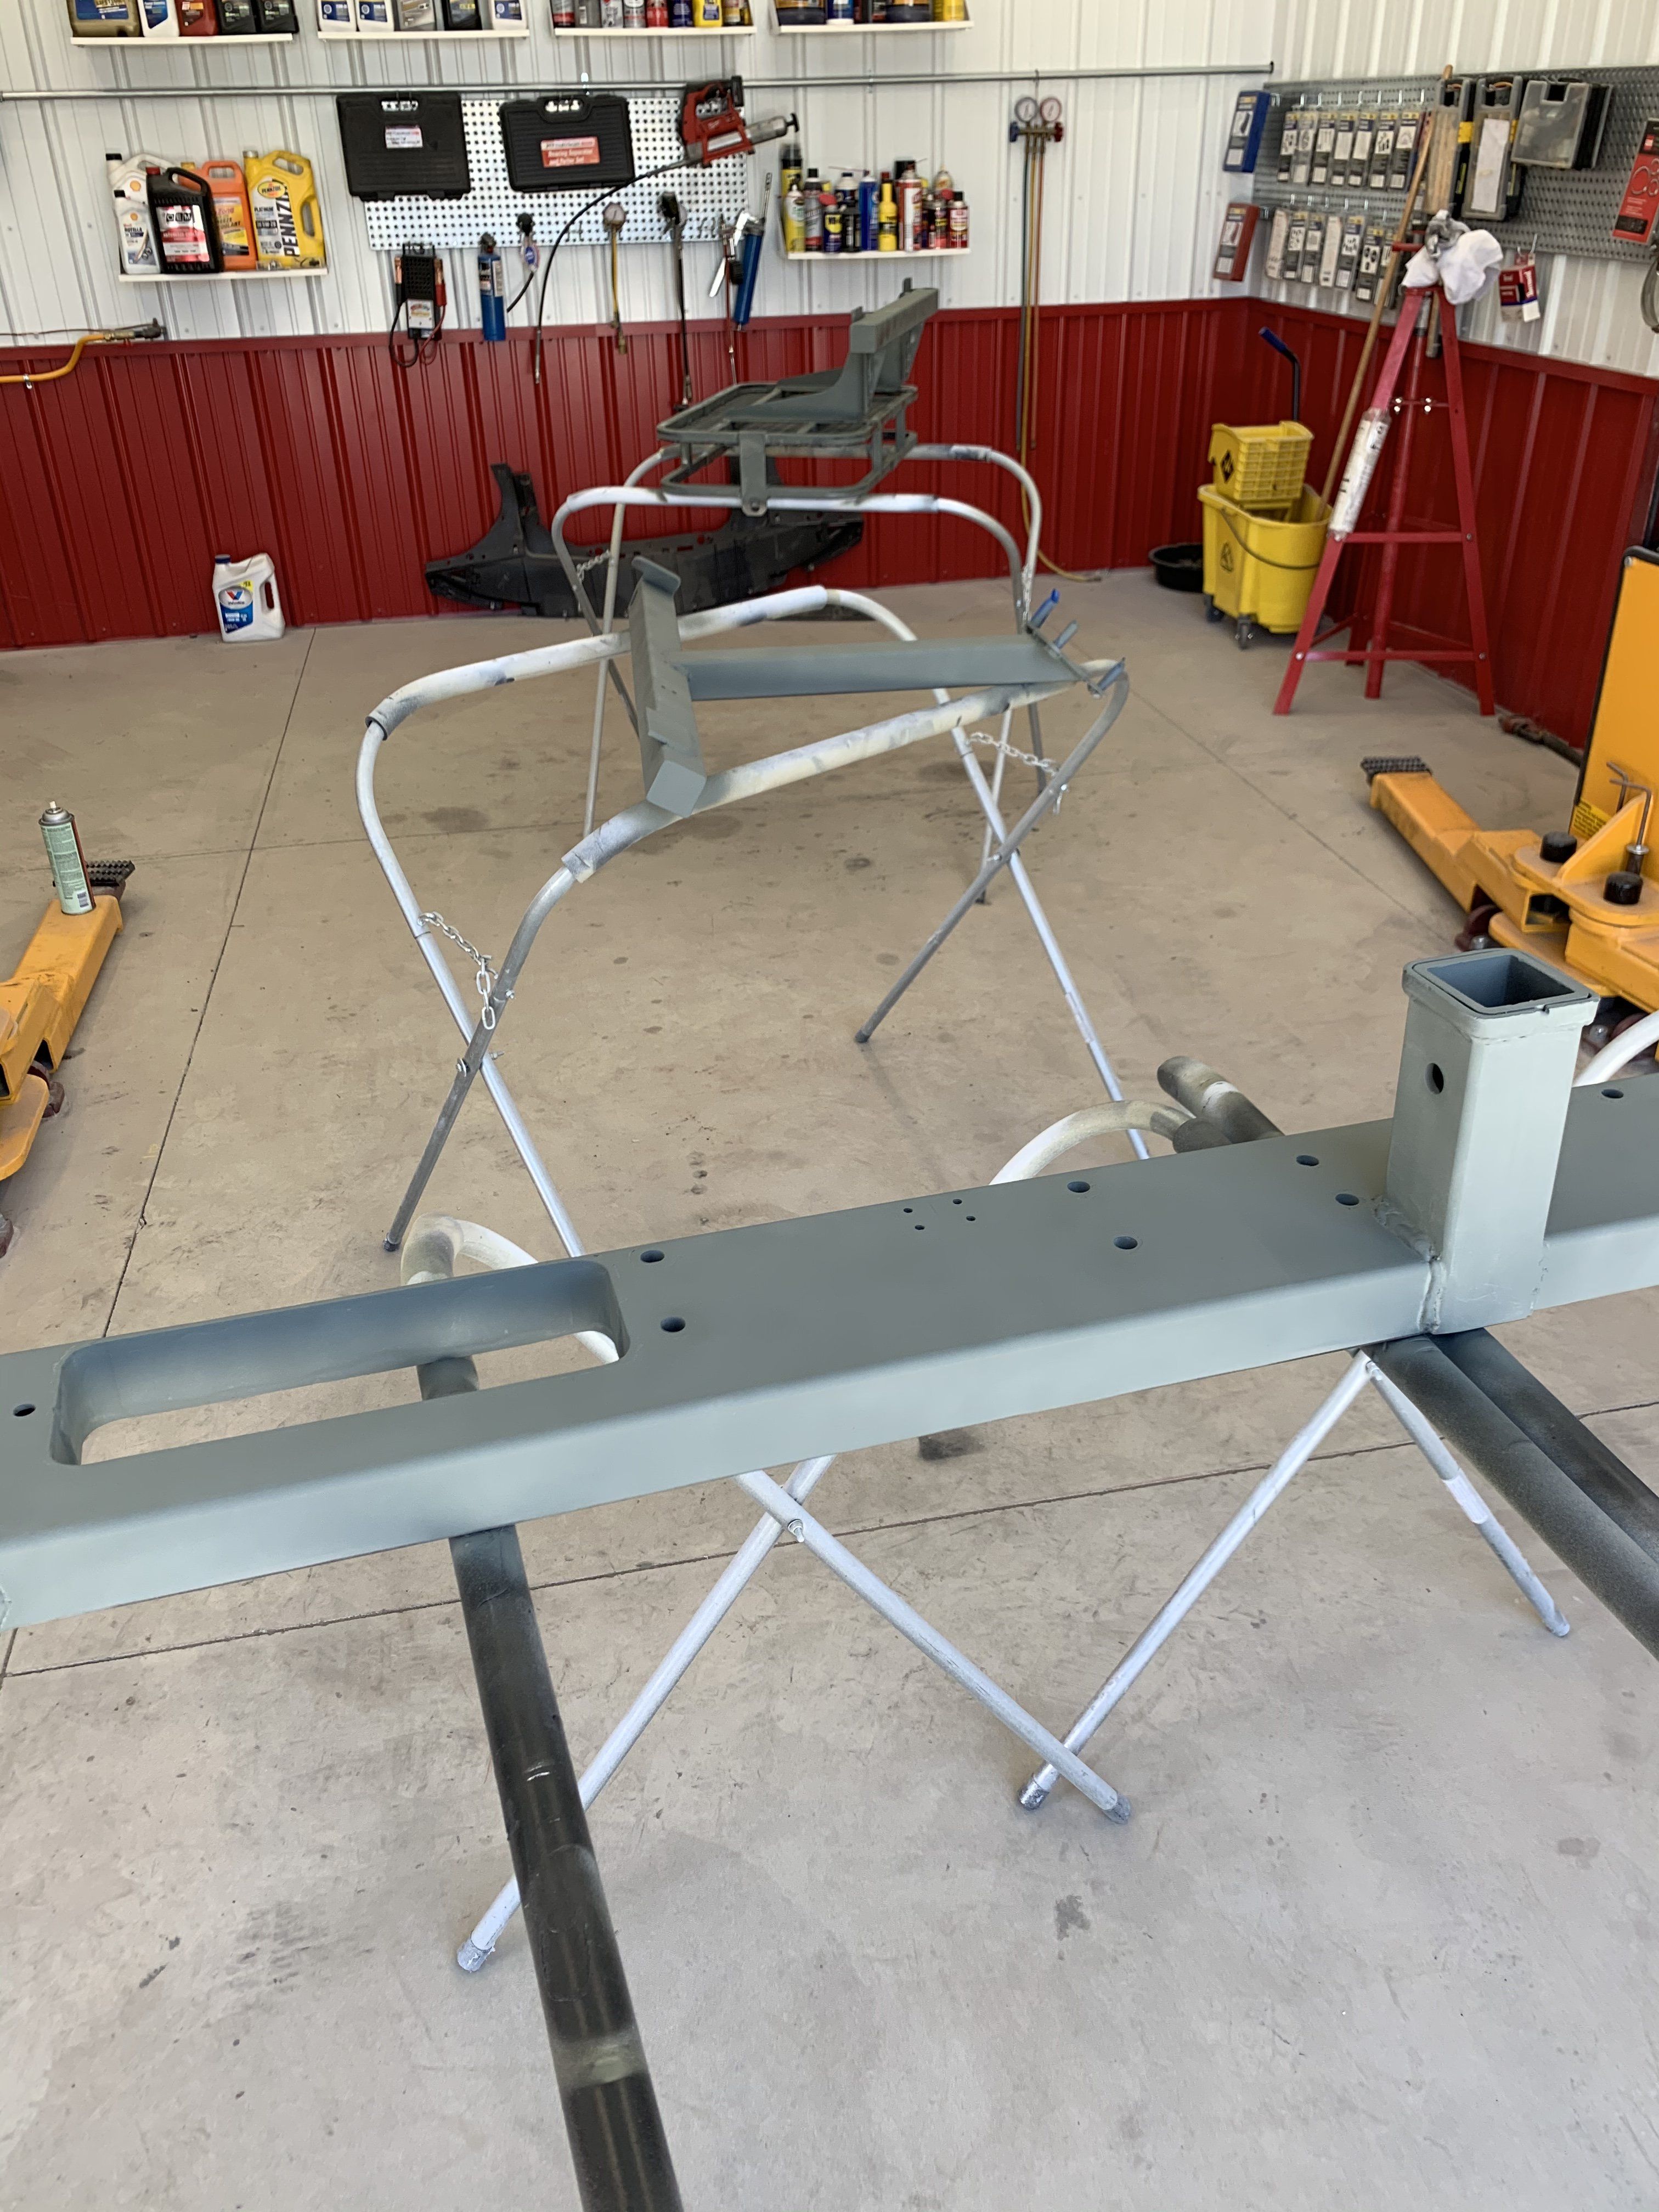
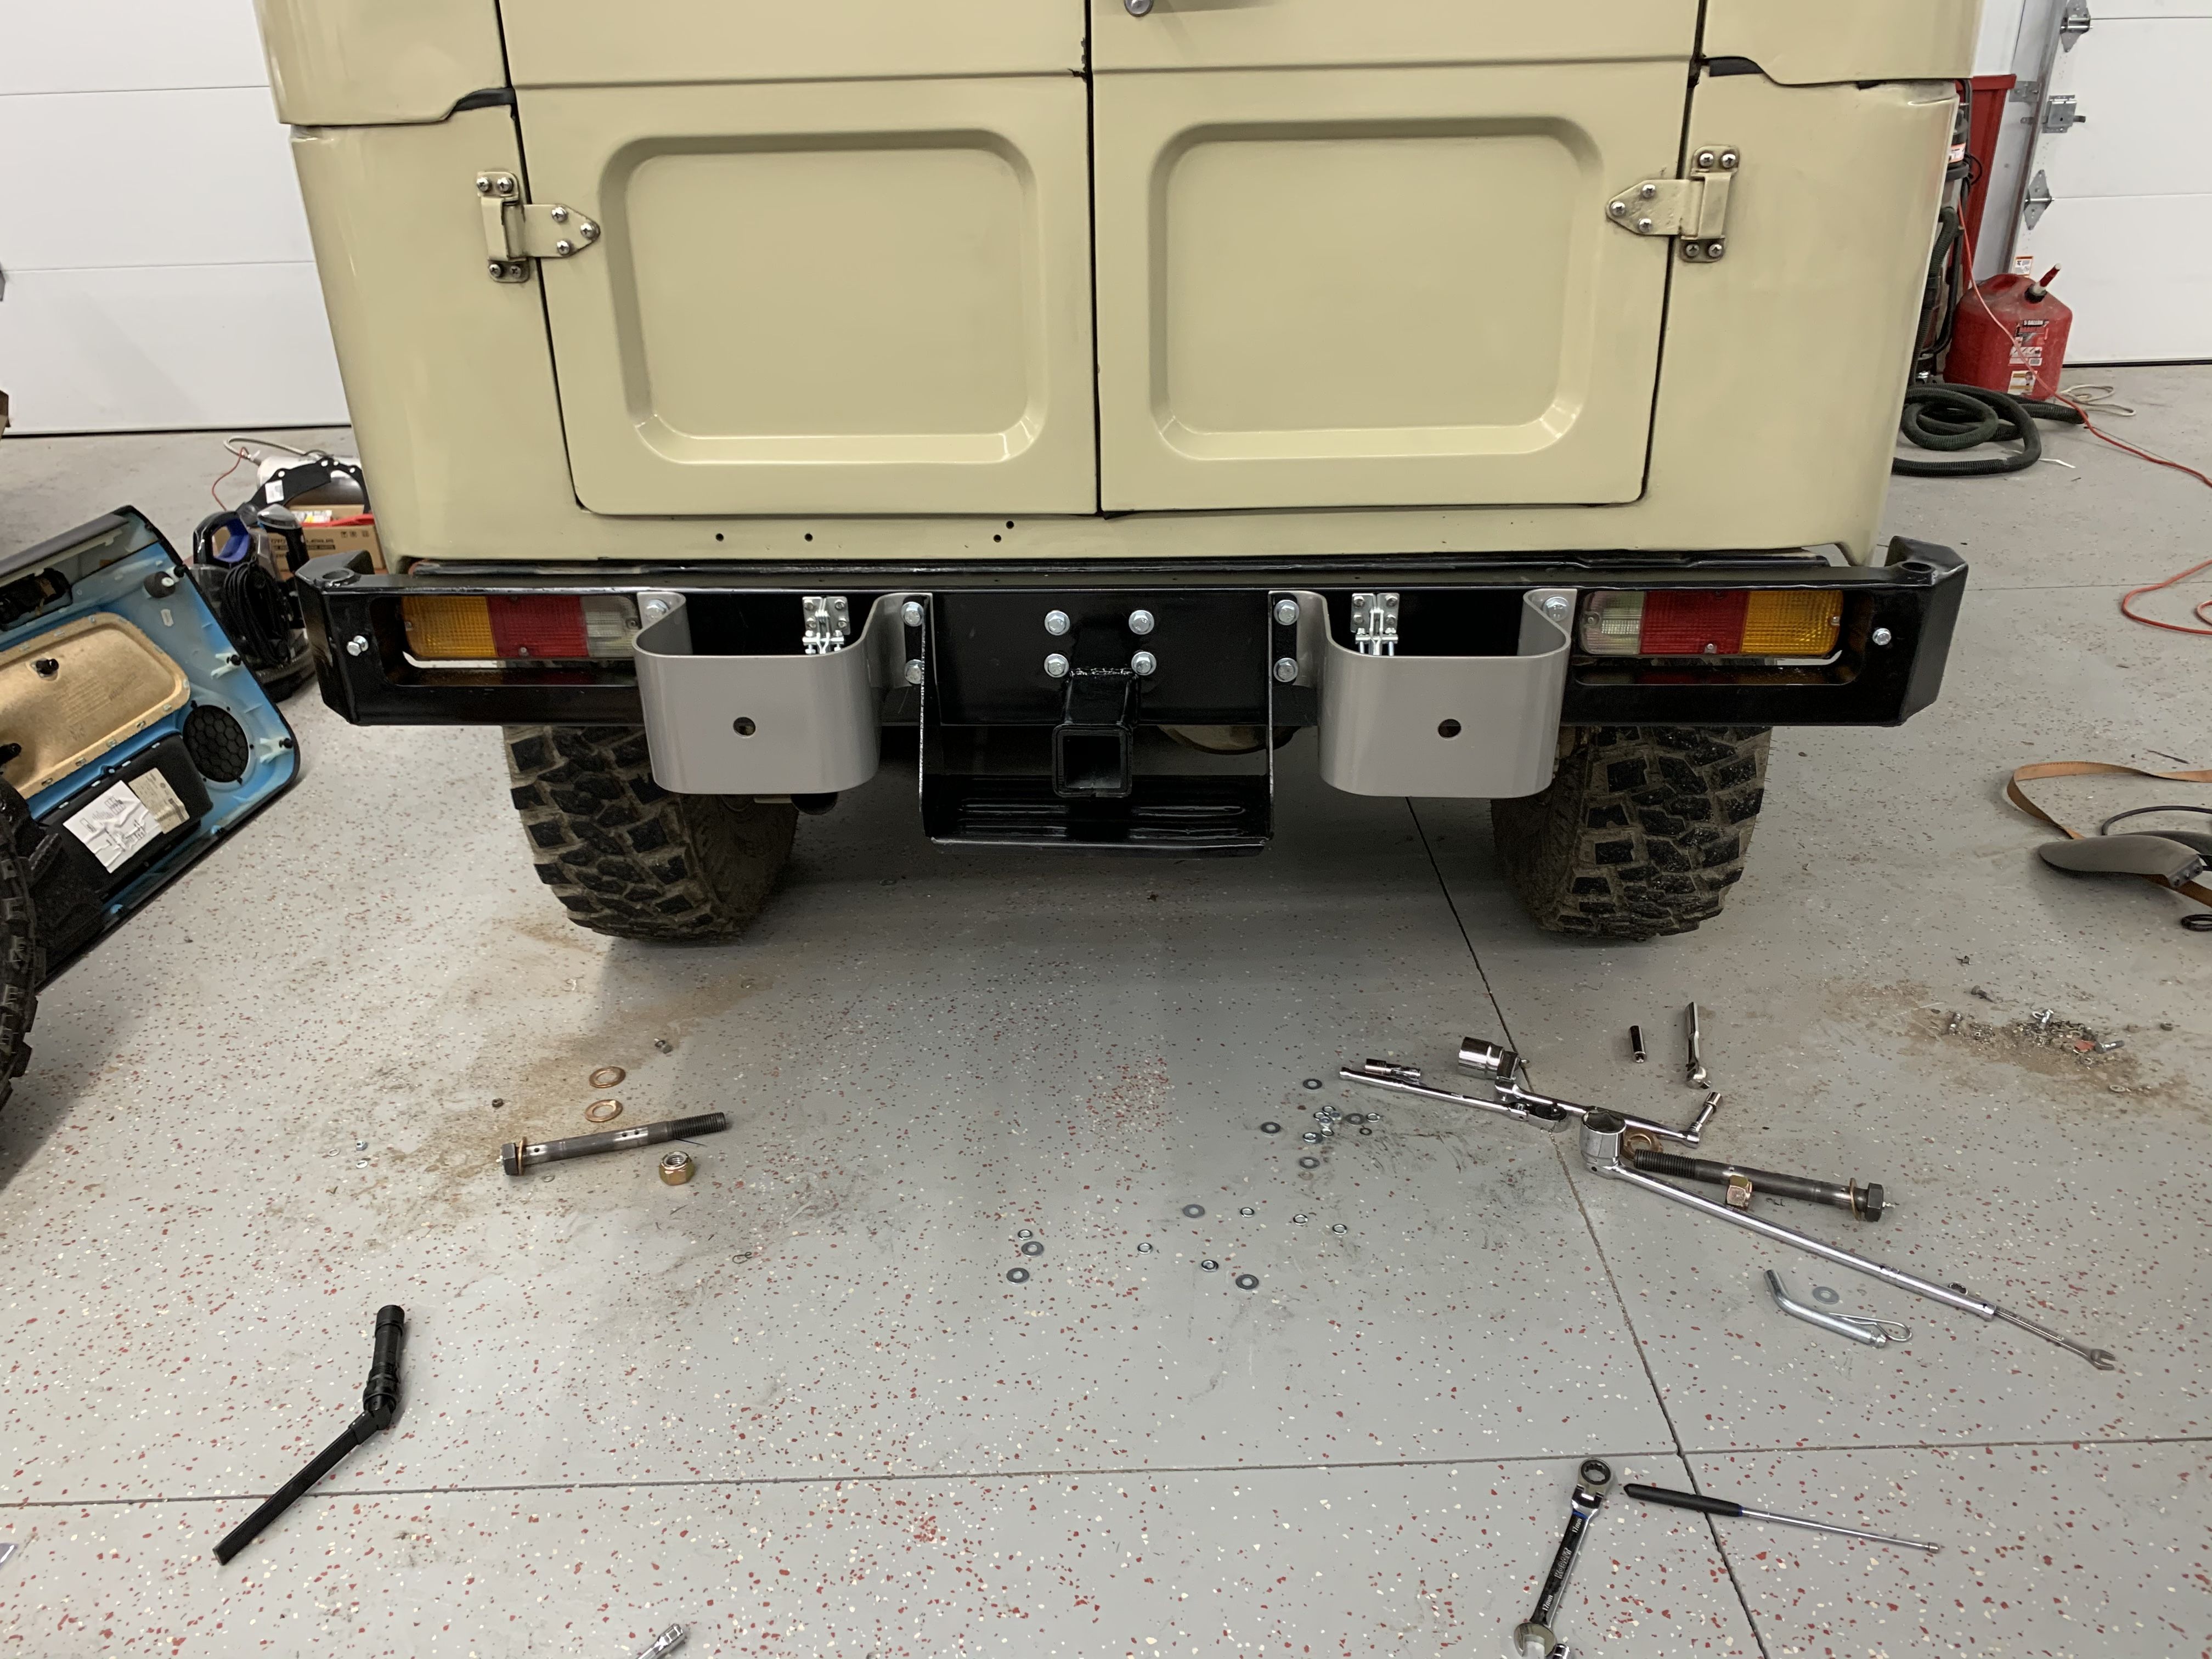
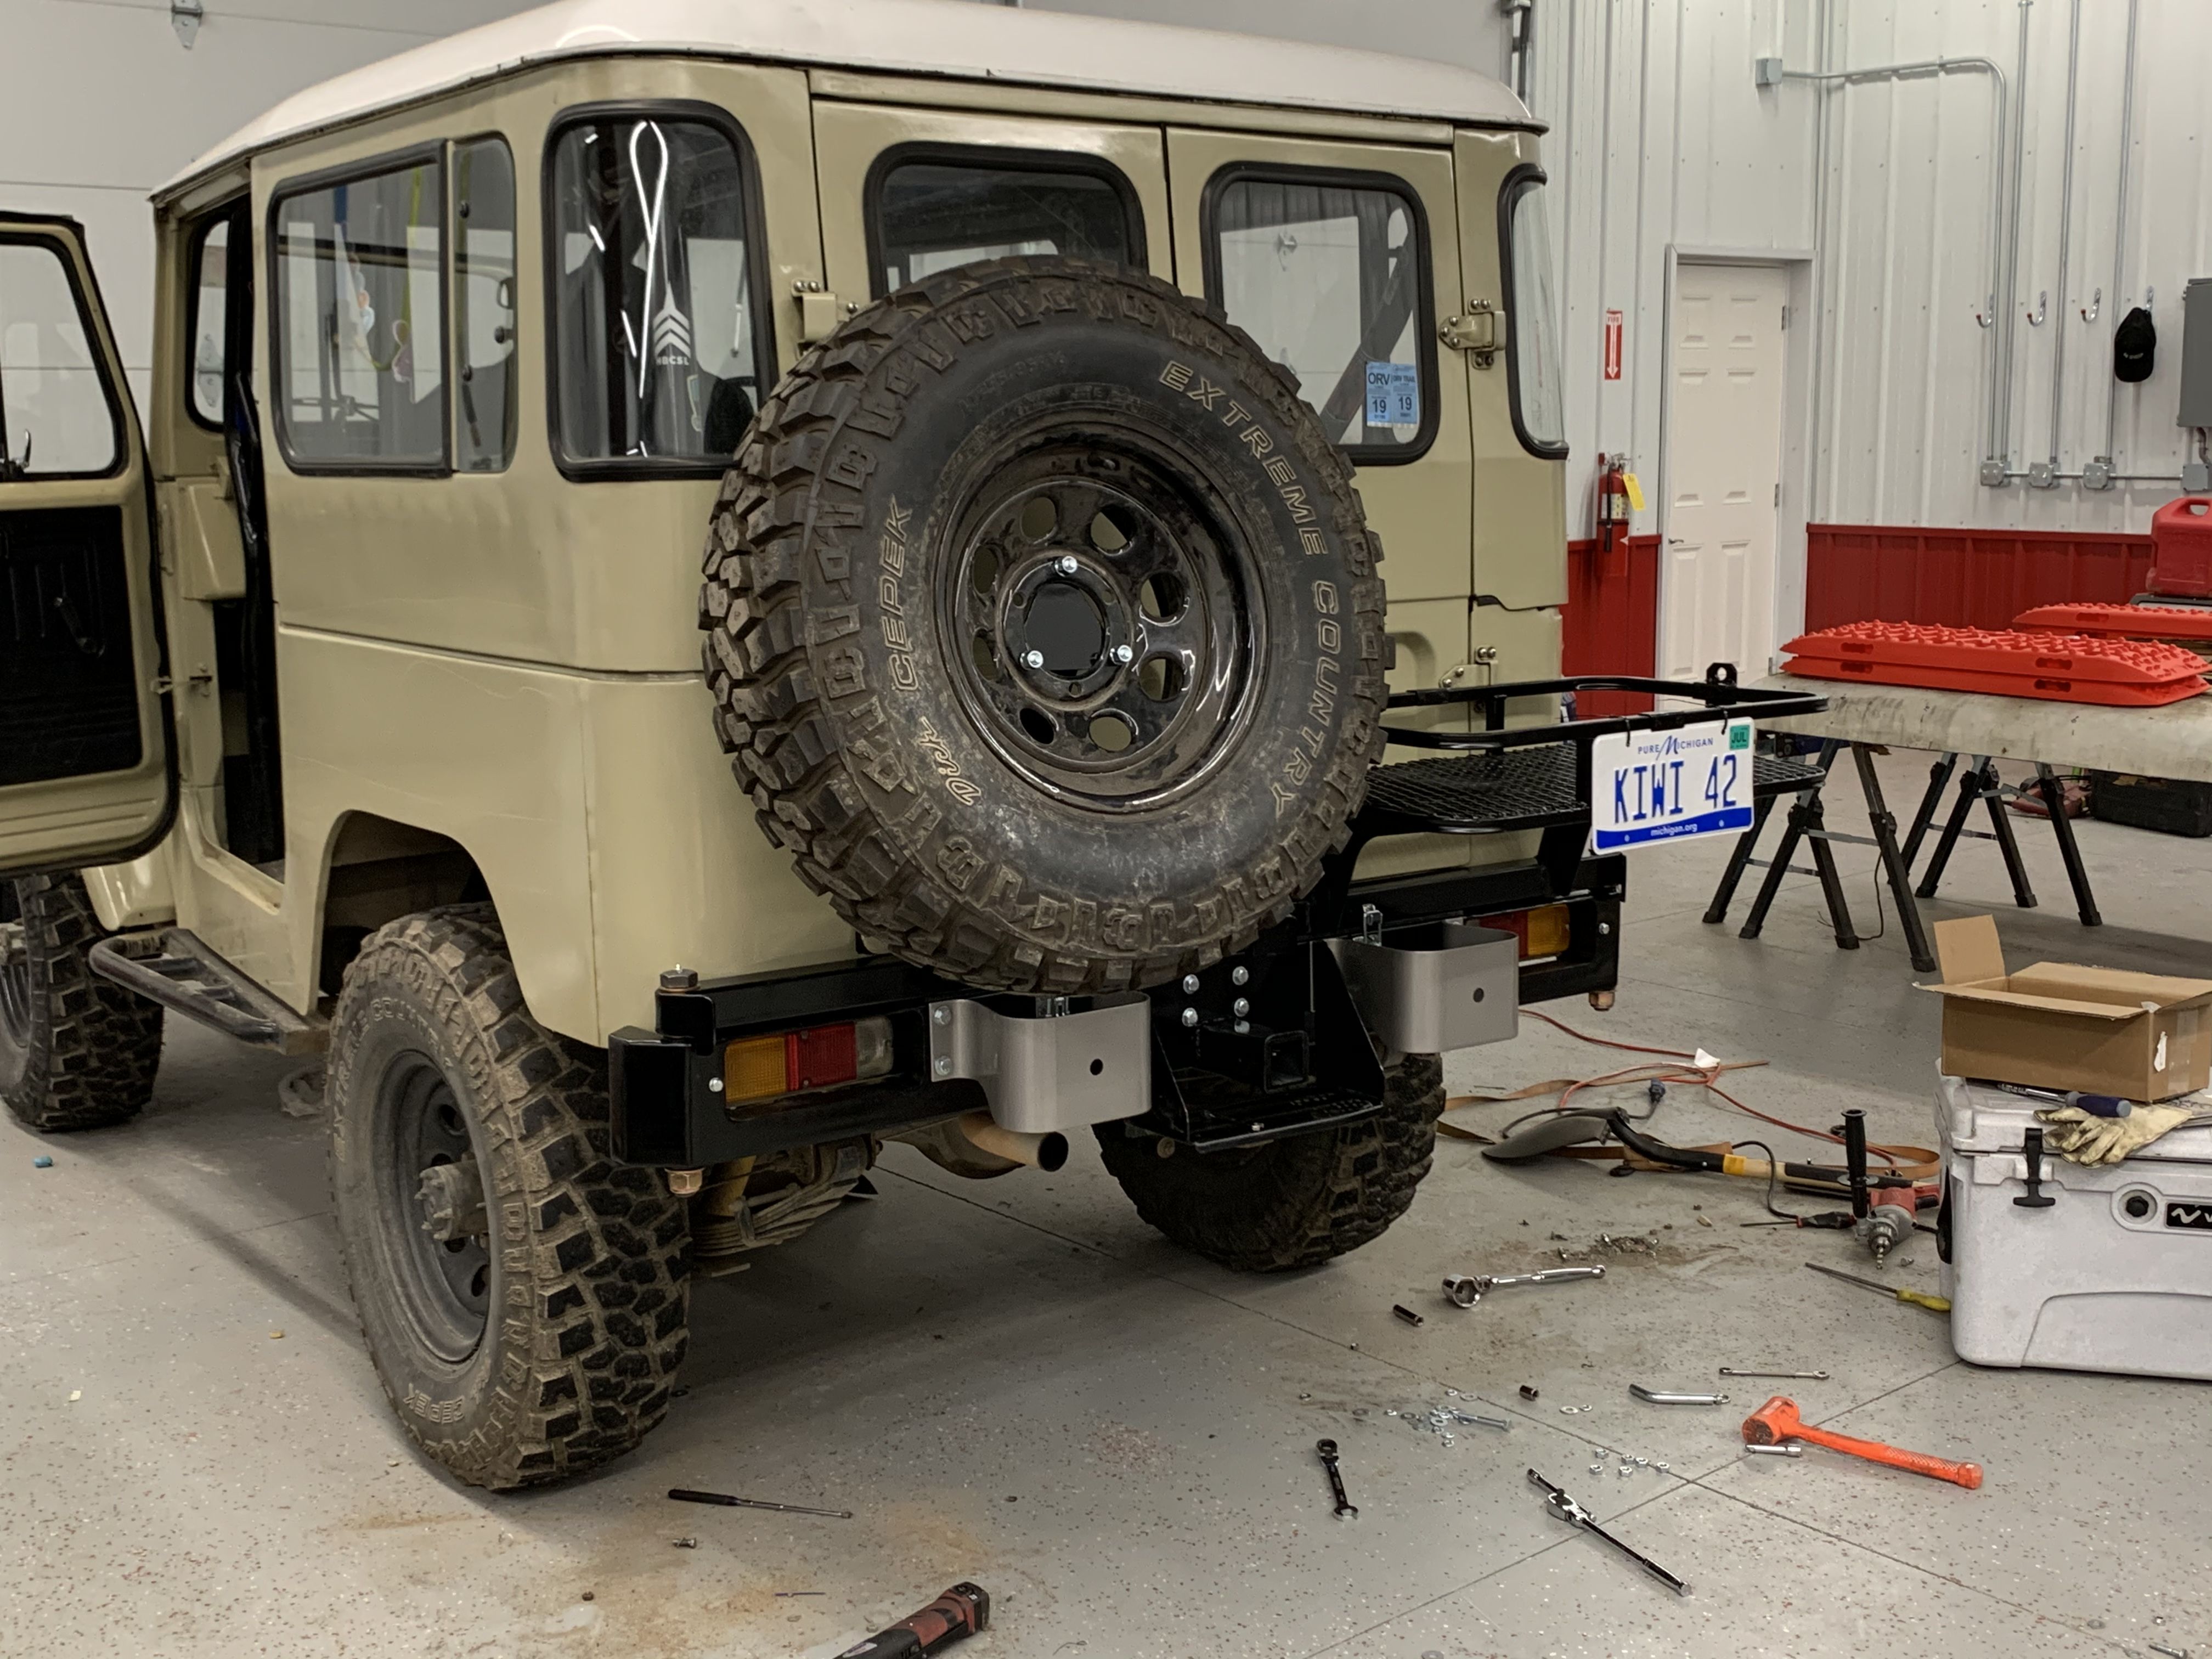
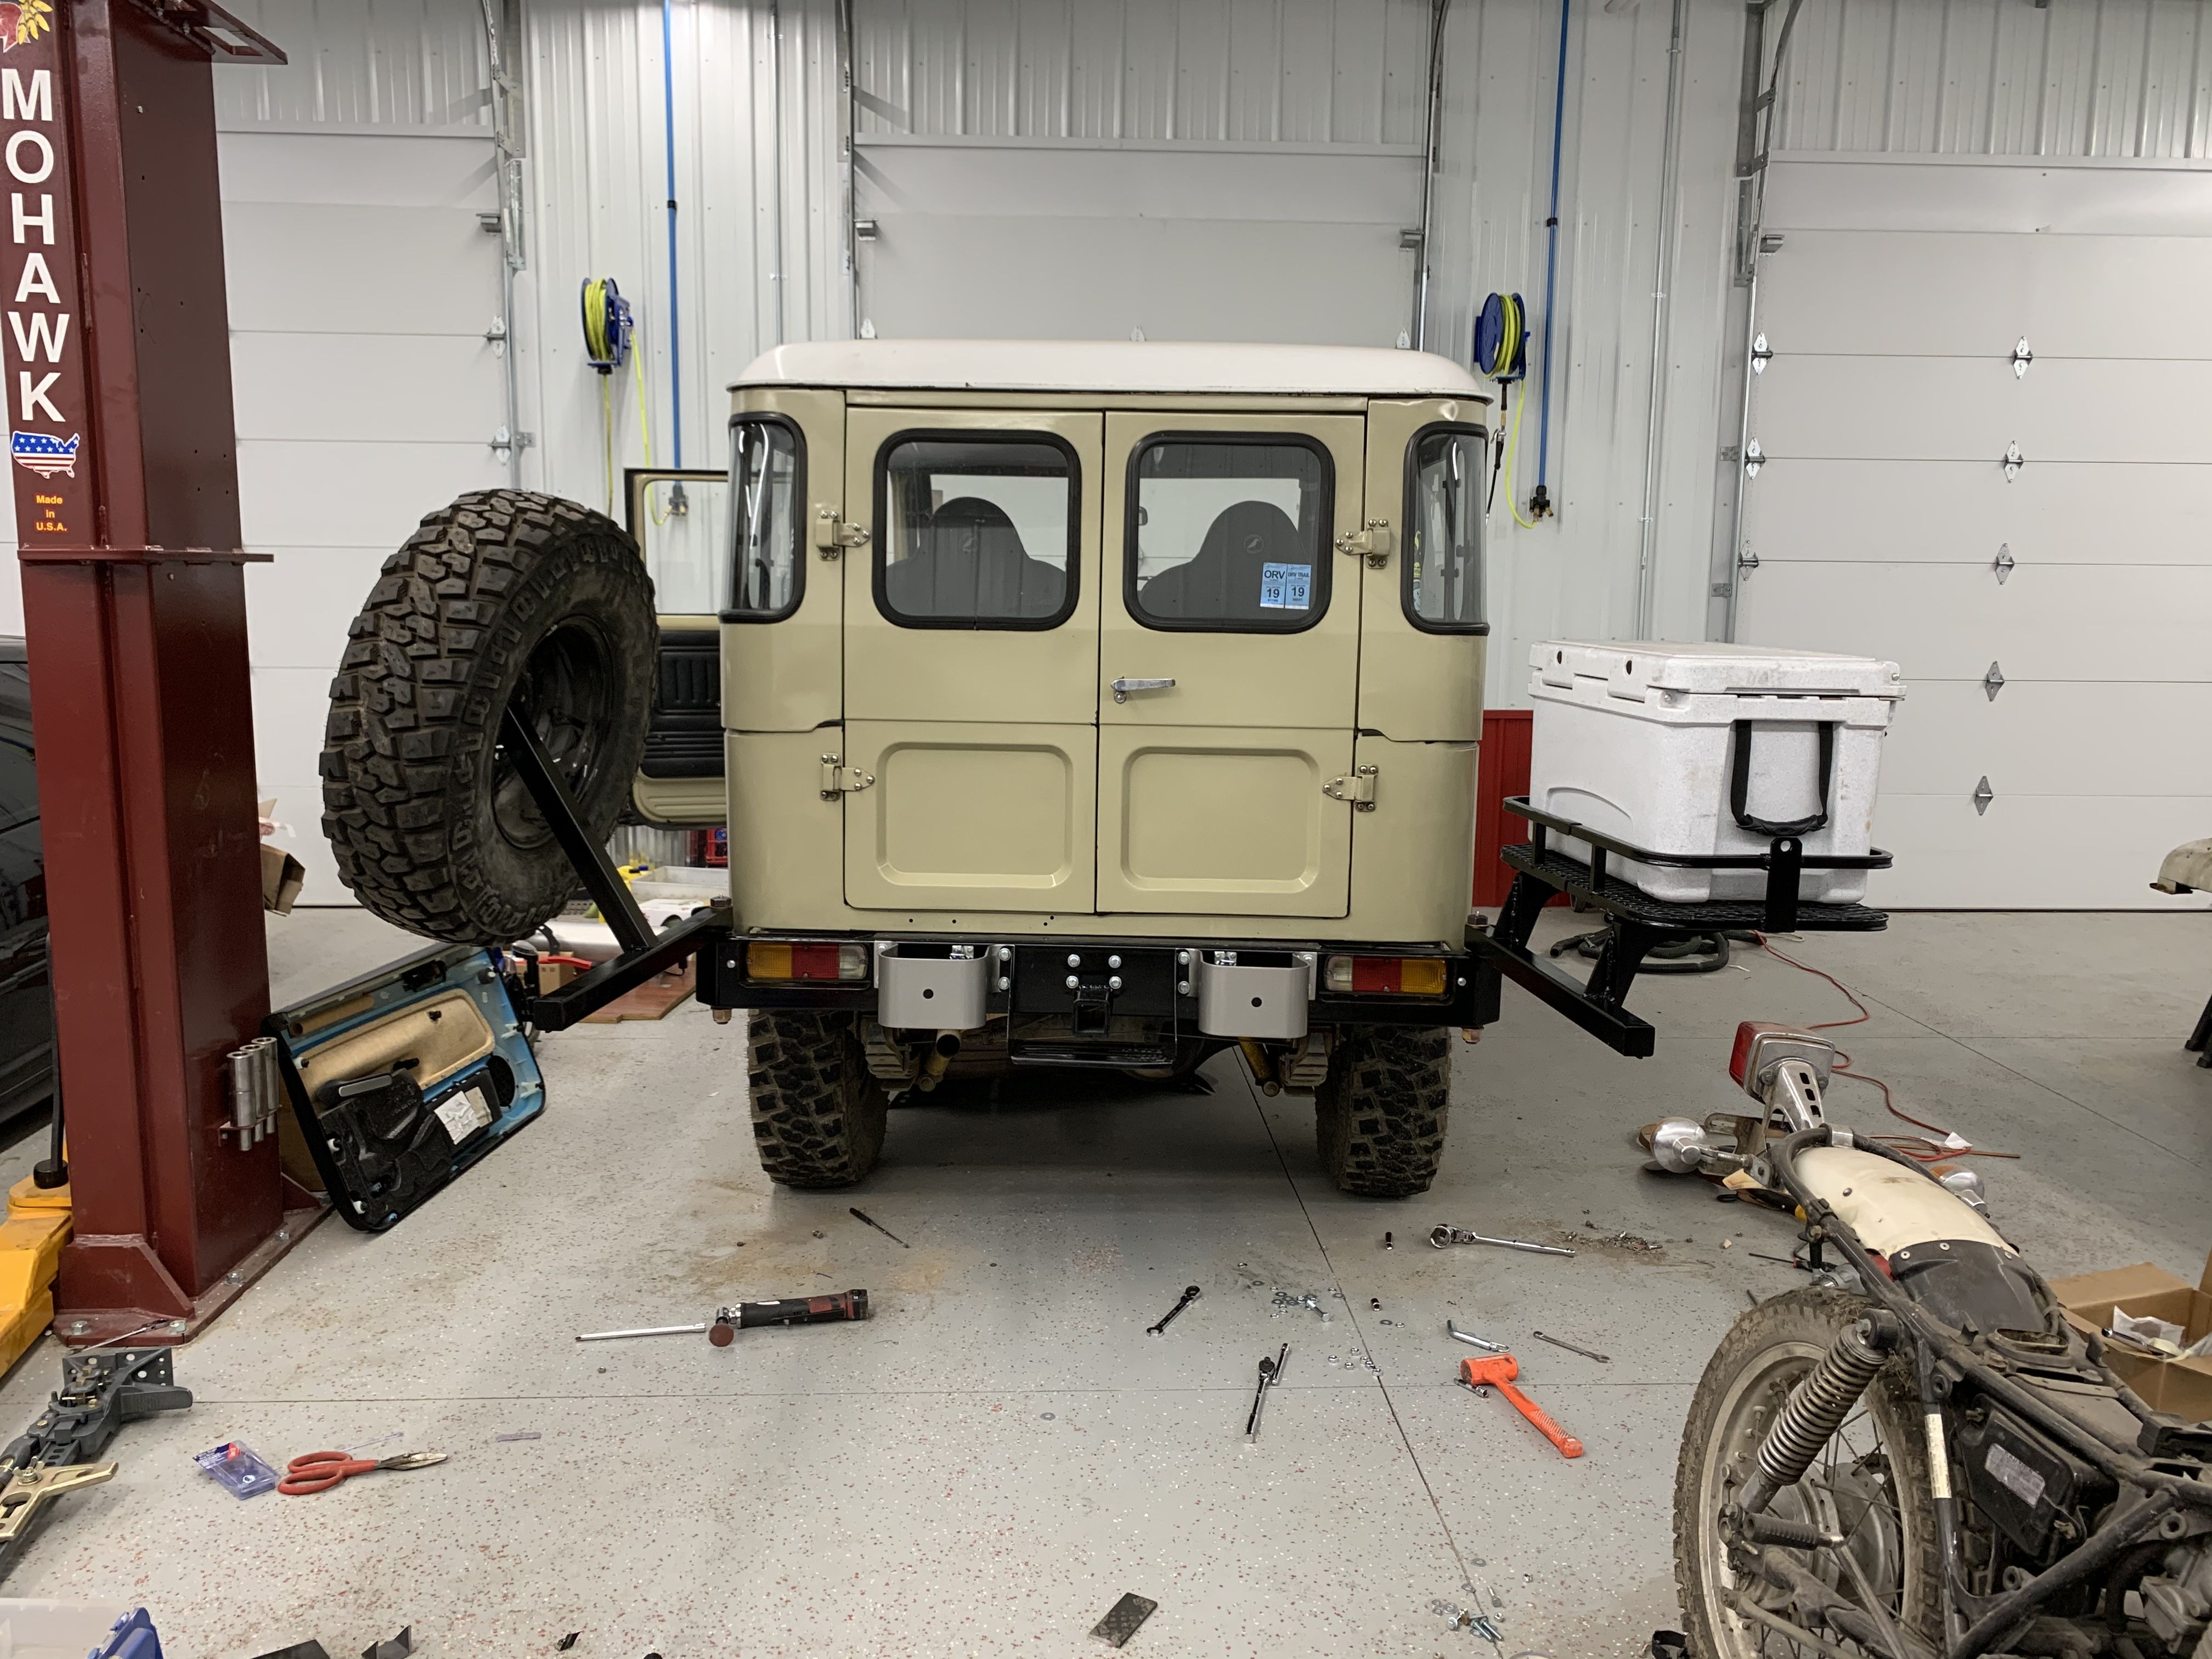
I added the proper lighted license plate holder and Hi-Lift Jack mount to the bumper arms so now the plate isn't held on with zip-ties and the jack isn't bashing around in the back.
full

Still so pleased with how that bumper came out.
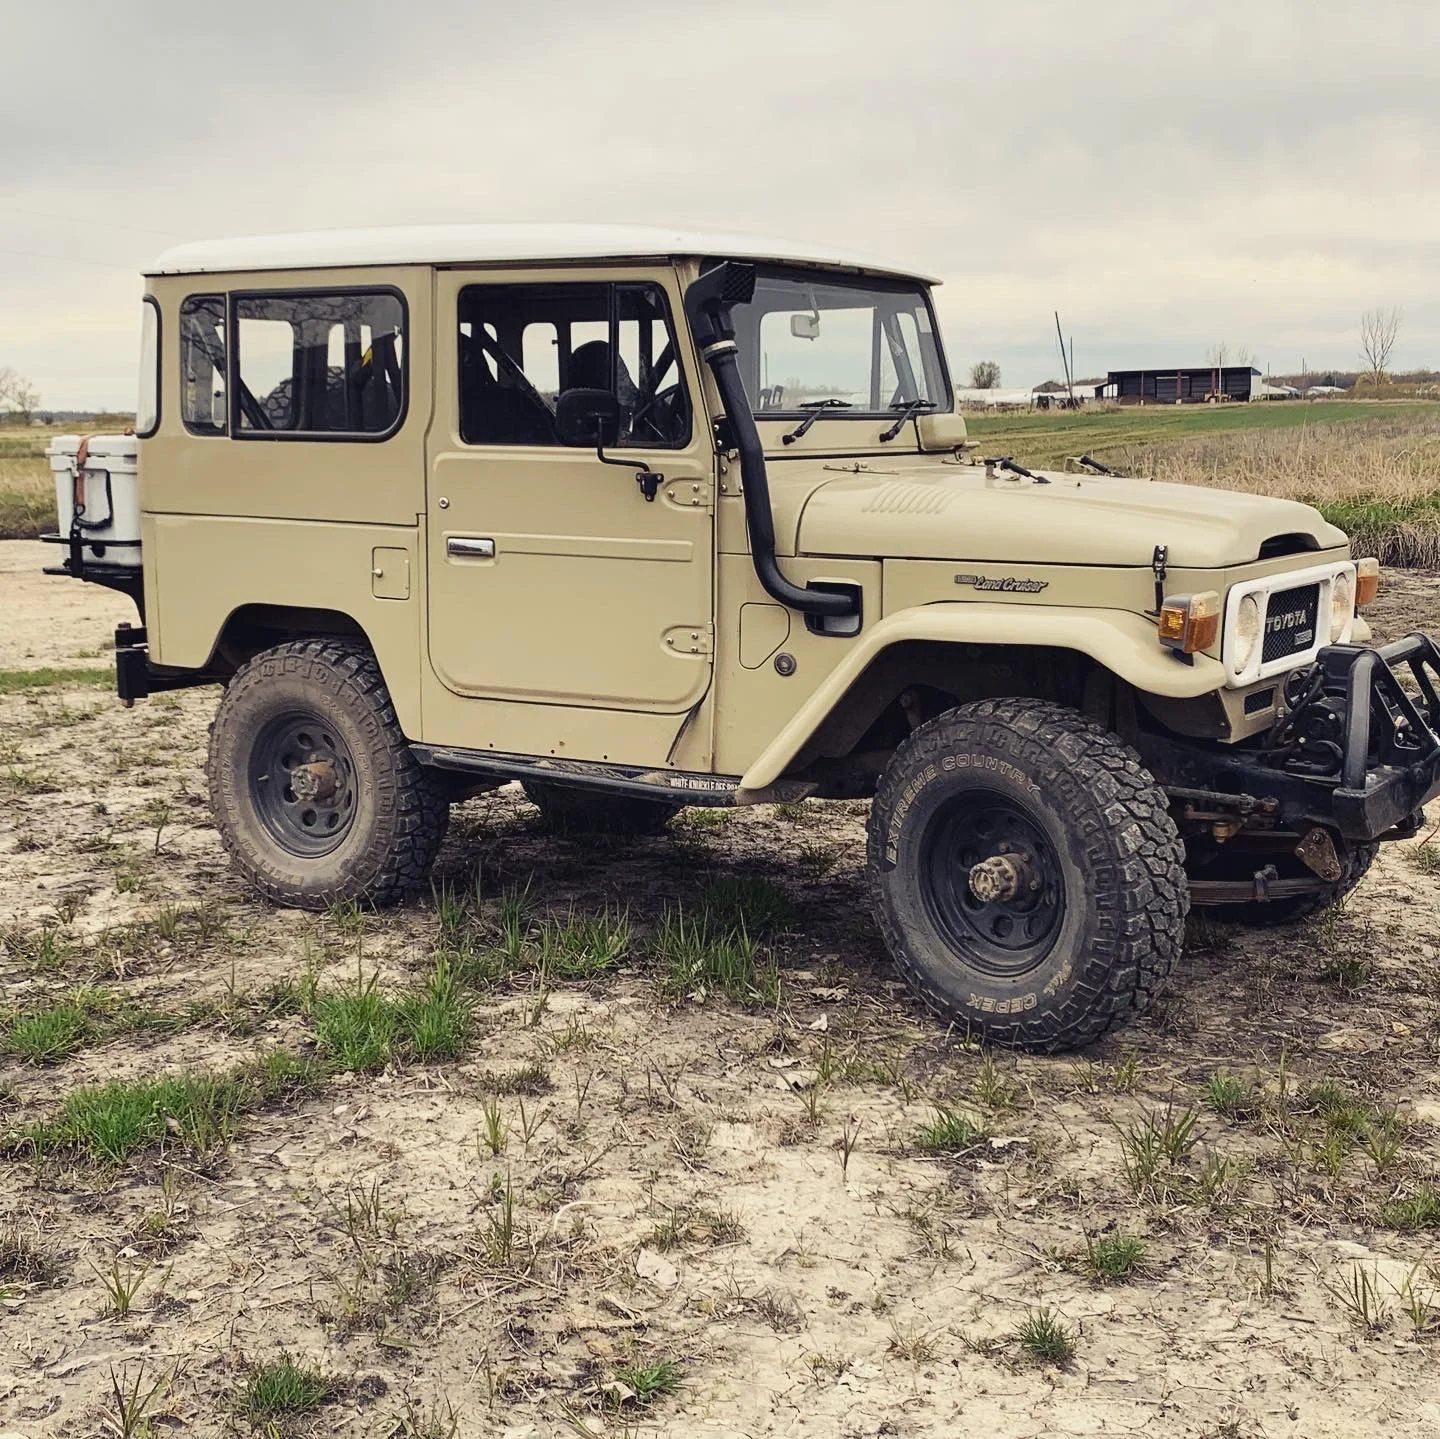
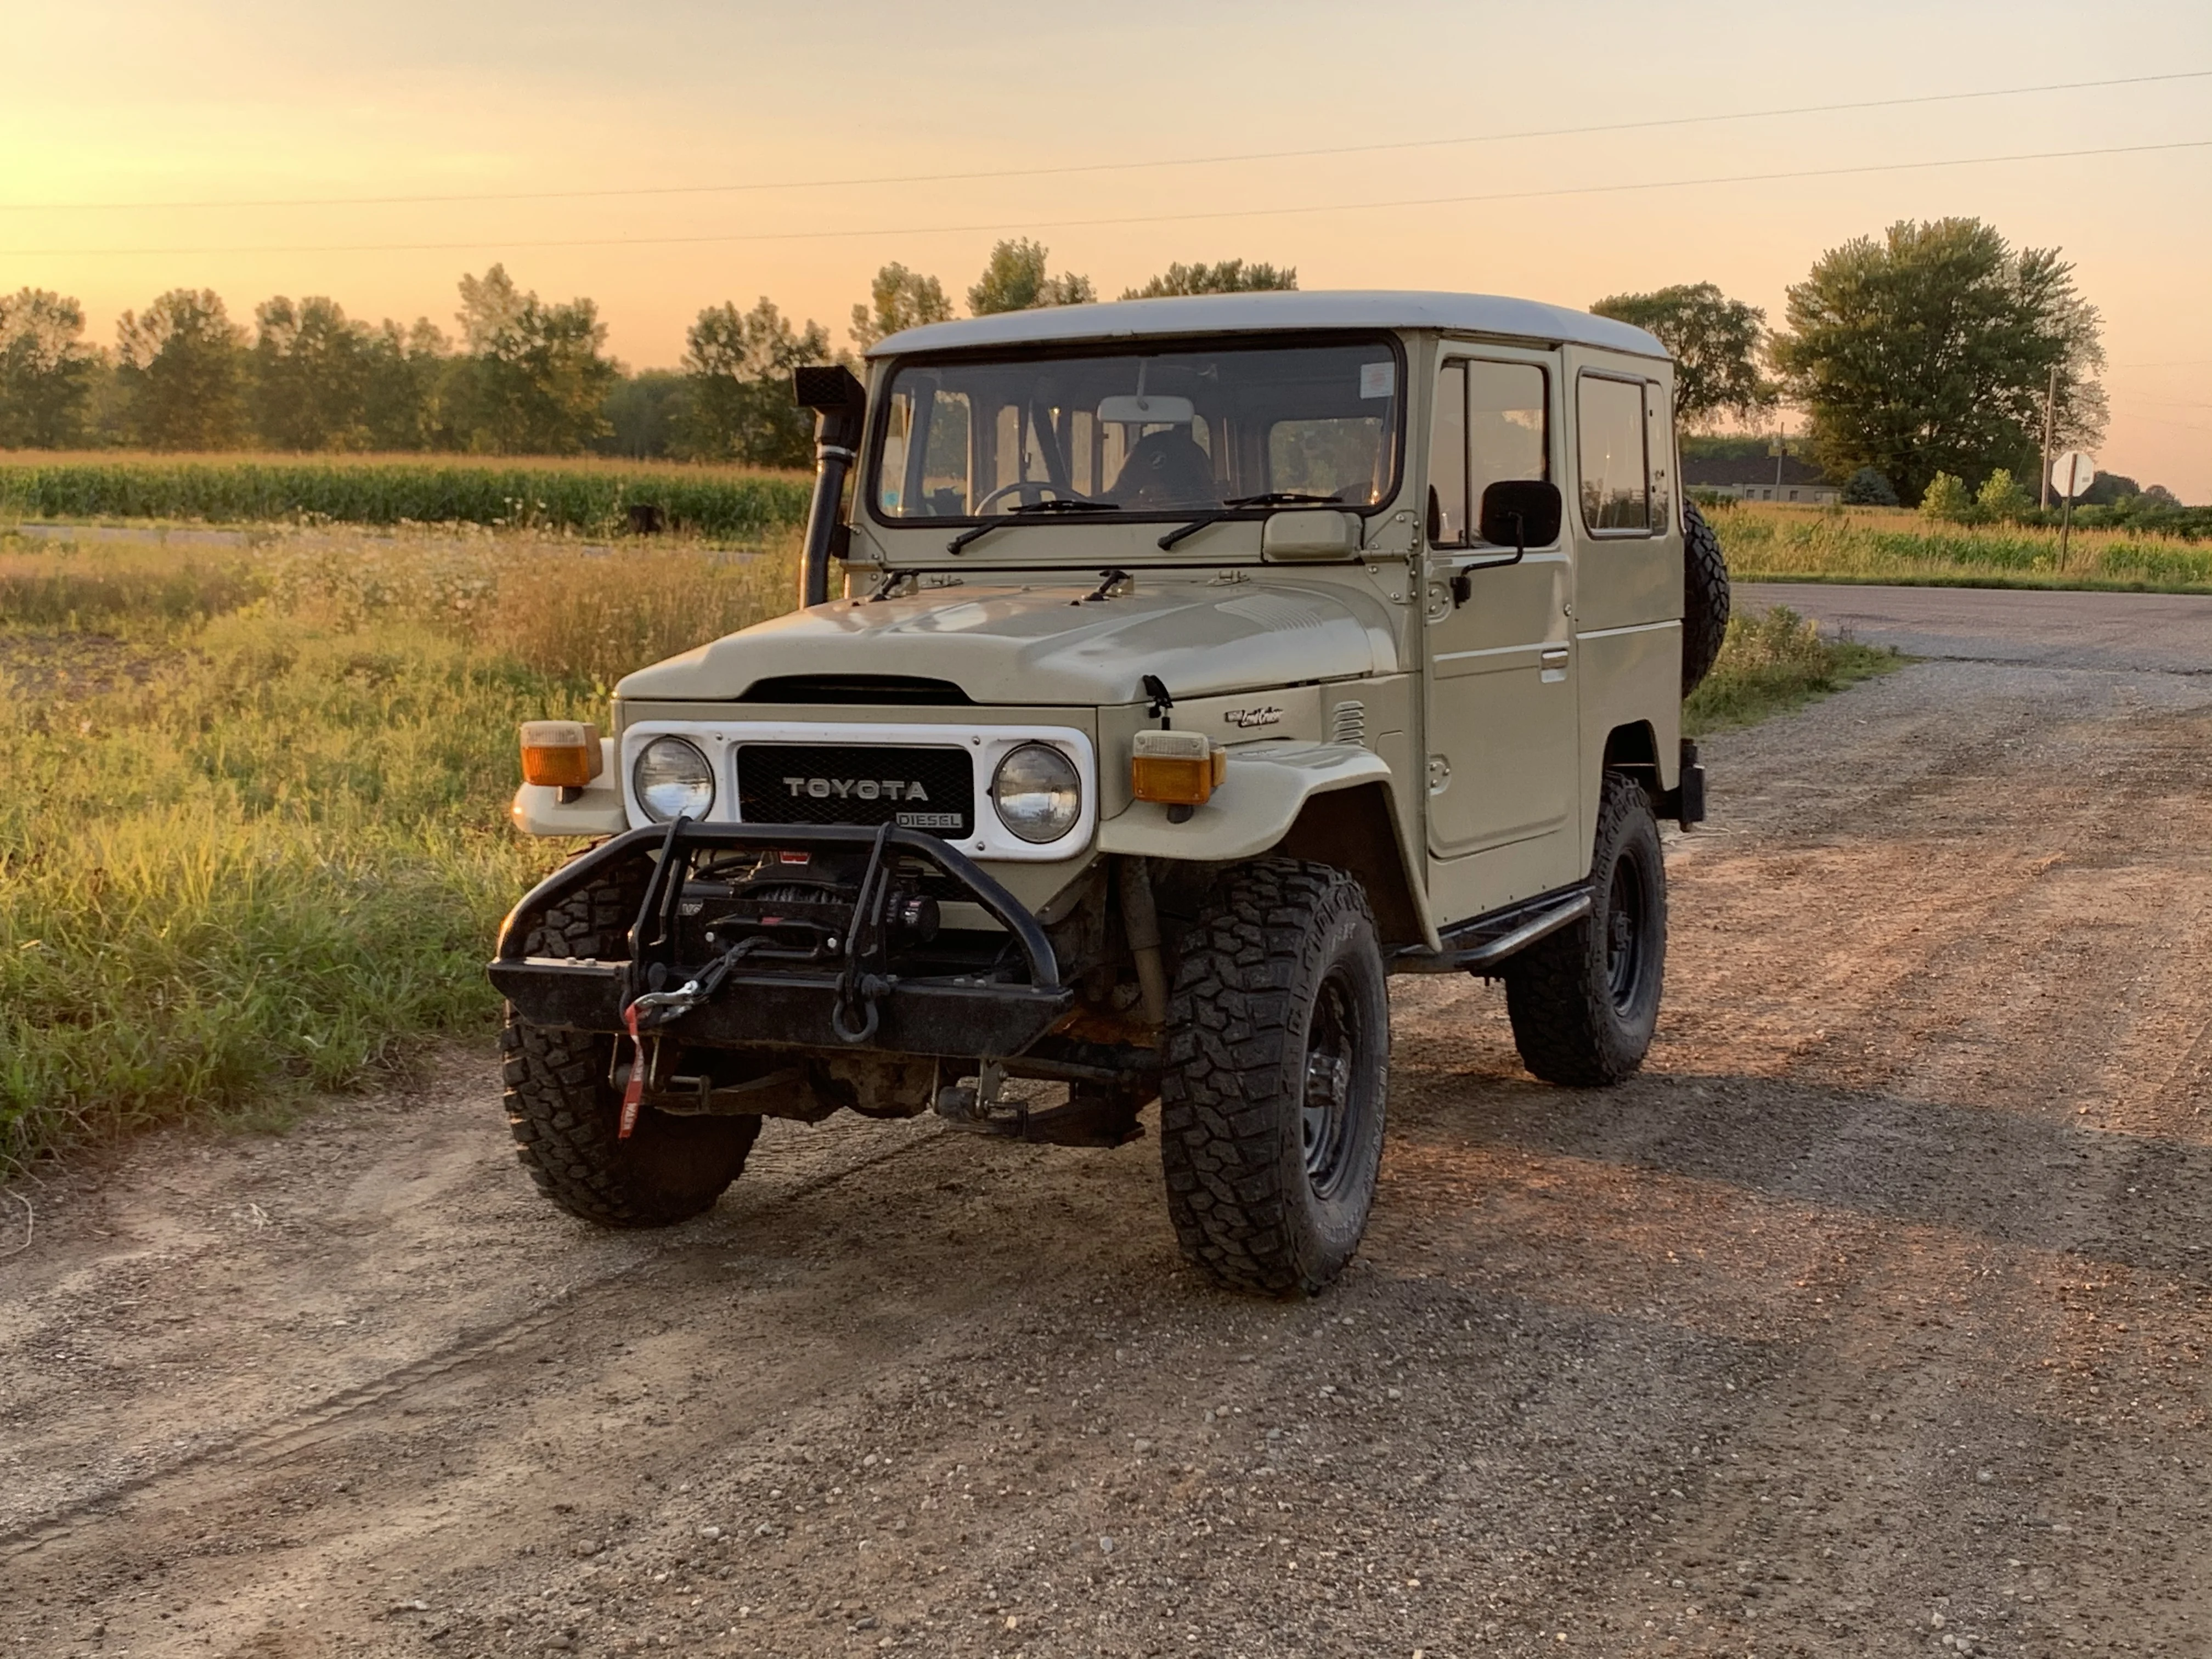
Then I began "phase 1" of a roof rack. Phase 1 was simple. I bought 6 of the rain gutter mounts from Specter Off-Road and welded together a simple square frame between them. I don't have any photos of the process, not much to see. I then took it to a weekend retreat with friends, one of whom took some NICE glamour photos of it. At least this way you can see the starter roof rack.
full

full

full

Took it to a car show on Labor Day weekend. I didn't win any awards (Because the judging categories are SUPER unbalanced) but far more importantly, the truck was some much needed shade for a puppy, so who who really won?
full


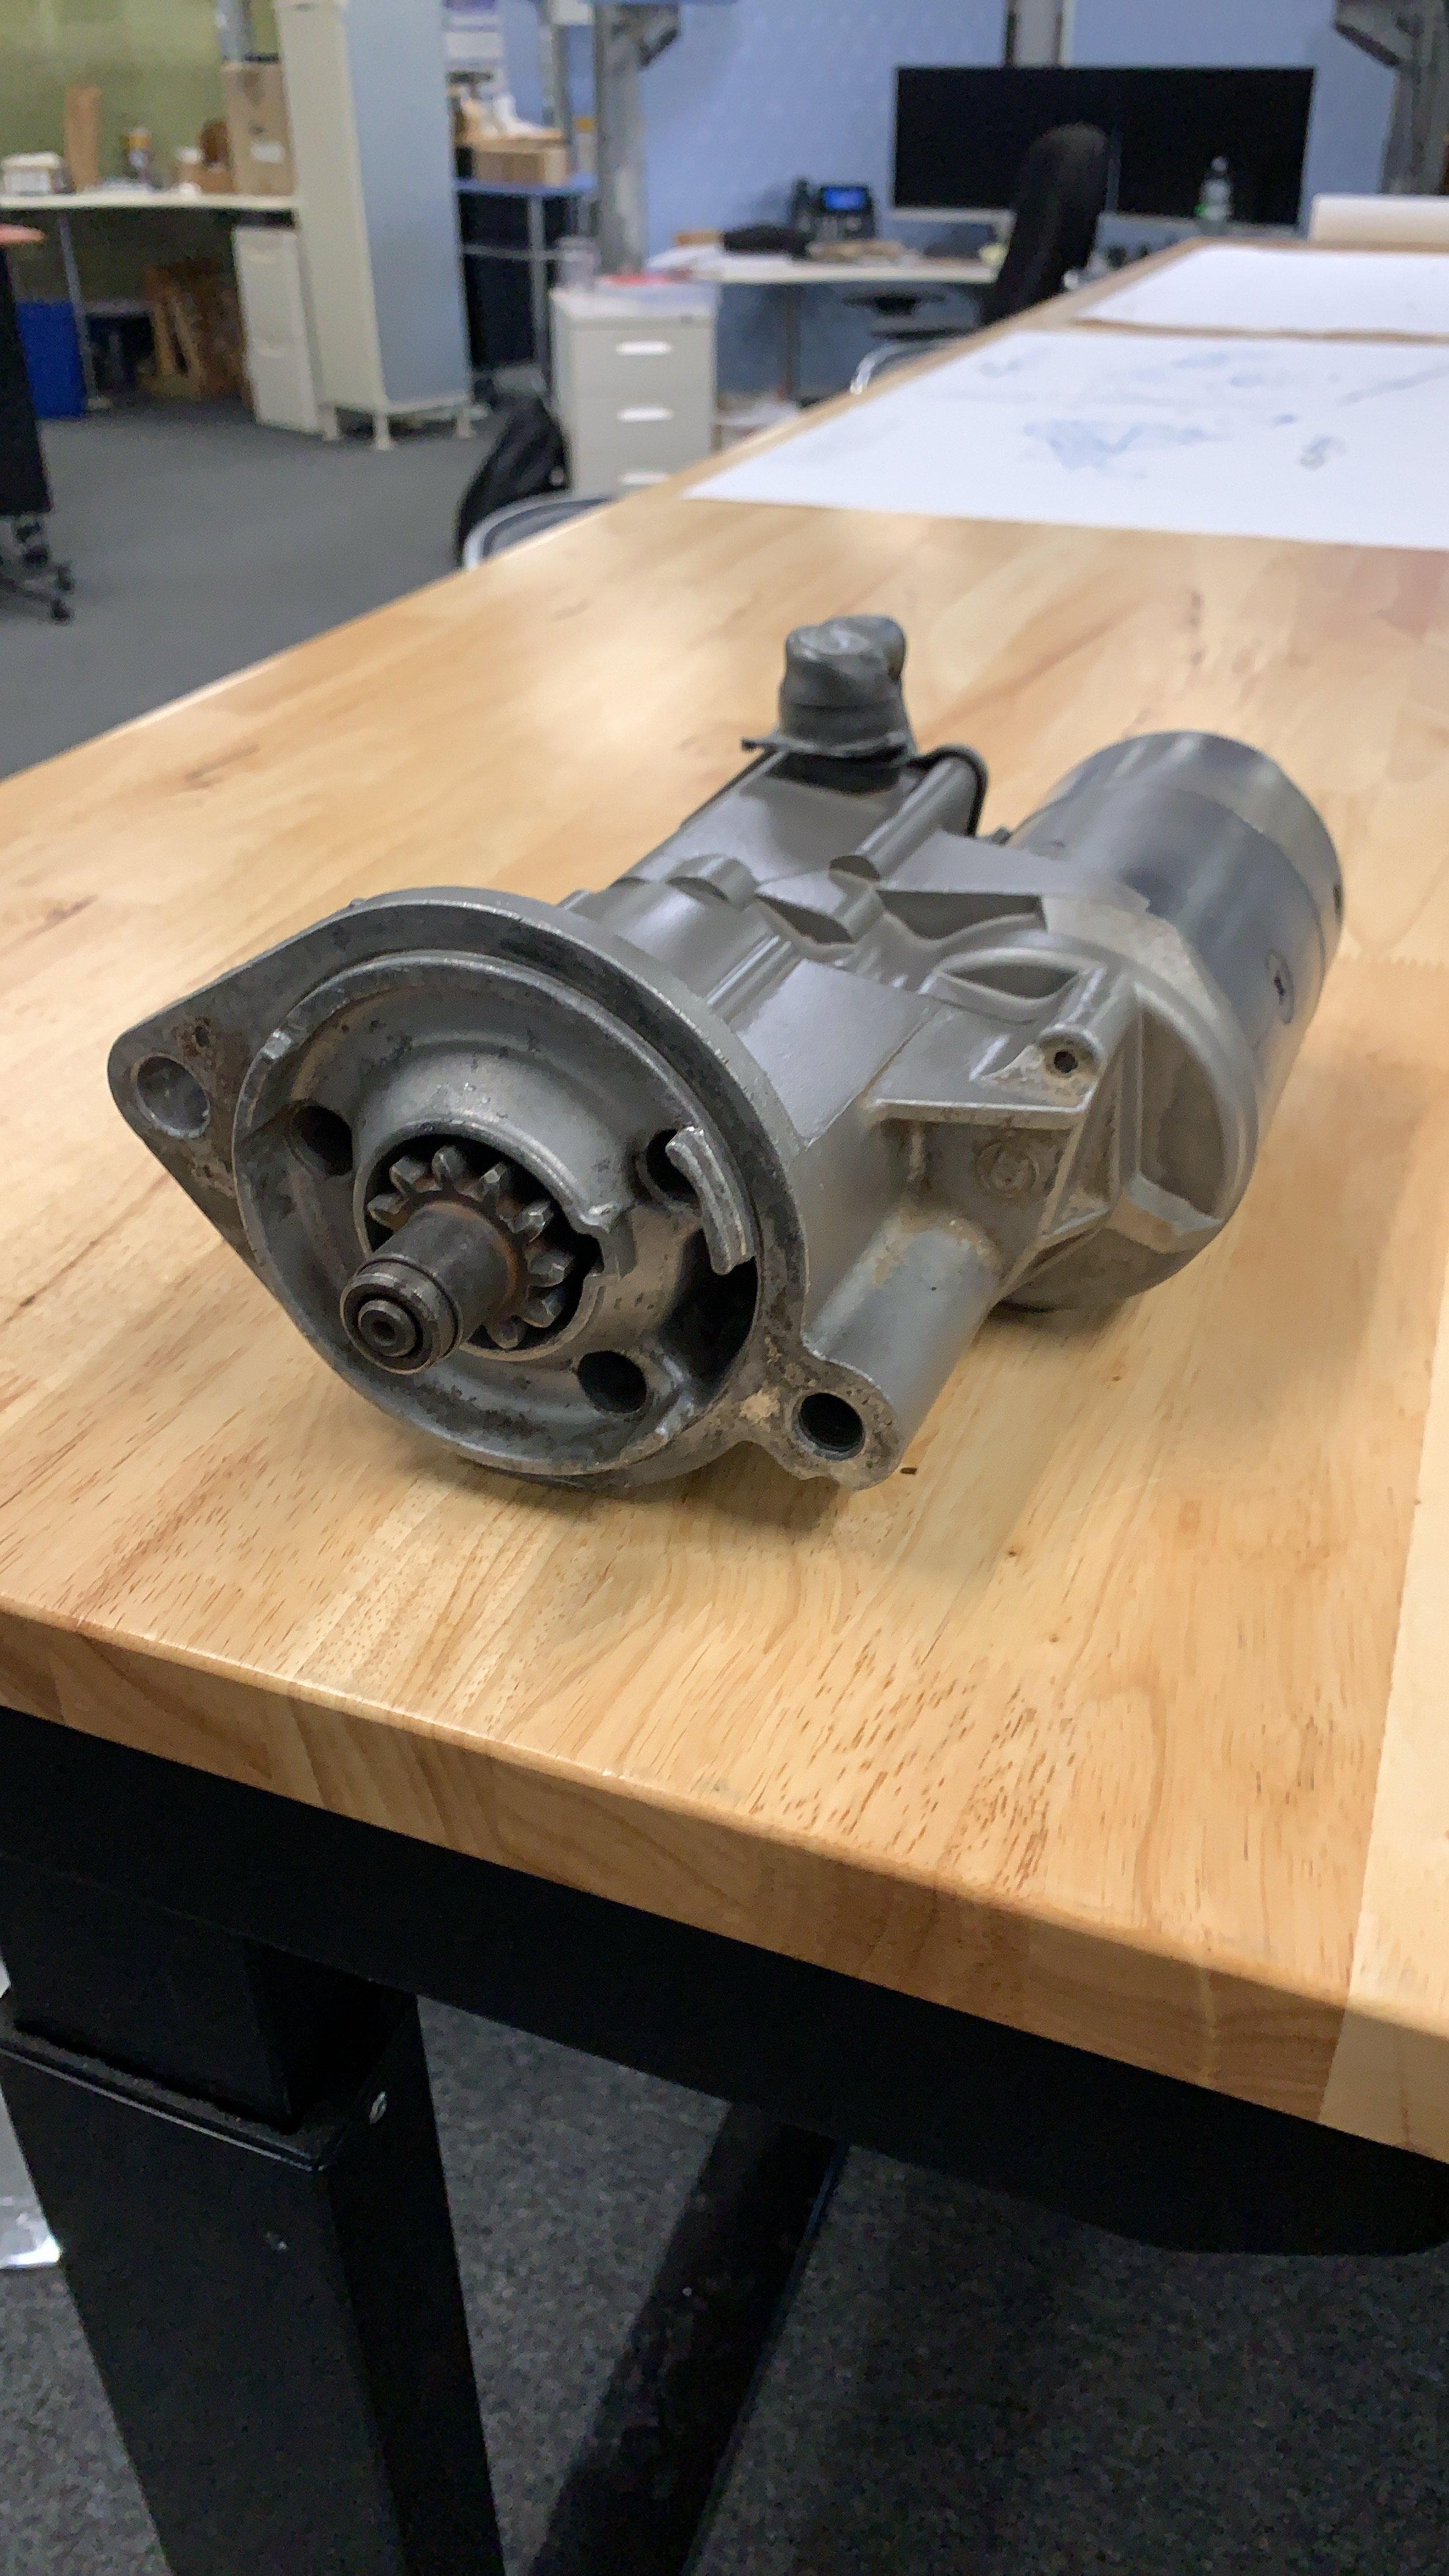
In February a bunch of friends made plans to meet up at Rouch Off-Road Park for one of their birthdays. Did you know untreated "summer" diesel gels up at 16 degrees Fahrenheit? Because it was 15 degrees overnight.
full

That killed the old off-the-shelf diesel pump I was using to supplement my weak injection pump. Went back to O'Reilly's and got another one, but not in time to bring Kiwi to the event.
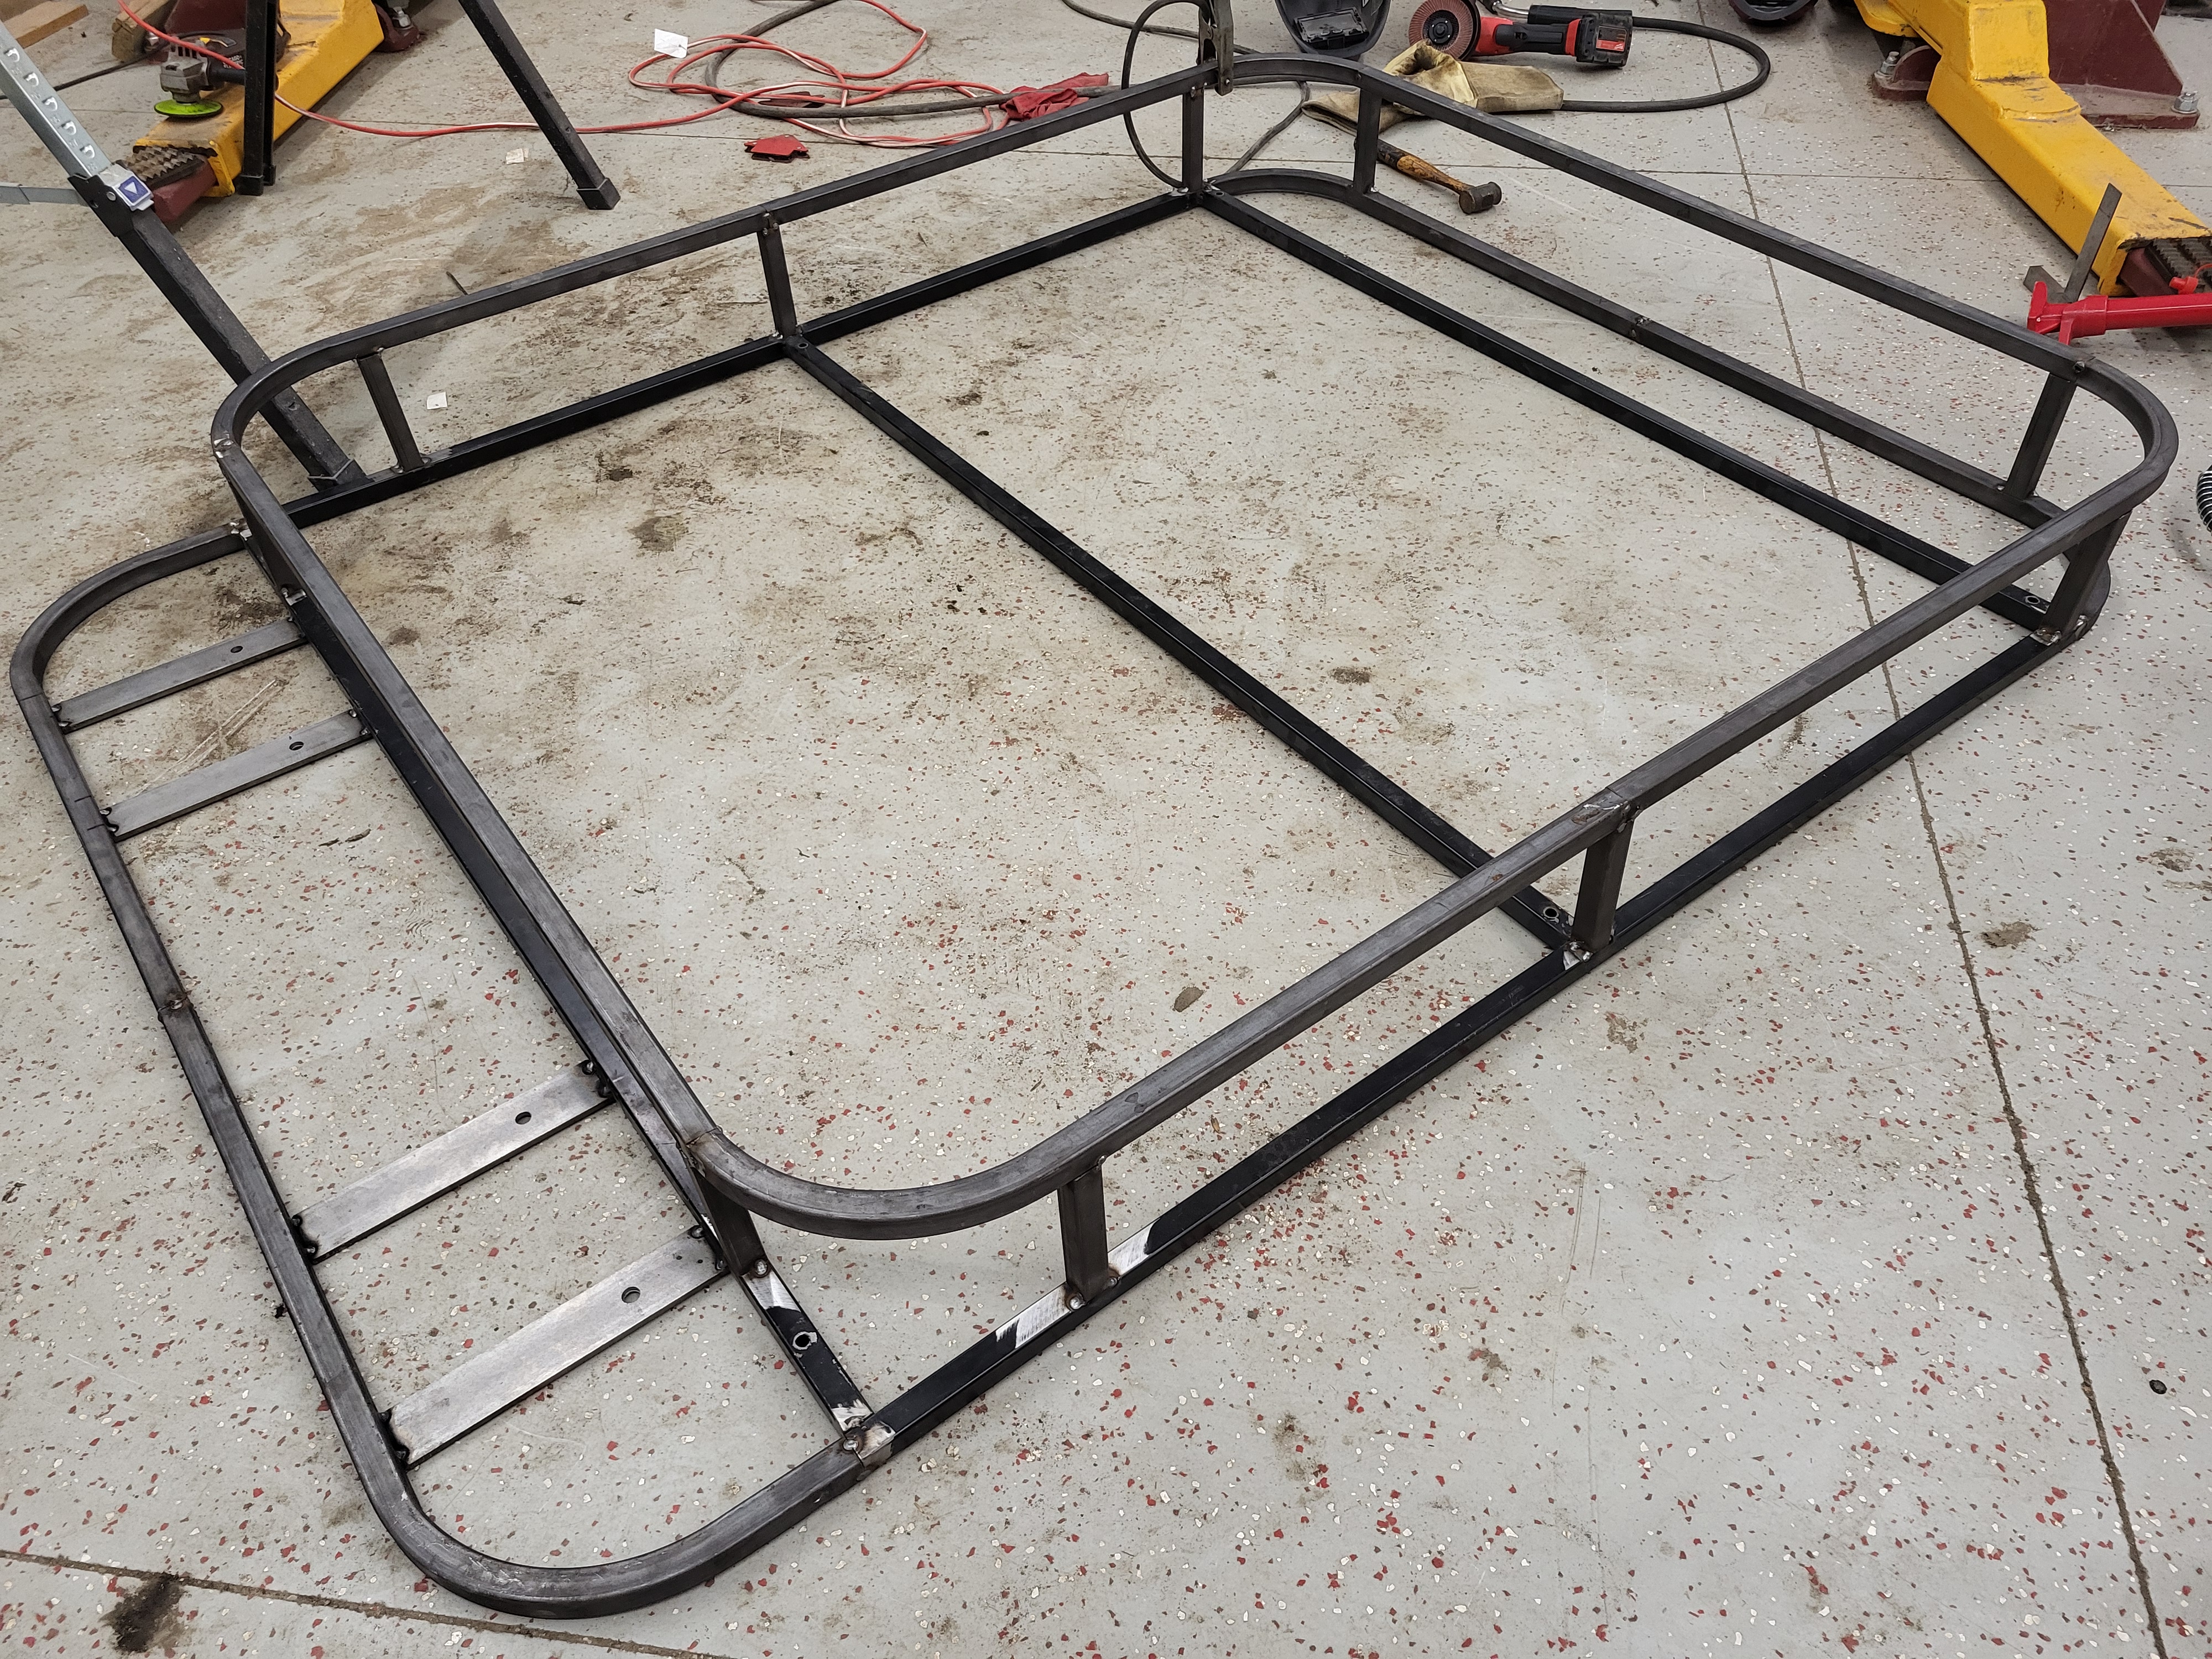
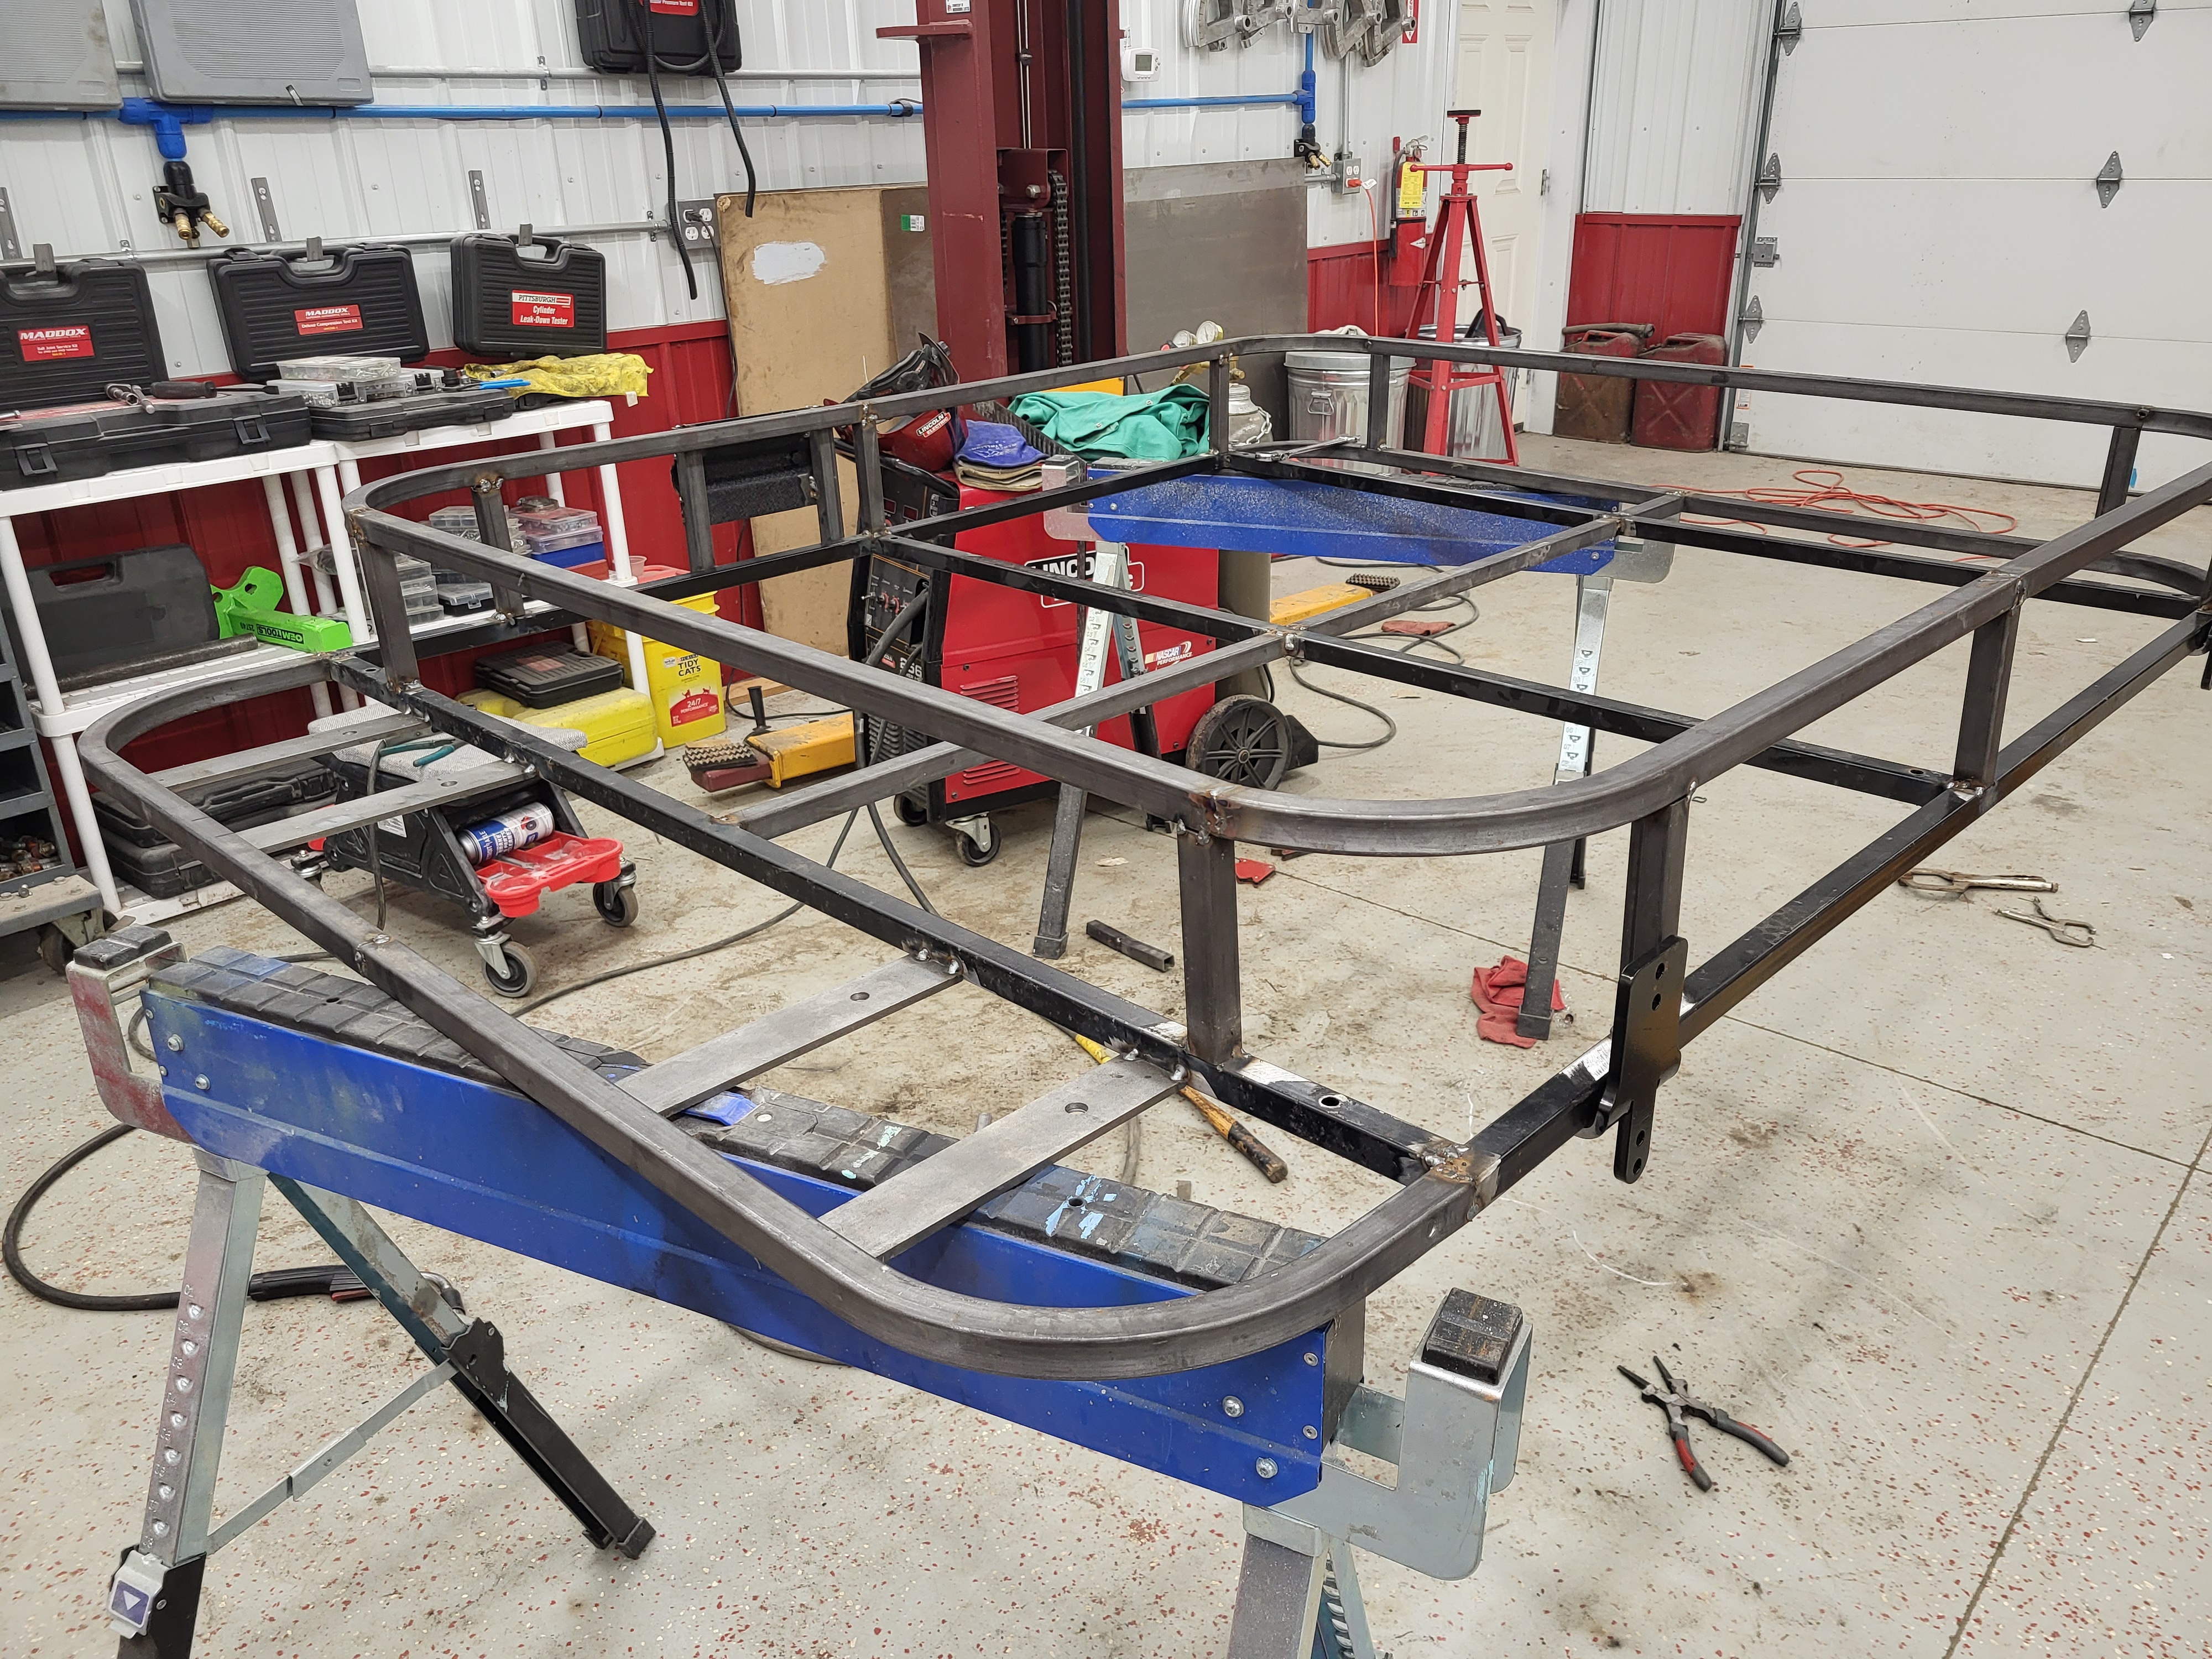
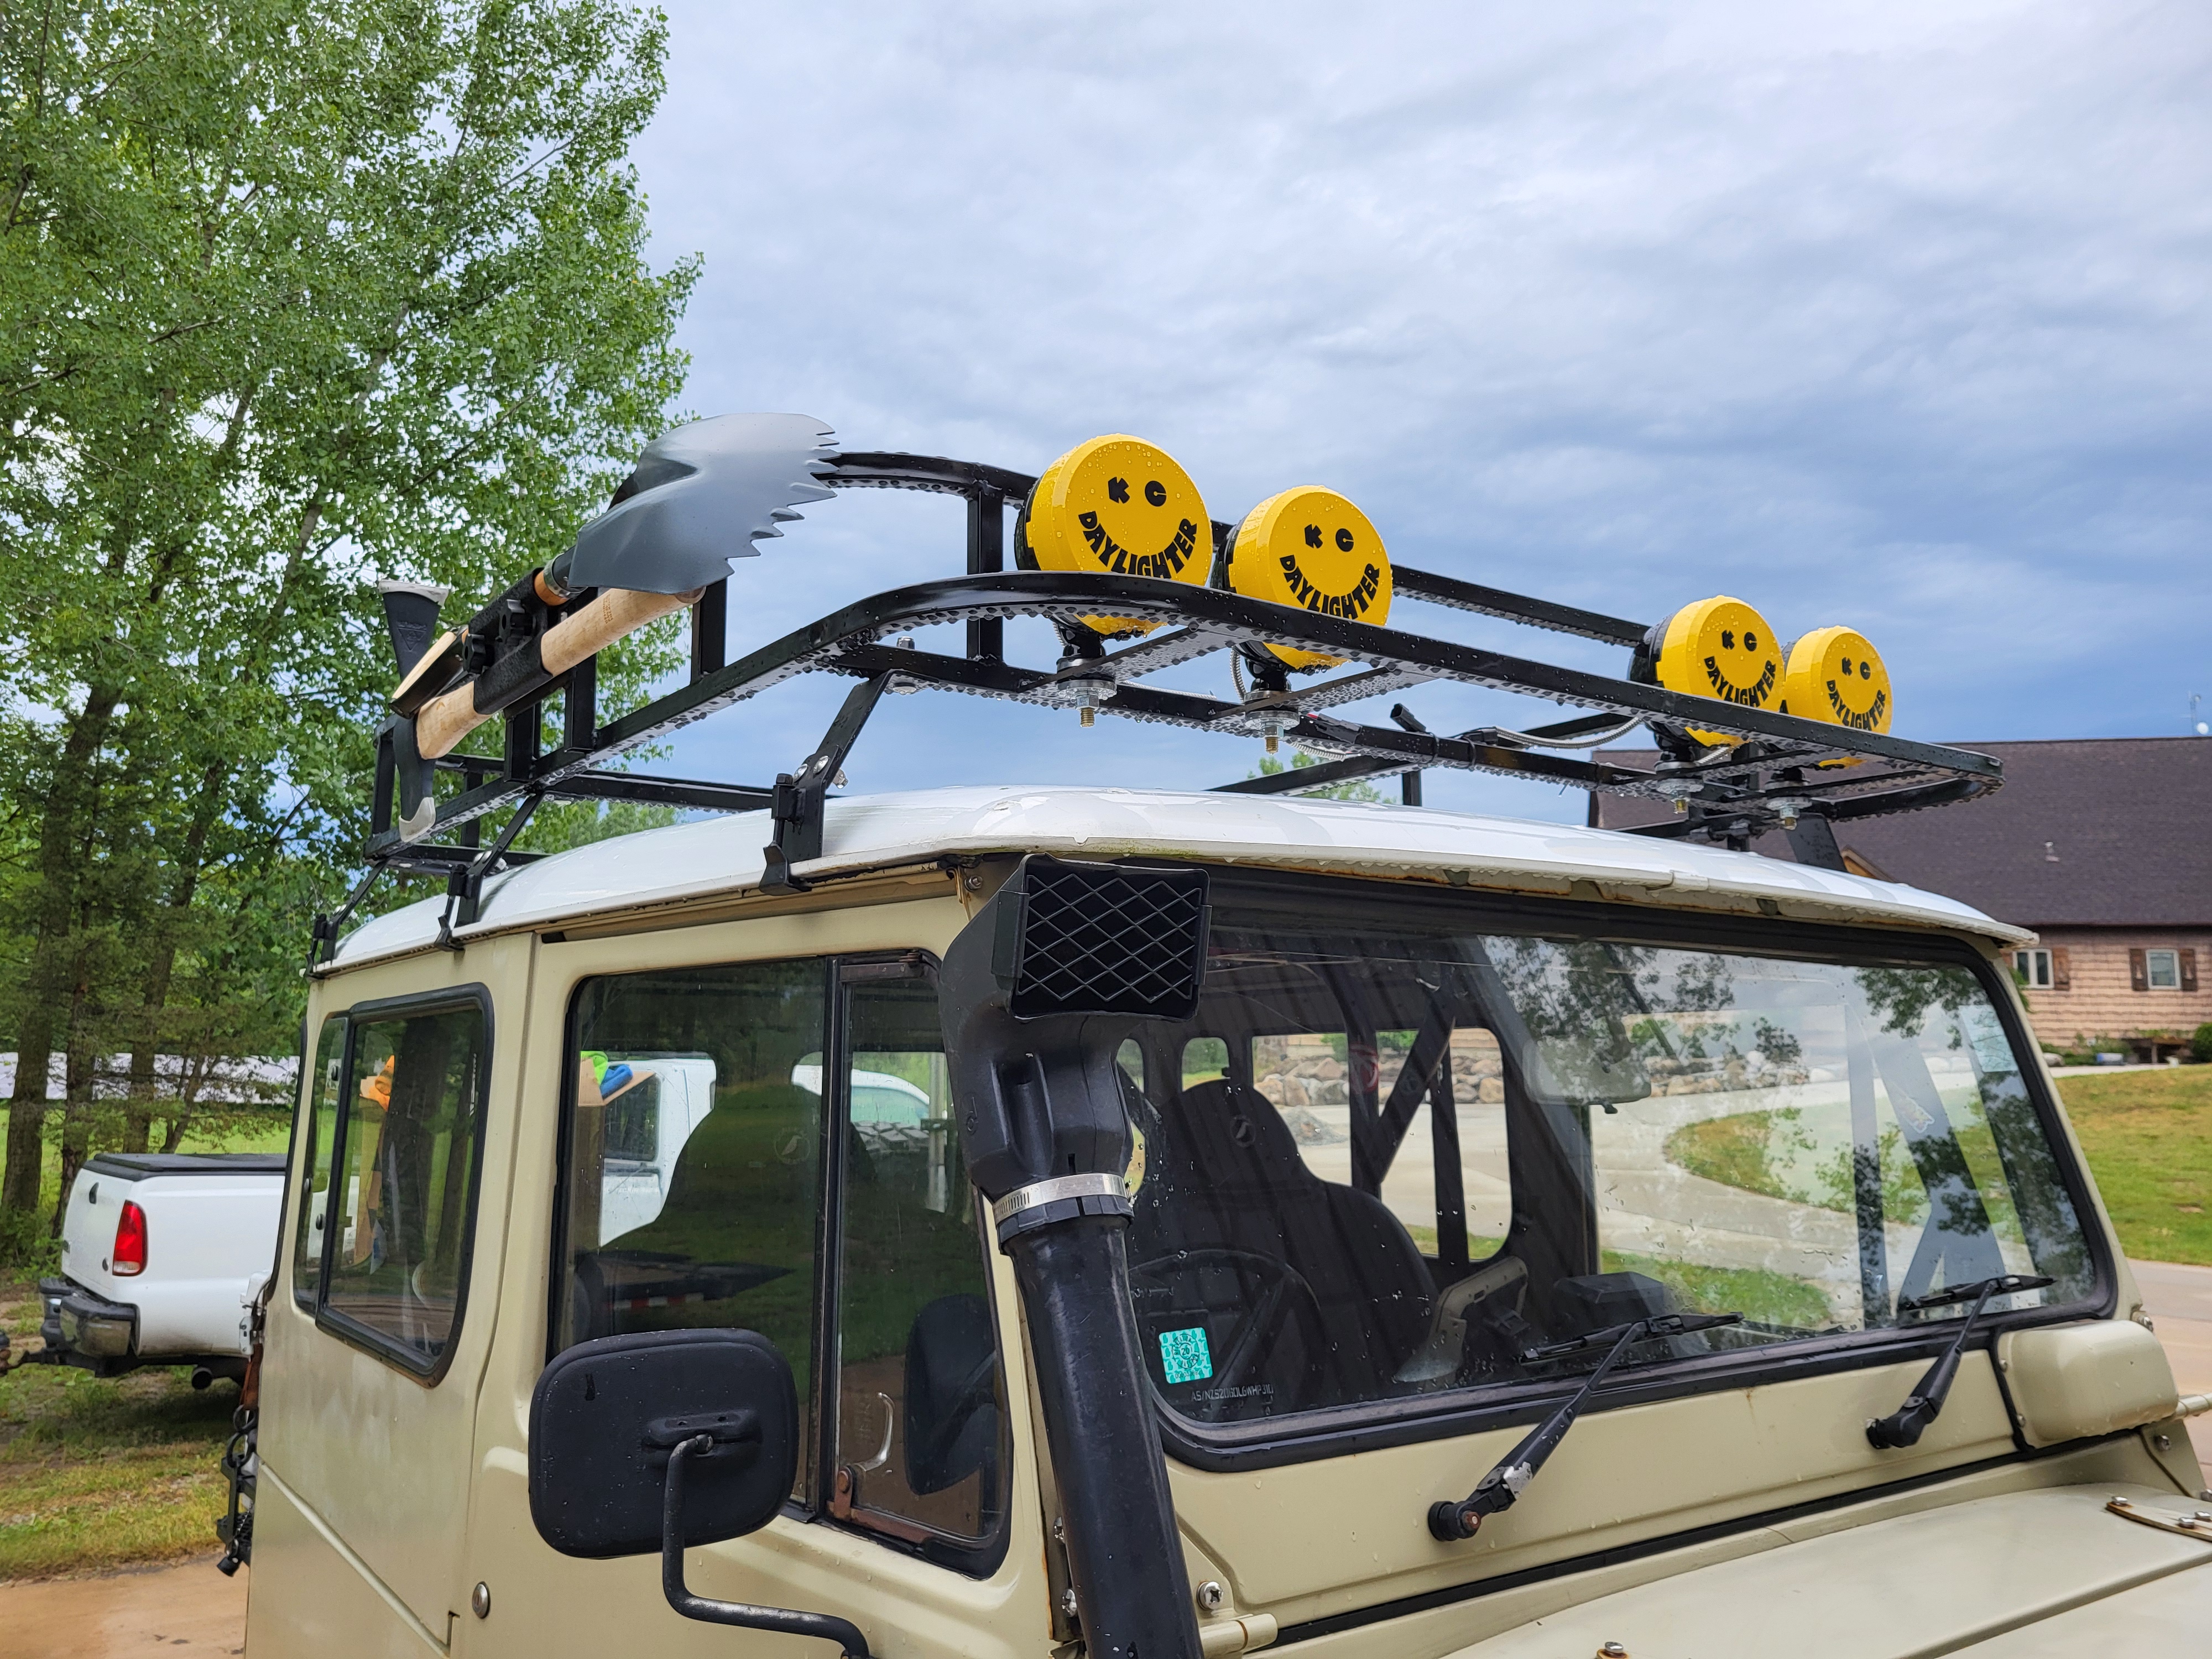
And then in May-ish I started on phase 2 of the roof rack. Grabbed a square tube die for the bender and got to bending, cutting, fitting, and welding
full

full

I added on a couple of little brackets, two to hold the awning, and one for the axe and shovel
full

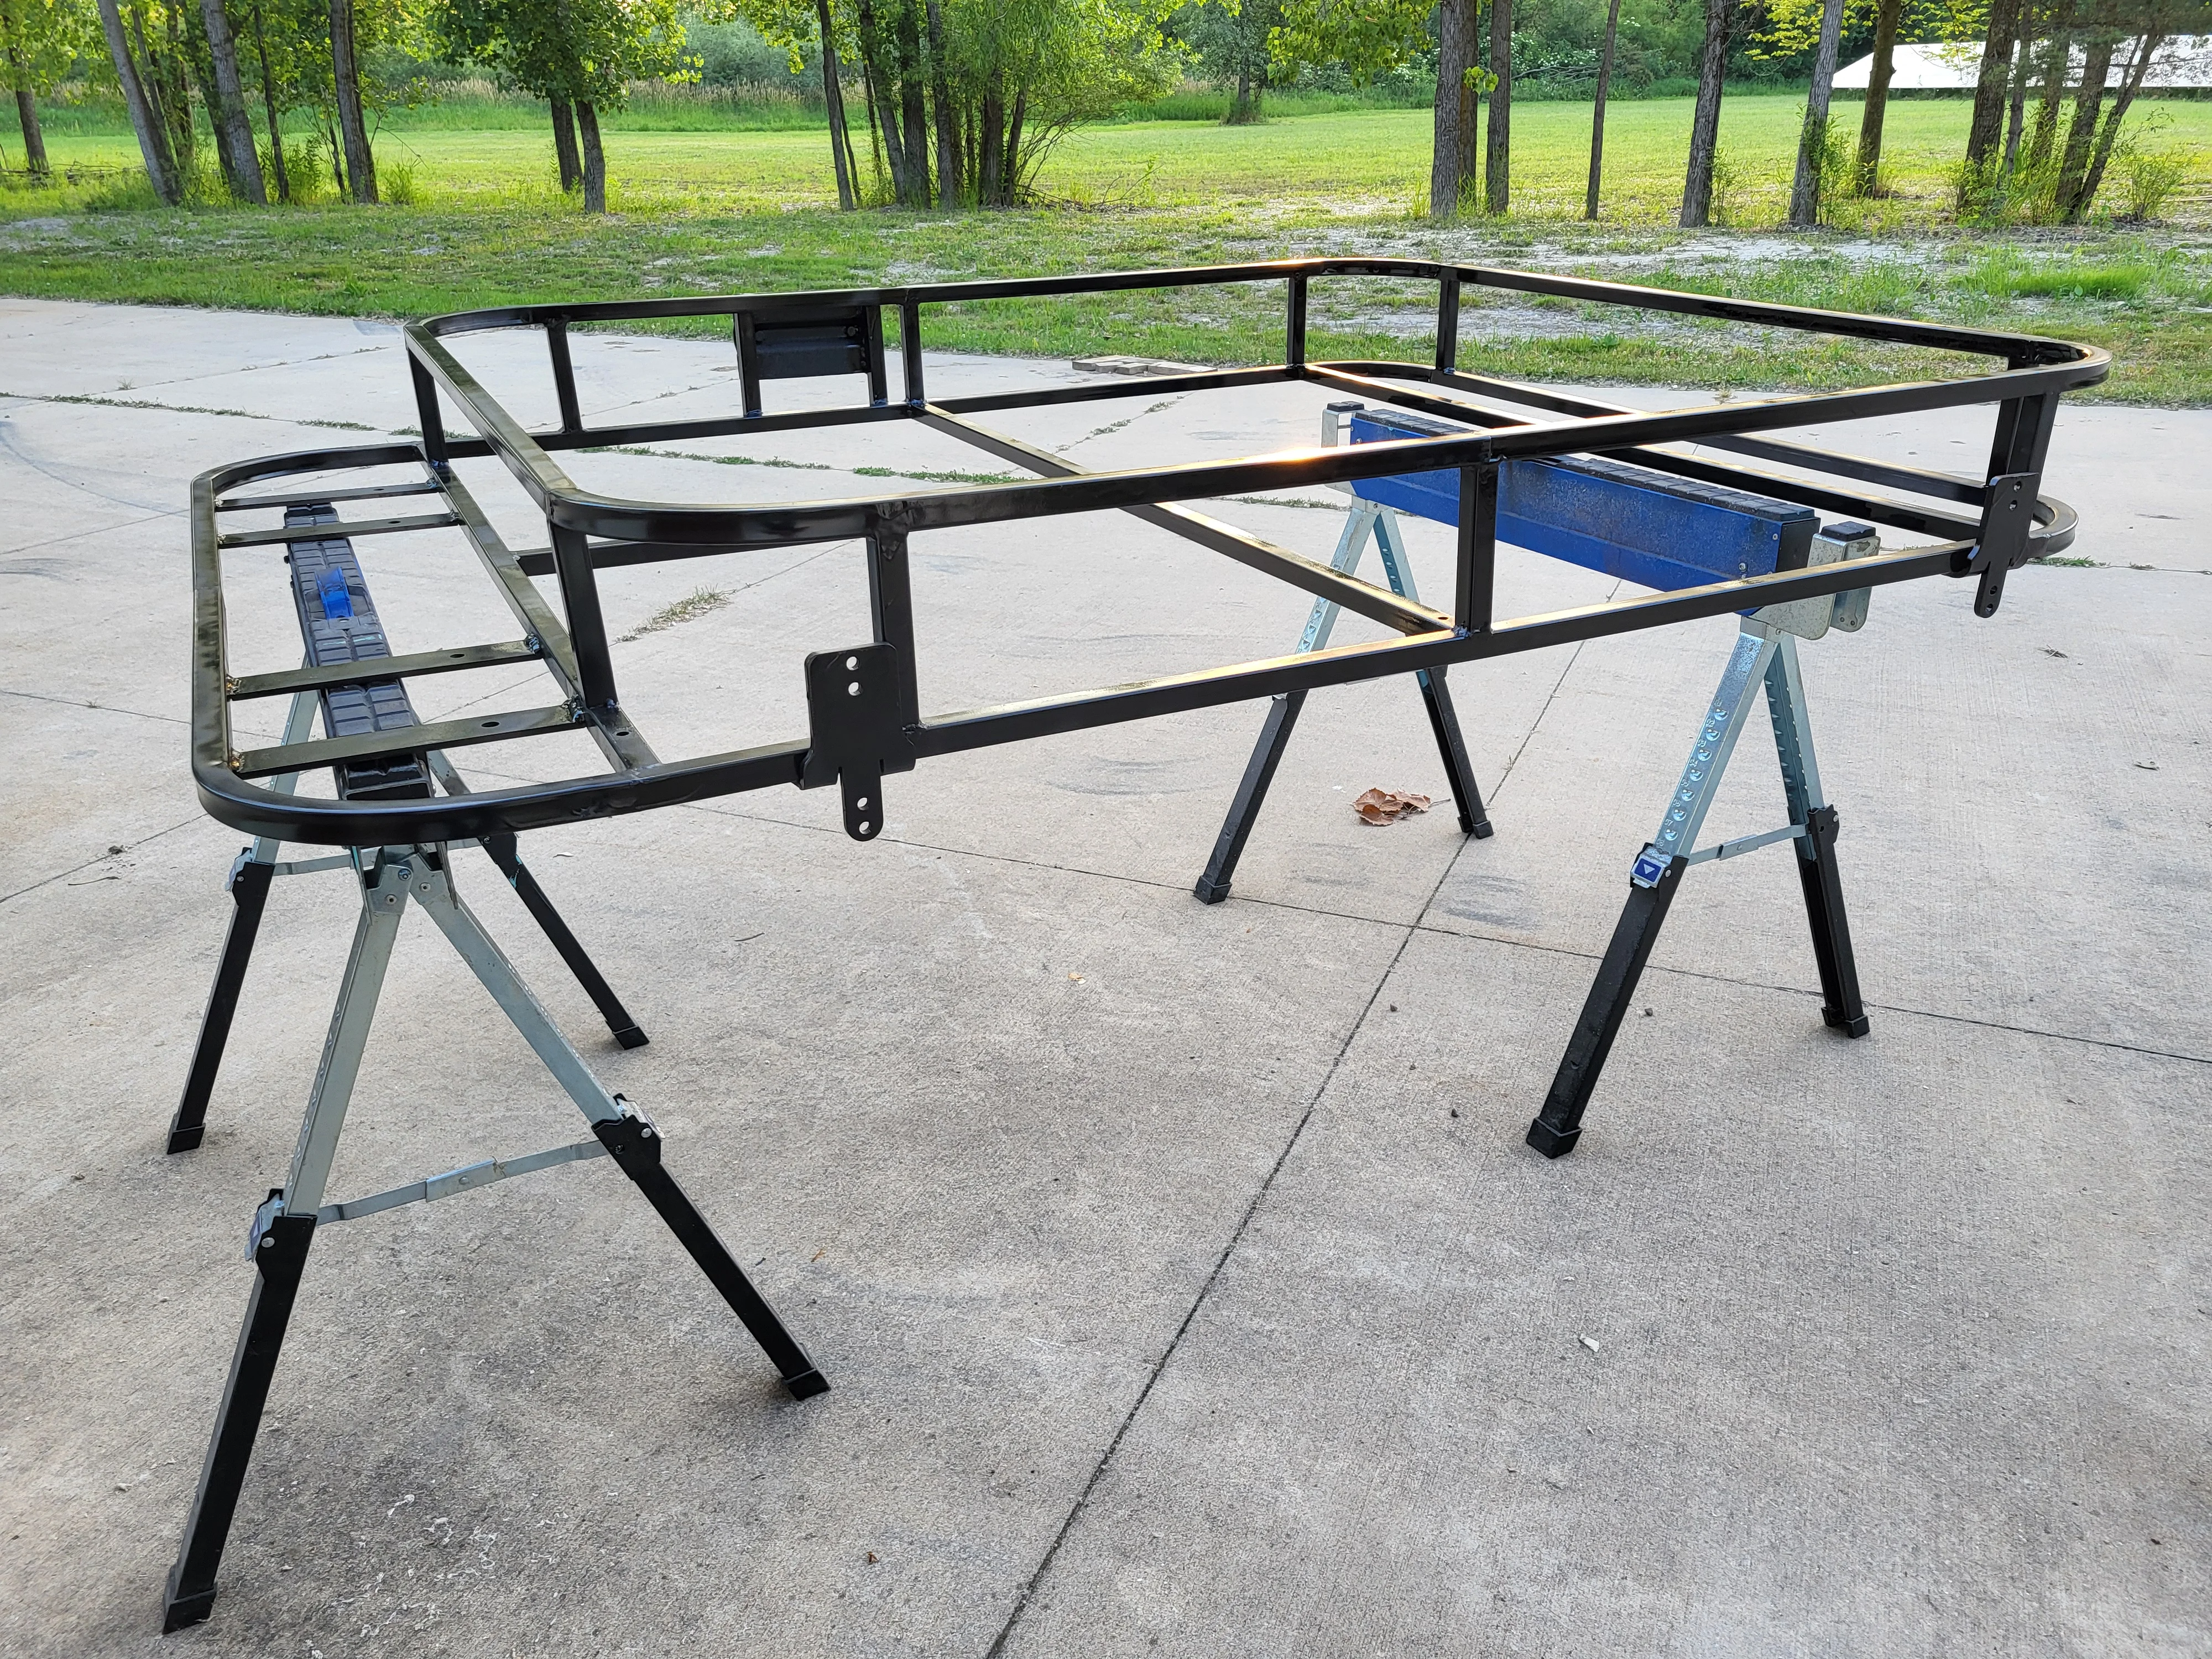
Then just a quick rattle-can black paintjob for now. Phase 3 is coming sooner than 2 took, I'll powdercoat it then.
full

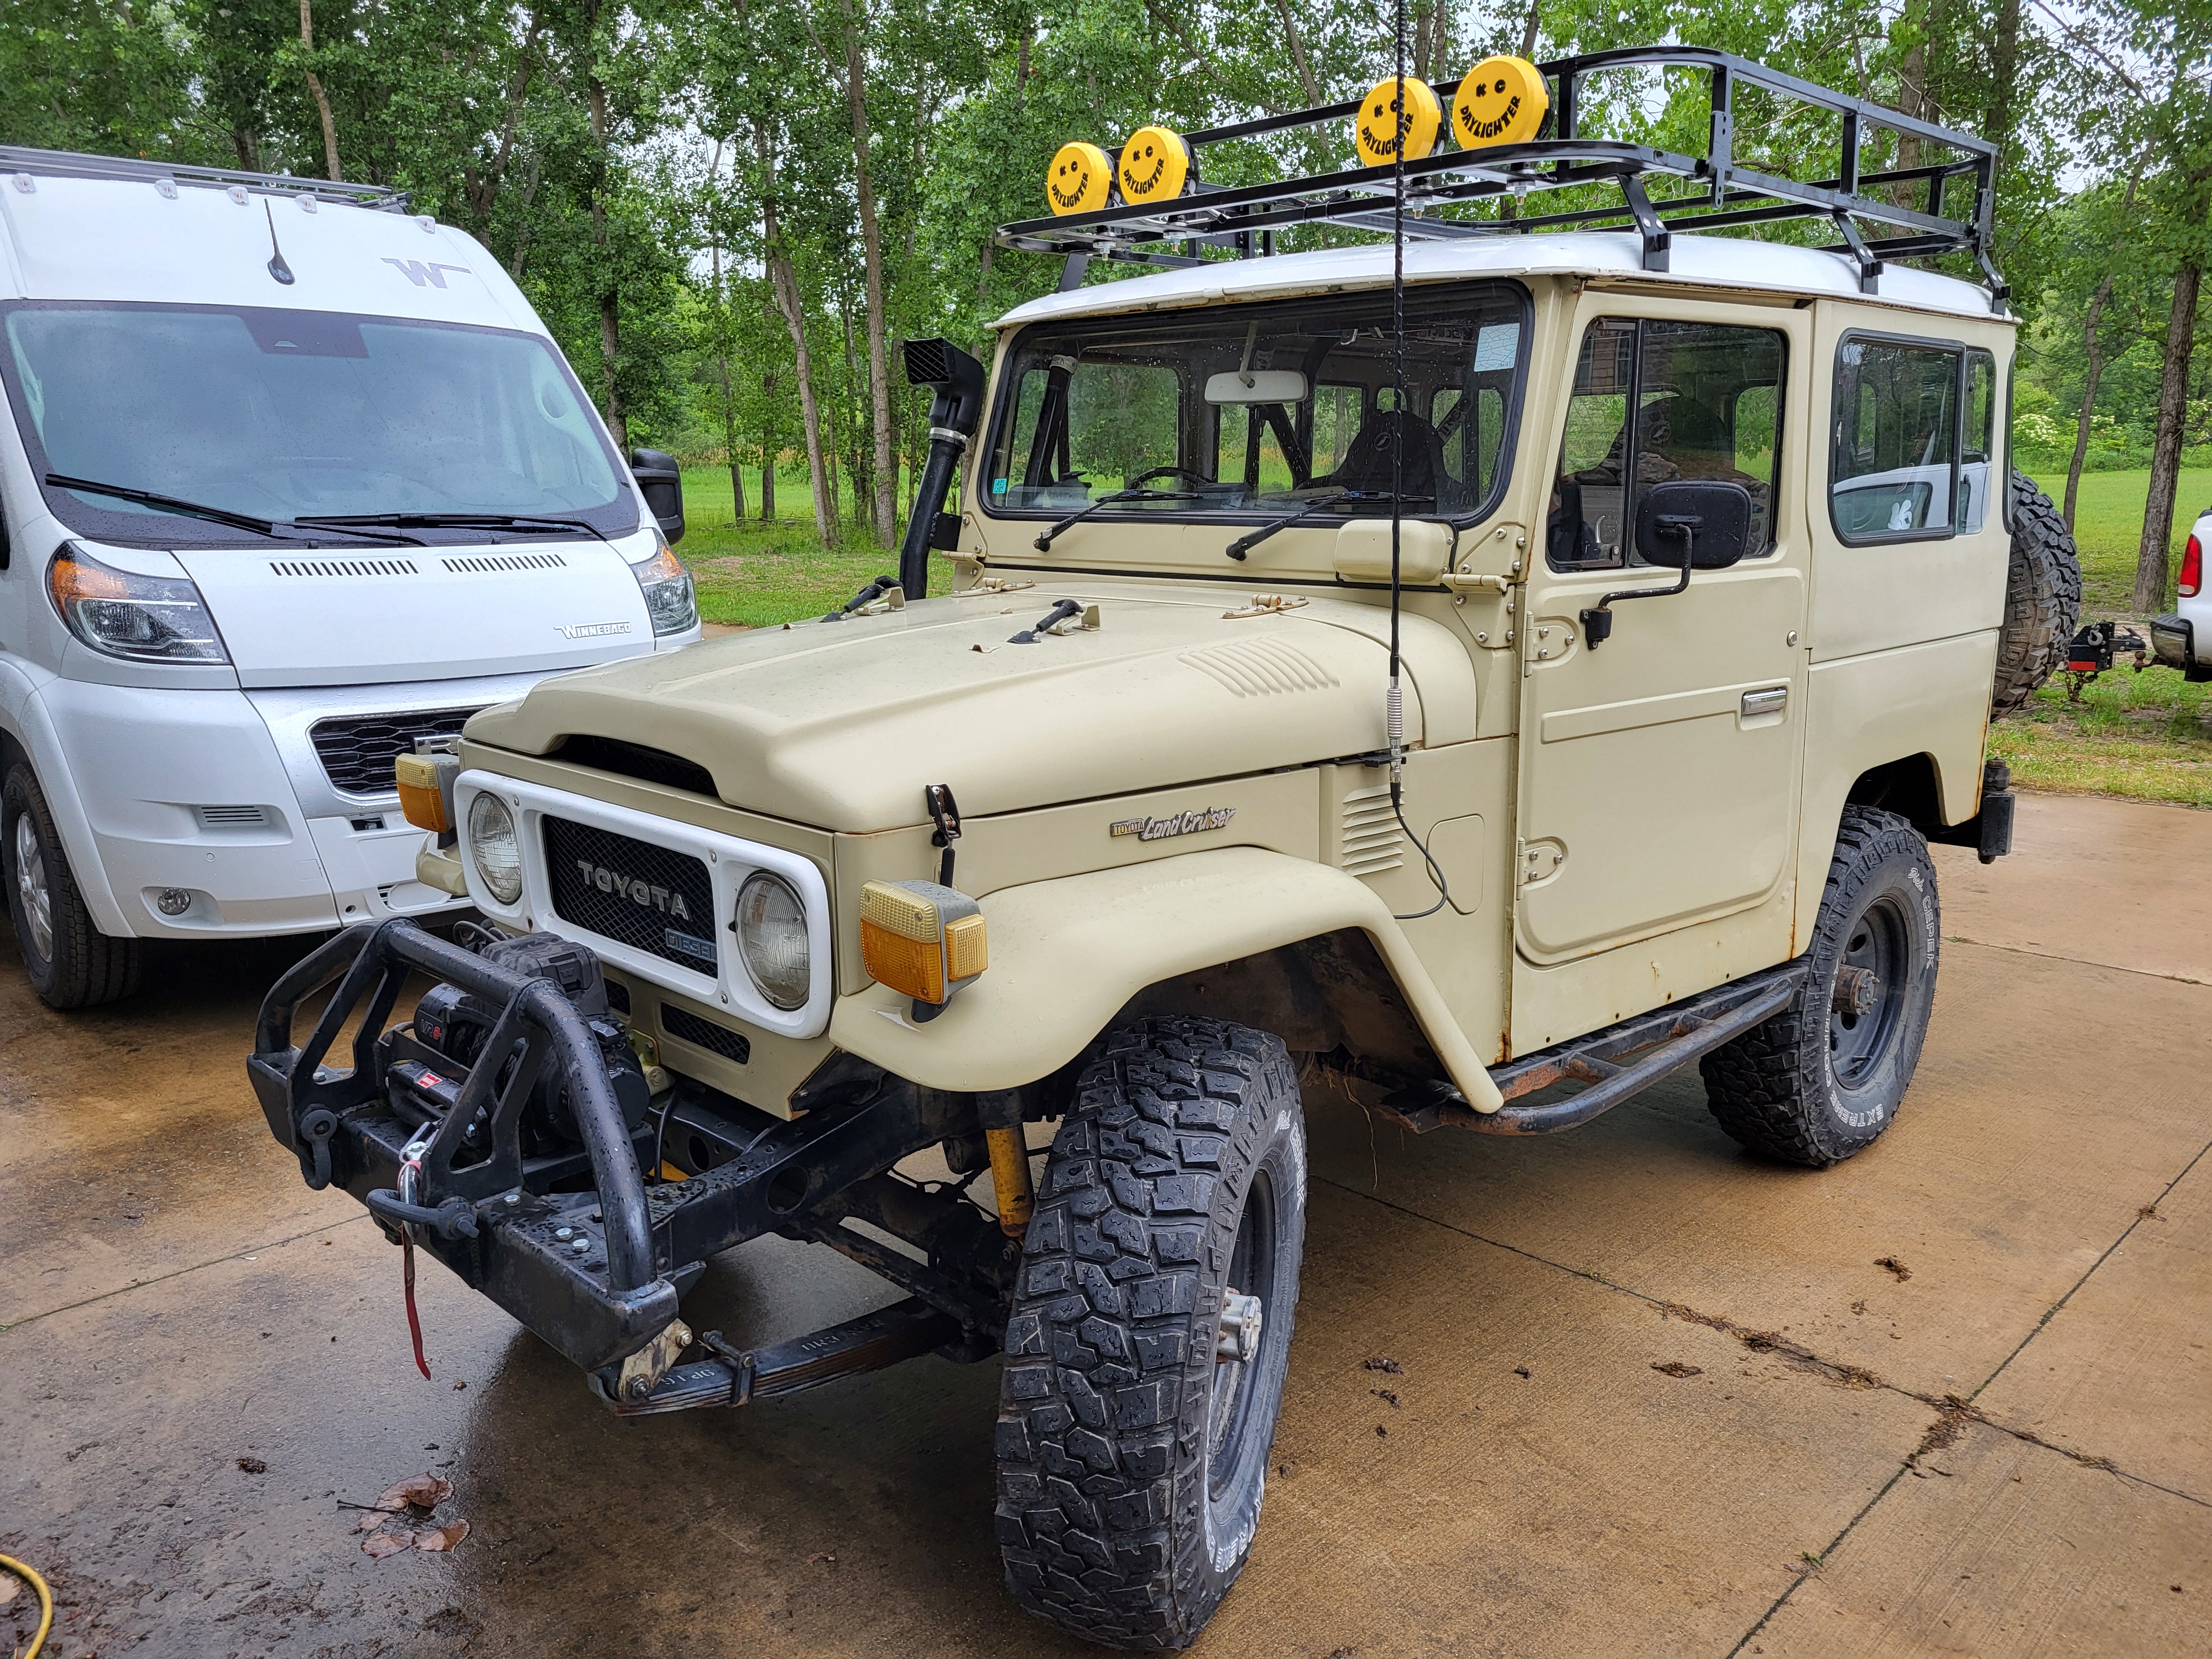
Here's the test-fit with the KC HiLiTES Daylighters:
full

Those lights are so happy. I love them.
full

Then I did something a little strange with Kiwi.
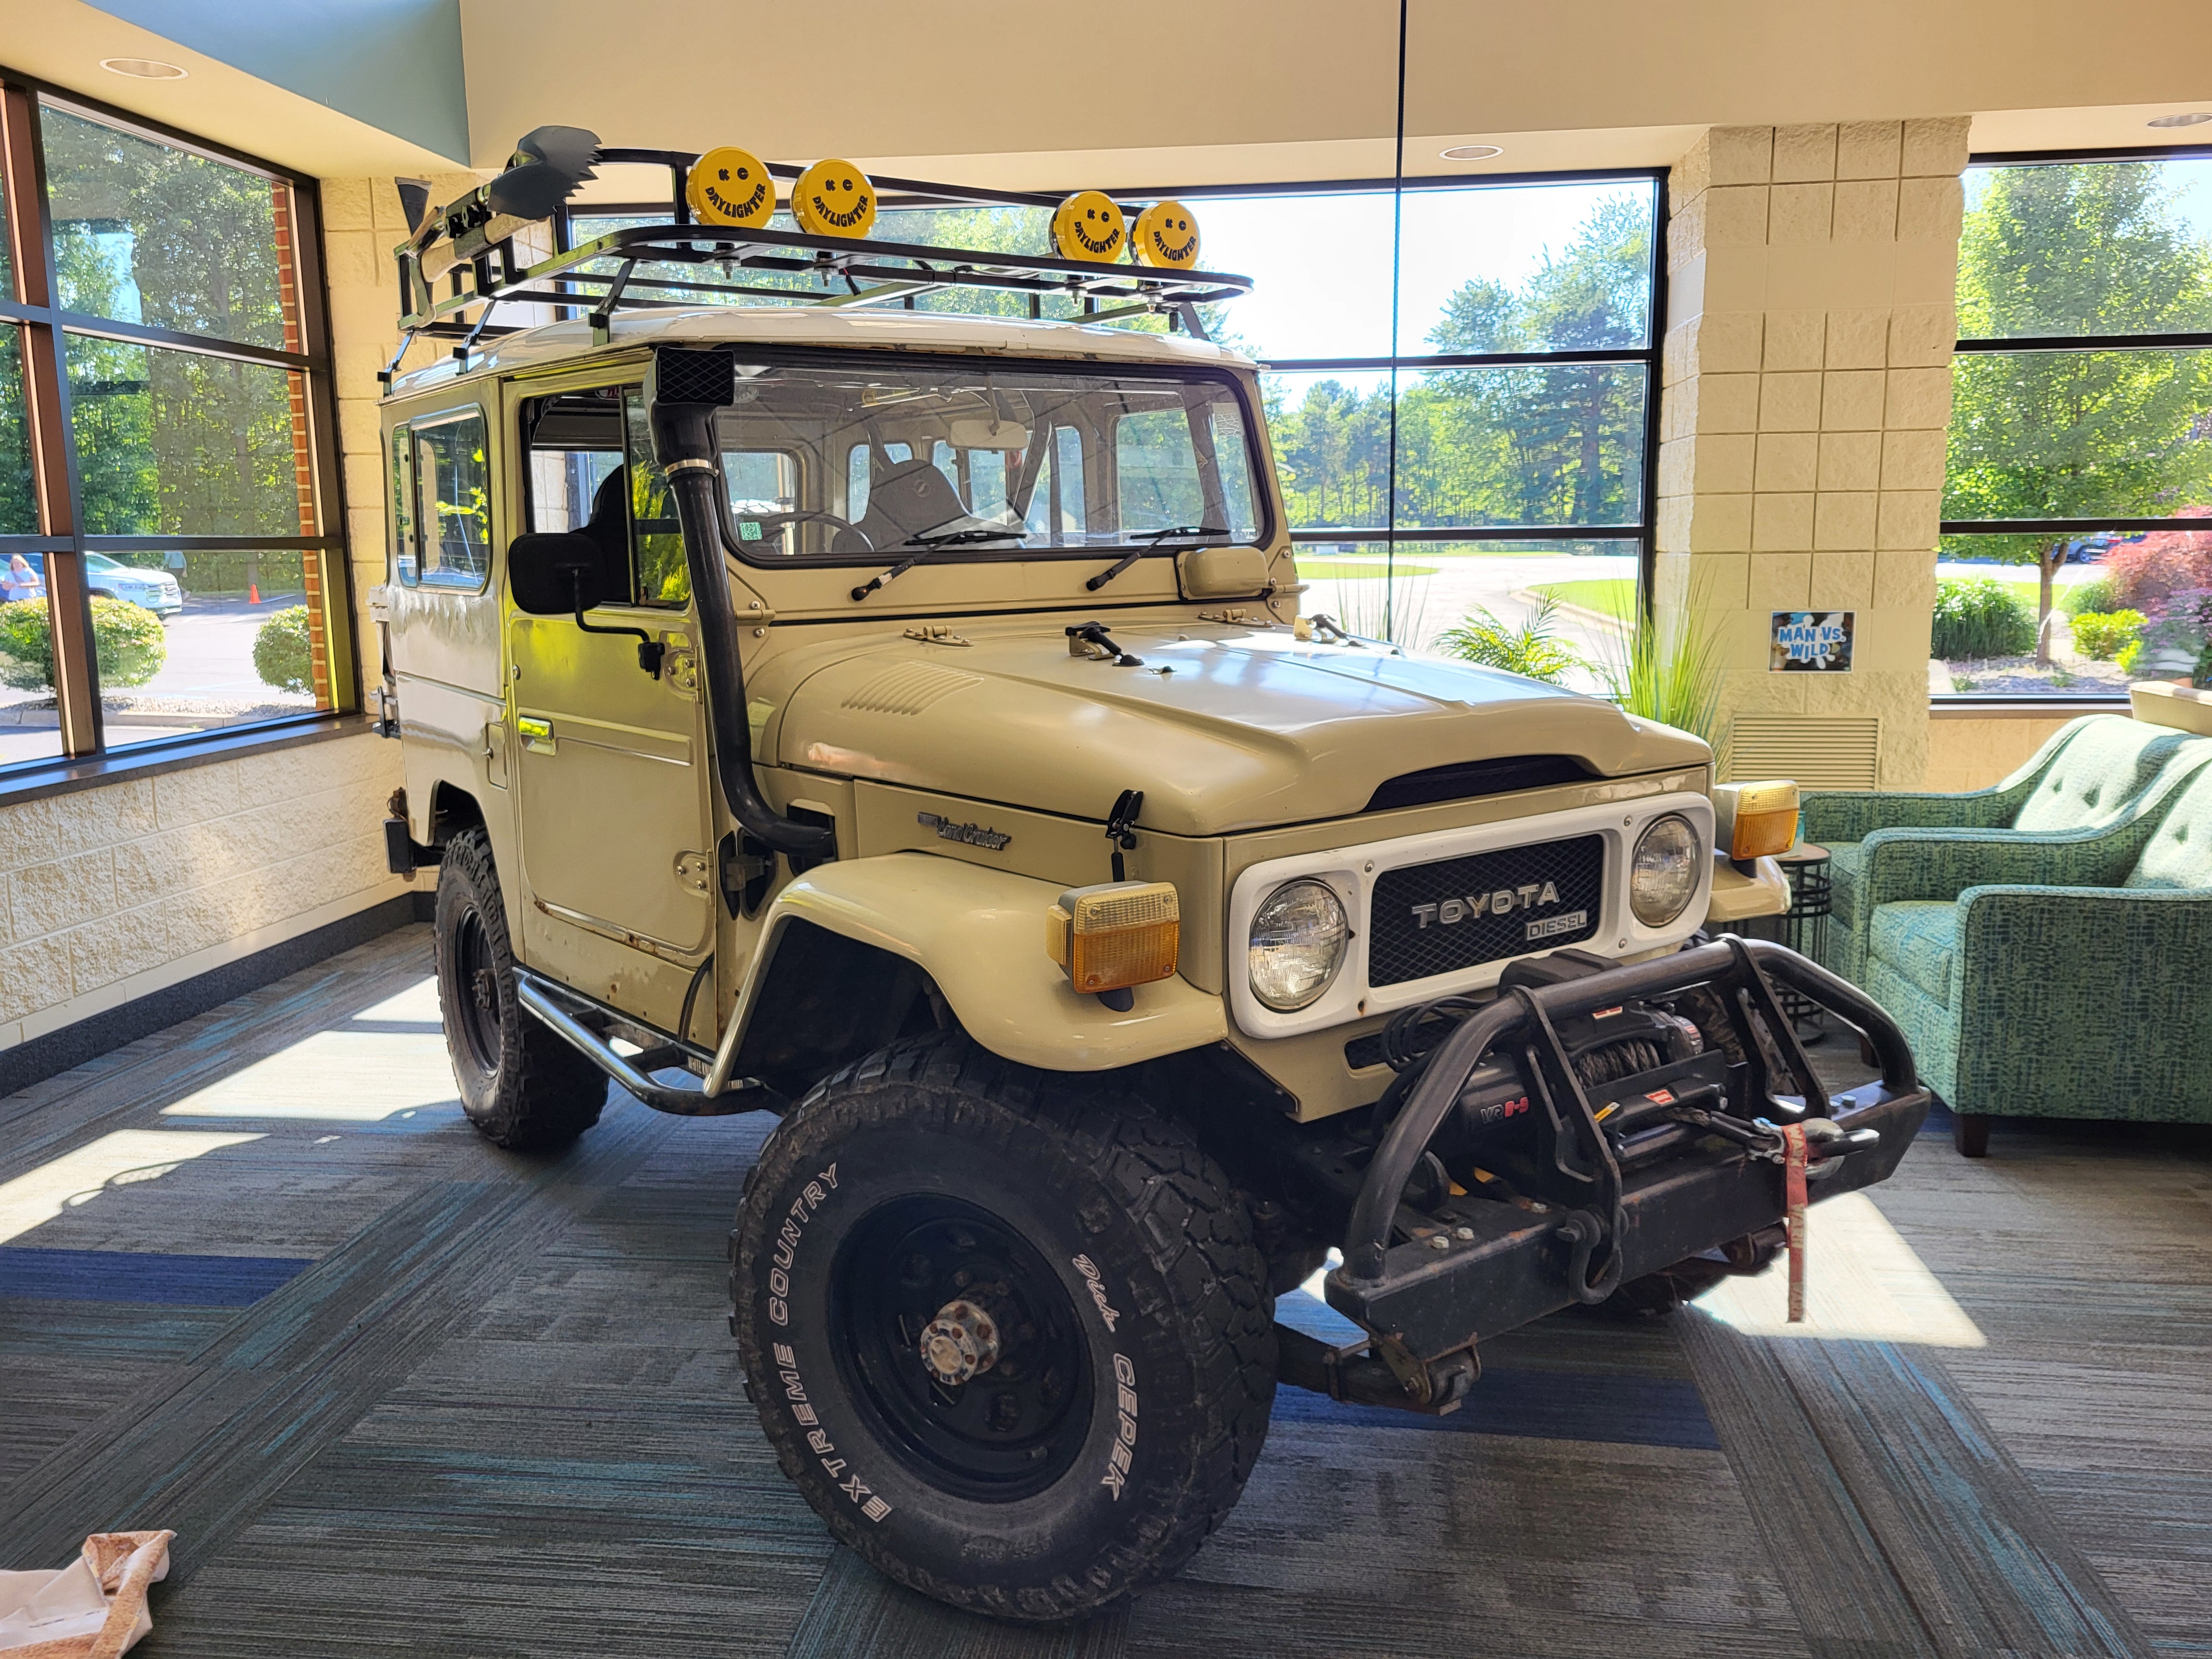
My church was doing a summer kids day-camp (VBS, if you speak churchgoer) and the theme this year was a nature safari sort of thing. And, well, Kiwi looks like the quintessential "Safari Truck" so I loaned Kiwi to the church for a few days. And they put it INSIDE THE LOBBY.
full

Not shown: The absolute ordeal it takes to get a lifted Toyota Landcruiser through multiple sets of double doors and down a hallway without starting the truck and filling the church with smog. I had to take the rack off to fit through the doors, so that's why it's not actually clamped down.
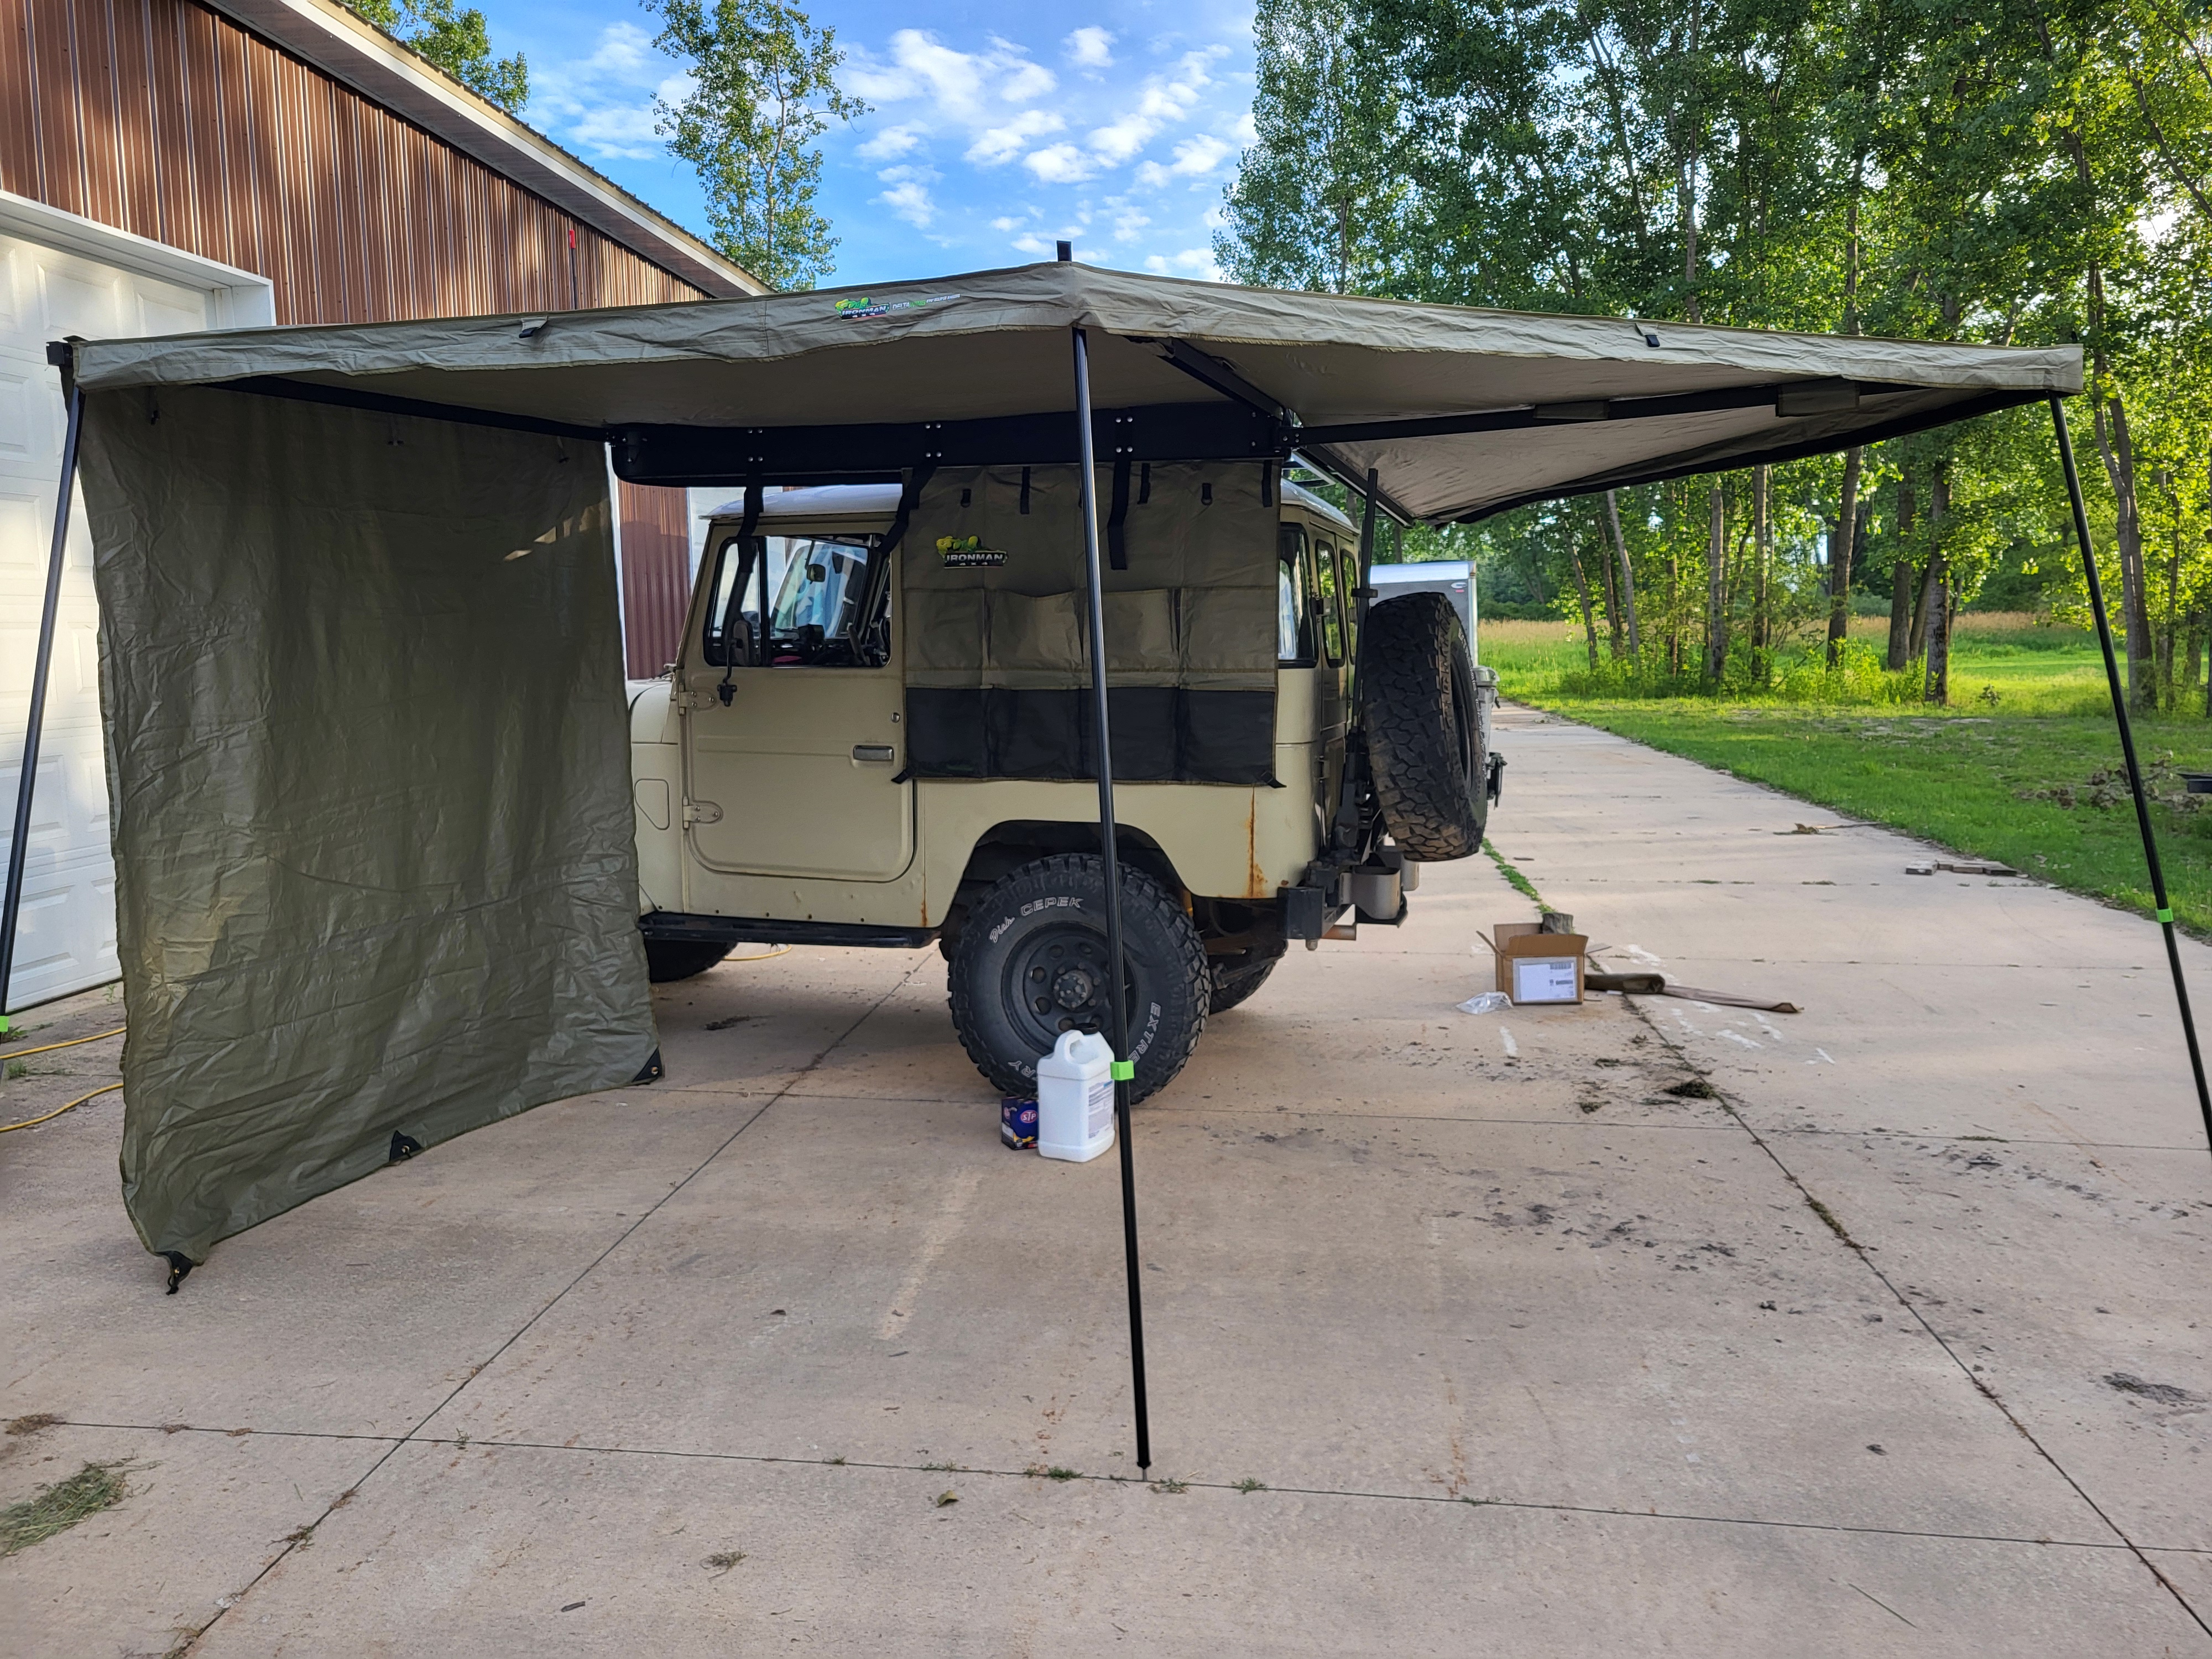
When I got Kiwi home from church, I immediately threw on the awning and did an oil change...
full

So I could take it on a quick weekend trip to the Upper Peninsula. It was pretty rainy, so the awning was an absolute game-changer. Set the awning up first, then we could assemble out tents under the awning and keep them dry!
full

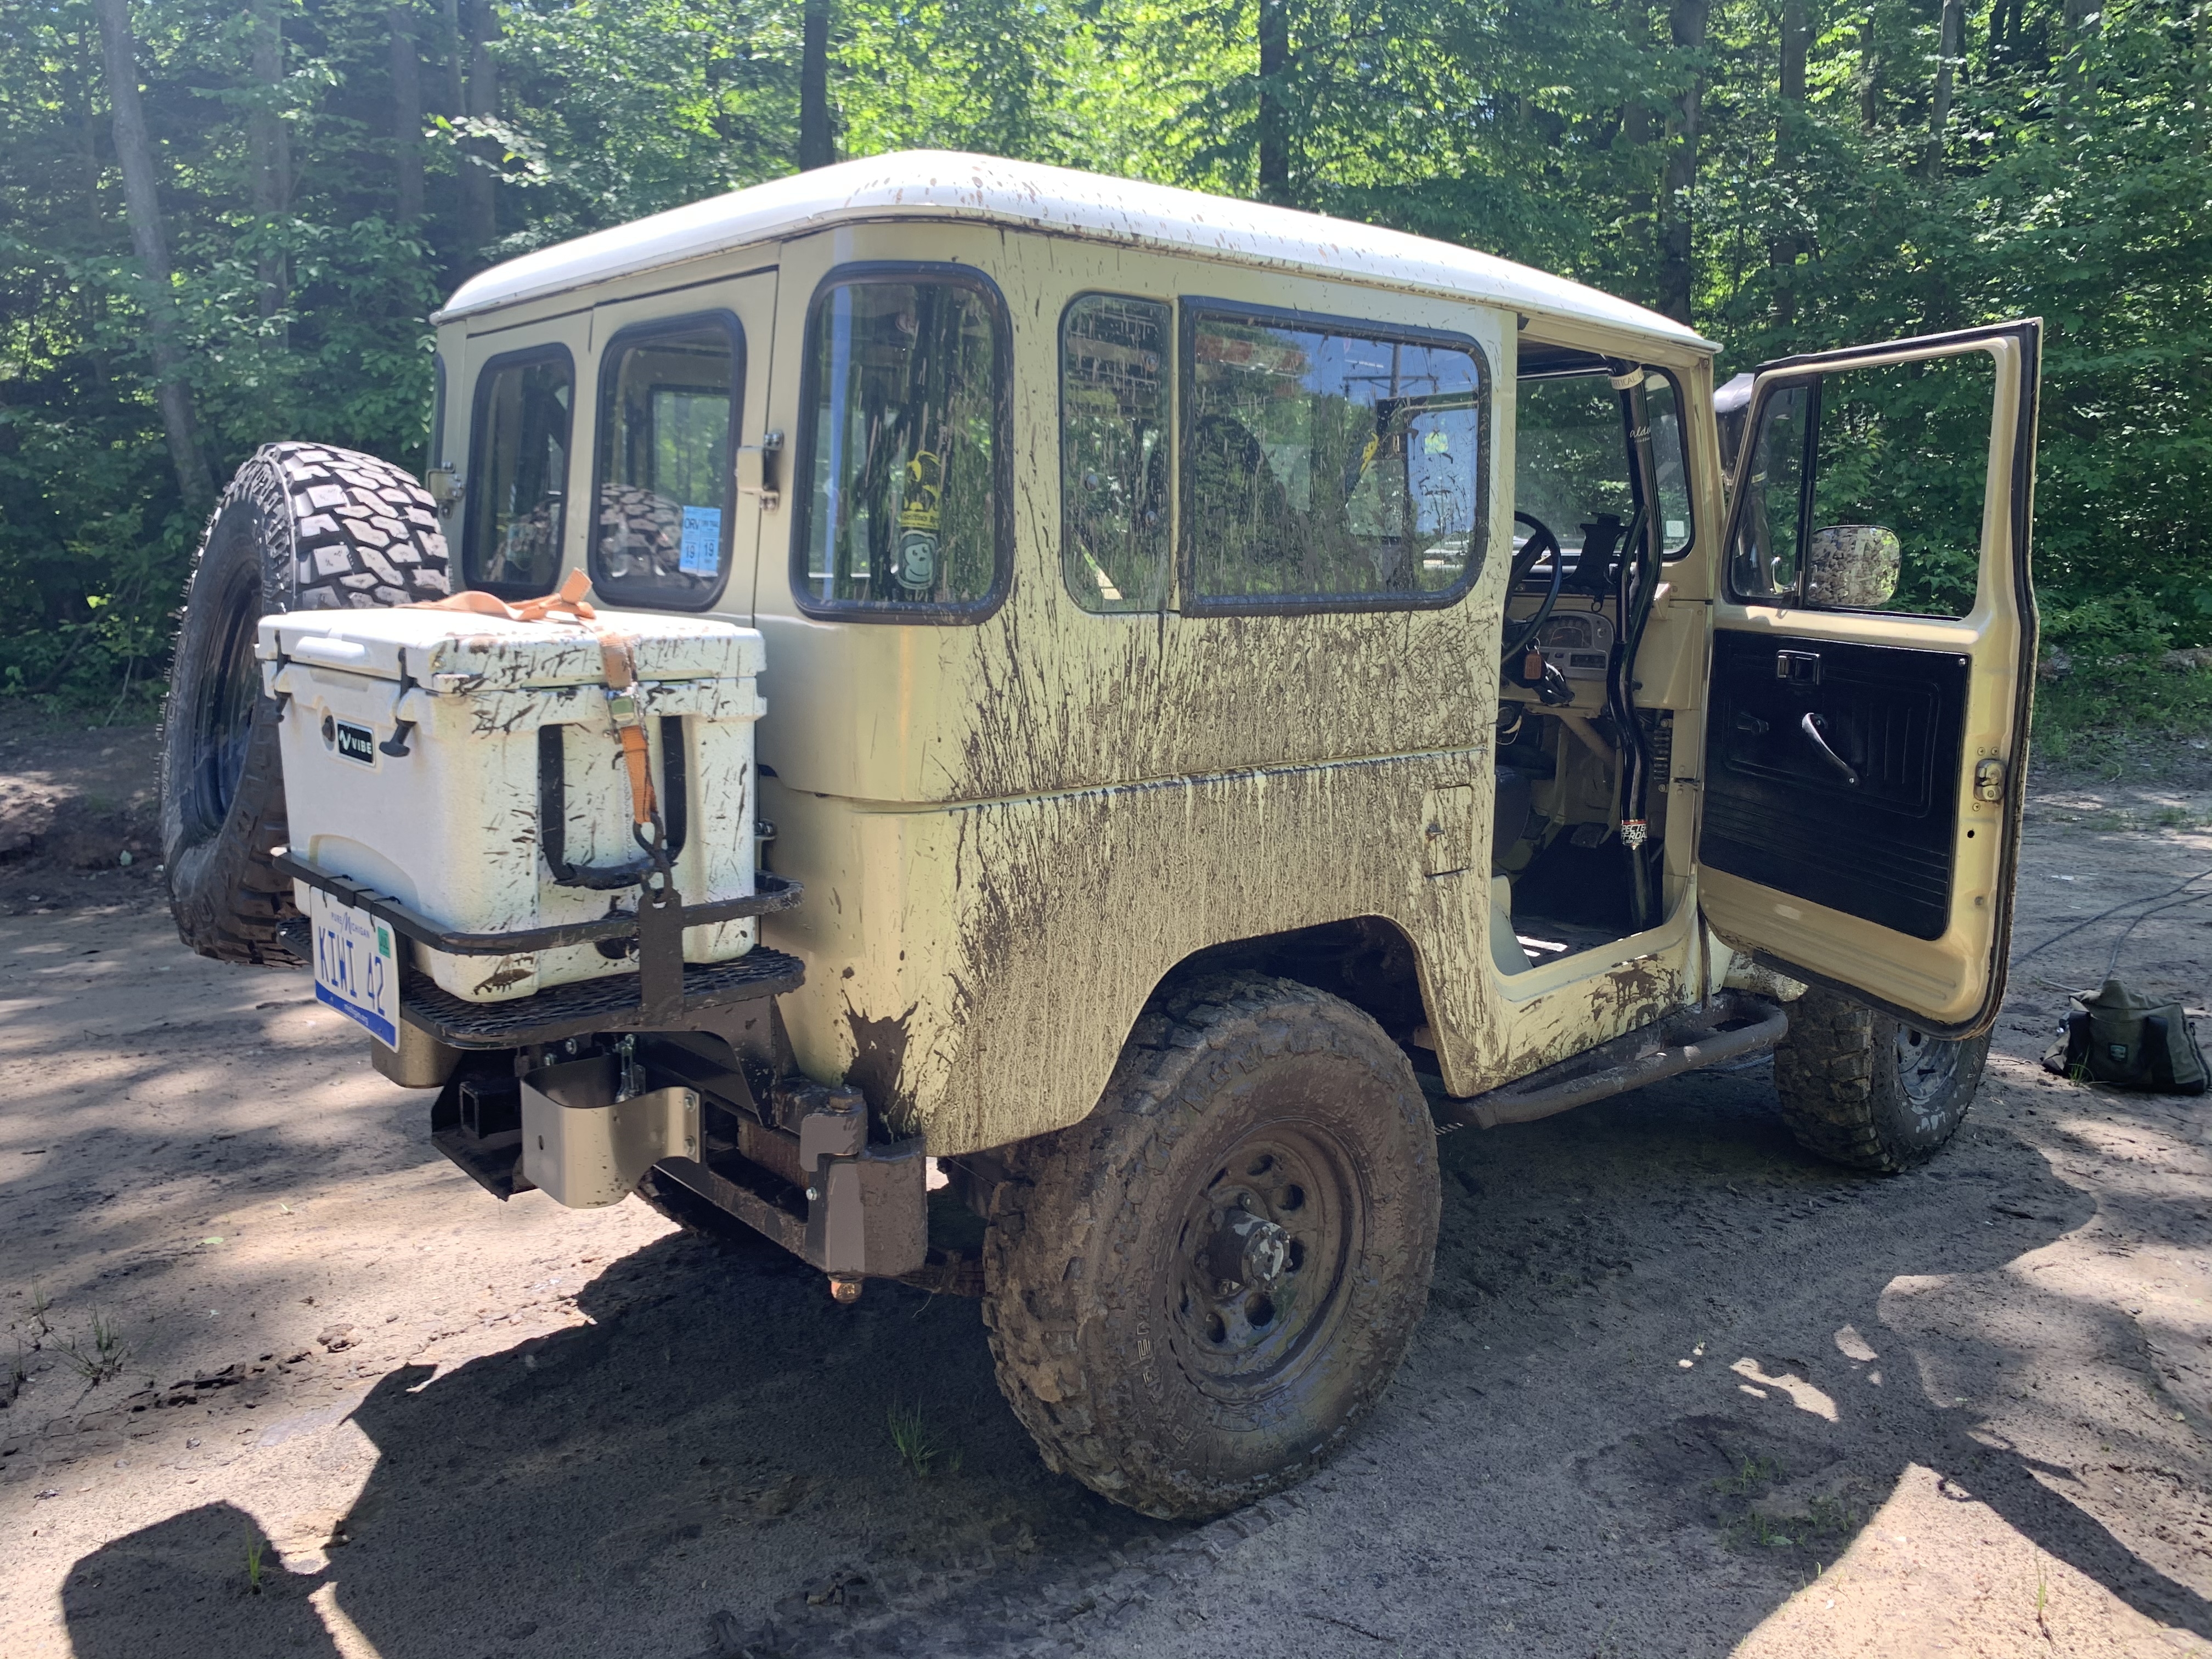
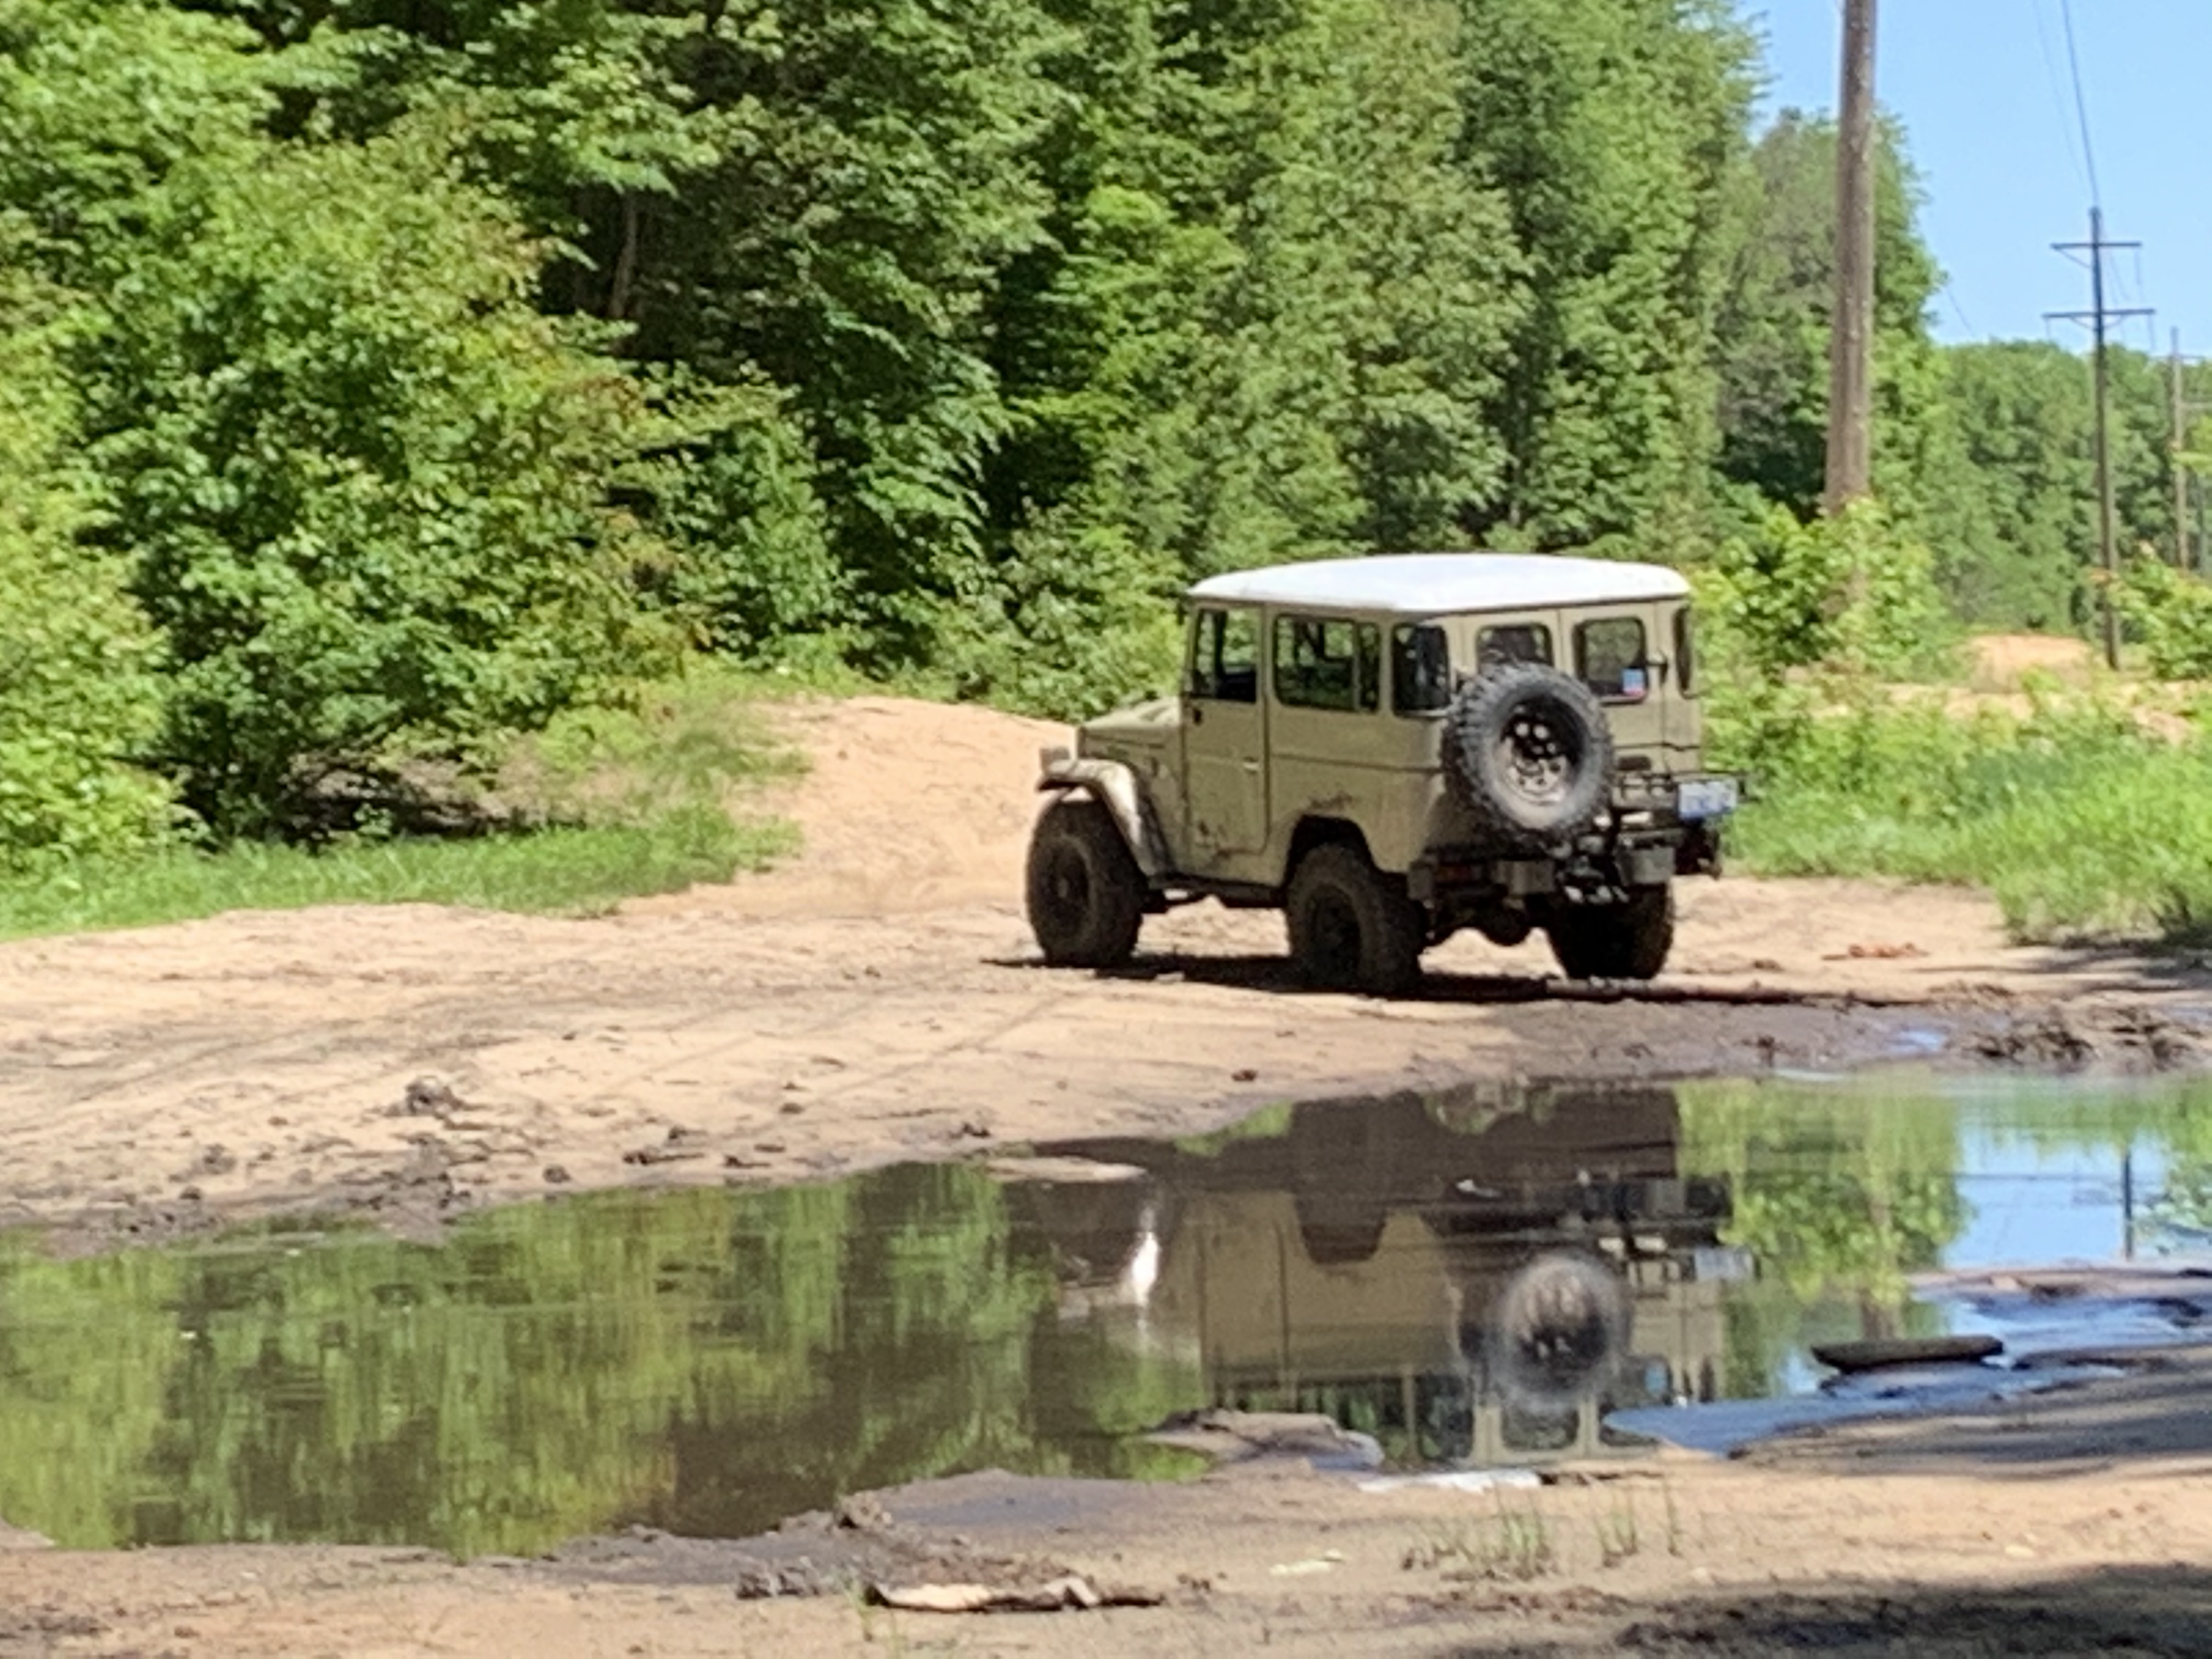
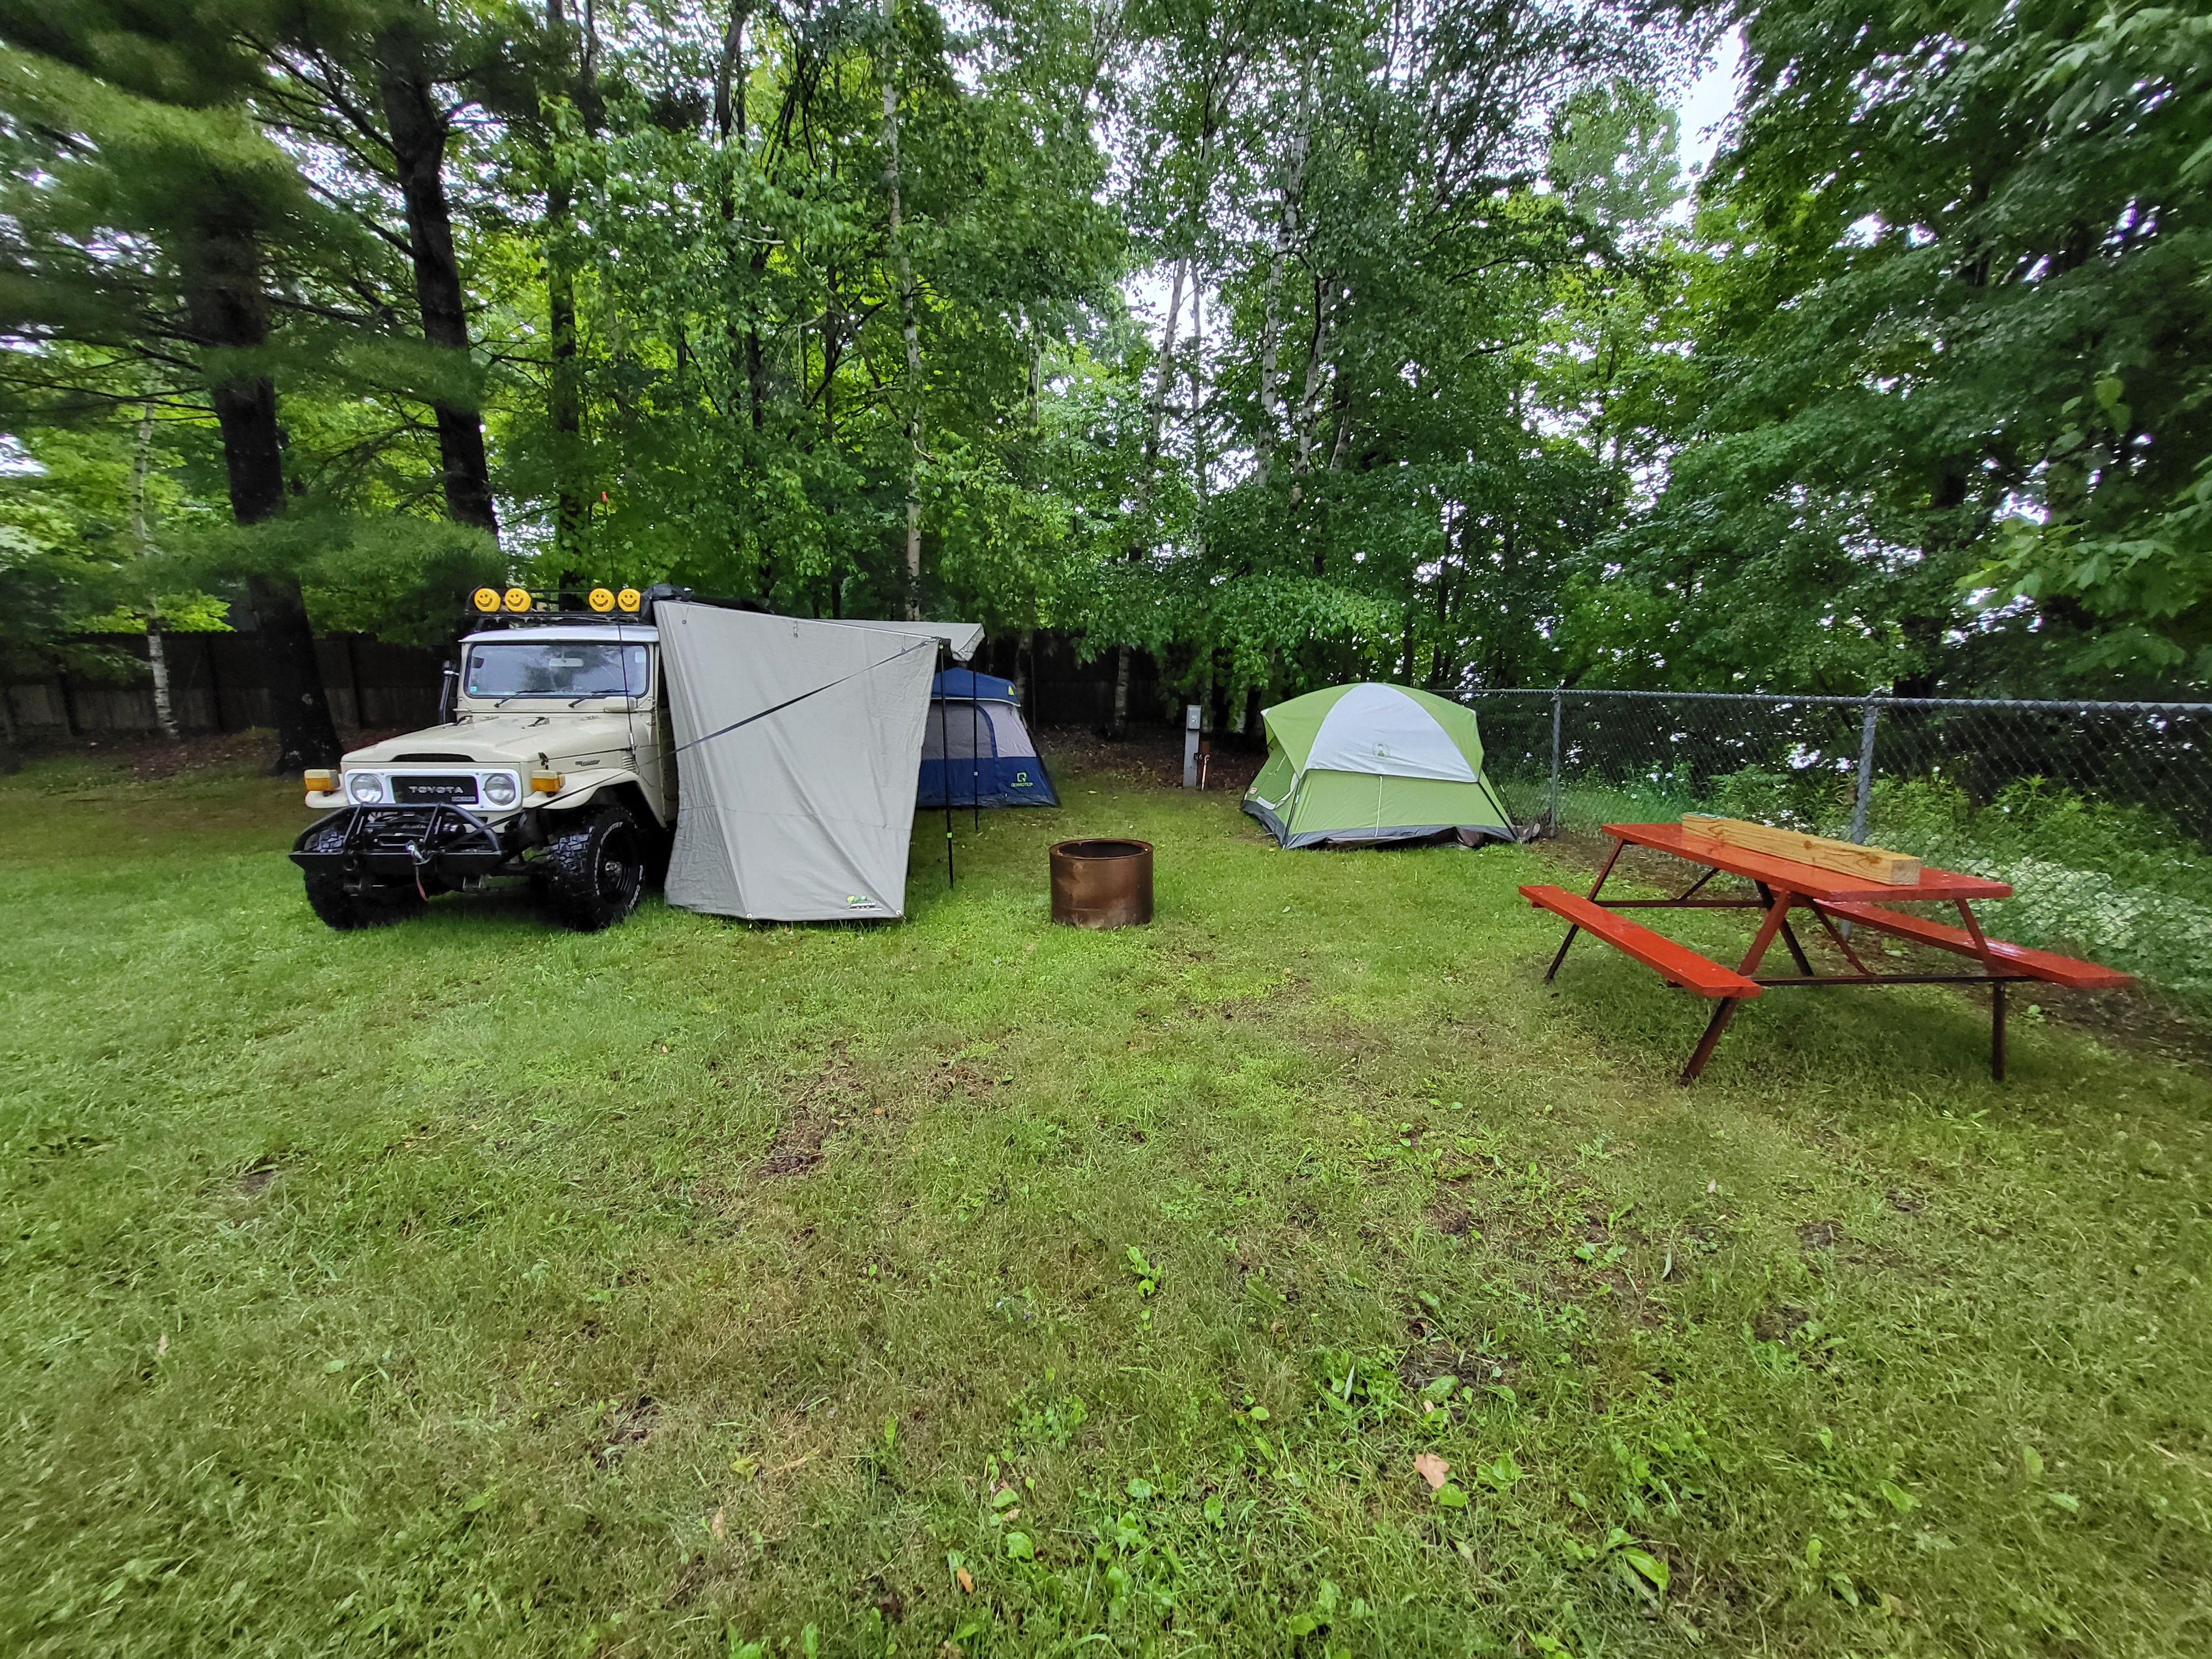
And to wrap it up, here's how the truck sits, all packed up at end of the camping trip.
full

Next steps are finishing up the roof rack (It needs a proper floor in the rack, then I can actually carry things IN the basket) gonna do some modifications to the seat brackets (I, at 5'8", need the seats ALL the way forward to reach the pedals) and build the center console while I'm at it. maybe.

Anyways, that's pretty much my Toyota story for all of 2022, 2023 and the first half of 2024. Cheers.
 

Users who are viewing this thread

Back
Top Bottom