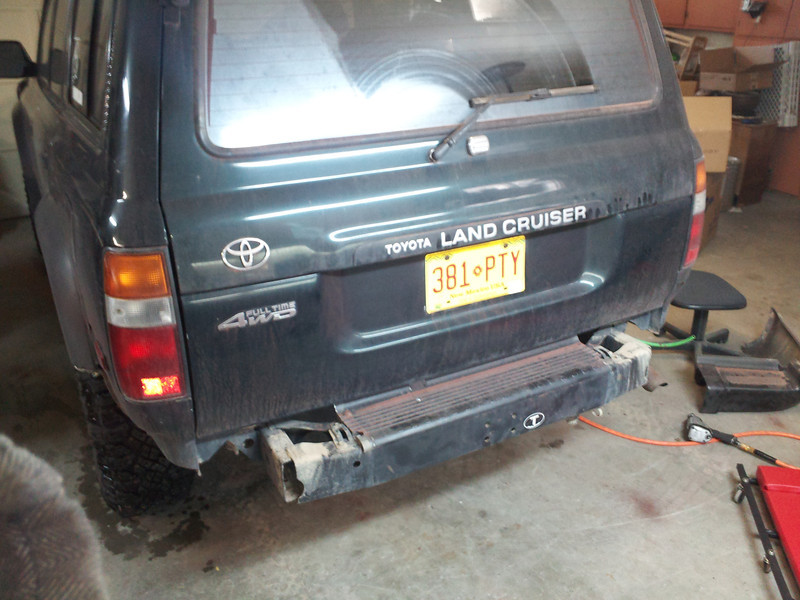
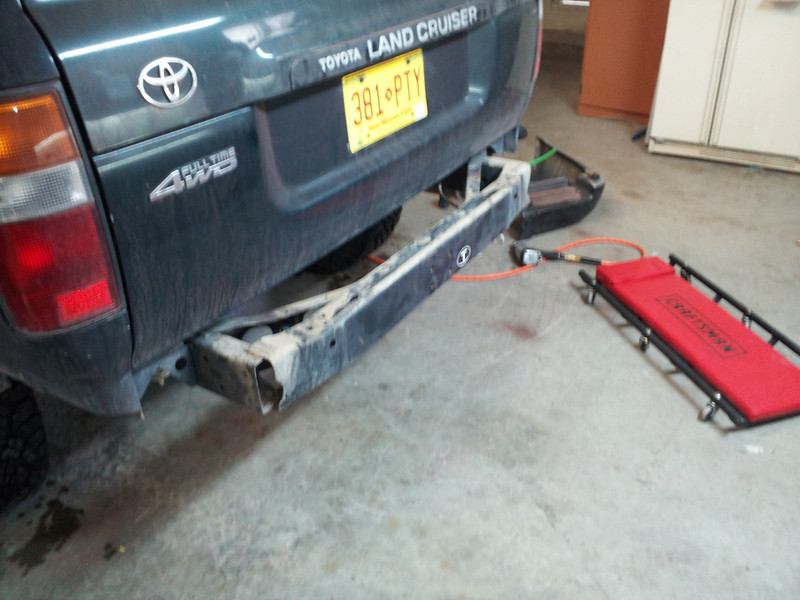
so today is the day i started the path of no return... start with one plain ol stock perfectly good 80 rear bumper.
add a healthy dose of caffeine, impact driver, cutoff wheels and a sawzall...
still time to turn back.
last chance,
Enter sawzall and cutoff discs for those factory welds on the crossmember...
ok now it's more difficult, and that looks quite permanent,
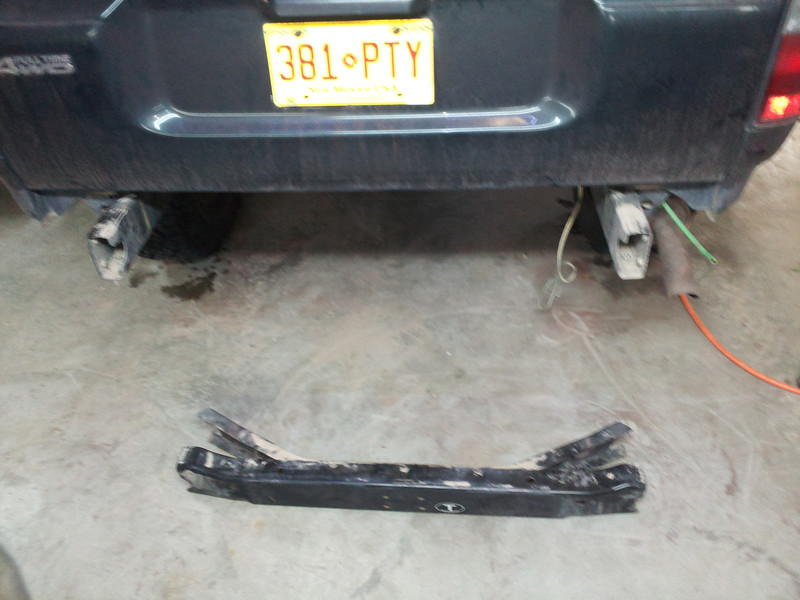
very permanent...
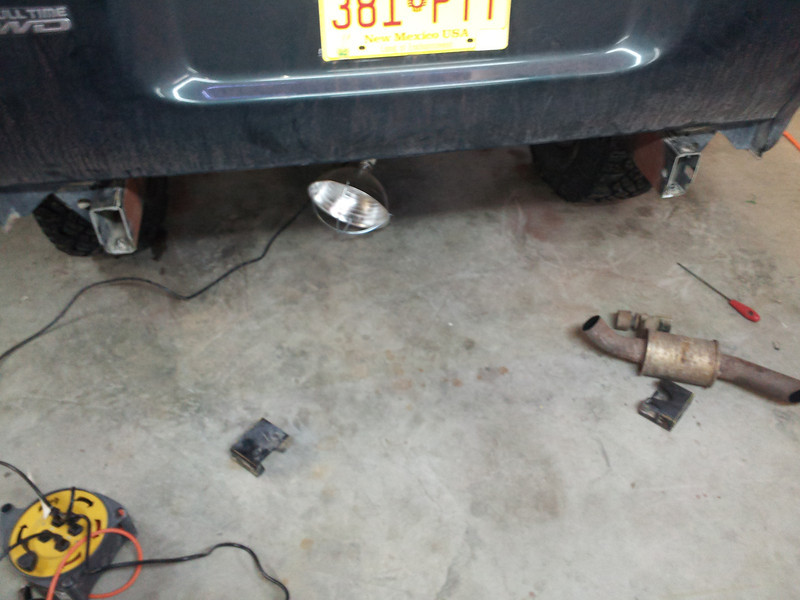
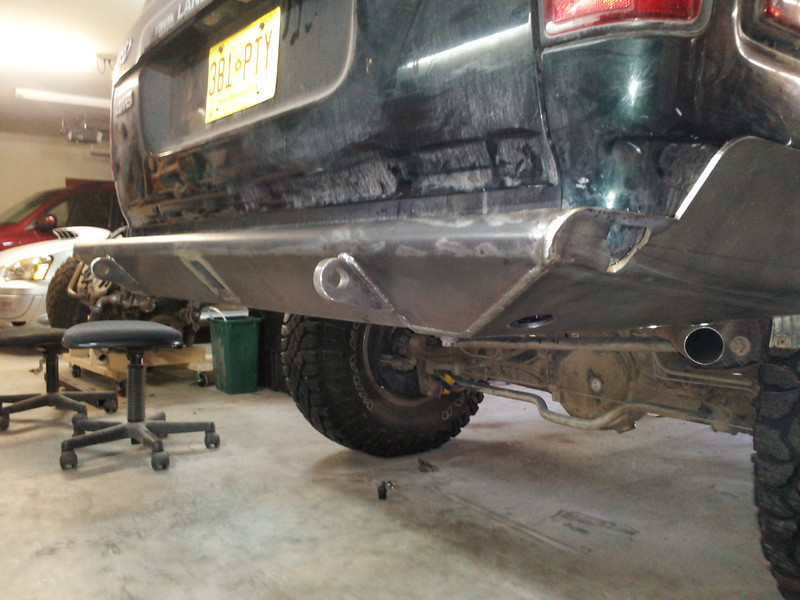
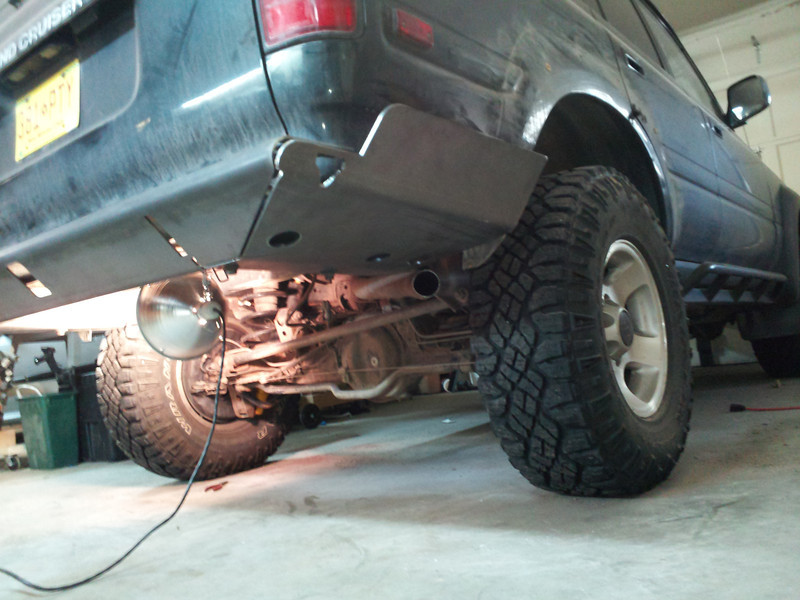
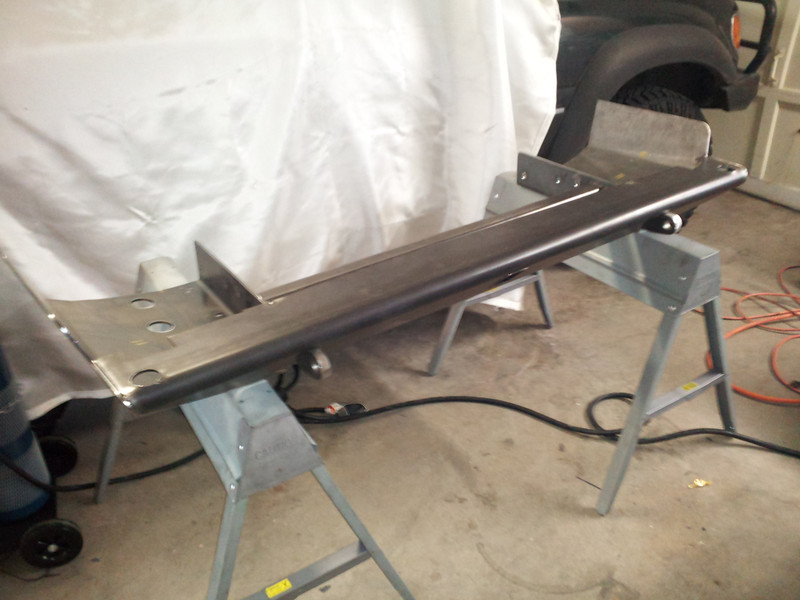
all cleaned up and ready to build. LOOK AT ALL THAT ROOM under there!
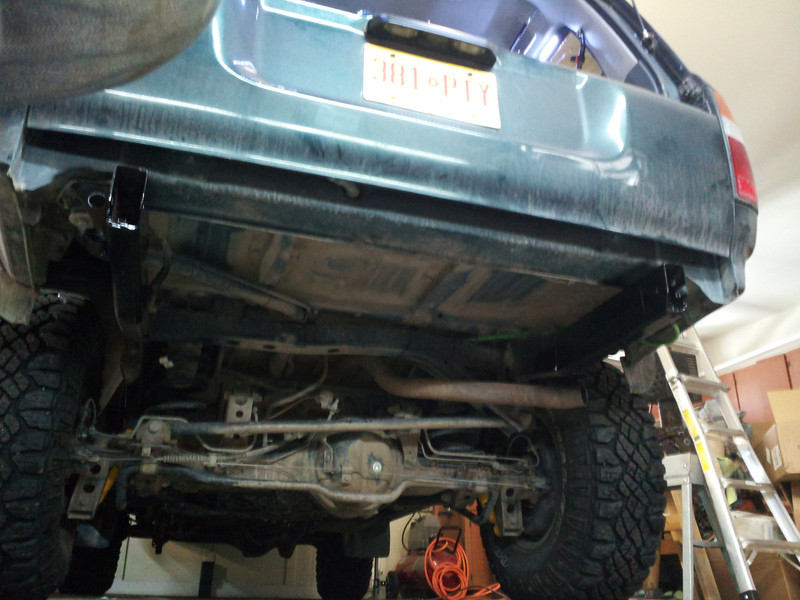
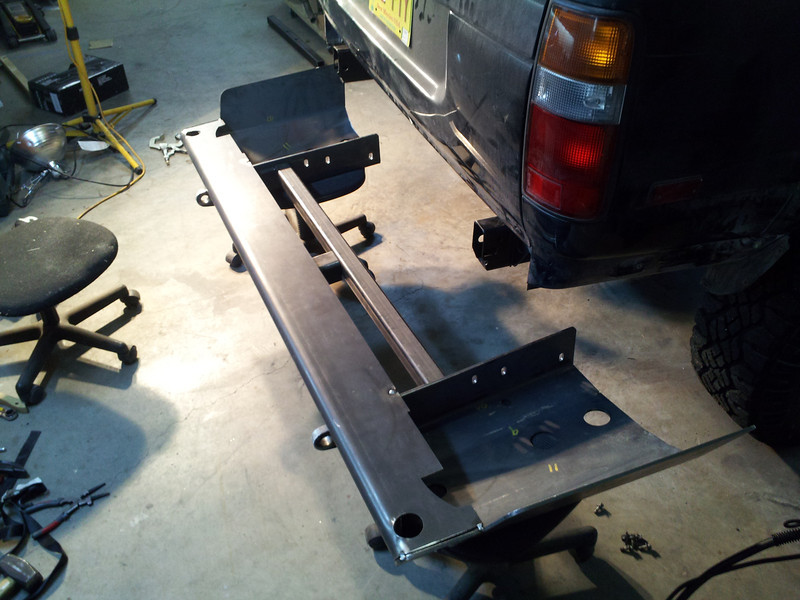
begin wrestling with shells and wings... oh and off come the flares...
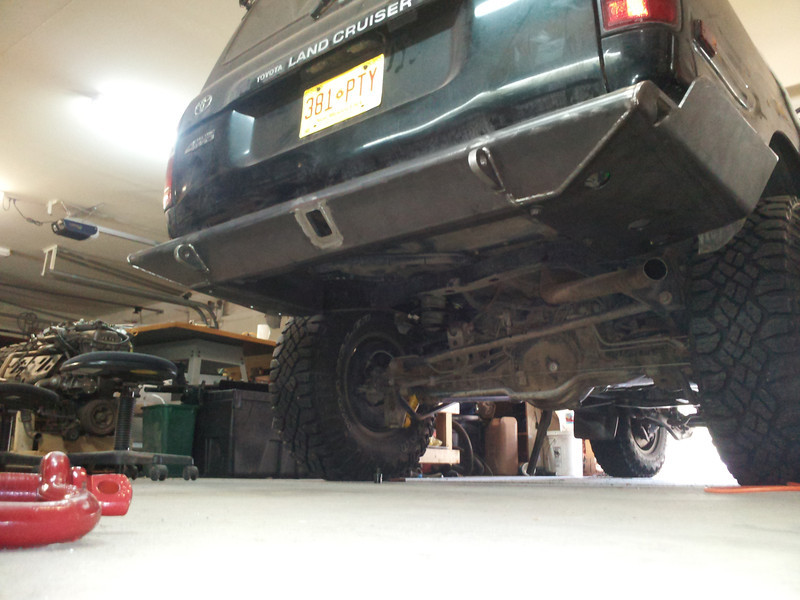
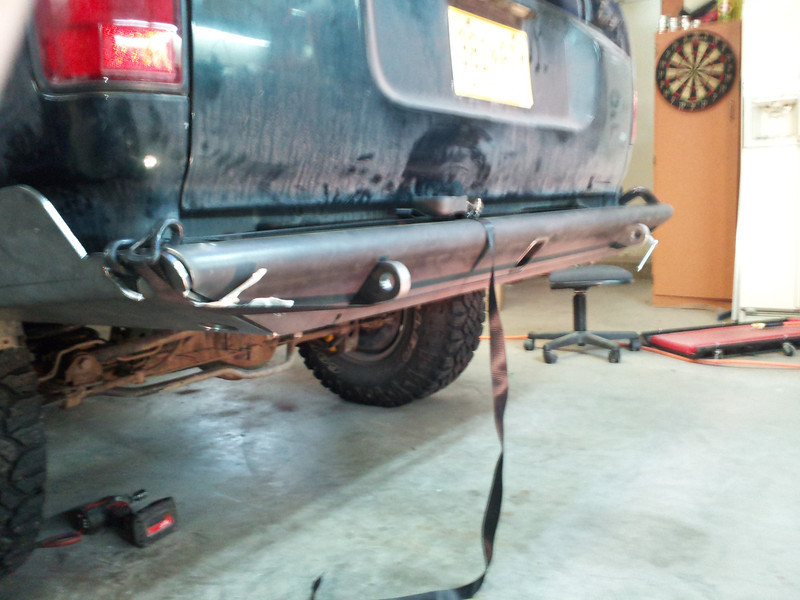
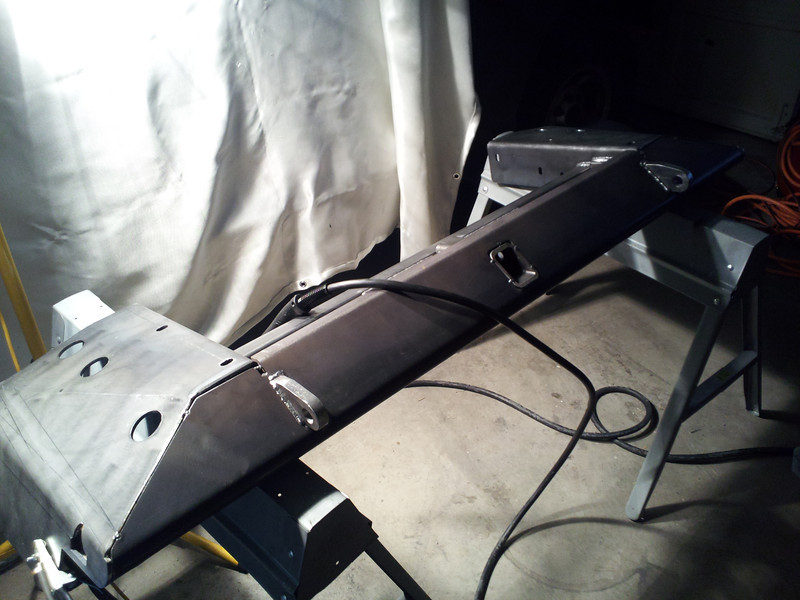
add more bits for fit check
running out of steam for the day, just about ready for tacking, better walk away before i do soemthing dumb.
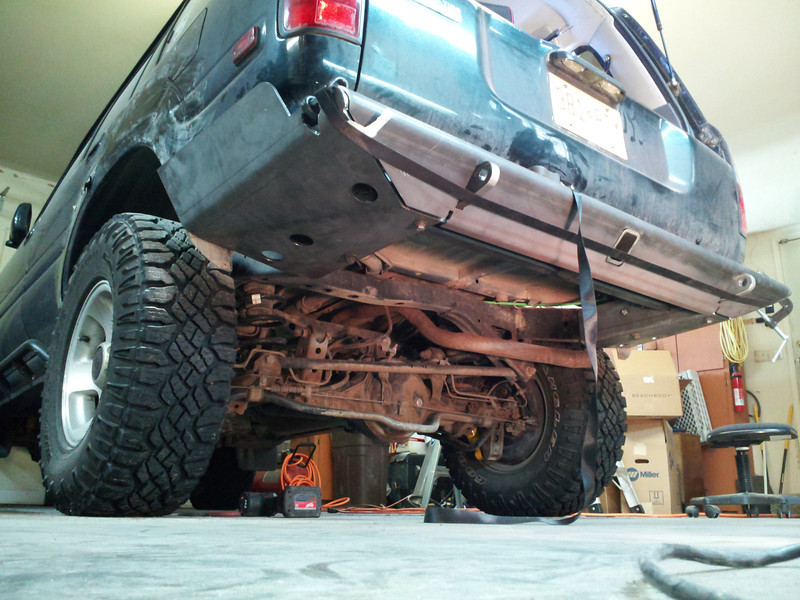
about 4 hours total to this point, 2 hours to unbolt, cut grind and repaint the frame ends, and a couple hours wrestling with shells, taking off flares, and chasing my tail...
to be continued...
add a healthy dose of caffeine, impact driver, cutoff wheels and a sawzall...
still time to turn back.
last chance,
Enter sawzall and cutoff discs for those factory welds on the crossmember...
ok now it's more difficult, and that looks quite permanent,
very permanent...
all cleaned up and ready to build. LOOK AT ALL THAT ROOM under there!
begin wrestling with shells and wings... oh and off come the flares...
add more bits for fit check
running out of steam for the day, just about ready for tacking, better walk away before i do soemthing dumb.
about 4 hours total to this point, 2 hours to unbolt, cut grind and repaint the frame ends, and a couple hours wrestling with shells, taking off flares, and chasing my tail...
to be continued...
Last edited:
 ). i got all gaps to sub 1/8", it was not easy and i wish i could have gotten them better, but since i can reach the back of the joint i'll likely try to fill it there first and hope i can make the front pretty... still have this increasingly lofty goal to not grind any welds, but more on that later...

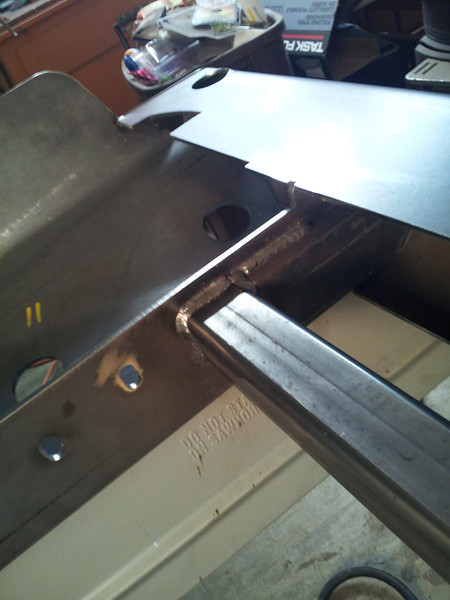


 at least I thought to buy a second roll of wire when I was buying the welder...


")

 i've played with filling gaps on scrap, and i can do it, it's the pretty part in addition i haven't gotten yet.

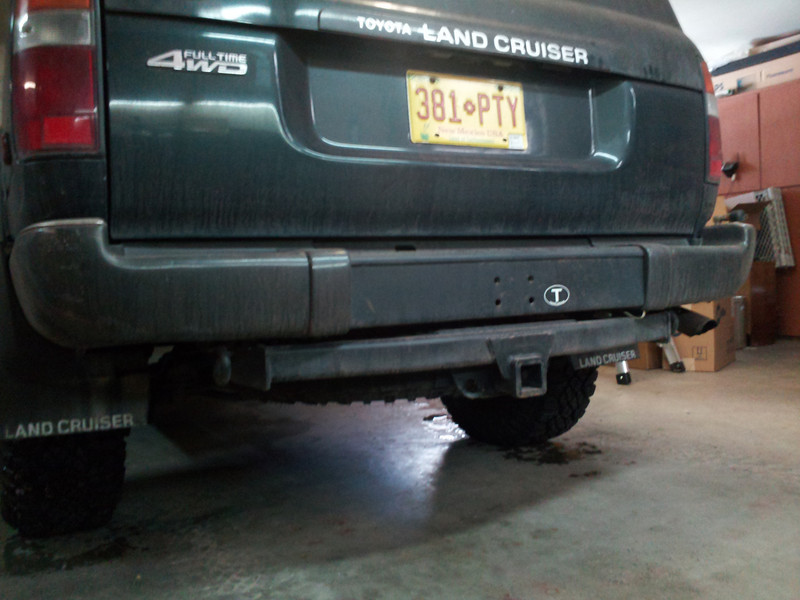
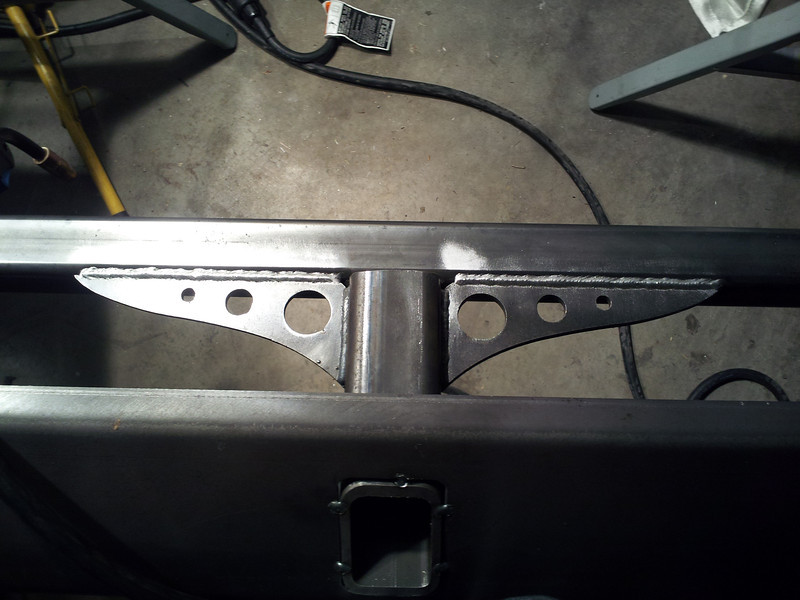
 ) i ended up only grinding the beads flat around the receiver, i didn't crank the power and they were high from the reciever tube thicknsss, but i ran beads on it inside the shell too, so its not going anywhere! overall its not perfect but i think i'll wear the imperfections with pride, besides this way everyone will believe me when i say i built it.