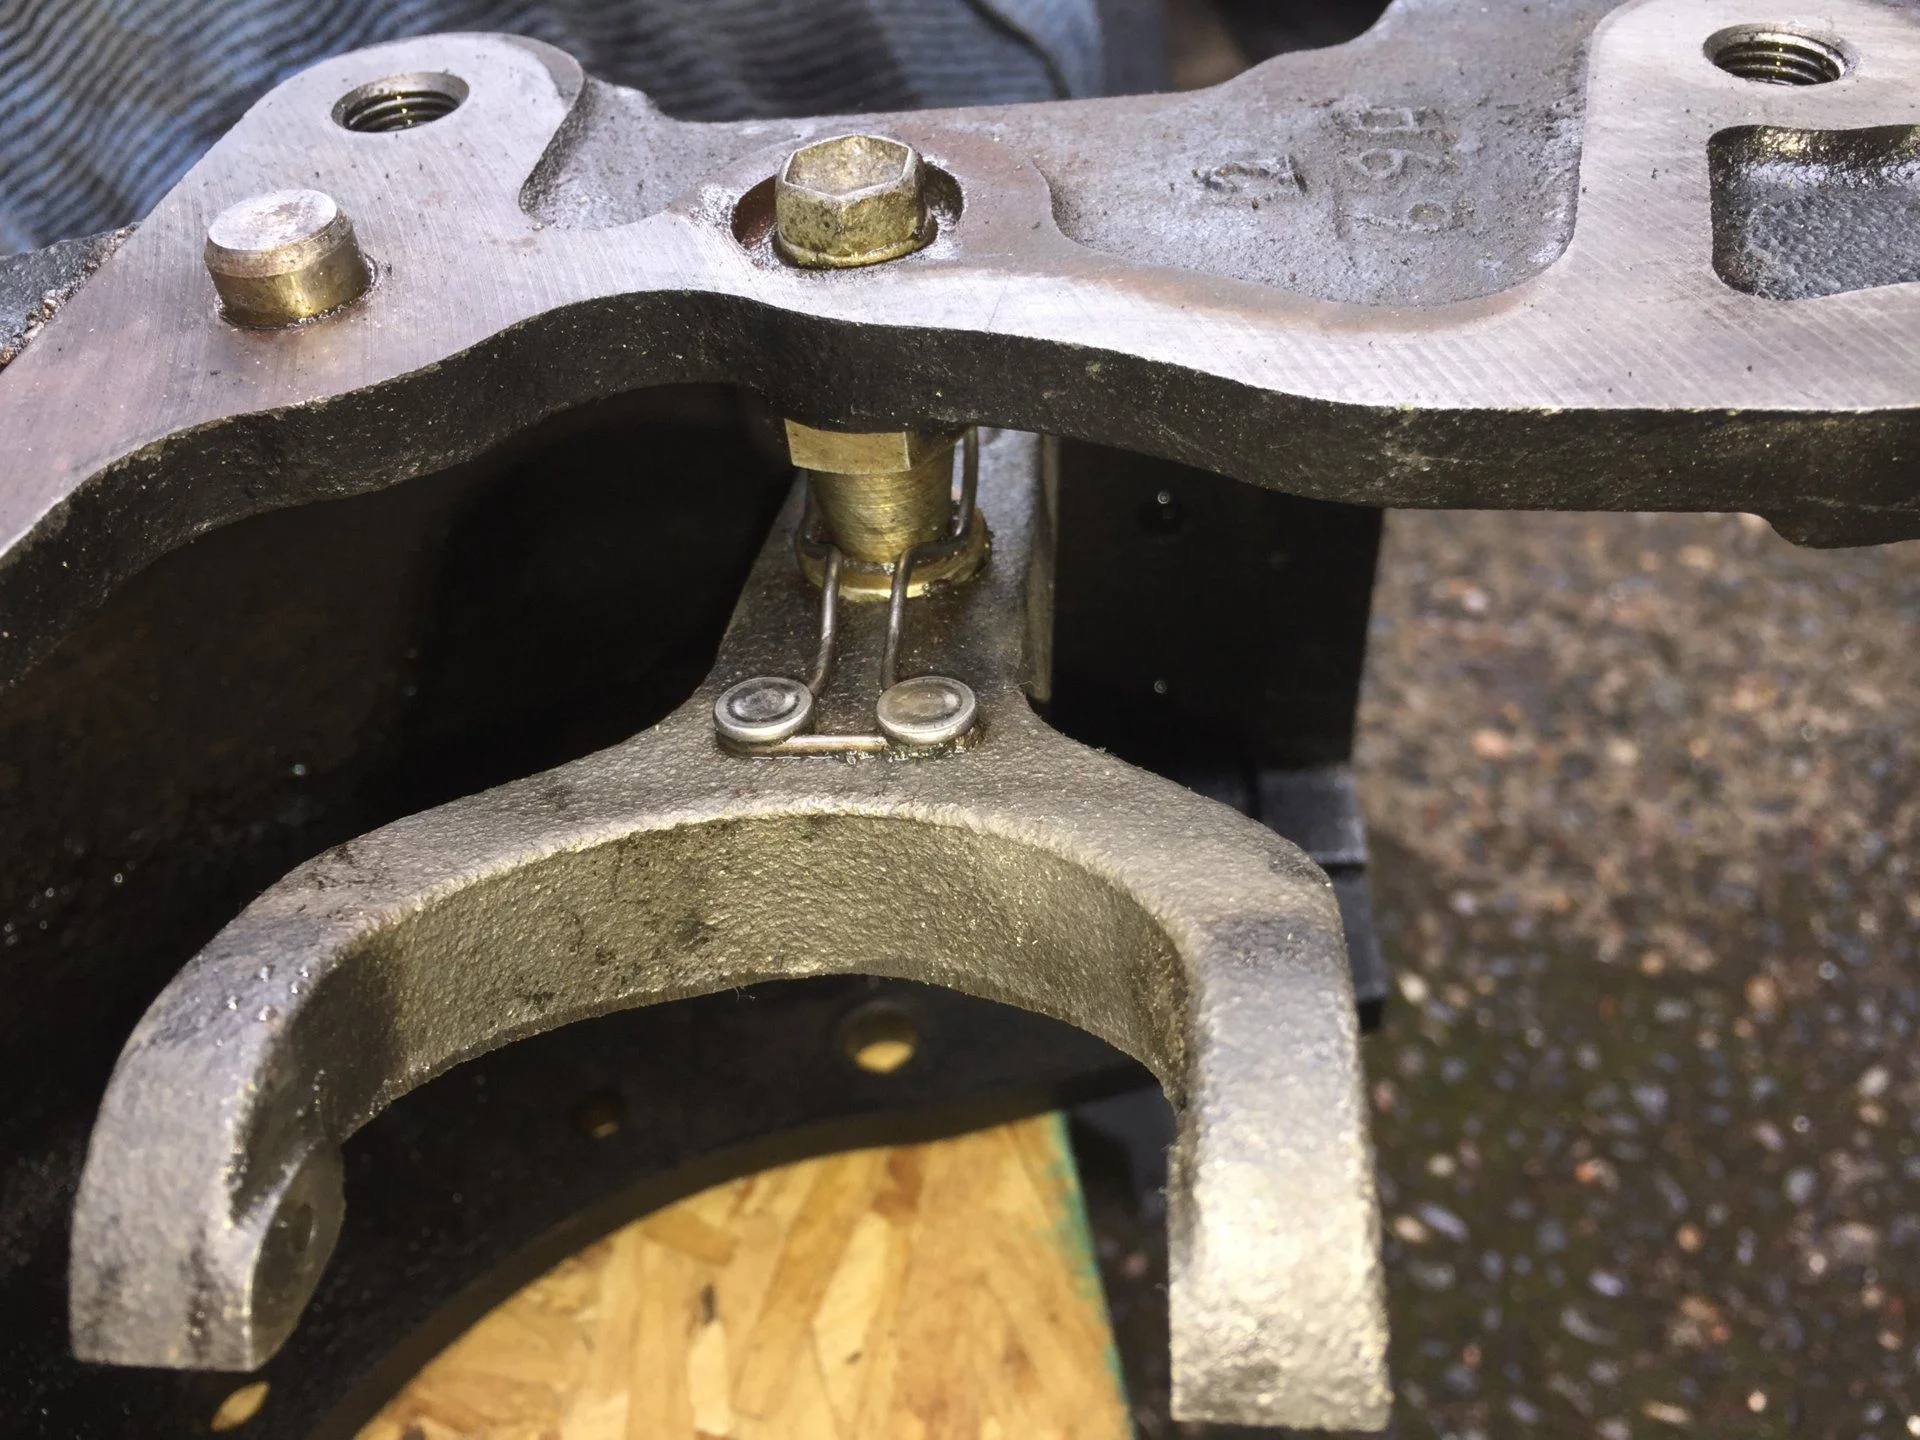
going to use this to document my A440 to H55 swap.
here's a link to my google spreadsheet i've been using to keep track of parts and such
H55F cost sheet
Thanks @orangefj45 for many phone calls and the shipment of parts to get me rolling.
Josh at Willamette helped me out by doing a t-case rebuild and attaching the t-case to the tranny for me - this was not something I wanted to tackle myself.
Day 1... I get to claim 2 easy victories...got the clutch master installed and the pedal bucket squared away with no downtime.
I REALLY did not want to do this to my truck...i was actually dreading this so much I was thinking i'd fabricate something to bolt in under the dash if I had to..
EDIT: this is not my dashboard...I grabbed a screenshot of someone else's project as an example

My approach: I found a used pedal bucket on ebay for $40.00 - figured that's cheap enough to experiment with.
it took all of 5 minutes to drill out the spot welds and separate the clutch pedal pivot housing from the larger pedal bucket assembly

the metal separated with almost no disfigurement whatsoever...couple light taps with the hammer on the vise straightened out the tabs and it's ready to install.
fitment: the general shape of the sheet metal lines up perfectly with the top side of the pedal bucket under the steering column - this helped line it up well enough that I felt good about it being in the right place - no major problems with trying to locate the thing in 3 dimensional space in tight quarters.
the original pedal bucket has a hole in the side for where the collar and shaft would line up...so i used a long piece of 1/4-20 to secure the piece into place - this helped orient it and squeeze it in nice and snug so i could do some drilling and screwing.

I secured it with some stainless sheet metal screws to hold it in place while i used an angle drill to open up some larger holes to bolt it all together.

so - for day 1 - i feel pretty good about progress...i was able to do this without destroying the dash!
still waiting on bell housing and related parts so i'm hold until the rest of my parts arrive...then i'll begin the tear down of the automatic.

here's a link to my google spreadsheet i've been using to keep track of parts and such
H55F cost sheet
Thanks @orangefj45 for many phone calls and the shipment of parts to get me rolling.
Josh at Willamette helped me out by doing a t-case rebuild and attaching the t-case to the tranny for me - this was not something I wanted to tackle myself.
Day 1... I get to claim 2 easy victories...got the clutch master installed and the pedal bucket squared away with no downtime.
I REALLY did not want to do this to my truck...i was actually dreading this so much I was thinking i'd fabricate something to bolt in under the dash if I had to..
EDIT: this is not my dashboard...I grabbed a screenshot of someone else's project as an example
My approach: I found a used pedal bucket on ebay for $40.00 - figured that's cheap enough to experiment with.
it took all of 5 minutes to drill out the spot welds and separate the clutch pedal pivot housing from the larger pedal bucket assembly
the metal separated with almost no disfigurement whatsoever...couple light taps with the hammer on the vise straightened out the tabs and it's ready to install.
fitment: the general shape of the sheet metal lines up perfectly with the top side of the pedal bucket under the steering column - this helped line it up well enough that I felt good about it being in the right place - no major problems with trying to locate the thing in 3 dimensional space in tight quarters.
the original pedal bucket has a hole in the side for where the collar and shaft would line up...so i used a long piece of 1/4-20 to secure the piece into place - this helped orient it and squeeze it in nice and snug so i could do some drilling and screwing.
I secured it with some stainless sheet metal screws to hold it in place while i used an angle drill to open up some larger holes to bolt it all together.
so - for day 1 - i feel pretty good about progress...i was able to do this without destroying the dash!
still waiting on bell housing and related parts so i'm hold until the rest of my parts arrive...then i'll begin the tear down of the automatic.
Last edited:


