
Navigation
Install the app
How to install the app on iOS
Follow along with the video below to see how to install our site as a web app on your home screen.
Note: This feature may not be available in some browsers.
More options
Style variation
You are using an out of date browser. It may not display this or other websites correctly.
You should upgrade or use an alternative browser.
You should upgrade or use an alternative browser.
Mike's 1978 FJ40 Build
- Thread starter 78fj40mg
- Start date
This site may earn a commission from merchant affiliate
links, including eBay, Amazon, Skimlinks, and others.
- Thread starter
- #802
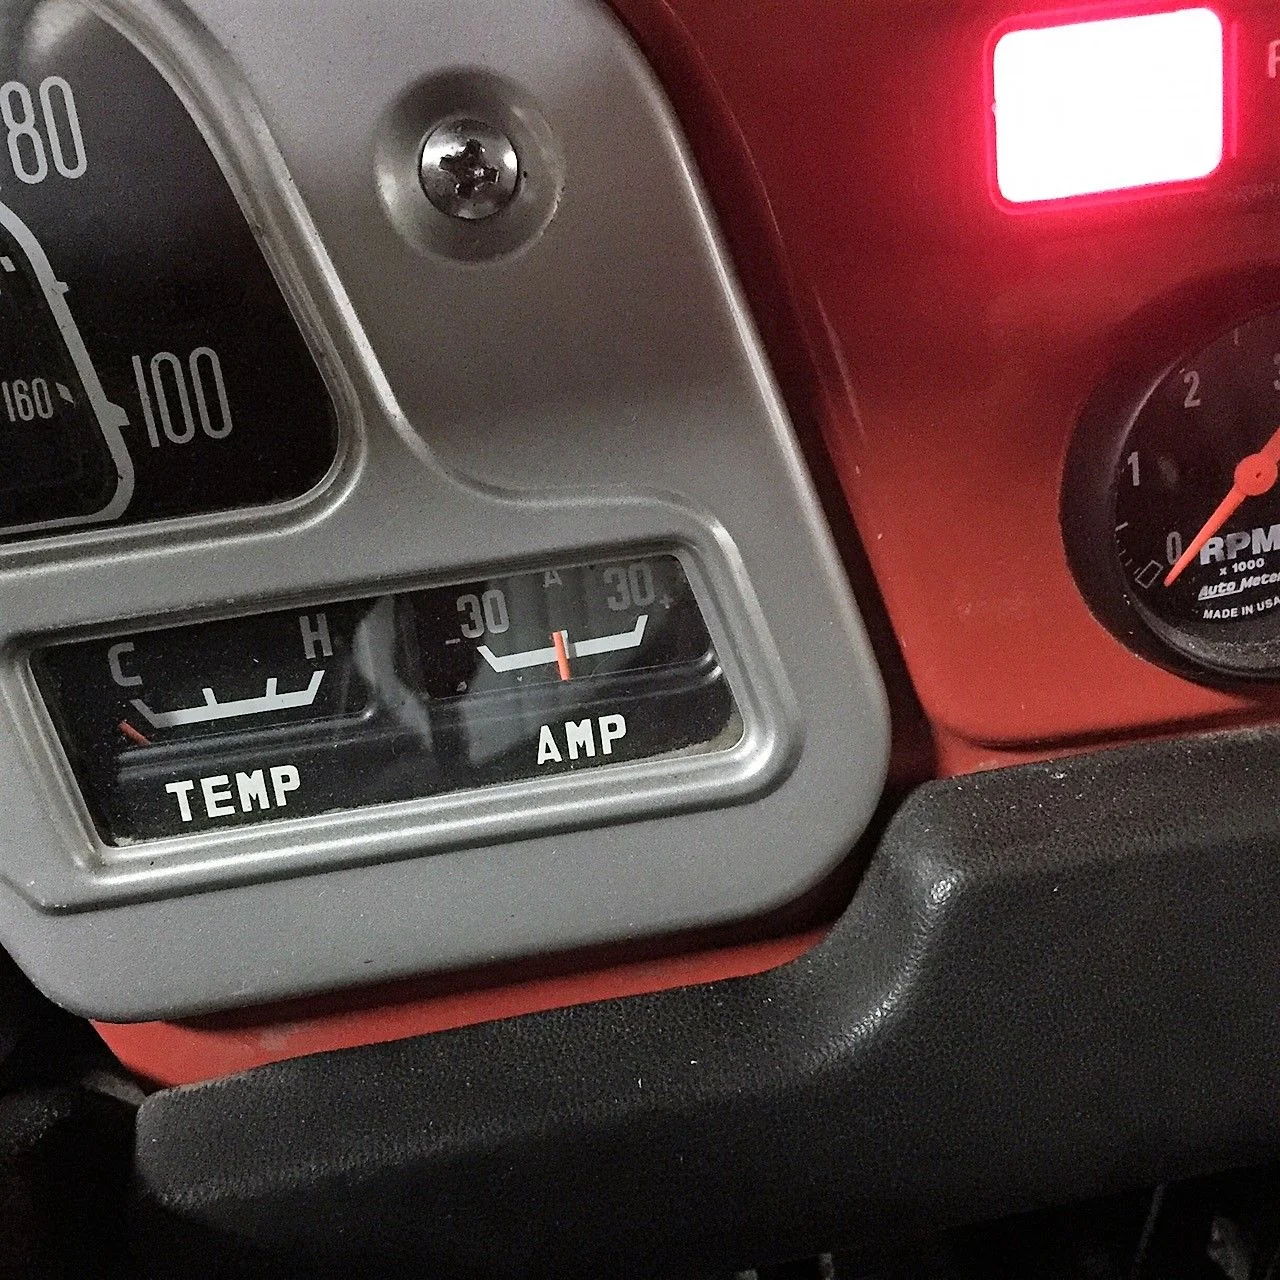
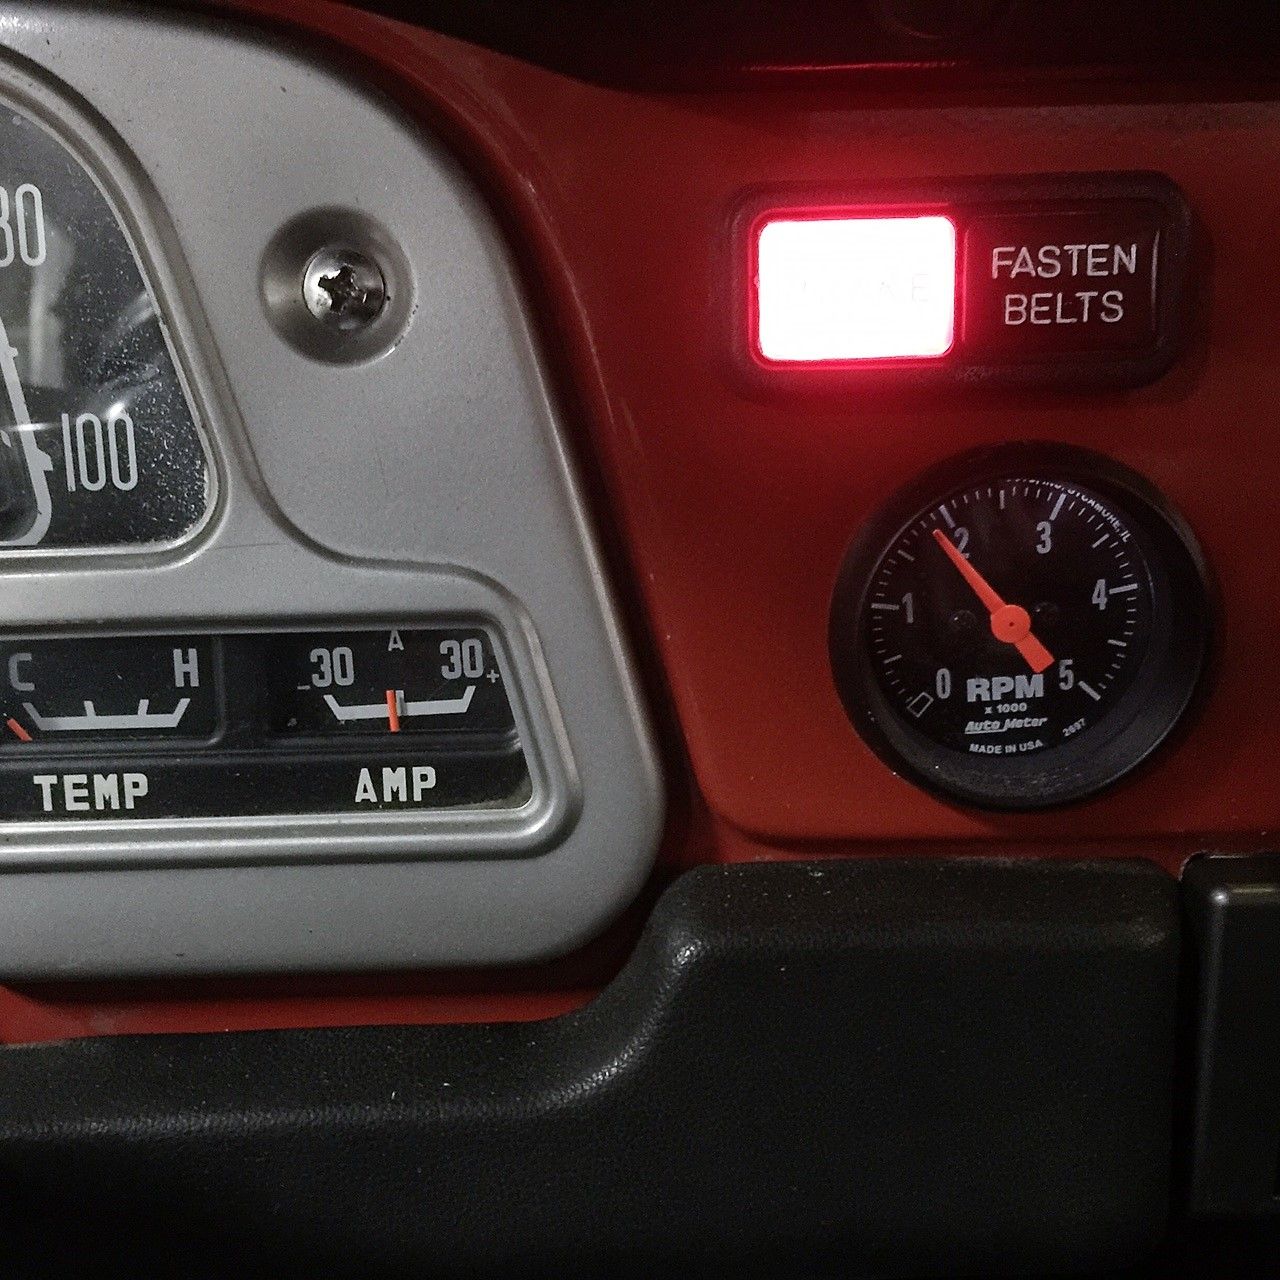
That's something to consider possible faulty wiring. Thanks for your thoughts Ernest!I think I would get the alternator/wiring checked out. My AMP gauge always seems to run in the negative when under load. I guess so long as it bounces around when I hit the blinkers or A/C I assume all is working.
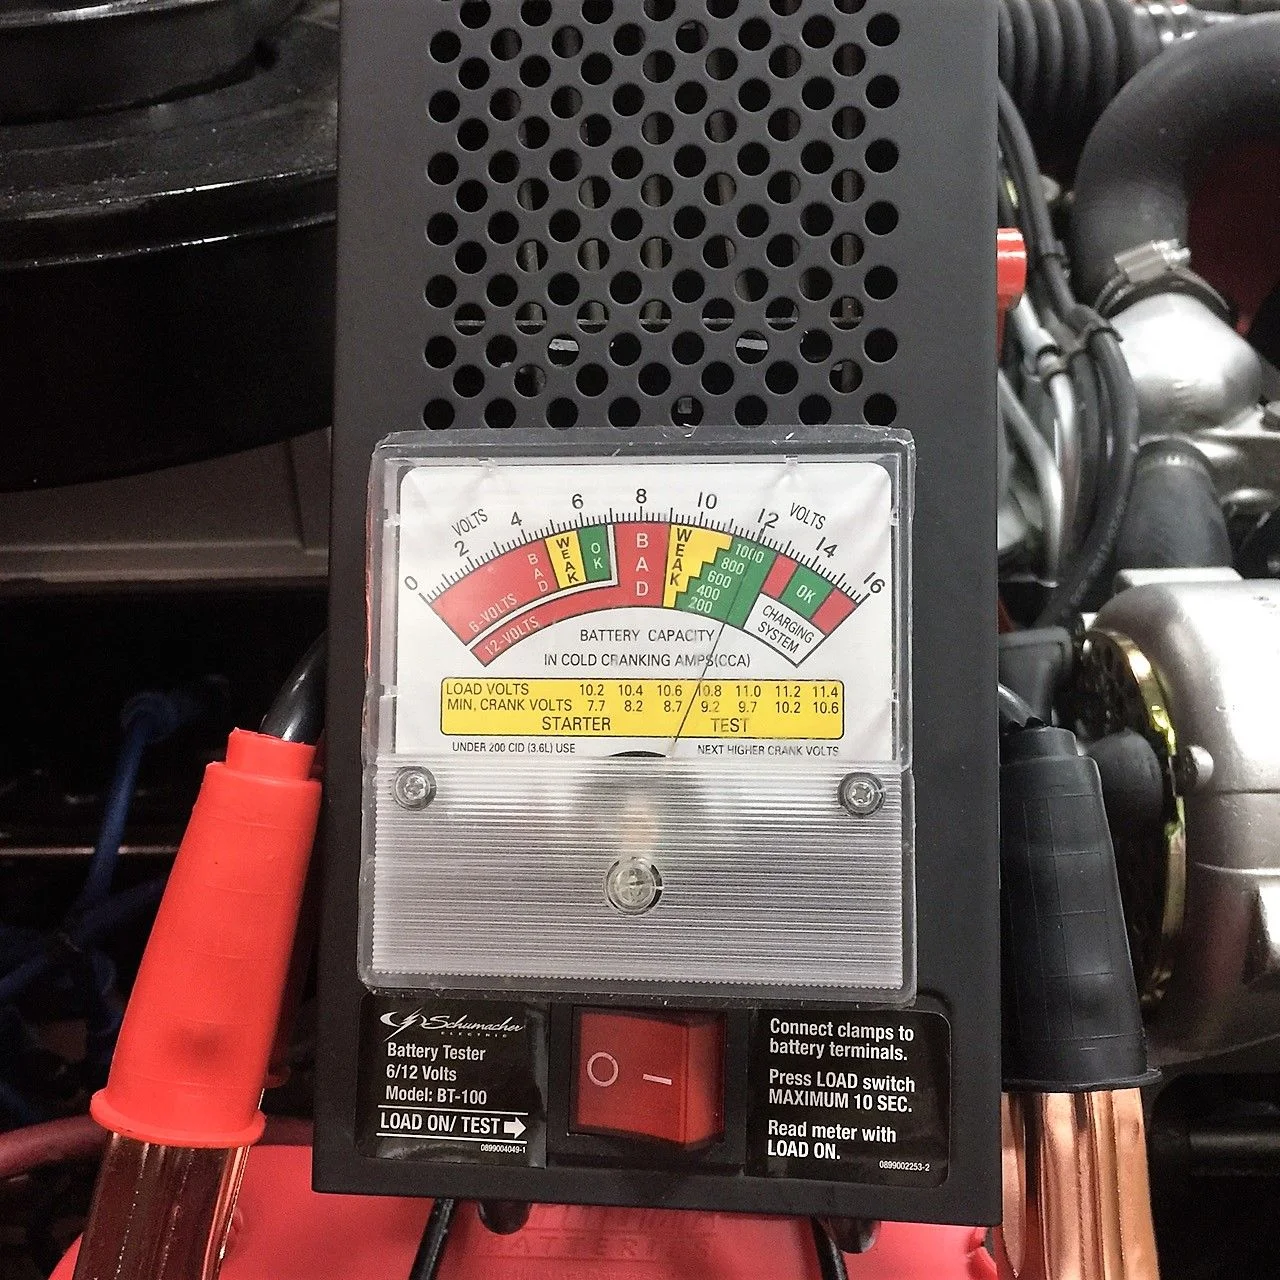
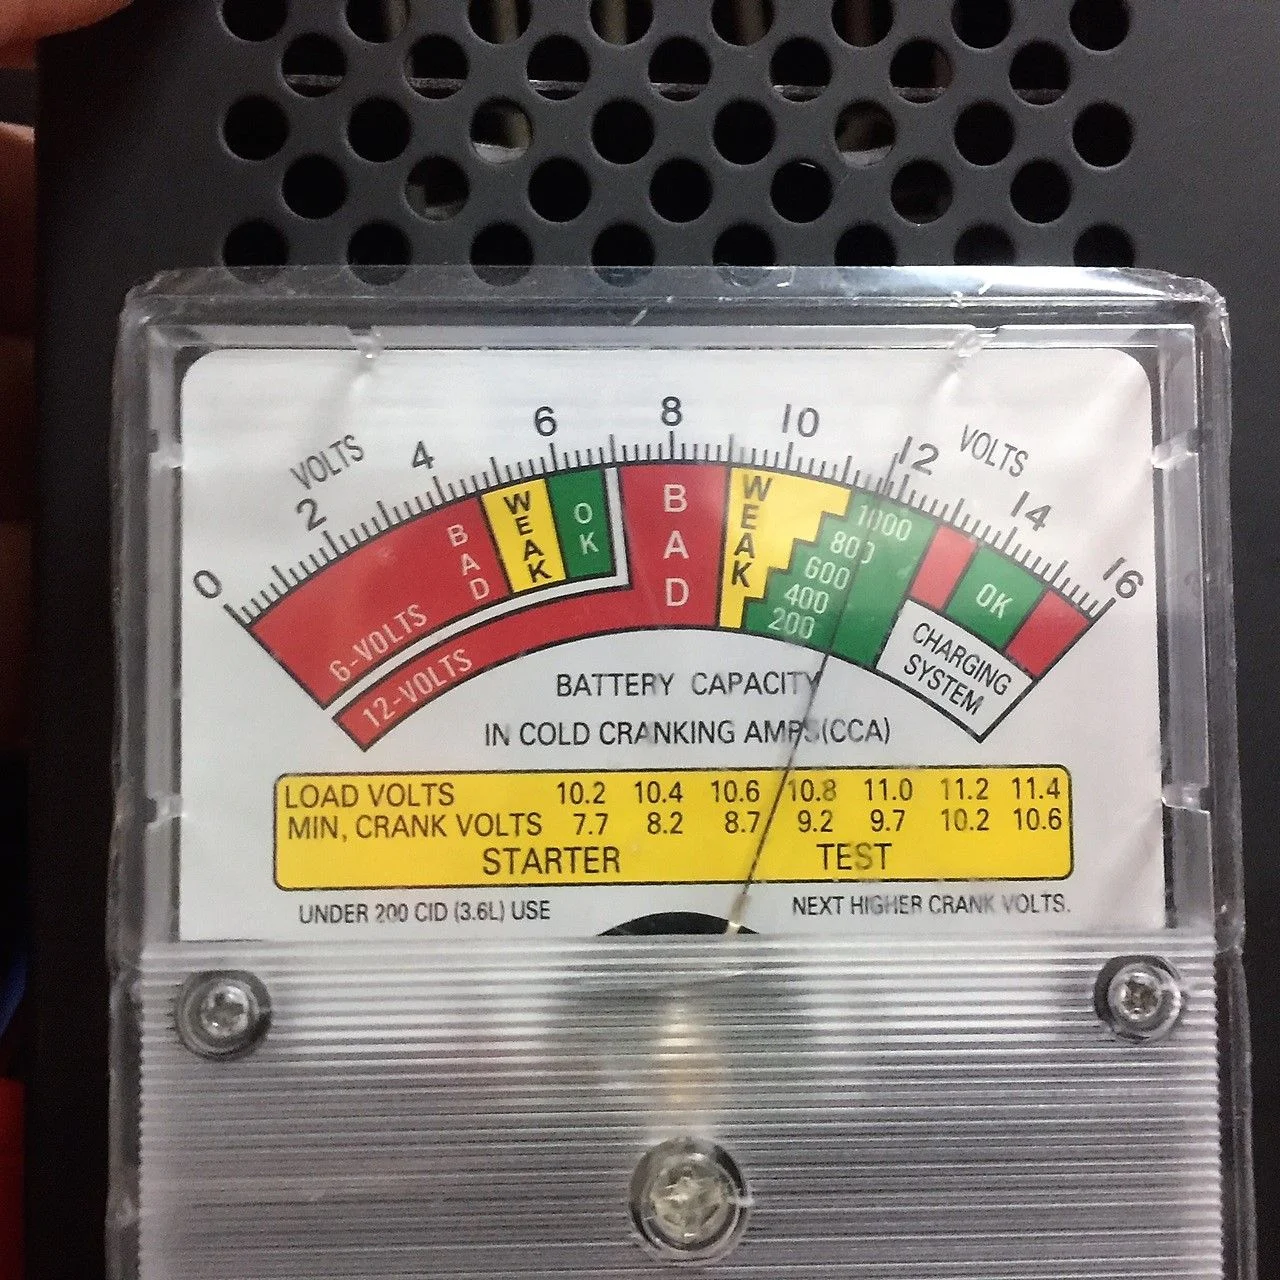
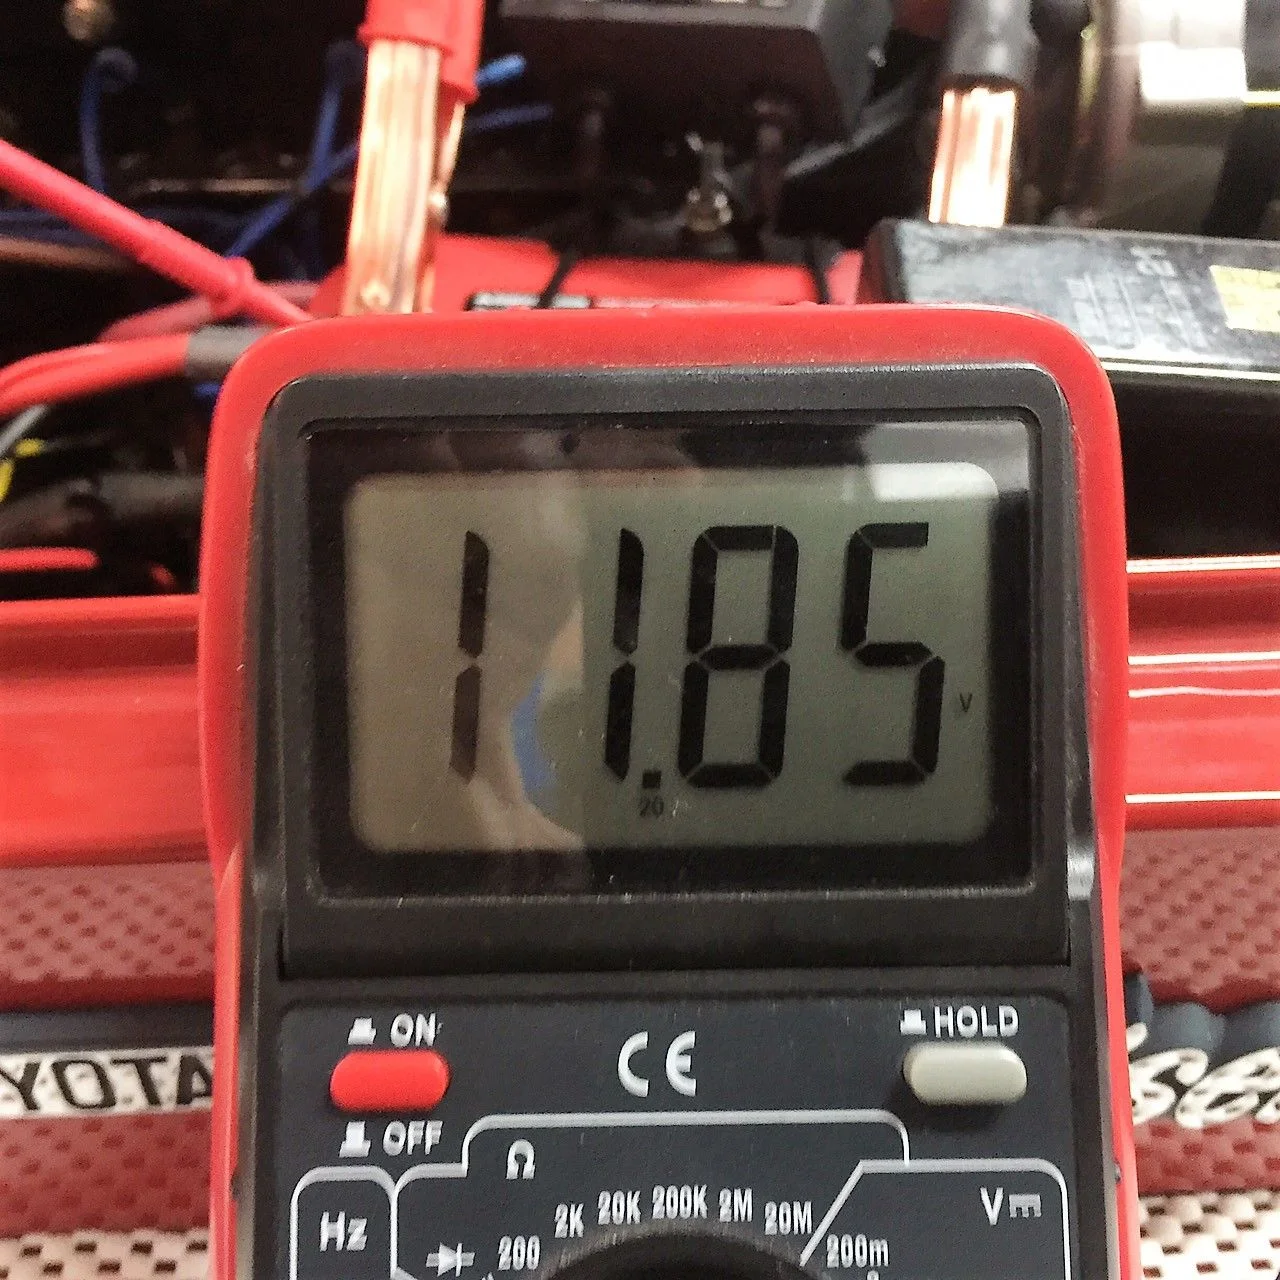
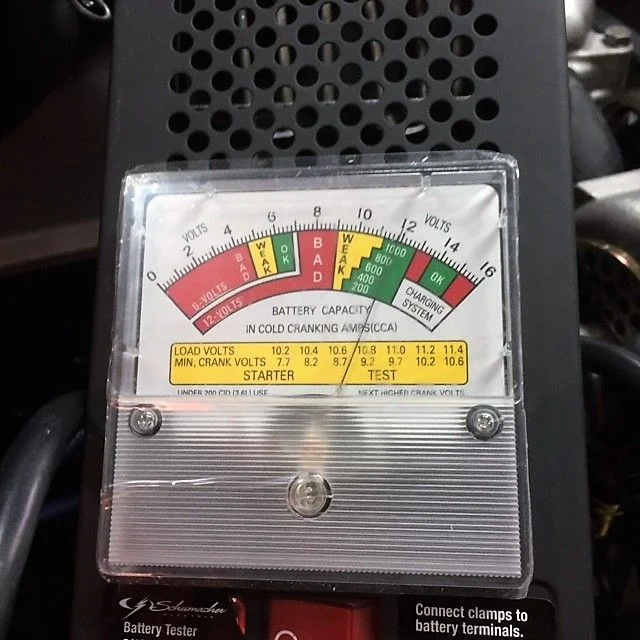
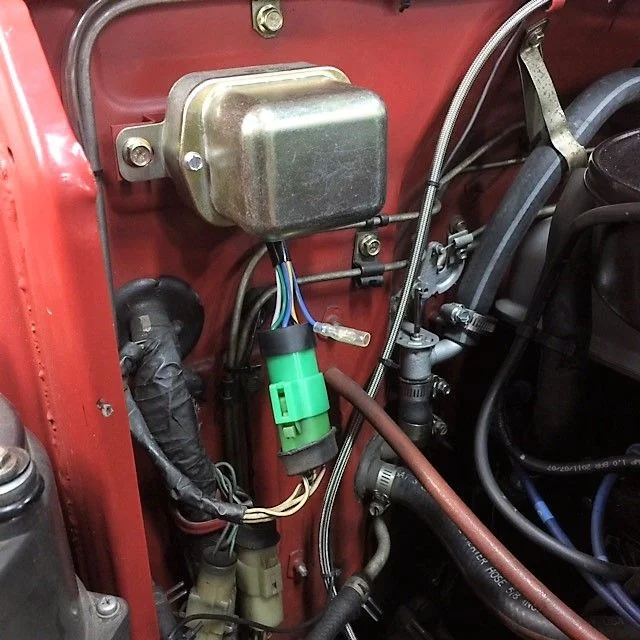
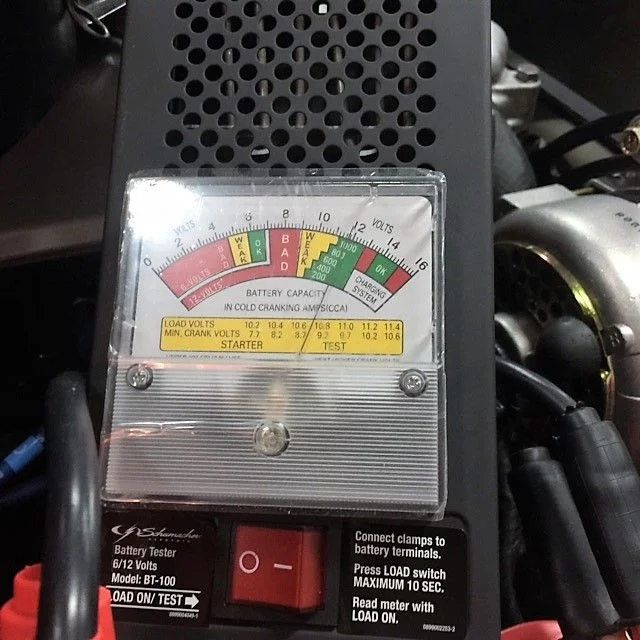
A very perplexing day to say the least,Here's the latest issue. So I decided to help out a friend by sympathetically conducting similar tests on my VR and new alternator , so here are my test findings.
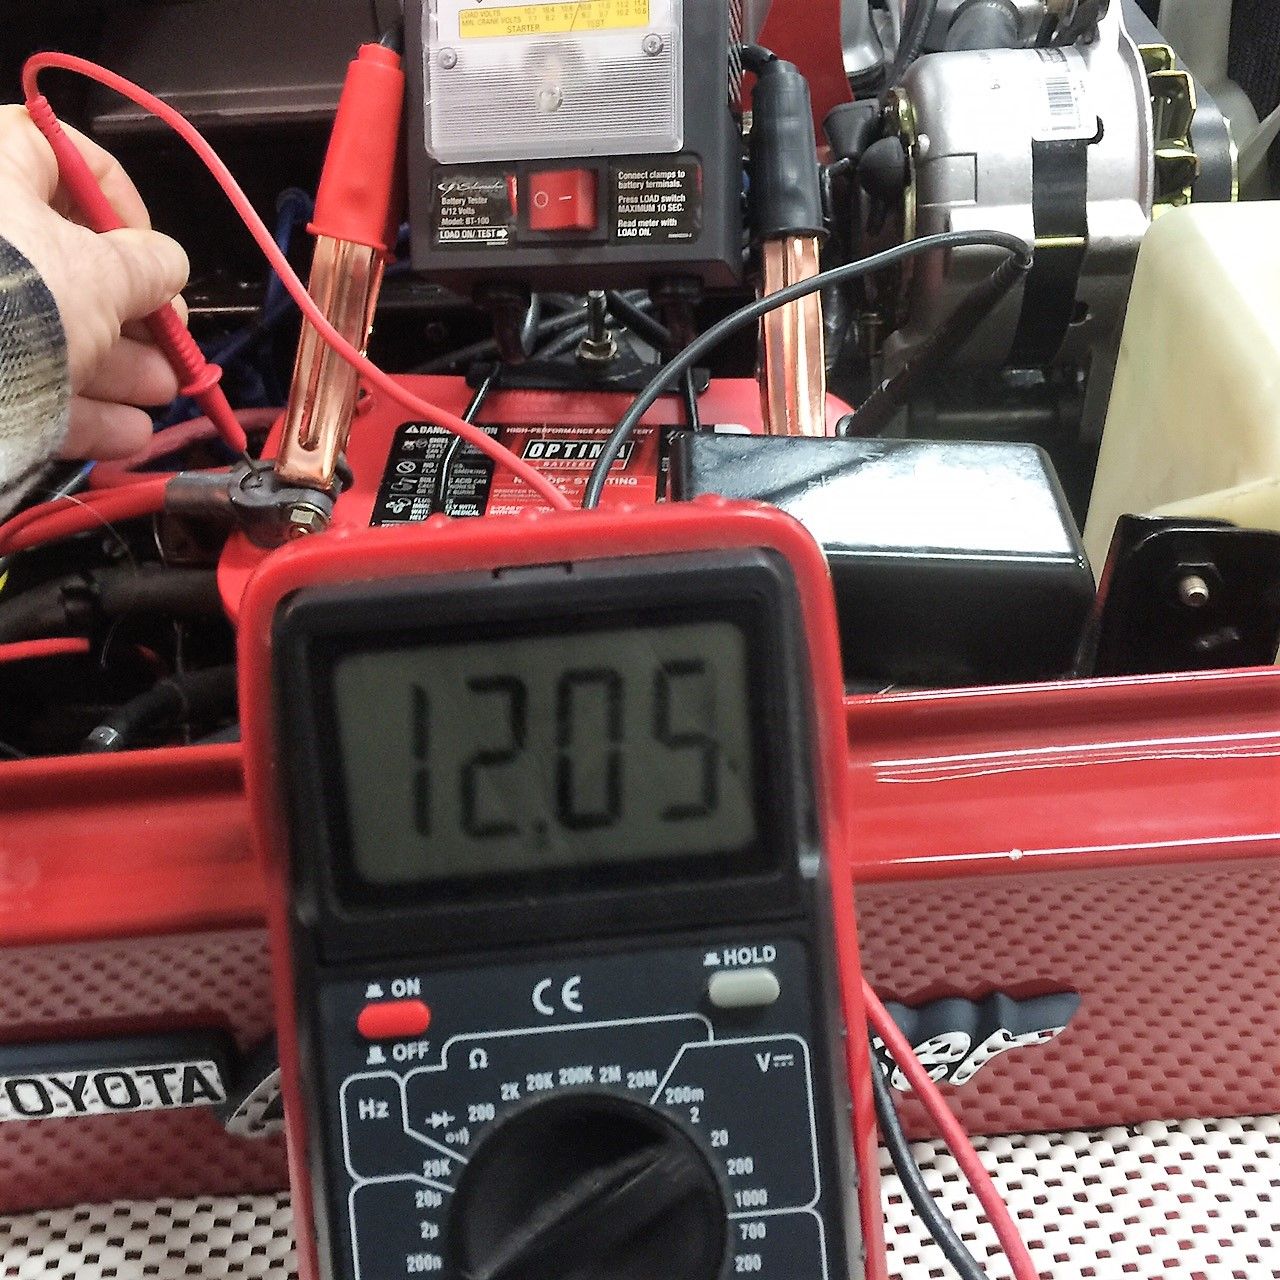
VR testing Pic 1 engine off Lights Off ~ Batt Voltage
Pic 2
Pic 3
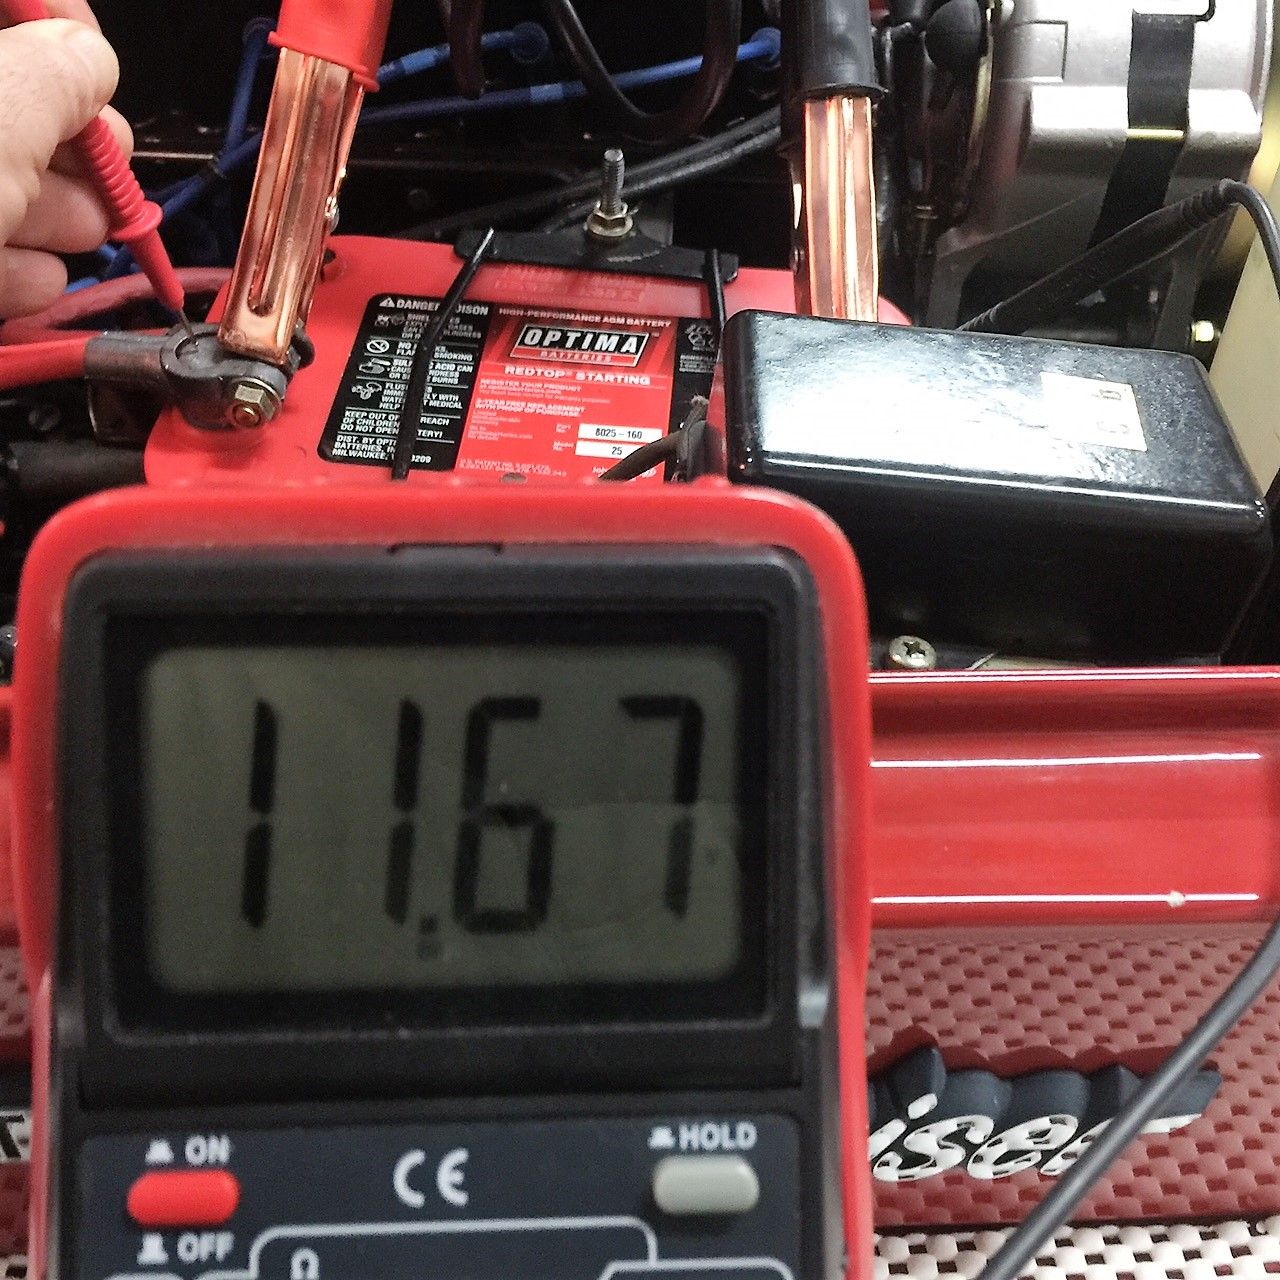
VR testing Pic 4 engine ON at 1800 RPM Lights On
Pic 5
Pic 6
VR testing 7 engine on at 1000 RPM Lights On
Pic 8 VR adjusted several times as per the FSM with similar results no appreciable charging
VR test pic 10 after several adjustments no appreciable charging
pic 11
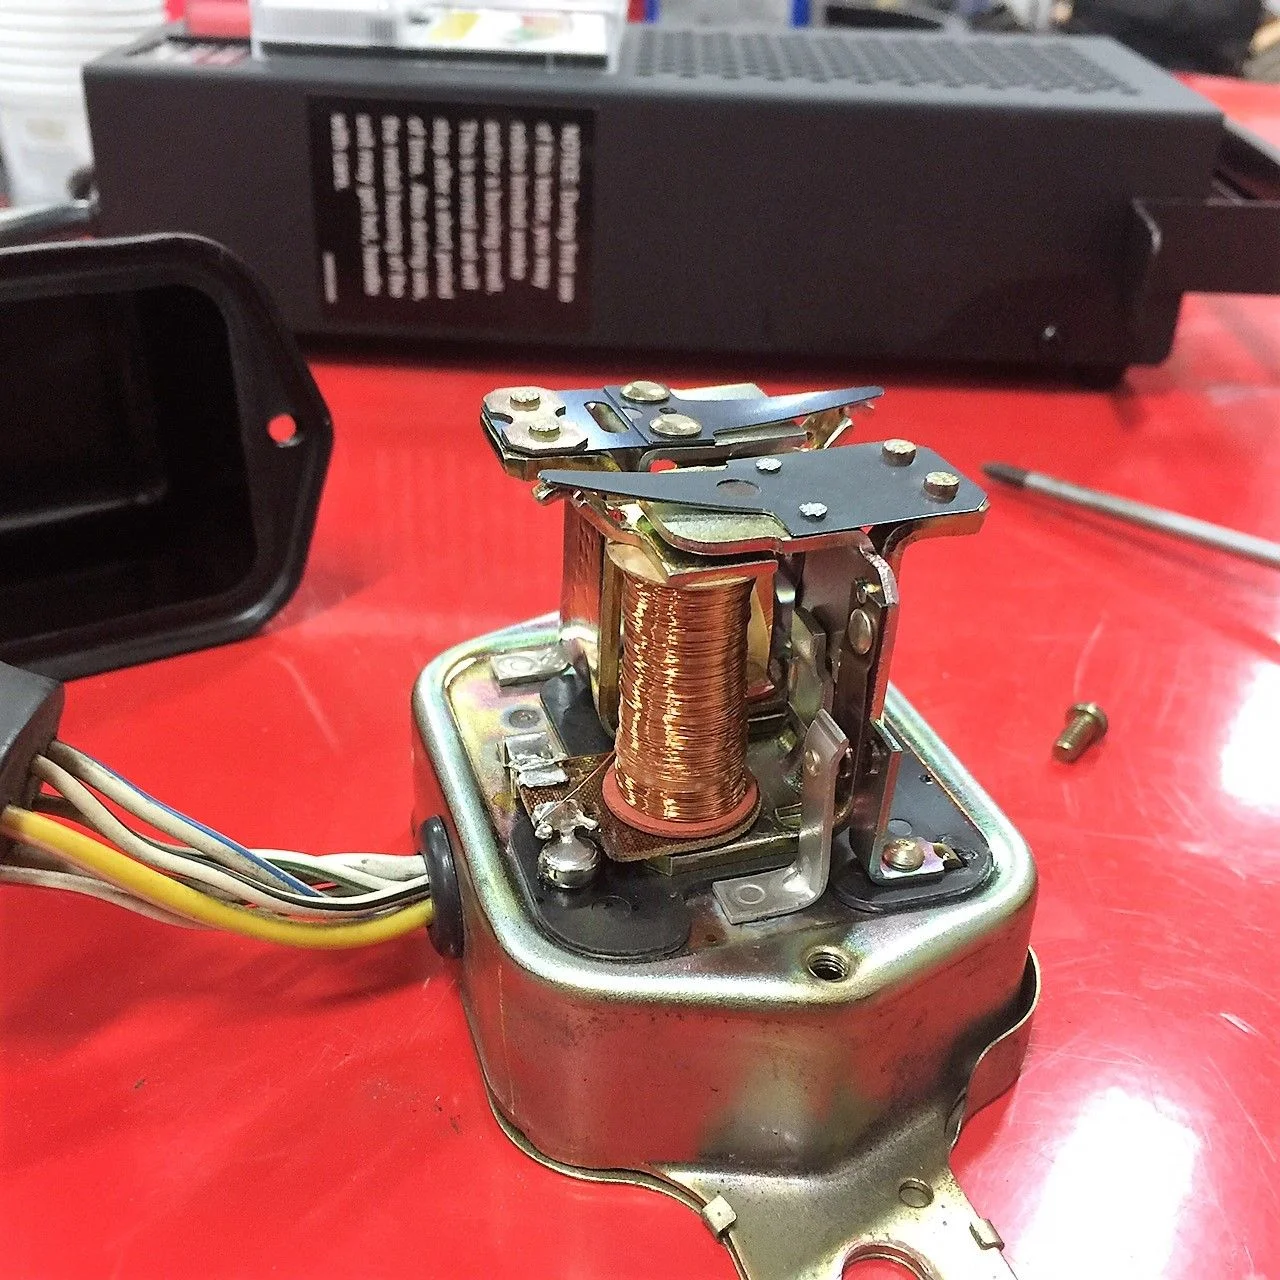
Pic 12 Brand New Voltage Regulator from O'Reilly's purchased today

installed
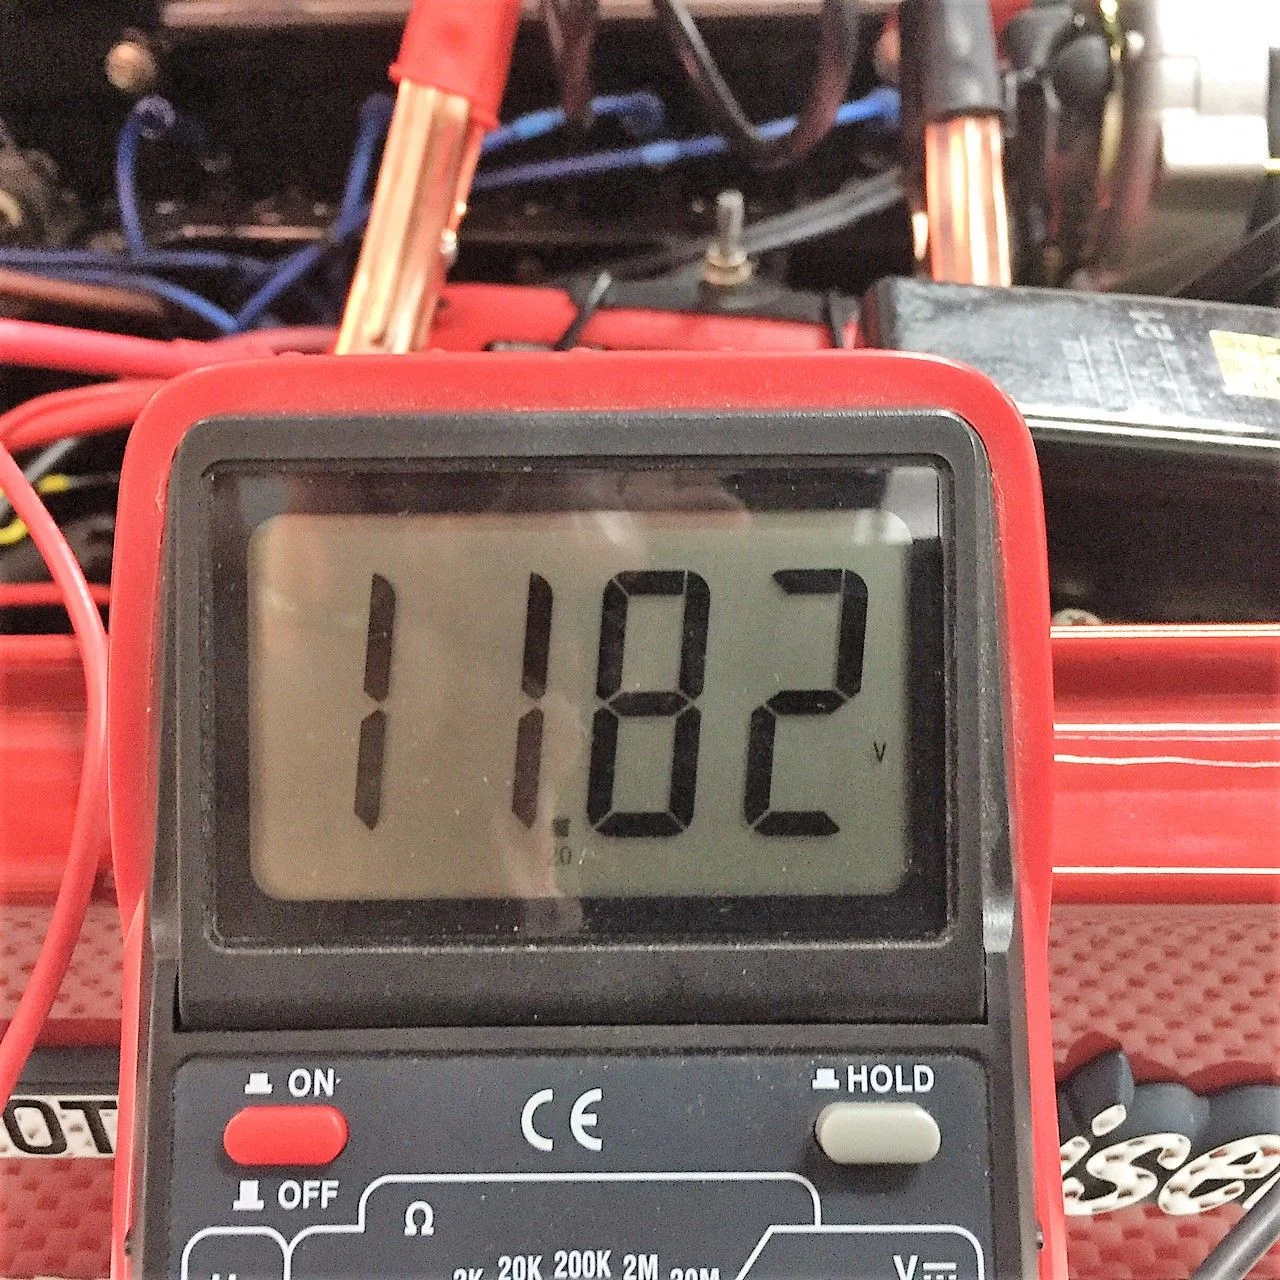
Pic 14 New VR testing 1000 RPM Lights On voltage fluctuation 11.72 V - 11.73 V

pic 15
I didn't know that this problem existed with my VR and new alternator, based on the above results it's safe to assume that my charging system is faulty, any advice?
This also explains as to why my previous Optima battery died a cruel death several months ago.
Does it charge at 2k rpm, Mike?
- Joined
- Mar 9, 2014
- Threads
- 48
- Messages
- 1,289
- Location
- FL Panhandle. Pcola/Miramar Beach
- Website
- forum.ih8mud.com
edited
I posted on wrong one haha, meant to post on thread with golden.
Your wipers look good as new after your refresh.
I posted on wrong one haha, meant to post on thread with golden.
Your wipers look good as new after your refresh.
Last edited:
- Thread starter
- #805
Hey Danny, no unfortunately no charging at +/- 2000 rpm the reading was 11.73 v, at 1000 rpm it was higher at 11.82 v, what's strange is that the voltage readings were almost the same even with a brand new VR. Which leads me to believe that it's either a bad alternator or faulty wiring. I have a brand new belt on the alt and it's adjusted real tight with 1/2 inch deflection, so there's no slipping. I'm perplexed.Does it charge at 2k rpm, Mike?
Have you read thru Rudi's (@bj40green ) VR thread, that I posted up a ways, in Jeff's thread? Great stuff!!
It really sounds like you need to have your alternator tested. Also, if you drive to an auto parts, they will run diagnostics on your electrical system.
It really sounds like you need to have your alternator tested. Also, if you drive to an auto parts, they will run diagnostics on your electrical system.
I replaced my VR and had alt rebuilt about 6 months ago; wonder what my reading would be?? Now you have me thinking Mike, how old is your alternator?
- Thread starter
- #809
Have you read thru Rudi's (@bj40green ) VR thread, that I posted up a ways, in Jeff's thread? Great stuff!!
It really sounds like you need to have your alternator tested. Also, if you drive to an auto parts, they will run diagnostics on your electrical system.
Yes I've read @bj40green 's thread excellent information! Rudi is the best! I'll be testing the alternator soon. Thanks!
- Thread starter
- #810
Tom, My alternator is brand new. Have you tested yours?I replaced my VR and had alt rebuilt about 6 months ago; wonder what my reading would be?? Now you have me thinking Mike, how old is your alternator?
- Thread starter
- #811
Did you test the power lead at the back of the alternator to see if there is a difference in voltage compared to at the battery? Good Luck. Geoff.
Thanks Geof I will try your testing method soon.
- Thread starter
- #812
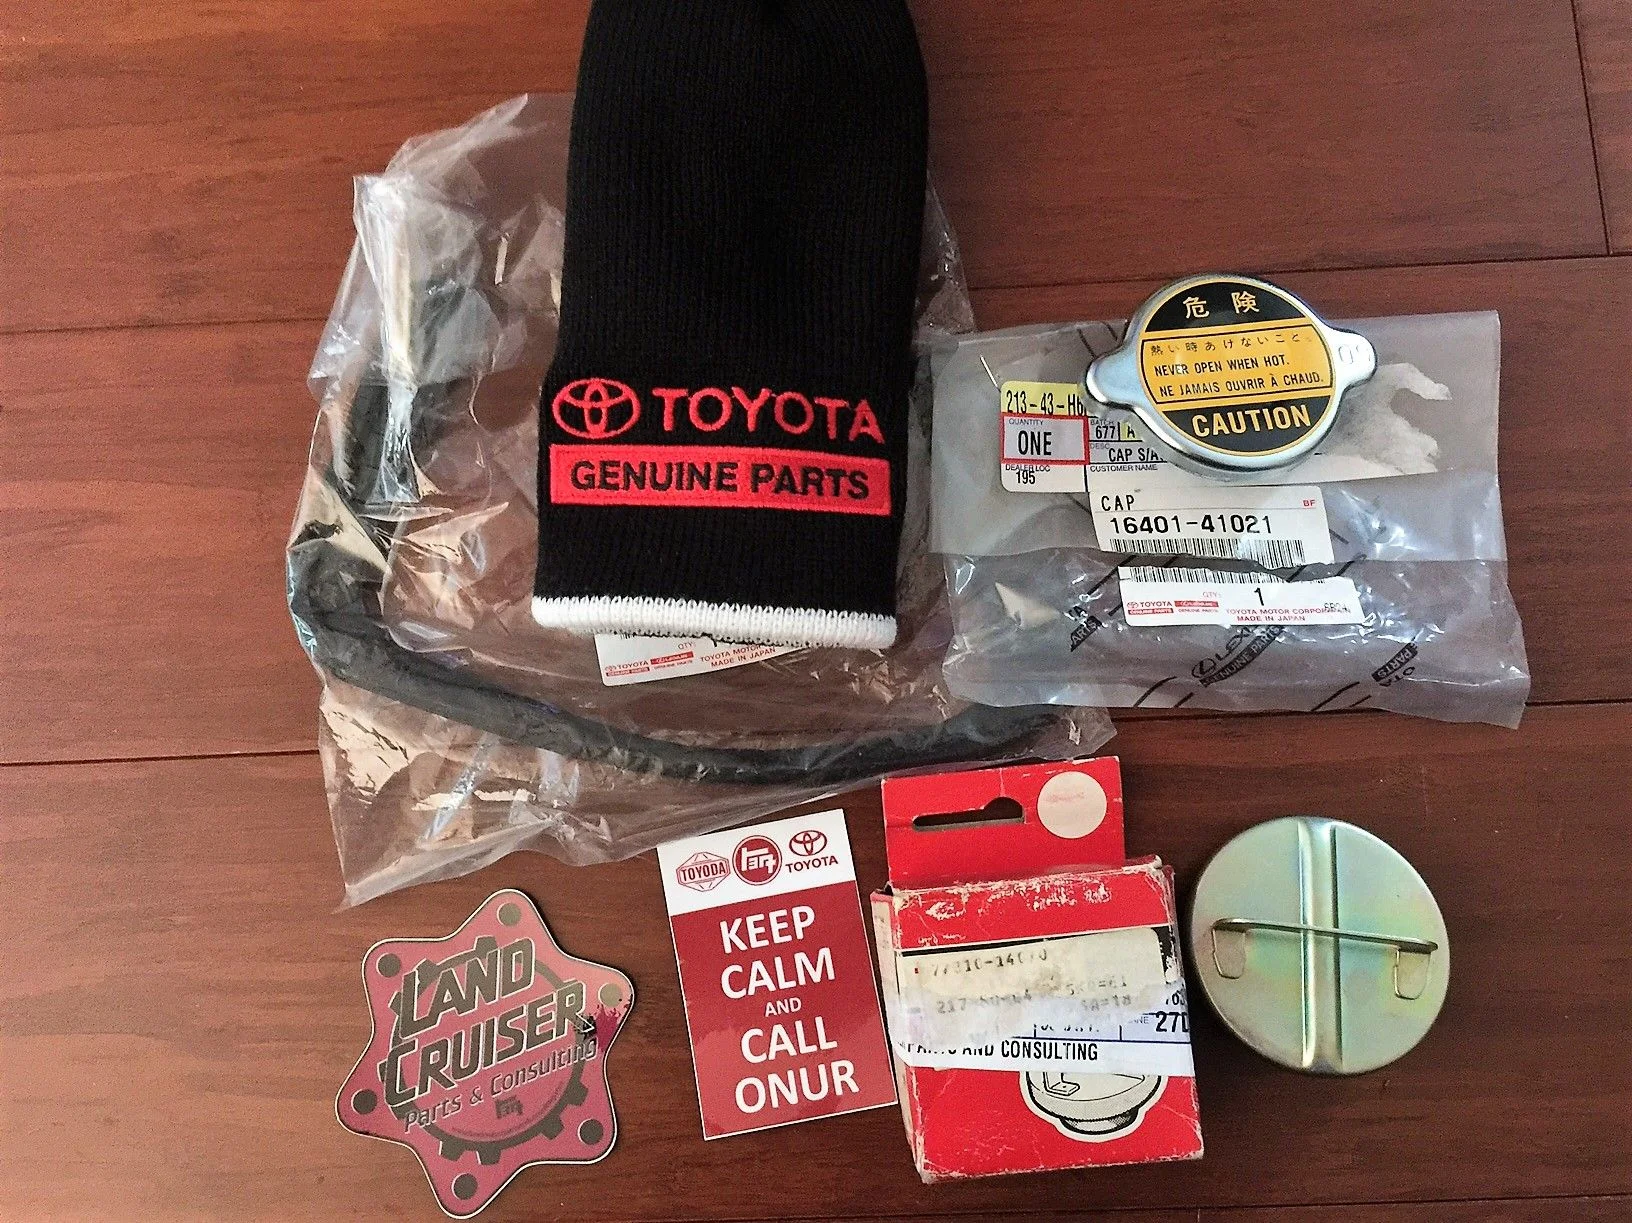
I received a care package from Onur @beno with also a few extra gifts! Thanks Onur!!
Here are a few pics:
1. TEQ radiator cap
1. TEQ gas cap
1. Windshield wiper motor housing gasket
A bonus Toyota Genuine Parts beanie!
And two Land Cruiser Parts and Consulting stickers!
Installed the TEQ radiator cap ~ I'm very happy with the new look!
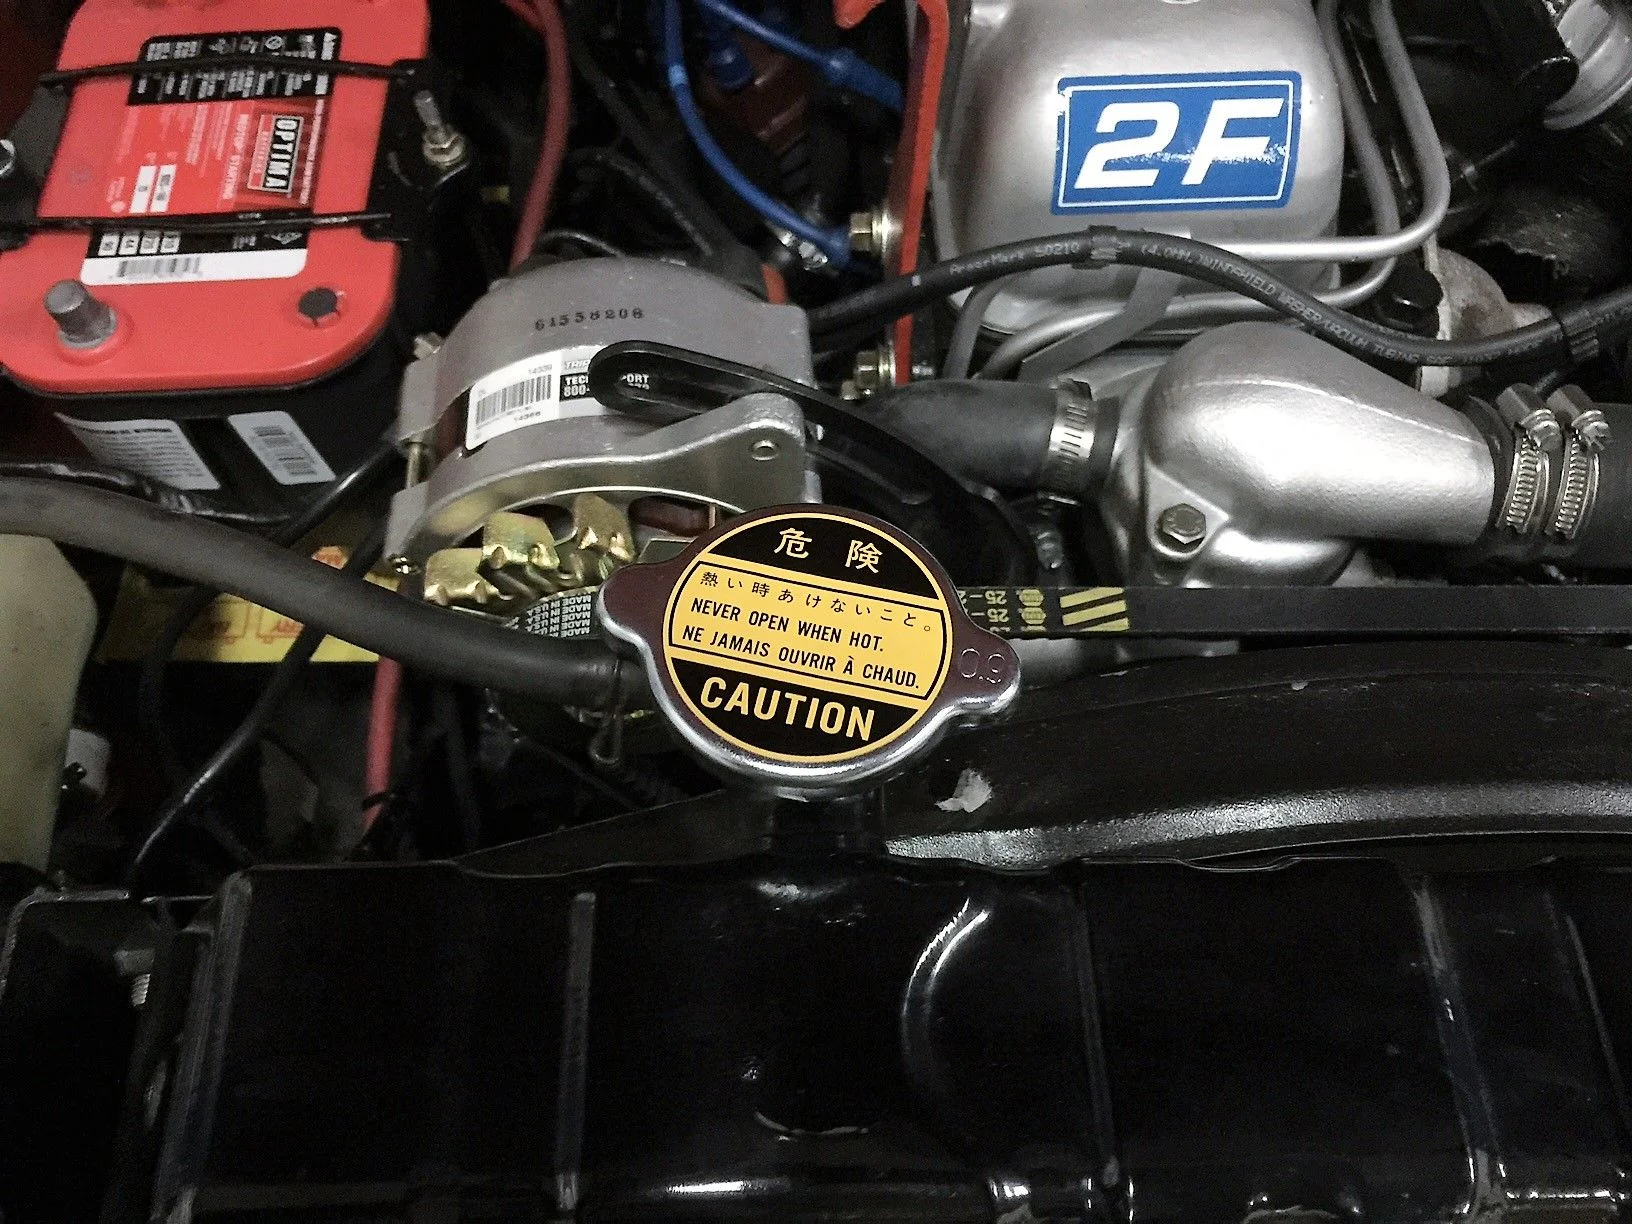
Installed the new TEQ gas cap, the old cap was leaking and as such was complaining by hissing and groaning while the engine running.

I also purchased a new gasket for the windshield wiper motor housing, unfortunately was not able to install it today but will real soon.
Here are a few pics:
1. TEQ radiator cap
1. TEQ gas cap
1. Windshield wiper motor housing gasket
A bonus Toyota Genuine Parts beanie!
And two Land Cruiser Parts and Consulting stickers!
Installed the TEQ radiator cap ~ I'm very happy with the new look!
Installed the new TEQ gas cap, the old cap was leaking and as such was complaining by hissing and groaning while the engine running.
I also purchased a new gasket for the windshield wiper motor housing, unfortunately was not able to install it today but will real soon.
Nice fresh produce there Mike! Is that the correct gas cap for a '78? I know it is right for a '76, not sure about a '78
He may be wrong...................
bwalker16527
1974 FJ40 SBC V8 350 TH400
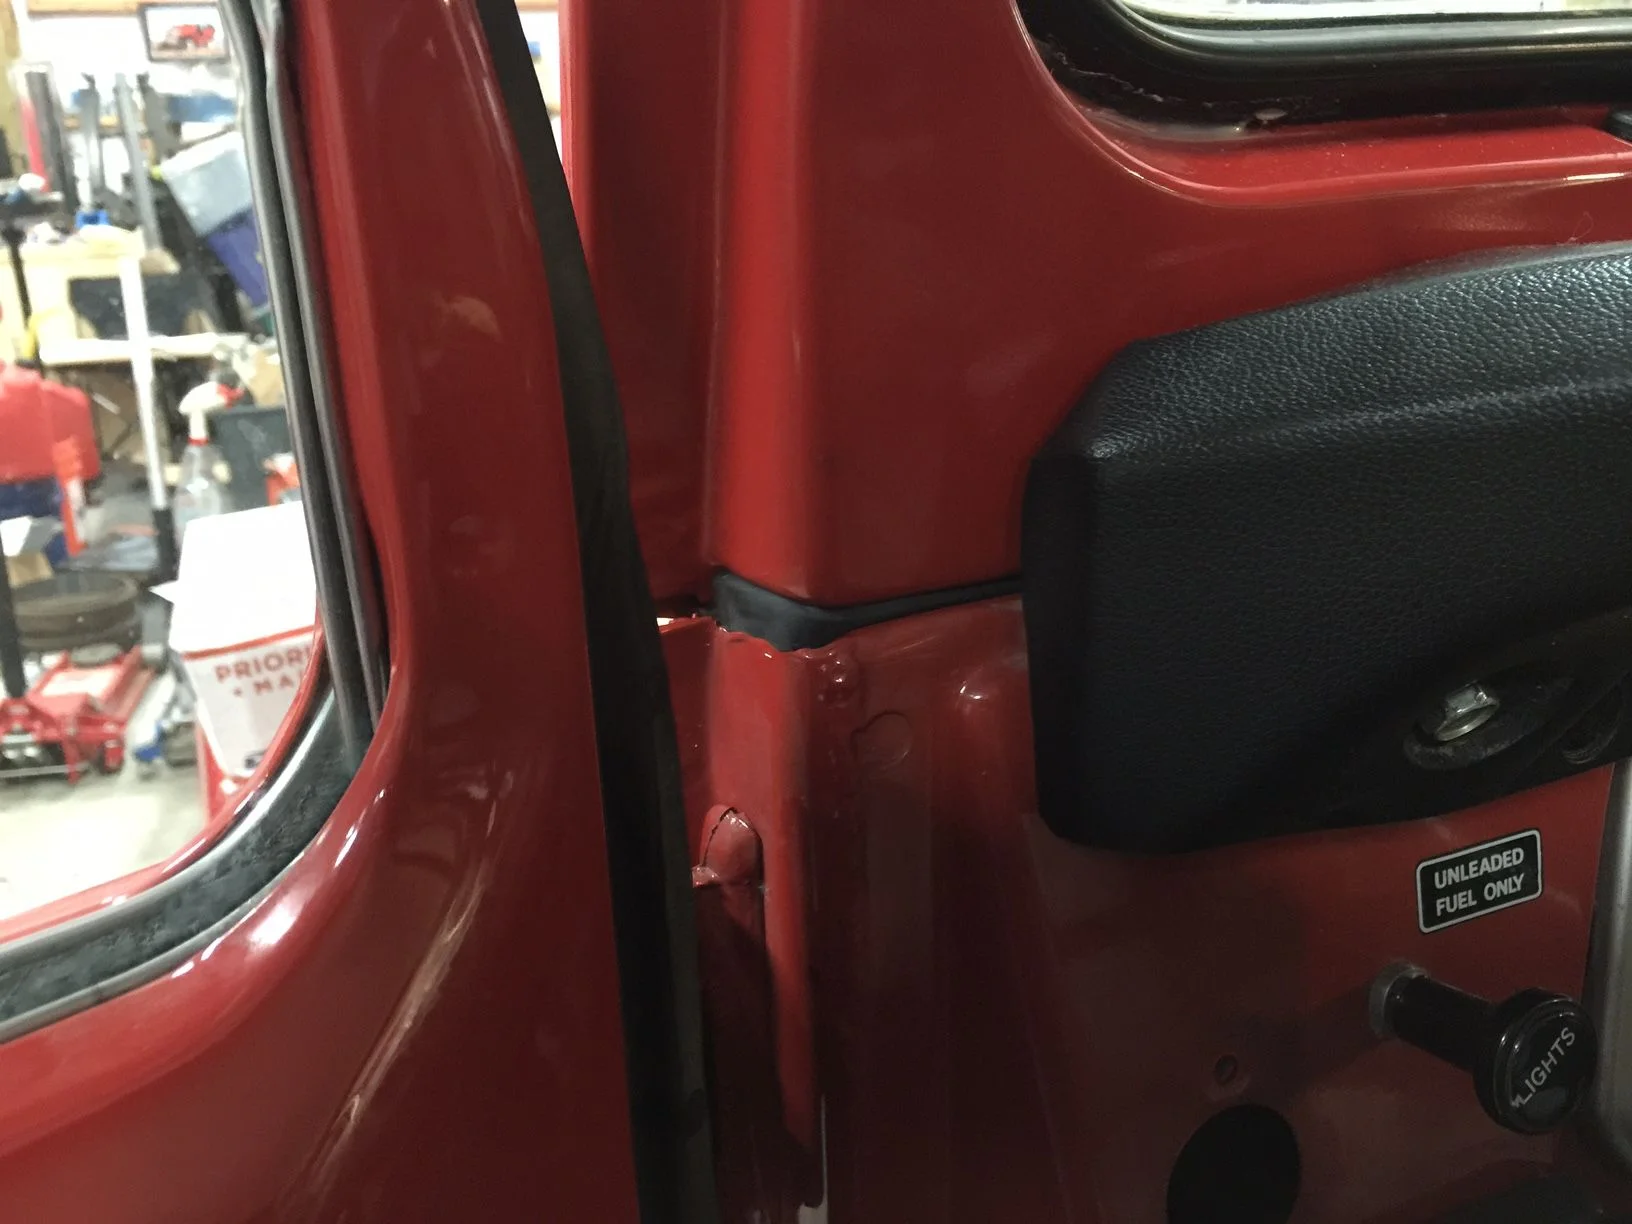
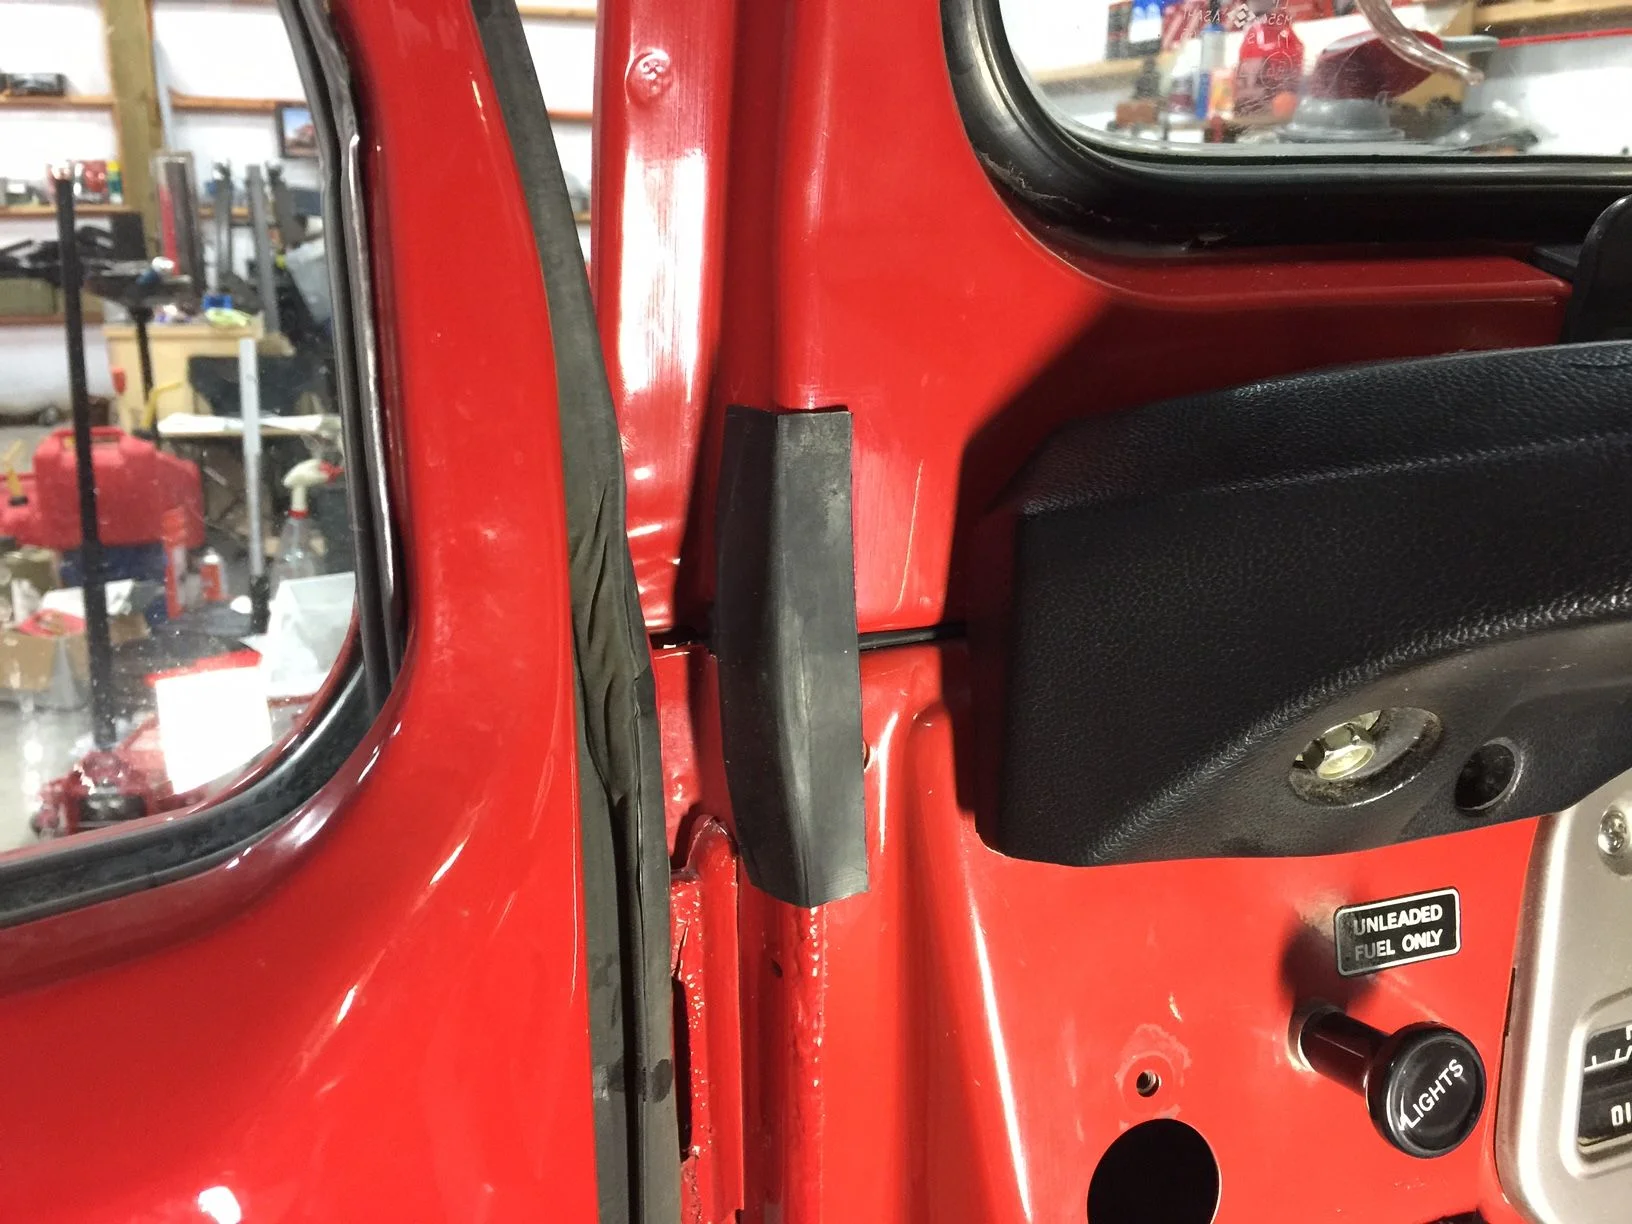
Question, did you use any adhesive for your rubber trim strips that interact with door header piece?Prior to re-installing the roof I used this automotive sealant product to level off all uneven areas that the roof seal rests on to create a water proof seal. This product is soft and will not harden, I've had this tube from previous projects and it's about 20 years old and still very pliable.
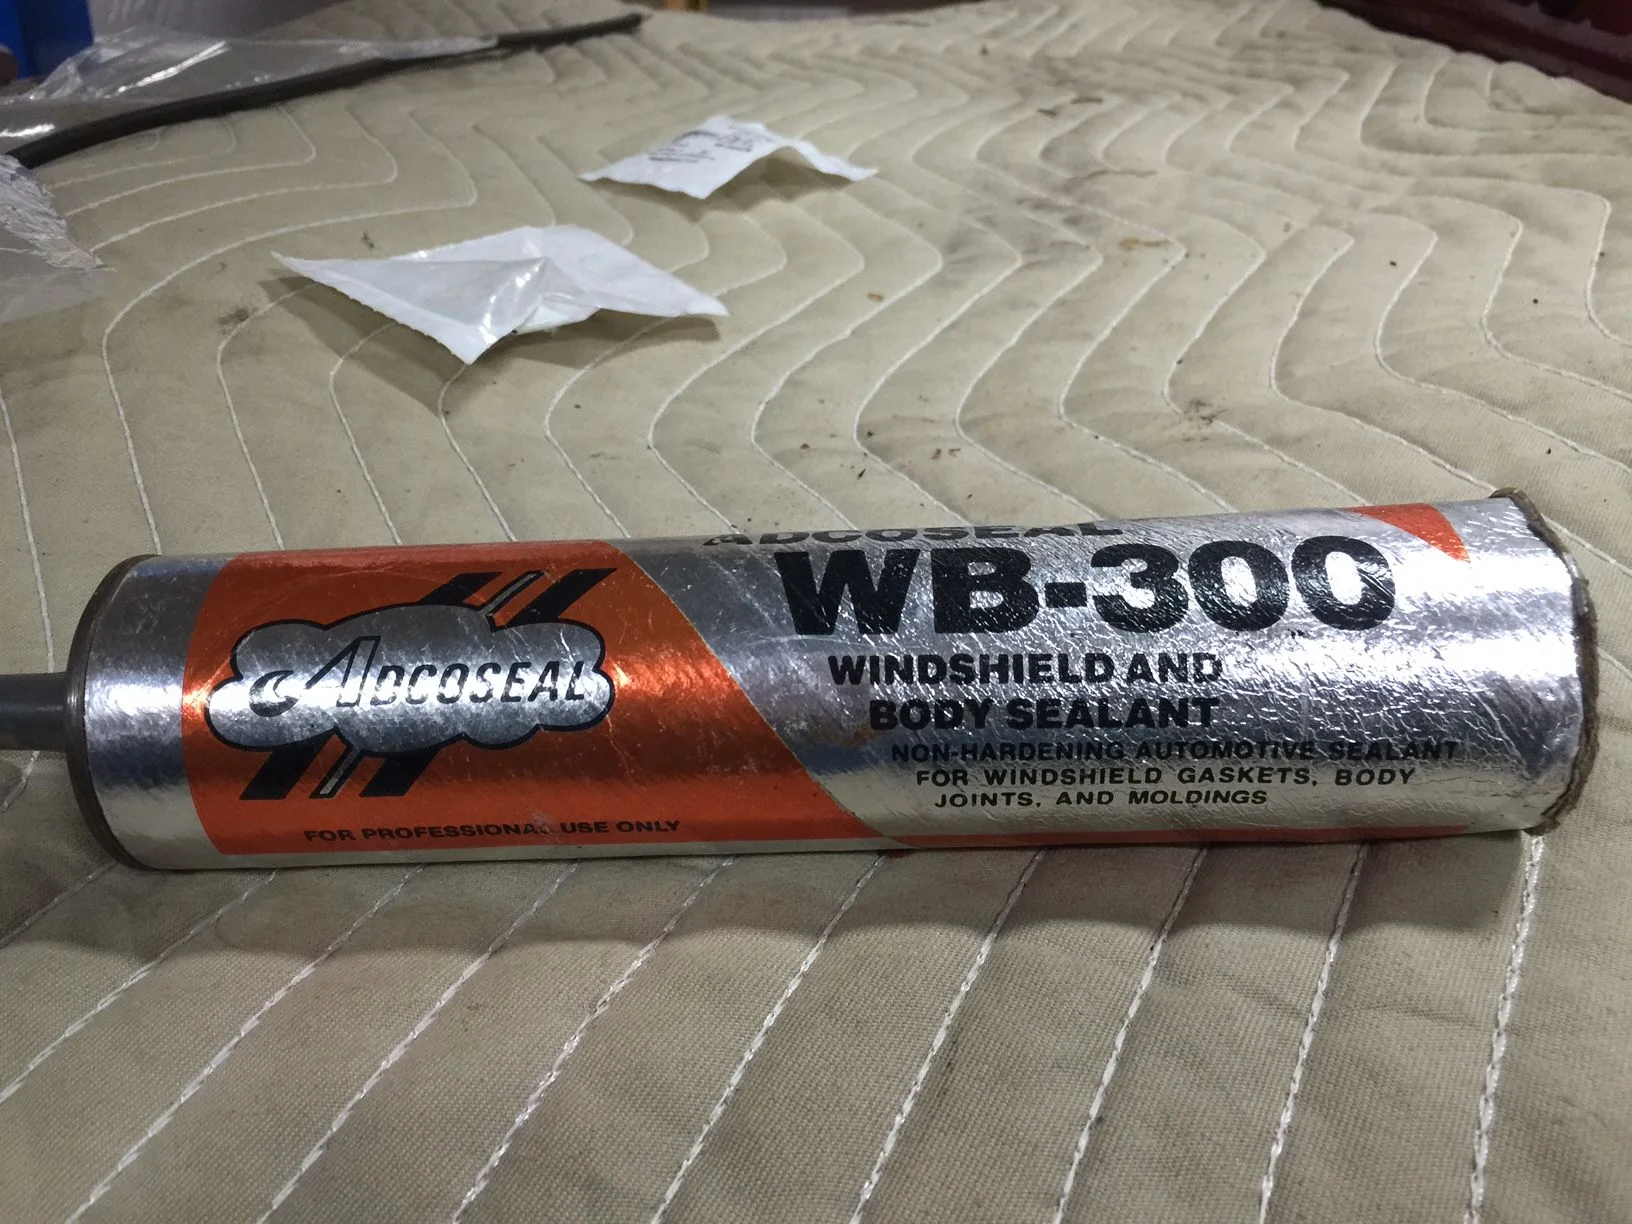
These are the ares that needed leveling
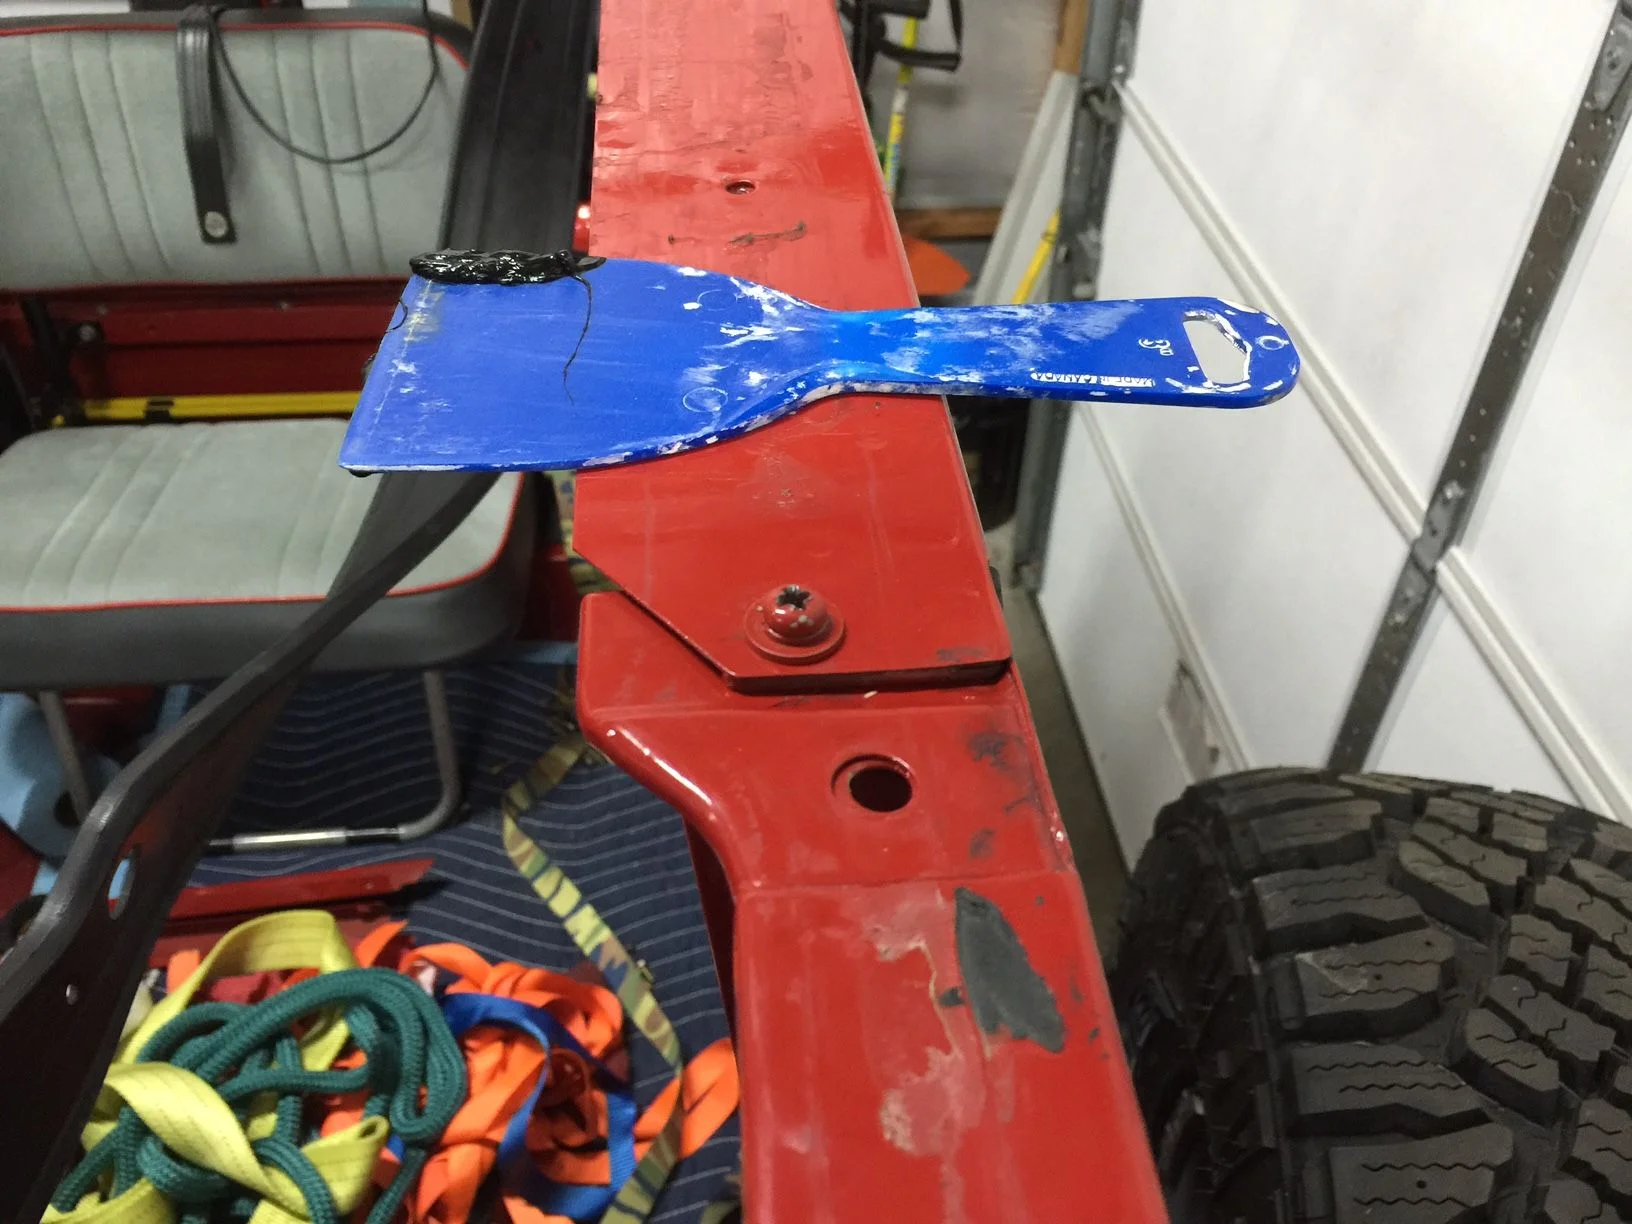
Applied sealant to cover the uneven areas

Pumped sealant over uneven door jam
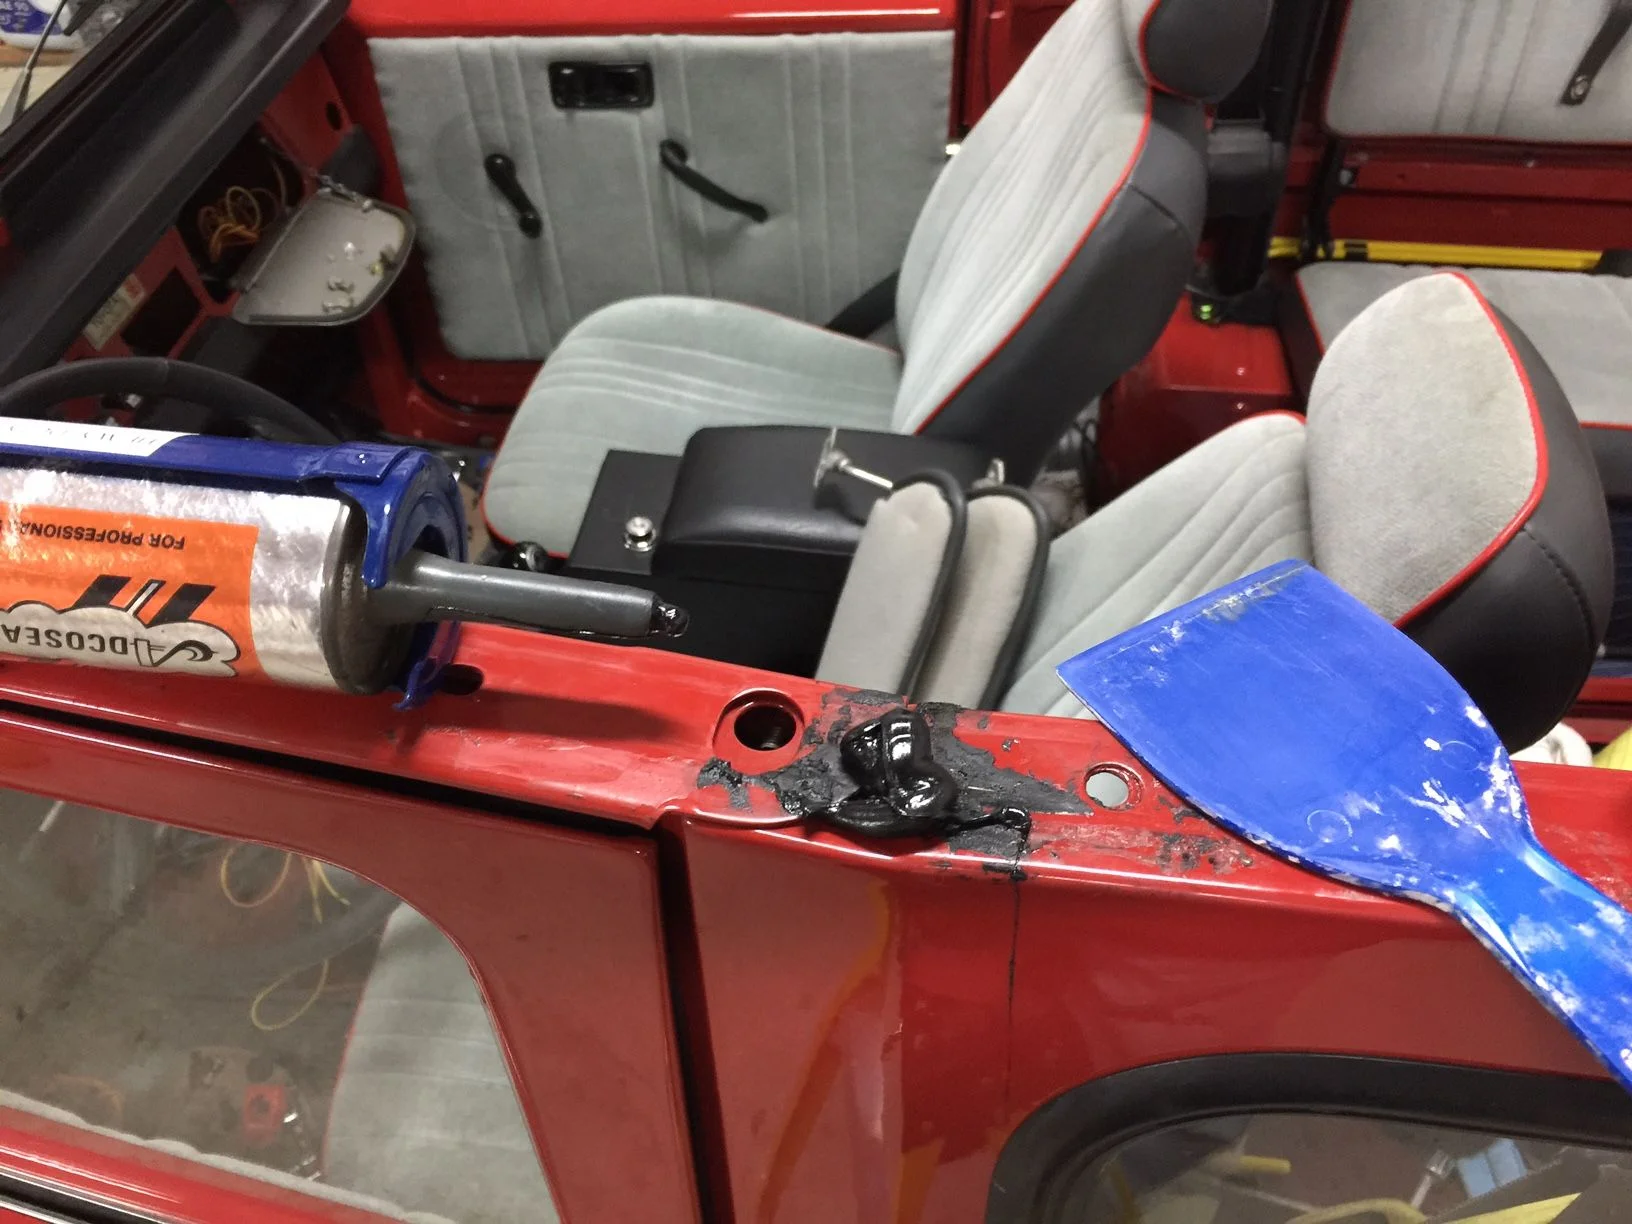
Then leveled it off
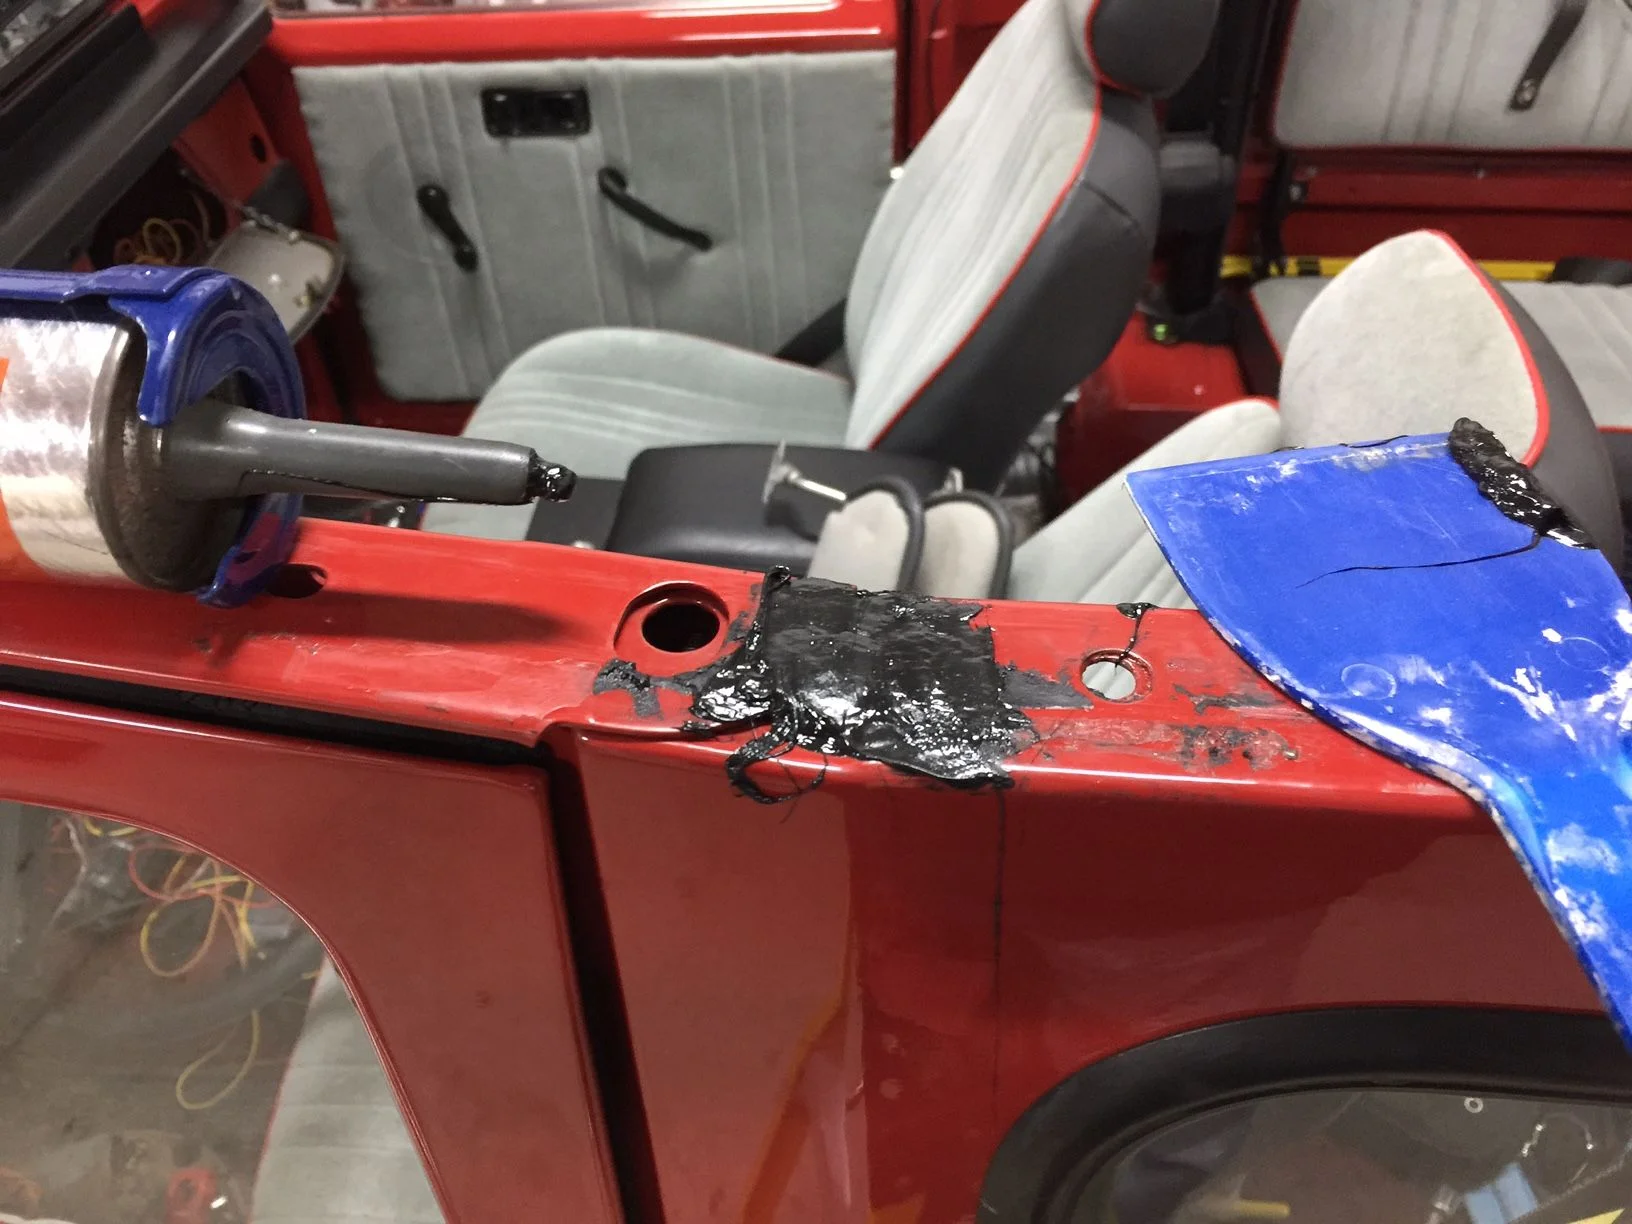
Ready to install the roof
Re-installing the roof
Installing the little rubber bits for a leak free install

I applied some body sealer under and around this piece to ensure a leak free roof
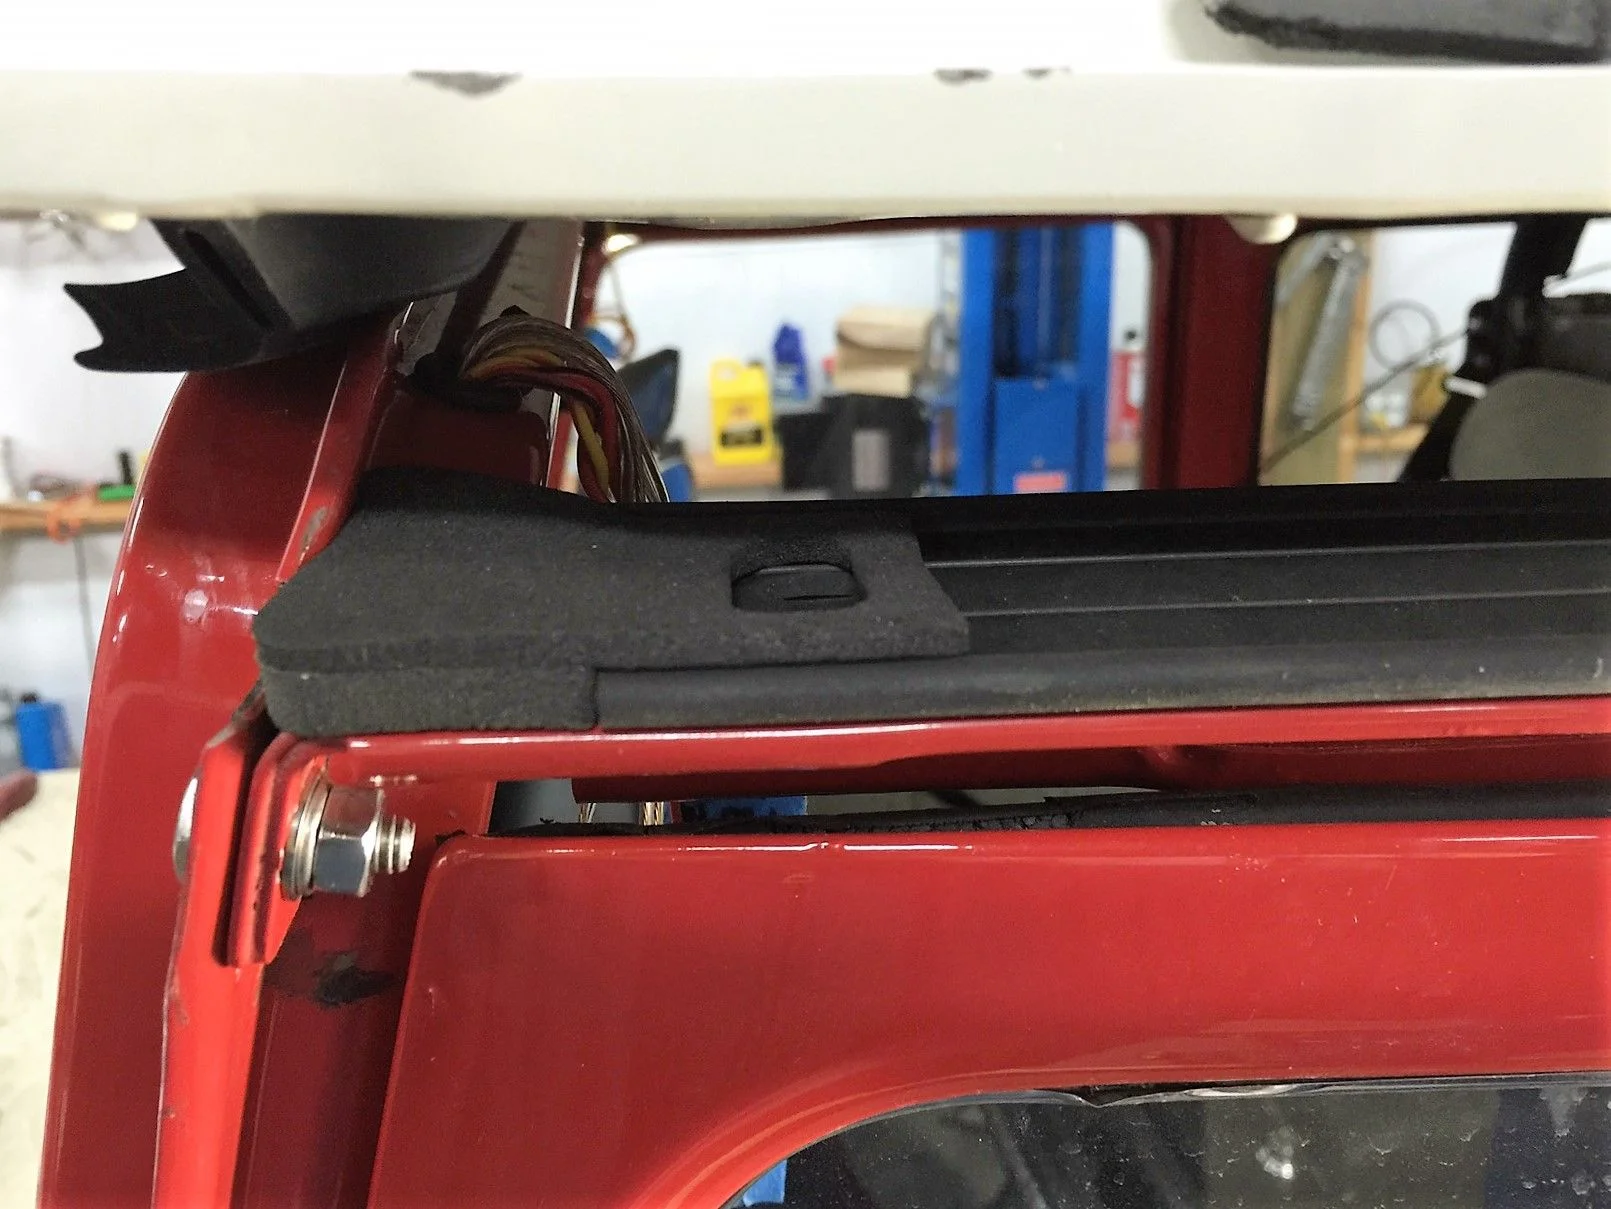
Next was the rear door jam rubber seal (self sticking)
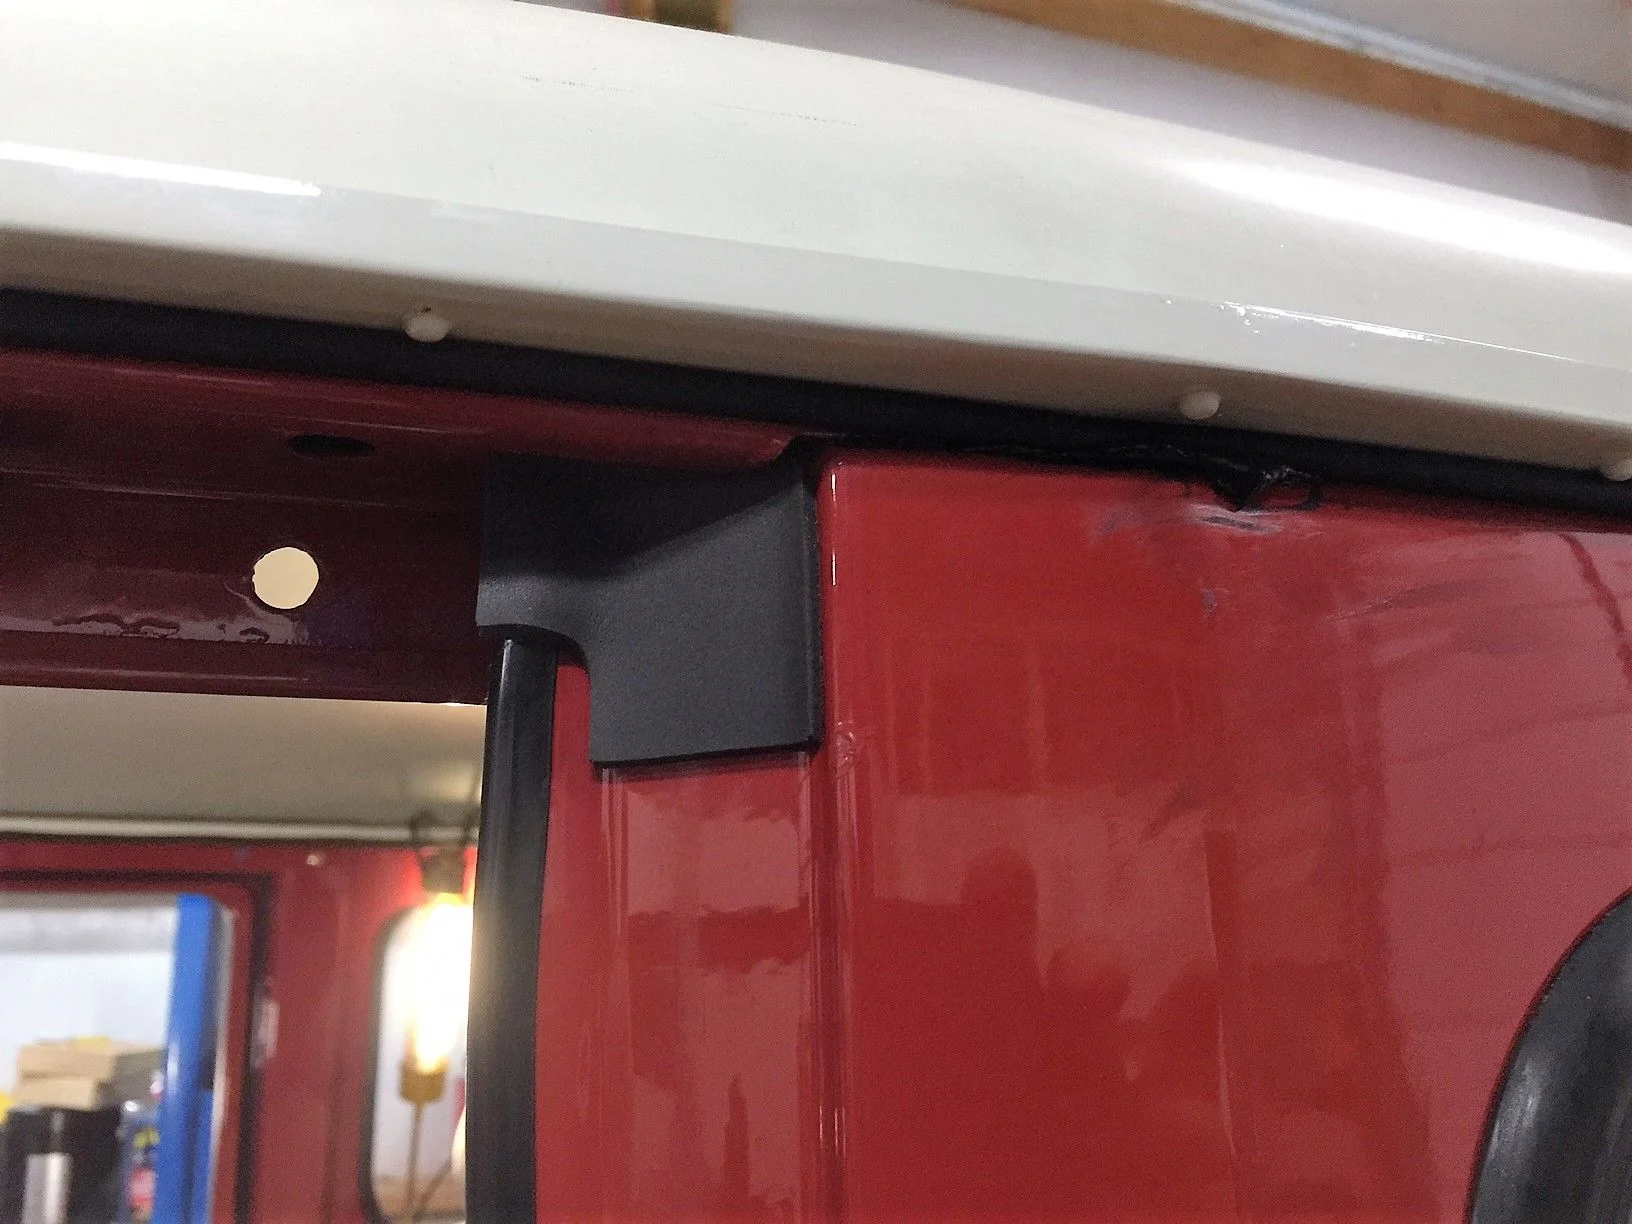
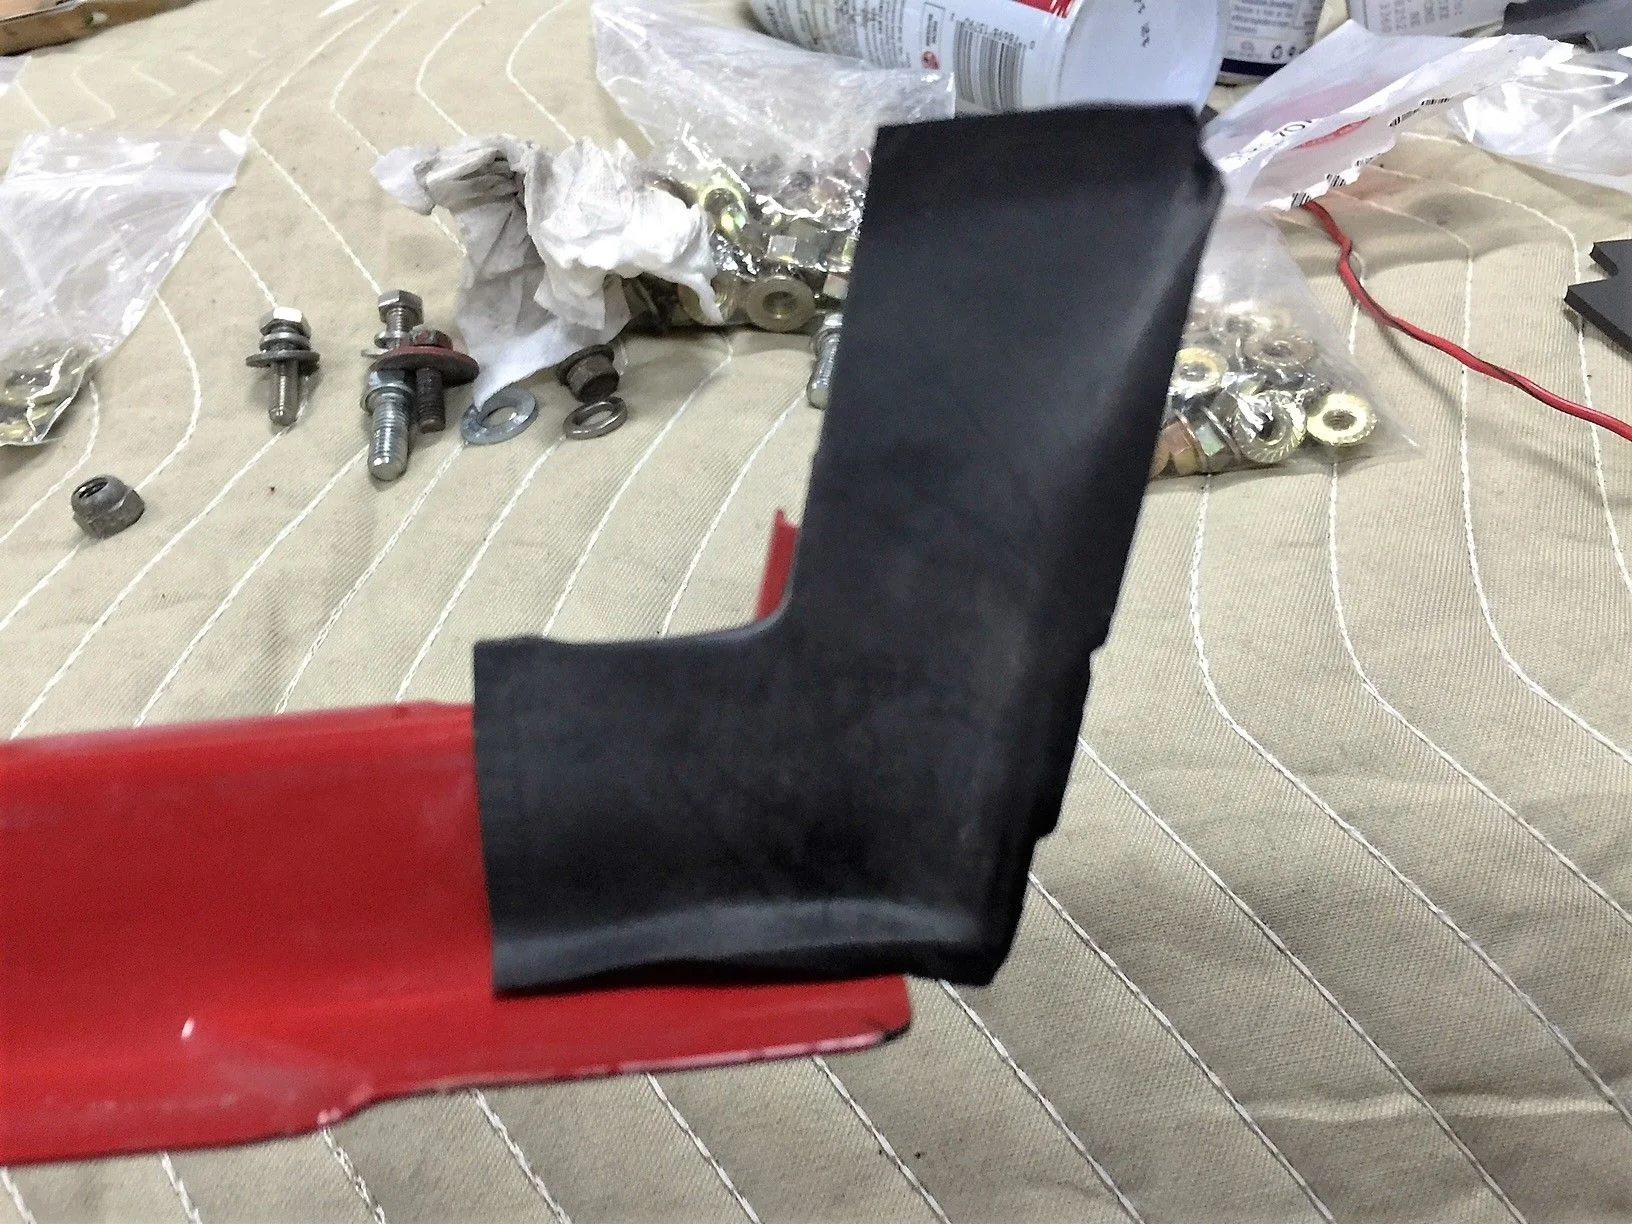
Front door seal it interlocks with door header trim piece, fits like a glove
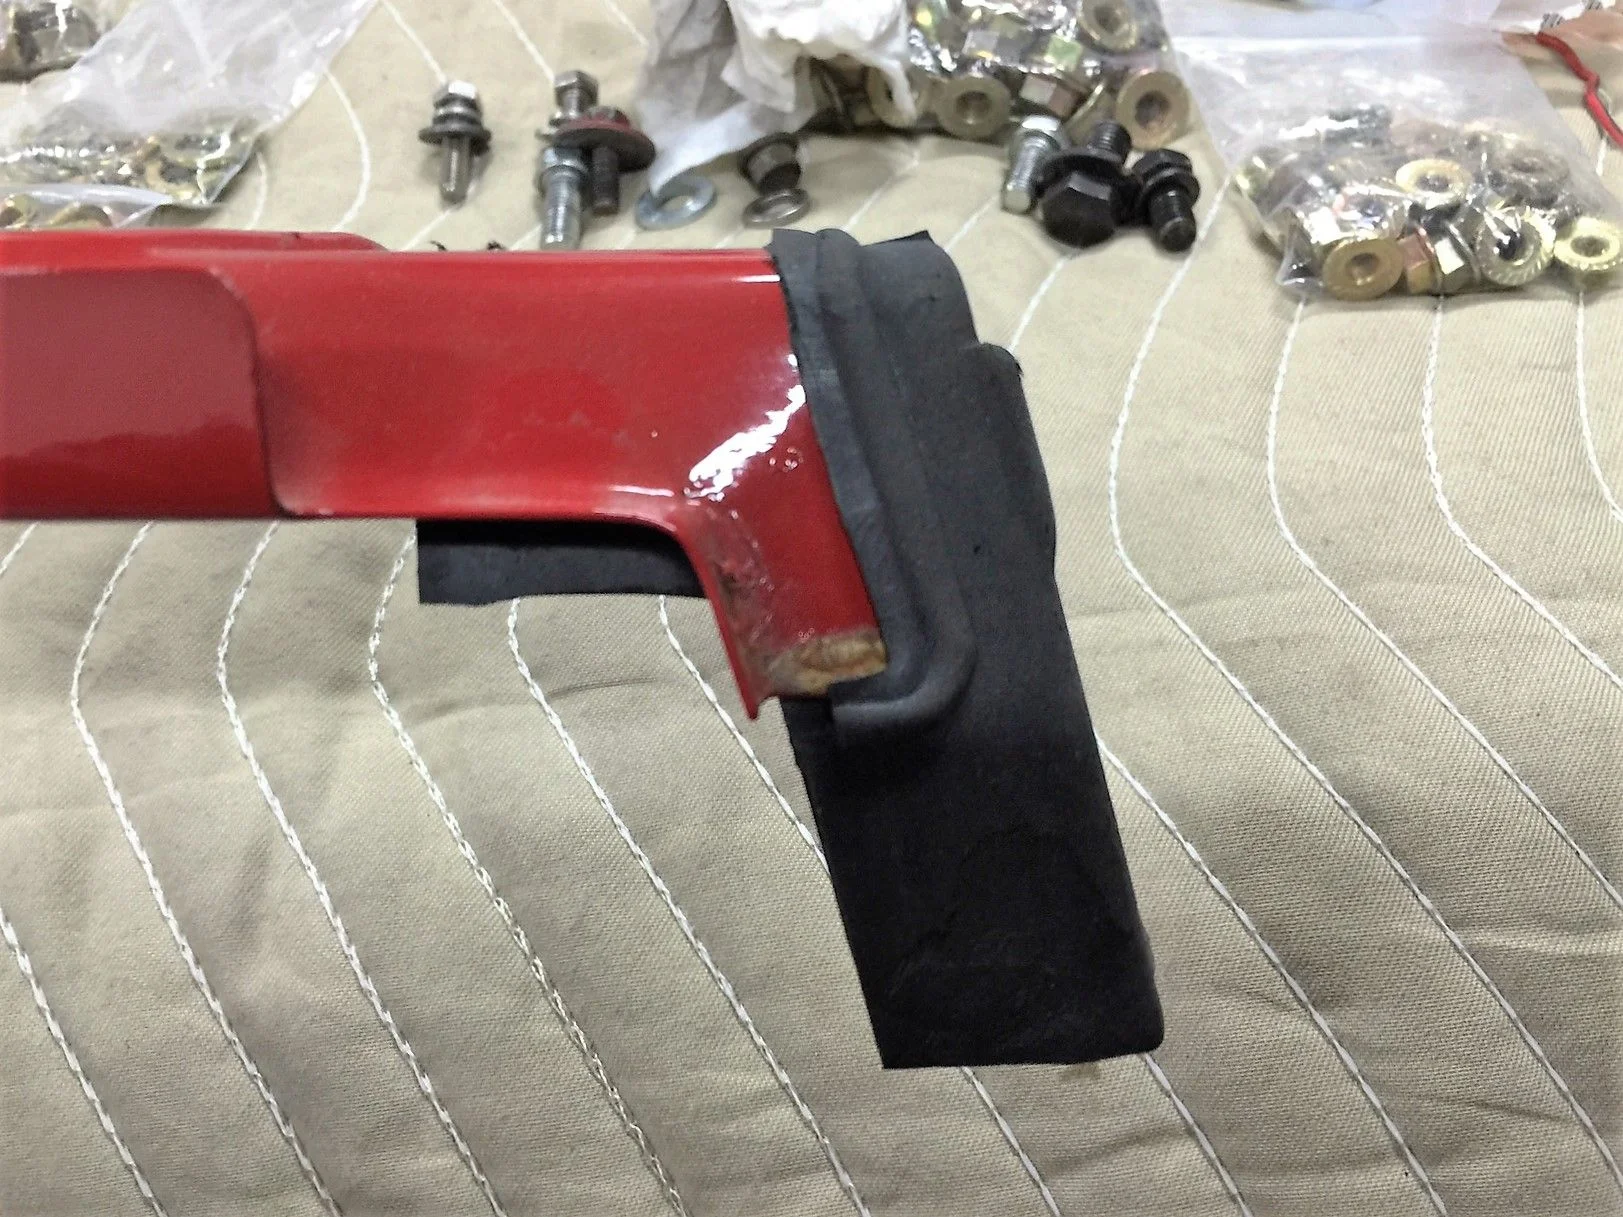
pic of other side
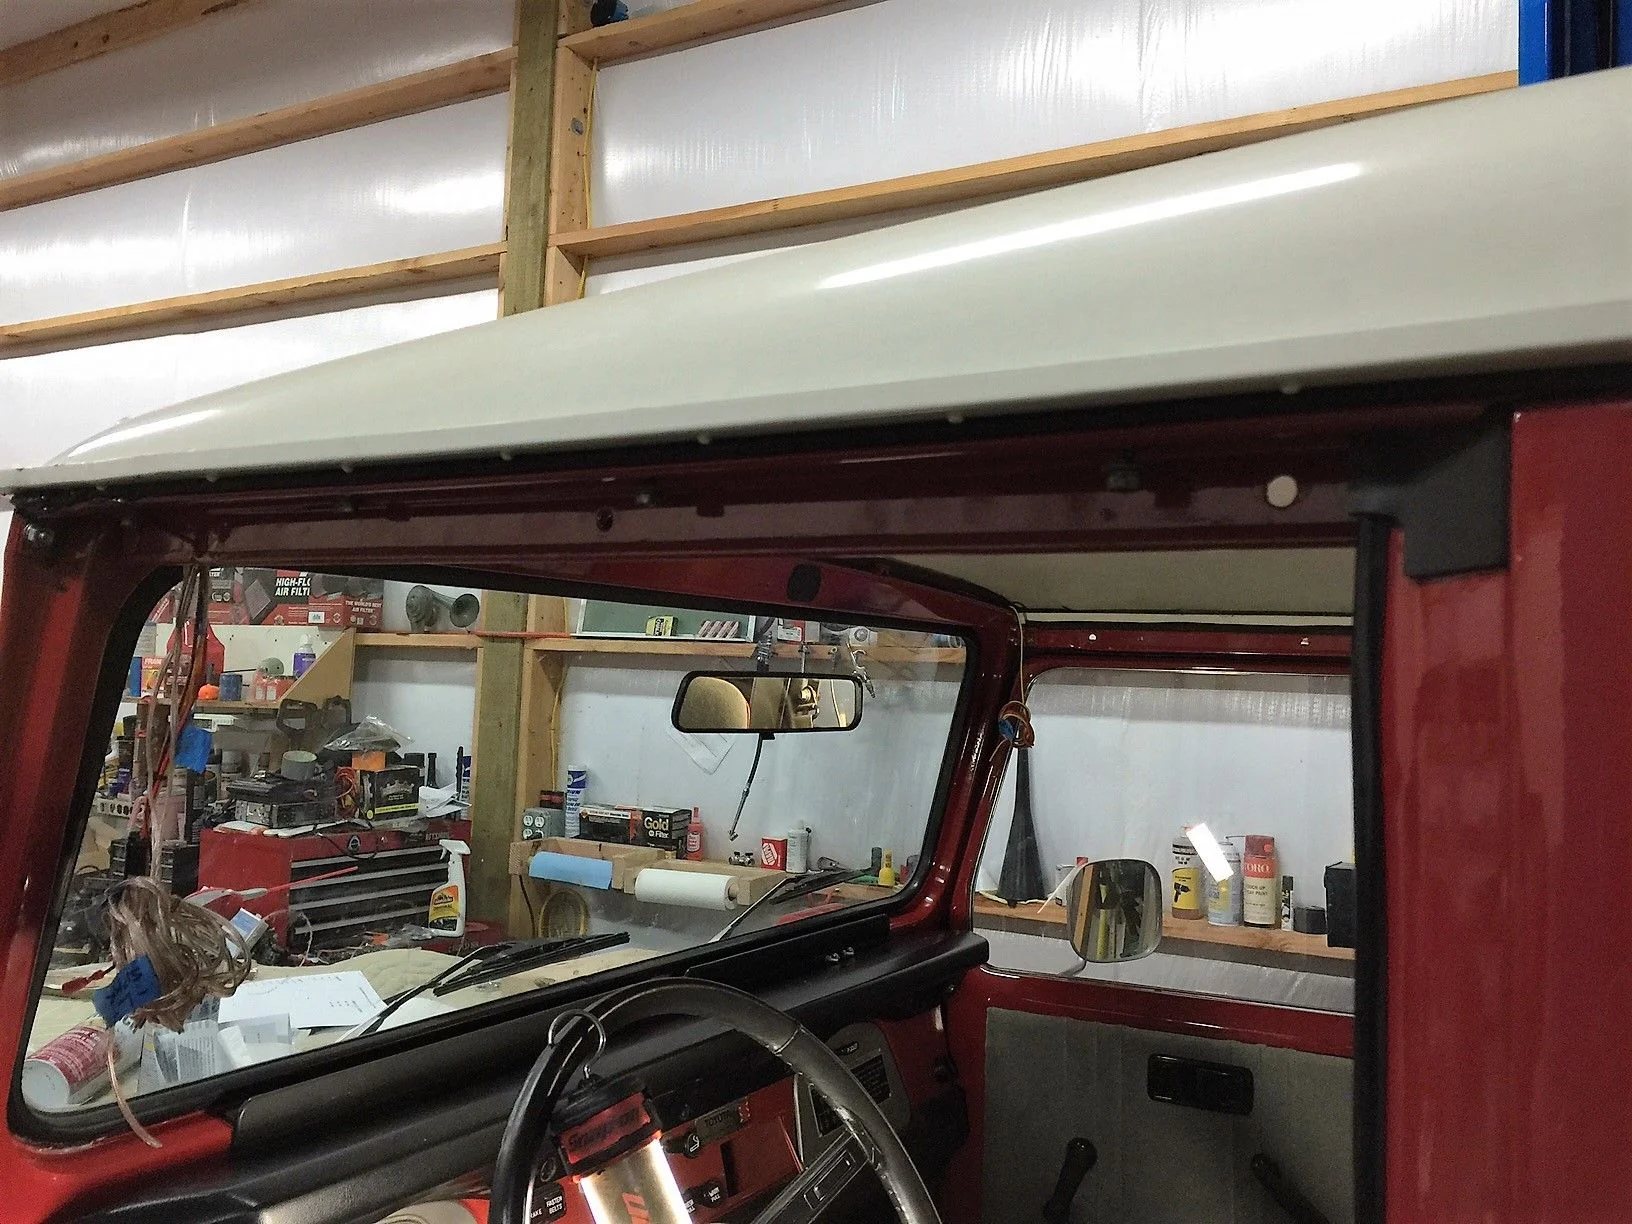
installed

Next installed the front door seal
glued in place
And the roof is now complete.
I finally received the heater rebuild kit from Bend Oregon.

Here are the after pics, saving you all from all the gory details of pressure washing the core and disinfecting the housing etc.


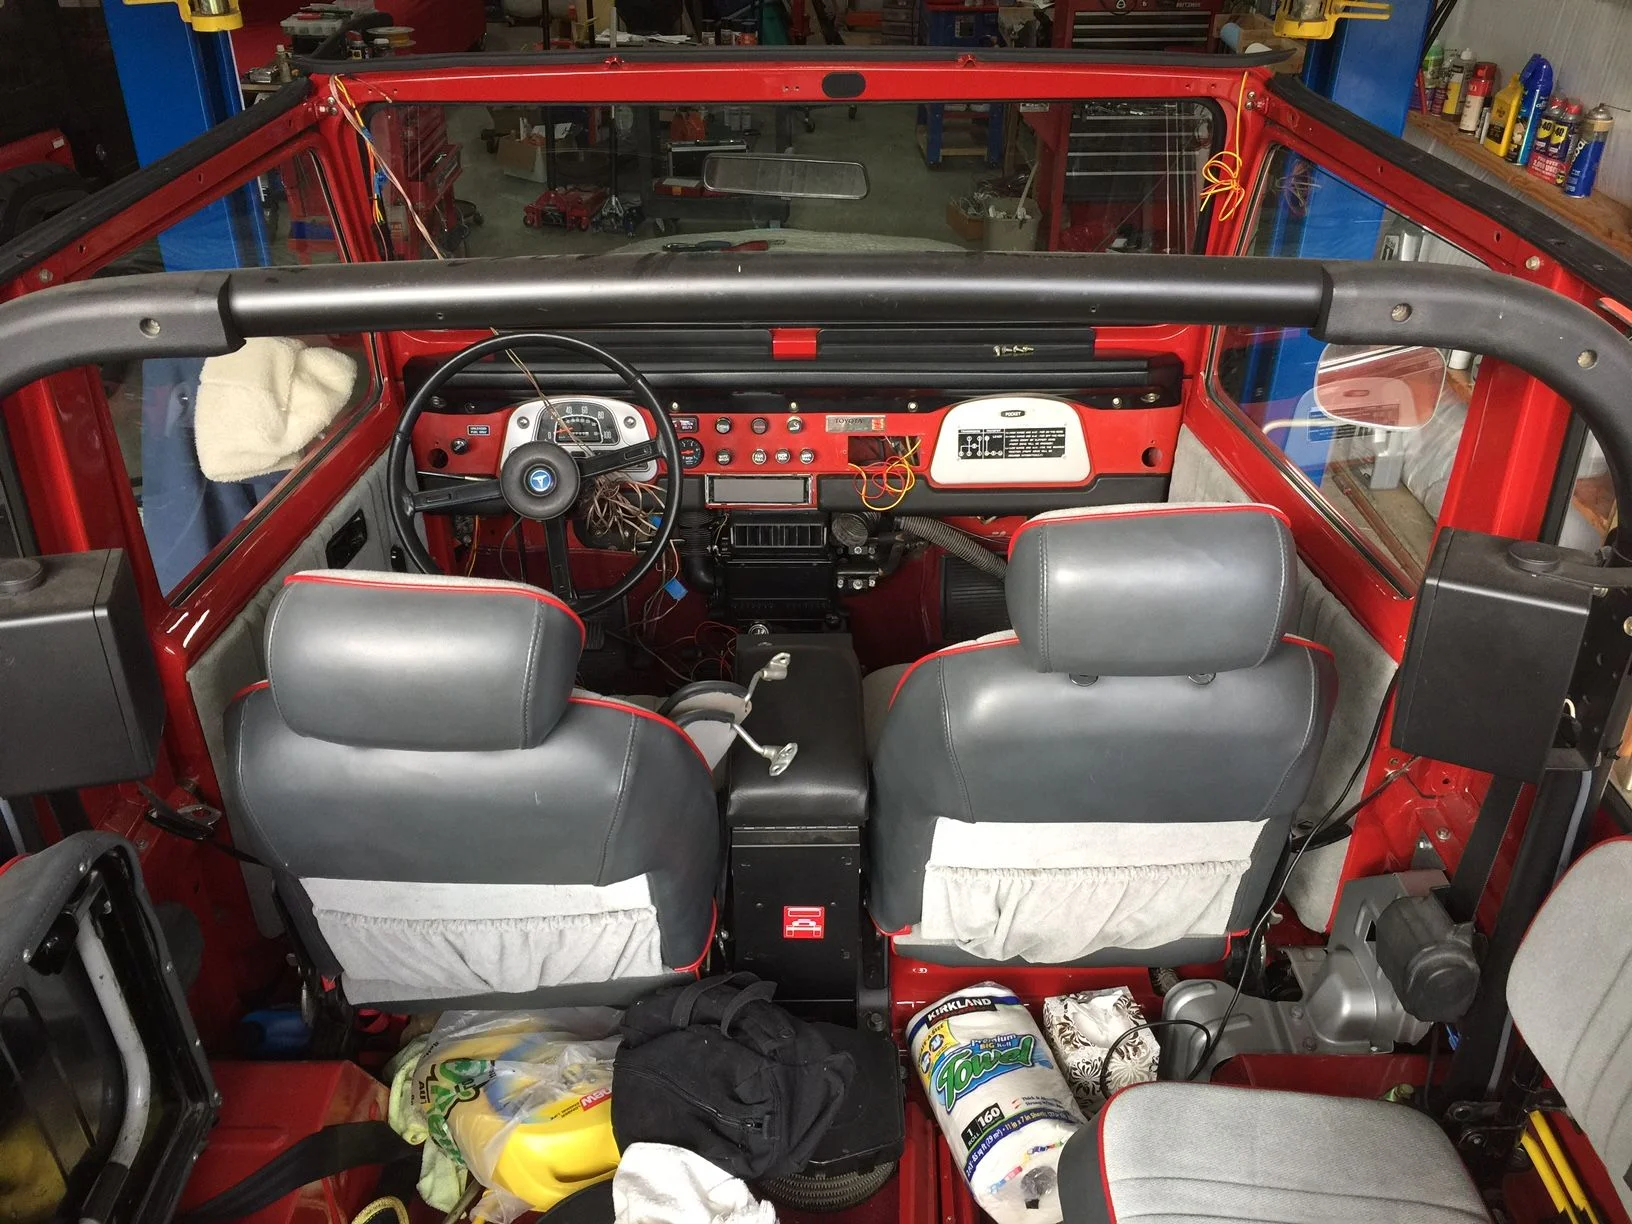
I finally installed the heater, in the process I cleaned up the radio bowl of spaghetti wires installed by the PO what a mess as you can see


Now I can fill the engine with antifreeze.
How were you able to get the heating duct back over the end with all that foam on it? mines almost tight with no foam. I was thinking of silicone to seal it up.
How were you able to get the heating duct back over the end with all that foam on it? mines almost tight with no foam. I was thinking of silicone to seal it up.
FYI Mike’s been MIA since shortly after his last post, above.
I wish I knew. I tried to call him and his wife (a pediatrician). Couldn’t find either.