Mike's 1978 FJ40 Build (2 Viewers)

This site may earn a commission from merchant affiliate
links, including eBay, Amazon, Skimlinks, and others.

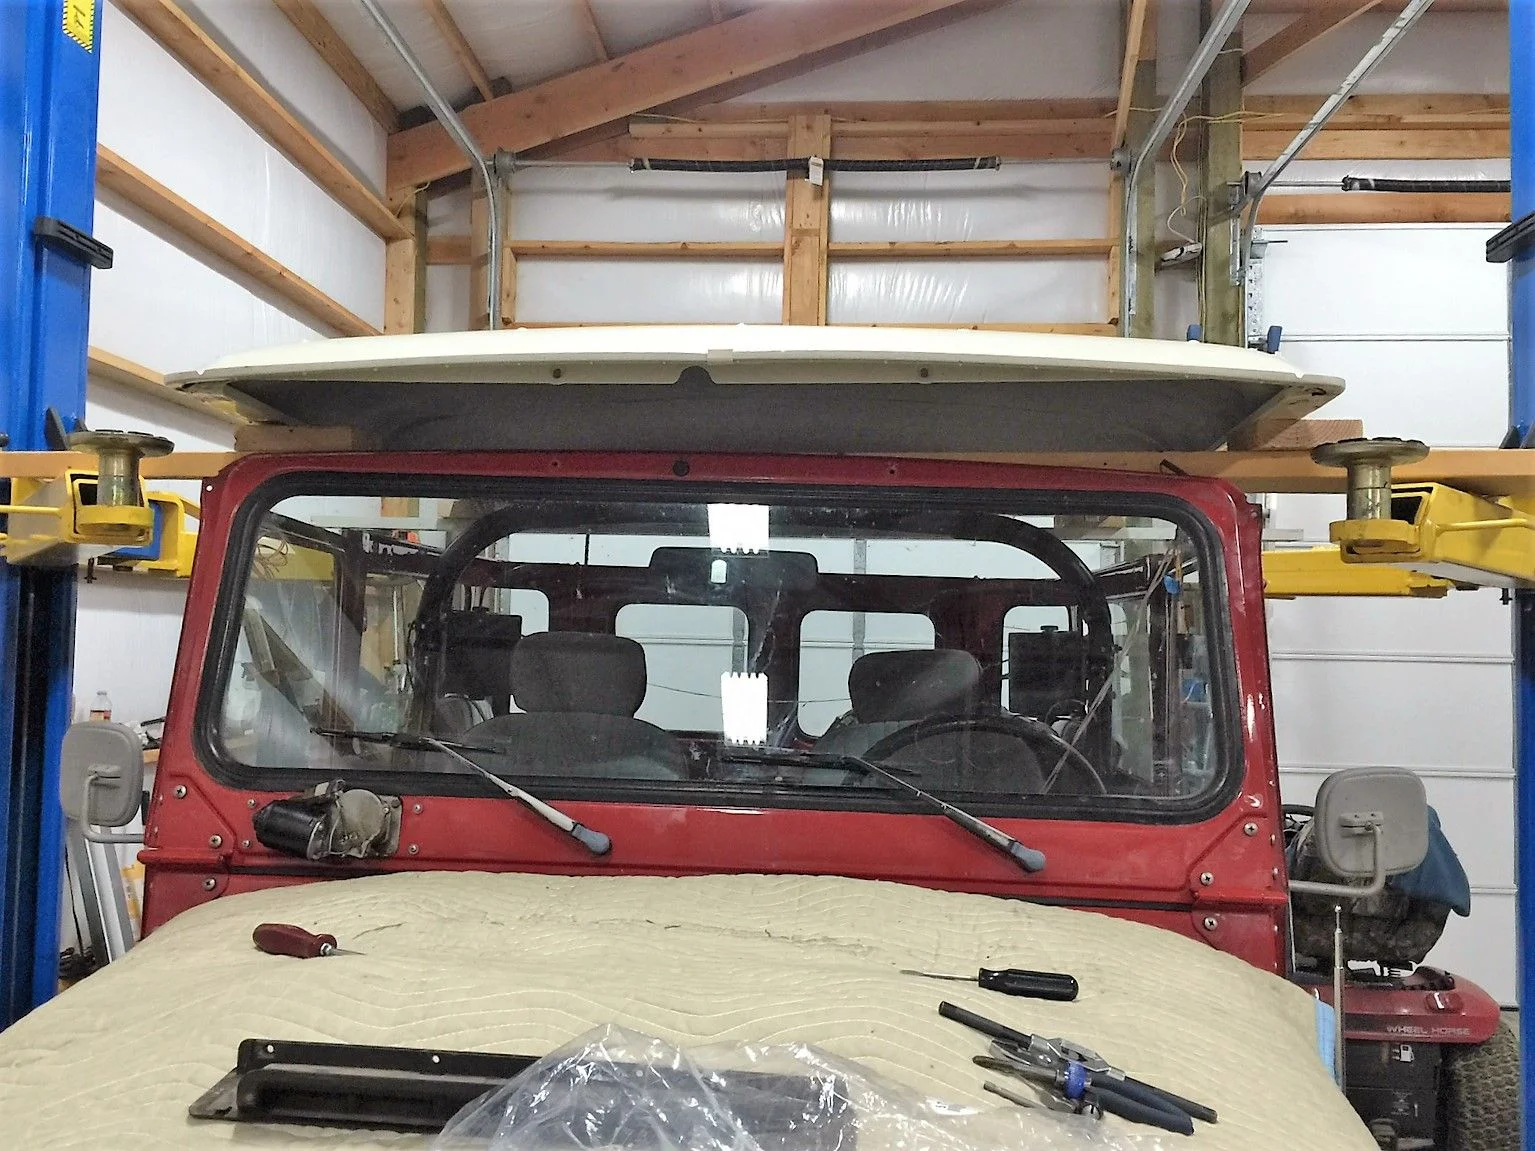
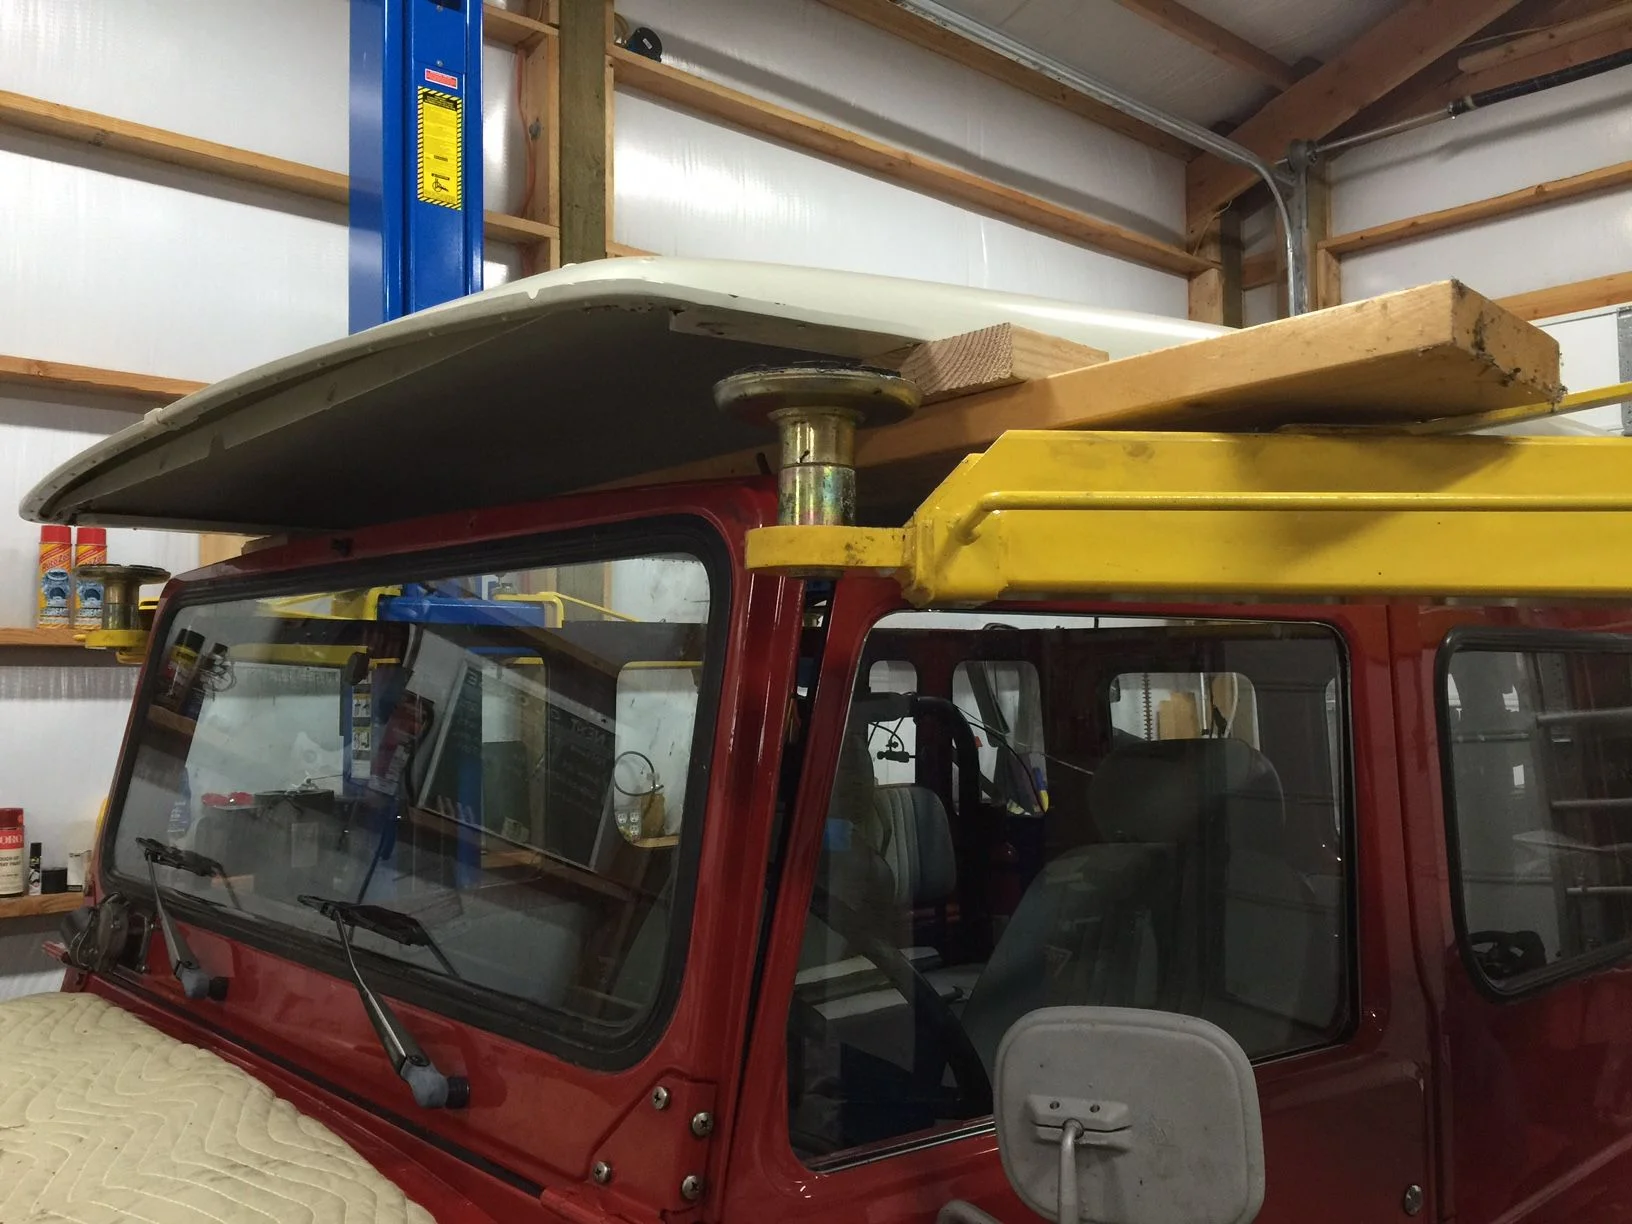
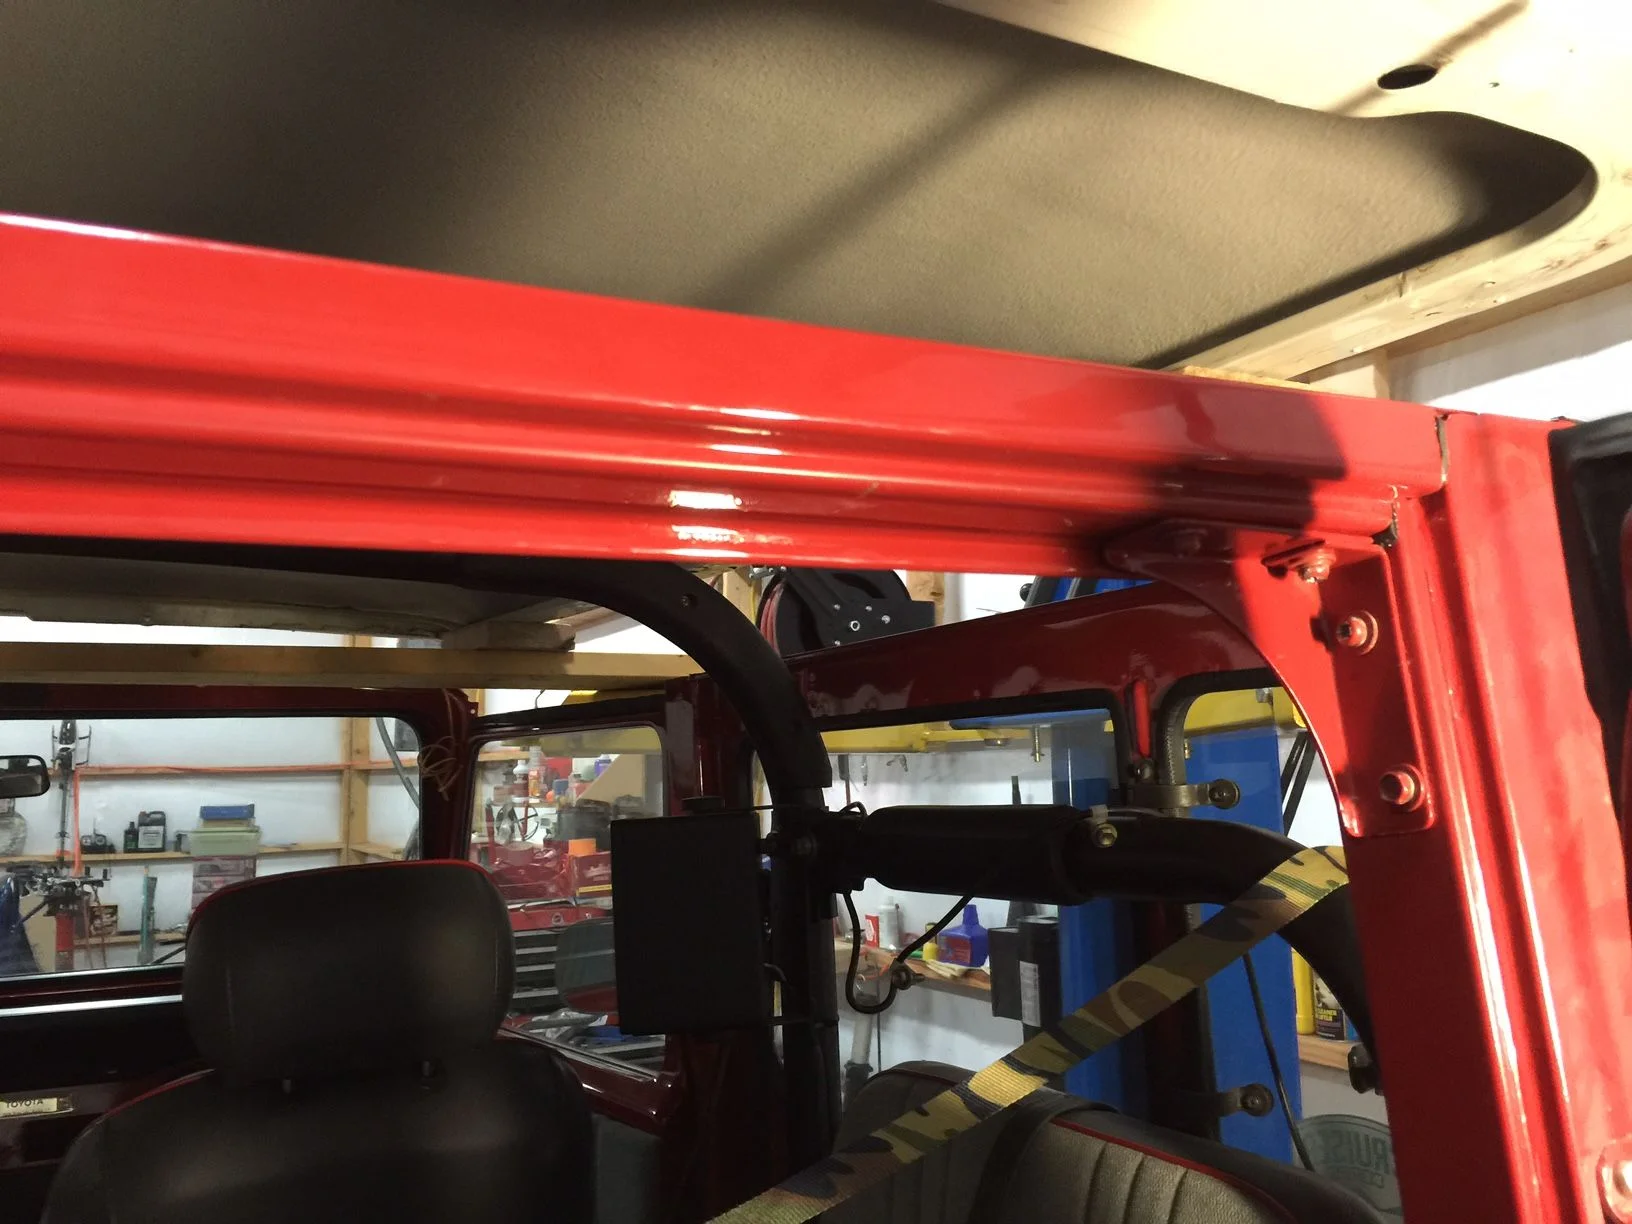
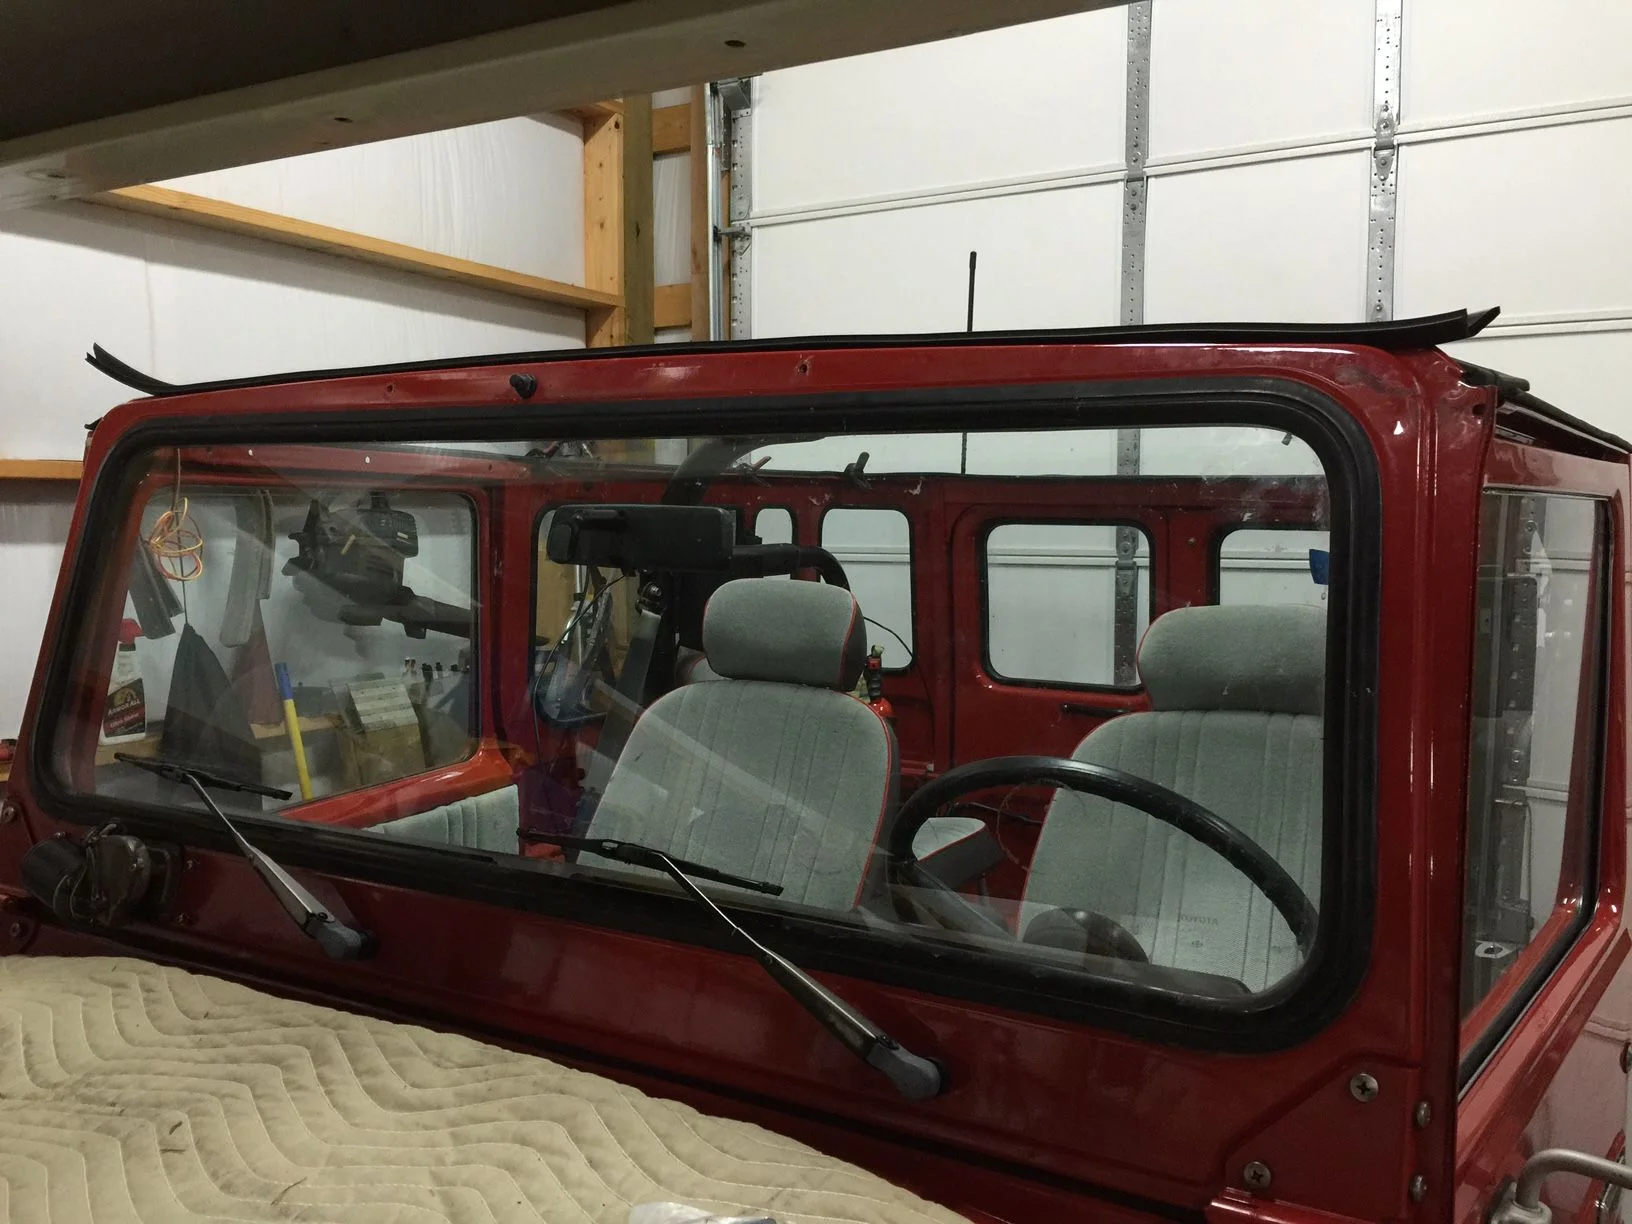
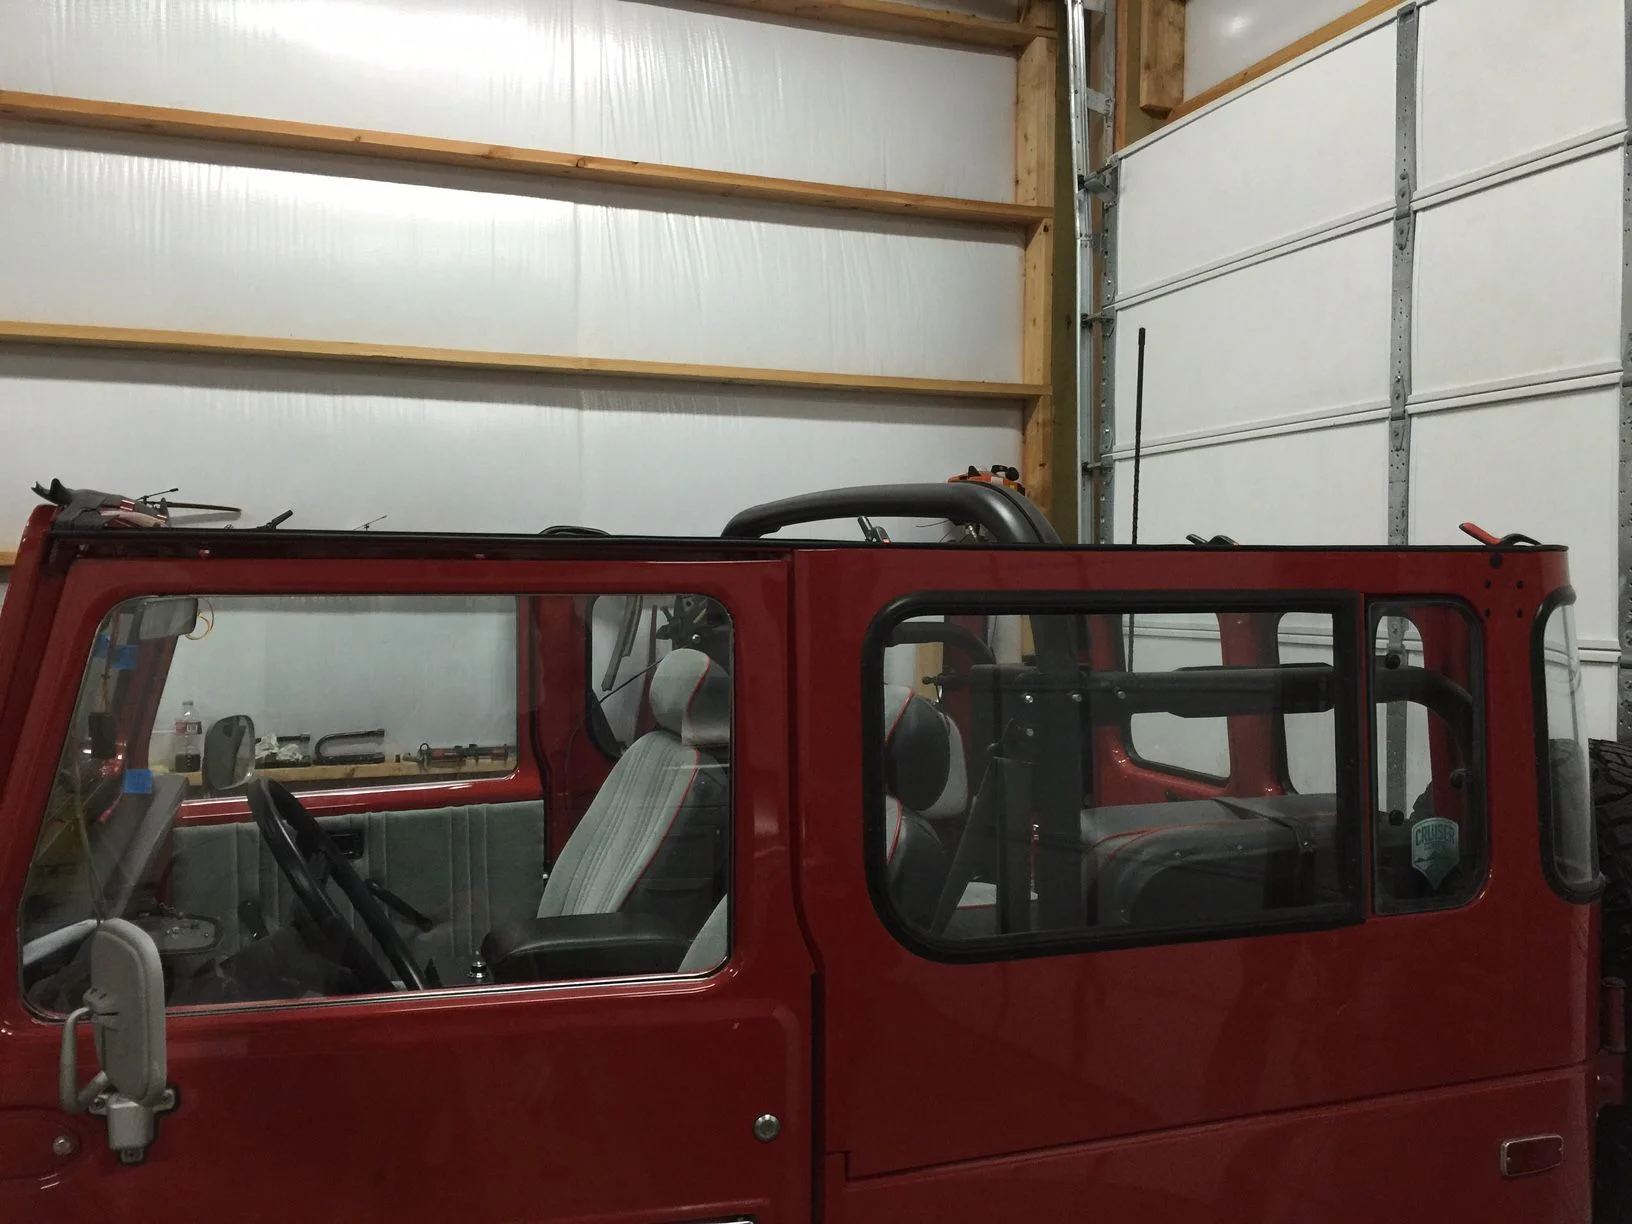
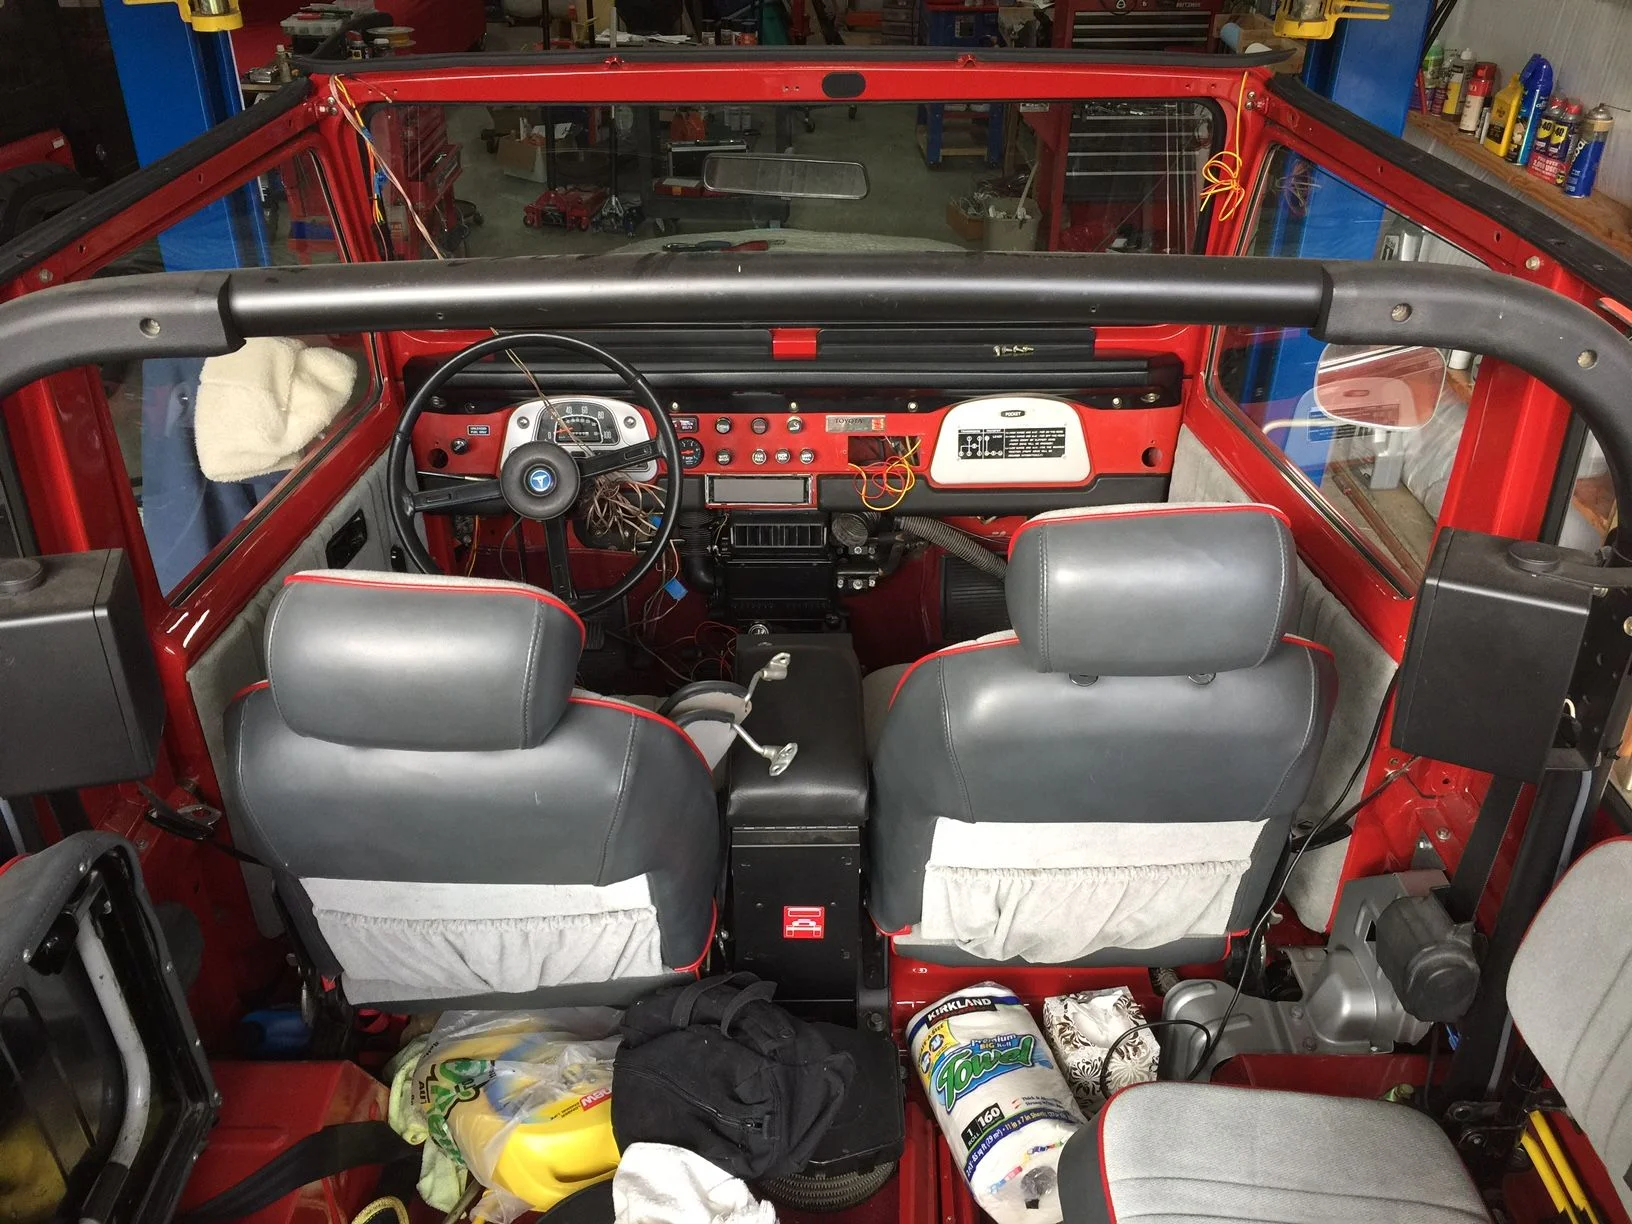
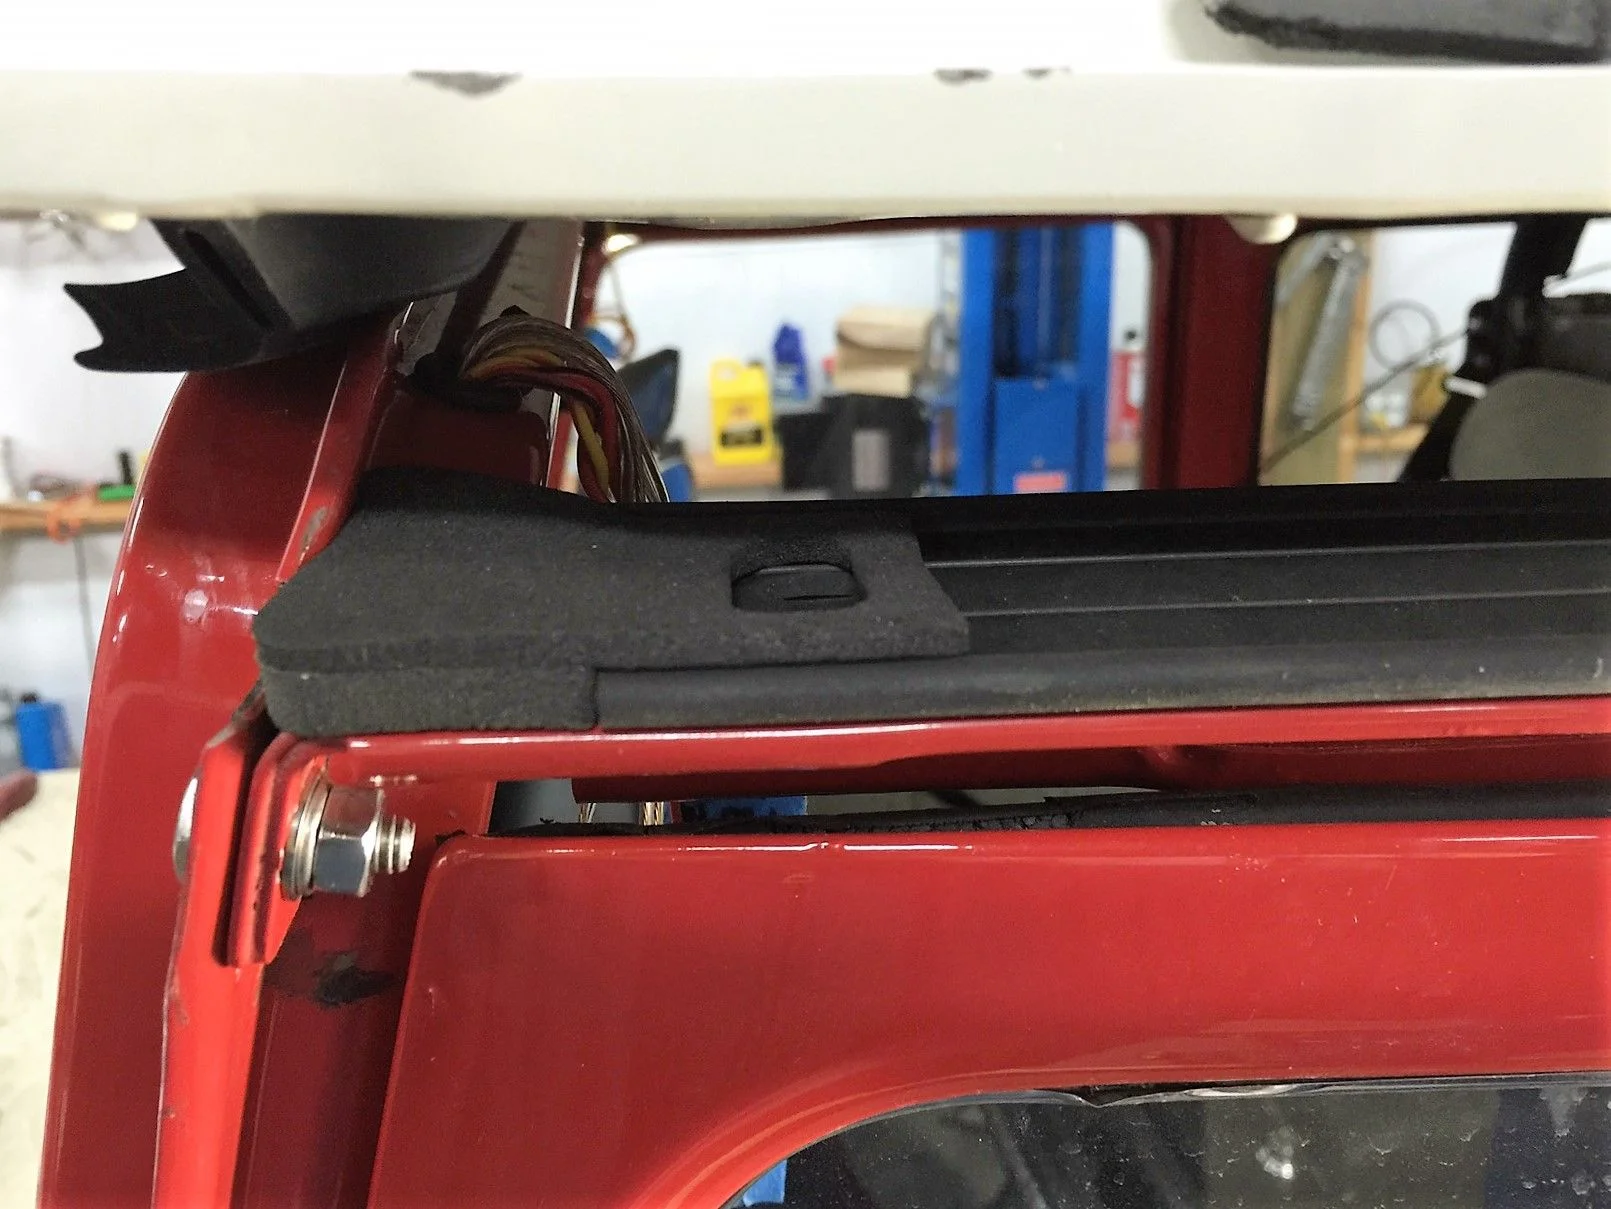
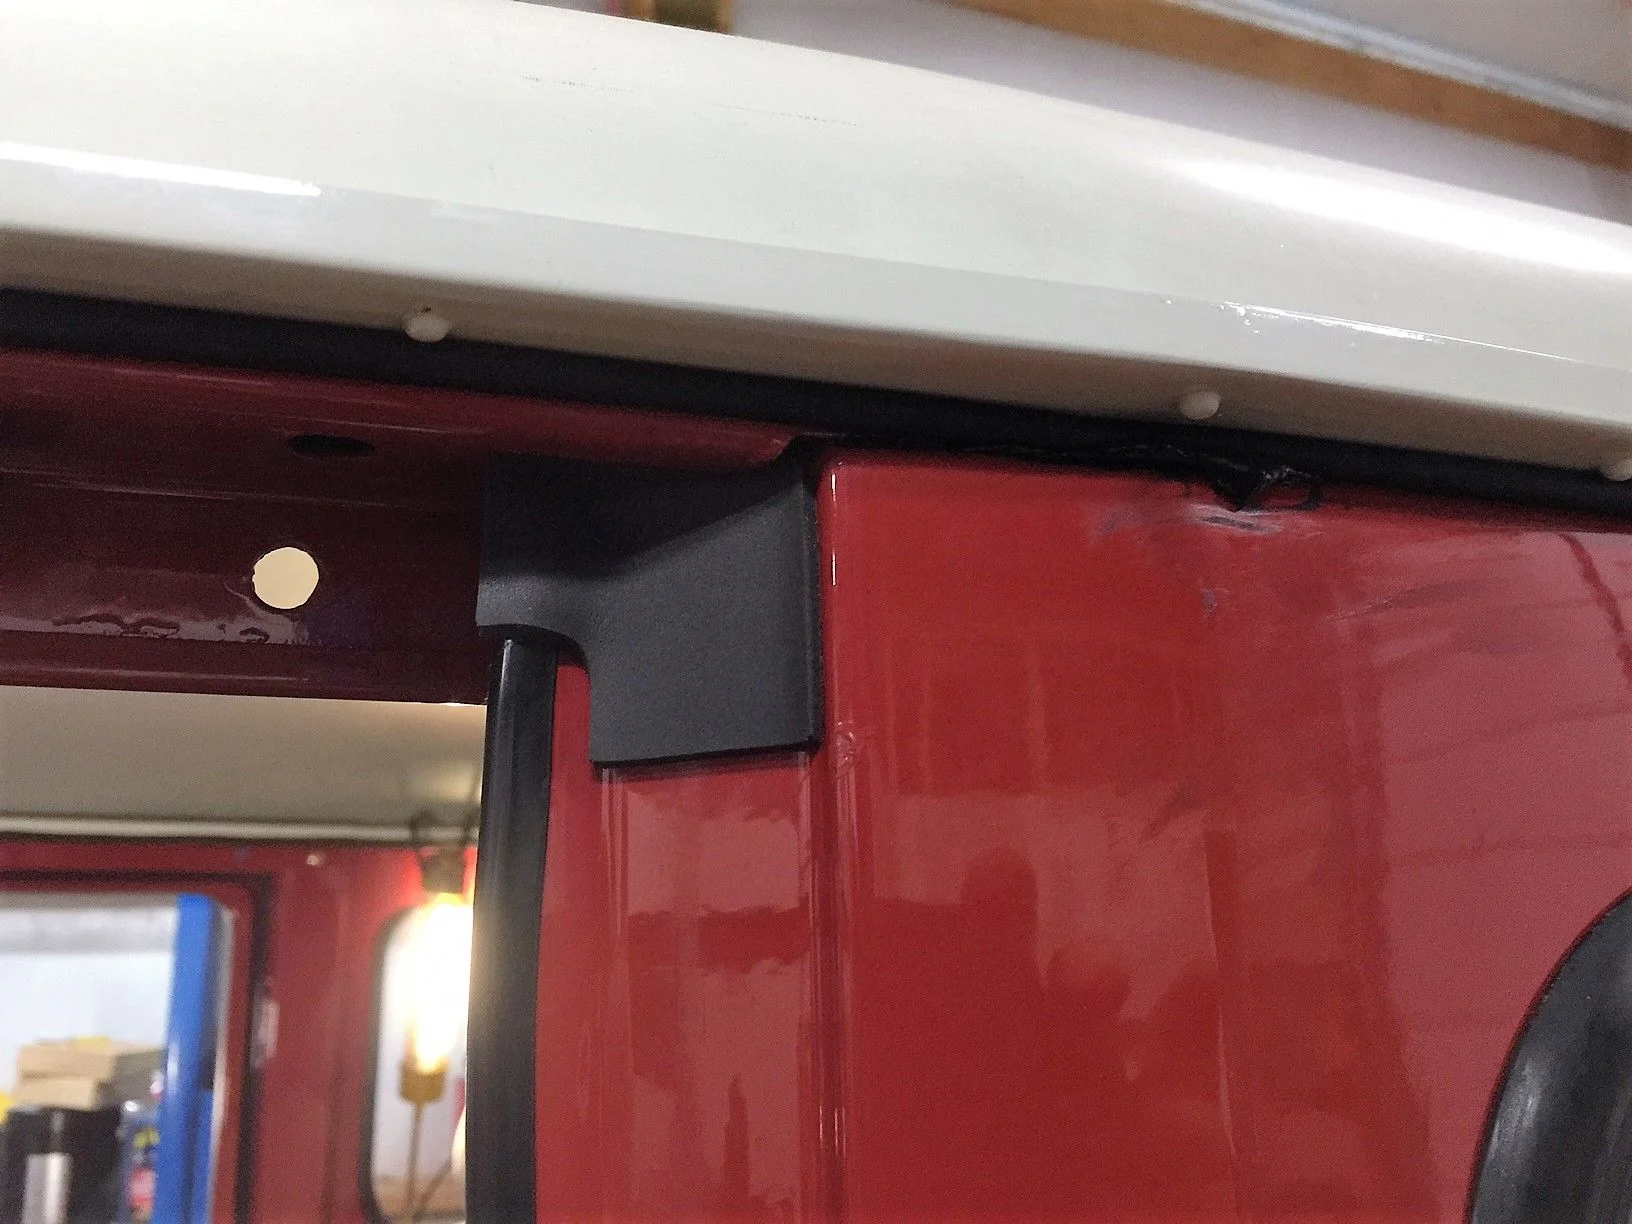
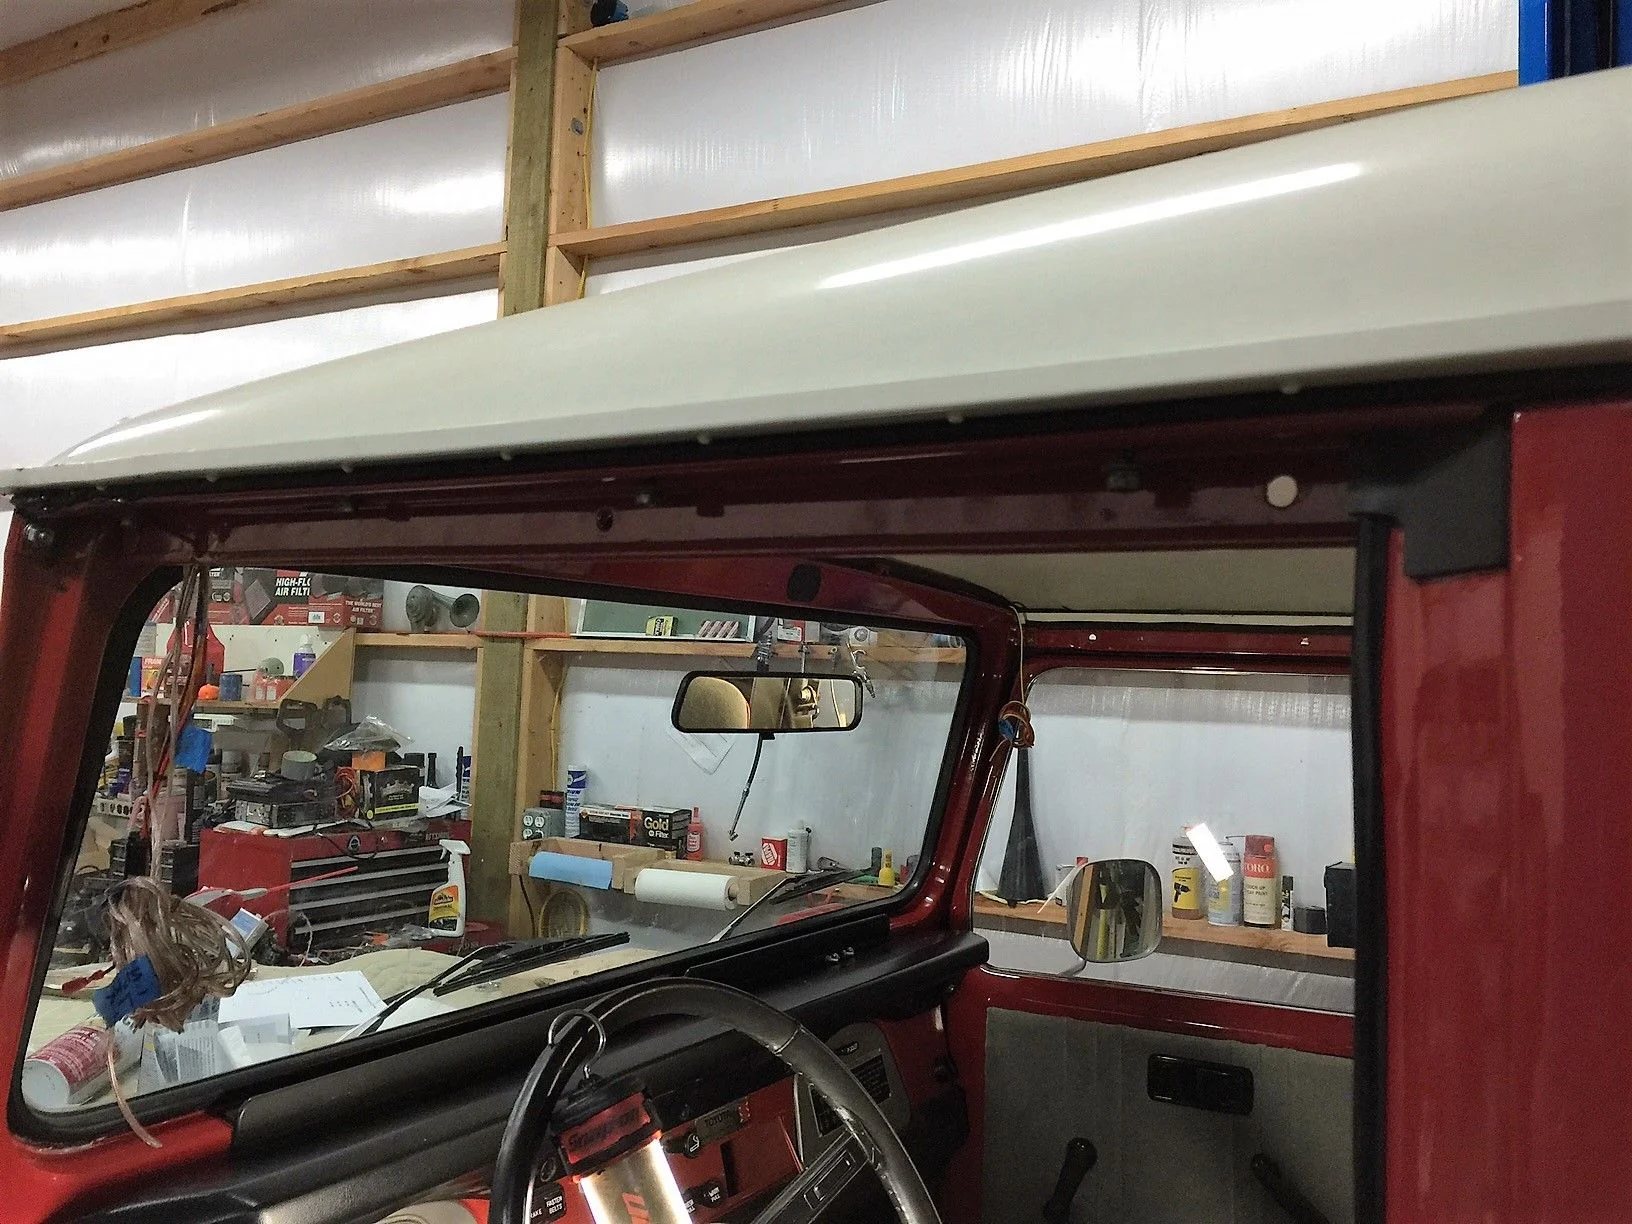
To lift the roof, after removing all the bolts, was relatively easy to shore up with four 2x6 pieces of wood that I had laying around from a previous project.
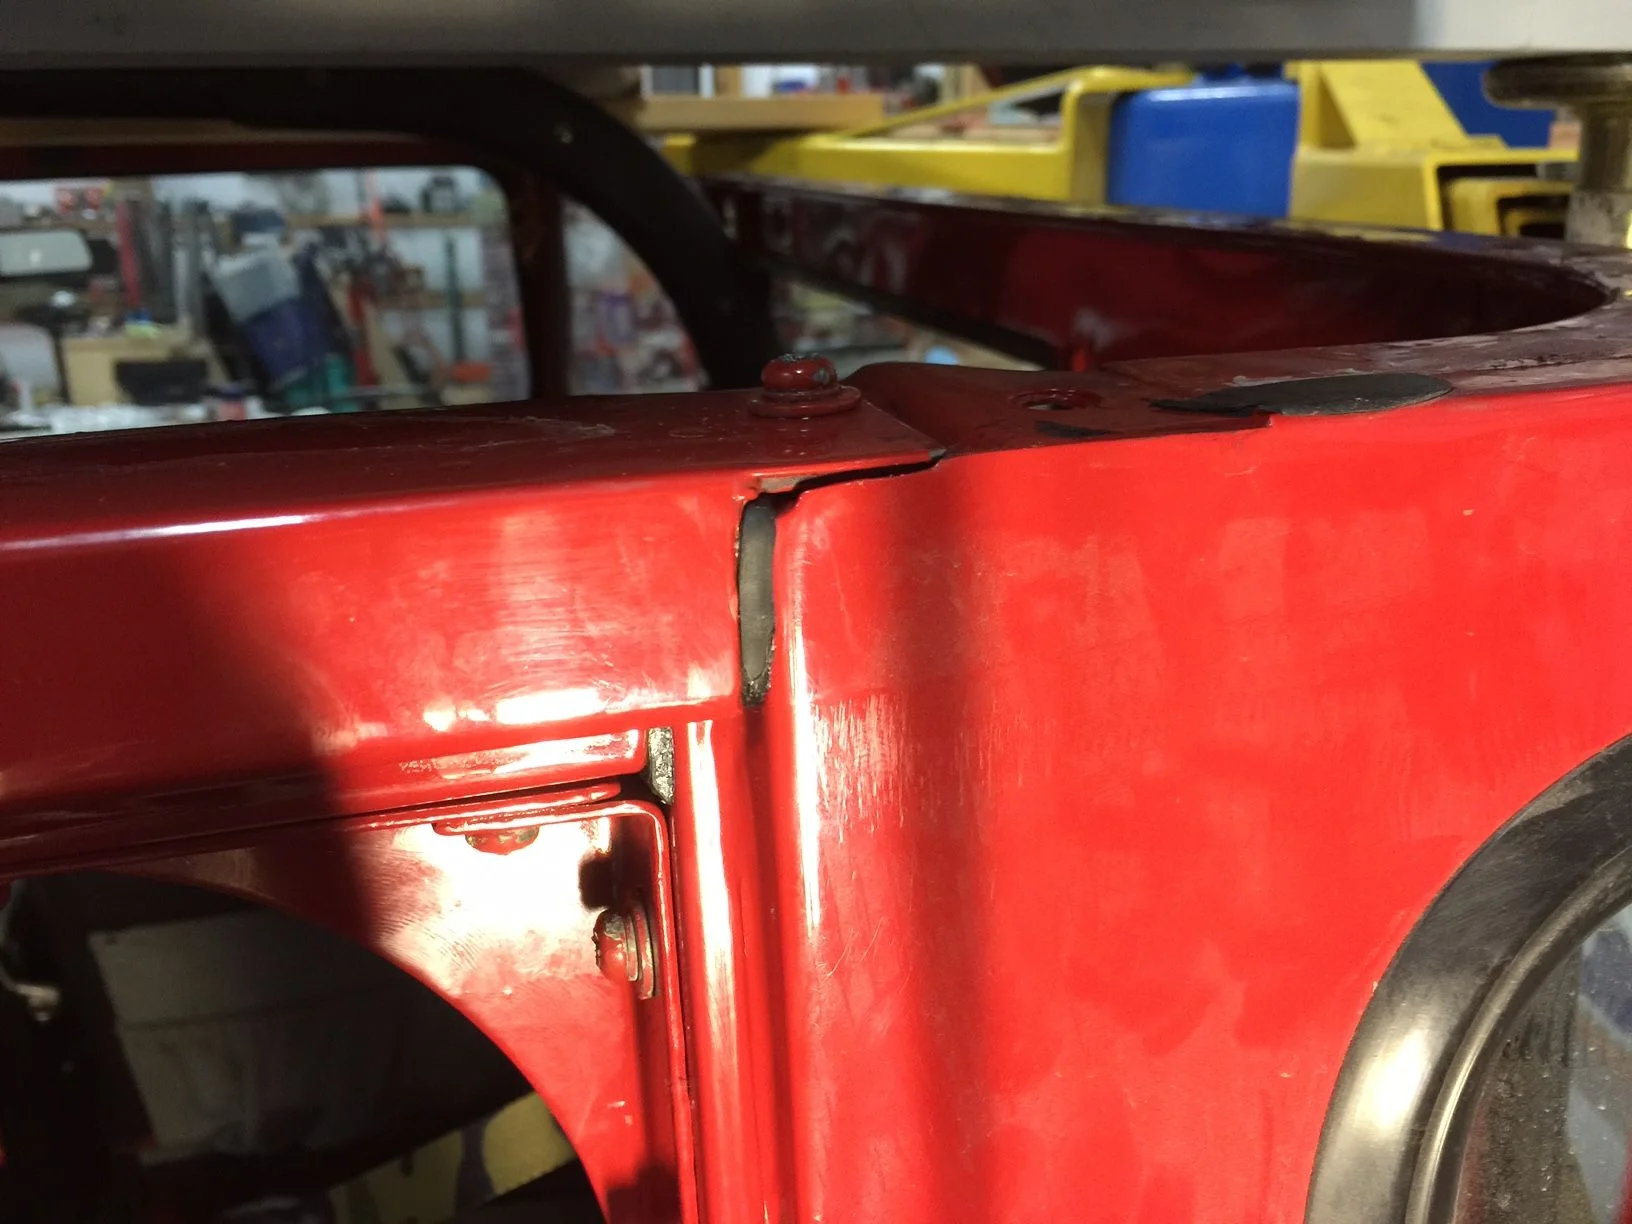
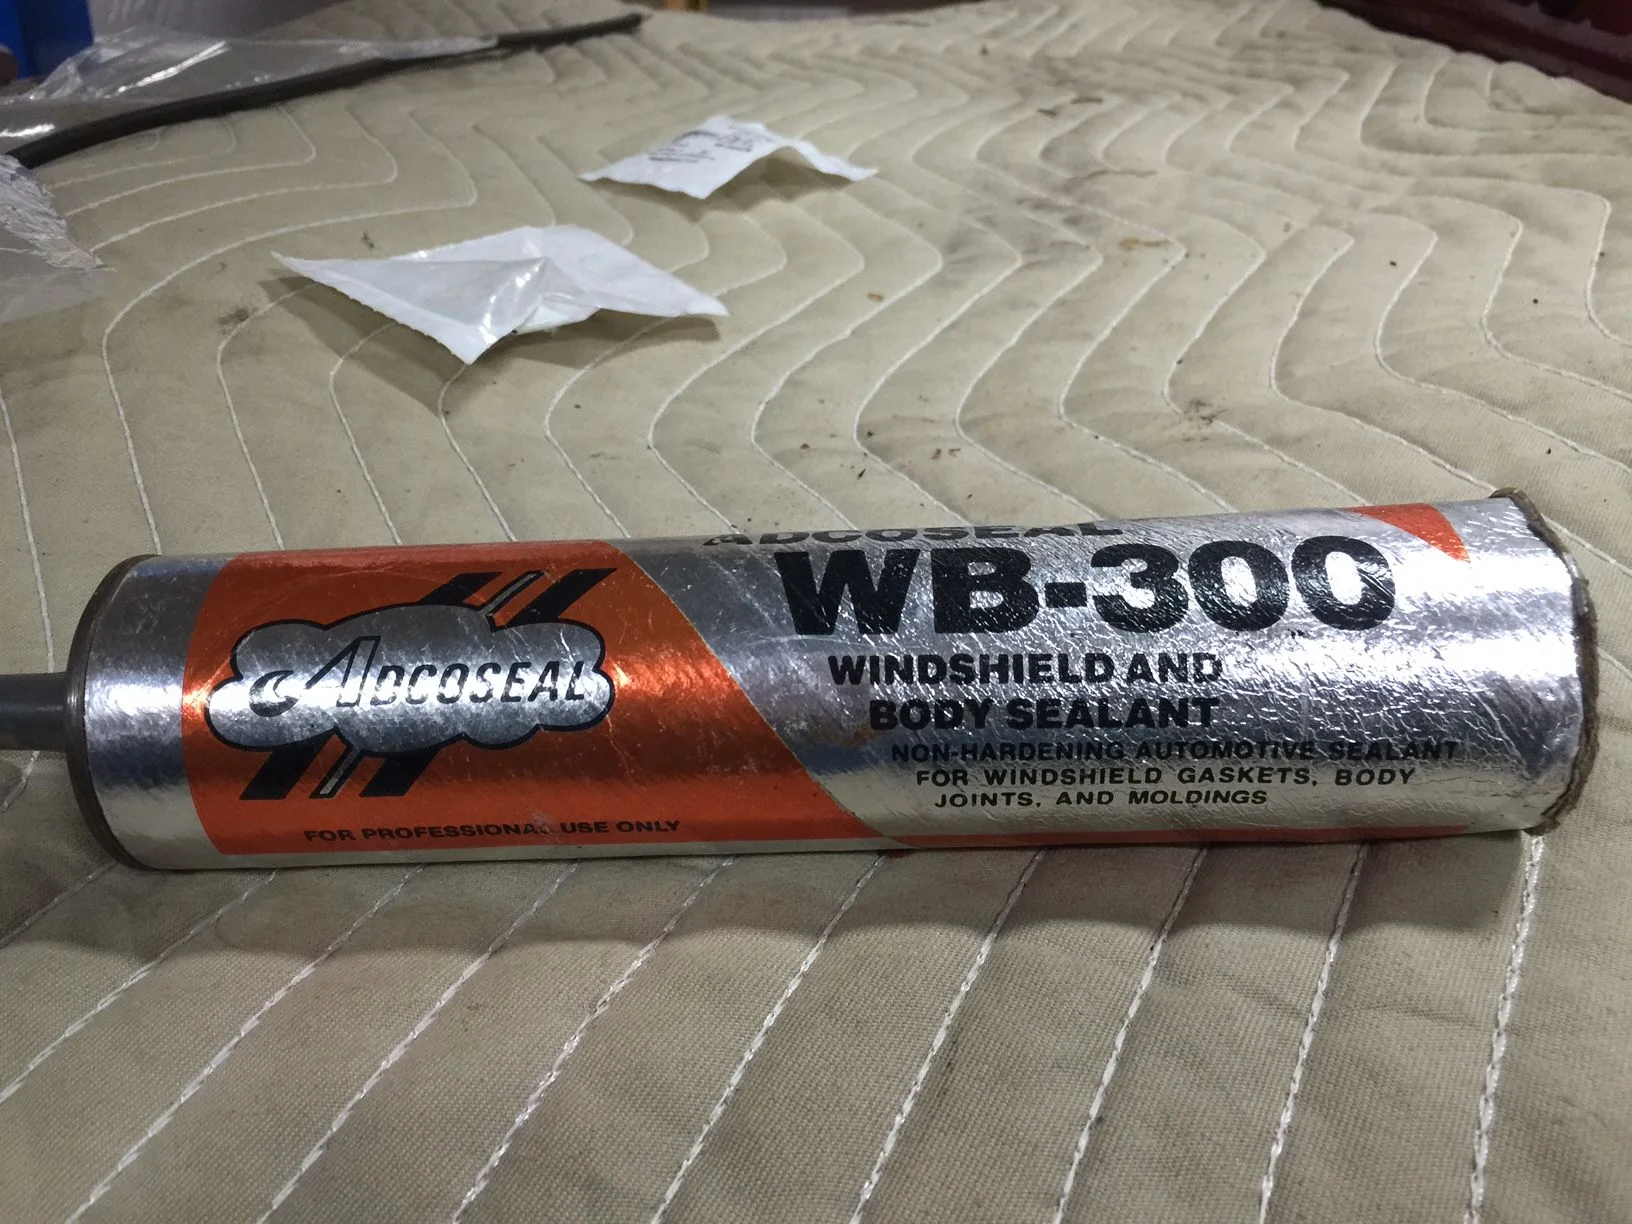
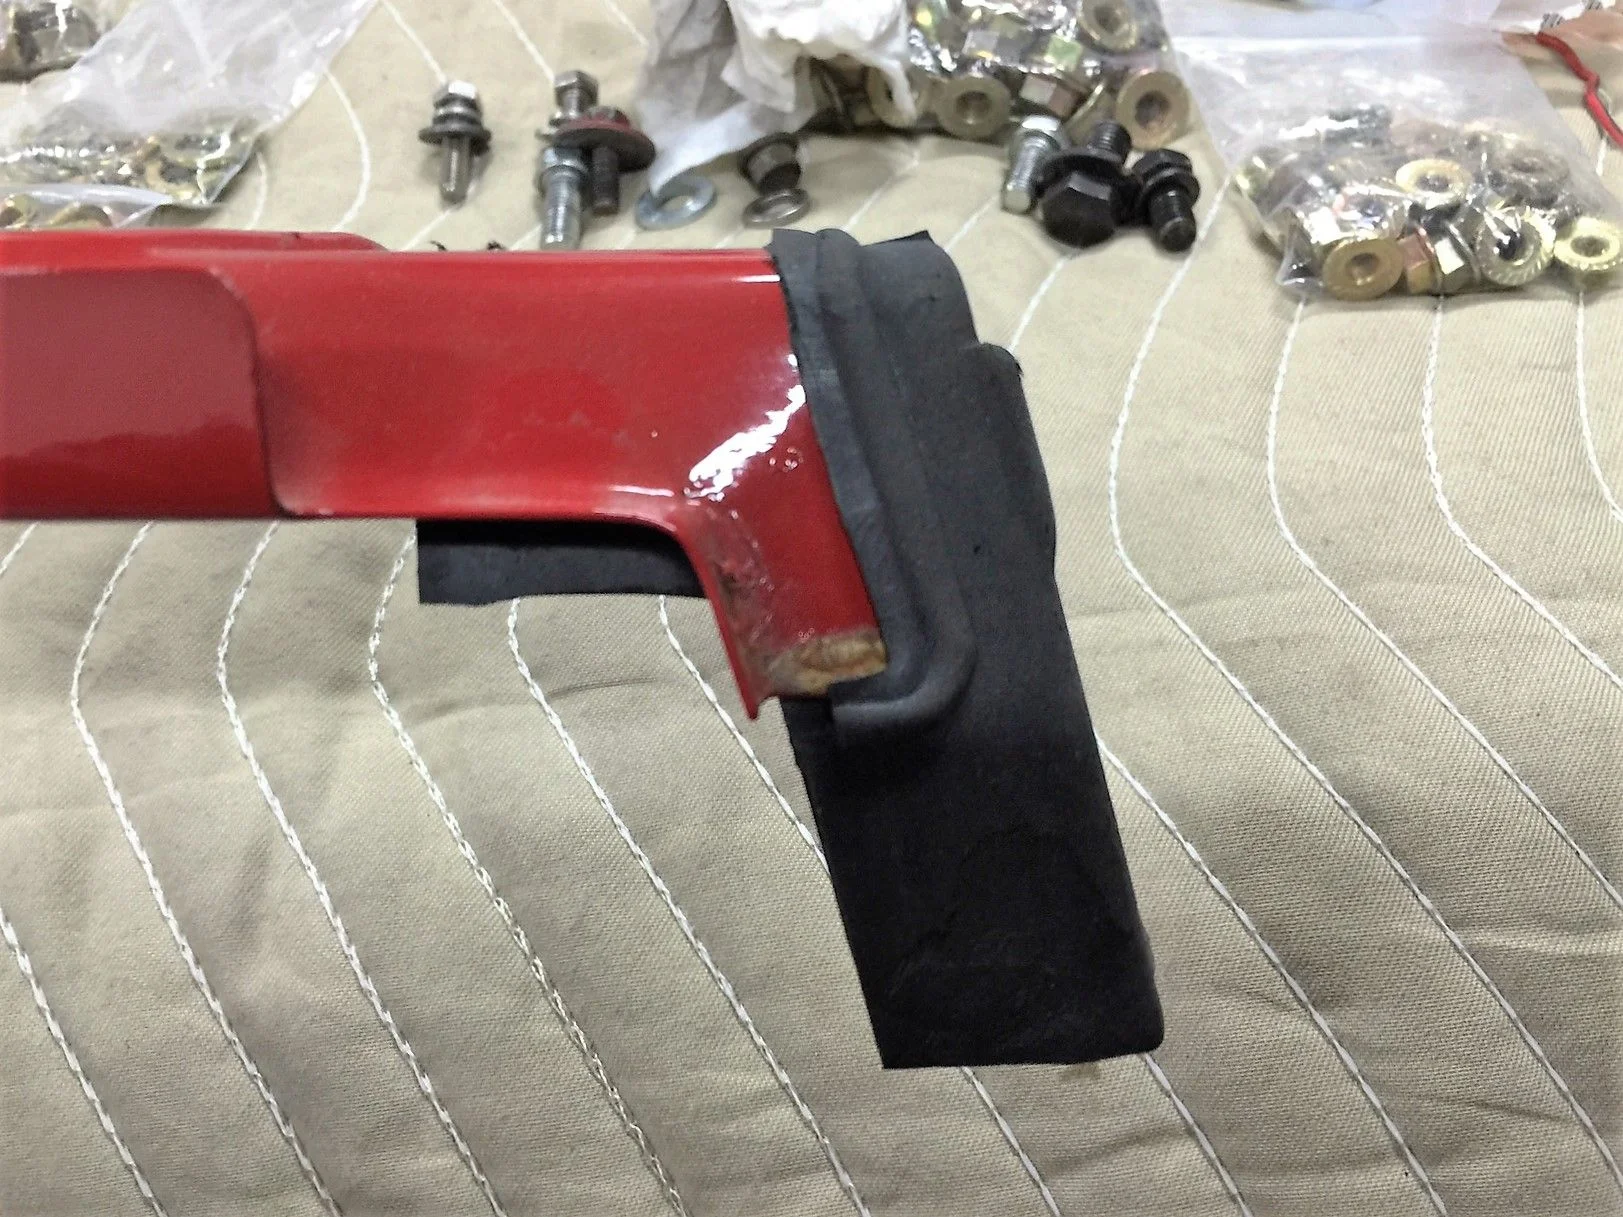
I ordered a new roof seal and should arrive on Monday, from @Racer65 , great parts, great service, and fast shipping!

full


full


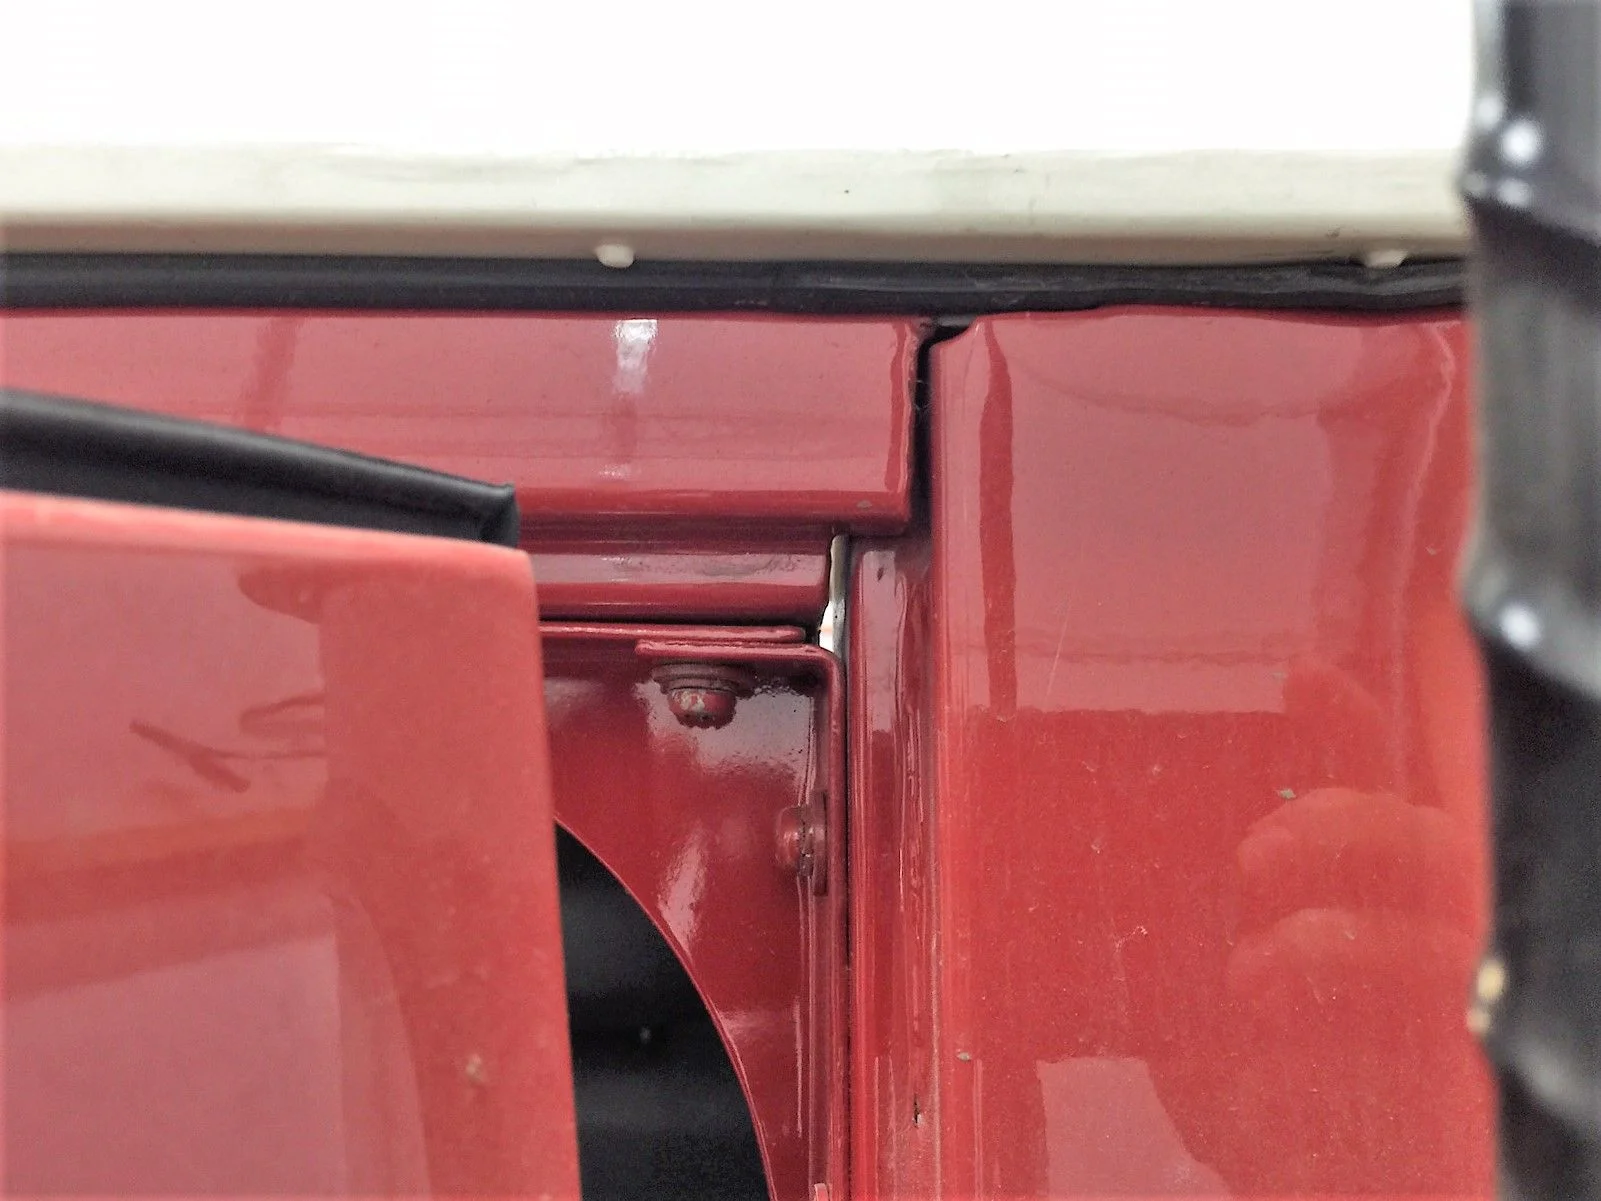
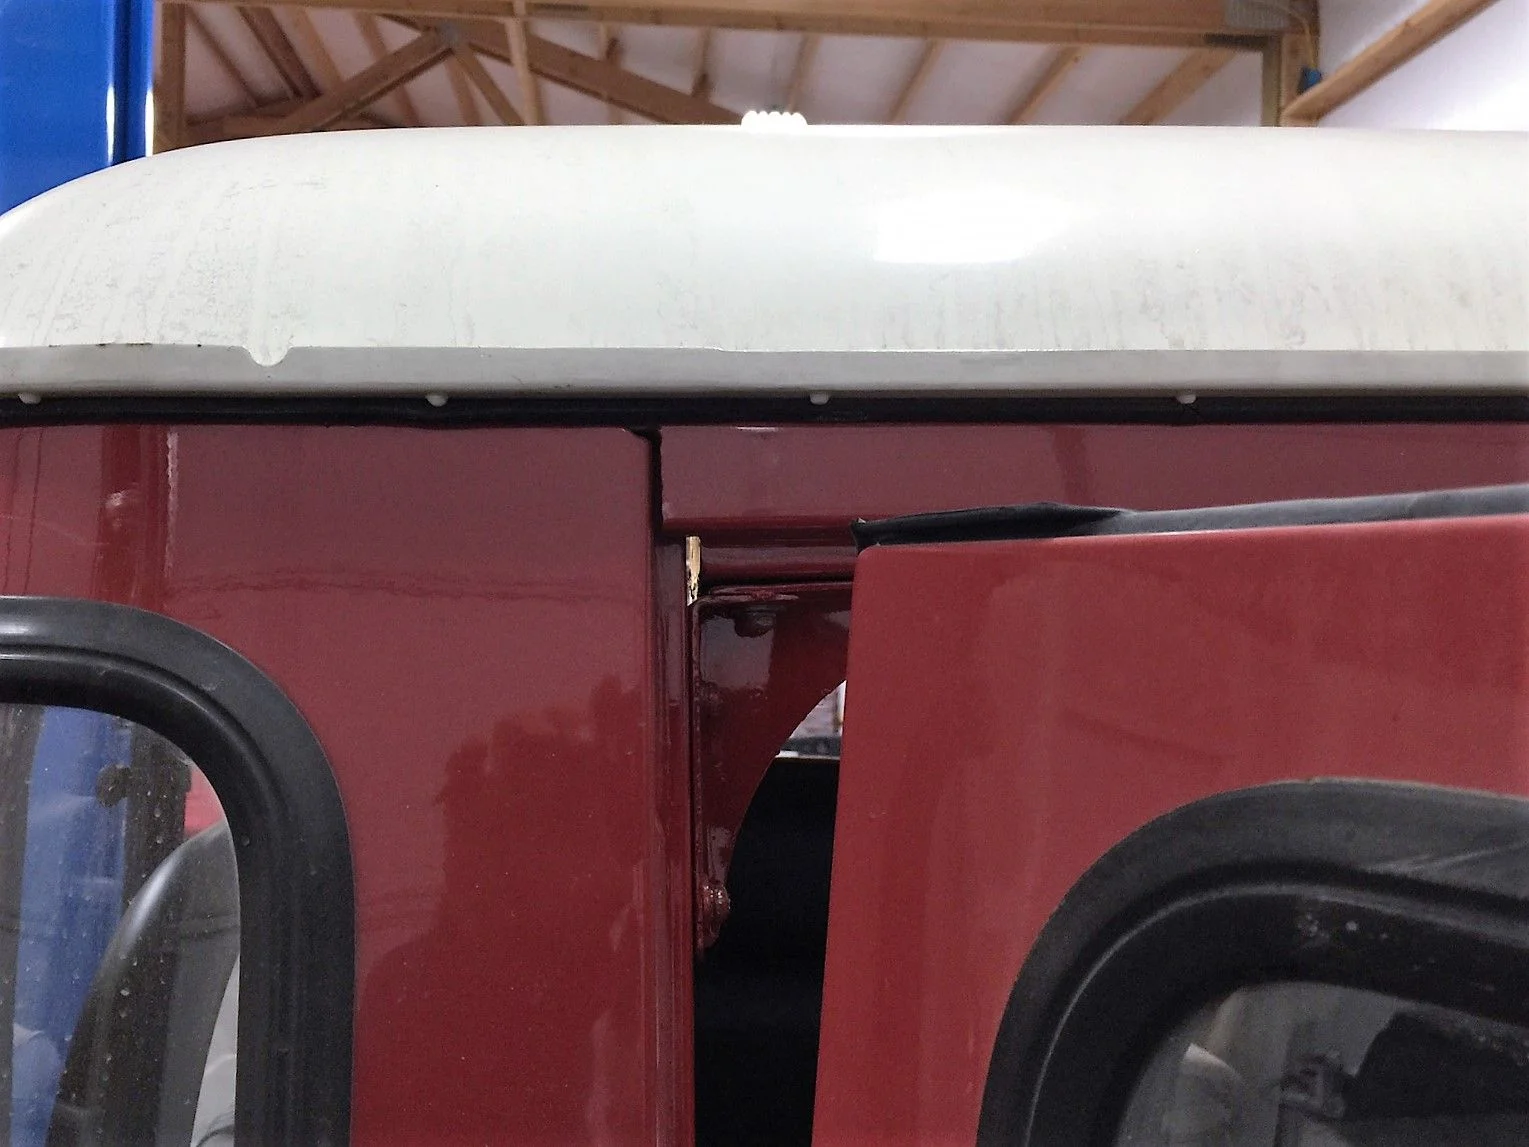
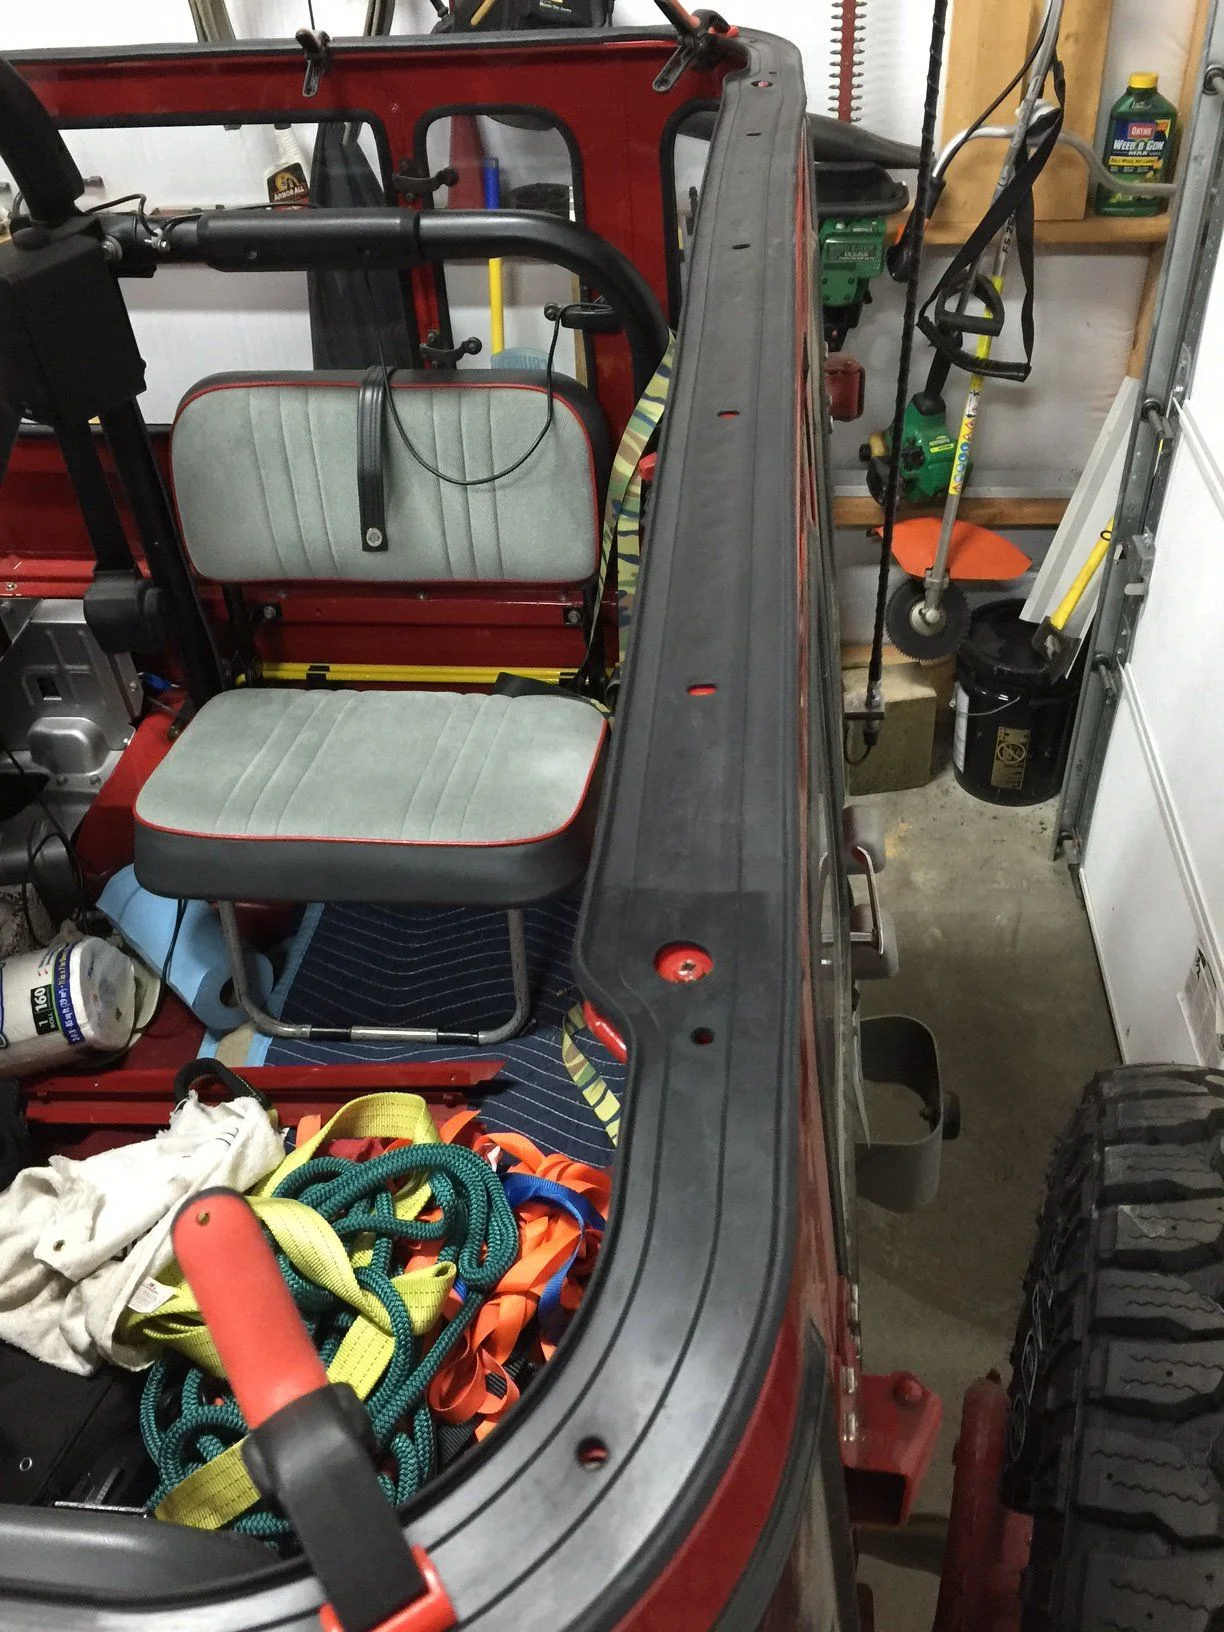
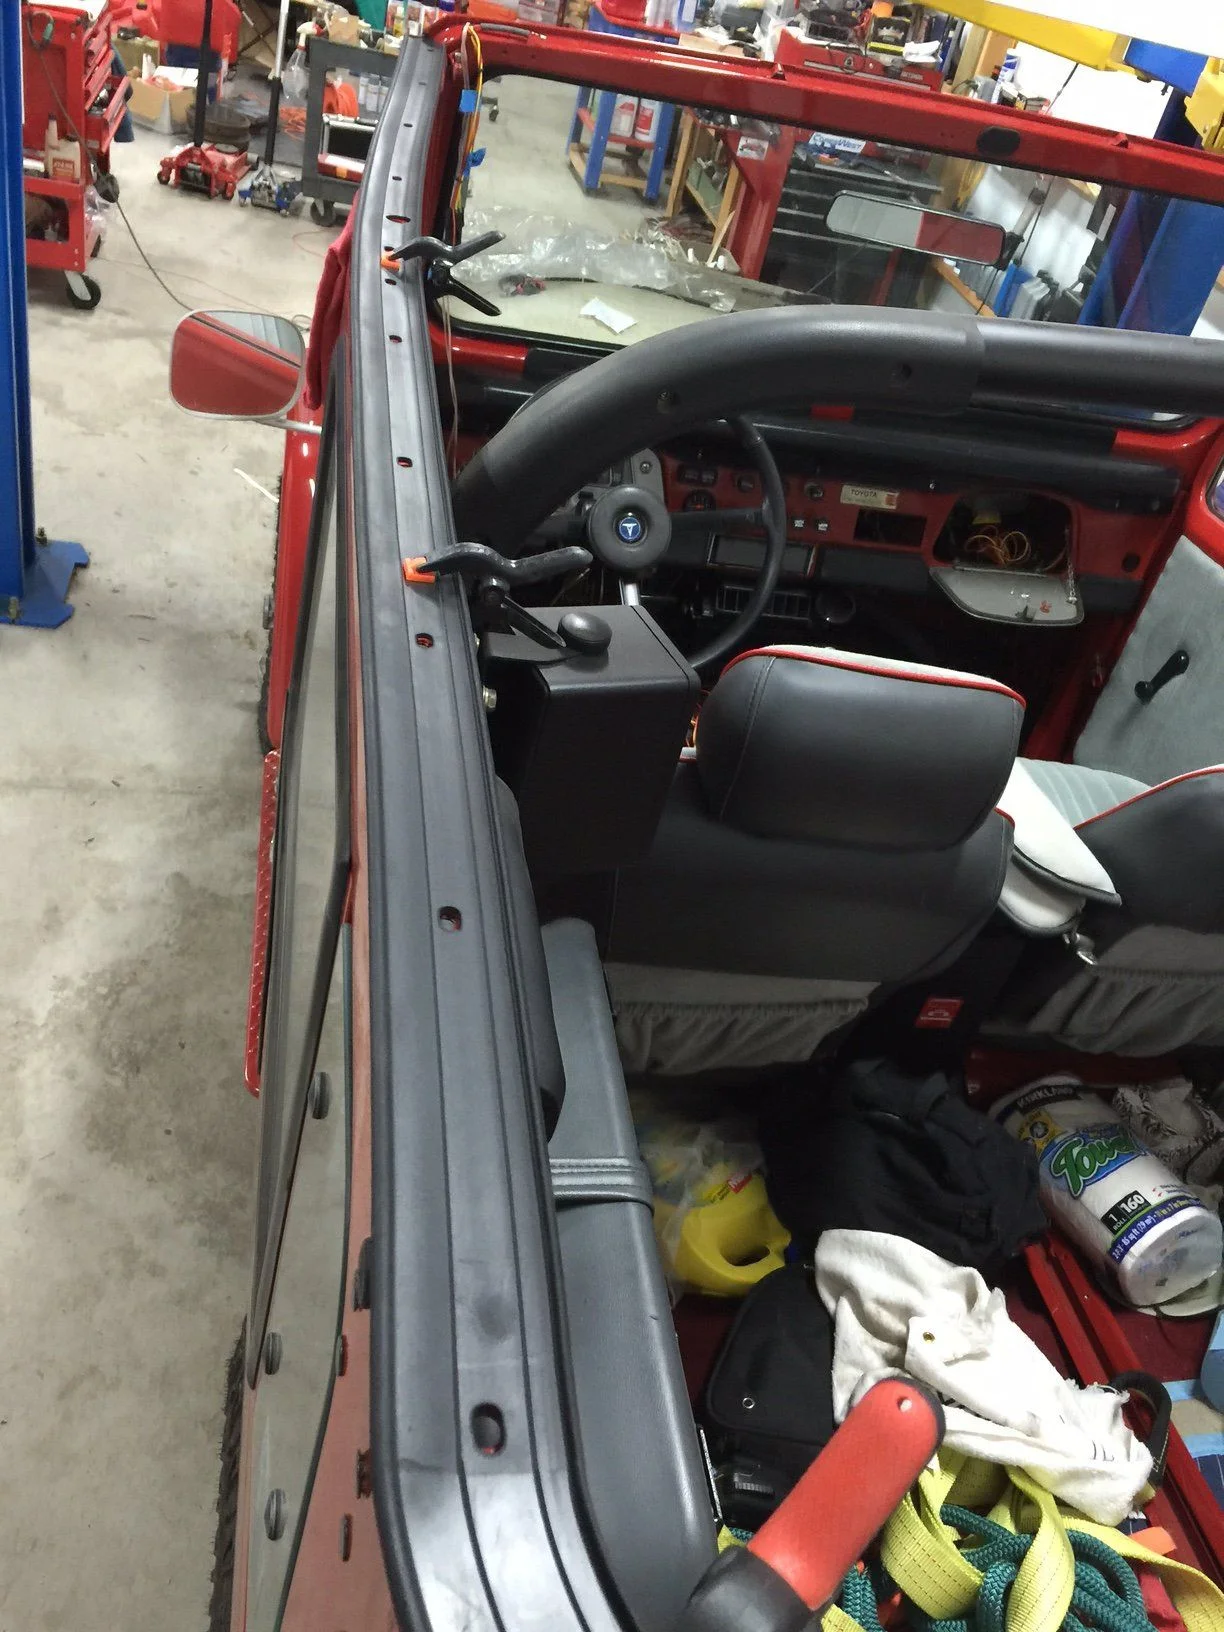
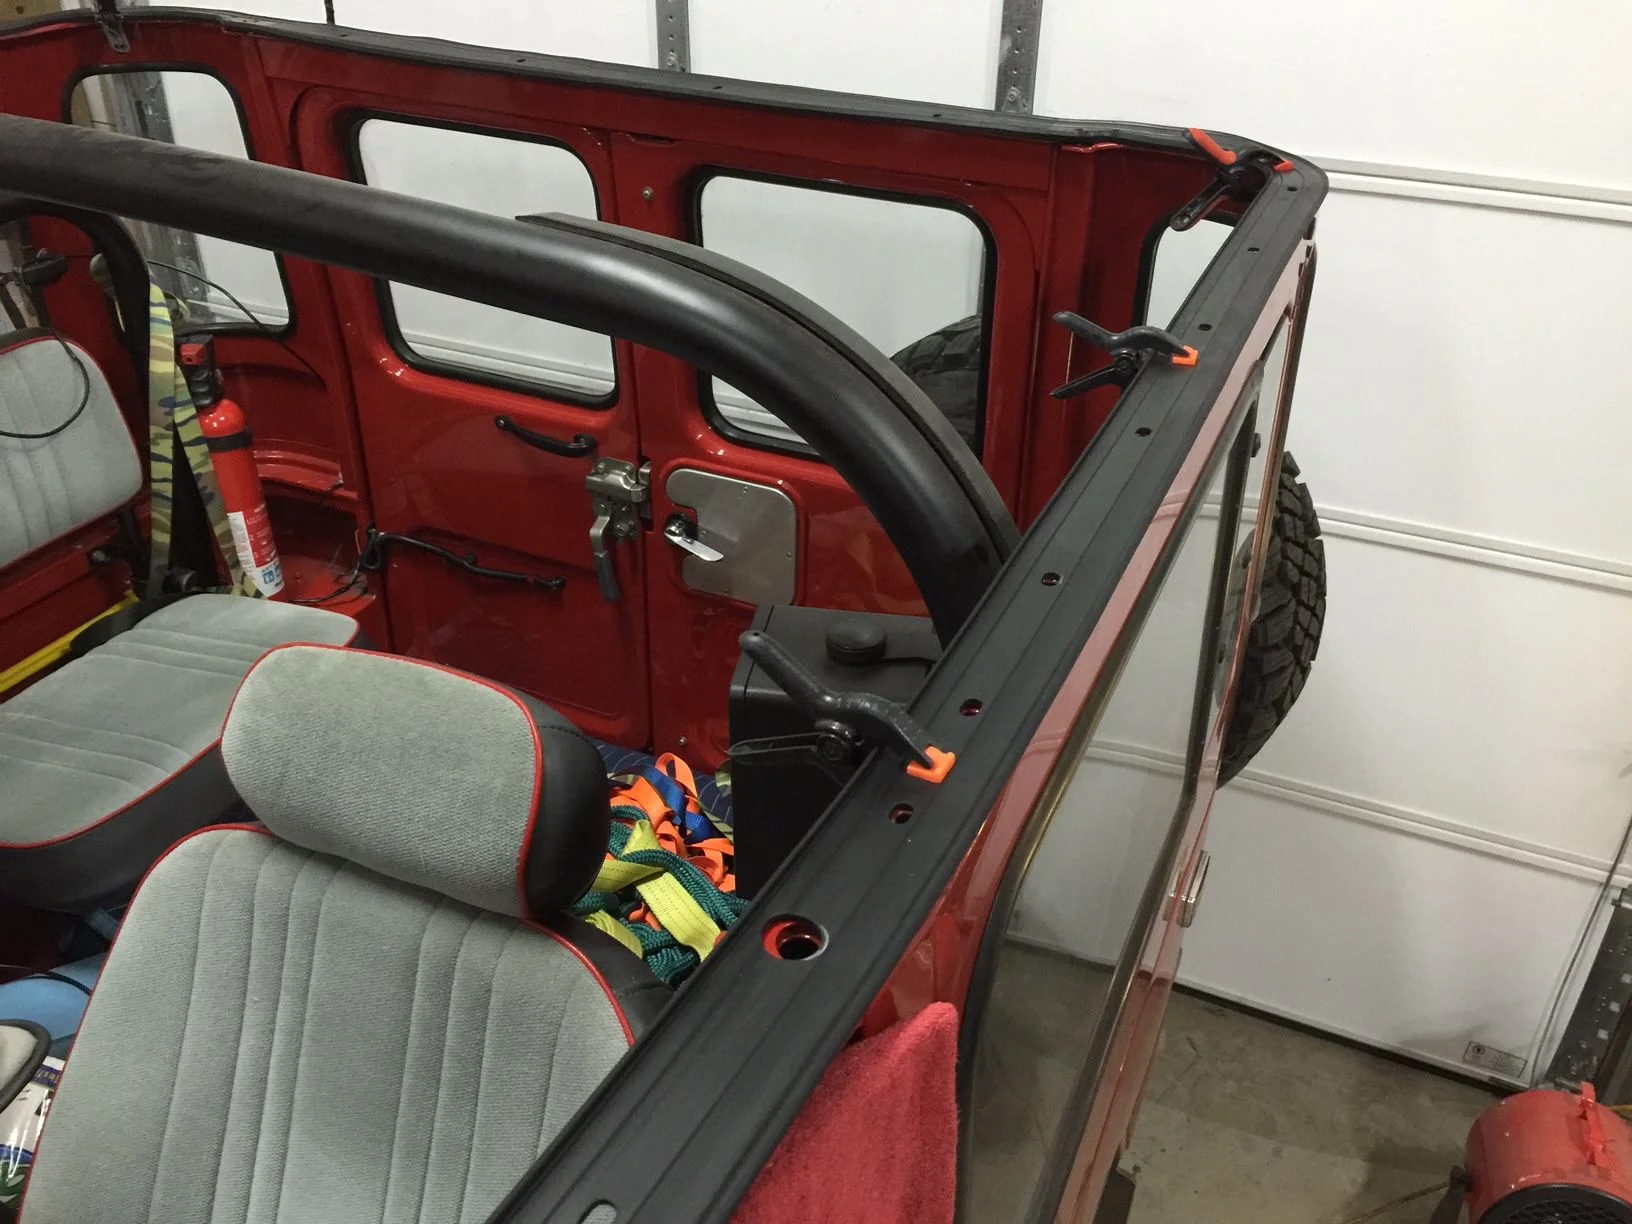
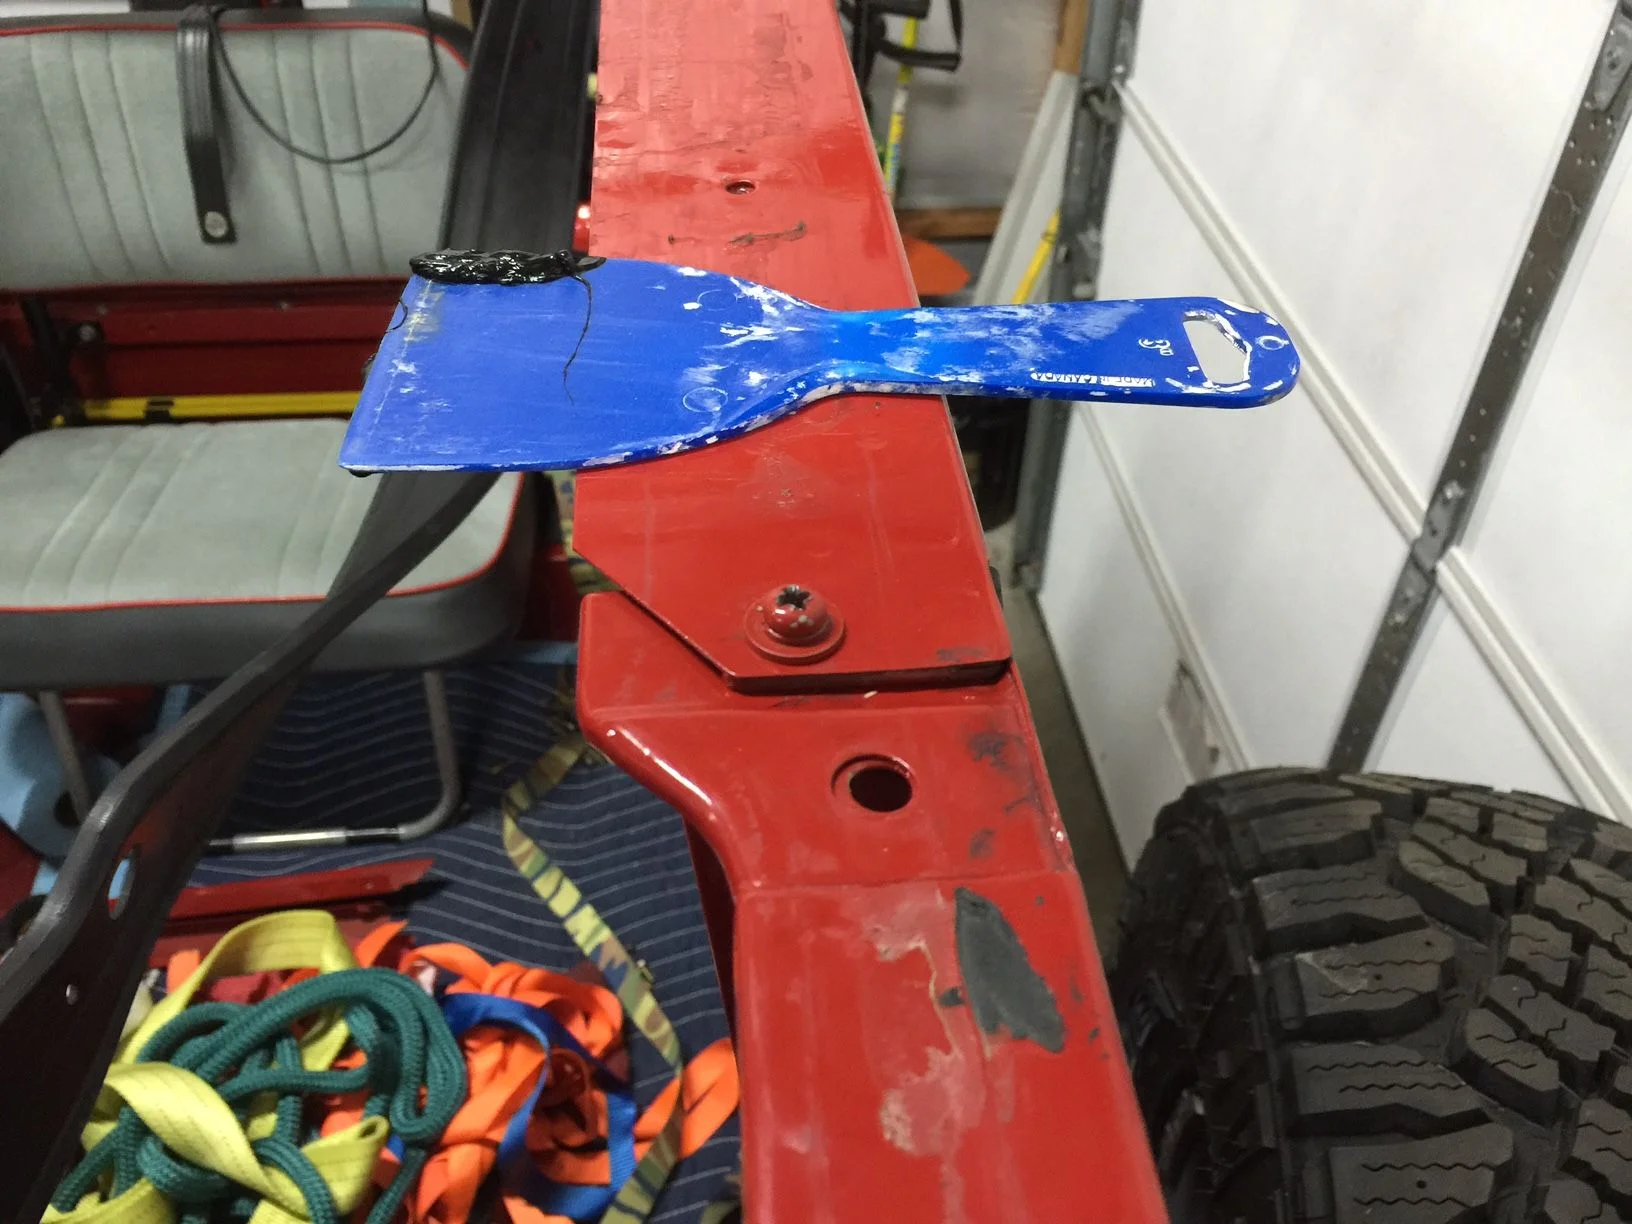
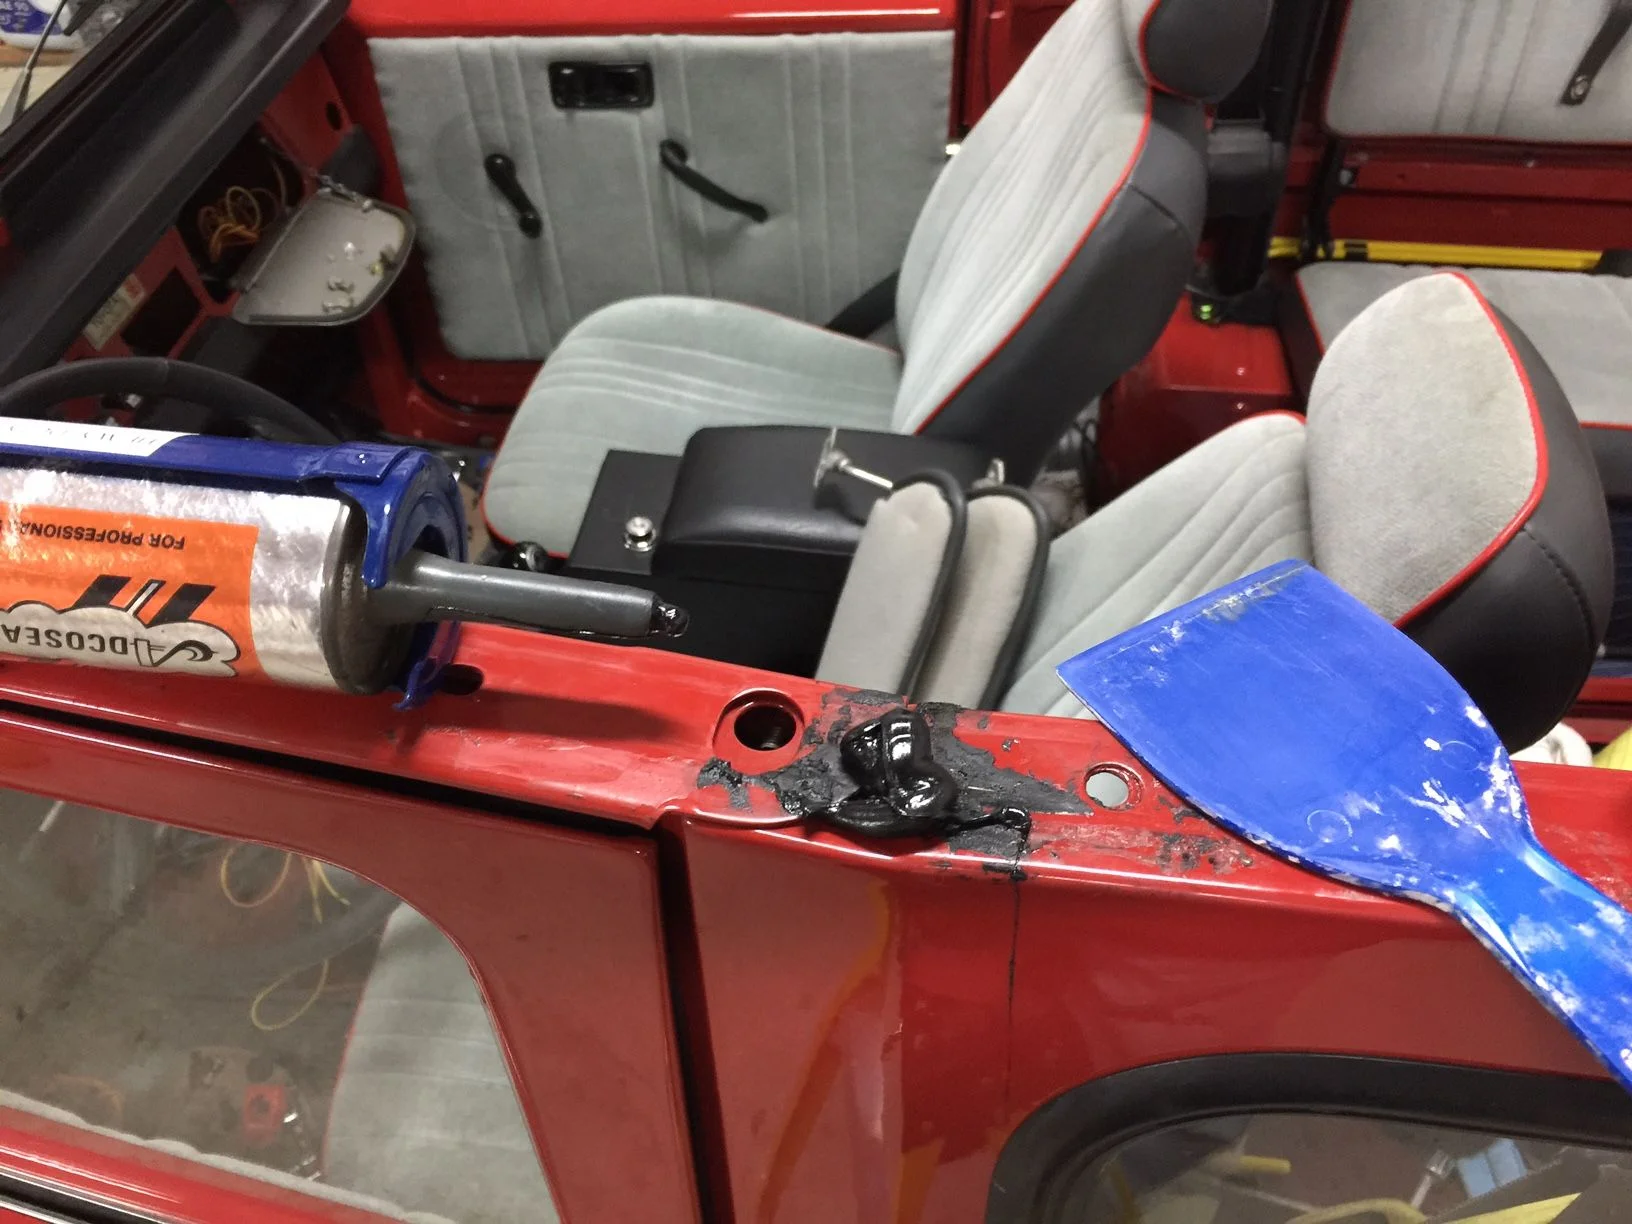
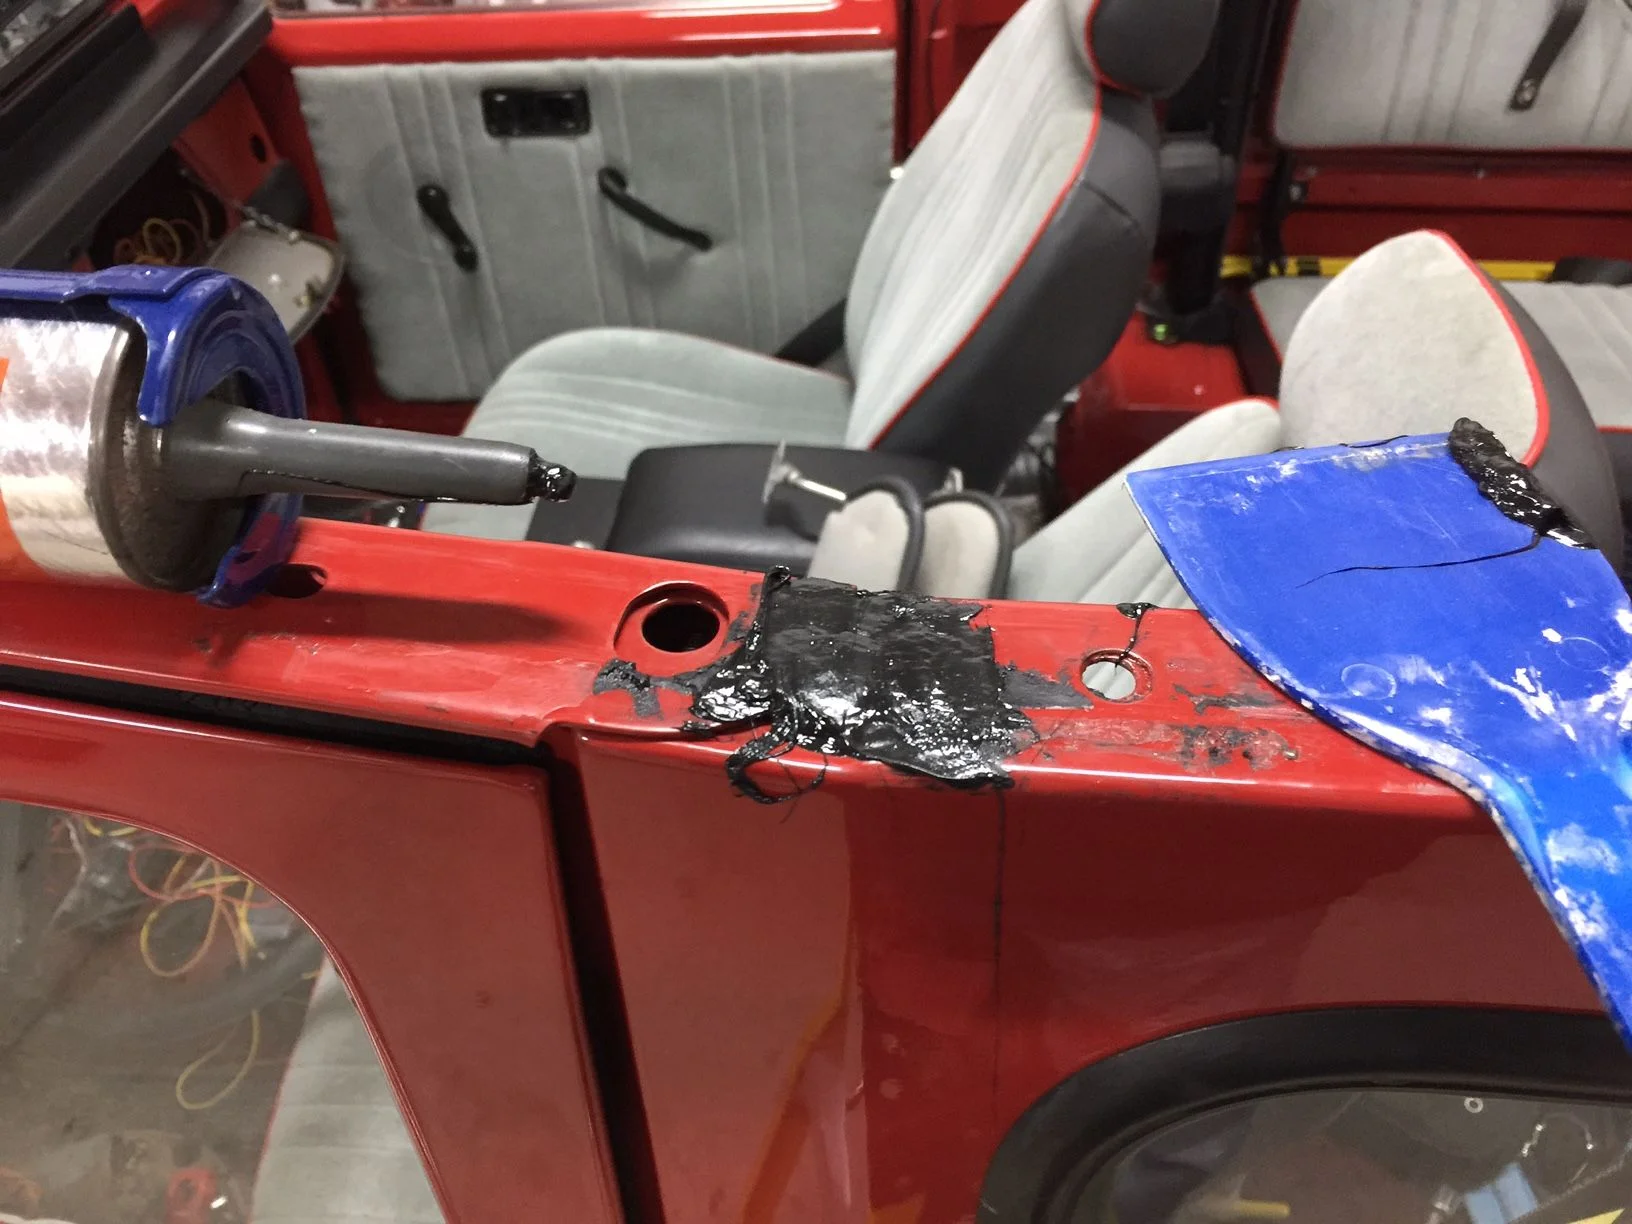
Ultimately I placed longer boards under the roof and completely lifted it from the vehicle, this will allow ample room for cleaning glue residue from the body parts.
full


full
 
Last edited:
My truck was missing the rear door header corner rubber spacer seals, so I picked these up from @Racer65

s-l1600.jpg


before with no rubber gasket ~ passenger's side
full


before with no rubber gasket ~ driver's side
full


Here's the installed pics. The seals are made of solid rubber, nonporous.
These seals will keep water out and also lower road noise/sounds coming from the rear.
full


full


I had to you use some persuasion to re-install the top screws, I used a strap to compress the rubber in order for the screw holes to align.
full
 
Last edited:
Installed the roof top weather strip, courtesy of @Racer65 , this thing fits like a glove and it's identical to the old OEM cracked strip that I removed, all the holes line up with the body screw holes perfectly, I'm very pleased with the product so far.

full


full


full


full


Also installed the windshield top weather strip, it was a perfect fit as well.
full


full


full
 
Very nice. I bought a lot of those seals for my reassembly. Thanks for showing me where to put them! I wish I would have known about city racer when I ordered my seal. That one looks well made. I got one from CCOT. I dont think it looks that nice, and I may end up not using it. I am still a couple of months from seals.
 
Very nice. I bought a lot of those seals for my reassembly. Thanks for showing me where to put them! I wish I would have known about city racer when I ordered my seal. That one looks well made. I got one from CCOT. I dont think it looks that nice, and I may end up not using it. I am still a couple of months from seals.

Thanks Ernest!
 
Prior to re-installing the roof I used this automotive sealant product to level off all uneven areas that the roof seal rests on to create a water proof seal. This product is soft and will not harden, I've had this tube from previous projects and it's about 20 years old and still very pliable.

full


These are the ares that needed leveling
full


Applied sealant to cover the uneven areas
full


Pumped sealant over uneven door jam
full


Then leveled it off
full


Ready to install the roof
full


Re-installing the roof

Installing the little rubber bits for a leak free install

full


I applied some body sealer under and around this piece to ensure a leak free roof
full


Next was the rear door jam rubber seal (self sticking)
full


full


Front door seal it interlocks with door header trim piece, fits like a glove
full


pic of other side
full


installed
full


Next installed the front door seal
full


glued in place
full


And the roof is now complete.:banana::banana:
 
Last edited:
OEM Reman from Toyota cost me $43(unloaded) a few months ago, mud dealers should be about the same. I have used the NAPA also, the body seems to rust faster than toyota....but other than that happy. I did notice my old OEM Reman toy were a gold-ish color, the current ones are silver-ish. Napa was black.

And nice work!!!!

I paid $46 a piece, how much are they now?
 
OEM Reman from Toyota cost me $43(unloaded) a few months ago, mud dealers should be about the same. I have used the NAPA also, the body seems to rust faster than toyota....but other than that happy. I did notice my old OEM Reman toy were a gold-ish color, the current ones are silver-ish. Napa was black.

And nice work!!!!

The NAPA reman I got are black in finish and impervious to brake fluid I was really surprised. They work great, truck stops like it should, no problems and I'm happy.:)

Thanks for your kind words!
Once I get the roof back on then I'll install my overhead console and wire the whole thing up. My Overhead Console Build - on-going
 
I just received this 36 mm Festoon 24 LED bulb for the interior courtesy light, a real plug-n-play item.


full


full


full
 
Last edited:
Belated post about disc conversion. What one did you invest in and where did you get vented disks from?
 
Last edited:
What vendor? Thanks
 
Recently I purchased a rear step (unfinished) form @Racer65 at a great deal, he basically made an offer that I couldn't refuse. I received the step this past week, and today I cleaned the raw metal and also primed it and now it's ready for some hard non-skid finish. The hard non-skid finish will be applied tomorrow, I wanted to give the primer sufficient time to dry, at least twenty four hours, in a heated 70* room.

Here are a few pics of the step:

Pic prior to being shipped to me

full


Pic after thoroughly cleaned with de-natured alcohol
full


Step primed and reading for a hard non-skid coating
full


full


I've waited couple of years to buy this step and now that I have it I can't wait to install it.:hillbilly:
 
Last edited:
I finally finished painting and installed my new rear step.


full
 
Last edited:
Very professionally done! Looks like that hitch is a perfect choice, not only clearing the step but also giving you 100% of the stepping surface.

Hey thanks Roger! I appreciate your kind words and thanks again for the step!
 

Users who are viewing this thread

Back
Top Bottom