Builds Almost beautiful HDJ81 (1 Viewer)

This site may earn a commission from merchant affiliate
links, including eBay, Amazon, Skimlinks, and others.

I would like to see more of this setup. How far does the tent hang over the side of the roof rack? I’m 6’3 230lbs. Do you really think 4 people could sleep up there? In the advertisement I have seen the got 4 people but they look like a bunch of small Asians and the two adults are strategically laying on their side to take up less space.

Im 6'5" 200lb. I can't reach the top or bottom. Its a seriously long tent. 4 people is possible but pushing it. Its slightly larger than a king size bed with another bit of border for your stuff. Its a seriously great setup considering it fits the footprint of the roof of the 80. When closed there is no overhang. When open almost 50% of the tent hangs over the side. Enough space to open the doors of the cruiser under the tent. When you add the annex you can easily accommodate 6 adults in comfort.

The only people using this tent are just myself and my wife. The reason I went with such a large space is for those days when its storming outside and you just don't want to be out there. Having the space keeps you sane. 2 adults and a large dog is the max I would put up there. Ive had a group of 6 kids do an impromptu camp in there. They did not complain.

Here is a link to a vid of a detailed walkthrough of a fully deployed setup:

 
Despite the birds, the bugs, the dust, the trees, the occasional cloud burst and my general incompetence the painting portion is done. Going the rattle can route was oddly satisfying. The outcome is quite good. Im actually very pleased with it. Had I paid 5 grand for a paint job with this outcome, I would have of course s*** a brick but for $200 I really can't complain. The paint match is very very close. The only thing left to do is polish the crap out of the clear coat so the reflections all go in the same direction being that its a pearl metallic color. Ill wait 2 or three days for the clear coat to fully cure and I will have at it before reassembly.


Everybody likes photos of garbage :flipoff2:

full


Paint & clearcoat done
full


Closeup of old and new panel

full


full


Id say thats pretty darn close. So to anyone who wants to repaint their truck, I say go for it. Be diligent about sanding between coats and just keep spraying. I did 3 coats of primer, 4 coats of color and 4 coats of clear. I think thats thick enough. Now its time to add some Alabama pin striping :hillbilly:
Looks great!

I am thinking I will let you practice on your truck and learn all the tricks. Then when I get back to Atlanta I will bring mine over.LOL

Honestly I have been thinking about shooting my hood. Maybe you can show me how.
 
Looks great!

I am thinking I will let you practice on your truck and learn all the tricks. Then when I get back to Atlanta I will bring mine over.LOL

Honestly I have been thinking about shooting my hood. Maybe you can show me how.
You bring the beer and operate the grill. I paint your hood. Win Win :D
 
So the day has come where I finish with my Duplicolor Rattle Can Challenge. I bust out the 1000 grit then the 2000 grit followed by 4000 grit sanding. Then I start polishing AND GOD DAMMIT IT TURNED OUT GOOD!! The problem is that it turned out too good. I never thought that I would ever say that. It looks better than the neighboring original panels. So what do I do? Redo the rest of the truck? Or drink more beers and see if I can find my usual IDGAF hat to put on.

Either way. Today I will toot my own horn so Fu***NG loud that people will get annoyed. I do realize its a mortal sin but Im gonna keep on tootin!!!

IM THE RATTLE CAN KING OF THE WORLD!!! :flipoff2: Suck it Krylon!!

Stage One

full


Stage 2

full


Stage 3

full


Stage 4

full


Final Outcome

full
 
Do you ever have those days where you have a part that you want to bolt on but some parts require two people? Well, I had such a day today. My arms are too puny to mount the Slee bumper by myself. I have better things to do like mounting a bumper than going to the gym so I got creative. First I took all safety precautions. Got my best work boots, laid down in the dirt while dragging the bumper on top of me before doing the lift. I am pleased to report no injuries except a few scrapes and bruises. The bumper is back on :hillbilly:

full


full


full


full
 
So I saw this ugly ass cruiser all smelly and crappy and gave it a home. I fed her gave her a makeover and now she's beautiful. Now the damn thing wants more :crybaby: 
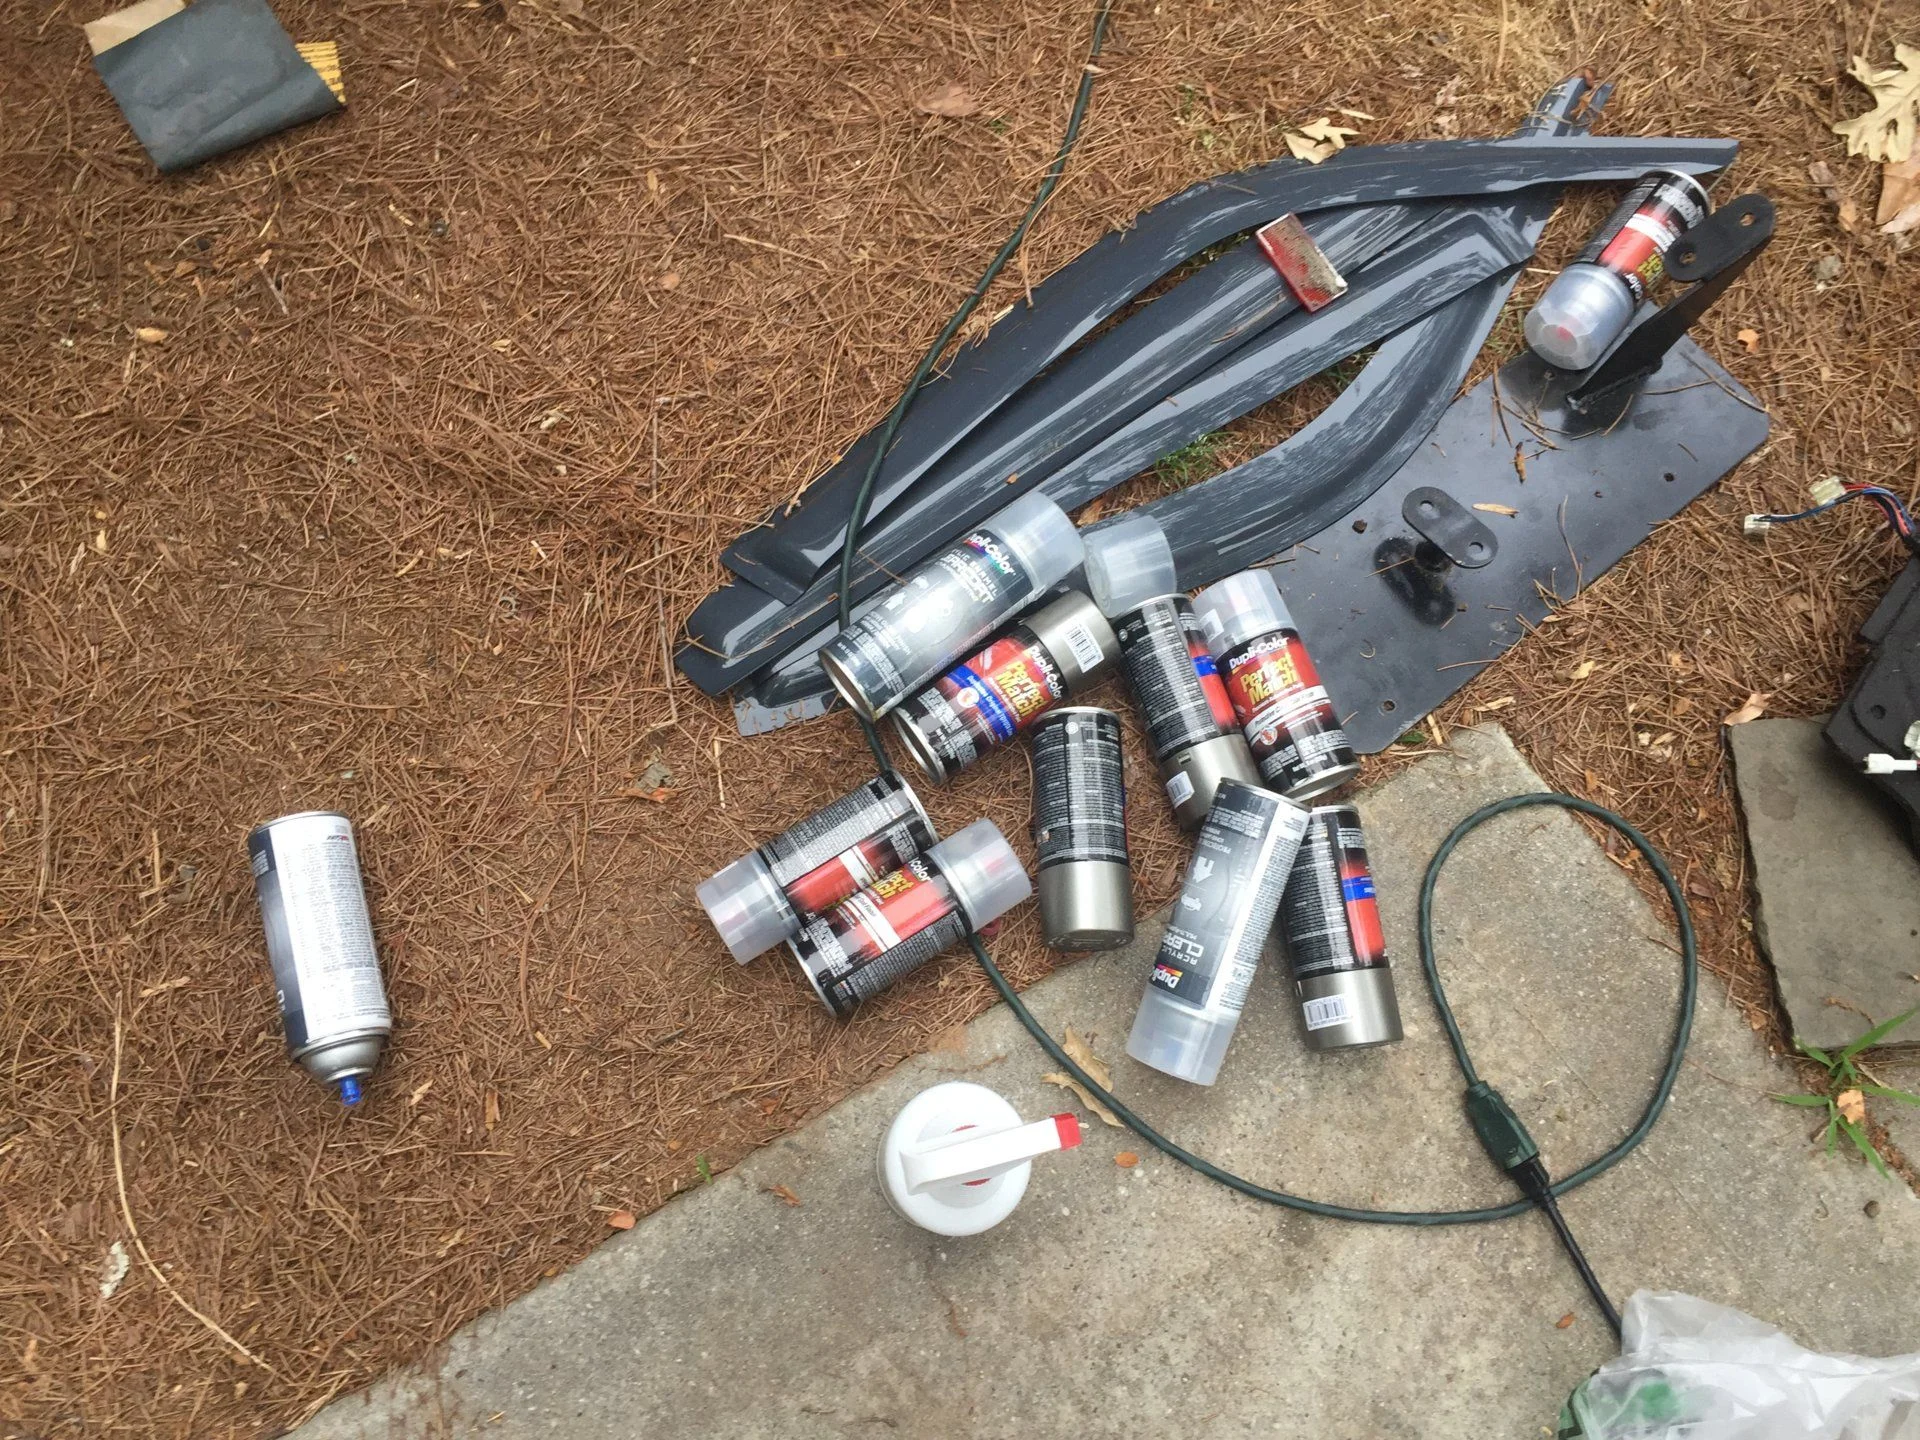
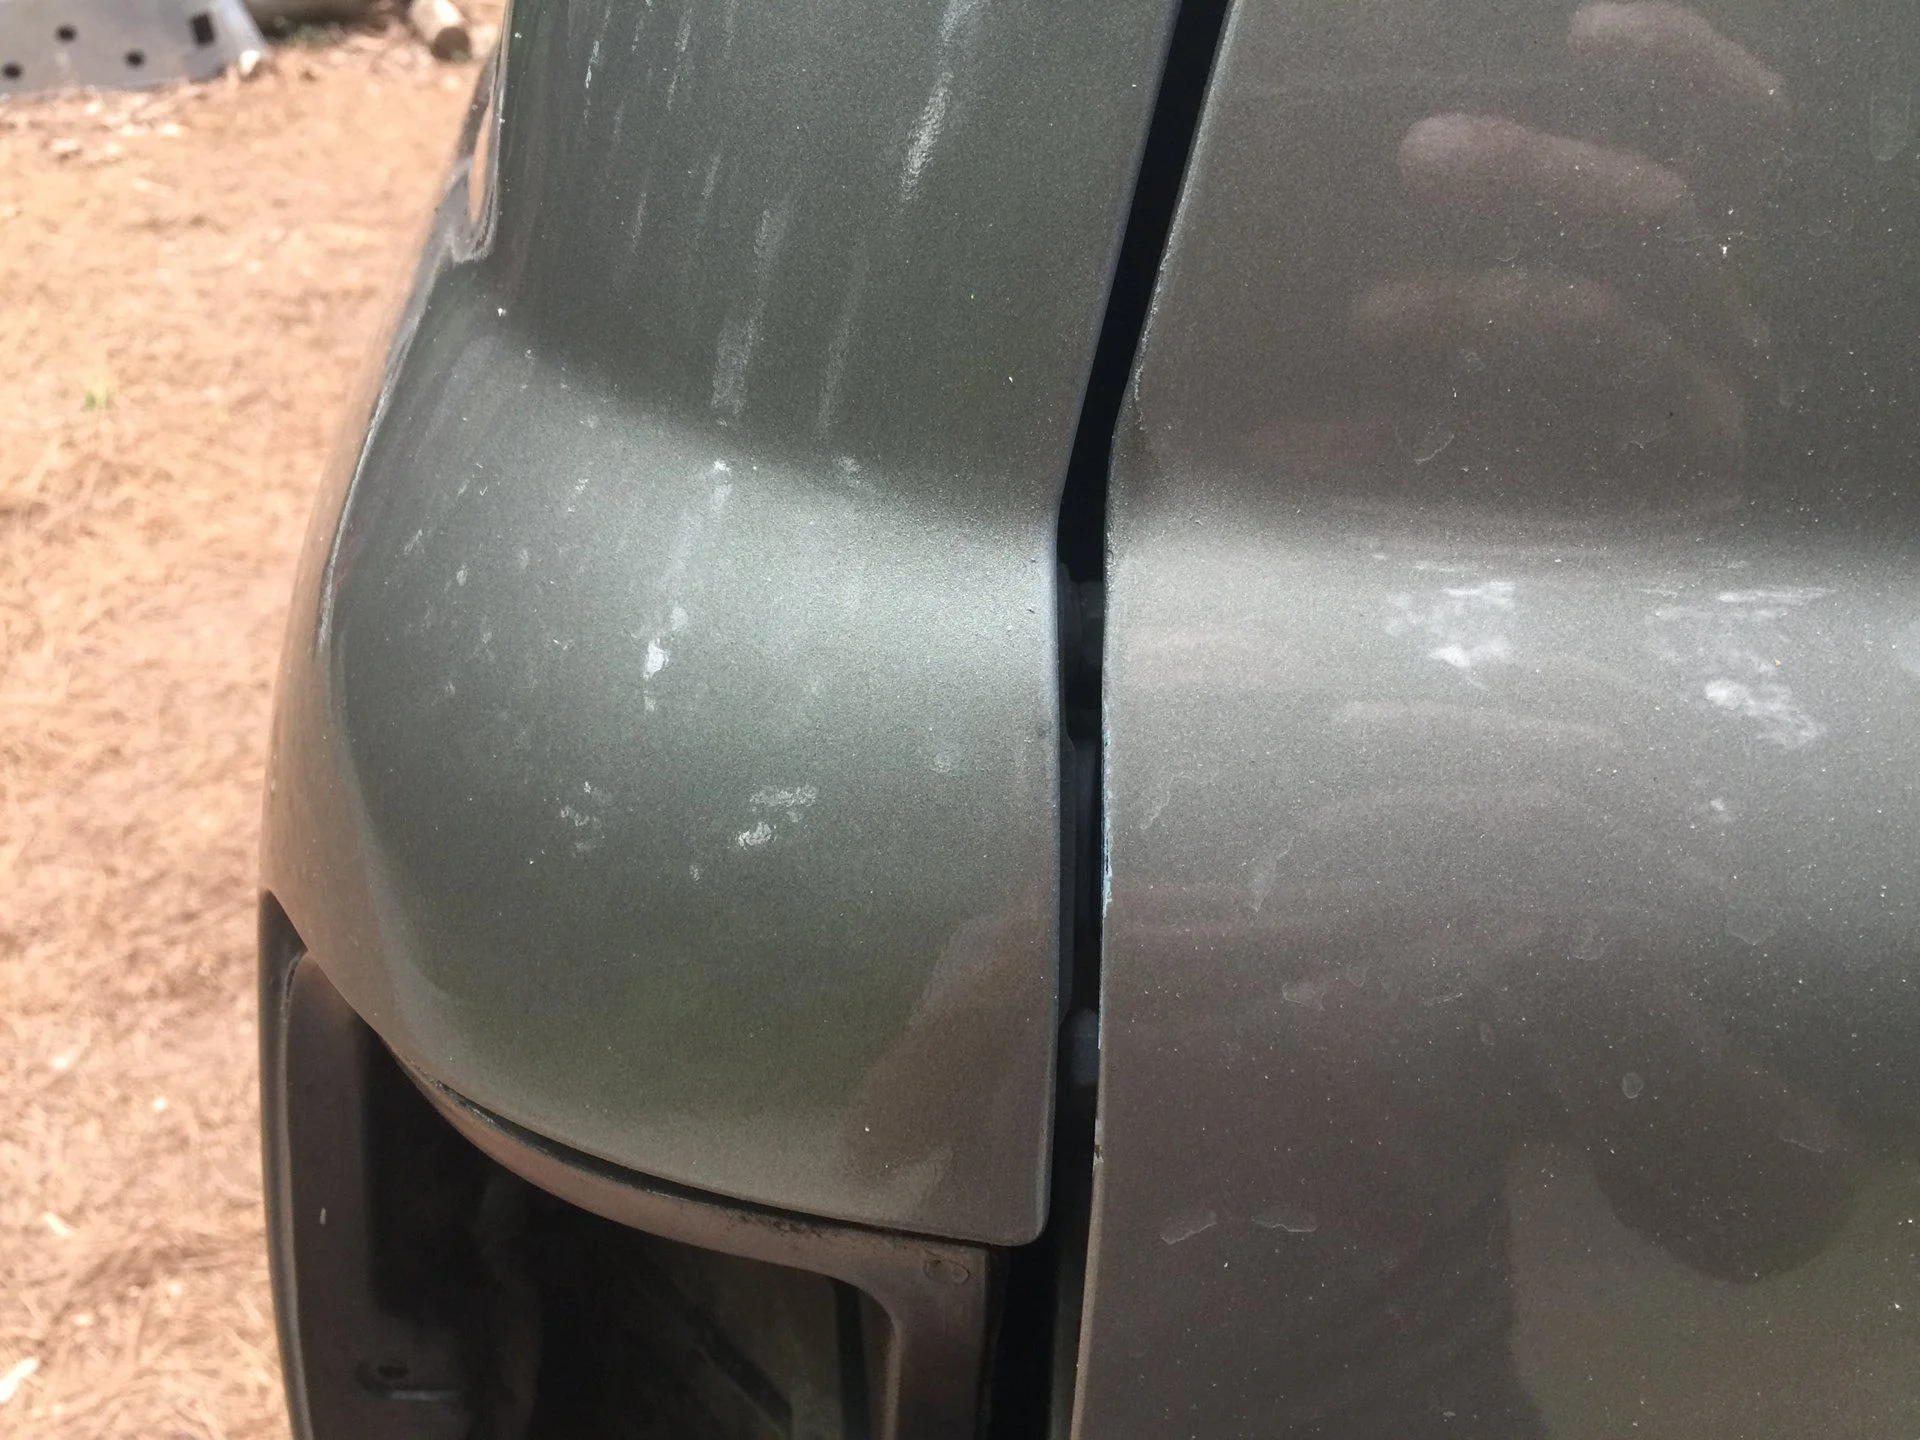
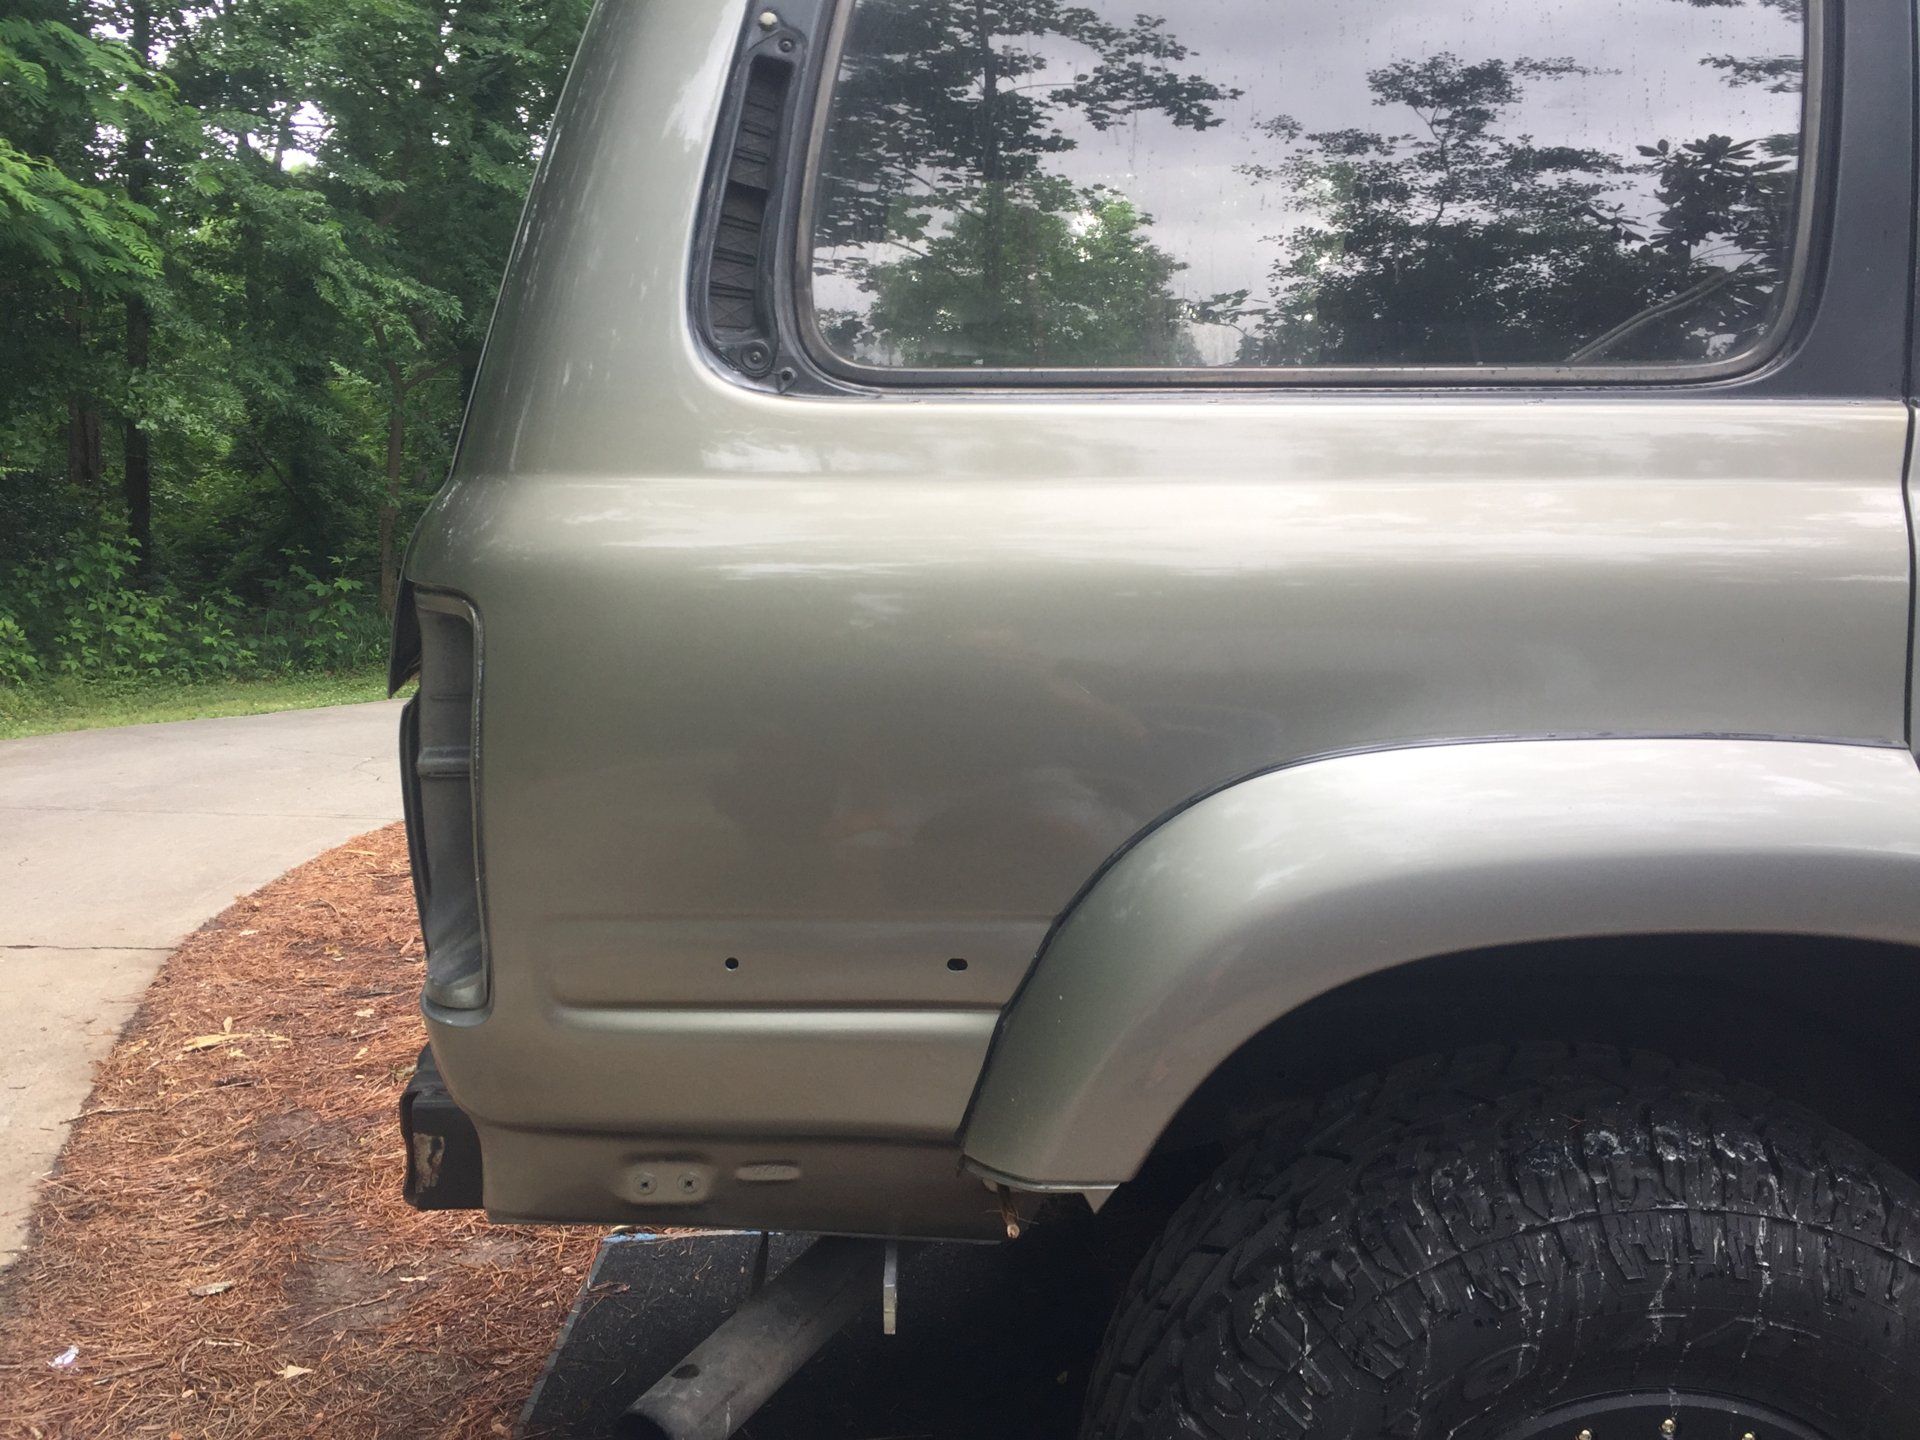
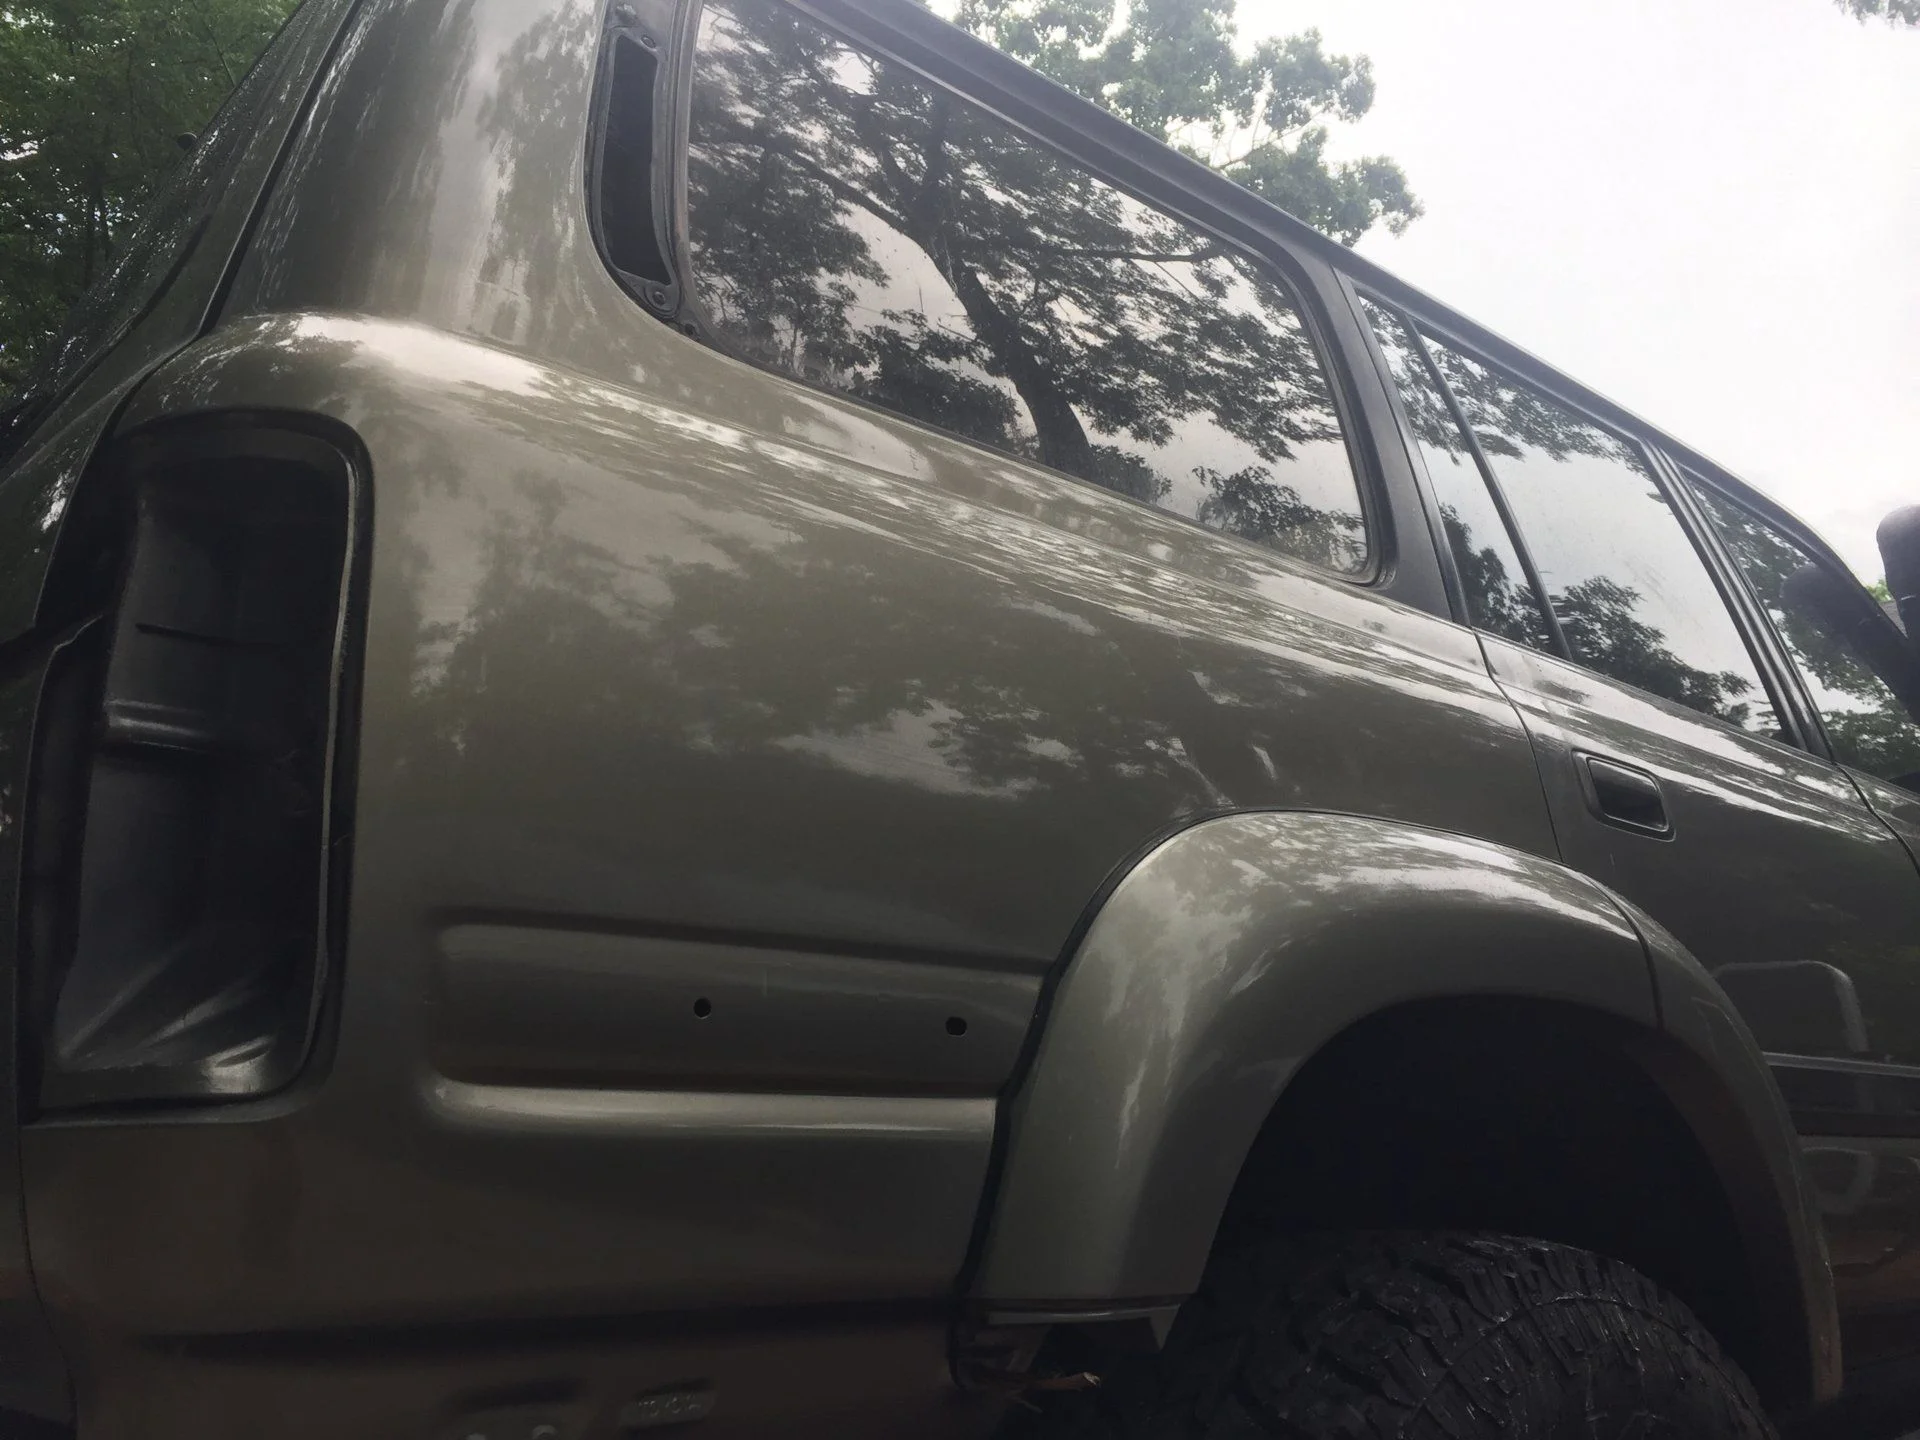
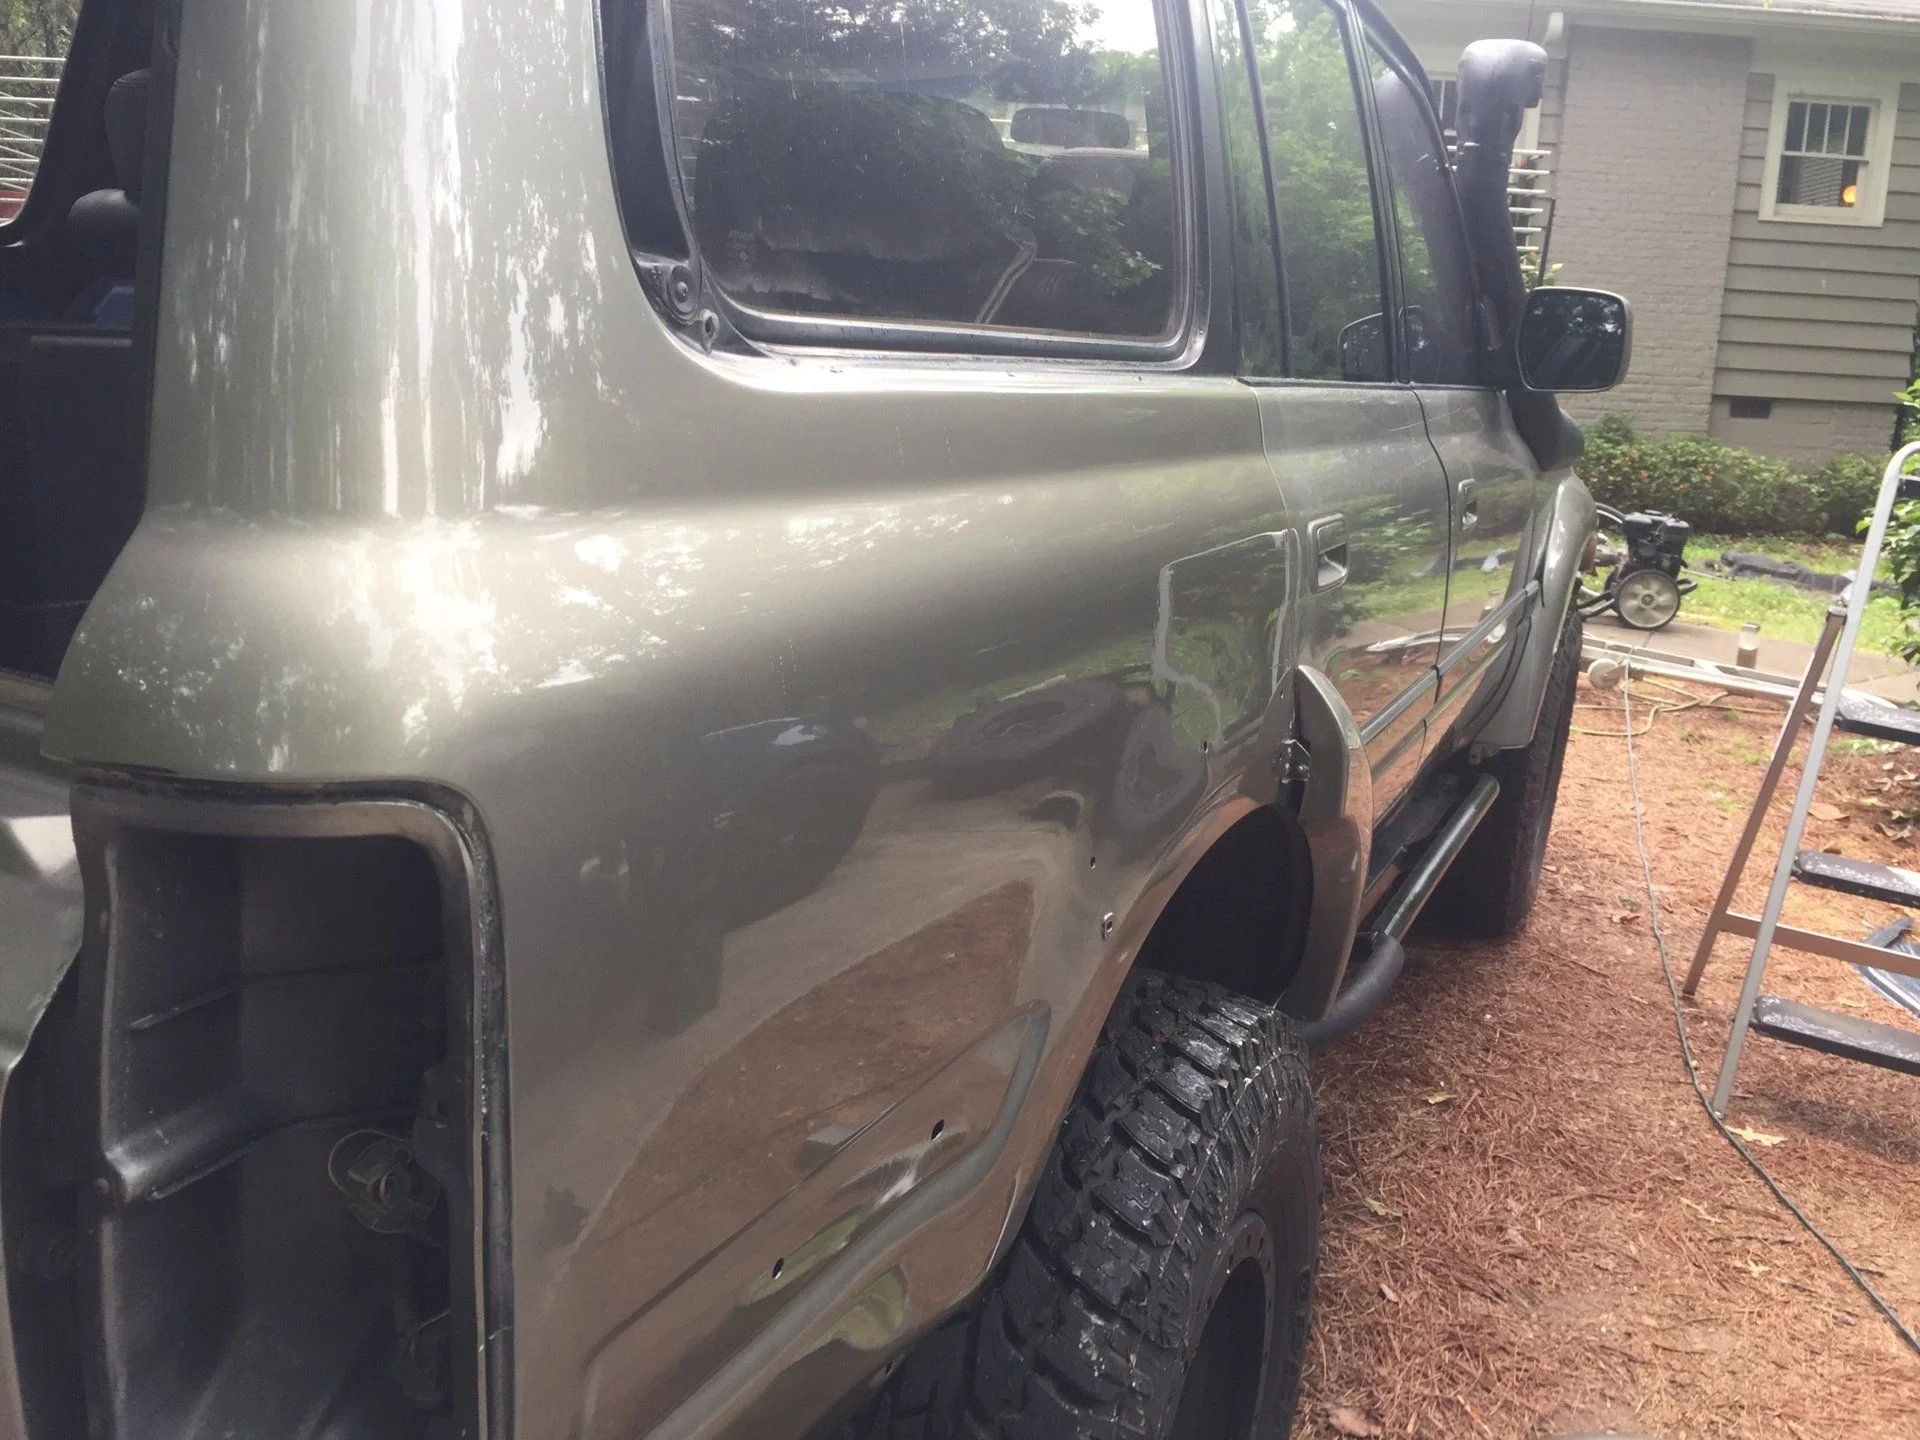
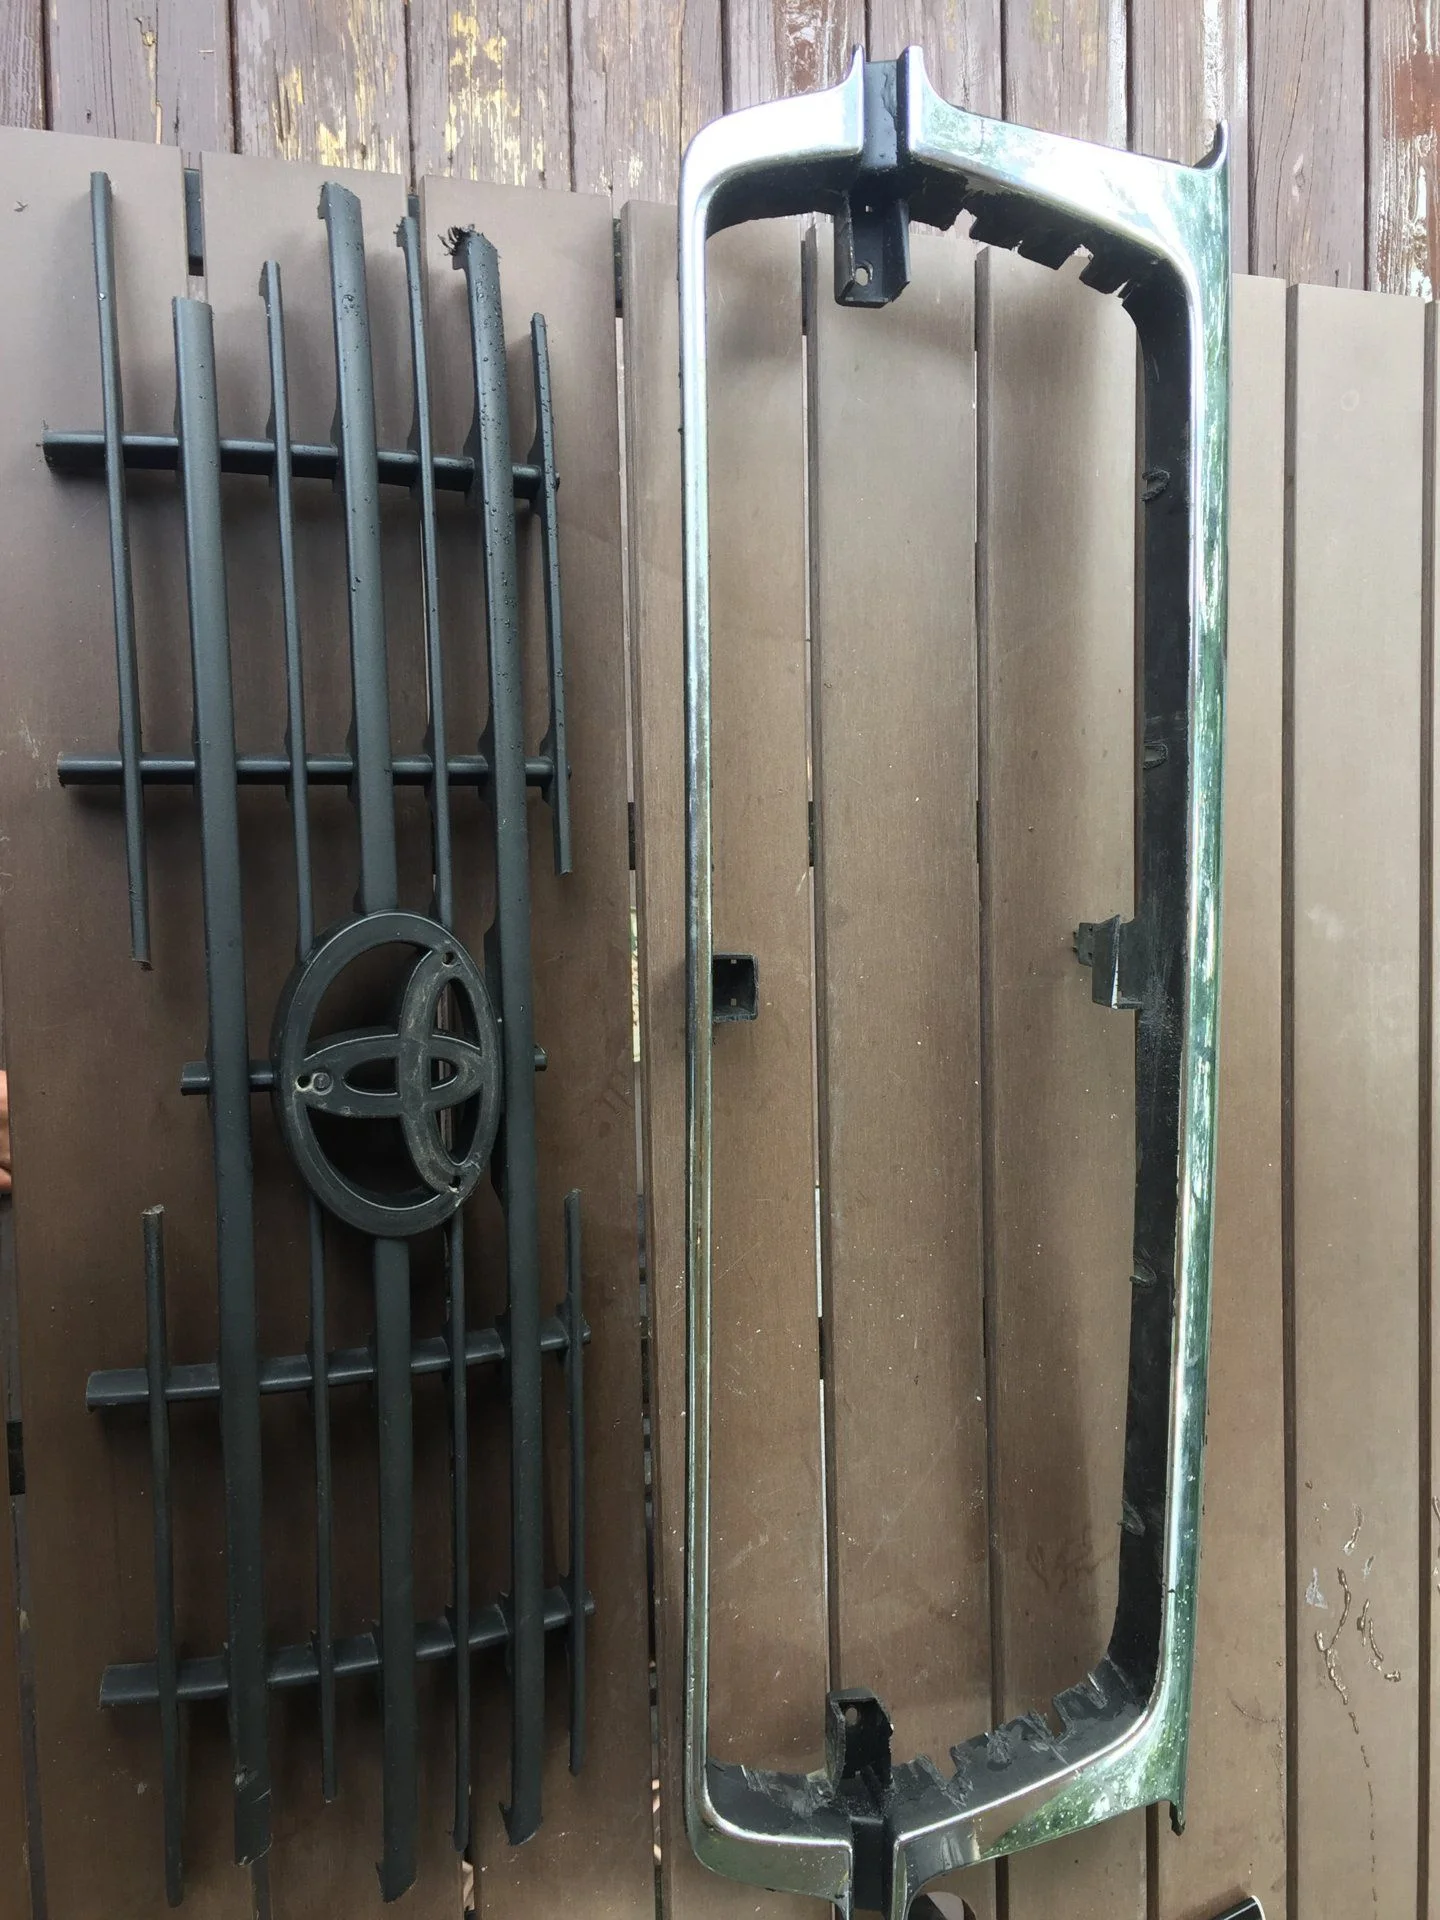
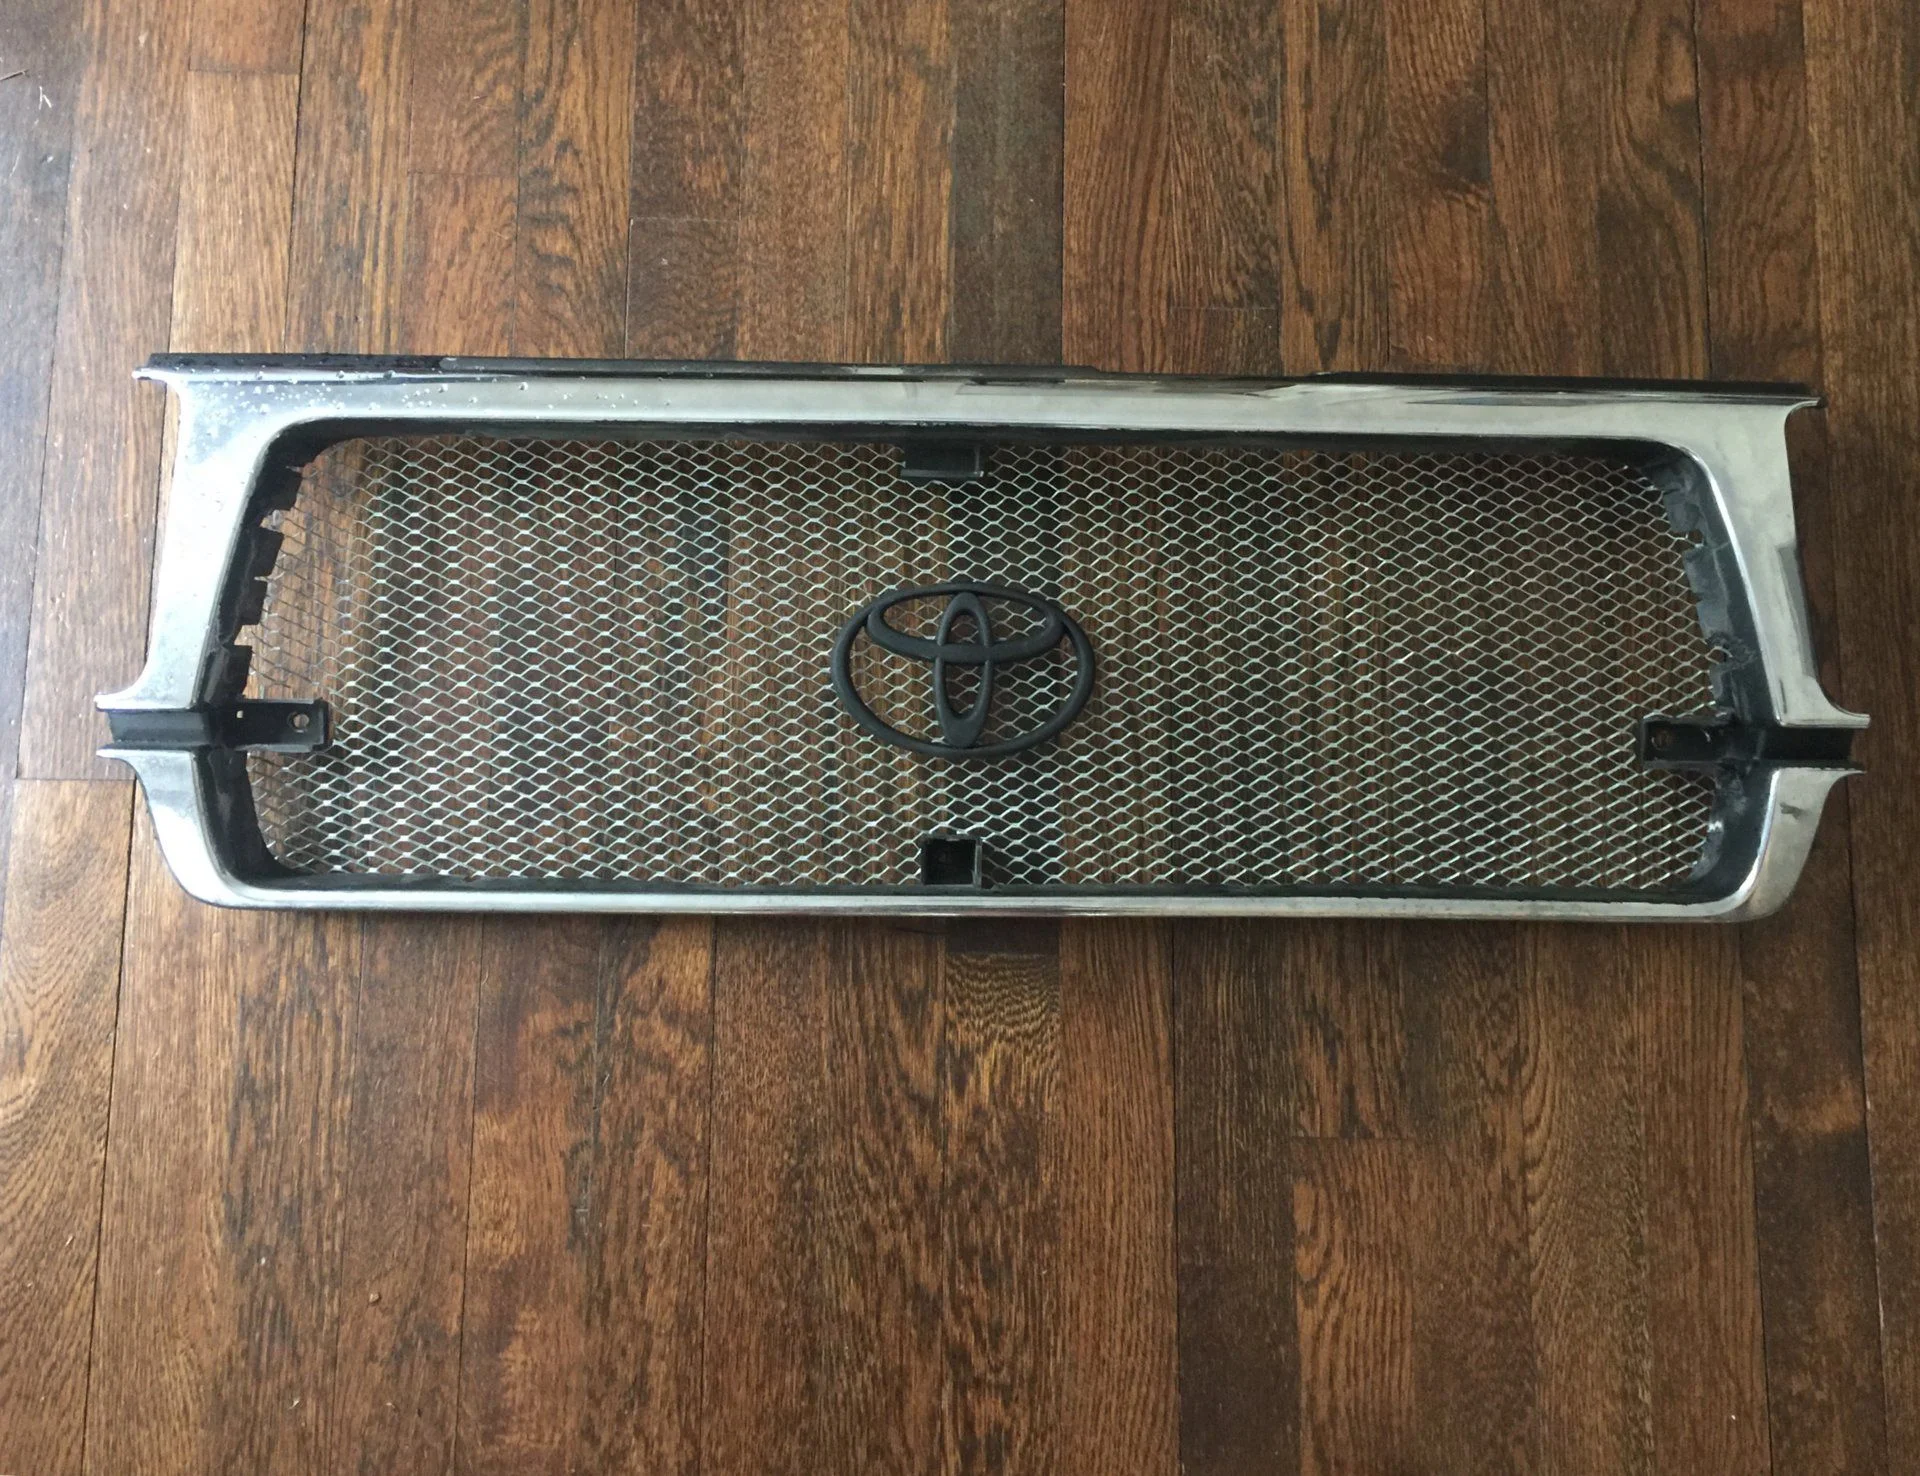
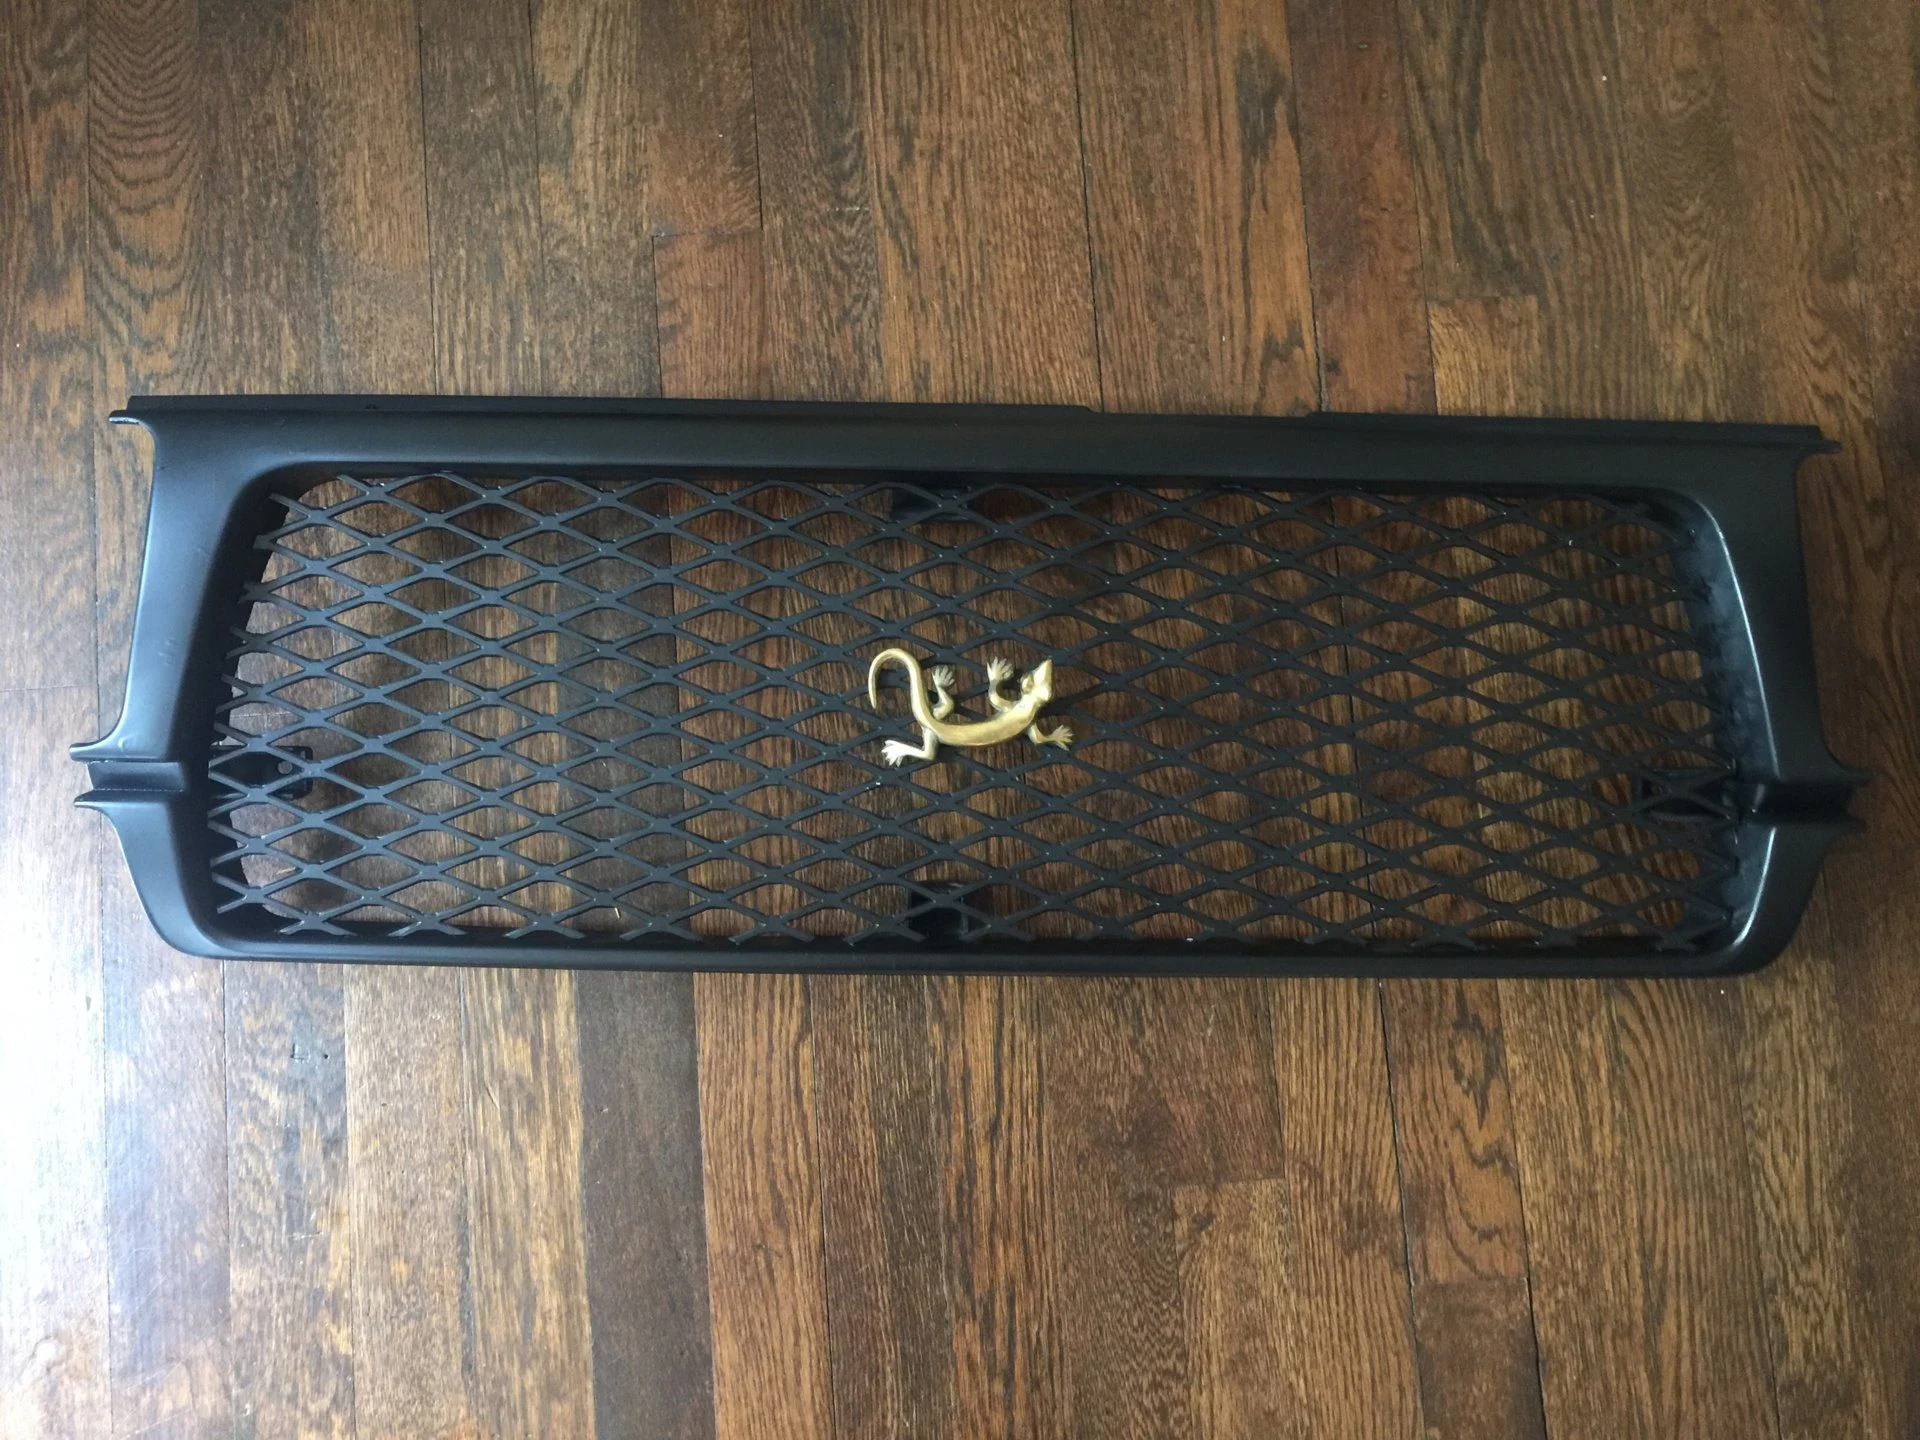
She wants a facelift again. So here it starts. This is such a pain in the ass process but I learned a lot from doing the Satoshi grill mod the last time around.

First the cuts:

full


Well, so thats where I am now. Next is fiberglassing the holes followed by bondo then primer etc etc.
 
Your posts are f***ing hilarious! I just read the entire thread and haven't laughed that hard in a long time!
 
haha I know what you are doing... i am trying to find some time to head your way and get a better look at your work. I still need to show you the slider install plus that other project I have been working on.... i think you will like it for your rig too.
 
haha I know what you are doing... i am trying to find some time to head your way and get a better look at your work. I still need to show you the slider install plus that other project I have been working on.... i think you will like it for your rig too.
YES!!!!!! Definitely want to see that. Especially the other thing.I just want to confirm that we are talking about the second thing and not the first thing, cause I don't know much about the third thing let alone the fourth thing. :D
 
Decided to make the grill a bit more substantial. I did not like the soft mesh and I especially did not like seeing the tabs. I remembered not so fondly one day in the hills in PA in a 1972 Bronco when a branch pierced the radiator. So off to the Metal Supermarket I went and found something that was sharp, difficult to work with and stout. Ofcourse the regular cutting implements were entirely ineffective so out came the grinder. A bit of fiberglass and bondo later it was ready for primer and paint.

Here is the almost finished result.

full
I like this one much better. Definitely looks tougher and matches the style of the LC better than your previous version.
 
Is that one of those rubber fishing lures in the center?
 

Users who are viewing this thread

Back
Top Bottom