Builds Almost beautiful HDJ81 (1 Viewer)

This site may earn a commission from merchant affiliate
links, including eBay, Amazon, Skimlinks, and others.

It looks good. What bumper is that?
Its a no name custom job. I traded that for some work I did for a guy. I plan on modifying that. I like the idea of bulbar for the stupid deer that don't adhere to the deer crossing signs. :D I will most likely use some kind of 3" diameter stock for it. Have not really thought of the design quite yet.
 
Its been a while since I updated this thread. For a very good reason I am extremely pleased with the progress of this cruiser. I drove the crap out of this thing. so now its seen the Pacific and the Atlantic Ocean as well as the Carribean and cruised along the gulf states. After several iterations of roof top tents, I finally settled on the iKamper. (I know, stupid name) I linexed the thing and I am very happy with it. Went camping with the wife in 20 degree weather and gail force winds in Shenandoah national park and we were very comfortable in the tent. All I fad to do was face the hard shell towards the wind and there was zero flapping sound from the canvas. Plus when deployed, its slightly bigger than king sized.
Her is what it looks like:

The iKamper after Linex treatment. Very streamlined. Only slight issue is the overall height of the cruiser. with tent at the highest point its 7'11"

full


Ikamper deployed:

full


full


full


When the tent is deployed the doors still open fully to the cruiser:

full


Its a really great tent. I got this thing fully optioned with awning, annex etc etc. The material I chose was the poly cotton. I much prefer it over the polyester stuff. A cool thing about the tent is that is has a skylight. Awesome for stargazing at night. The fastest I have deployed this tent is 32 seconds and 45 seconds to close it back up. Under normal conditions it takes about a minute. I have used several roof top tents and this one so far takes the cake. I am glad that I did not go for the Alucab as it is very small. This tent will very comfortably fit 4 people. Ill post a full review with all the different configurations in the near future.
 
Before I got this cruiser, I told myself that I will not be going crazy with it. I will not go overboard with the build. But then I met a few you of you f***ers :flipoff2: so now that promise went out the window. Yeah, I just going to plastidip it, I said. Now Im at a point where I am taking apart component by component cleaning and refurbishing. Take the damn shaky mirror assembly. I could have just zip tied it, but nooooooo. Lokk what you guys made me do.

Hobo quality mirror:

full


I took it apart completely, degrease resealed etc etc blah blah blah:

full


And after working on several things and they are looking nice and clean sitting there next to dirty old parts the whole thing starts to snowball AGAIN. It just keeps going!! WTF is wrong with me? I can't seem to stop!! Of course this being a RHD Diesel beast everything is a mirror image of the US model so just going out to buy new parts is not an option. I even went as far as to take the door harnesses apart cleaning, rewiring and resleeving. I know this door really intimately now as well as other parts of the rig. Im slowly working my way back.

So what does the door currently look like you ask? Well here it is sitting on my front porch ready to be reinstalled :clap:

full


Like I said, I am slowly working my way to the back of the cruiser and here you have a preview of what she will look like.

full


I will fave to update the title of this thread once again really soon because she is absolutely beautiful in antique sage pearl :D I had to drop all the skid plates to remove the sliders to get to the bolts to remove the fenders so I could do some cleaning and refurbishing.
 
Wow, you repainted the whole thing?!?
 
Wow, you repainted the whole thing?!?
Not quite yet! I took it one step dumber. Painting it would have been the smart thing to do :hillbilly: I took all the panels off then transplanted from a donor vehicle. Then I remembered the LHD - RHD thing so all electronics and wiring had to be moved also. What a pain in the ass that was. Now I just have to paint the roof and the rear quarter panel.
 
Got to be one of the tightest fitting roof rack RTT combo I have seen! Very nicely done.

Im thinking with your tight streamline fit zero wind noise?
That combo is definitely tight. Any tighter and it would be a campteq. Prinsu has a deflector and iKamper also has a deflector. I staggered them for smooth airflow. There is zero whistling. The only time I notice it up there is when I open the sunroof. I really wish I had the poverty pack cruiser without sunroof.

Your gullwing windows will be a mod in the near future. I love those. I missed out on the one where the guy wanted to trade the JDM solid windows for his set.

Anyone want to trade? :D
 
@ZeGerman what is the closed footprint of that RTT? Would it sit properly on a M416 trailer or would it overhang...
Here are the dimensions of the iKamper:
Closed: 54.3 x 85.8 x 12.5" The 12.5" is the tallest part of the tent
Open: 82.6 x 85.8 x 43.3" The 43.3" is the tallest part when fully deployed

With the tent closed I usually store 2 down duvets, 2 pillows and two large sleeping bags as well as other misc stuff with plenty of room to spare.

Since you are in Atlanta, you are more than welcome to come by and take a look. Beers included :D

Previously I had the James Baroud Evasion XXL. I hated how it would protrude on both sides of the cruiser since the upper parts of the cruiser taper inwards. With this tent it fits perfectly.
 
ZeGerman and his HDJ81 40th! The dude isn't right!
 
I have been having this issue with my rear lights blinking weirdly. Every time I would use the blinker, both tail lights would blink also and the relay in the gear shifter would click. That drove me absolutely nuts!! I chased wires looking for a short somewhere. Switched out and cleaned up the gear selector stuff - nothing. Yesterday while removing the plastic rubber trim piece on the rear quarter panel, I decided to totally take everything apart and do some cleaning. Deep in the bowels of the quarter panel I found the culprit of my electrical woes. Bloody trailer hitch wiring. Removed that and all of a sudden my lights are acting as they should. For the first time, every switch and every piece of electrical equipment works as intended. How does a piece of spliced trailer crap wreak so much havoc. And what kind of sadistic a$$ would tuck that in the farthest corner of the quarter panel?

Here the culprit. Funny that its called Hidden Hitch :D

full
 
It's a good day when everything finally works, good job!
 
Are your door locks or ignition locks not butter smooth?

Is there some resistance when you try to turn your key to unlock?

Is your lock completely jammed?

Then you need a cleaner and WD40.

1. remove door cards.
2. behind the door handle you will find the linkage to the lock. Unclip that and remove the linkage rod
3. The lock cylinder is held in by one 10mm bolt and a tiny screw with a retainer thingy. When unscrewing its good practice to have a magnetized philips screwdriver so that tiny a$$ screw and retainer does not fall down. Its almost impossible to find the damn thing when it does.
4. Spray the everliving crap out of the cylinder from all directions. I used throttle and carb cleaner. Brakleen or electronic cleaner will work just as well. Repeat this process until your fingers feel frozen from the cleaner. When pain sets in, you are done
5. Repeat process with WD40 or PB blaster. Insert key occasionally and turn. When its smoother than the womb of a marshmallow mermaid, grab yourself a cold beer, pat yourself on the back on getting rid of one of lifes annoyances that was not irritating enough for you to do anything about.
6 this step is optional but advisable. Spray some graphite or similar lube in the lock.
7. reinstall.

Yucky lock:

full


All the crap that came out of the lock. Its quite surprising how many tiny pieces of metal particles and dust will accumulate in such a tiny area.

full
 
Dude: So you gonna get the rest of the cruiser painted?
Me: Yup
Dude: Where you takin it to?
Me: Im thinking of just doing it myself. You know, get a HVLP gun and get some factory colors and just go to town.
Dude: you got a paint booth?
Me: No
Dude: What, you going to paint it outside in Atlanta in the middle of pollen season? Next thing you're going to tell me is that you will use rattle cans only.You live in a heavily wooded area and have a massive bird feeder right next to the cruiser.
Me: CHALLENGE ACCEPTED :hillbilly:

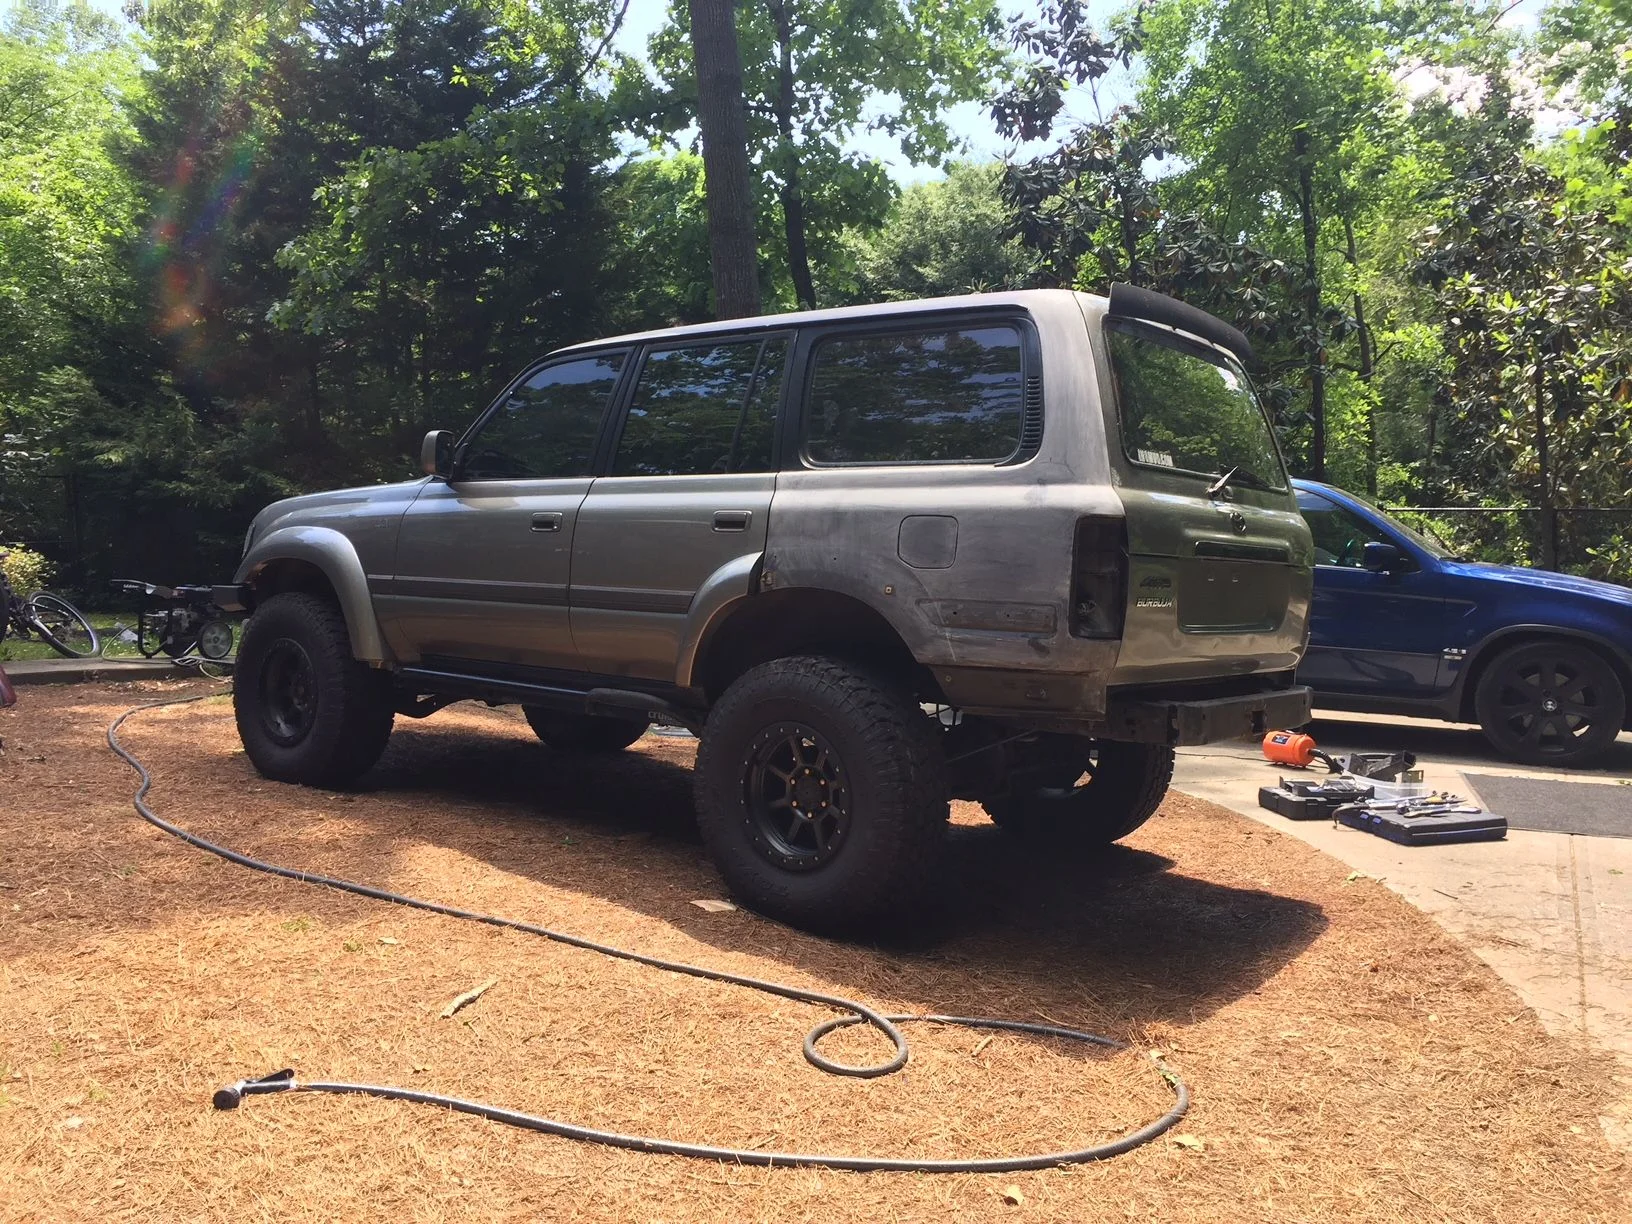
So the goal is to paint the cruiser and match the rest of it and try to make it look good. While Im at it, I can fix some dents and get rid of the minor surface rust that has appeared here and there. Why did I accept the challenge you ask? I plan on using this thing for its intended purpose. Pinstriping will be unavoidable. And of course the biggest reason according to the wife is that I am a dumbass.

The part I absolutely hate is sanding. I started with 200 grit paper to go over the rough parts and take off the peeling clear coat. Then a bit of bond to smooth out whatever dimples I could see and then some more sanding. Finally we have some more sanding with 400 grit paper. Apparently this is what is required according to the instructions on the can or primer/sealer. Then came the cleaning part followed by masking and the exciting part is of course the spraying. After that is to hang around the vehicle and keep moving to make sure the damn birds don't come near it. Smoking lots of cigarettes helps with insects also. Once dry then a quick sanding with 1000 grit paper before applying the color coat.

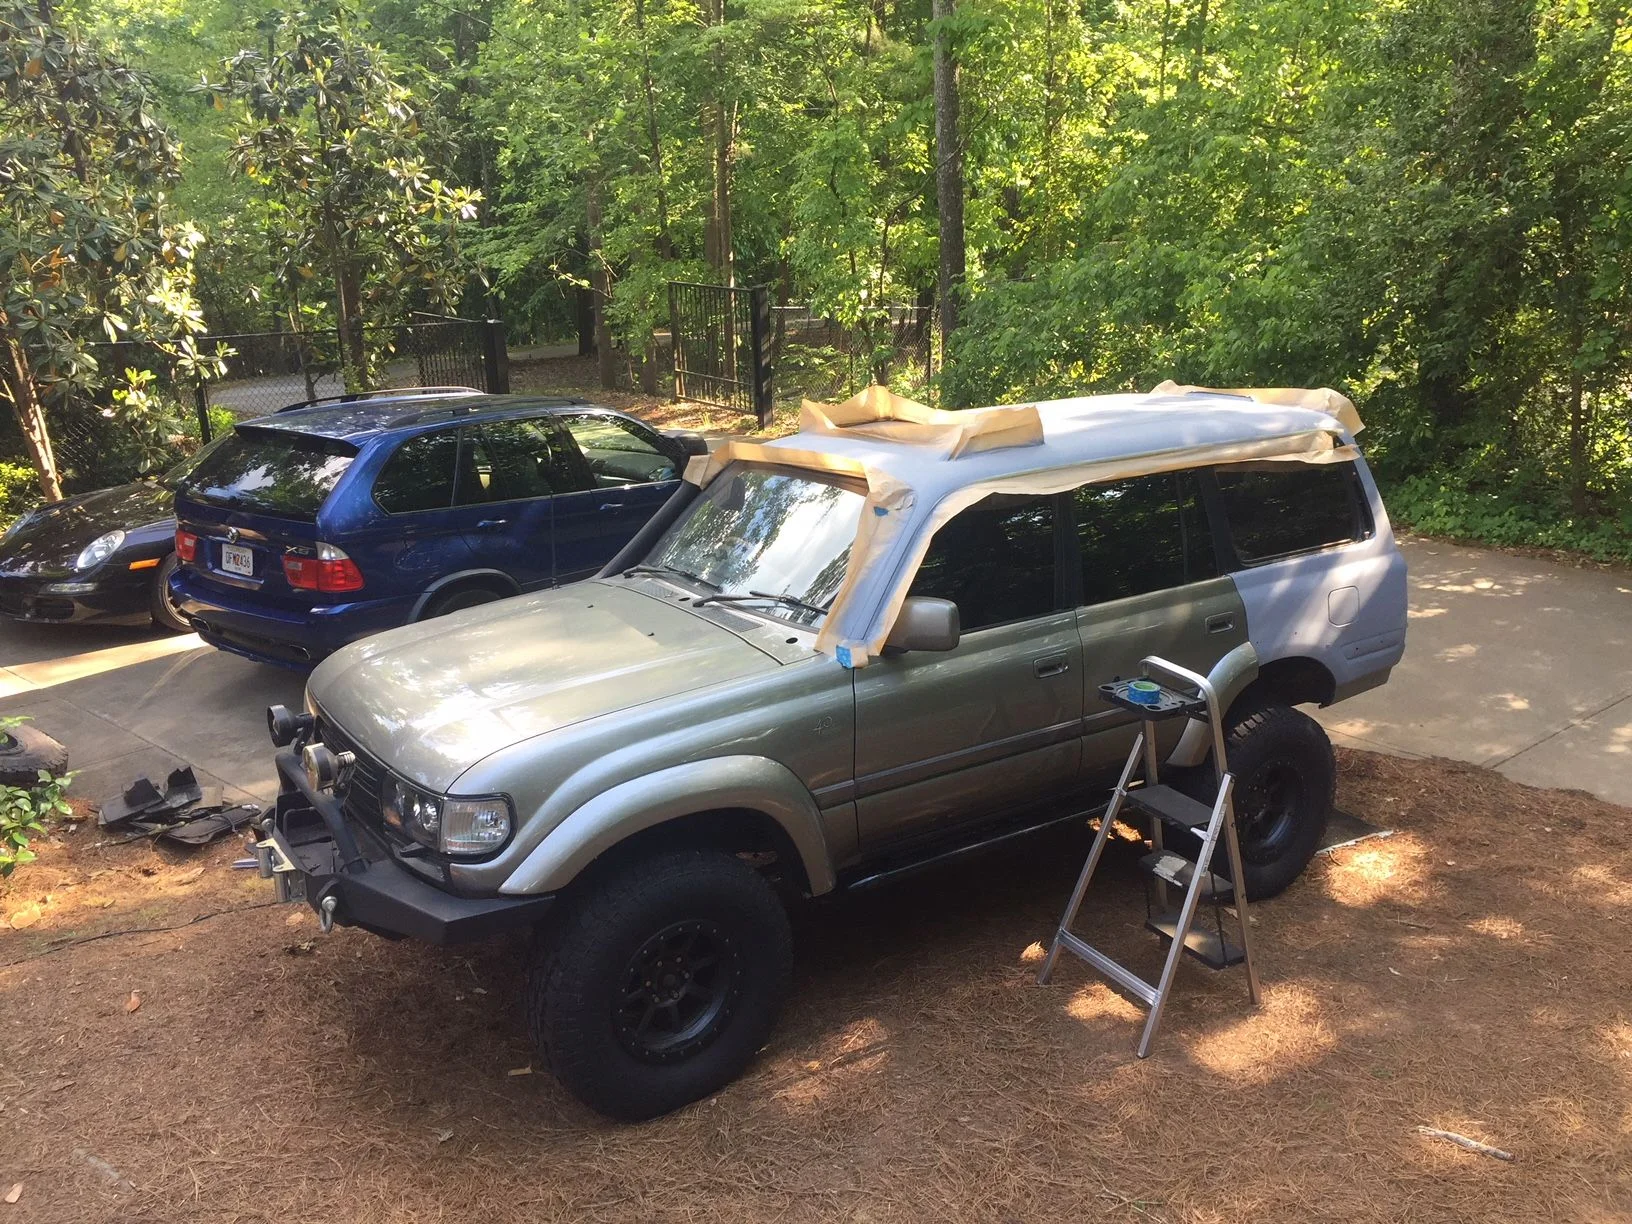
I did three coats of primer and plan on 4 coats of color followed by 4 or 5 coats of clear.

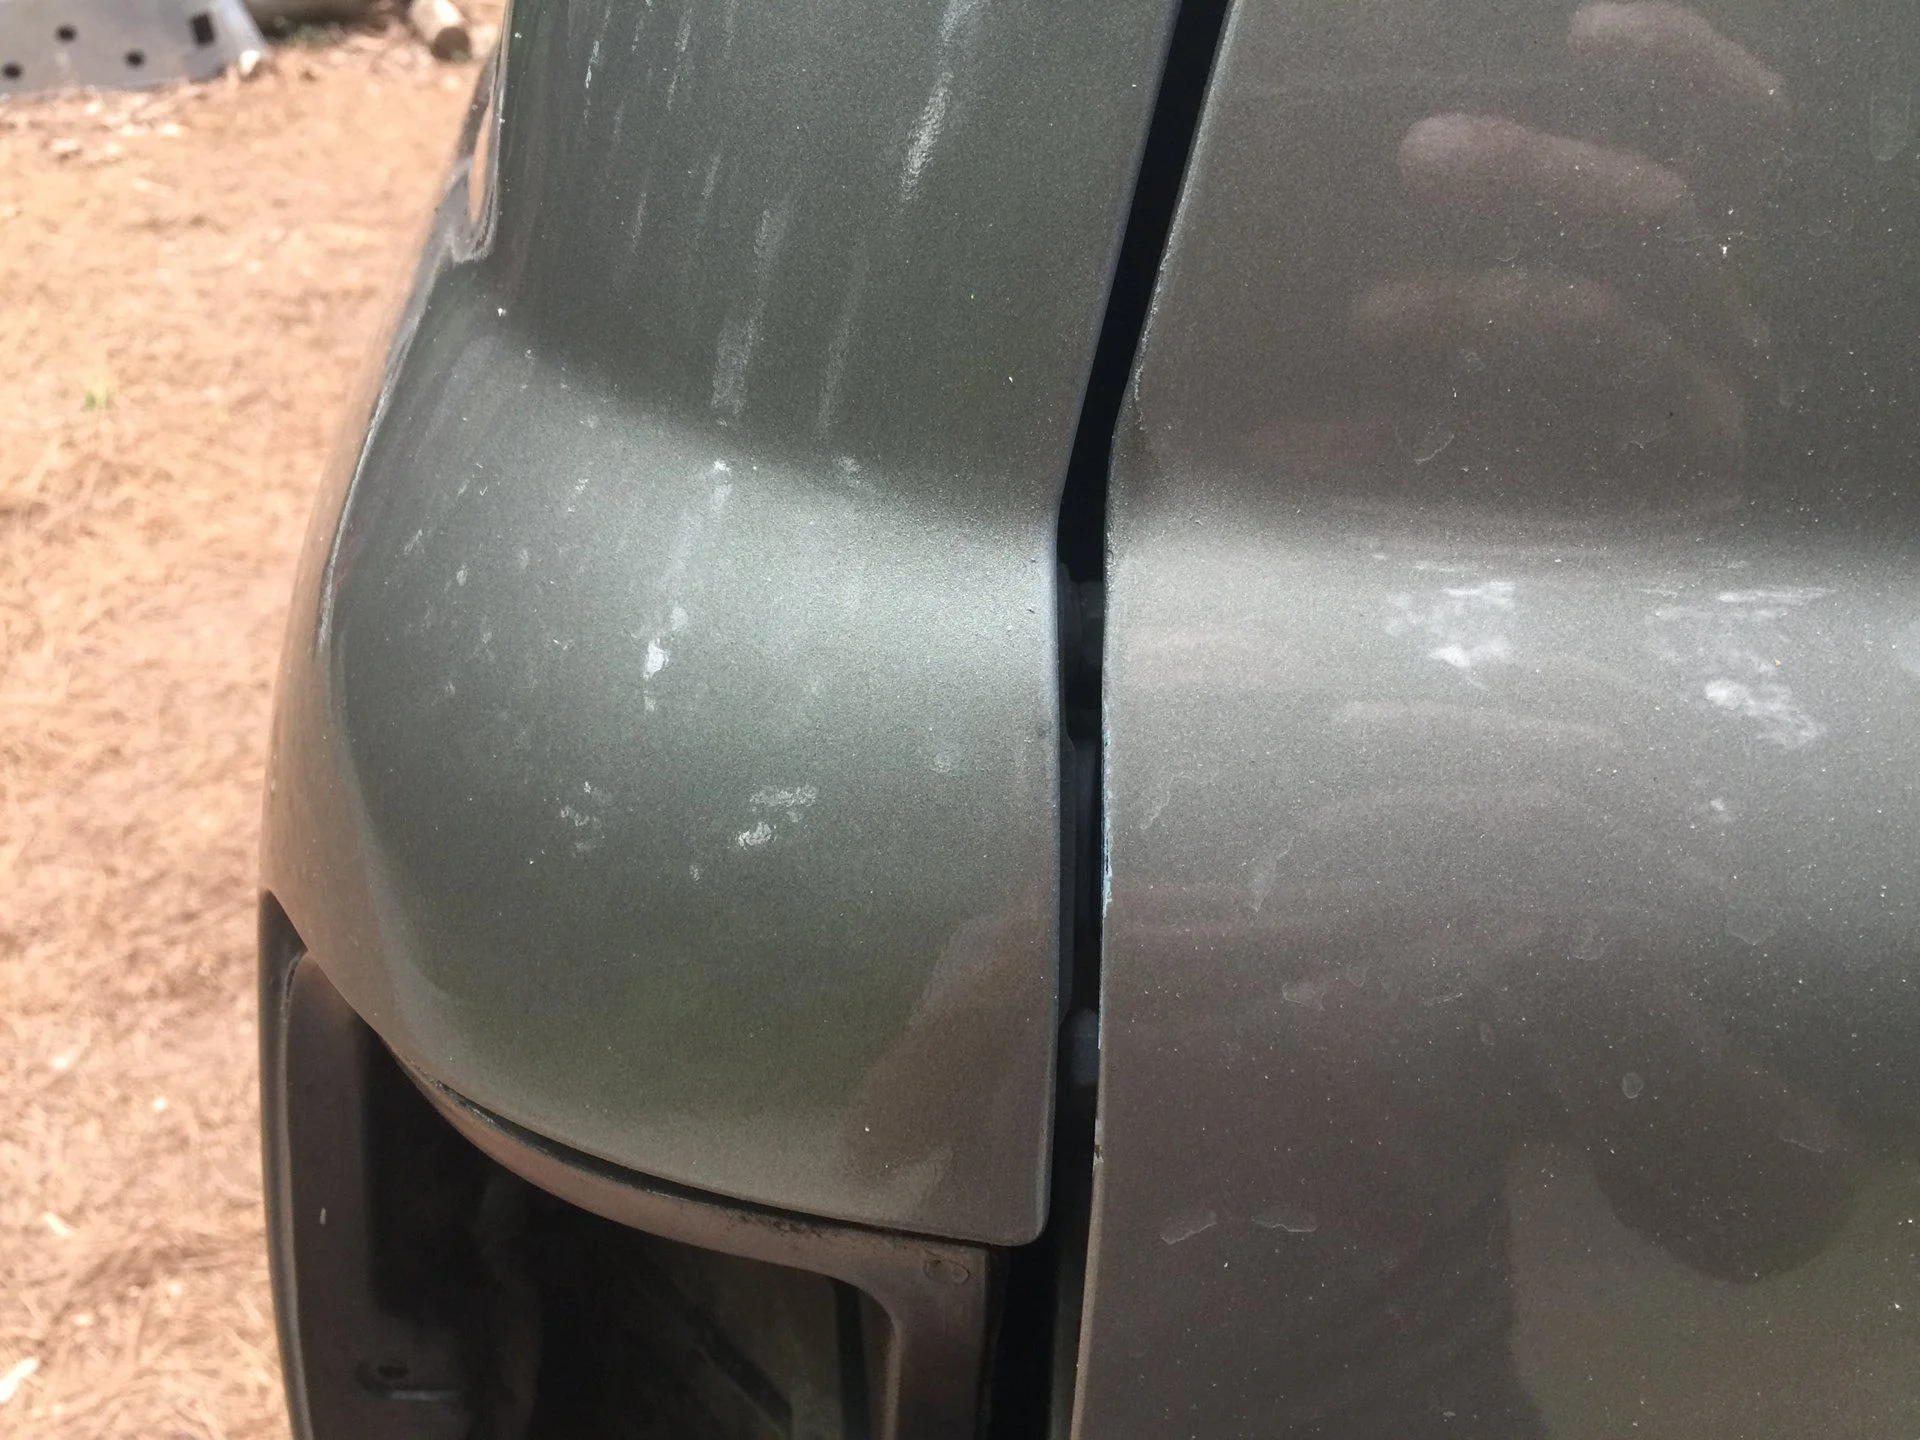
I did a test panel to see how the color would match up and it looks really good. In the photo below it looks slightly off because the clear coat has not yet been applied.

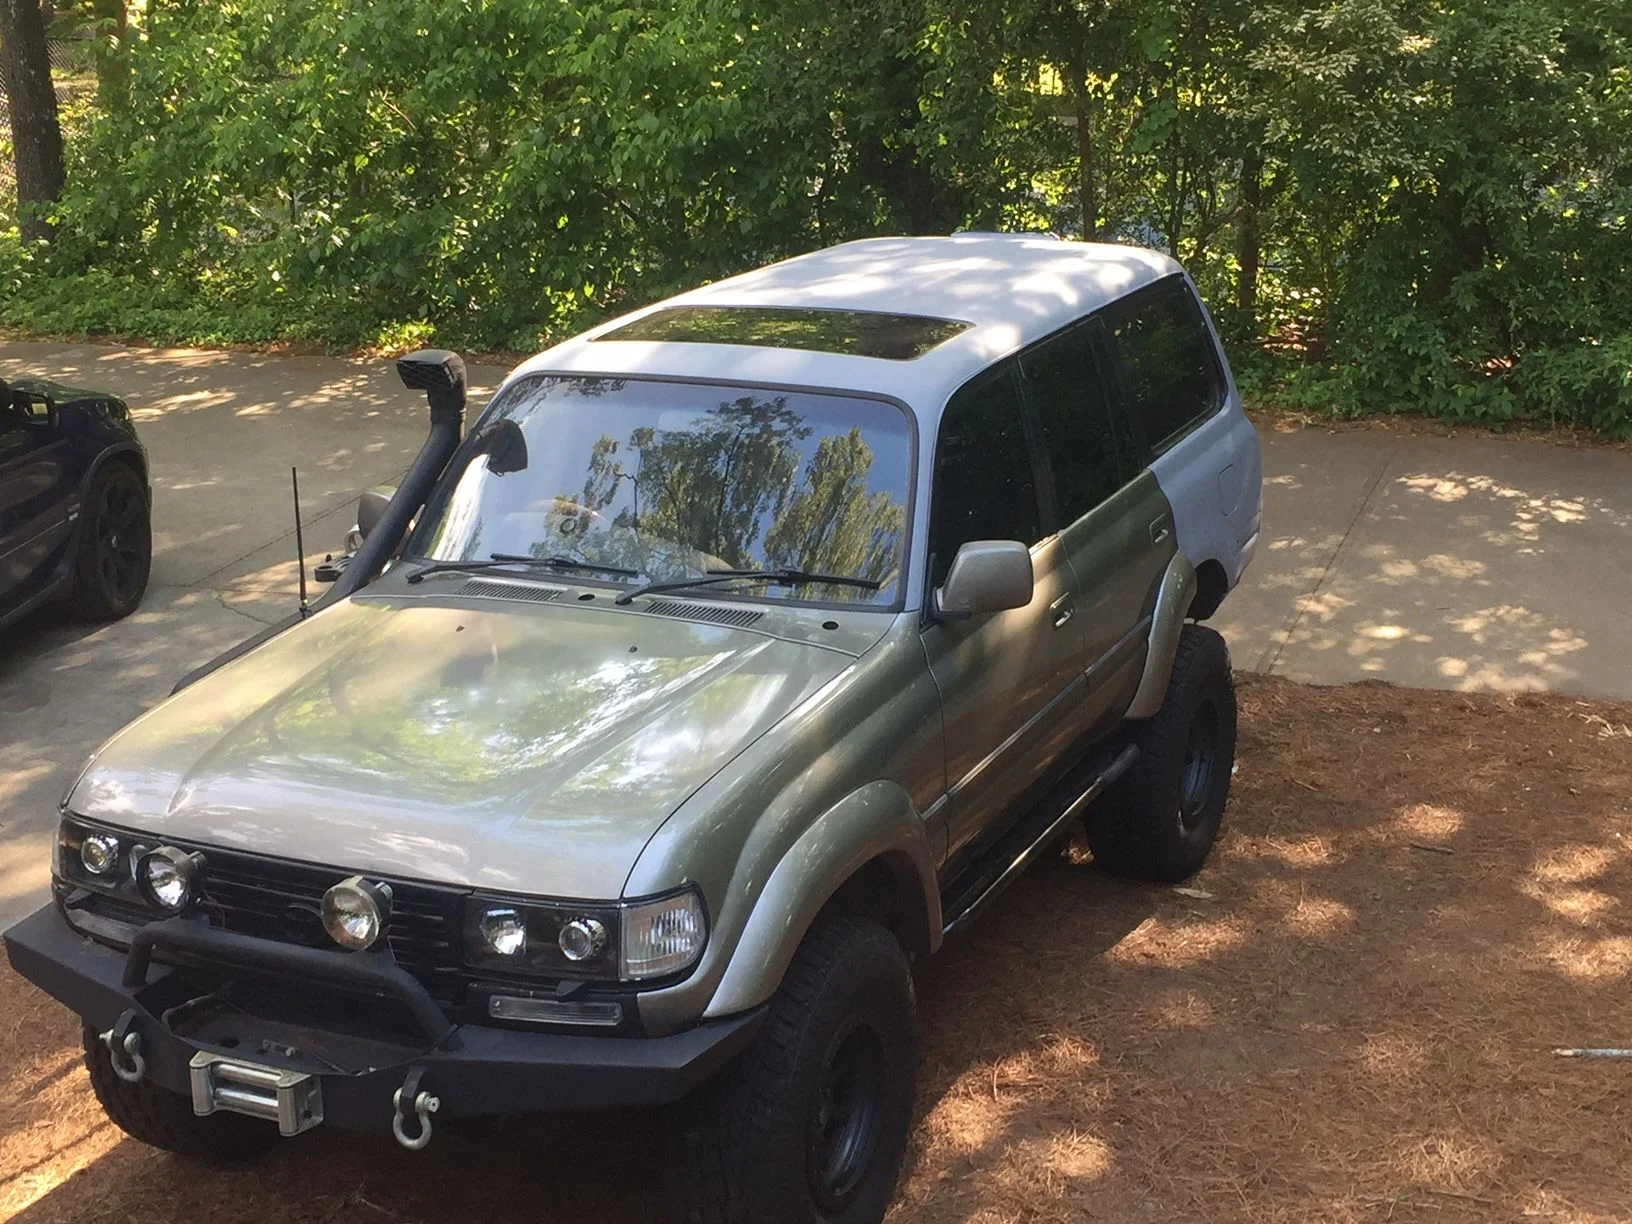
I should have this done in the next three days. Hopefully it will not look like ass.

Sanding the panels:
full


Test panel for color matching:

full


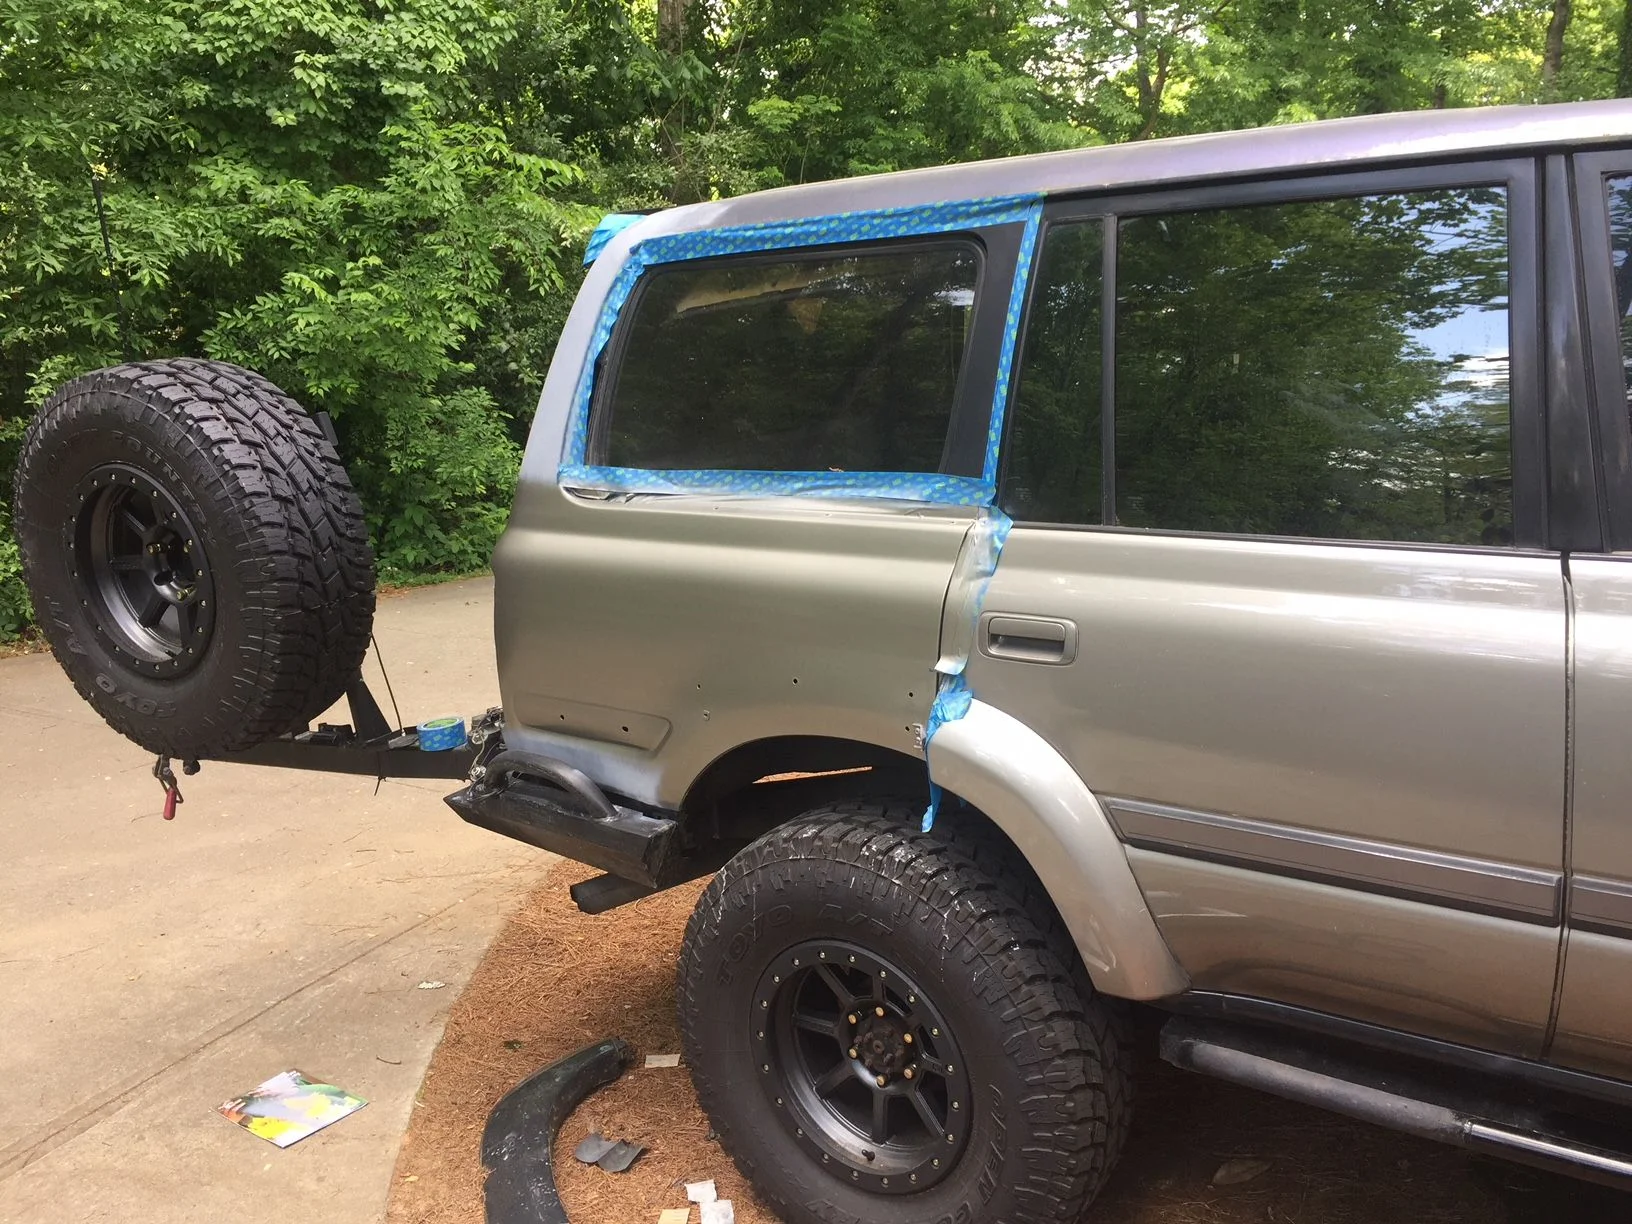
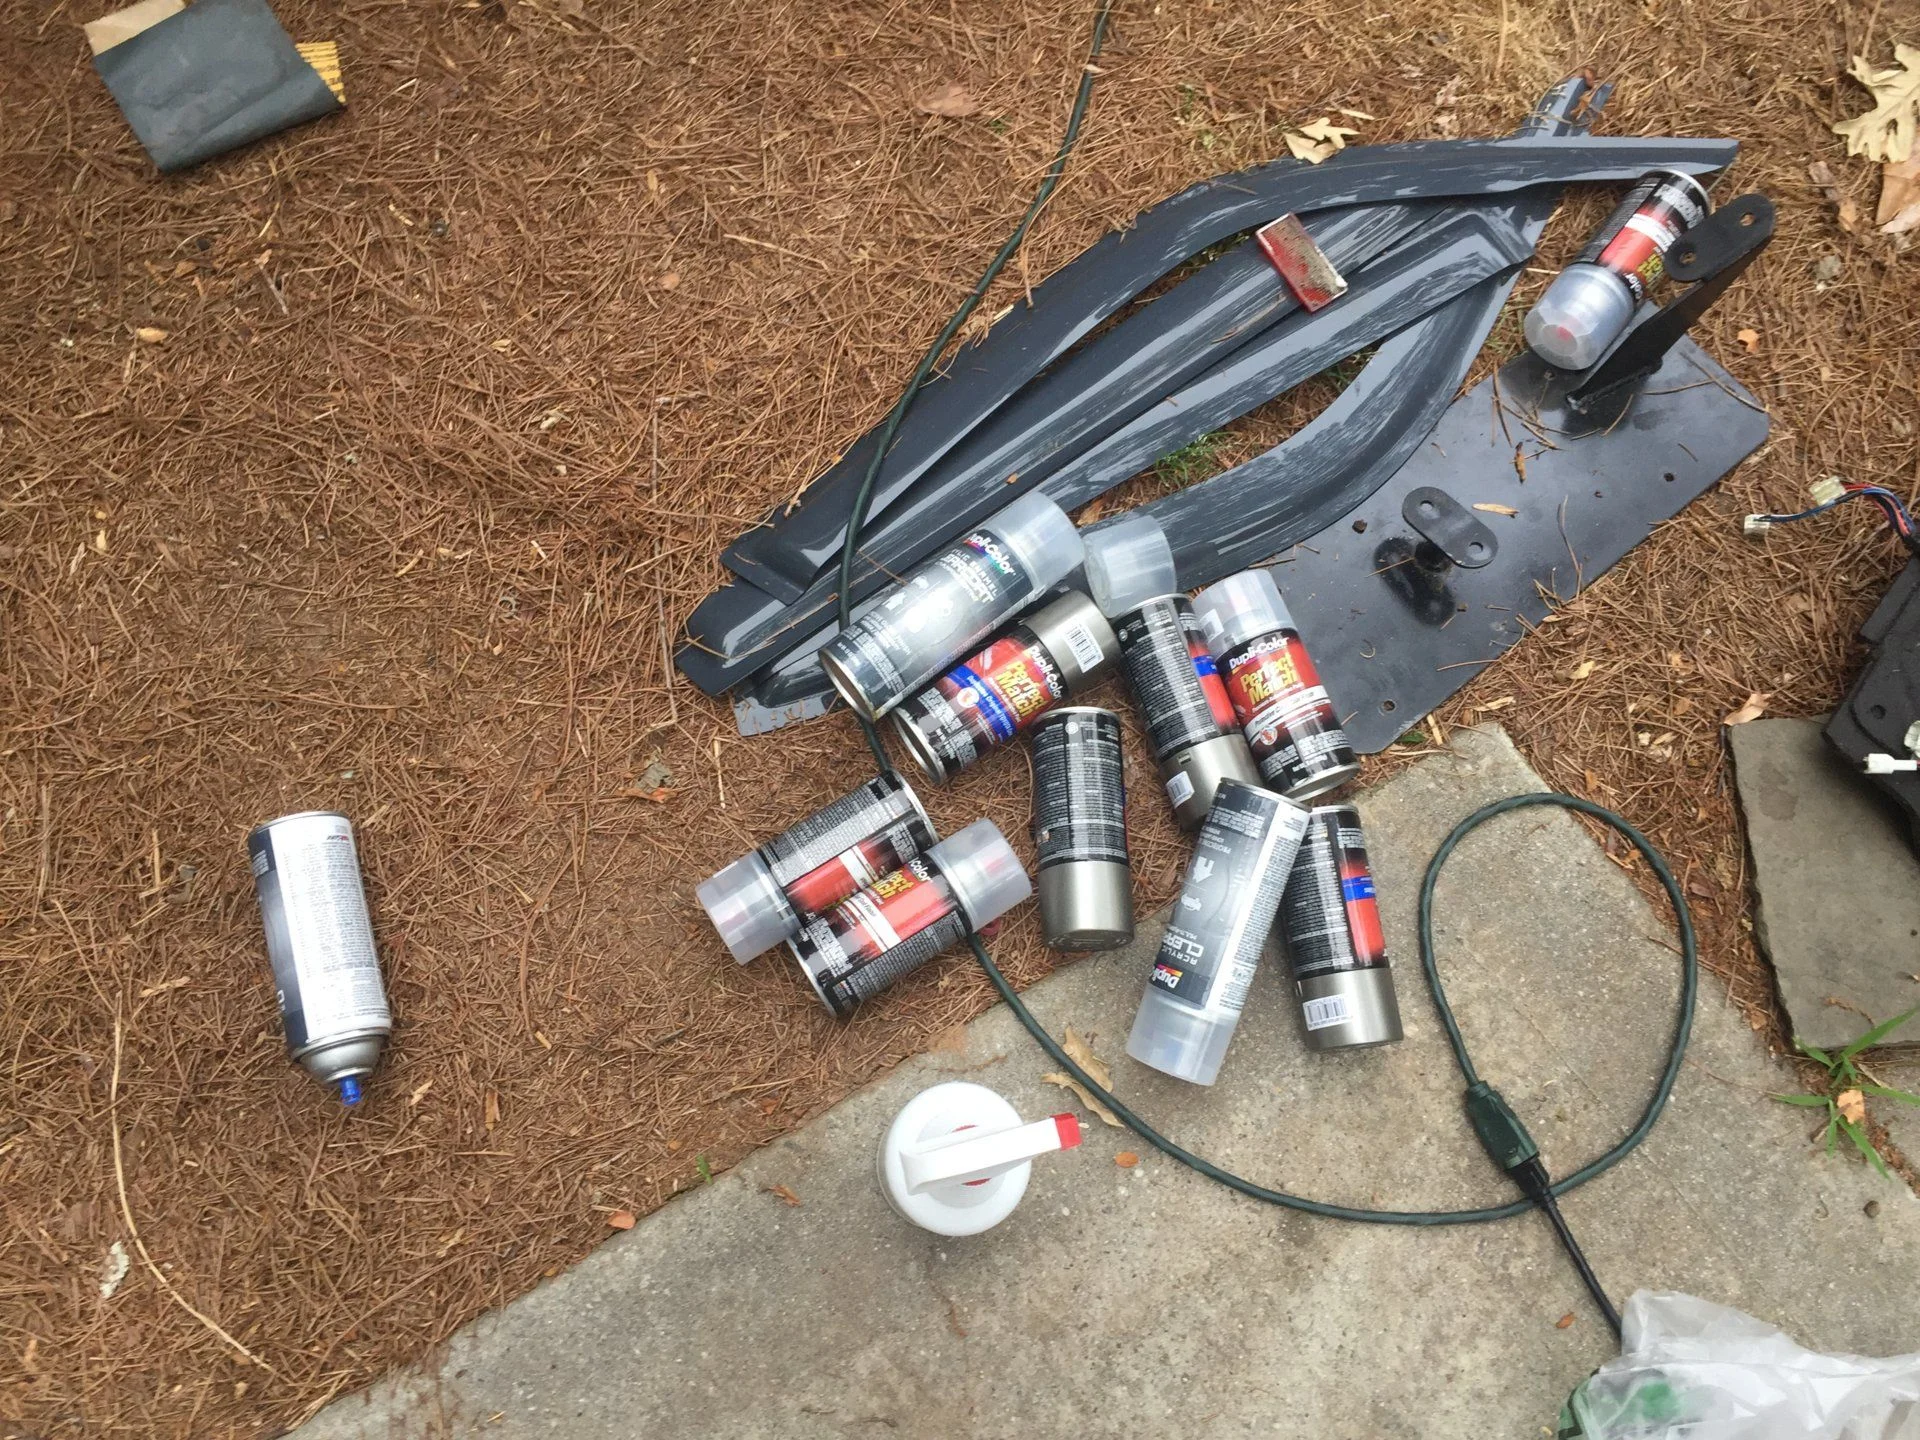
Masking and spraying primer:

full


Primer is on and now its back to sanding:

full


The part that sucks about this whole thing is that you are putting thing on and back off. Feels like a never ending process. Taking off the Slee bumper was a real biatch!! Then come the "while Im at it, let me work on this" I can't wait to get everything back on the cruiser.
 
Despite the birds, the bugs, the dust, the trees, the occasional cloud burst and my general incompetence the painting portion is done. Going the rattle can route was oddly satisfying. The outcome is quite good. Im actually very pleased with it. Had I paid 5 grand for a paint job with this outcome, I would have of course s*** a brick but for $200 I really can't complain. The paint match is very very close. The only thing left to do is polish the crap out of the clear coat so the reflections all go in the same direction being that its a pearl metallic color. Ill wait 2 or three days for the clear coat to fully cure and I will have at it before reassembly.


Everybody likes photos of garbage :flipoff2:

full


Paint & clearcoat done
full


Closeup of old and new panel

full


full


Id say thats pretty darn close. So to anyone who wants to repaint their truck, I say go for it. Be diligent about sanding between coats and just keep spraying. I did 3 coats of primer, 4 coats of color and 4 coats of clear. I think thats thick enough. Now its time to add some Alabama pin striping :hillbilly:
 
@ZeGerman you my friend are nuckin' futz...and I love it. Quite impressive how you jump head first into bat $hit crazy stuff...and pull it off.
 
Last edited:
Its been a while since I updated this thread. For a very good reason I am extremely pleased with the progress of this cruiser. I drove the crap out of this thing. so now its seen the Pacific and the Atlantic Ocean as well as the Carribean and cruised along the gulf states. After several iterations of roof top tents, I finally settled on the iKamper. (I know, stupid name) I linexed the thing and I am very happy with it. Went camping with the wife in 20 degree weather and gail force winds in Shenandoah national park and we were very comfortable in the tent. All I fad to do was face the hard shell towards the wind and there was zero flapping sound from the canvas. Plus when deployed, its slightly bigger than king sized.
Her is what it looks like:

The iKamper after Linex treatment. Very streamlined. Only slight issue is the overall height of the cruiser. with tent at the highest point its 7'11"

full


Ikamper deployed:

full


full


full


When the tent is deployed the doors still open fully to the cruiser:

full


Its a really great tent. I got this thing fully optioned with awning, annex etc etc. The material I chose was the poly cotton. I much prefer it over the polyester stuff. A cool thing about the tent is that is has a skylight. Awesome for stargazing at night. The fastest I have deployed this tent is 32 seconds and 45 seconds to close it back up. Under normal conditions it takes about a minute. I have used several roof top tents and this one so far takes the cake. I am glad that I did not go for the Alucab as it is very small. This tent will very comfortably fit 4 people. Ill post a full review with all the different configurations in the near future.
I would like to see more of this setup. How far does the tent hang over the side of the roof rack? I’m 6’3 230lbs. Do you really think 4 people could sleep up there? In the advertisement I have seen the got 4 people but they look like a bunch of small Asians and the two adults are strategically laying on their side to take up less space.
 

Users who are viewing this thread

Back
Top Bottom