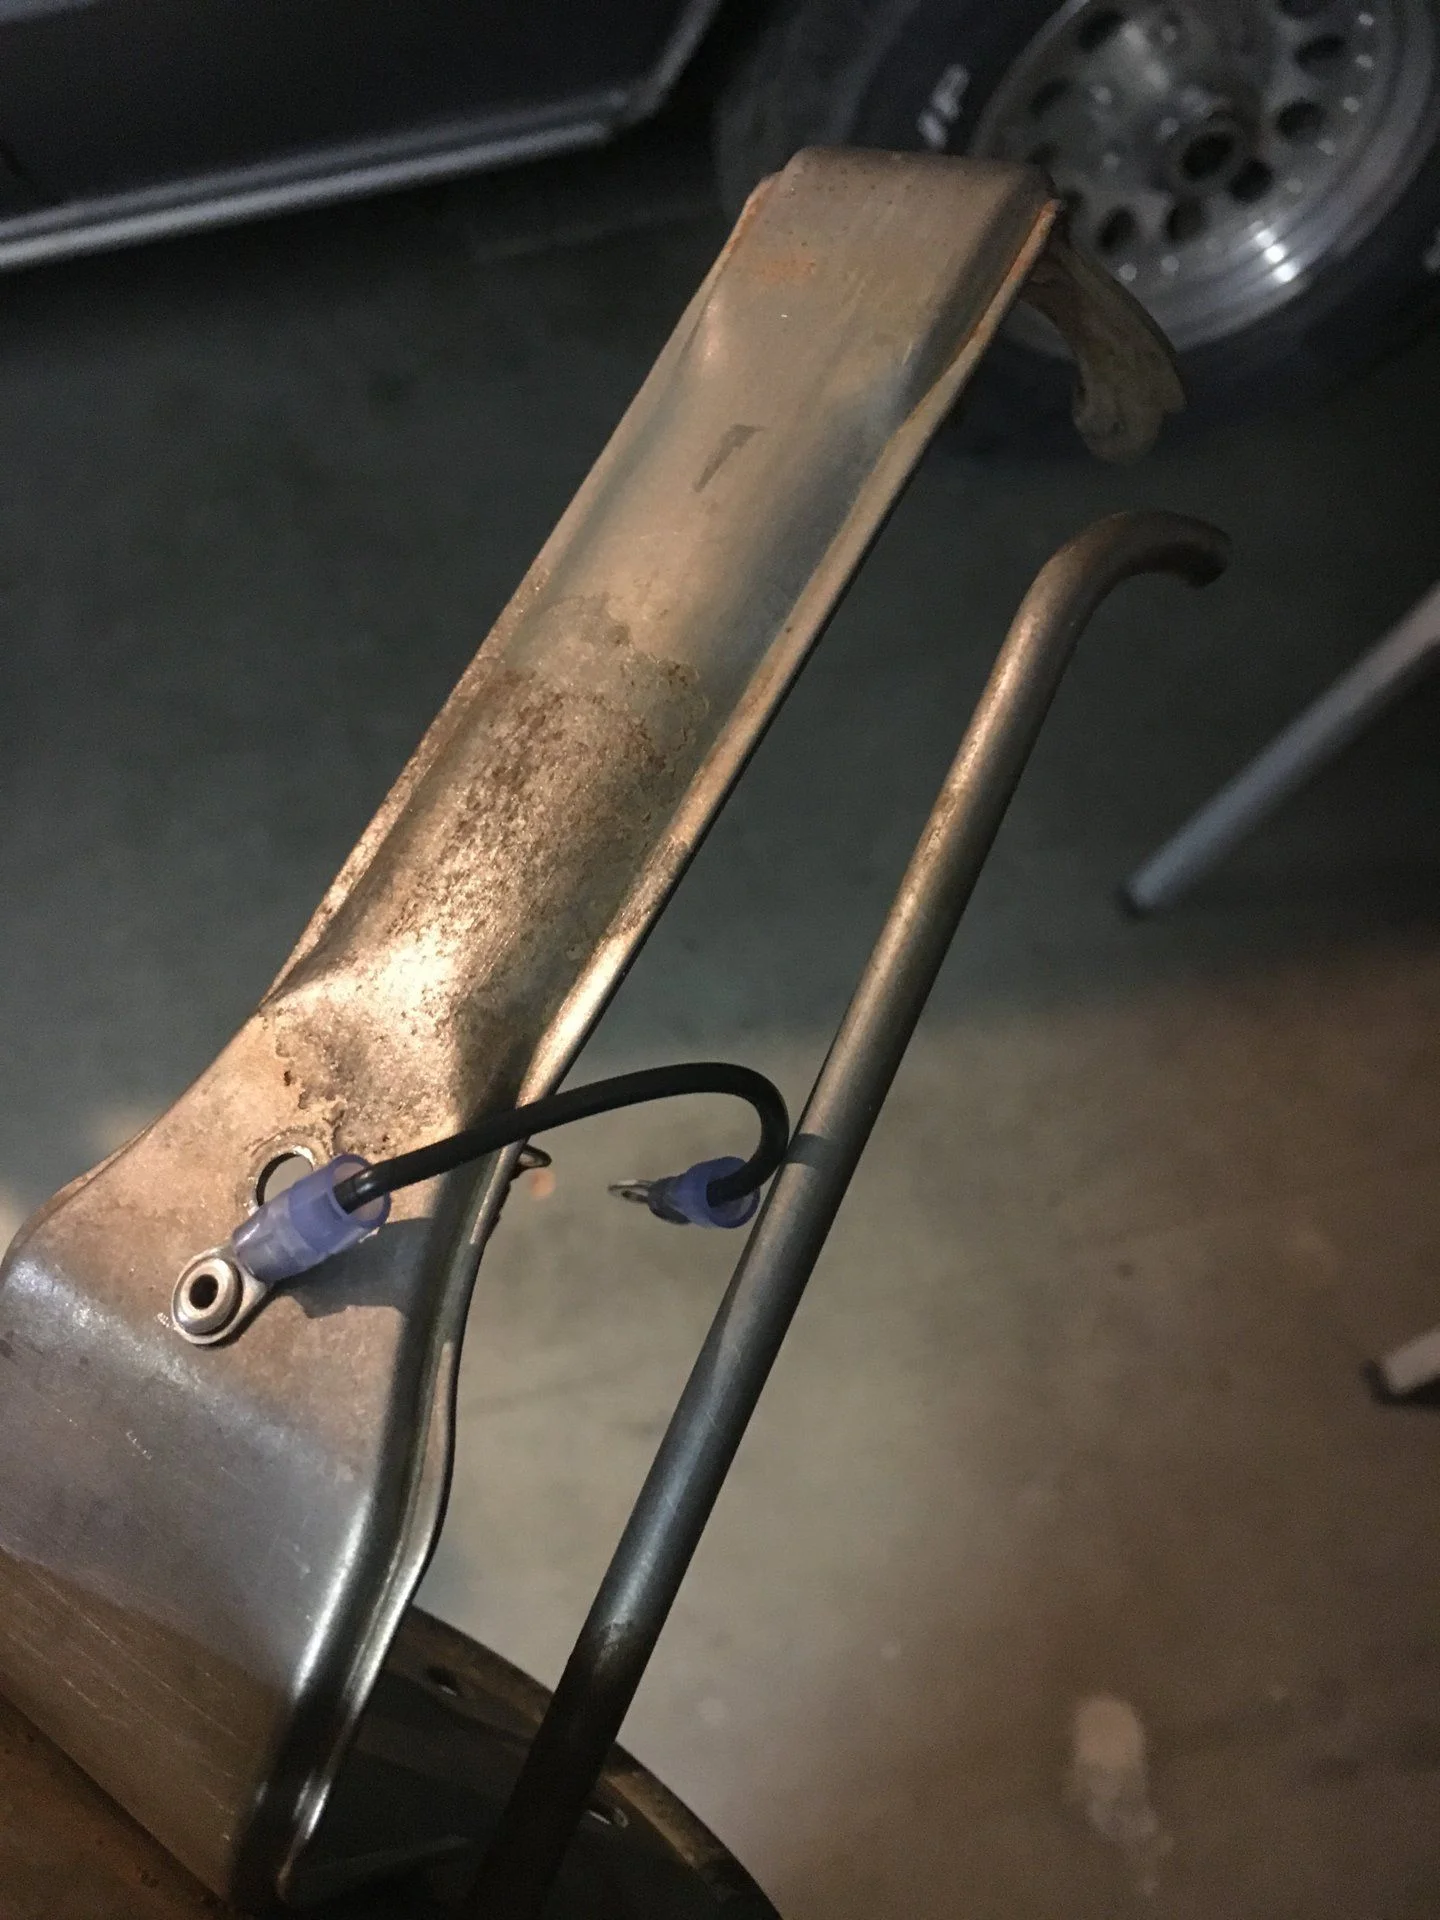
I just did the chain thing on a 60 i am working on had three small chains one came out on its own the other two had to fish out..
Good luck and welcome to the party
Tommy
Good luck and welcome to the party
Tommy
Follow along with the video below to see how to install our site as a web app on your home screen.
Note: This feature may not be available in some browsers.
This site may earn a commission from merchant affiliate
links, including eBay, Amazon, Skimlinks, and others.
SUPPORT LOCAL BUSINESS WHEN POSSIBLE.

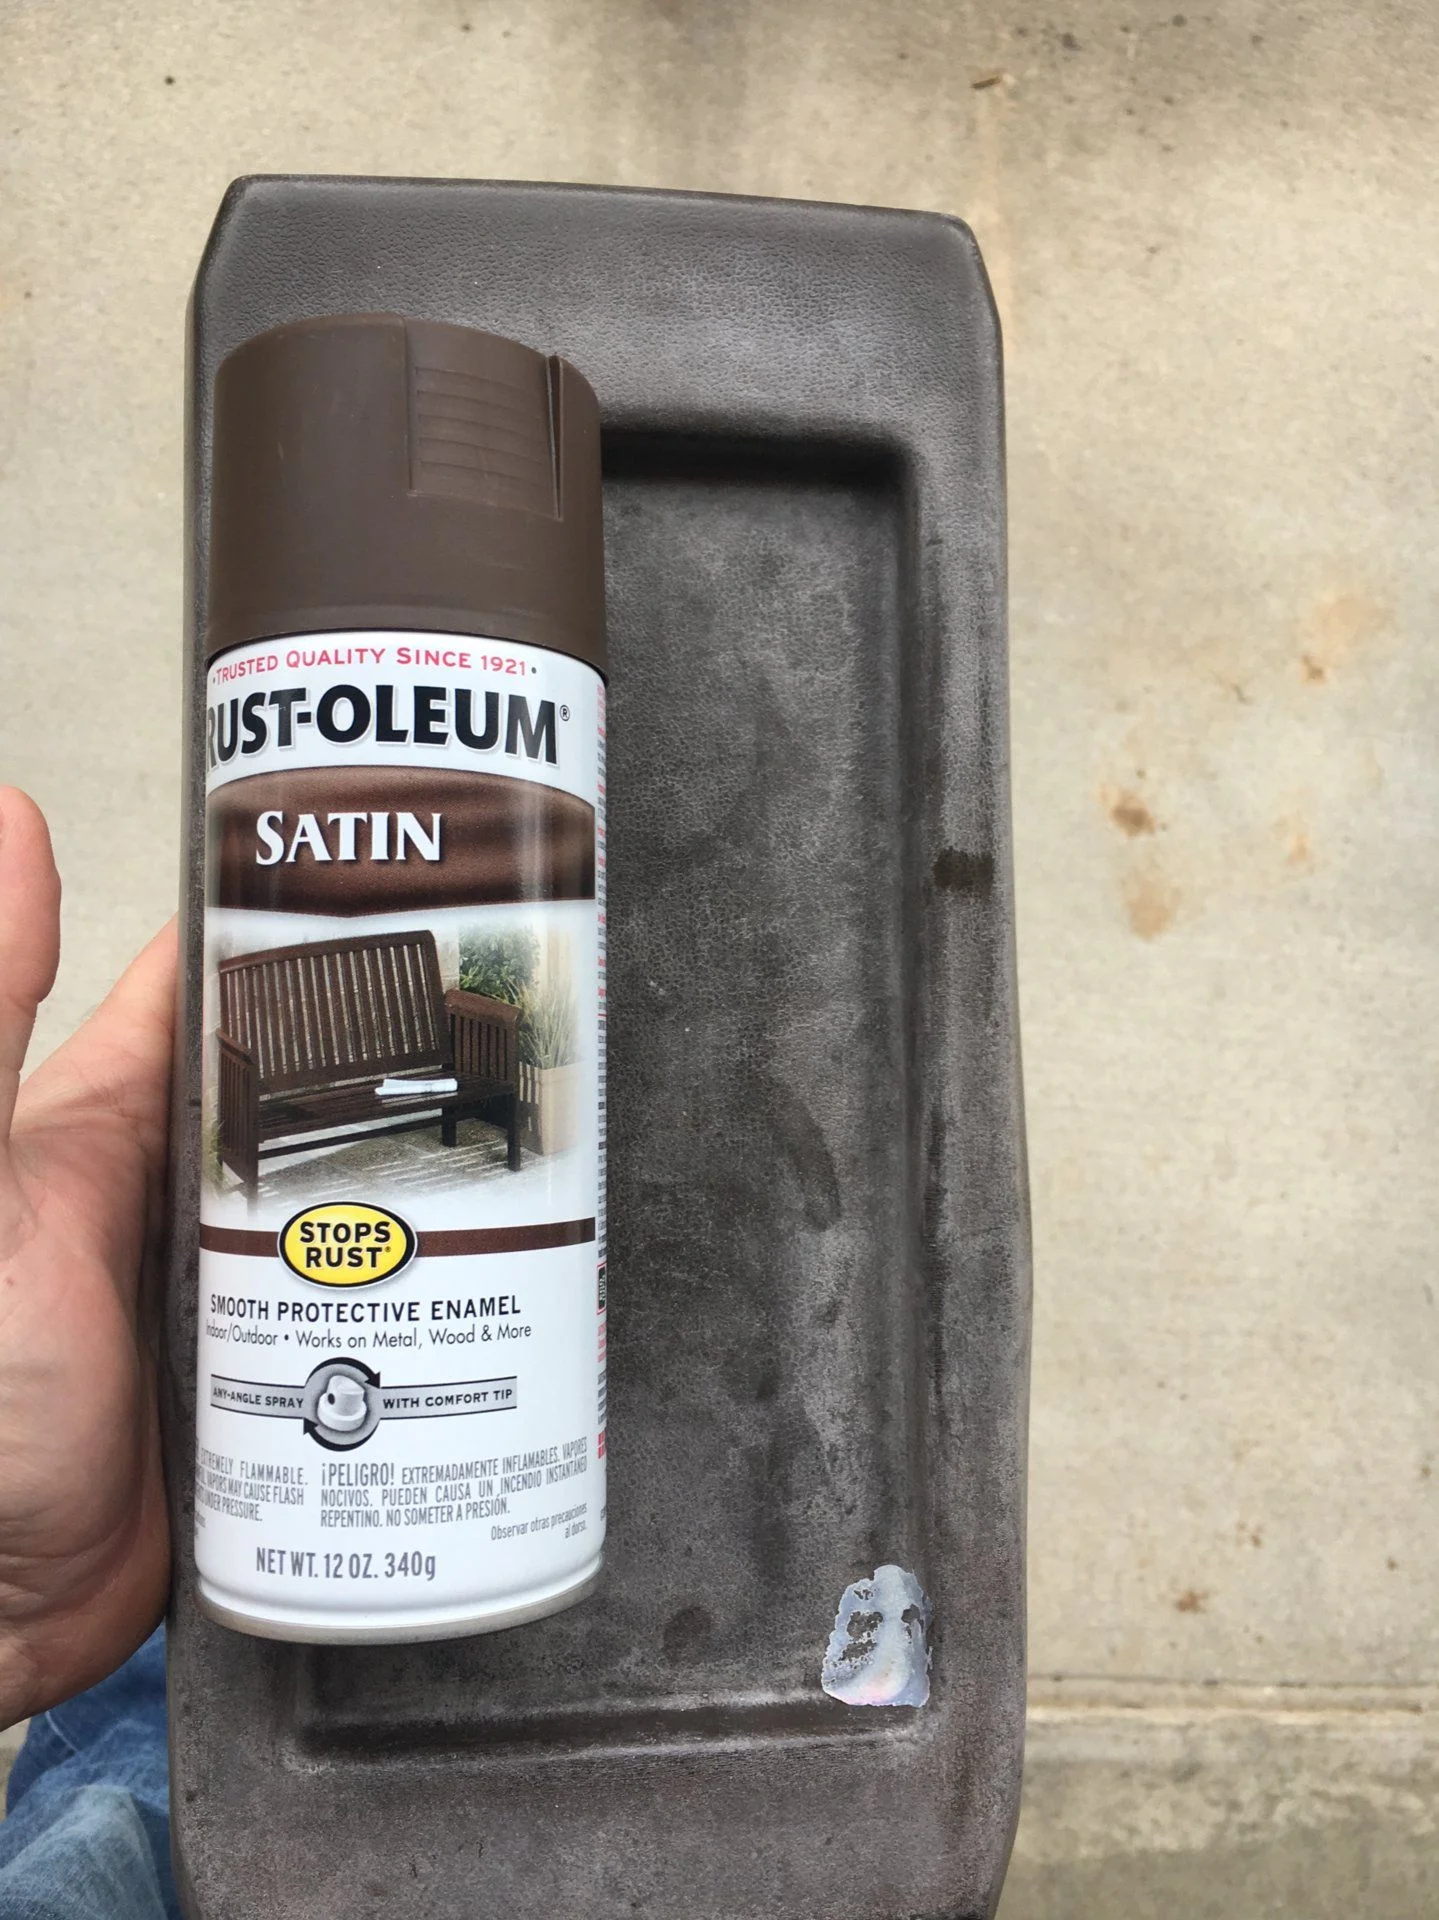
If the switch panel is broken or worn......
Toyota Land Cruiser Window Switch 1989-1990
Only comes in brown, but I painted mine grey.....and I had to swap a couple of wires but that was no big deal so long as you have your old one as reference.
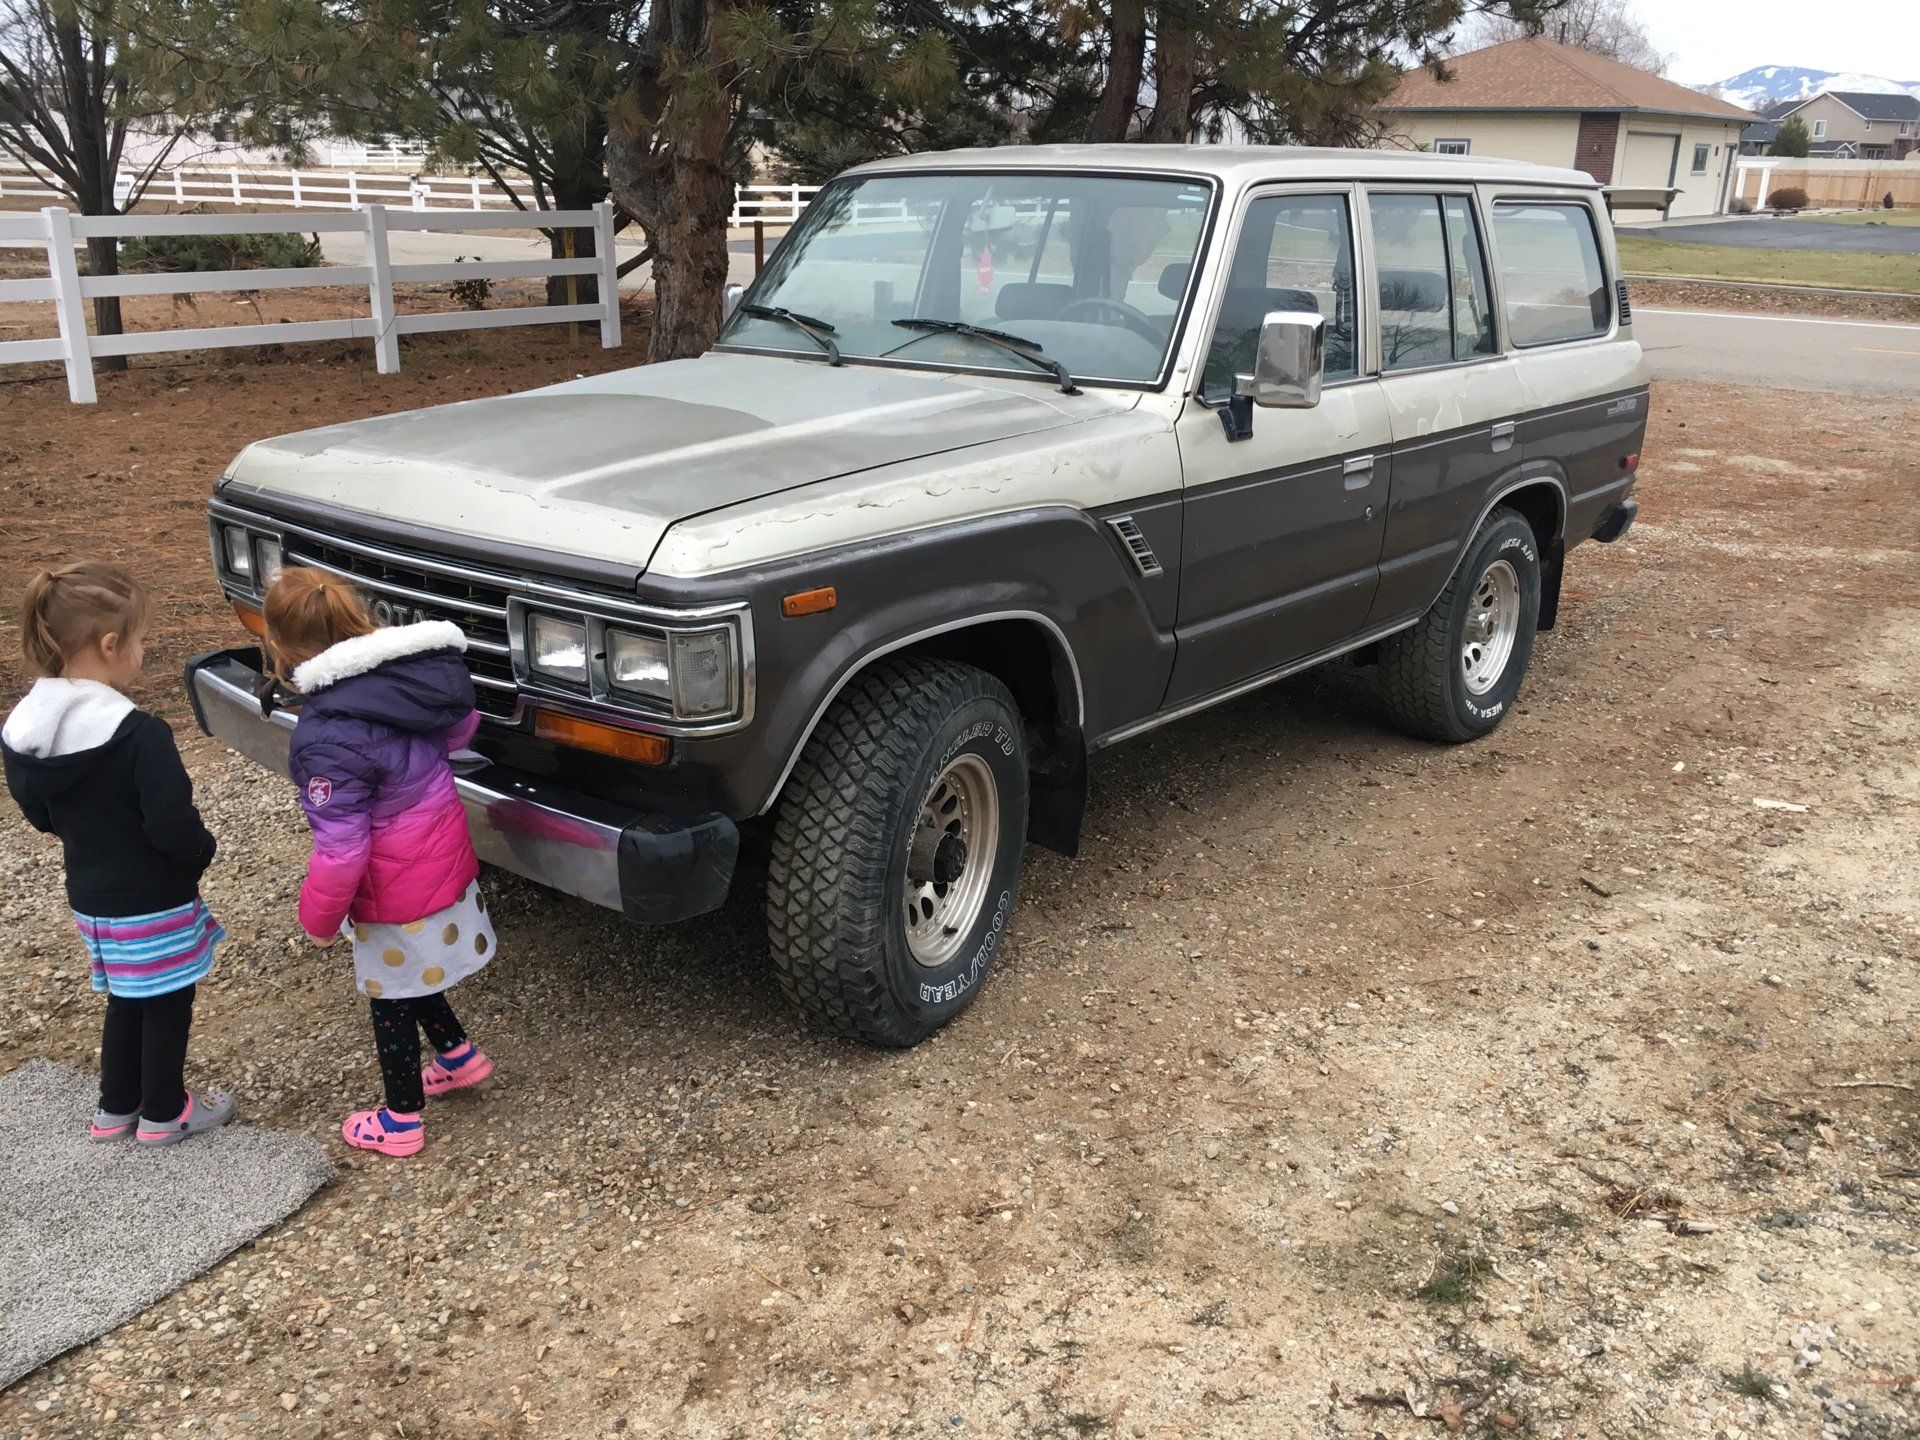
Ill open with the facts. I work full-time selling Airstreams! (best job!) I leave the house when its dark, I get home when its dark (in winter) We have a project property, toddlers and teenagers, a dog and a snake on top of a head full of dreams and an unreasonable amount of "someday" projects.
DAY I
First things first. After an hour or two of walk around, poking and fiddling around with stuff on a fresh battery, I found the Cruiser to be very well intact. Besides the stock stereo being MIA the entire vehicle appears to be clean, stock, and complete. The window lock switch is busted, the antenna motor is there but no whip. The electric door locks pretend like they're trying to work, but dont. Drivers window comes down but starts to sound like it struggles and slows so I rolled it up and left it alone for now. The girls helped wash it and into the garage by power of the four-wheeler (Honda rancher now outside )
")
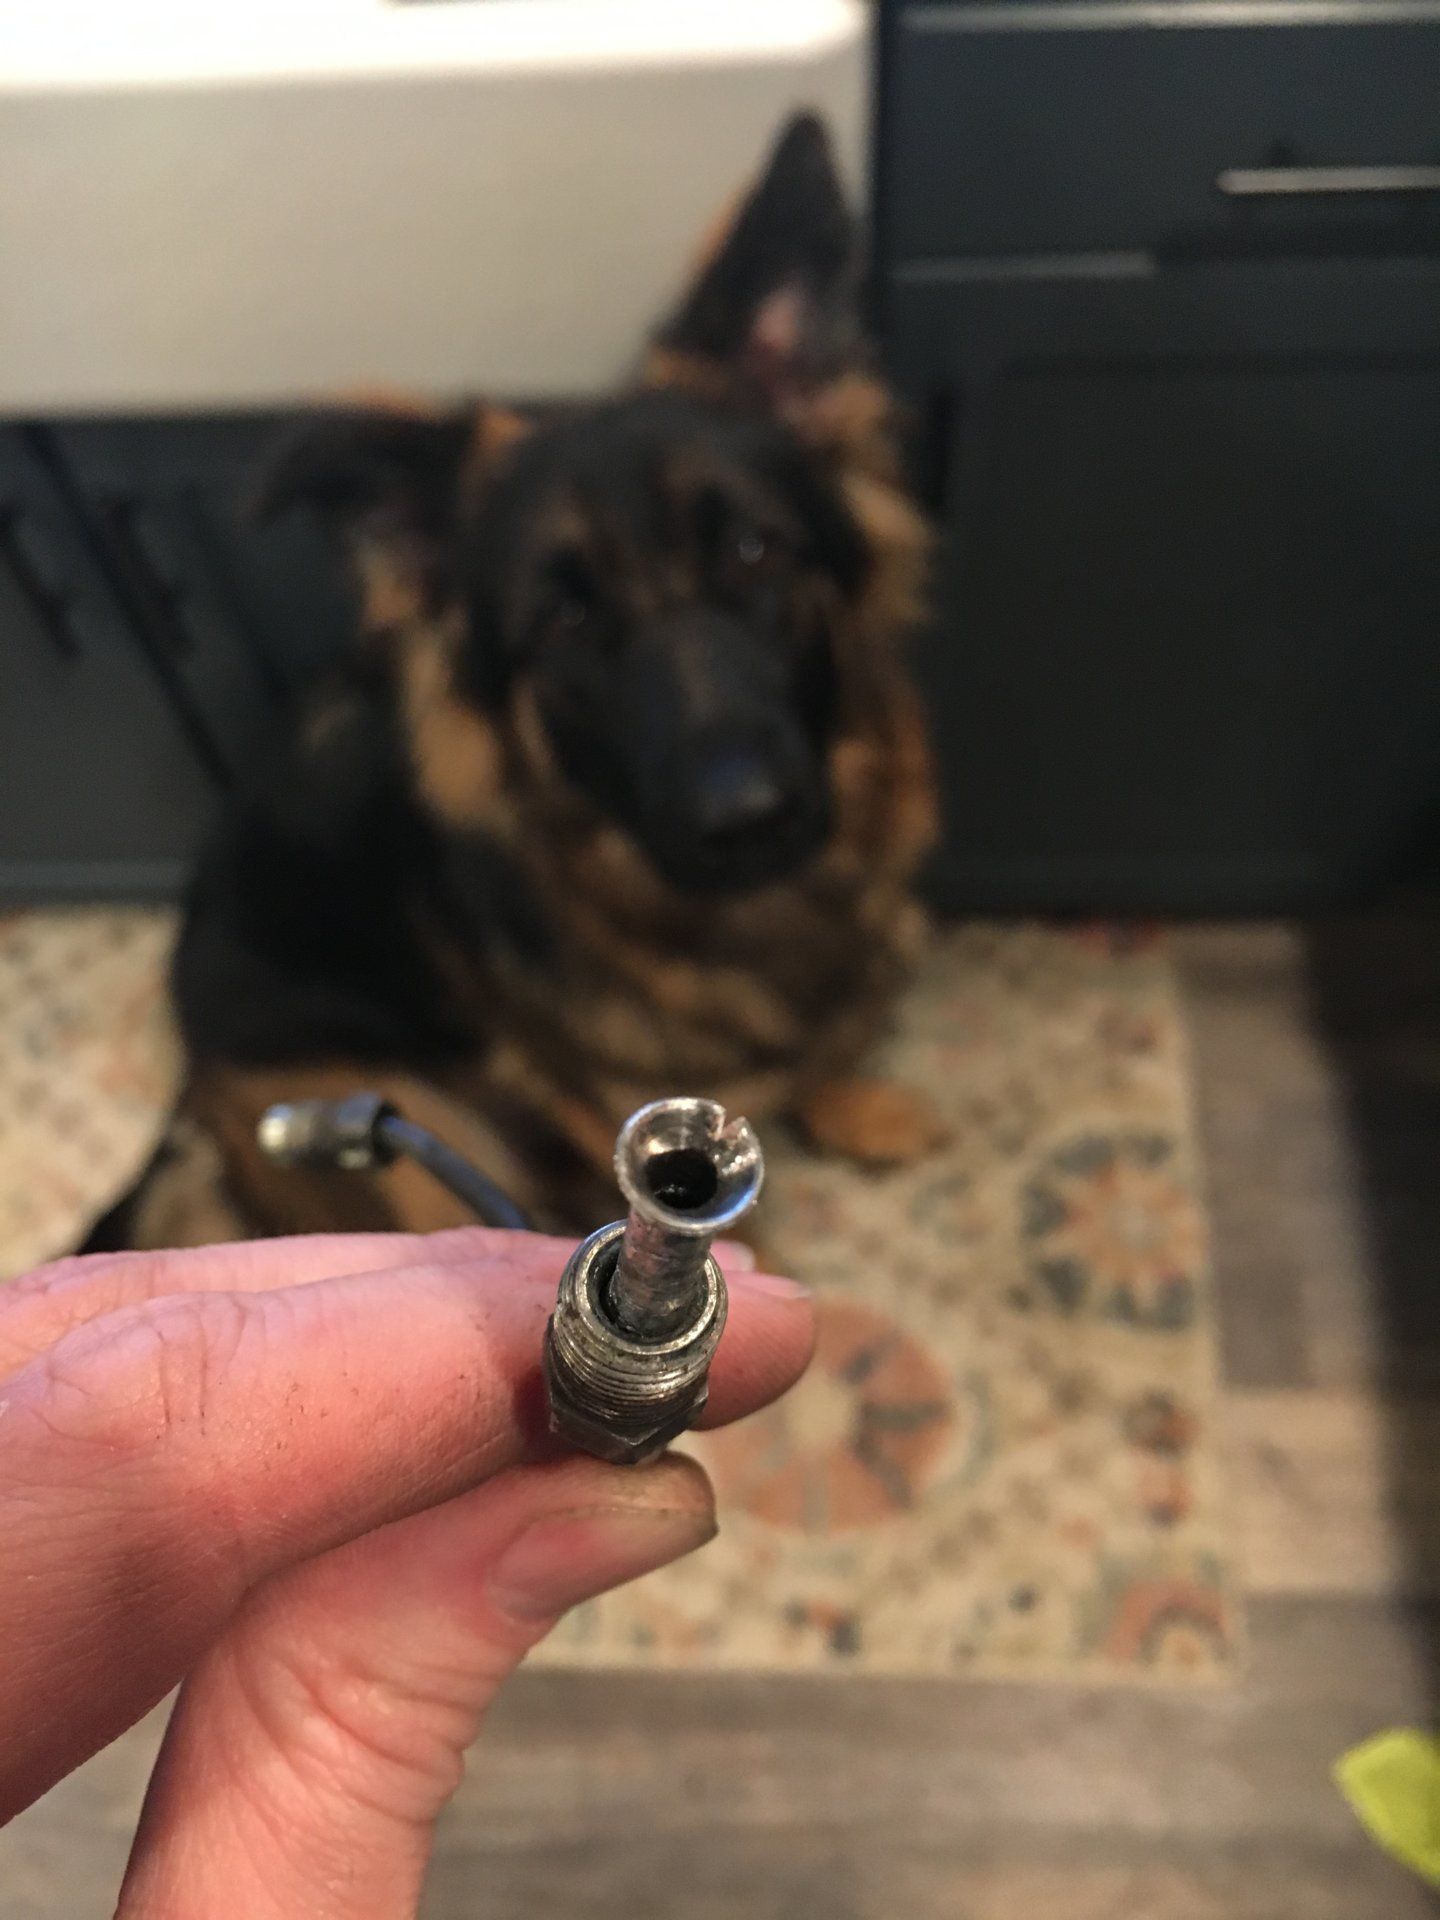
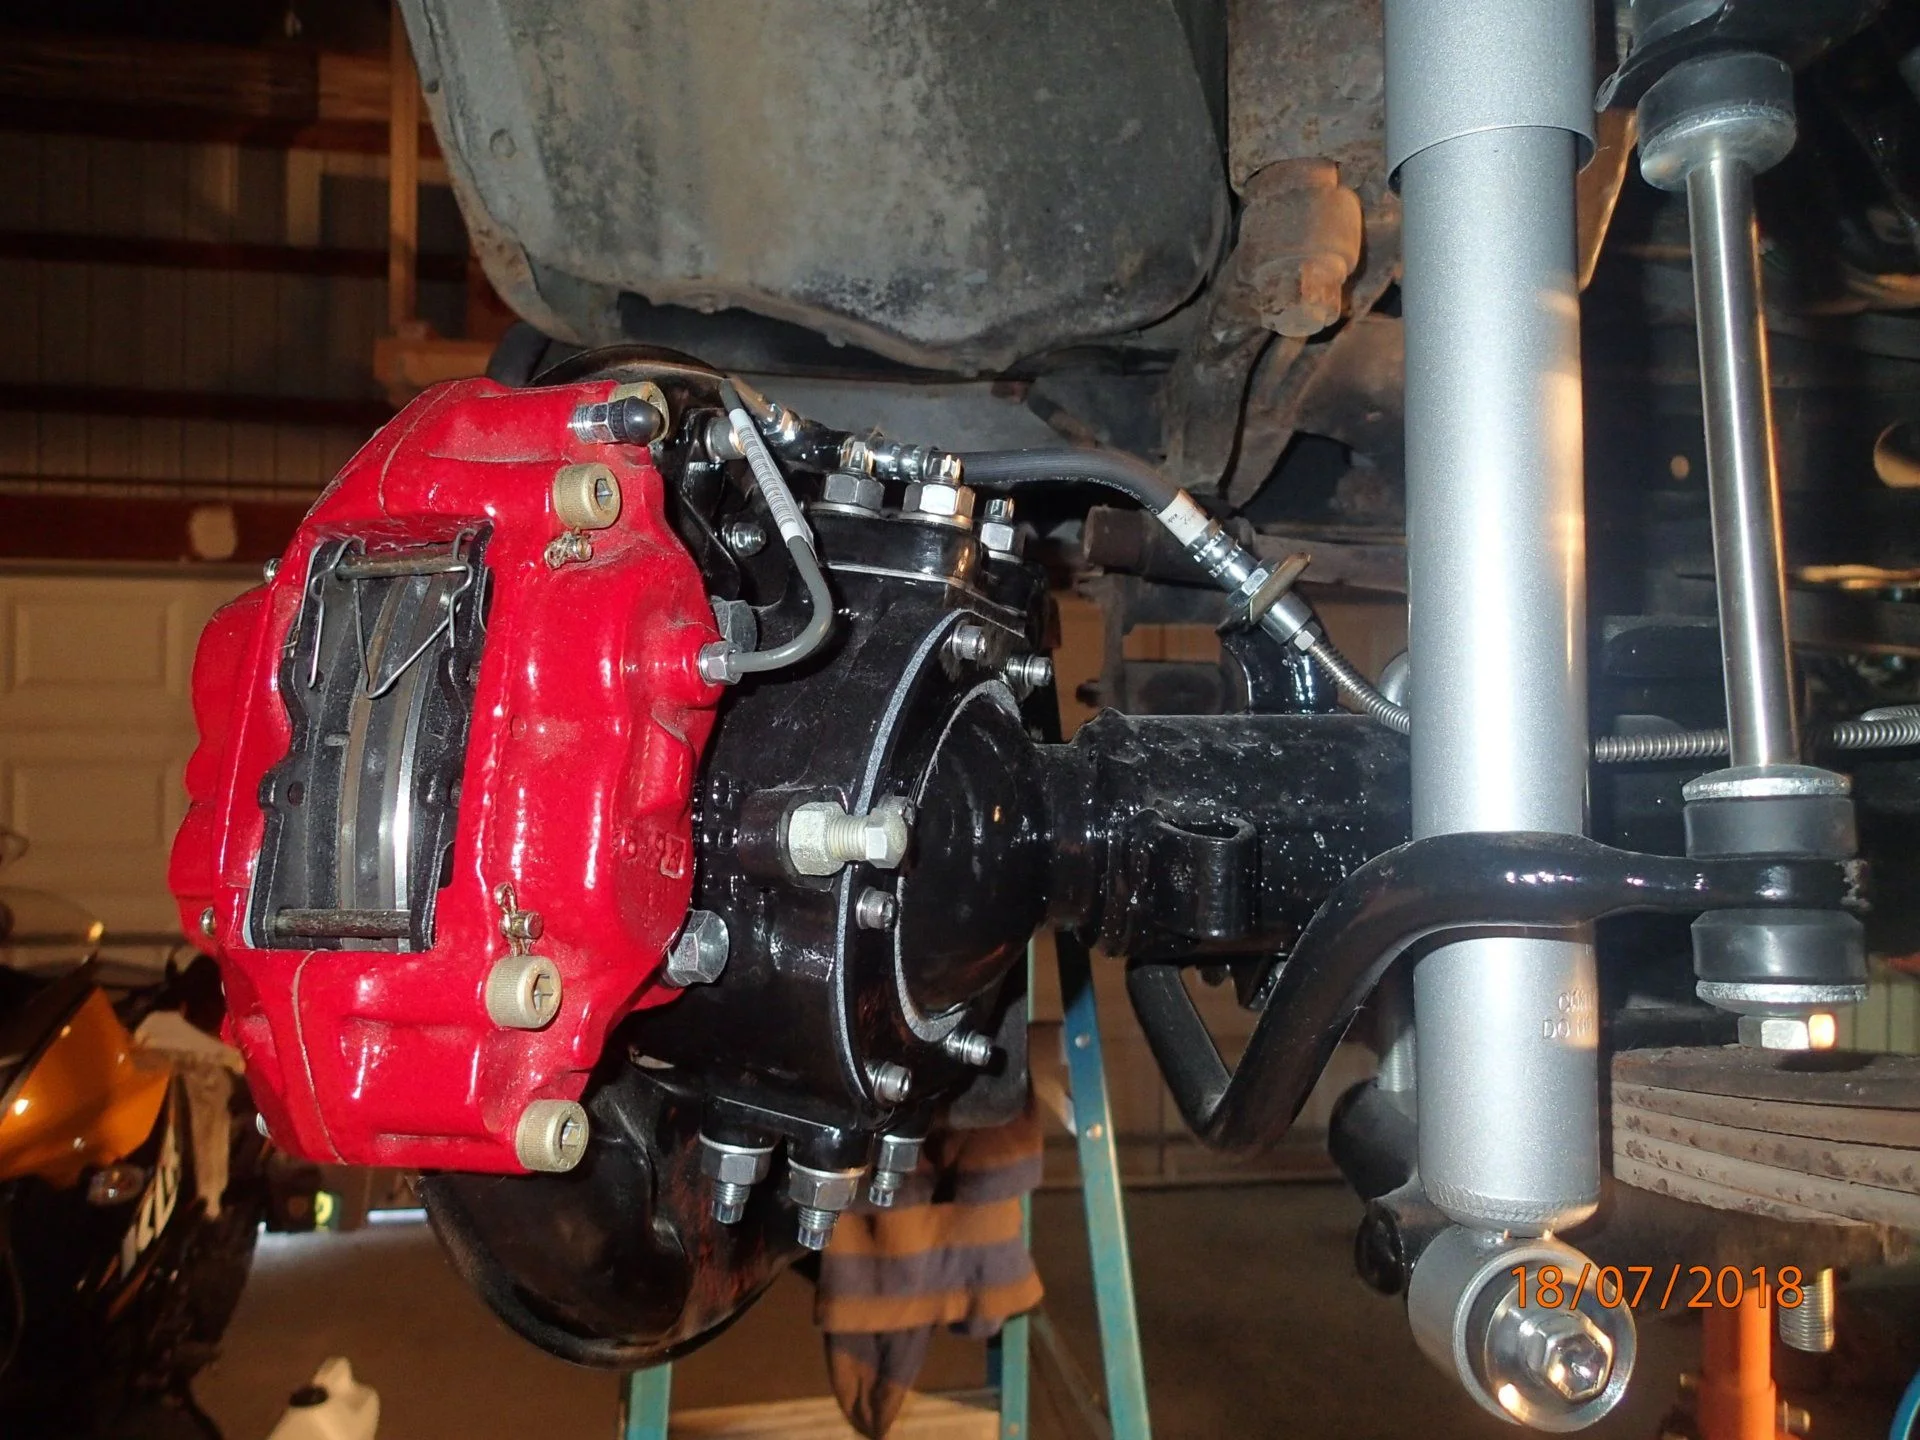
, I found the “leaking” brake was a broken hard line. I tried my hand at a double flare flange and split the line. I’ll try NAPA tomorrow before seeking one online.
Yep, that fuel tank is a bear to remove/install by yourself. I've done that at least a couple of times in the past three years.It’s aliiive. I stayed up late to reinstall the fuel tank. That wasn’t fun by myself but I got it. Double and triple checked everything, had already blown through the lines and changed the filter and just like Magic it fired right up! Sounded pretty good, ran for about 2 min with the garage open. Phone got a 3 second video before shutting down. Up next, everything else! I’ll get it out this weekend
View attachment 1889160
View attachment 1889161