What Did You Do with Your 80 This Weekend? (92 Viewers)

This site may earn a commission from merchant affiliate
links, including eBay, Amazon, Skimlinks, and others.

CreamPuff:

Slang. a vehicle or machine that has been kept in unusually good condition or is very easy to operate:Wow, this old Rolls drives like a dream. What a cream puff!
 
571D7A6B-62D7-46CC-A2DE-336907692CCE.jpeg


B0520281-07AB-4B3A-A5E4-6FC82FBA2C71.jpeg


AAAFC292-BC58-4338-994A-735081973230.jpeg
 
Took dash apart and found the needle had jumped of the gauge, assuming this was form me having my wires hooked up wrong and the gauge was trying to read too high by grounding out. Also replaced gauge bulbs with new and put in a D light bulb! But forgot the park one was out also next time I’m in there I’ll replace. Thanks @nigelsiam

View attachment 3023182

View attachment 3023183

View attachment 3023184

View attachment 3023186

View attachment 3023187
That's cool you got it...and sorry I didn't get back to you but yeah, that's how it's done!! Good job!
 
What gull wing window are you running?

Its the Gullwing I have been making and selling.
 
352k will do that to them lol. Couple bulbs are burnt out there, might get around to it one day.

View attachment 3021559View attachment 3021560View attachment 3021561
Thanks for sharing your rear cam wiring route. I have one to install and this will really help.

Also, you already may be aware, but the AC/heat individual buttons are available to buy fairly cheap. I have a new OFF button ready to install myself…

5590560080 - OFF
5590560090 - LO
5590560100 - MID (looks like you’d need two of these with just the little square indicator)
5590560110 - HI

The bulbs look to be part # 8193060020. Again, you may have already known, but just in case it helps.

Update: Installed the OFF button. (Popped the old one off with a small bent paper clip.) However, I now have to replace ALL of them to match lol - jk

7B578C75-2A2D-4A86-9AD8-2AE4571D0401.jpeg


DDB5185D-E7E9-4687-9D03-48D561D462AD.jpeg


6D08C648-46BD-4FB8-A802-CB8C9FB76219.jpeg
 
Last edited:
Received and installed the Slee slider steps. So well made, the install was a breeze.
E7DC47A1-6194-4F57-AA16-536C91FDD318.jpeg
 
Did a lot this weekend.
New lonkey wheel cover. The warnings about taking 4-5 hours are no joke. Was up until 2am doing it because I just wanted to finish it. lol. Pretty straight forward just time consuming. I removed the steering wheel so I could have better access and sit on the couch with a beer while I did it. :p

Welded on some new LandTank HD sway bar mounts on the front axle, some how I nearly tore mine out on the passenger side. eek!

Also did some home made sway bar disconnects. Felt I needed a different position from the LCP to allow full droop and to avoid the driveshaft from hitting the sway when up and out of the way. Tested full droop and all the way up to the bump stops.

Re-tightented both front wheel bearings, was getting some vibes and they were a little loose.

While doing all of the above I noticed my front rubber lines from caliper to hard line had some cracks, all 4 looked like this! Replaced with slee steel braided from cruiserparts. They were cheaper than OEM!

Now I'm tired.. but ready for slick rock next weekend. :)

IMG_0742.JPG

IMG_0743.JPG

IMG_0747.JPG

IMG_0740.JPG

IMG_0746.JPG
 
As always, trusty cruiser outfitters to the rescue.

20220604_210827.jpg


Ordered Thursday, delivered Saturday.

Thanks Kurt @cruiseroutfit for running such a great business and supporting us crazy land cruiser owners!!!!
 
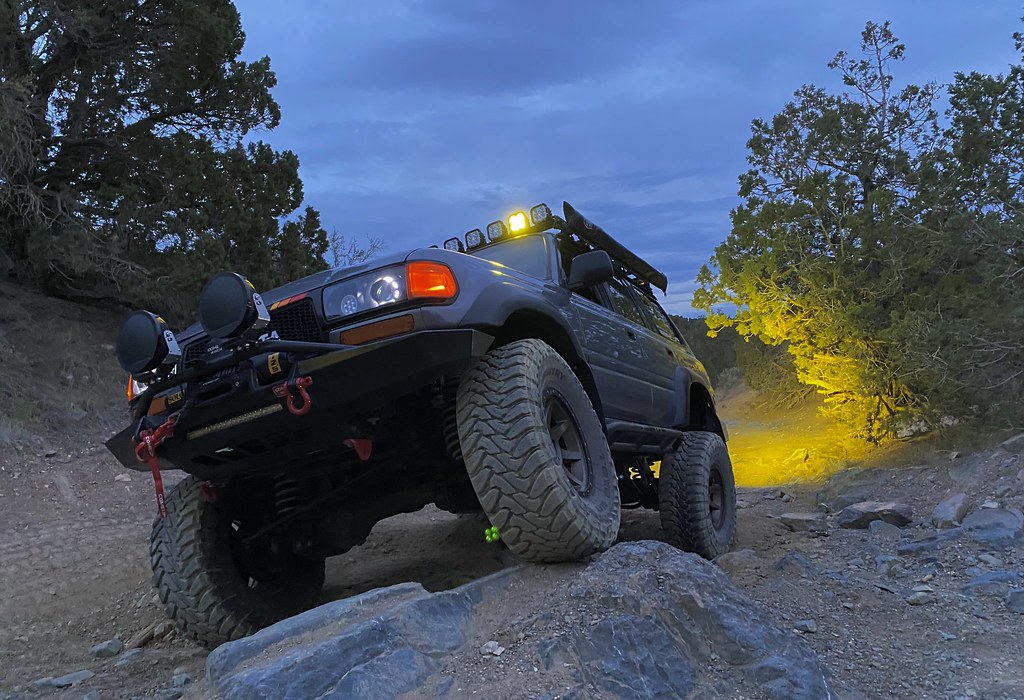
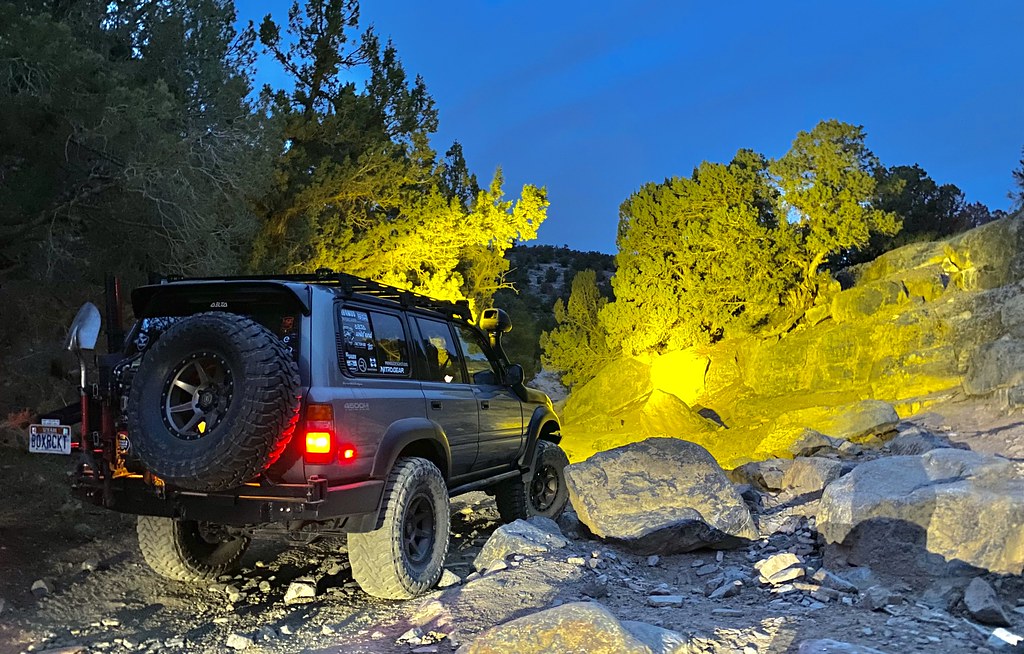
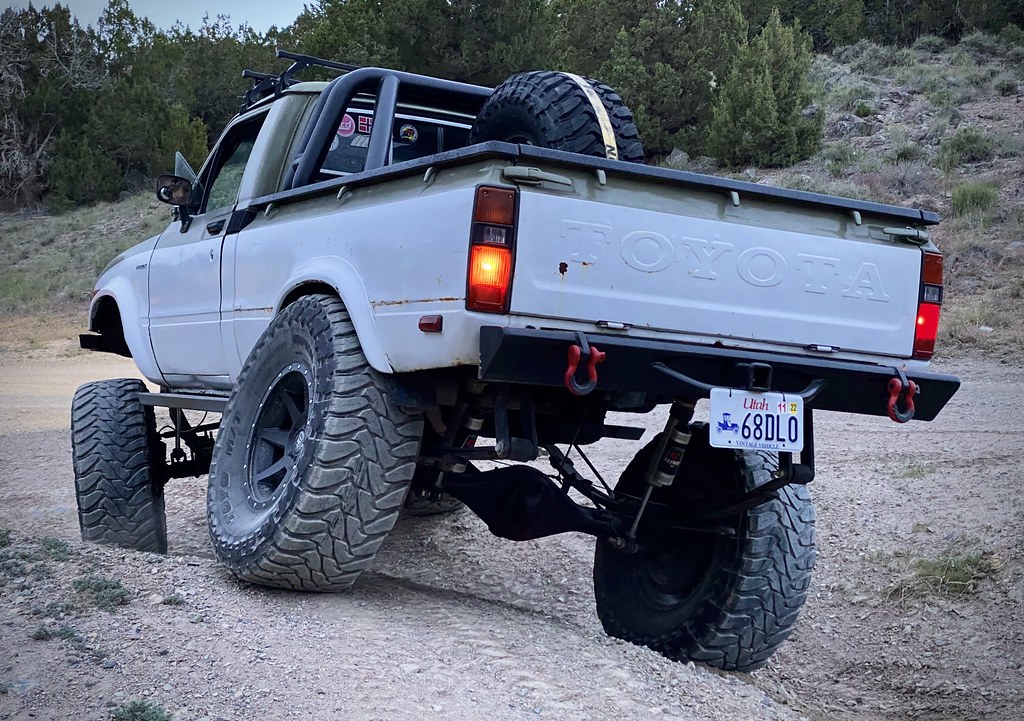
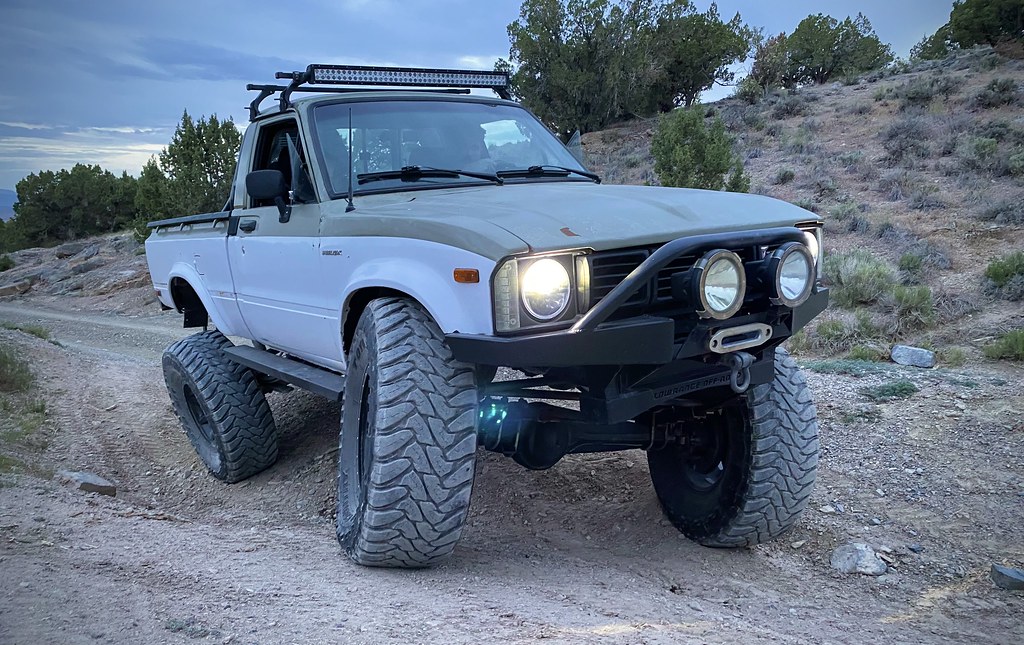
got out for a short night run with my son to do some testing on his truck that has had a lot of changes. 3RZ/W59 swap, dual cases. New suspension with 3"TG fronts, Chevy 63 rears, Stage 4 Slinky shocks. 37x13.50s. Still open diffs but we have a locked Tacoma rear axle and a 80 series e-locker front diff ready to install. Should be a really fun truck after it's dialed in.
Untitled by Adam Tolman, on Flickr

Untitled by Adam Tolman, on Flickr

Untitled by Adam Tolman, on Flickr

Untitled by Adam Tolman, on Flickr
 
I got my White Knuckle sliders in the mail on Thursday. Had the sliders painted on Friday night and installed Saturday morning. Went out to Windrock on a trail ride after the slider install. I ended up with a small ding on the slider it held up well. However my paint job on the sliders is already flaking away. Will be sending them to linex here soon.
0EDA6E68-741C-47E5-893F-020AD3BFA86D.jpeg


3675C46D-7D0B-4D60-9D76-C5E016D8F1A5.jpeg


E278A2CE-09F3-4DF7-8AF4-1140B7681395.jpeg
 
@Delta VS rear spring retainers
IMG_20220603_181808_889.jpg


Working on brake line spacers for u bolt installed sliders. My nolt location was too close to use the in luded hardware also Request from here on Mudd
20220605_135352.jpg


20220605_135528.jpg


Bike rack was purchased and modified, so I can use it with the gamivitti spare hitch mount.

20220604_090311.jpg

20220605_125801.jpg
 

Users who are viewing this thread

Back
Top Bottom