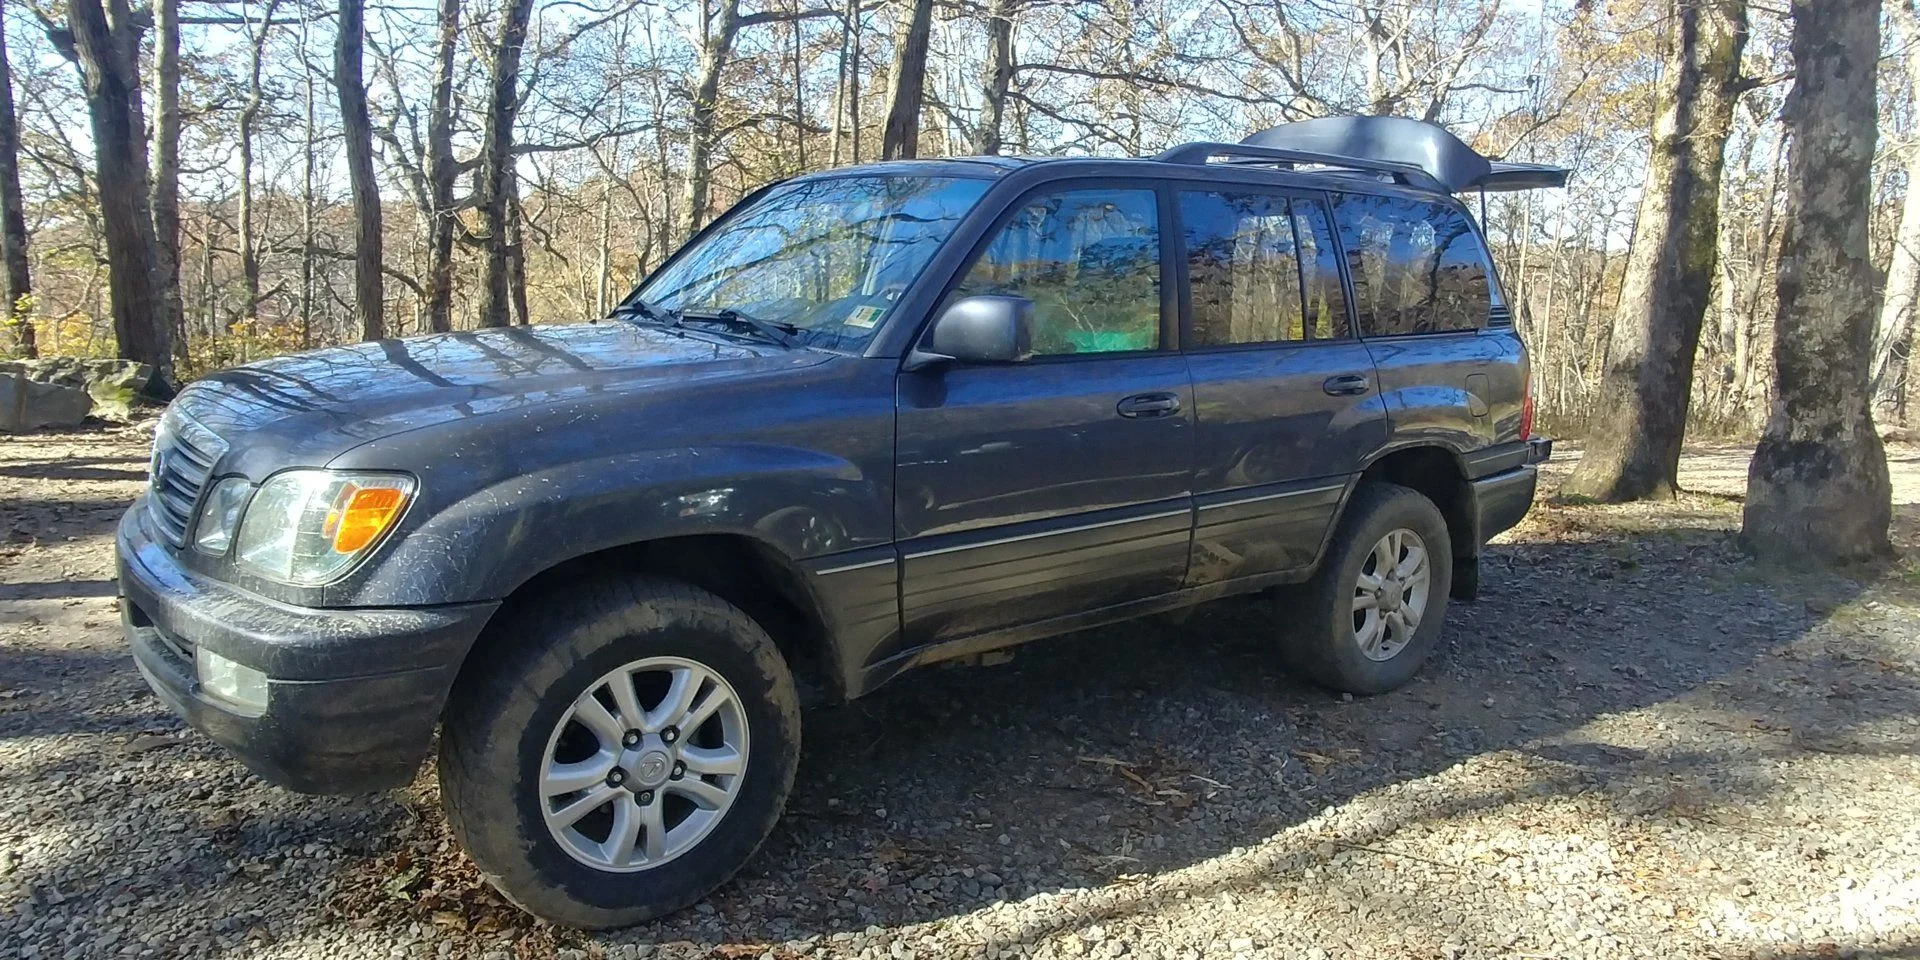
What have you done to your 100 Series this week? (52 Viewers)

This site may earn a commission from merchant affiliate
links, including eBay, Amazon, Skimlinks, and others.

Hi guys,
Well, my front seat cushions were ripped and cracked and beyond repair. I bought two seat replacement leather upholstery assemblies on ebay. The quality and color match are dead on. The new seats are less shiny than the old seat backs, but I think they will eventually match up.
Well, I pulled the passenger seat first to get the lay of the land. It all went pretty smoothly, but it truly took me 5 hours before everything was back together on one side only. It looks great, but don't kid yourself, it's hard work. This is about my tenth seat rehab, too.
I will post a picture when the driver's side is done also.
Thanks,
Dave
 
@ibrahim83

man that silver steel bar, and factory tint just make it look so good compared to your other one.


Thanks man!! mine is an 03 with tan/gold factory tint with shades behind the glass, making it look like mirror tiny, his is an 04 with black factory tint and nothing up front.

I debated for 3 months on whether to go black, white or molding color. I'm happy that i chose to match the moldings, i think it looks best this way.
It looks fantastic. It looks like a "factory" bumper package.
Thanks,
Dave
 
Currently going through a similar scenario but torn between the original glass, which is susceptible to chips and cracks, and the polycarbonate which is susceptible to yellowing over time. Why did you decide to go with the glass?

Which side do you need? I have a fully intact passenger side if you need it. Had a non-leaking chip in the drivers side, and replaced both with aftermarket…
 
My GF came into town (perk/drawback to a LDR) for the day and instead of going with her plan of getting massages, I managed to talk her into a day on Tray Mountain in N GA. We went looking for some waterfalls but never did find them. Instead we grabbed a hike to the top of Tray Mtn and I've never seen my dog so happy. He LOVED being on the trails. 9 years old and you'd have thought he was a puppy. When we finished our hike we took a drive to Helen GA and had some dinner before heading home.

Don't worry, GF got her massage when we got home.

 
Added a new (to me) accessory. Turner Sultan 29er.
360E5EC1-C847-4FC1-8D0F-4F250AF9FAA5.jpeg
 
TLDR - Finally pulled my CDL indicator and cleaned it. No more VSC/TRAC light when engaging now.


T
ested with the engine off first and noted the sounds when engaging and disengaging. Then I made the mistake of cranking her and trying it. No noise but I heard another actuator at periodic times that I thought was it (guessing ABS motor?) which led me down the rabbit hole since that sound didn't line up. Drove her down the road to a parking lot and played with engaging/disengaging CDL and 4lo. Everything worked but I still couldn't hear anything other than the relay. Figured f* it since it was obviously working and all lights work correctly. Got home and couldn't let it go so I tested again with engine off. Actuator sounds with relay, no issues. Cranked her. No sound. Grabbed a 2-way, clamped it on and stuck it near the actuator. Tested again with the engine running and could barely hear it working. Lesson of the day - the CDL motor is not loud enough to hear over a running engine.
 
I changed my plugs out. Went with this NGKs. Here is a side by side of old vs new. Also, the plug by the driver's side firewall is a lot easier with the right tools! Now I need to Seafoam it, and I definitely need to clean the TB.

8YCoujR.jpg

NopVguj.jpg

hoiUCej.jpg

1nxvxaF.jpg
 
Bashed up the L bracket for my trailer harness at Rausch and never fixed it. So this was my temporary fix:
IMG_20181104_115029623_HDR.jpg

You know you have a better emergency kit for your horse than your trailer when you use vet tape to secure your trailer's wiring harness to your truck's.
IMG_20181104_102917138.jpg
IMG_20181104_105907505_HDR.jpg

Then we put in a quick six miles this morning.
IMG_20181104_115646803_HDR.jpg
 
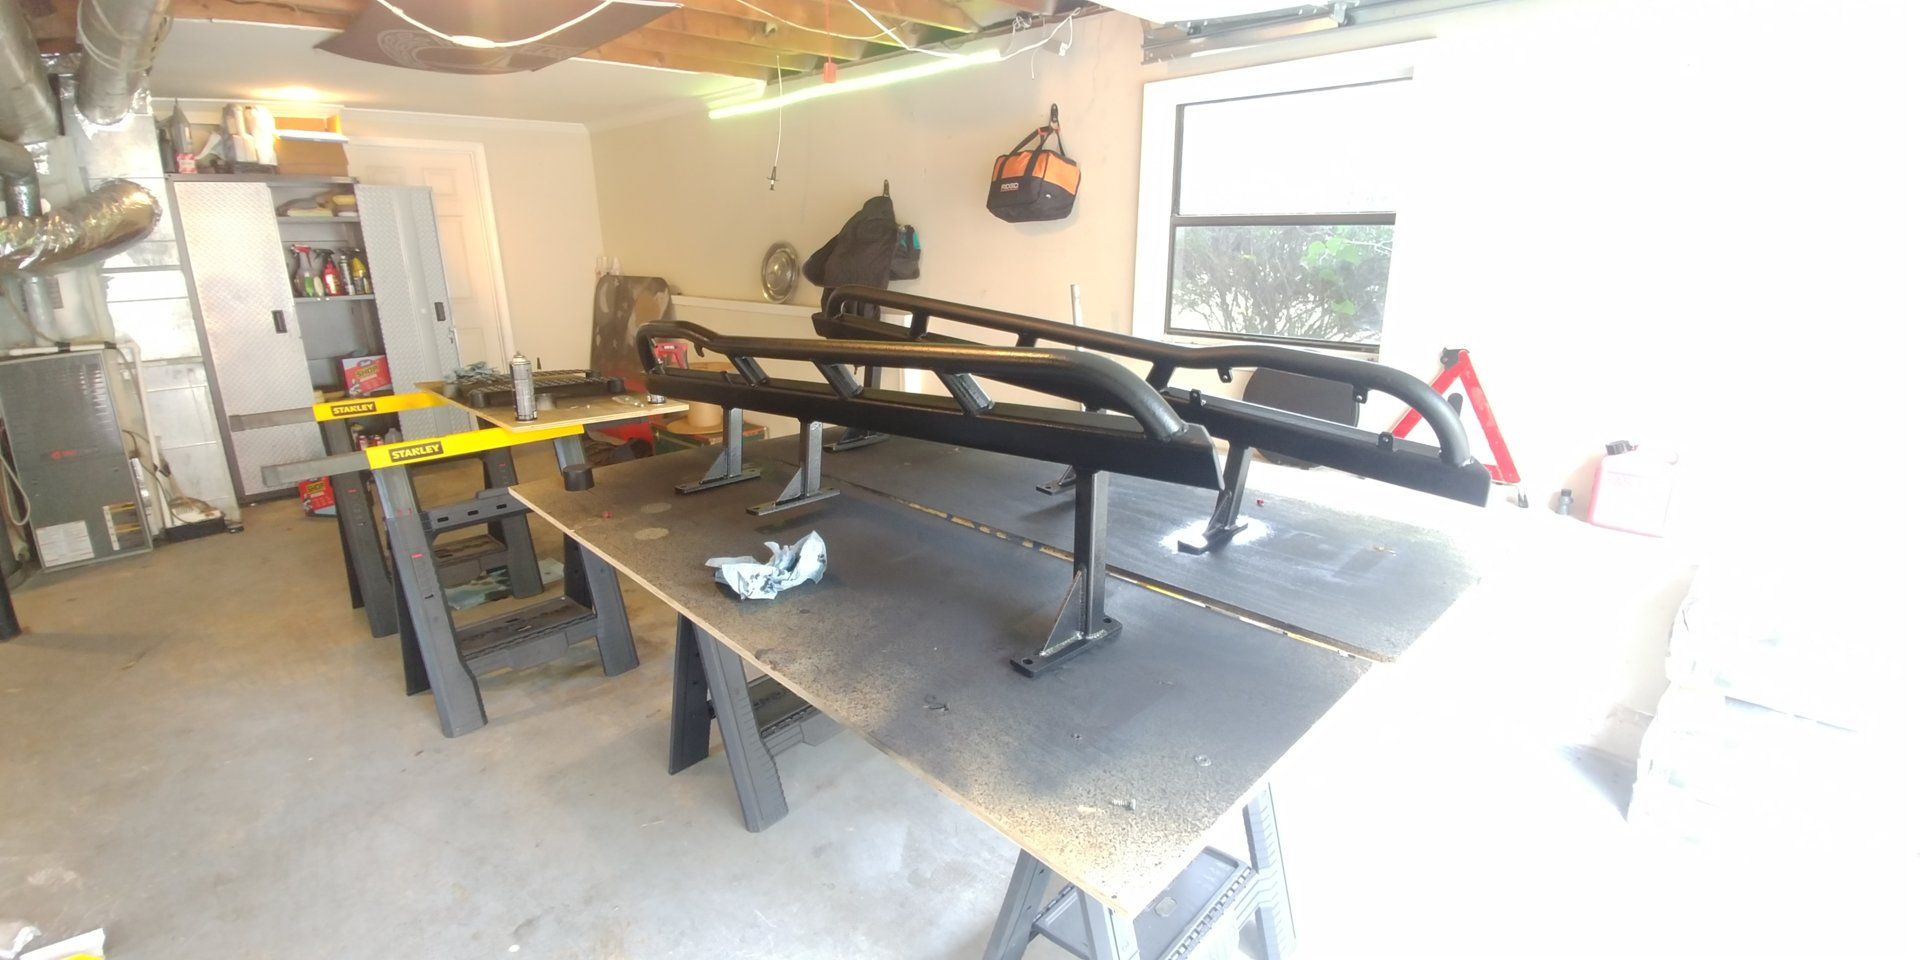
Pulled all the toys out of the garage and sprayed my new WKOR sliders today. I went with a self etching primer and Bed Armor spray coating. Really a pain to apply this stuff, the nozzle just can't handle the thickness of the fluid.

Anyway after battling and constantly cleaning the nozzles, I was able to get like 98% coverage of the whole slider, mainly missing inside the angles that the can wouldn't shoot at. I just followed with (probably a bad idea) a coat of chassis paint in satin black. No idea if it'll actually be worth a crap or not. Fingers crossed.


I also replaced the hood struts.
 
I'd noticed small oil stain on the driveway a couple of weeks ago. Initially I thought the power steering pump was leaking. Upon further inspection and much to my relief, it turned out to be the aging hoses from the PS reservoir.

This afternoon I got to work replacing them. The old hoses were without a doubt original, very hard and cracking. Both hoses were loose on the reservoir and allowing fluid to leak down them to the pump before finally dripping on the ground. I cleaned the reservoir the best I could and found several chunks and particles of what I assume to be the insides of the deteriorating hoses.

I replaced the hoses with bulk Gates transmission oil cooler hose from Napa. No issues with kinking or routing them out of the way of the serpentine belt. I also used new clamps. Based on recommendations I found from my searches, used Valvoline Max Life ATF fluid. Overall a definite one banana job.

29804307-0942-4889-983C-2C34D8CB2D38.jpeg


C3DC4B76-0F67-4252-AE44-00F07E59EDDF.jpeg
 
This weekend I finally had time to tackle a big job. I replaced both aftermarket CV shafts with oem, installed SPC upper control arms and reindexed the drivers side torsion bar. Little did I know that I would need a full bearing repack as well. And while I was in there I replaced the front brake pads. The driver's (left) side shaft had been replaced by the local Toyota dealer 6 months ago. It was a fortune for the aftermarket axle but they also did a bearing repack. Or so I thought...

When I took off the flange on the driver's side I came across this:

20181102_150617.jpg


Once I flattened out the lock washer I could remove both bearing nuts with my fingers. I cleaned everything out and repacked the bearings which looked fine. I don't think they even went in there when replacing axle. The splines on the left side were almost gone. The one on the right is from the passenger side which was replaced last year.

20181104_154709.jpg


Here's the finished product. No more vibration!

20181103_150953.jpg


I reset the alignment cams to neutral and eyeballed 0 camber by moving the ball joint in the UCA. It drives great and I have an appointment for alignment in a couple of days. I have the ball joints in the D position. I have 30mm rear spring spacers and have cranked the torsion bars. Not sure I have enough droop now and I'll have to figure that out.

Chris

20181104_154647.jpg
 
Pulled all the toys out of the garage and sprayed my new WKOR sliders today. I went with a self etching primer and Bed Armor spray coating. Really a pain to apply this stuff, the nozzle just can't handle the thickness of the fluid.

Anyway after battling and constantly cleaning the nozzles, I was able to get like 98% coverage of the whole slider, mainly missing inside the angles that the can wouldn't shoot at. I just followed with (probably a bad idea) a coat of chassis paint in satin black. No idea if it'll actually be worth a crap or not. Fingers crossed.

Almost exactly what I did today with my Metal Tech sliders—etching primer, followed by two coats of brush-on Herculiner, followed by irritated by how glossy it dried tonight. Tomorrow I'm planning on hitting it with a couple coats of Krylon Pro in flat black. My fingers are crossed too…
 
I replaced my standard low beam headlights with Sylvania Xtravision 9012 - I did the thing where you trim the mount so it fits into socket for standard 9006. It brightened things up! (Picture is with manual exposure - so comparison is valid.)

DSC00809 basic side.jpg

before

DSC00816 side xtra.jpg

After!

then adjusted headlights - which was more time consuming than I expected. They were way off!

bulbs used:
https://www.amazon.com/gp/product/B079ZCRVH6/ref=oh_aui_detailpage_o07_s00?ie=UTF8&psc=1

trim instructions:
https://sep.yimg.com/ca/I/yhst-91565365470012_2267_311973
 

Users who are viewing this thread

Back
Top Bottom