What have you done to your 100 Series this week? (97 Viewers)

This site may earn a commission from merchant affiliate
links, including eBay, Amazon, Skimlinks, and others.

Couple more pics of the completed reinforced torsion bar housings. I decided to put some antiseize between the reinforcement bracket and LCA and you can see a little bit around the edges of it

IMG_2117.JPG


IMG_2128.JPG
 
CV JOINTS:Last week, I added new CV Joints a few weeks ago. First side 7 hours. Next side 2. Thanks to the board for great instructions.
The impediment was my fear of hurting the CV. Bought a 5lb rubber hammer to "convince" the ring clip to let the CV slide in. I used both a long 4'x 2"x2", a 1" pvc pipe and finally the metal bar from a sliding wood work clamp in lieu of a brass punch. Hard to find that much brass other than the head on a brass HarborFreight hammer.

FRONT SWAY BAR LINK BUSHINGS. Have been feeling like the LC had a lot of lean on country roads and unresponsive/meandering steering. I bought the polyurethane Energy Suspension bushings. So nice to have greater confidence entering a curve. The rear sway bar bushings look ok, not dry rotted like the front pair. Note. The bushings in the kit were 1/4" too tall so I ground down 1/8" per bushing on Energy Suspension's ok. Belt sander or grinder works fine. Protect your fingers. Also, noticed a lot of welding slag left on the link bolts so I ground a new clean surface. Will probably do the back set this week.

ALTERNATOR: Added DCPower Alternator 180 Amps with Big 3 Wire Kit. Alternator and battery kit included military top mount battery terminals, HD fuse, 1/0 cable to alternator and 1/0 ground cable. Provides 13.8 idle Volts on ScanTool II. Previous battery replaced after 3 years. Initial symptoms include stereo fading when stepping on brake pedal. Happy to have great power. 180 Amp HP High Output Alternator - HP Series Alternators - High Output Alternators (The installation of the alternator was easier since the new one is slightly smaller. I was disappointed that the new alternator didn't come with a cool CNC billet but its whats inside that counts. Modern alternator tech for a 2002)
 
Last edited:
Did the rear brakes, parking brakes, new rotors, pads, speed bleeders, disassembled, cleaned and relubed the calipers. The 1st one was a total learning experience, but the second was done in a 1/4 of the time with less mess.

I will do the fronts next weekend. I selected powerstop z23 evolution sports and I added slee as extended lines.

Update: with 60 miles on the new powerstop rear rotors and pads, I can clearly feel the rears slowing the car. I looking forward to feeling even more slowing from up front. I'm not sure what the best braking performance is for this car however this is defiantly going the right direction.
IMG_3893.JPG

Really have to compress the piston to get room for the pads and rotor to fit.
IMG_3897.JPG

After the break in, a shot of the deposited material on the rotor.
IMG_3902.JPG
 
Last edited:
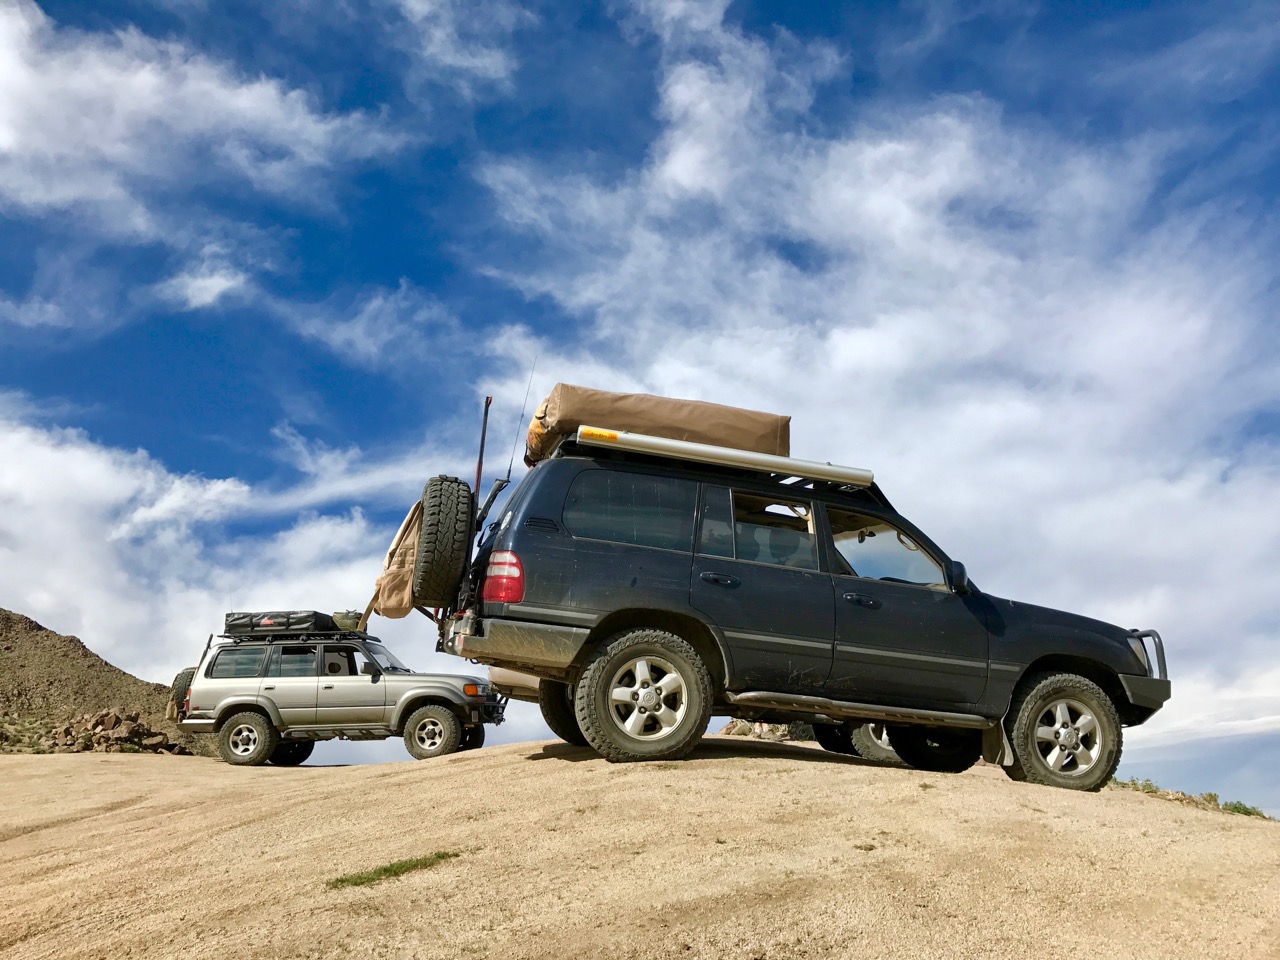
Spent a few days in Death Valley with some buddies. Love that place.

All loaded up
DV3171.jpg


Heading up Goler Wash with @Dan2722 , @bushdoctor (in @sortmanfdxg 's truck) and @Brentbba
DV3172.jpg


Getting mentally ready for Mengel Pass
DV3173.jpg


Butte Valley...another incredible corner of DVNP
DV3174.jpg


Always something unexpected to see
DV3175.jpg


Every time I leave Death Valley, I regret not staying another day.
DV3176.jpg
 
Oh got it. Makes sense, thanks

Here's an example of how my buddy did my Tundra frame rail where the air bumps went in. Notice the sides make a diamond shape breaking up the straight welds like what Ben was saying.

rearlongtravelphonepics-1.jpg
 
Received an extensive to-do list from ACC and began chipping away:
  • Fan clutch, heater tees, air filter, valve cover gaskets, PCV valve and hose ordered
  • Wheel bearings ordered and grease and tools purchased
  • Throttle body cleaned
  • Cleaned and lubricated rear window channels
  • Hoping to get the alignment and tires done this week or next
Did knock out our first "family of four" camping trip. Remote area of the Cohutta Wilderness an the back of the LC and a tent. Had a great time making memories with the kids.
 
Spent a few days in Death Valley with some buddies. Love that place.

All loaded up
DV3171.jpg


Heading up Goler Wash with @Dan2722 , @bushdoctor (in @sortmanfdxg 's truck) and @Brentbba
DV3172.jpg


Getting mentally ready for Mengel Pass
DV3173.jpg


Butte Valley...another incredible corner of DVNP
DV3174.jpg


Always something unexpected to see
DV3175.jpg


Every time I leave Death Valley, I regret not staying another day.
DV3176.jpg

Let's go back now! Cool pics.. But even pics don't do it justice.
 
More pics from the other day. Pic doesn't make it seem as sketchy as I thought it was but my 3 yr old son was looking at me like, "uhhh dad...we're about to tip over."

View attachment 1429390

Old downed plane...

View attachment 1429389

Nice pics, but you missed a Golden opportunity. You could have parked your cruiser on the rear of that plane and taken some sweet "poser" pics. LOL
 
Disabled my daytime running lights .... I may put a switch on em in the future..
 
Last edited:
Looks good! How hard is it to get the plastidip off around the lettering? Do you start pulling it up immediately with a toothpick or something of the sort? Did you pull up the extra before spraying it with the clear?
It's very easy to get it off. In fact the plastidip is engineered to "cut" itself around any hard edge. You spray on 5-7 layers and let it dry between each coat. Then I sprayed the clear (it is the same type of product as the base coat - it "peels" too). Let everything dry, then start peeling off the excess. More coats make it peel easier. Around the small emblems I used a bamboo skewer (sturdy toothpick would work). One of the easiest spray products I've worked with. It's quite satisfying to peel and see the clean edges. Best part is if you mess up or change your mind, you can start over or pick a different color/finish.

I would watch as many YouTube videos as you can stand - all this makes much more sense visually:

DipYourCar

Then practice on something you don't care about - I started with my spare wheel before I did the other 4. Then you'll get hooked - my wife had to stop me from doing the kids and dog ...;)

Amazon has a bunch of products/colors and Home Depot and Lowes have black, white, flat grey and sometimes the Glossifier clear coat.

Good luck and happy dipping ...
 
Replaced serpentine belt, idler pulley, belt tensioner assembly - Dayco belt was cracking after almost two years, replaced with all OEM parts. Added some flea bay wheel spacers last week also, and did front fender pinch weld fold and remolded fender liner.
 
2017-03-25%2014.48.21%20HDR_zpsdd3bieg3.jpg

Trying out a hood blackout. I like it. I think it'll look better with a front bumper
Did you score that blackout panel during the last groupbuy or have someone else make it for you?
 
When you finally get around to replacing the windshield, and realize that all that wind noise was because the previous owner did a hack job, glued trim pieces in, forgot to install 3 of the rivets, and on top of all of it didn't put the mirror in correctly.

So yeah, waiting to get that replaced right now.
Mobil1 Synthetic Oil Change Yesterday, 5 BFG KO2's Rotated Today.
Washed it again.

Hope to get to the front wheel bearings and steering bushings soon.
 

Users who are viewing this thread

Back
Top Bottom