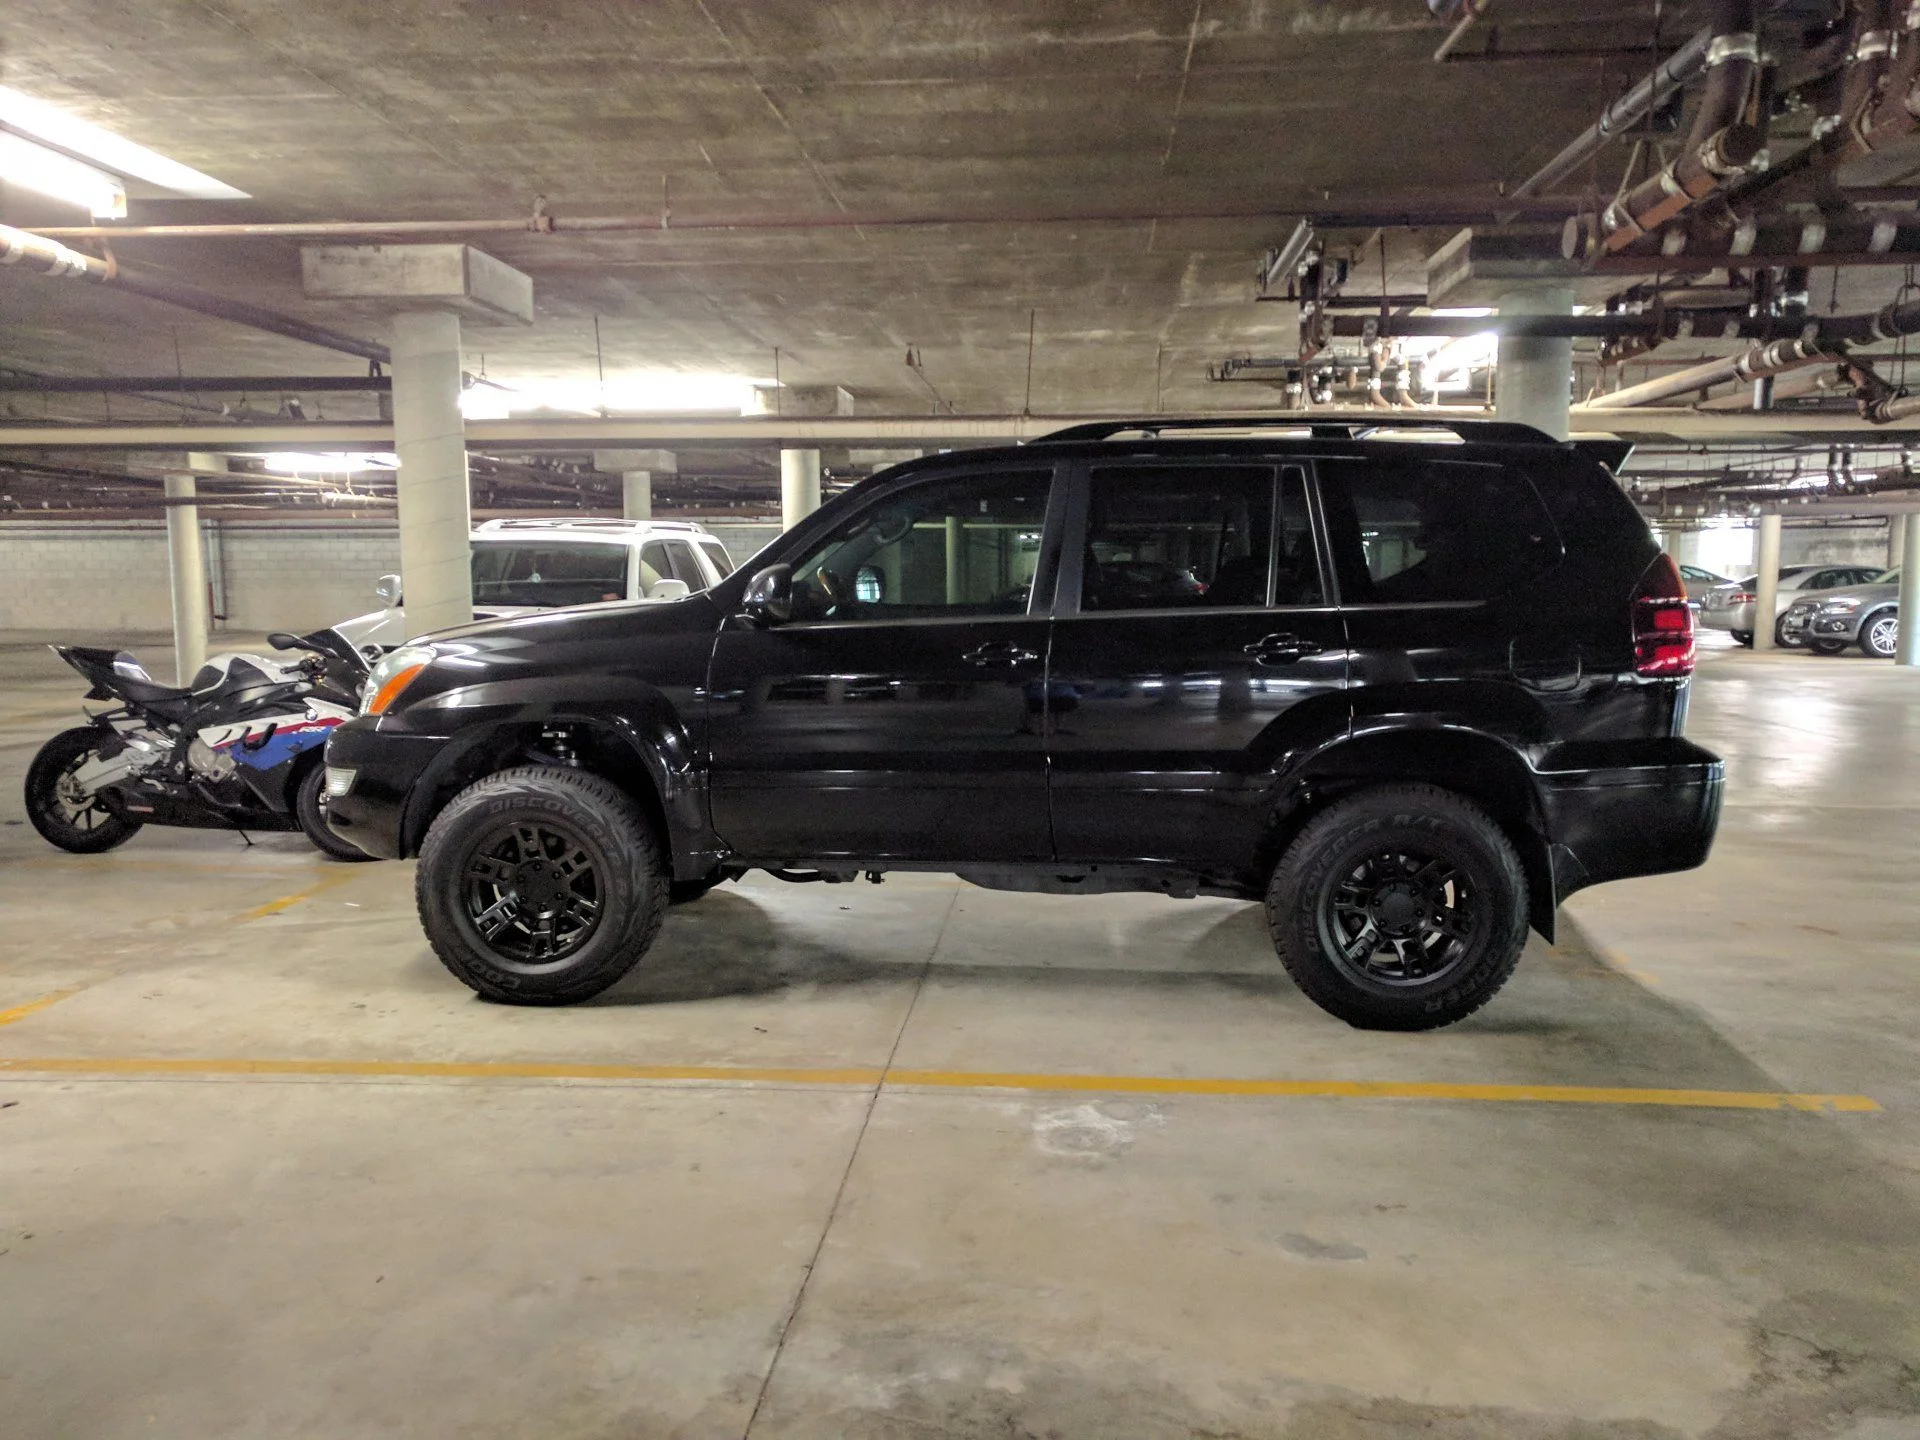
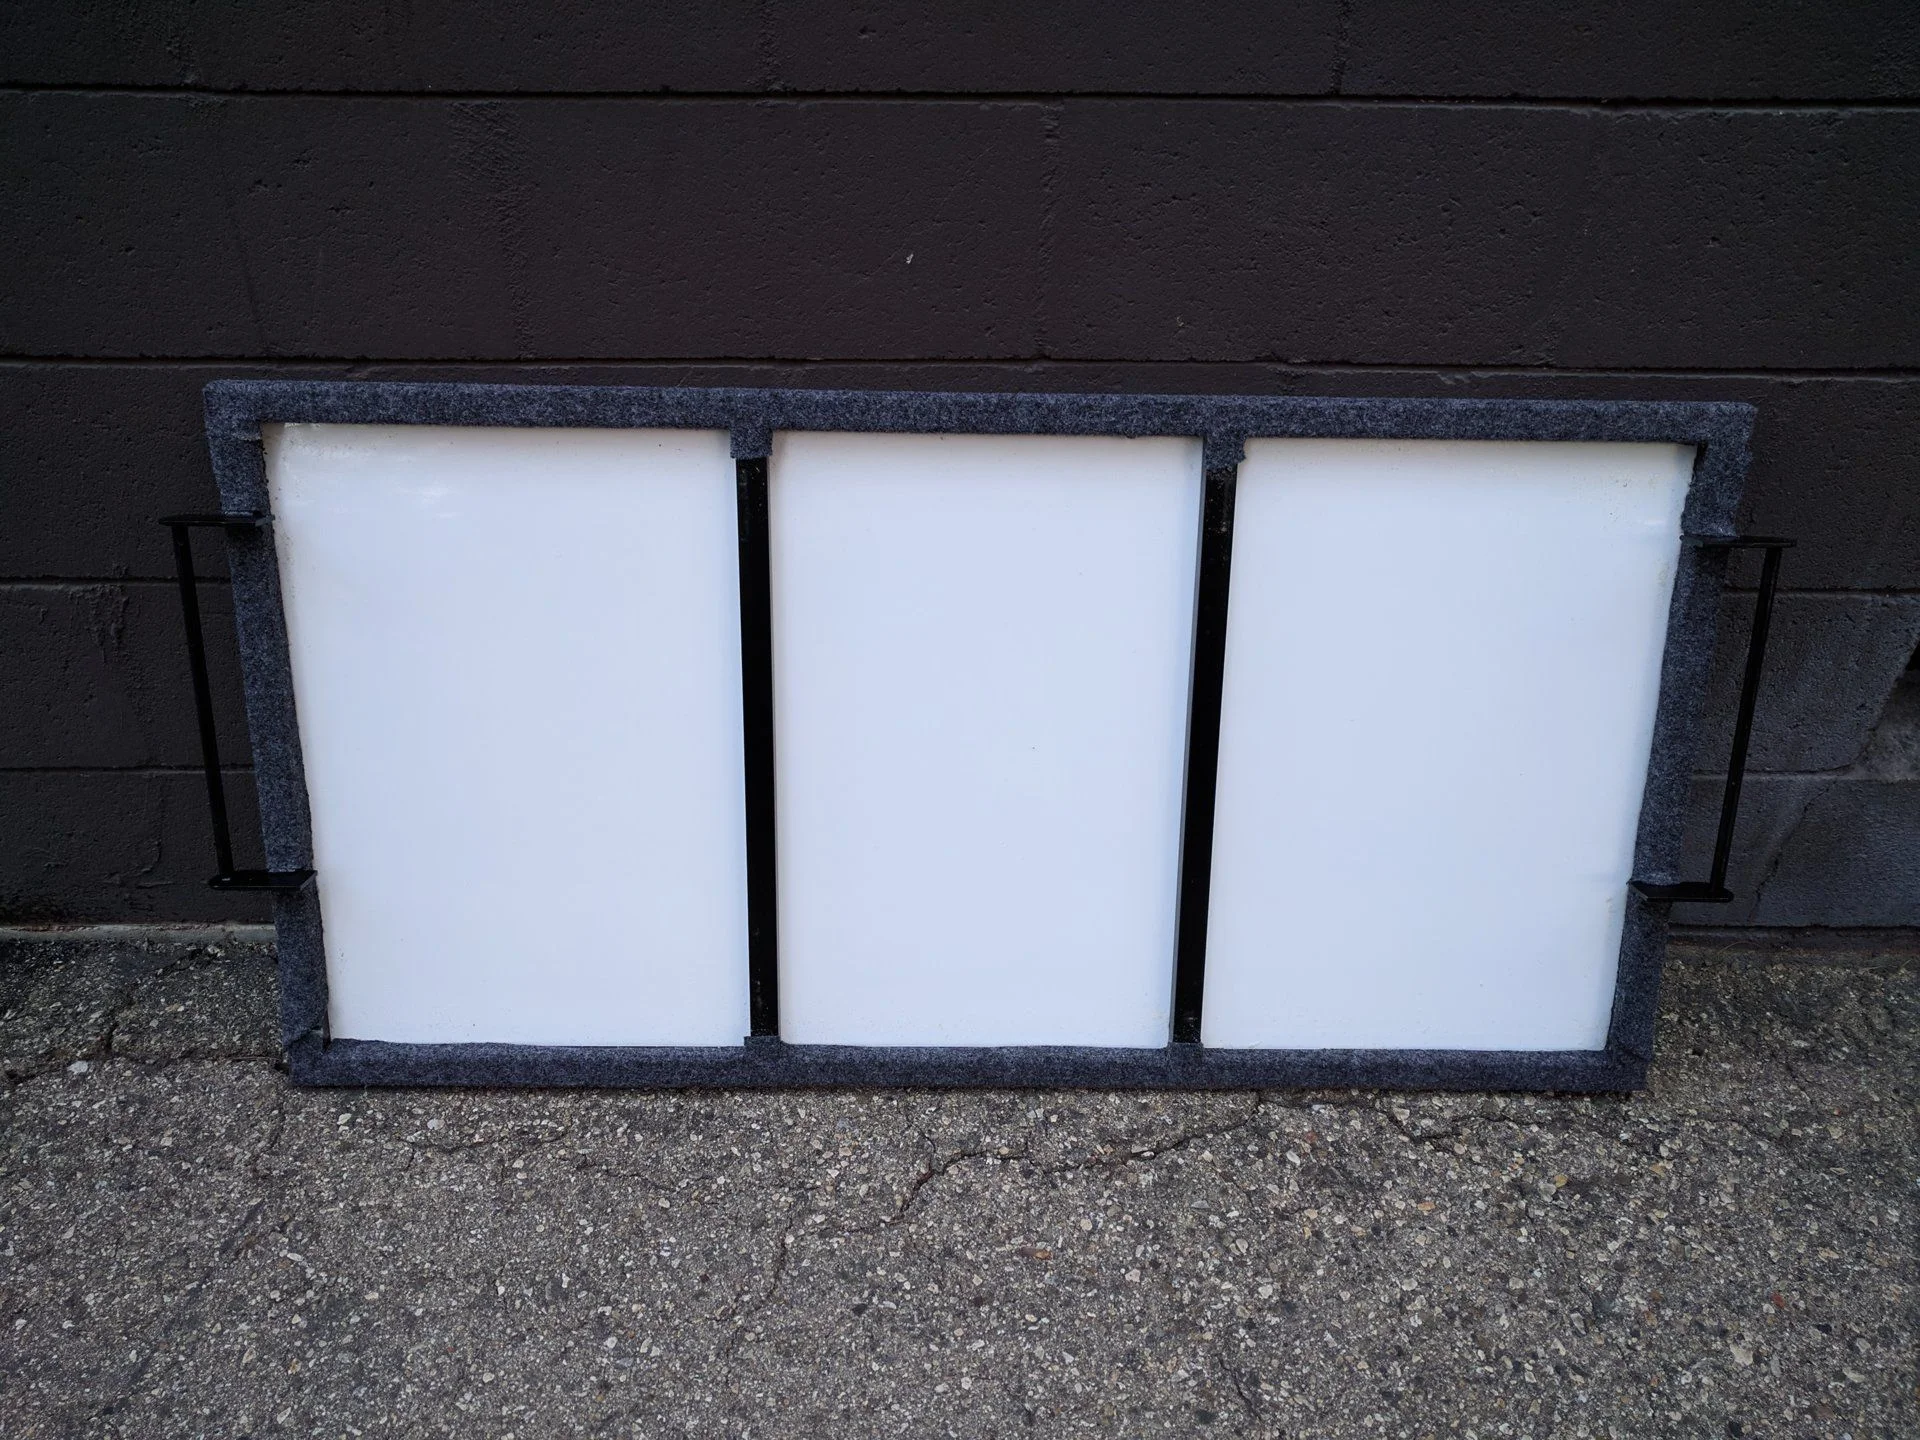
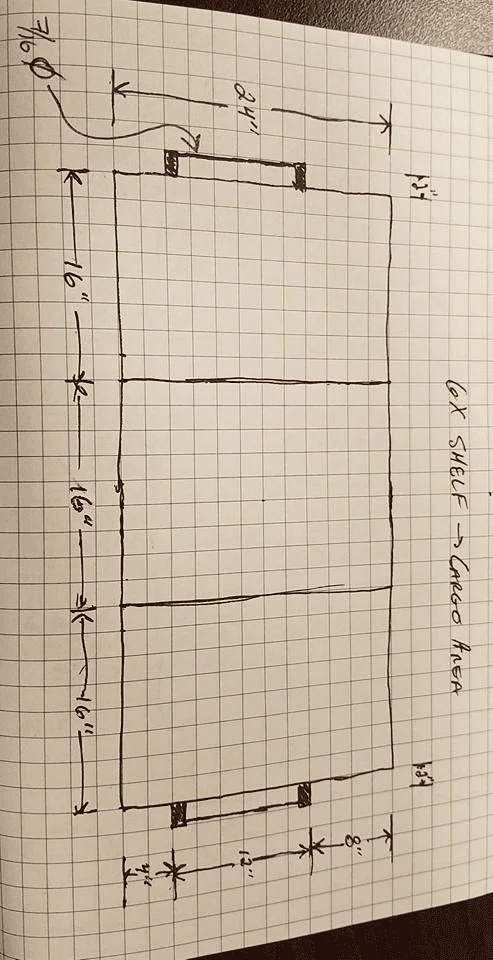
A whole lot of maintenance...
-Installed SPC UCA
-Timing belt/Water Pump
-F&R Diff fluid
-Tranny Fluid
-Tansfer Case fluid
Found out I need:
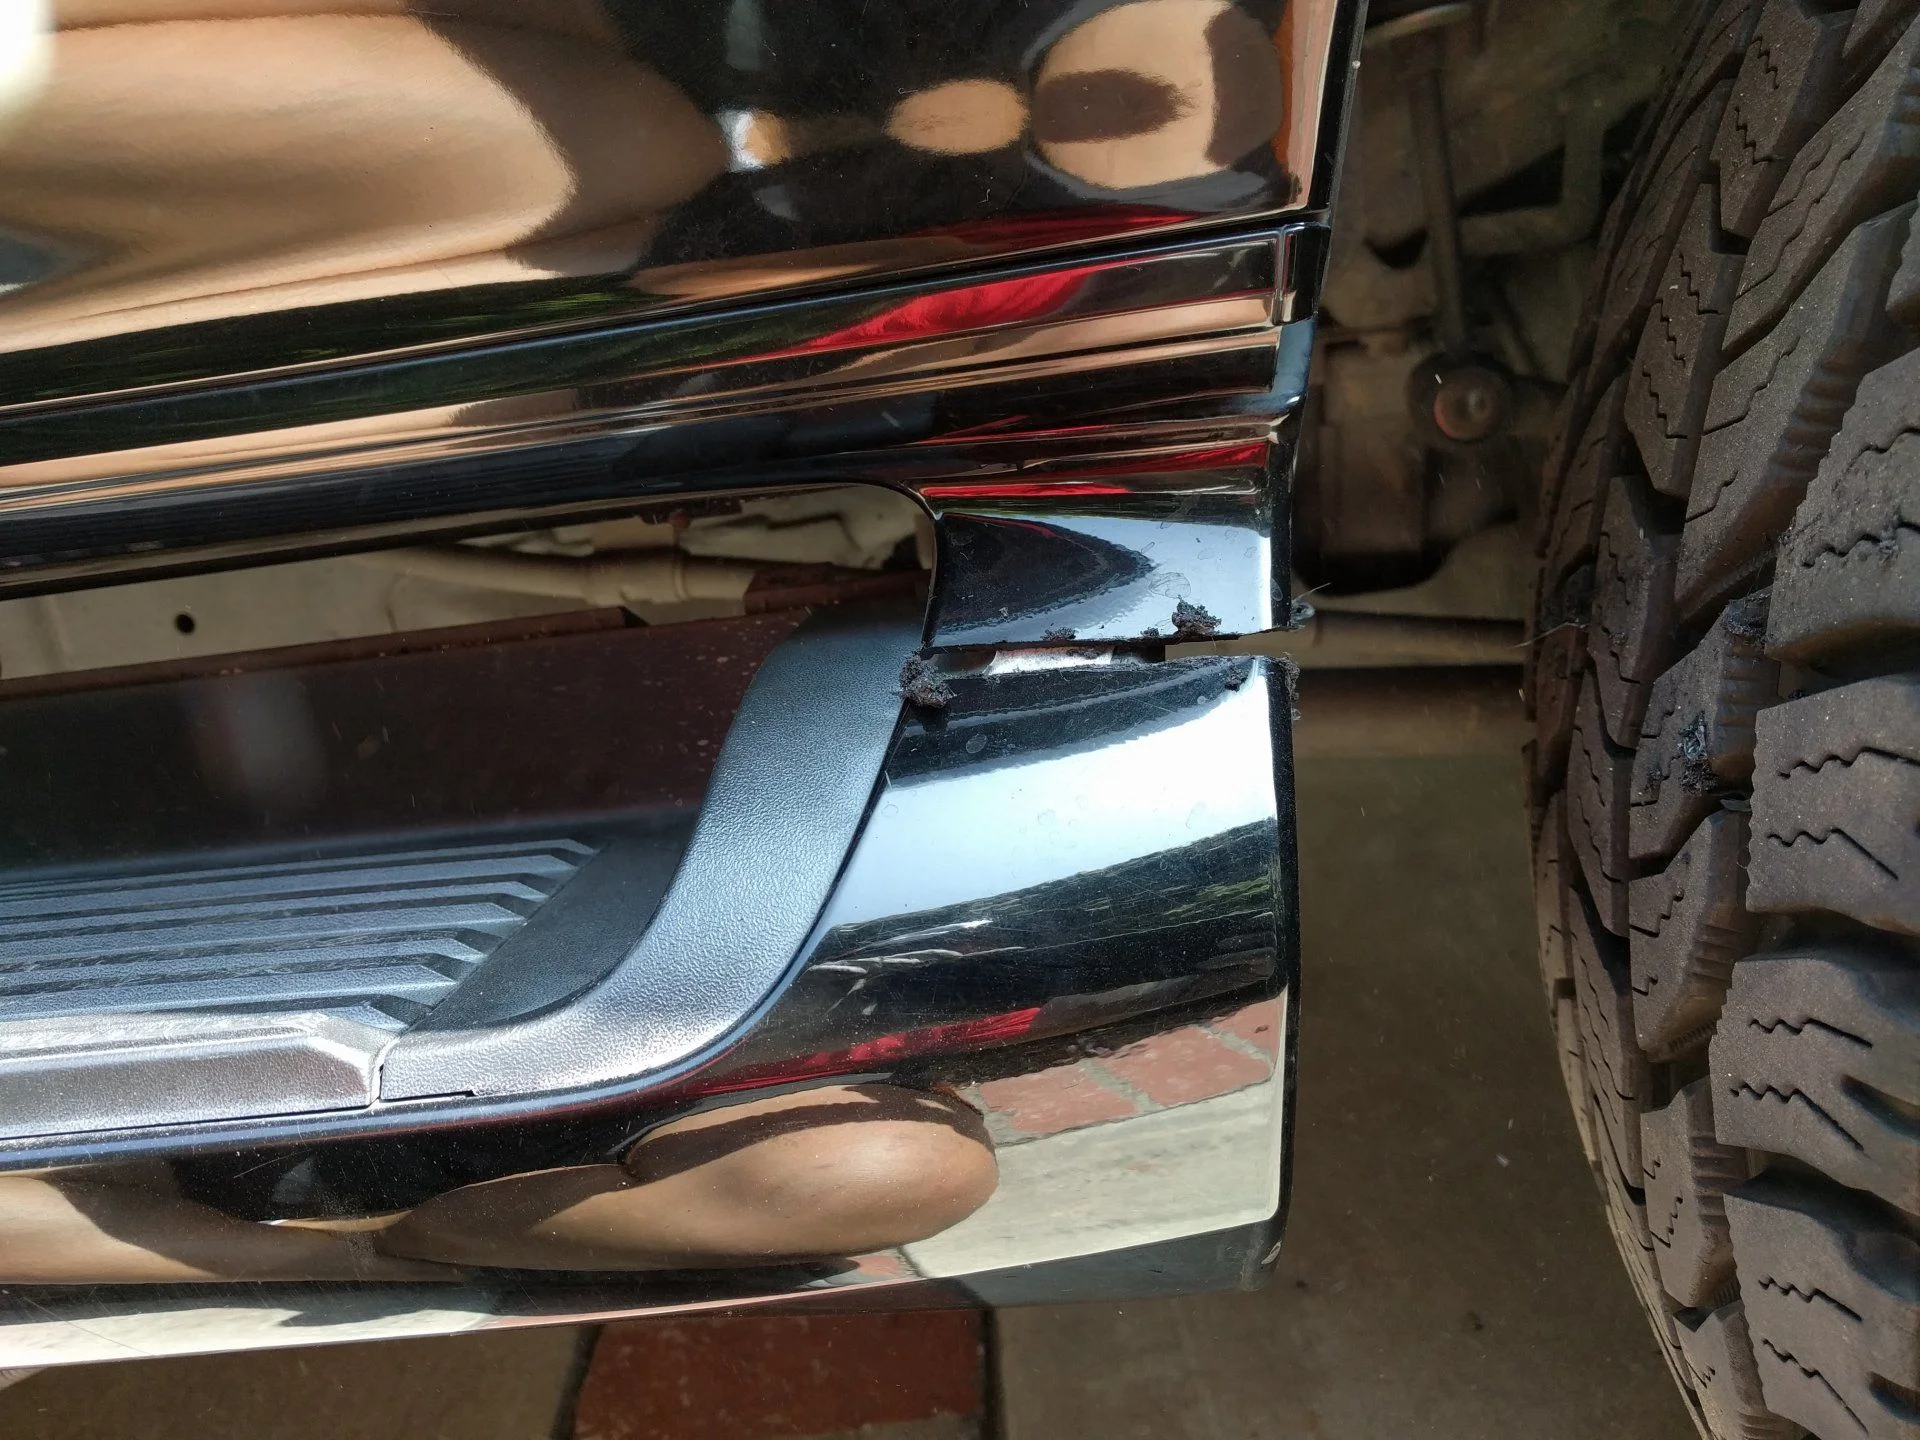
-Driver side LCA (Camber bolt frozen)
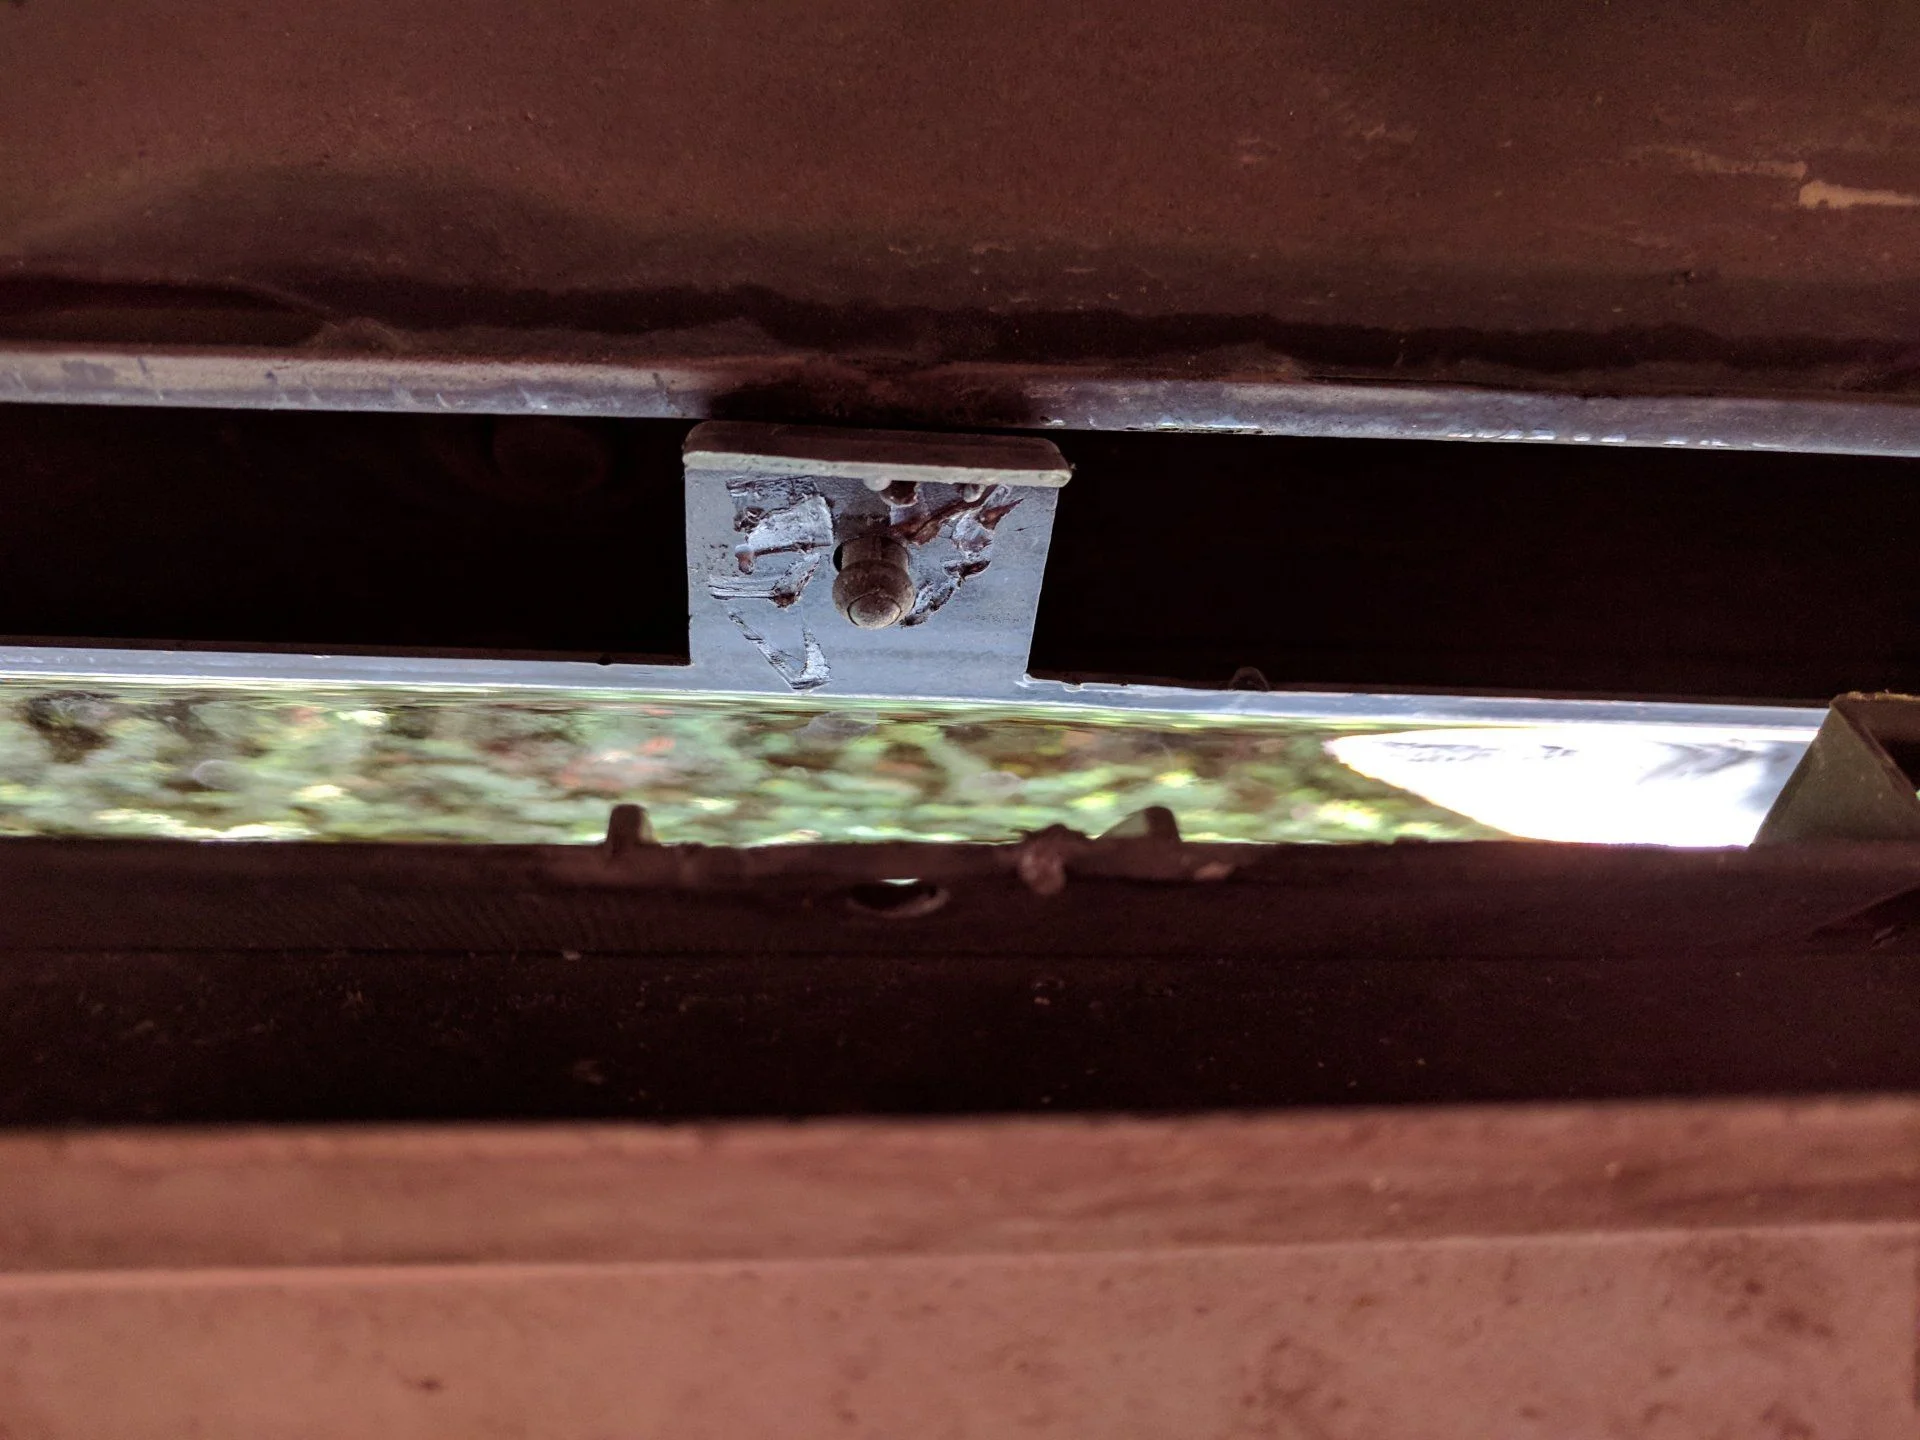
-Cam tab gussets
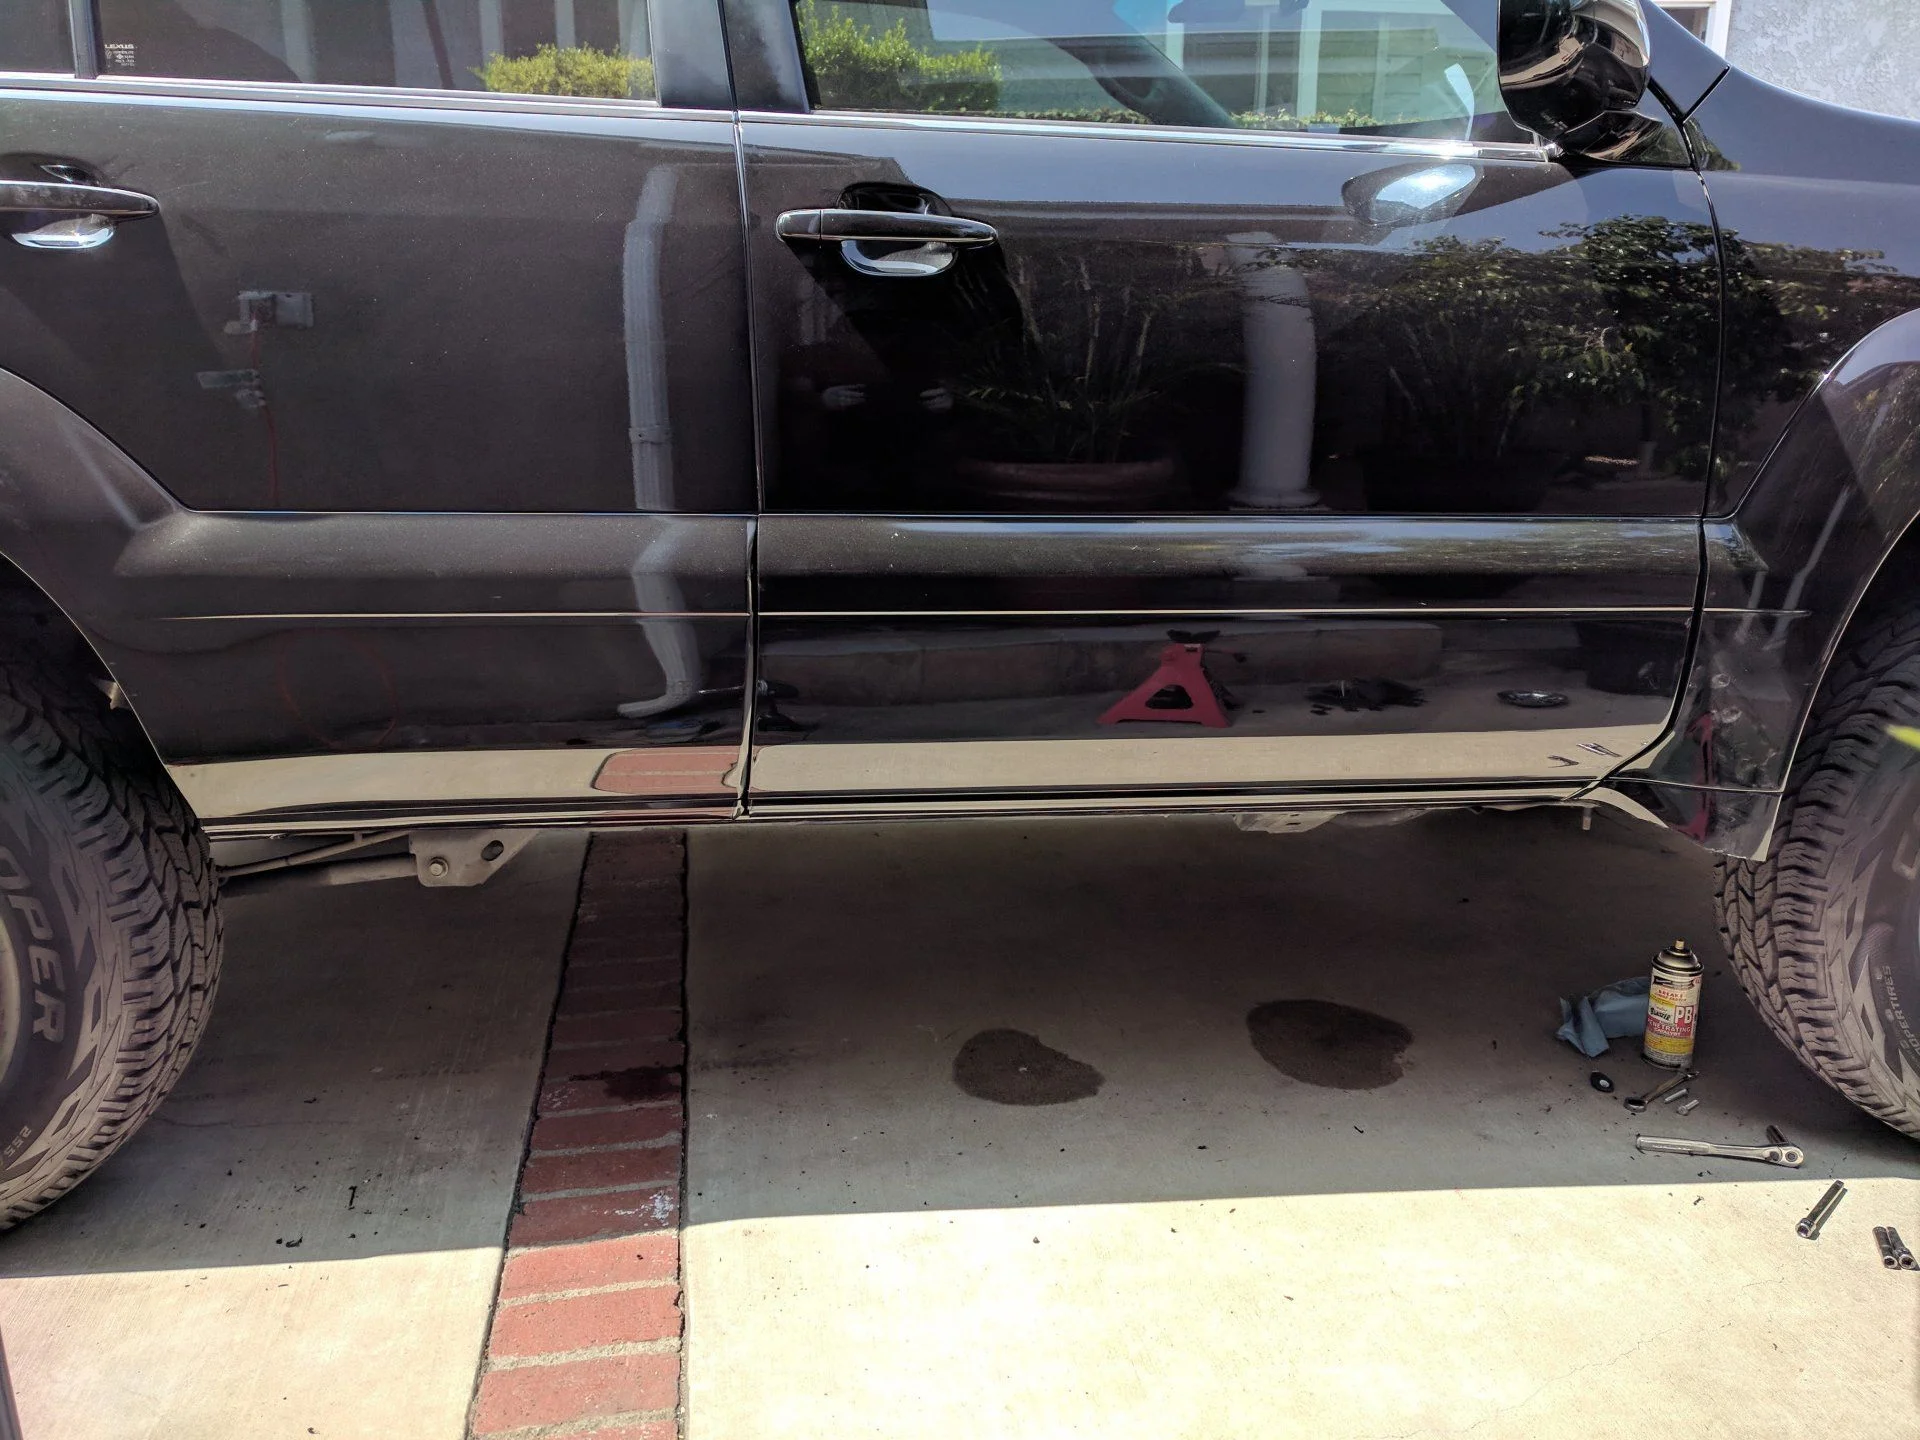
-New alignment
-Installed SPC UCA
-Timing belt/Water Pump
-F&R Diff fluid
-Tranny Fluid
-Tansfer Case fluid
Found out I need:
-Driver side LCA (Camber bolt frozen)
-Cam tab gussets
-New alignment