tractionbar build by camcruise .... boring (3 Viewers)

This site may earn a commission from merchant affiliate
links, including eBay, Amazon, Skimlinks, and others.

Joined
Jun 22, 2004
Threads
246
Messages
6,896
Location
sittin on the couch in UT
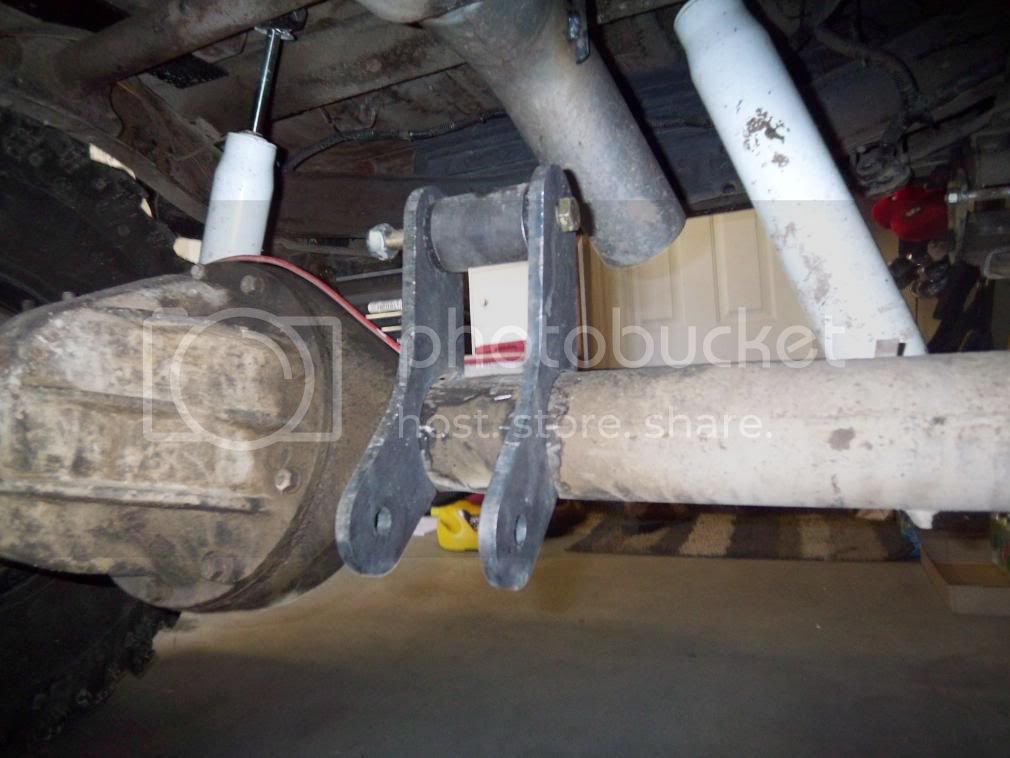
so i figured it was about time to get thae stupid traction bar built as i fliiped the springs etc... so i will walk you throuh what i am doing and answer any questions,

first off there are a ton of different kits and designs and ideas floeting around so i went with my go to guy dan at ruffstuff for the parts and stole some designs from the e net.

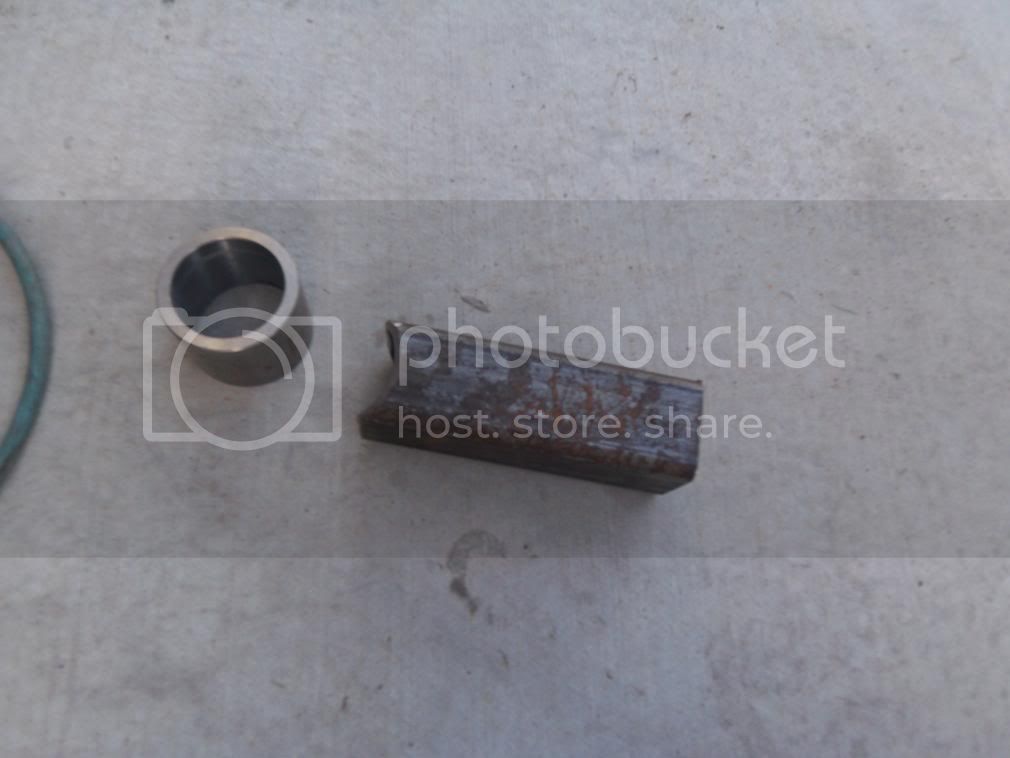
here is the kit from ruffstuff
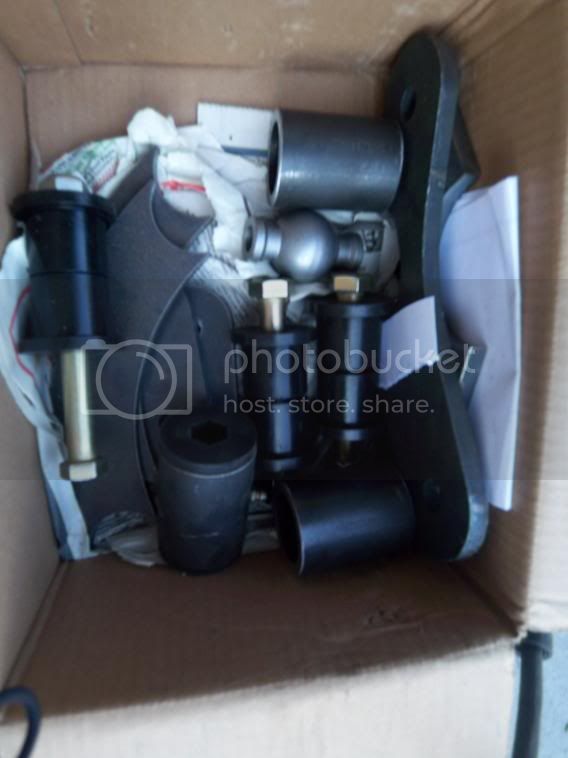
tb1.jpg


very well designed
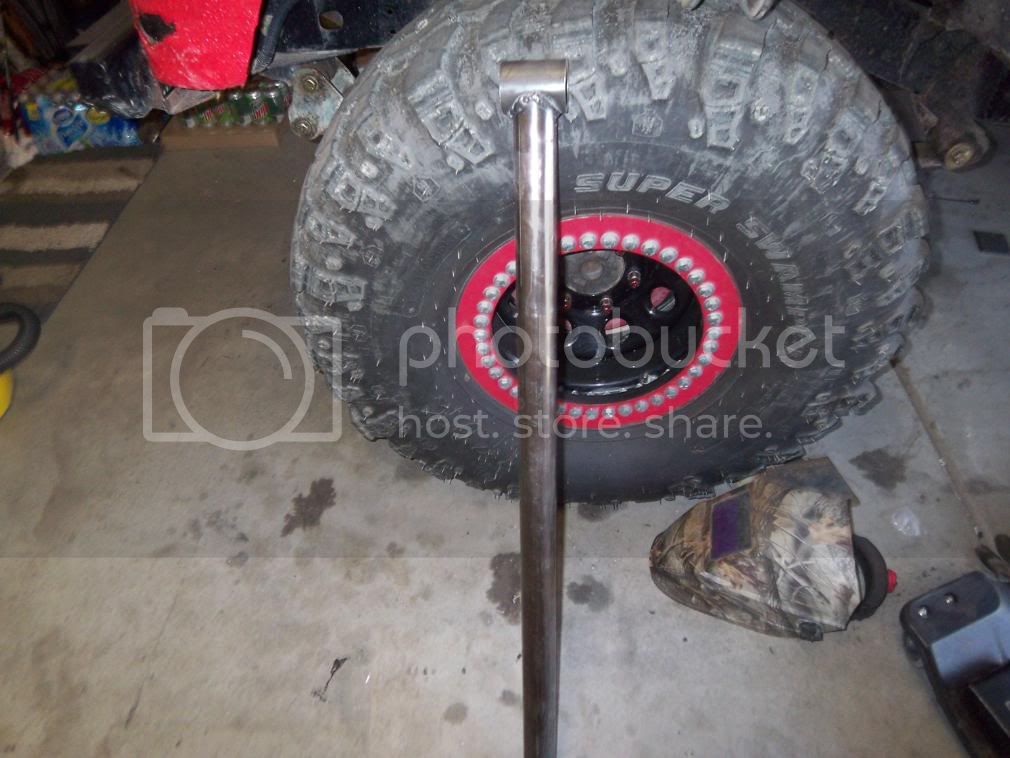
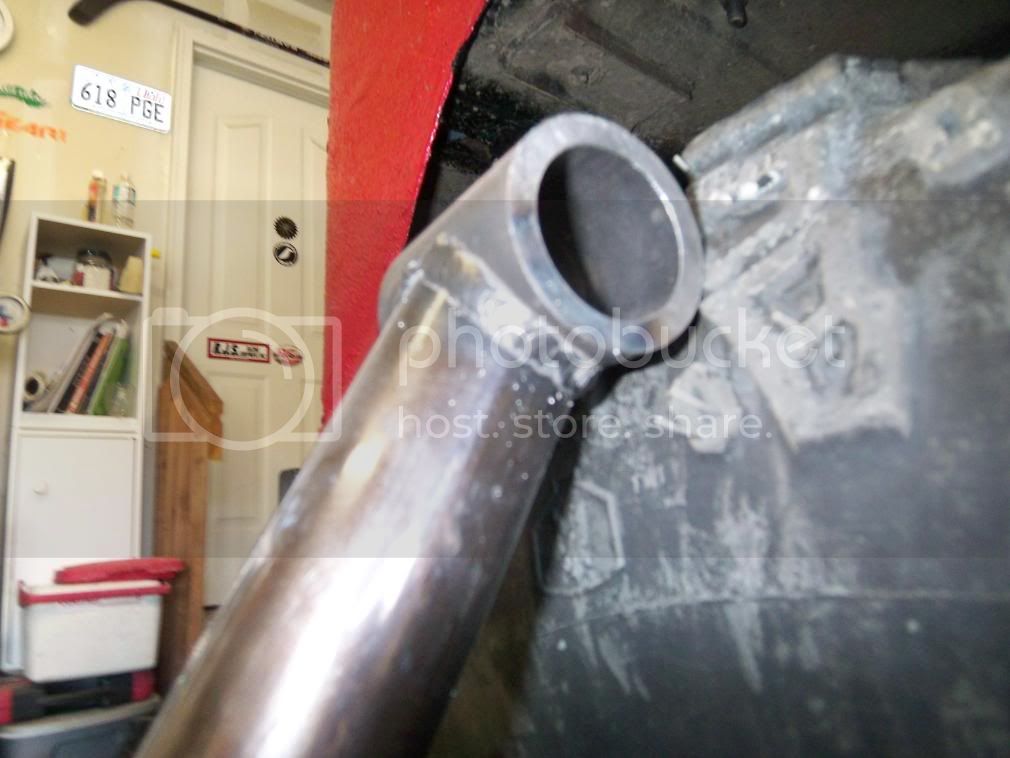
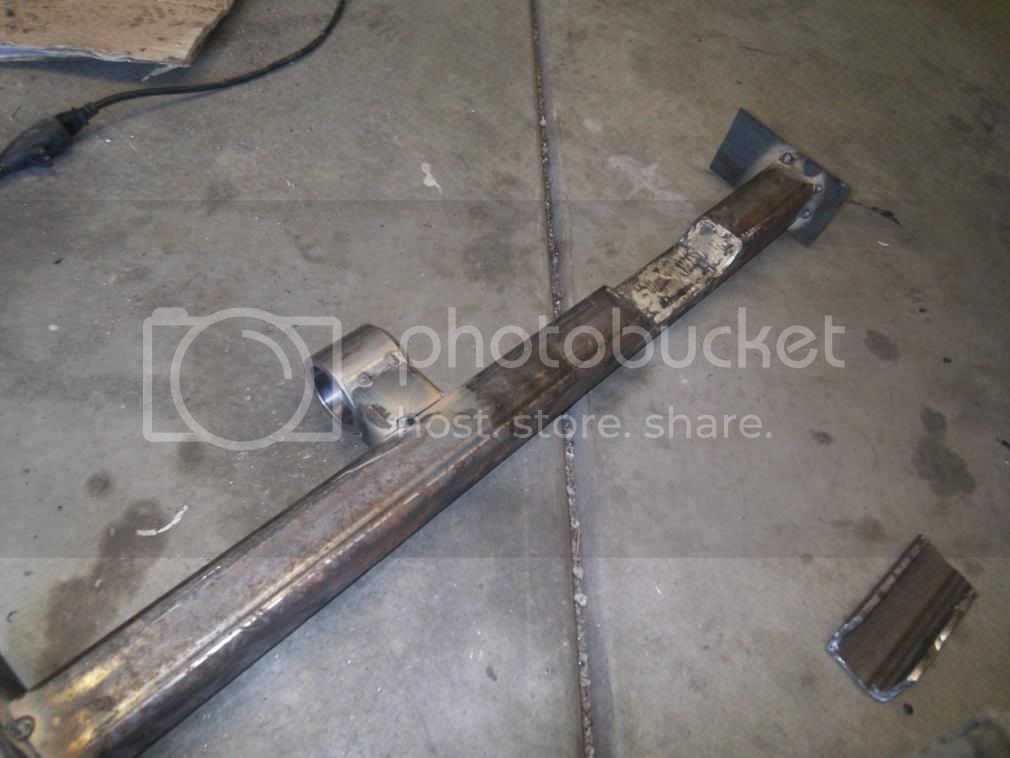
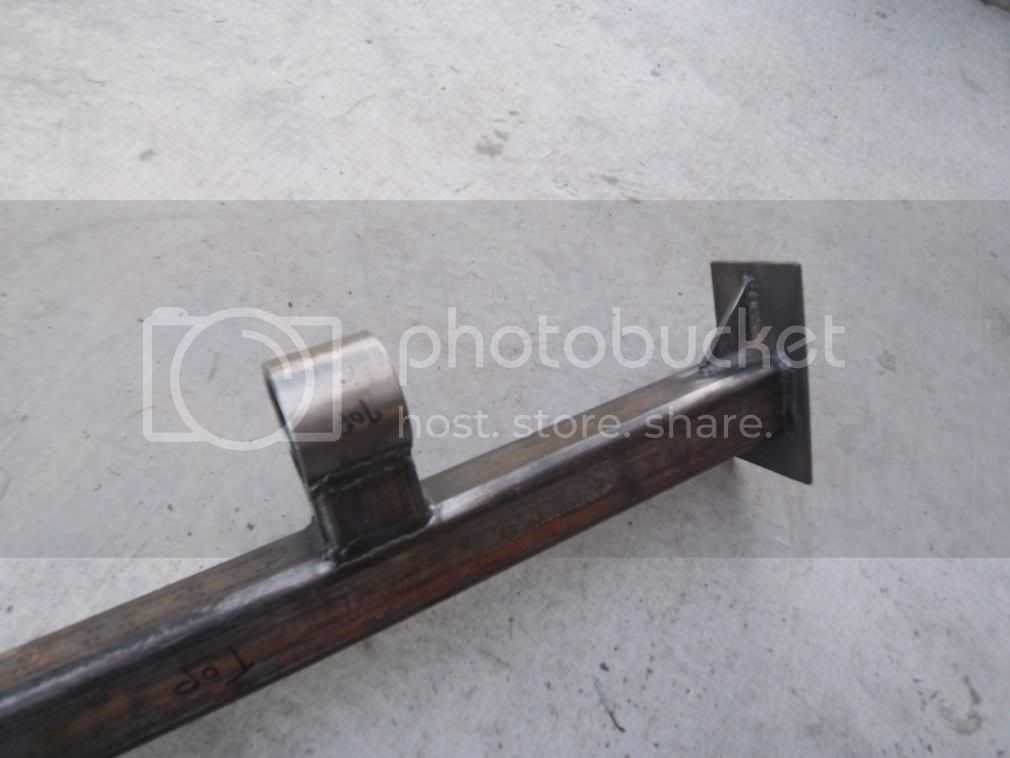
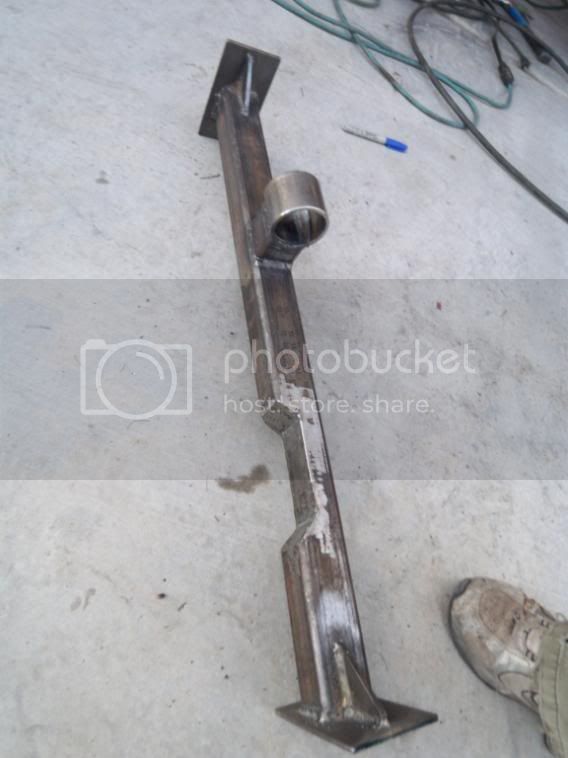
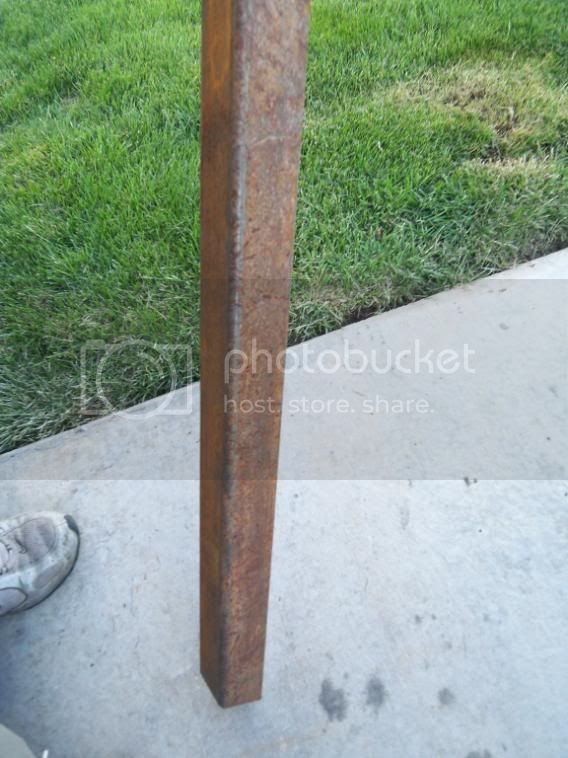
then i got the steel tube from a local shop.

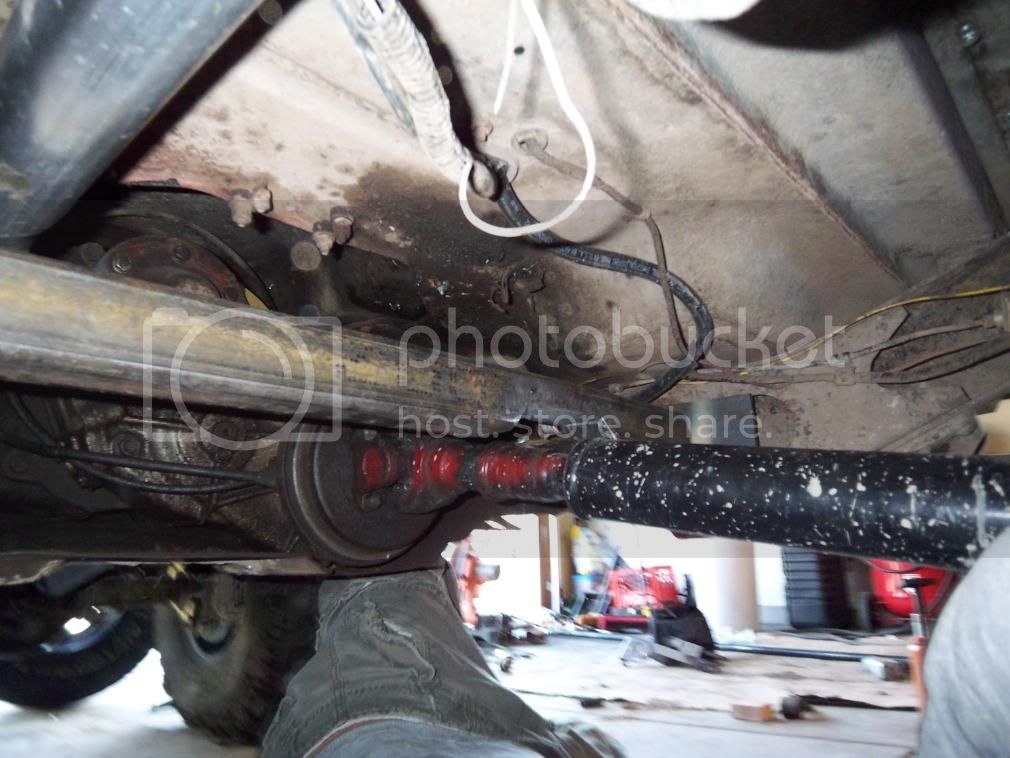
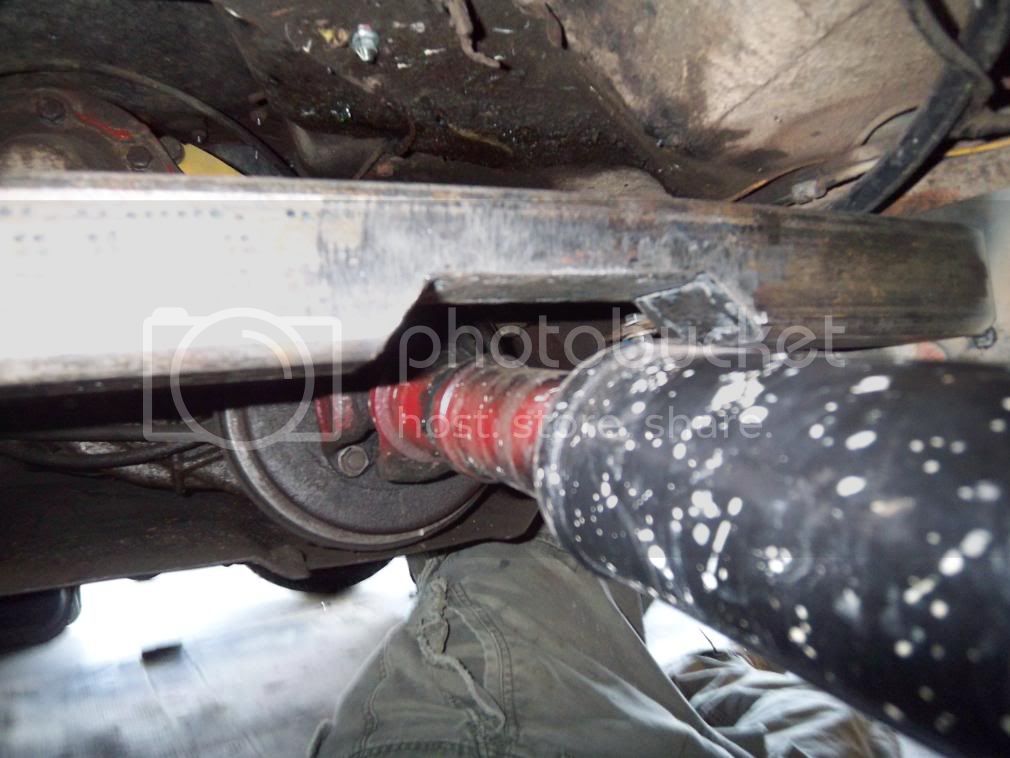
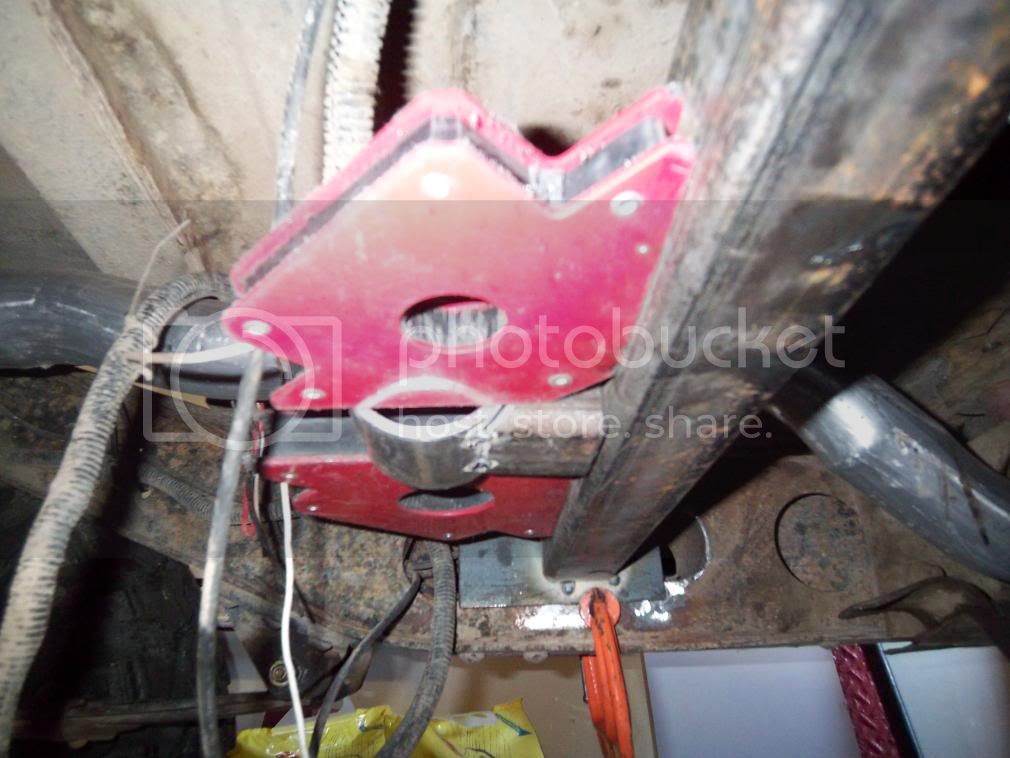
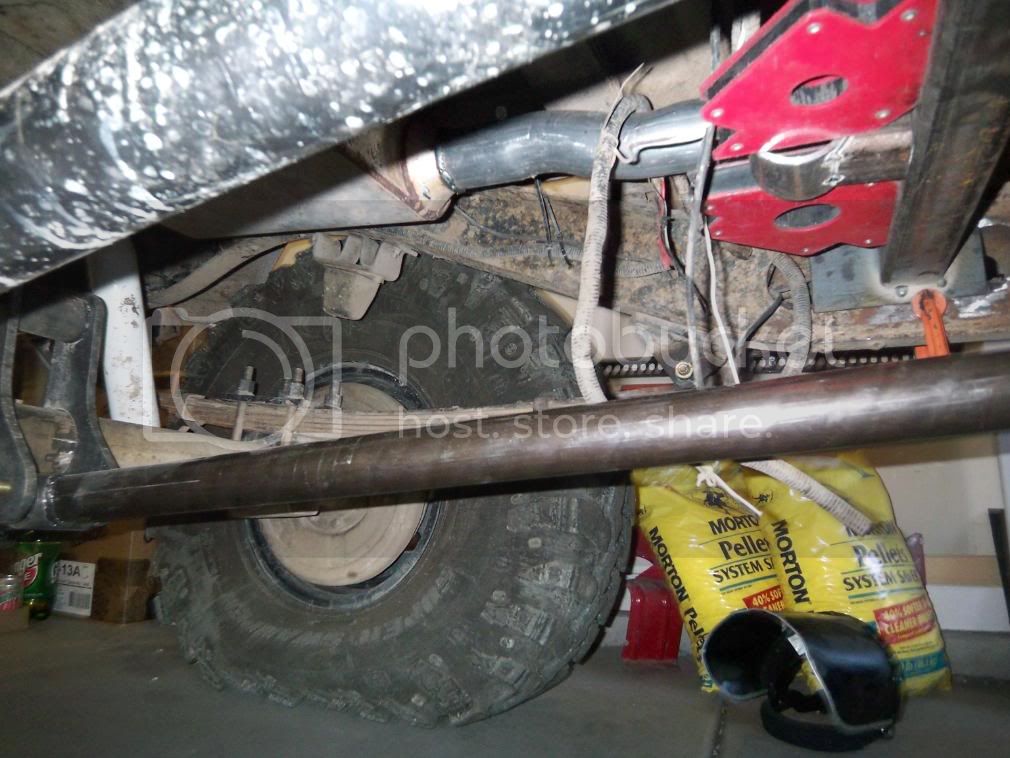
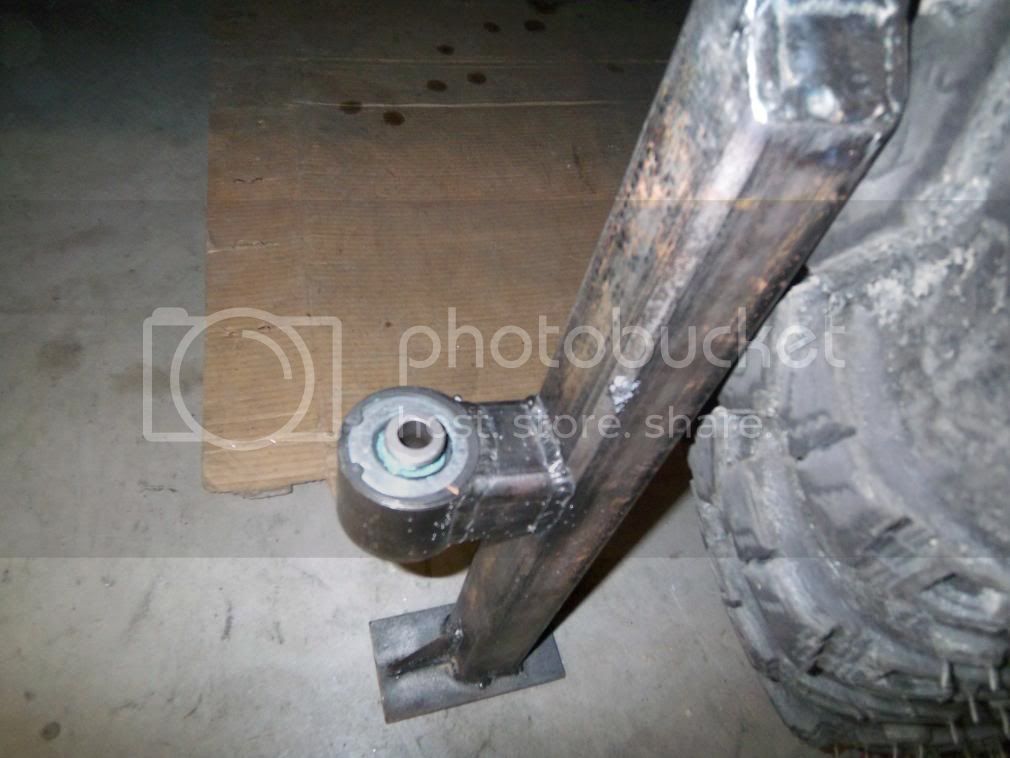
hacked off the old tinfoil cross member to build a beefier one
tb2.jpg
 
the jonny joint in the first pic is not part of the kit, must buy that seperate

the crossmemer peice is 1/4 x2x2

i will get the tube dimensions later i dont recall off hand but it it hella thick gotta bethicked than 1/4 inch wall,
 
Last edited:
next i measured the length of the new cross member and then notched it accordingling to allow clearance for the driveline

tb3.jpg


then i found the best place for the bracket that goes on the axle. cleaned the area and then tacted it in place
tb4.jpg
 
now i notched the bottom tube, as this is were i lined everything up from.

my design i will have the lower link run the entire length ( will be the longer tube) as i am having it sit an inch below the driveline as to protect the driveline, kill 2 birds with one stone.

tb5.jpg


a close up for kicks

tb6.jpg
 
sorry for the blurrrr


i then loosely installed the lower link

tb7.jpg


i then clamped the crossmember were it should be so i could start getenr done


tb13.jpg


as you can see the notch fits perfect

tb11.jpg


abother angle

tb12.jpg
 
with that done i then got the peice that the shackle will hang from cut and tacked together, on this piece i will be installing the johnny joint to allow for articulation when the axle flexes

tb8.jpg


cut it down to size and then fit it on under the truck
tb9.jpg
 
tapped it side to side as i held up the lower link and got it all lined up. now if i have messed up or screwed something up forgive me as i have never built one of these puppies before and if you dont like it up yours

as you can see in this pic the angle is close to the angle of the drivline and will protect it well

tb10.jpg
 
well i guess you cant really tell as it is not sitting as high as it will when its mounted., oh well use your imagination.
 
i then unclamped everything put it on the ground ond burned all the crossmember peices in.
tb14.jpg


another
tb15.jpg


i added gusstes for the hell of it, i only wanna do this once
tb16.jpg
 
close up of the johnny joint casing or whatever you wanna call it

tb17.jpg


and then one of the joint somewhat installed


tb18.jpg


these things are a pita to instal any tips would be appreciated
i just need toi get the spring on
 
and that is were i ended for today, as i got hungry and needed to grab a bite then do the half hour write up. i will be back at it on monday night so stay tuned.
 
Very nice work. I want to redo my crossmember and may copy your set up. Doing my 60 later this summer, so thanks!

Did RuffStuff sell you the Jonny Joint?

Looking forward to the rest of it.
 
lookin good.

Wish i could put a crossmember like that in my rig
 
whats a pain in the ass regarding the joint assembly? I can imagine that welding on the shell will shrink it, requiring a bit of force or honing to get it together... even shrinkage as small as a few thousanths with make re-assembly a bitch... typical press fit interference is .001-.003", and on the upper end of that will require a big hydraulic press to get it together.

Its not unusual for folks that are building lots of A-arms or other suspension pieces with uni-balls or johnny joints to machine a bronze puck to fit in the shell, to help keep the ID uniform when welding. even then some final honing will be required.
 
Looking at your crossmember. Are you going to bolt it in or weld it in.

If you weld it. Dont forget to take into consideration the future removal of Tranny and T-case.
Howdy! Good point. You may want to move the notched cross member rearward a few inches. That would make removing the gearboxes much easier, and the notch would still clear the narrow section of the drive shaft. For the Johnny Joint that is welded onto that crossmember, you might want to remount it directly under the brace so there is no rotational force against it when you accelerate. I like your idea of running the arm just a bit lower than the driveshaft for extra protection there. I did mine very similar. John
 

Users who are viewing this thread

Back
Top Bottom