- Thread starter
- #21
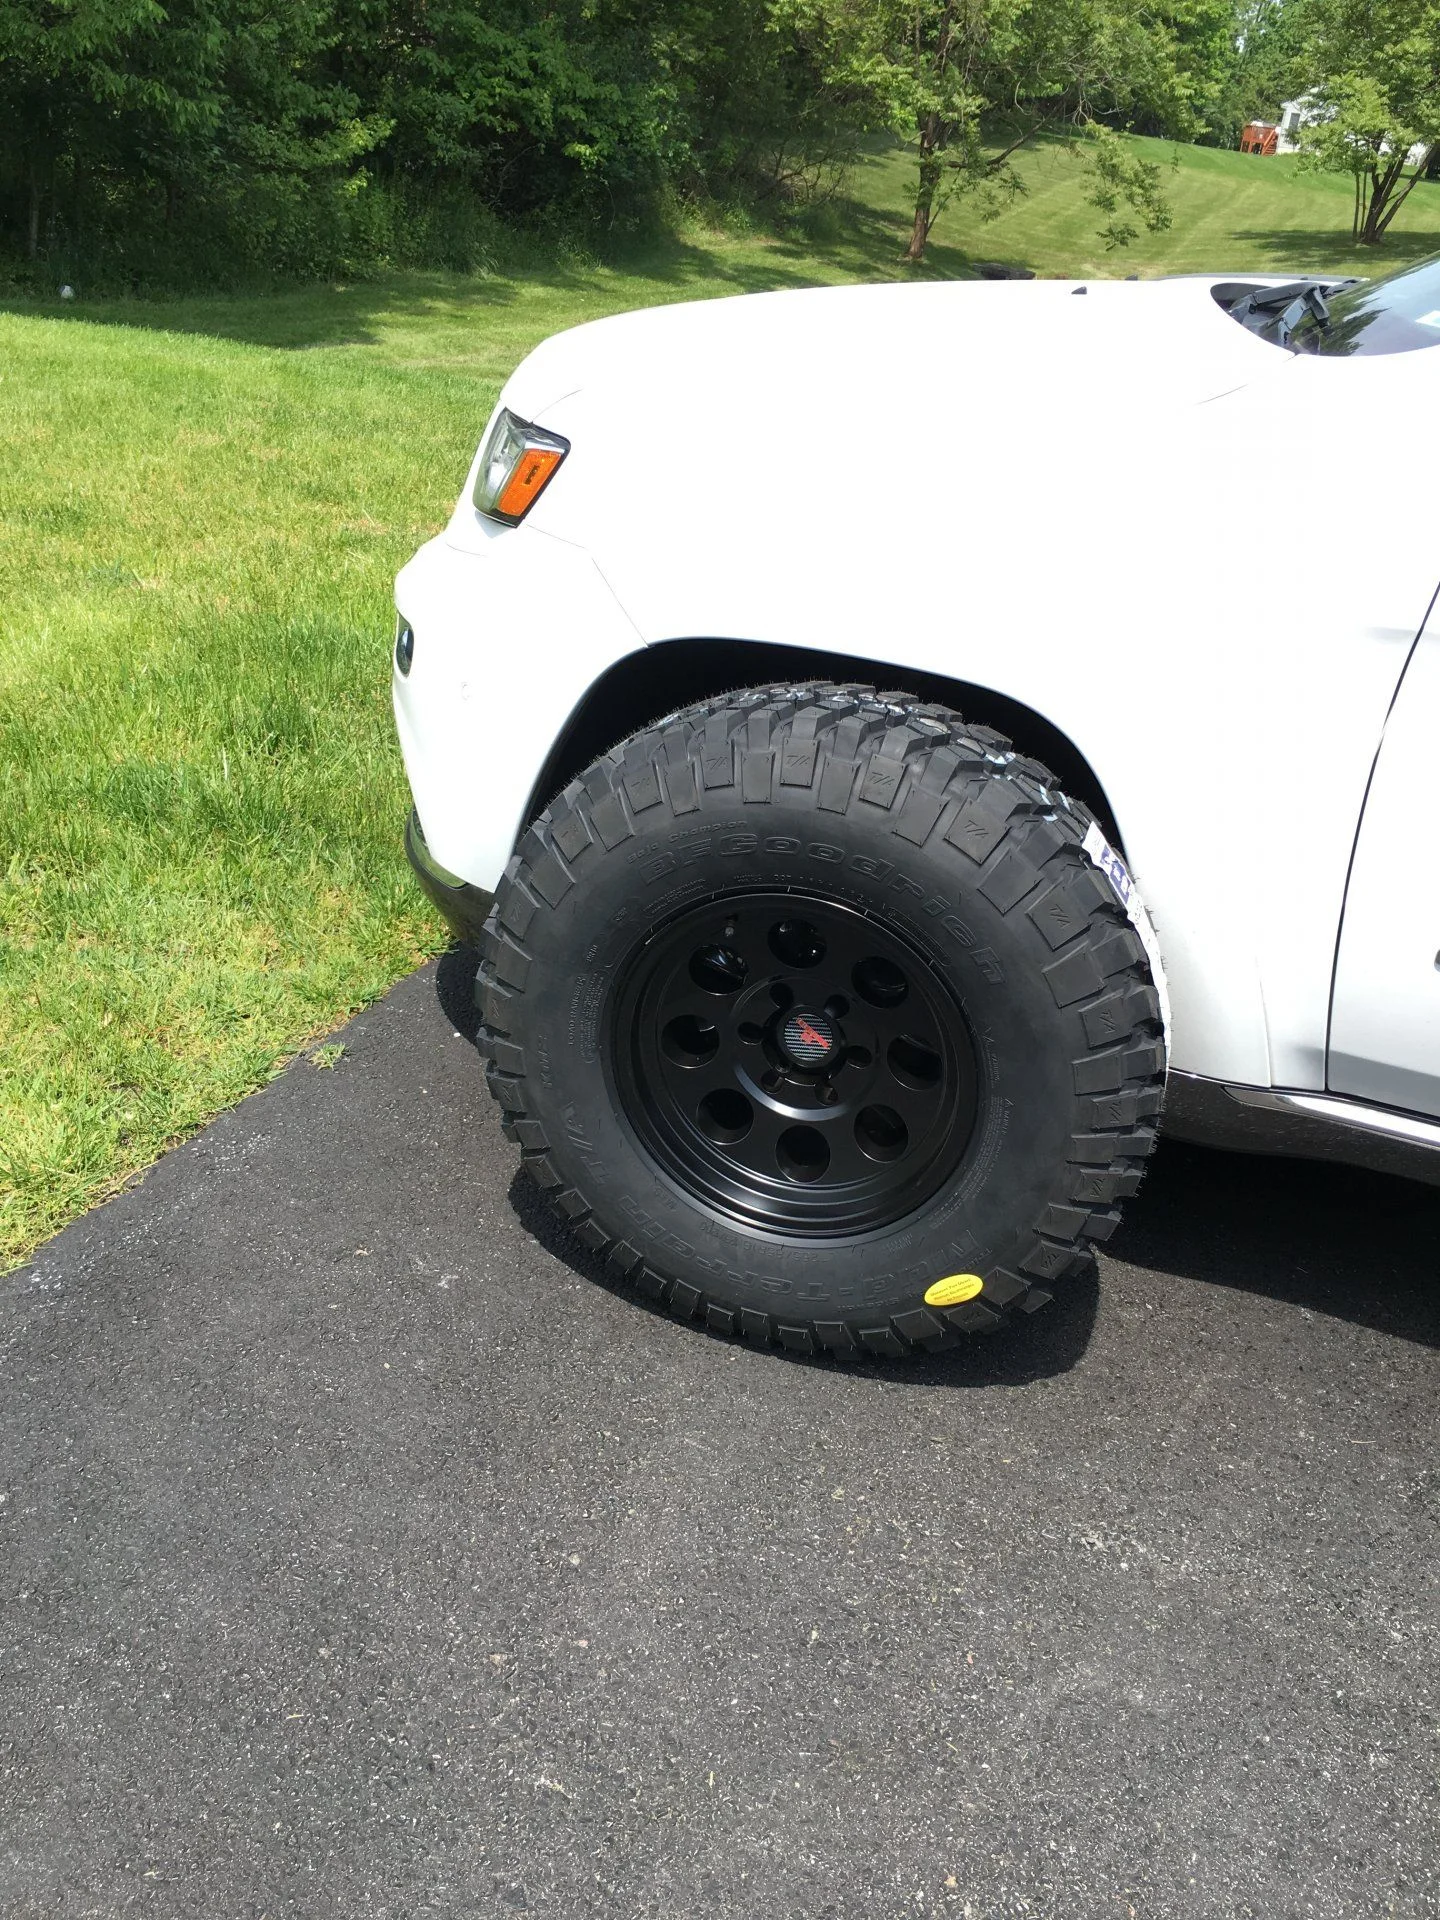
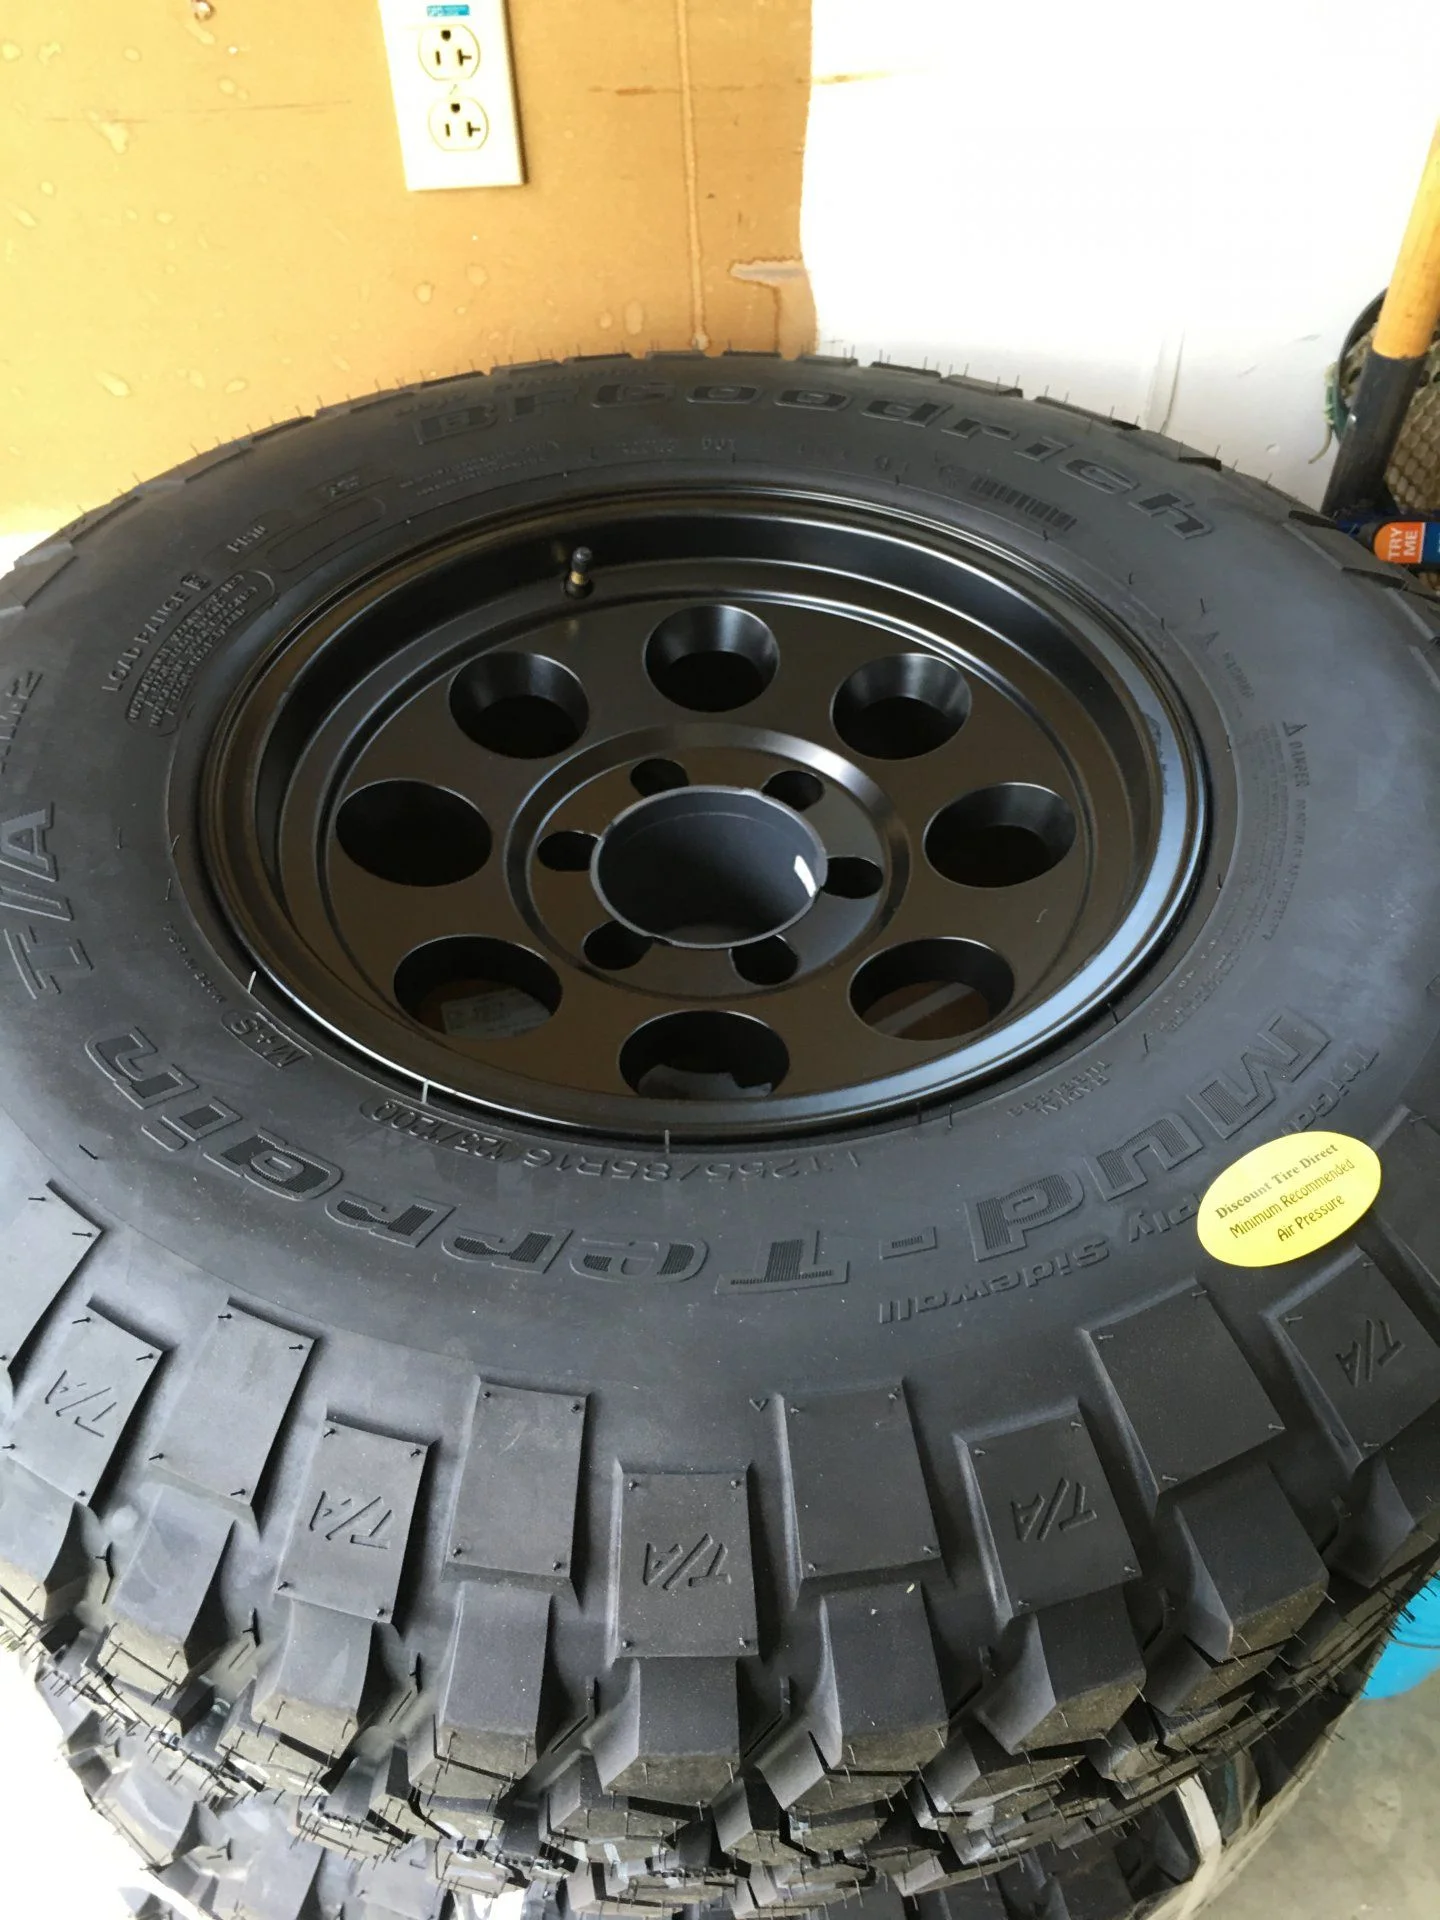
Will be selling my old rims if anyone is interested make me an offer.
Follow along with the video below to see how to install our site as a web app on your home screen.
Note: This feature may not be available in some browsers.
This site may earn a commission from merchant affiliate
links, including eBay, Amazon, Skimlinks, and others.
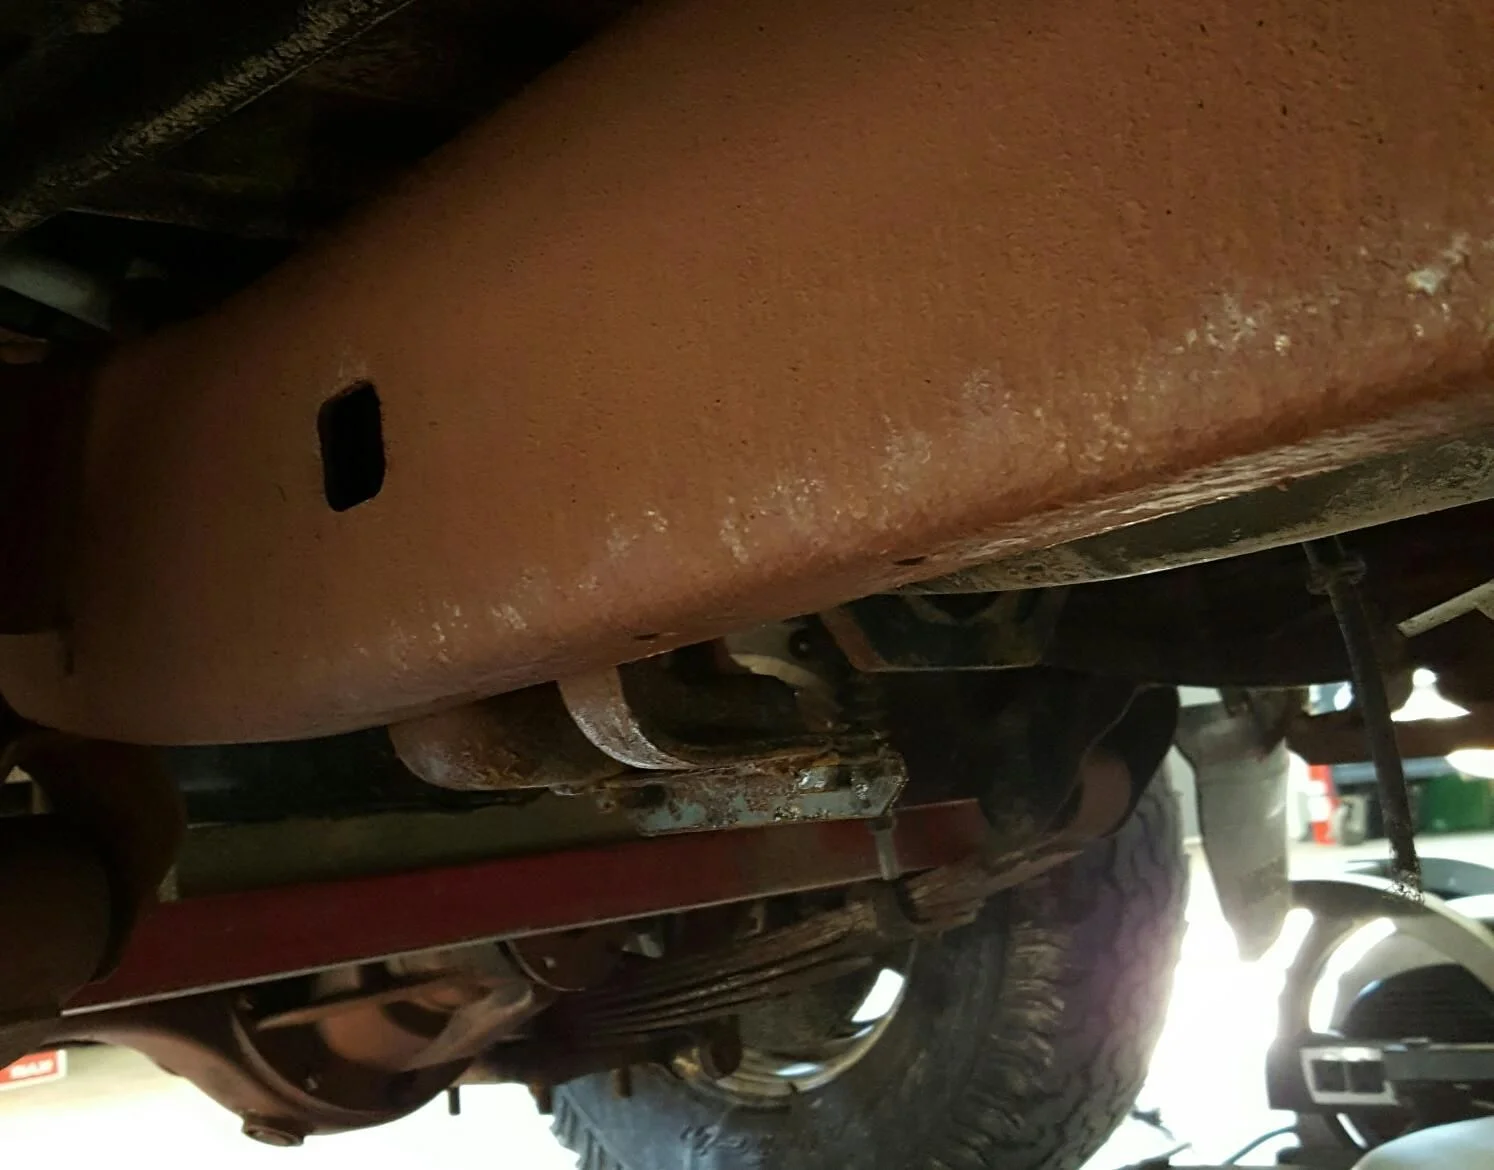
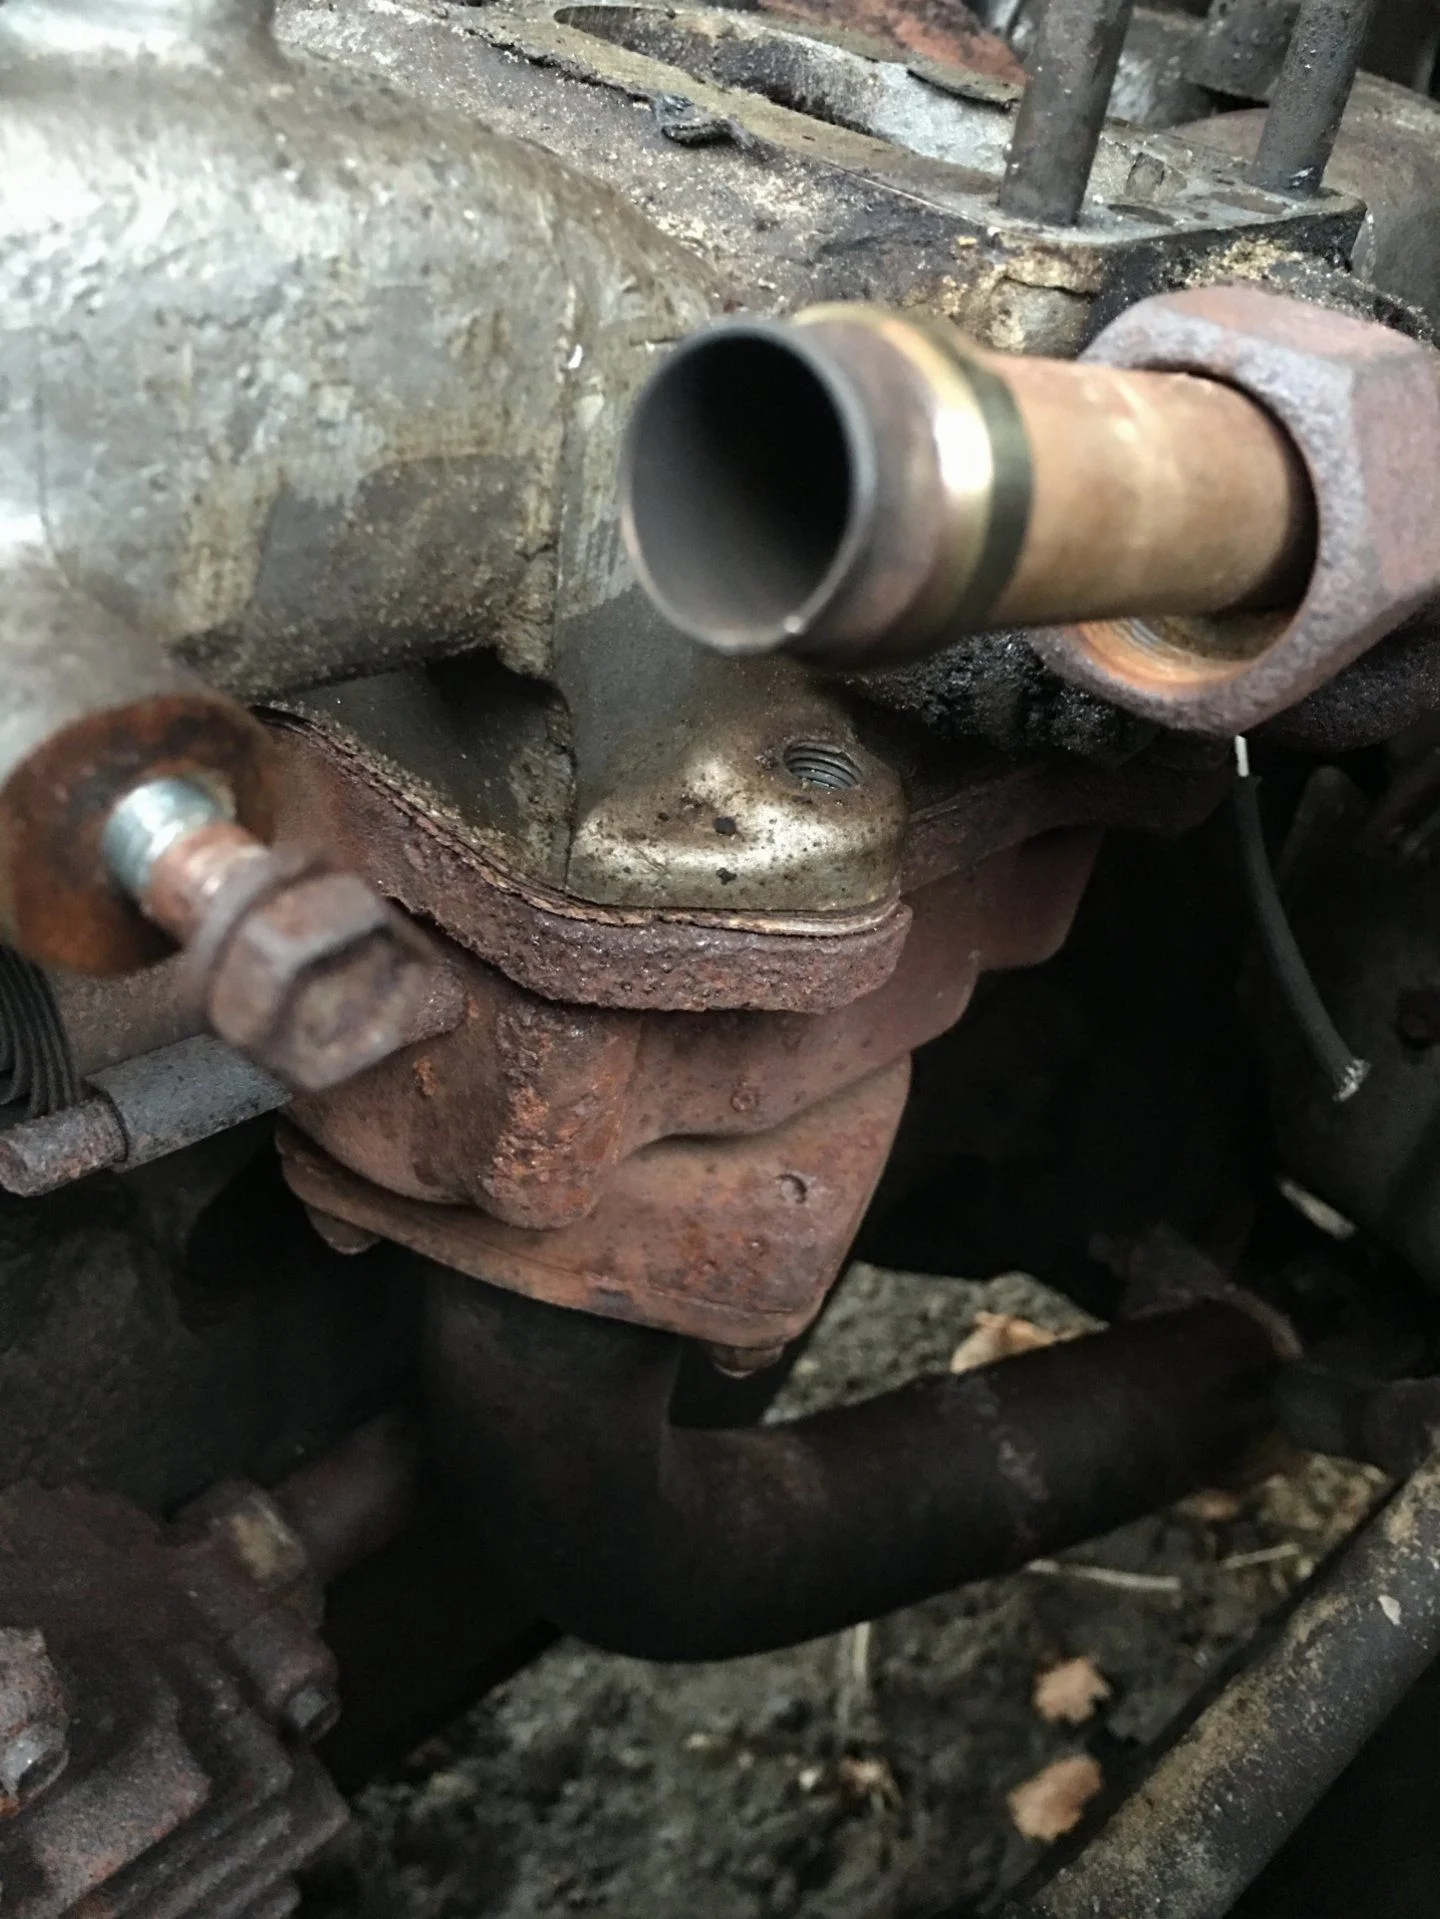
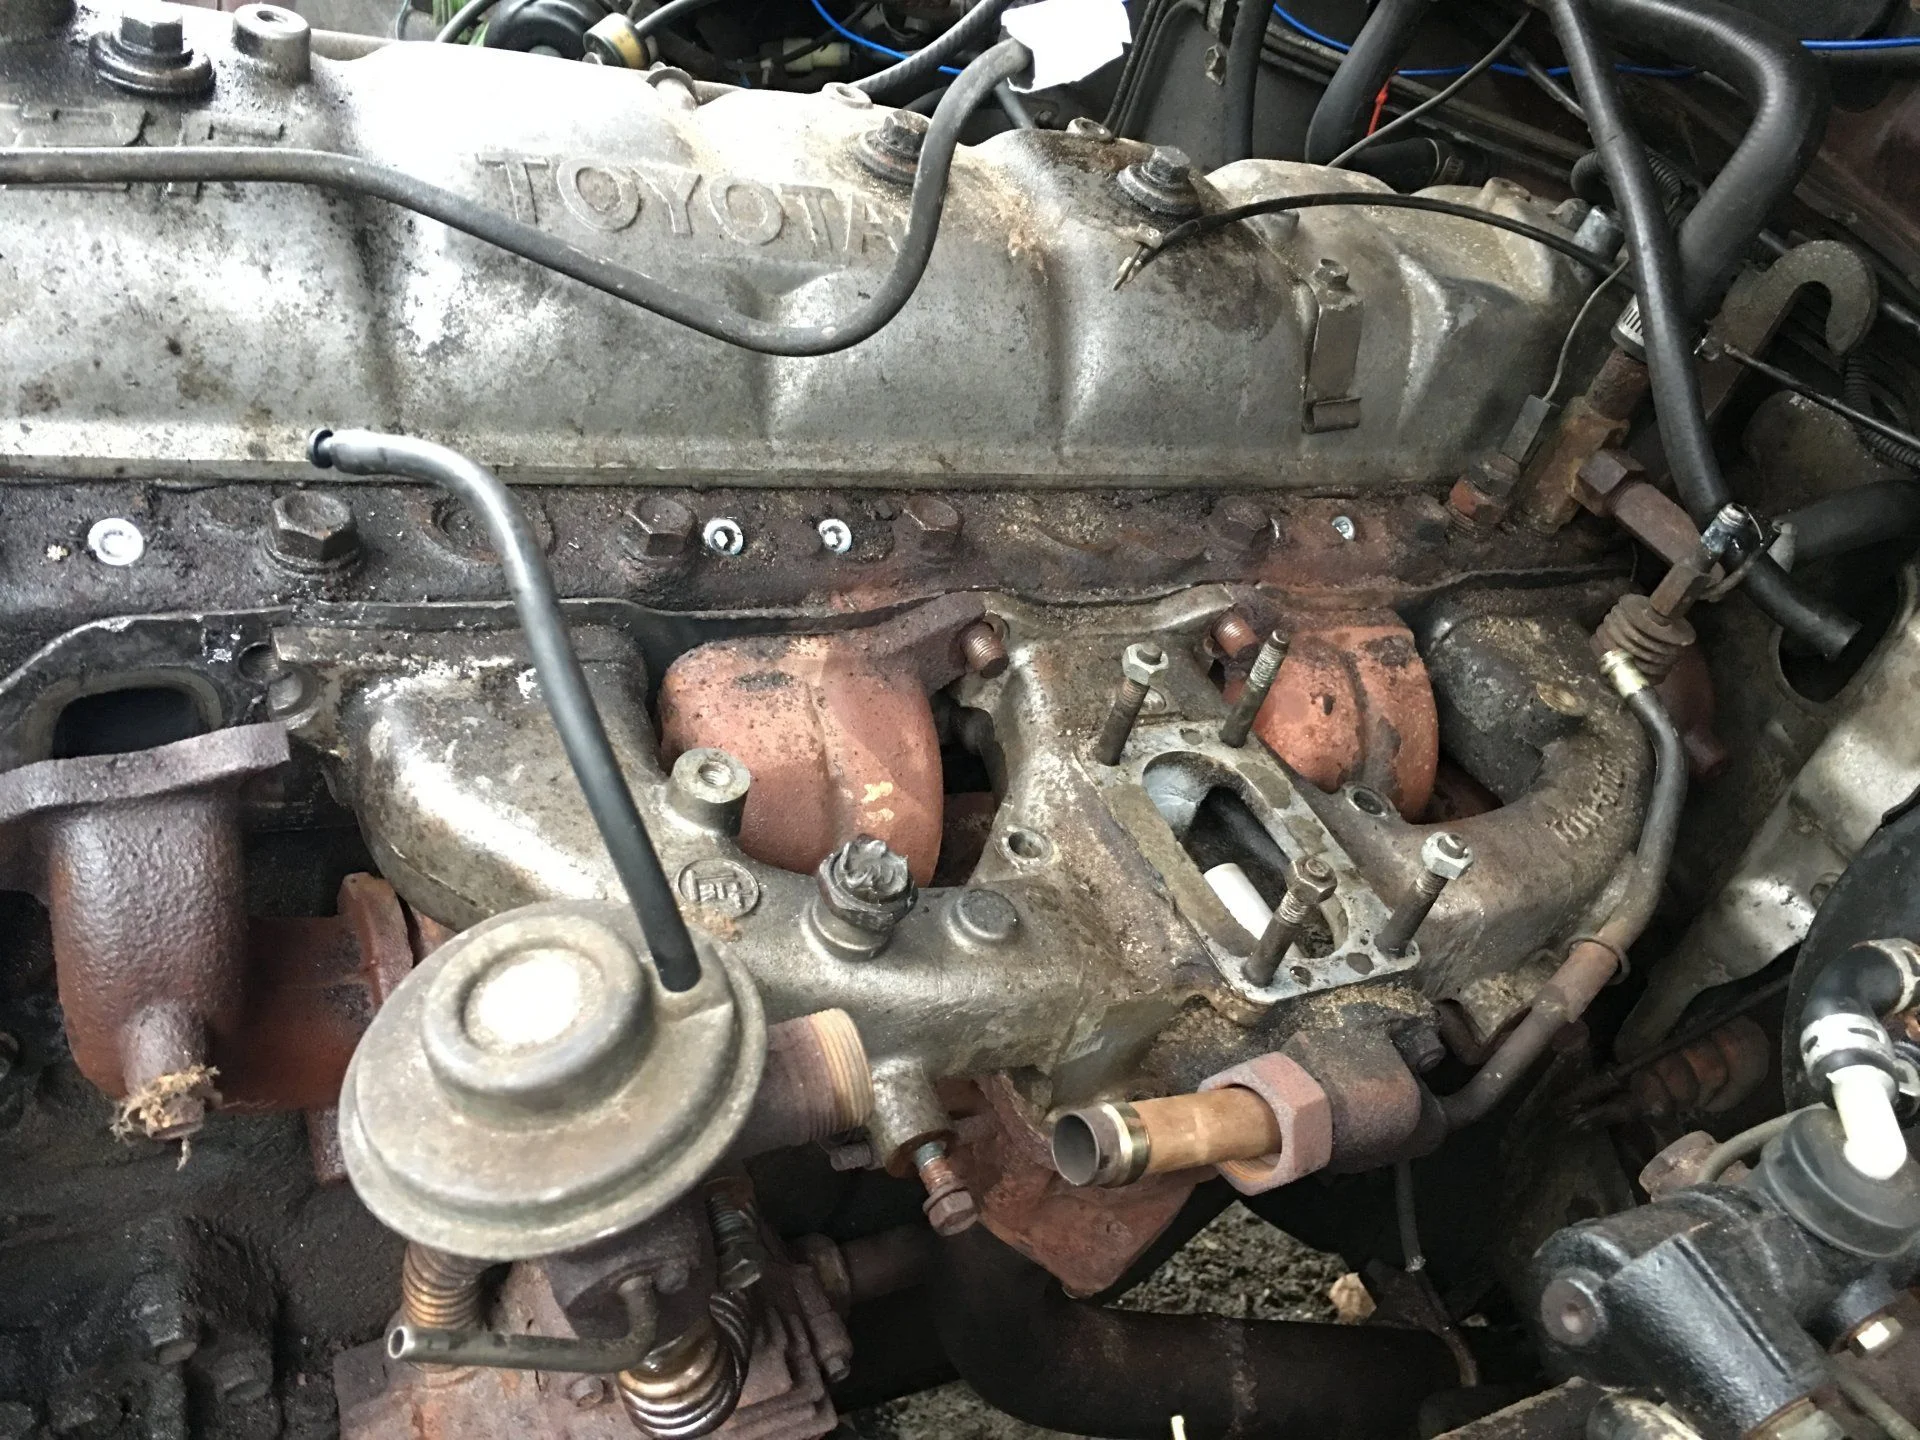
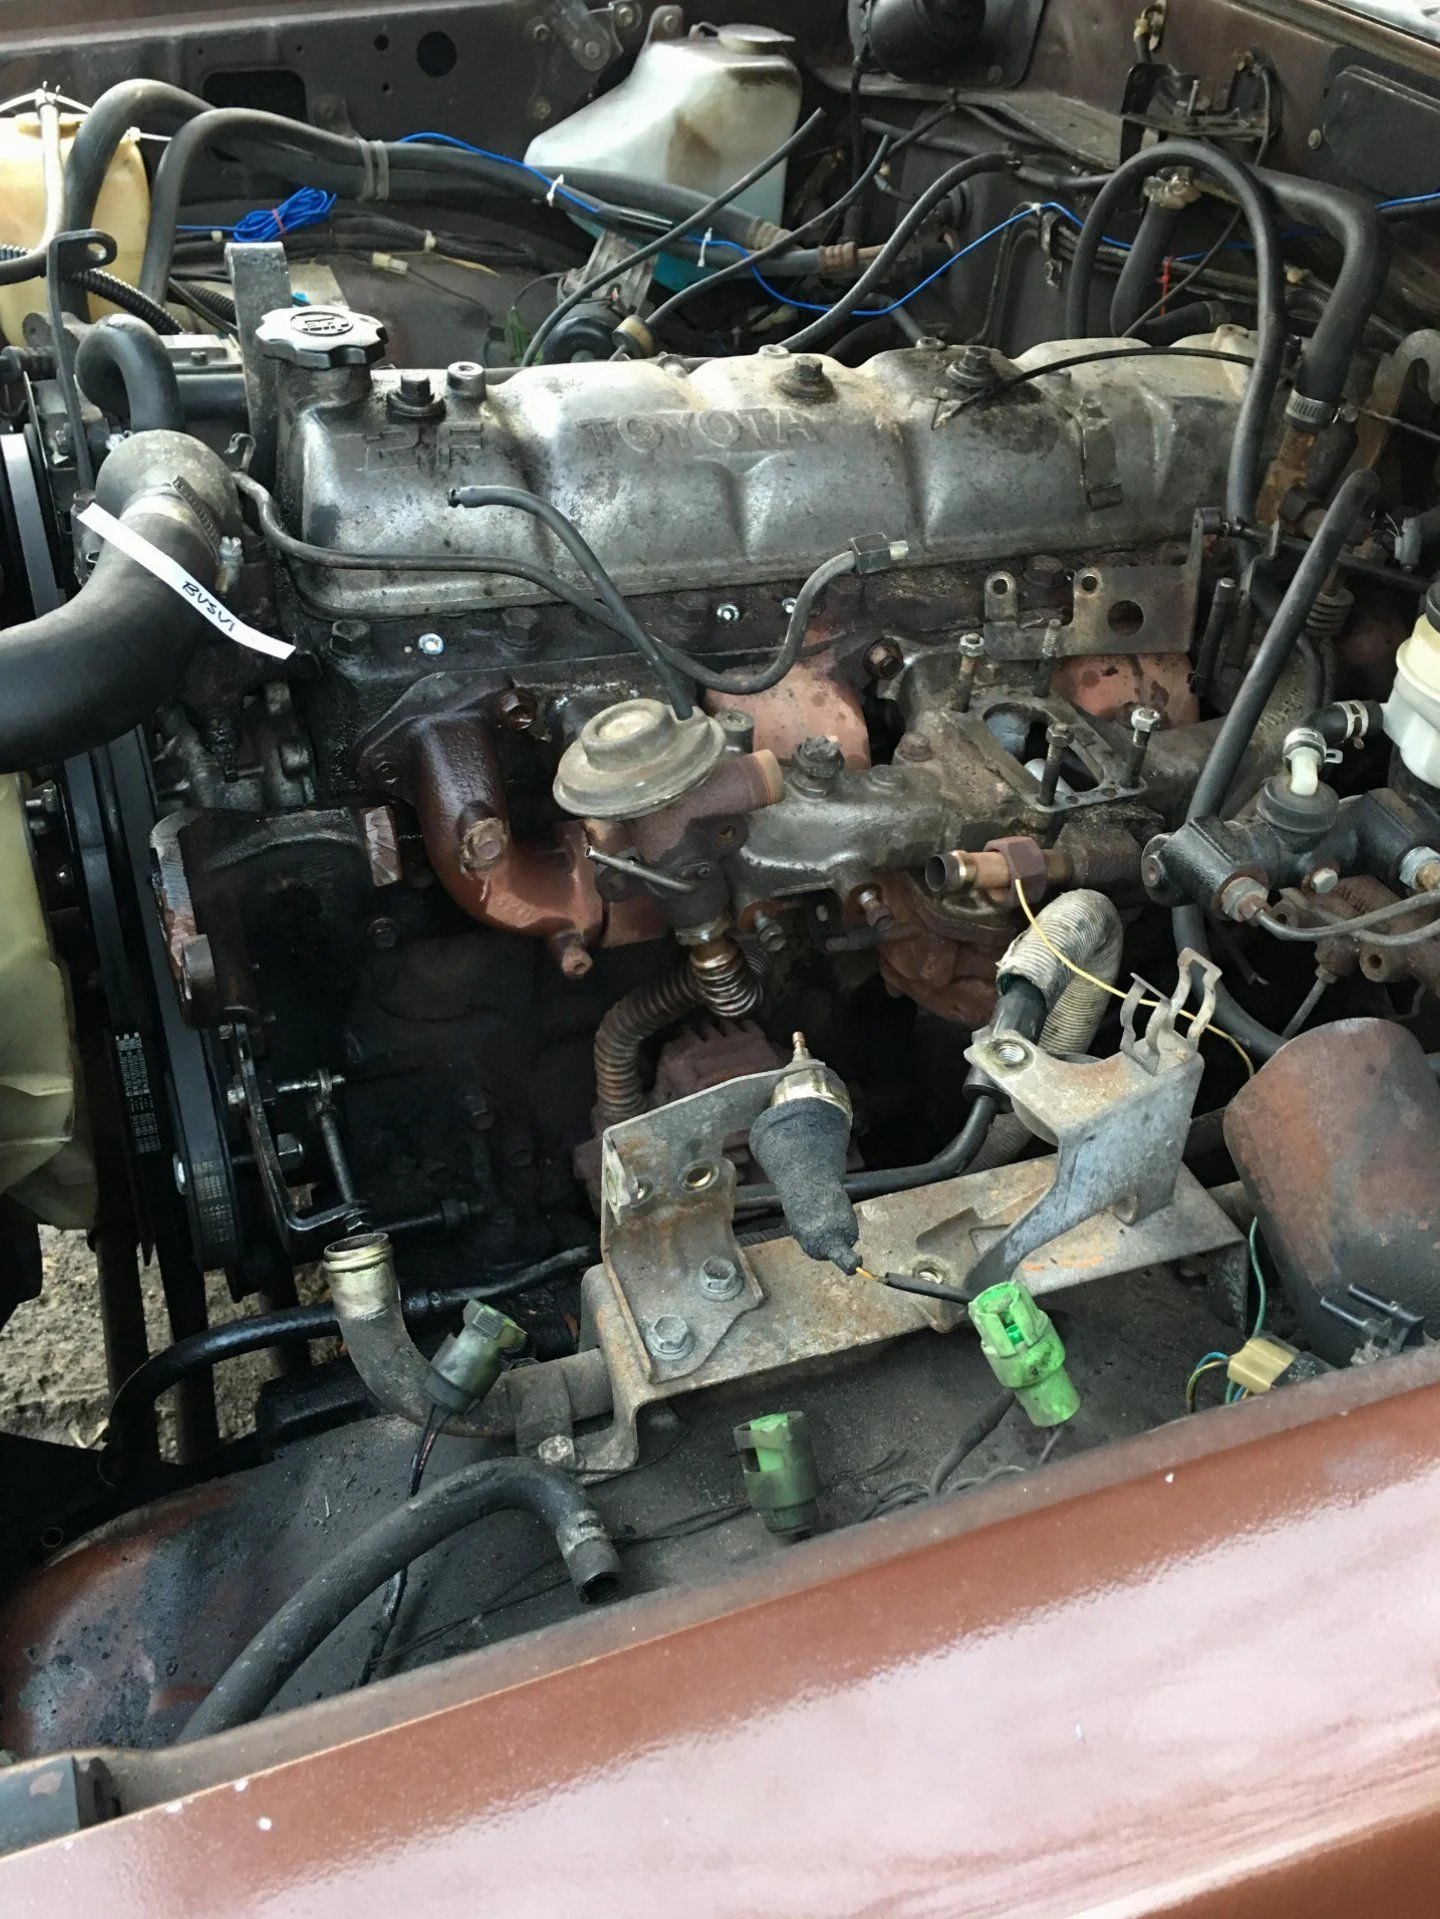
What can I remove smog system wise when I get the pump back in place? I would prefer to do as much as i can with removing the manifold welding etc...
@CaptClose @gregnash Thanks for all the info guys. My carb was rebuilt by Jim about a year ago still running great. As far as i can tell i dont have any manifold exhaust leaks but will definetly consider replacing while in there. Have reach out to JimC for a kit of remaining parts and will attempt the desmog in coming weeks, should take 8-10 hours is my guess.
@CaptClose
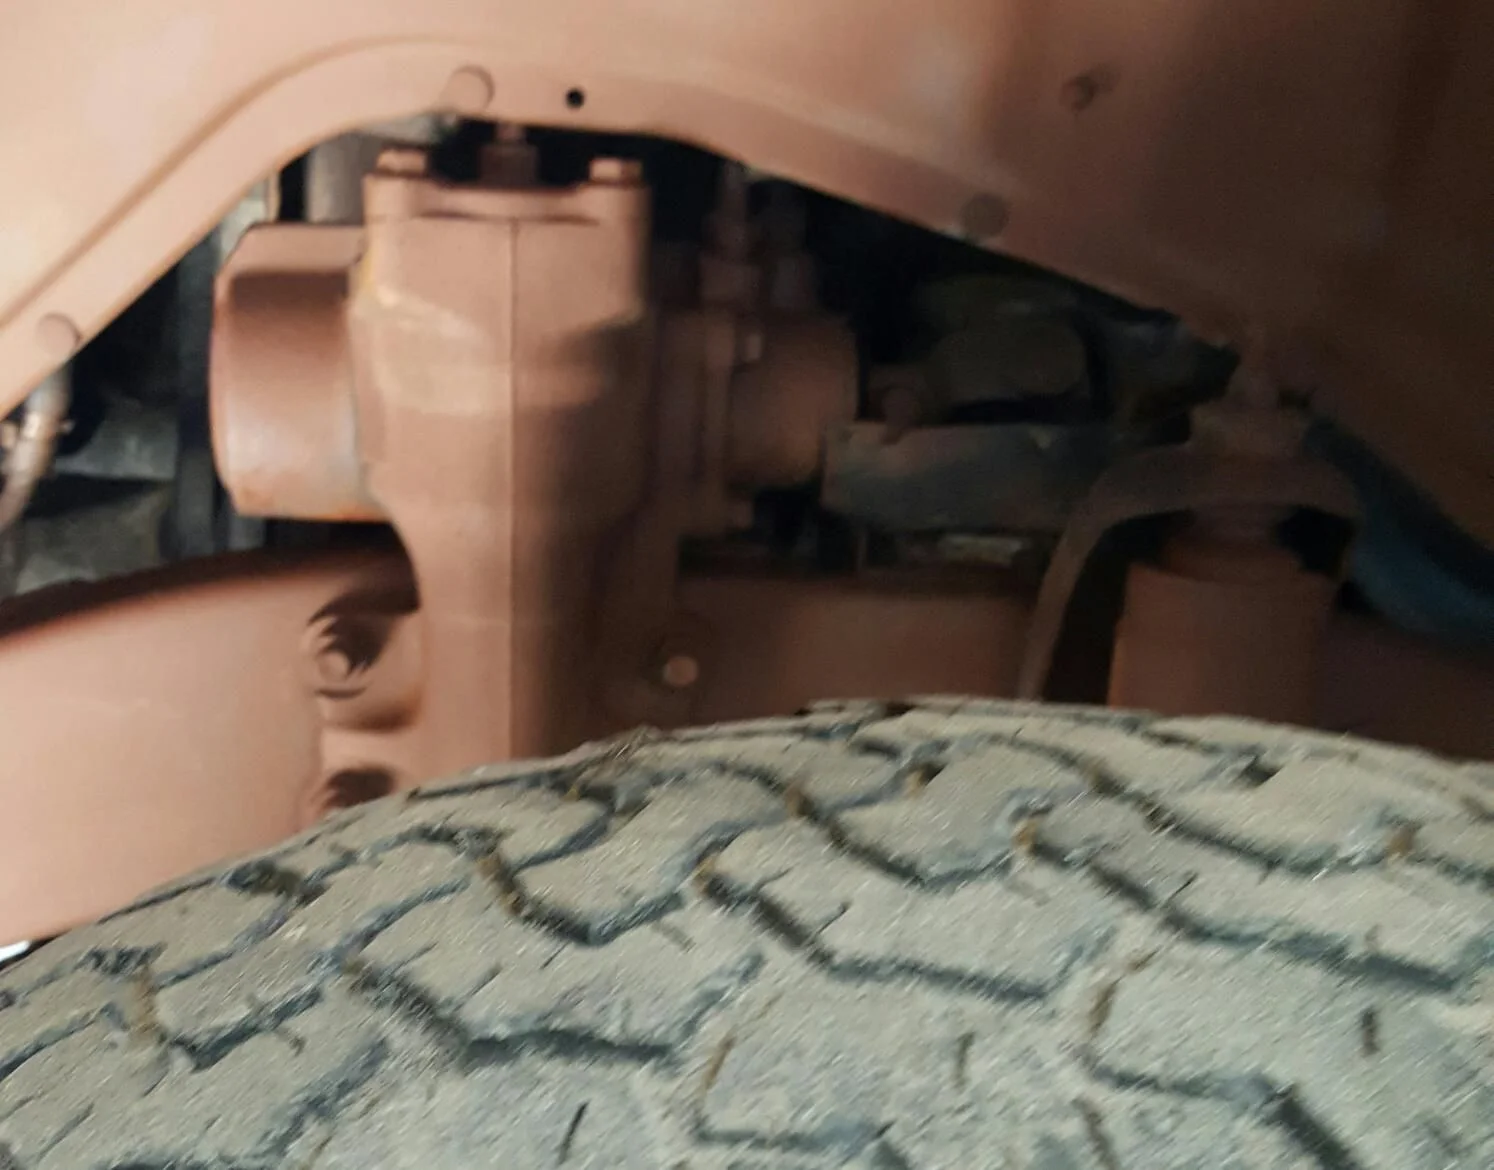
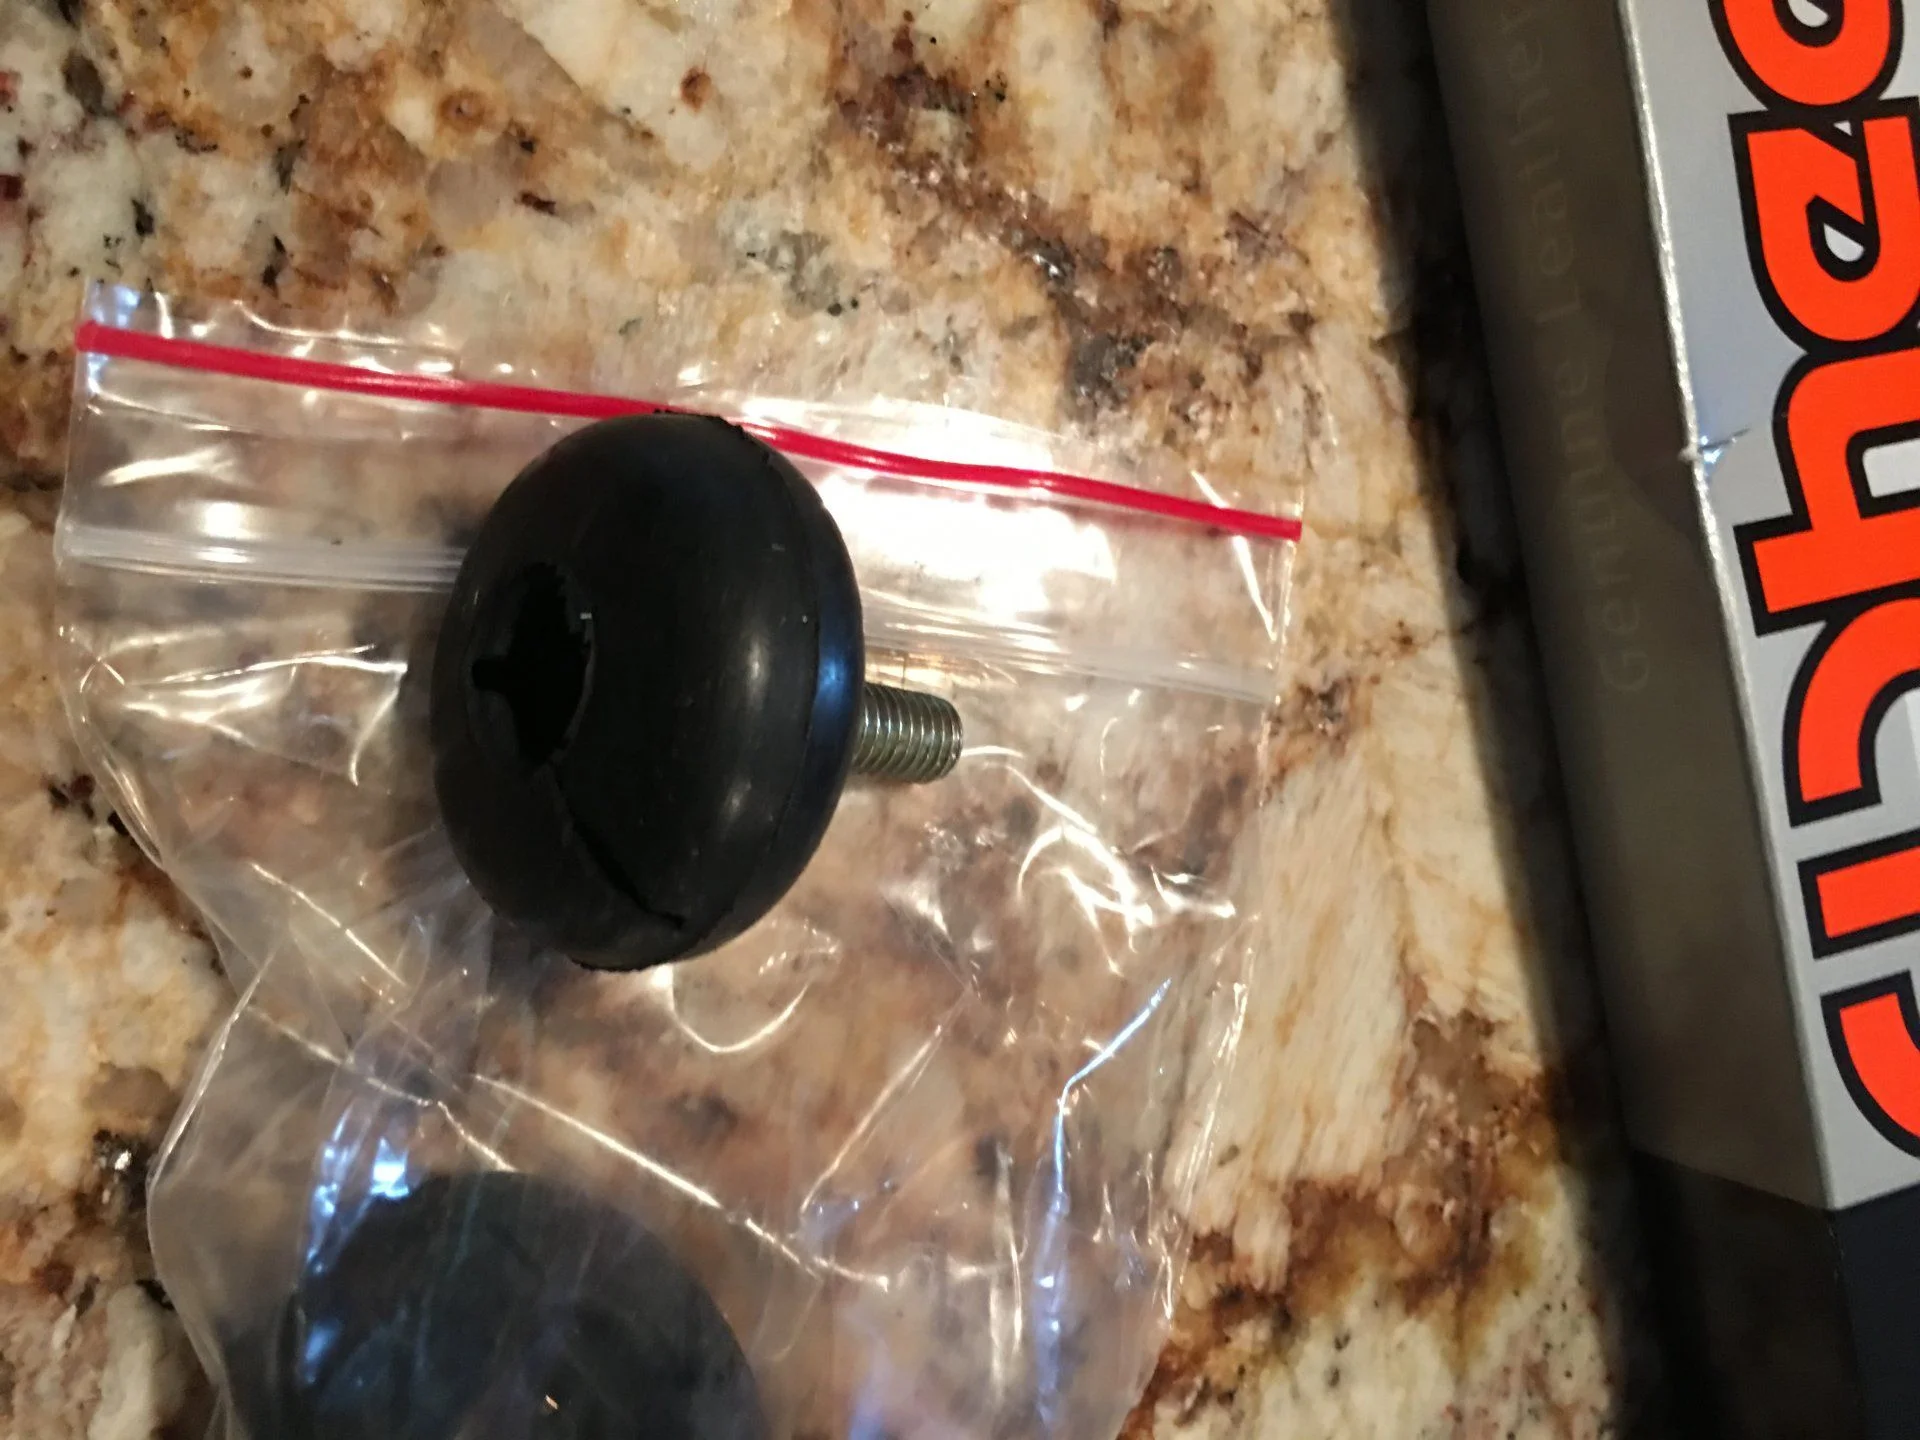
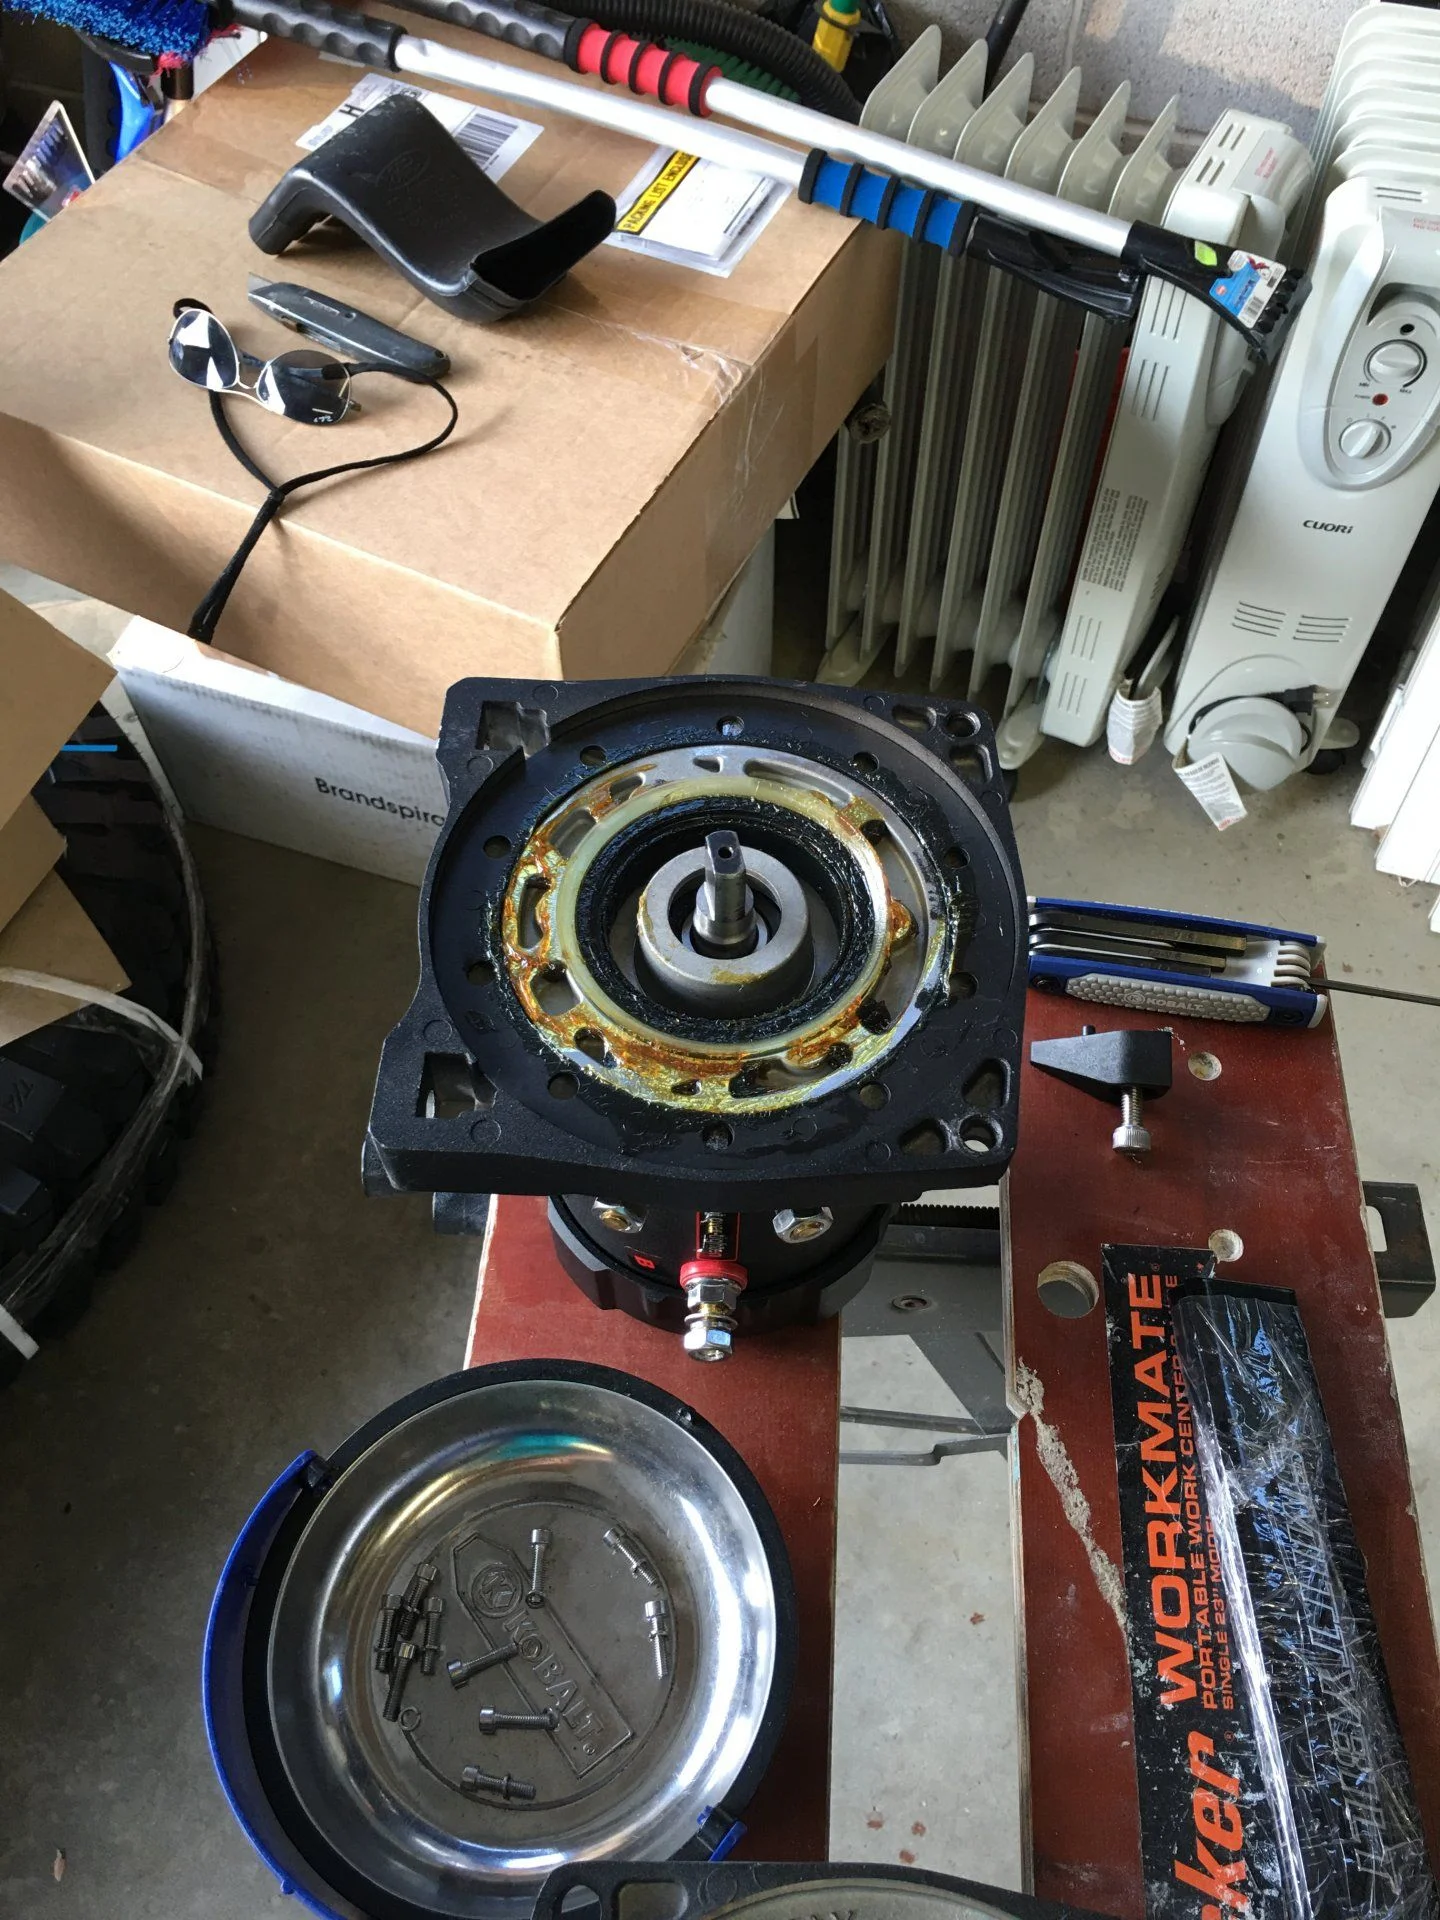
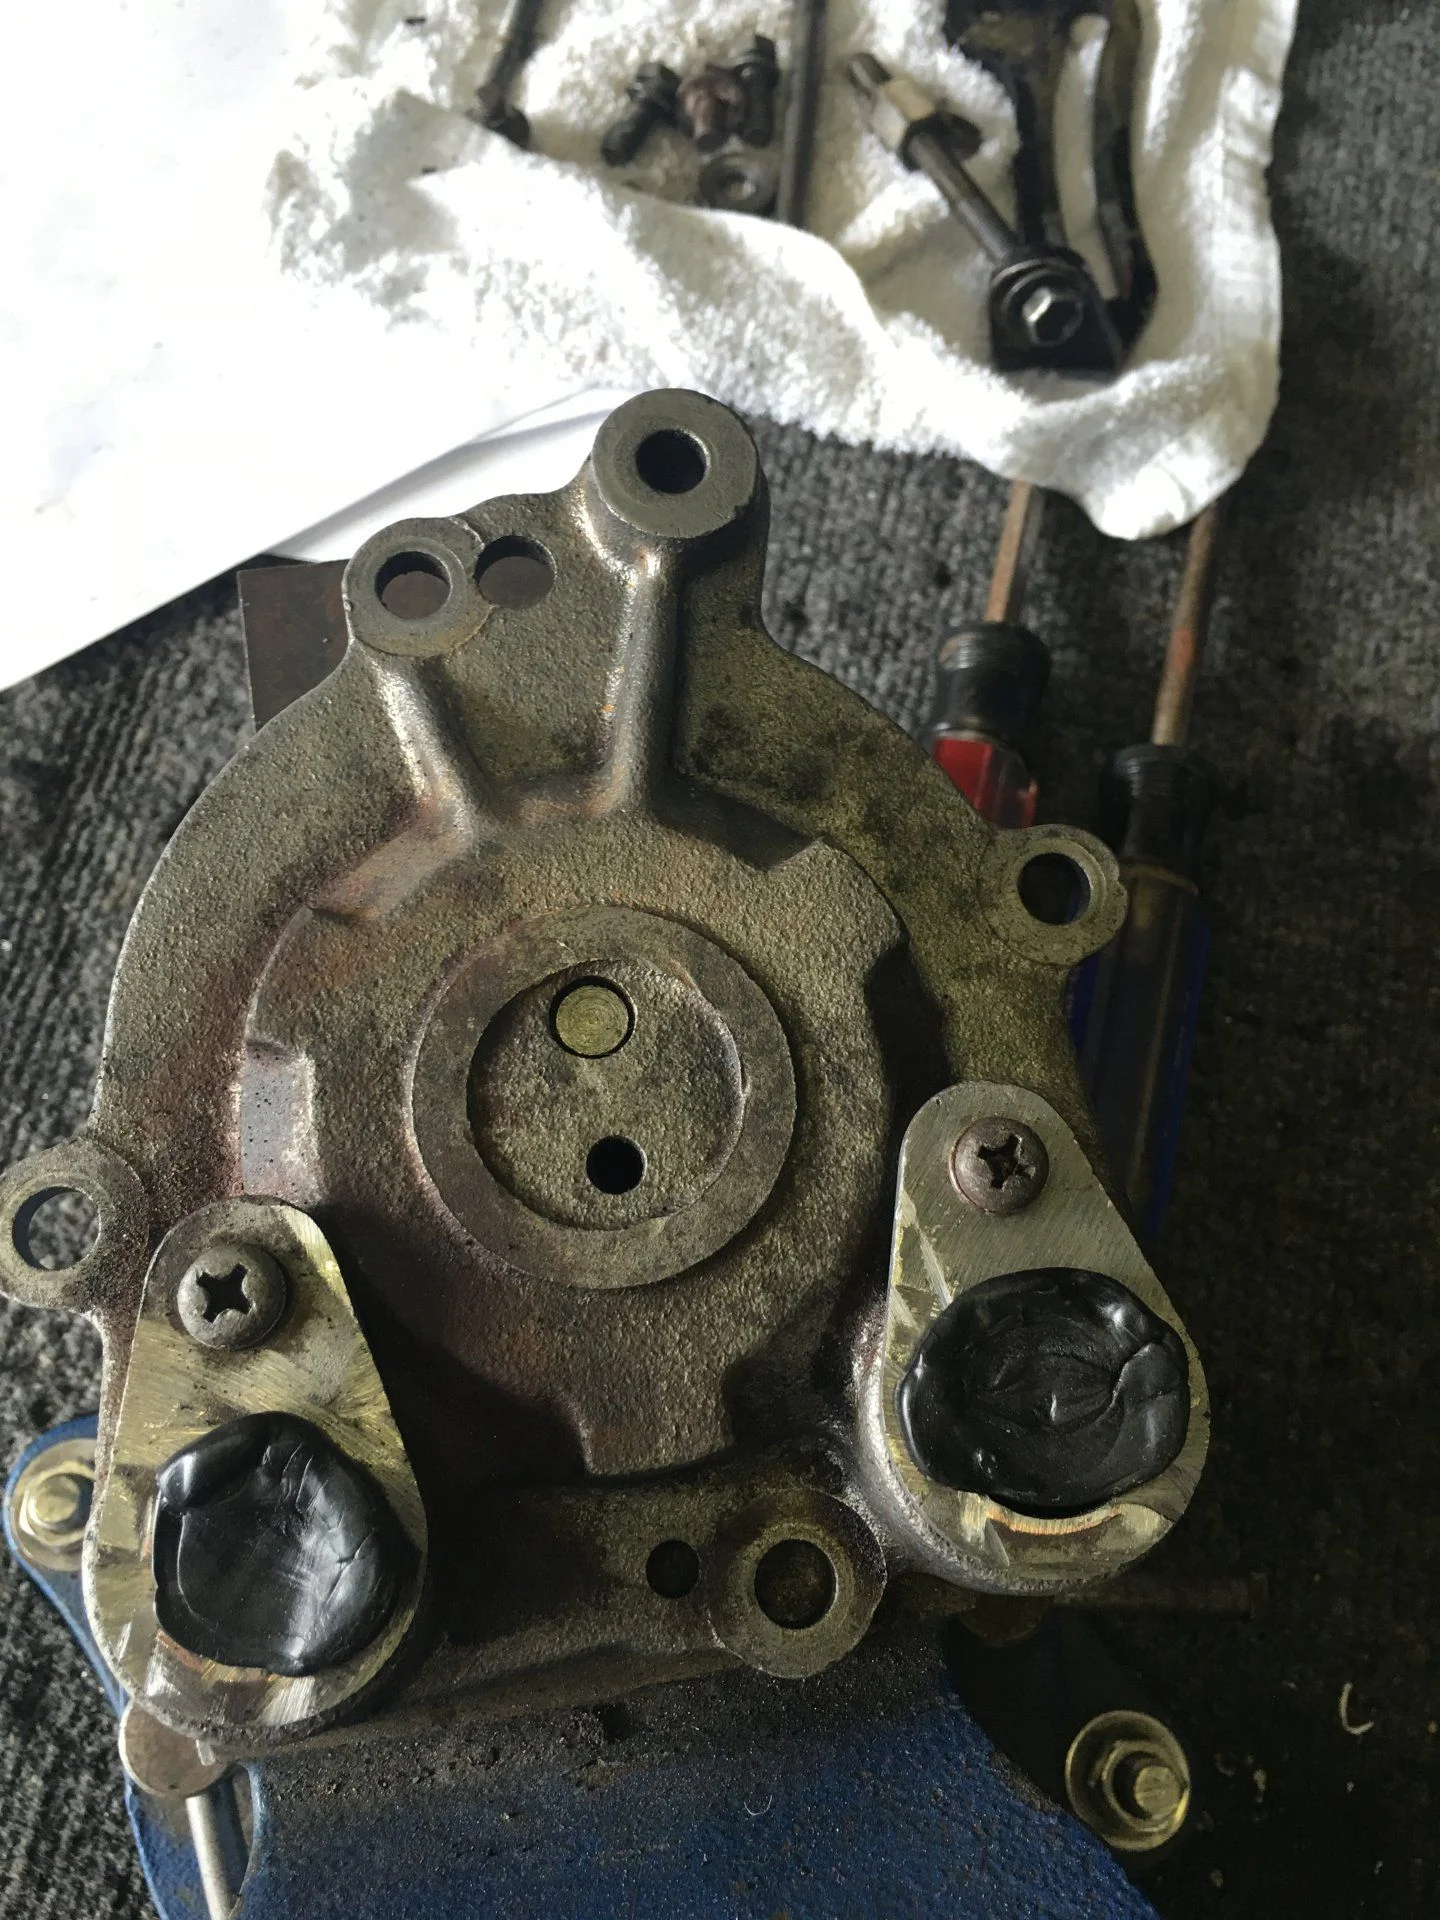
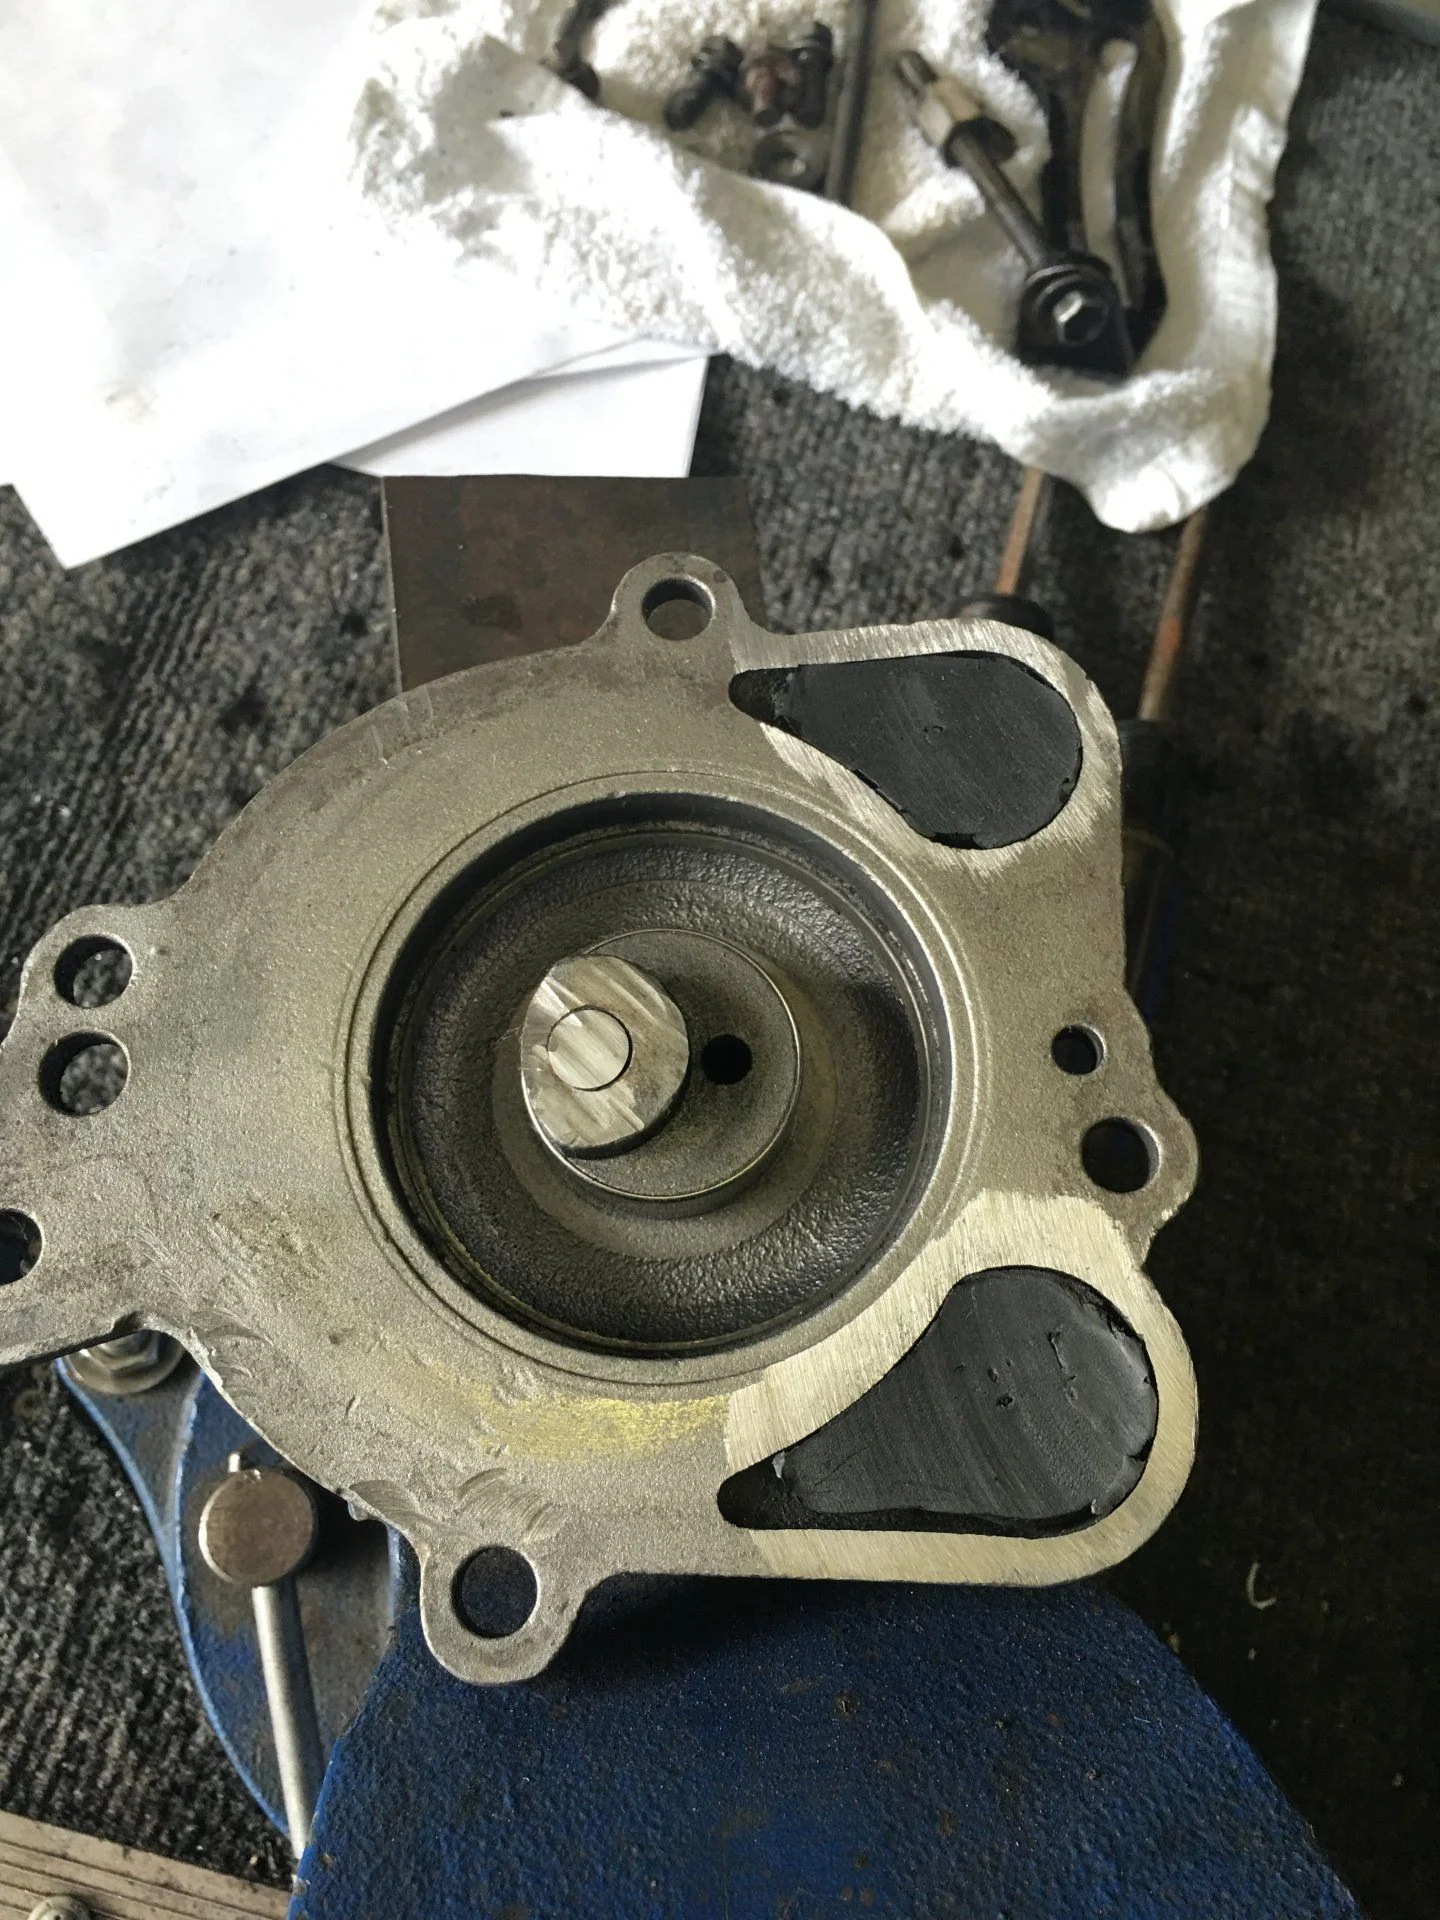
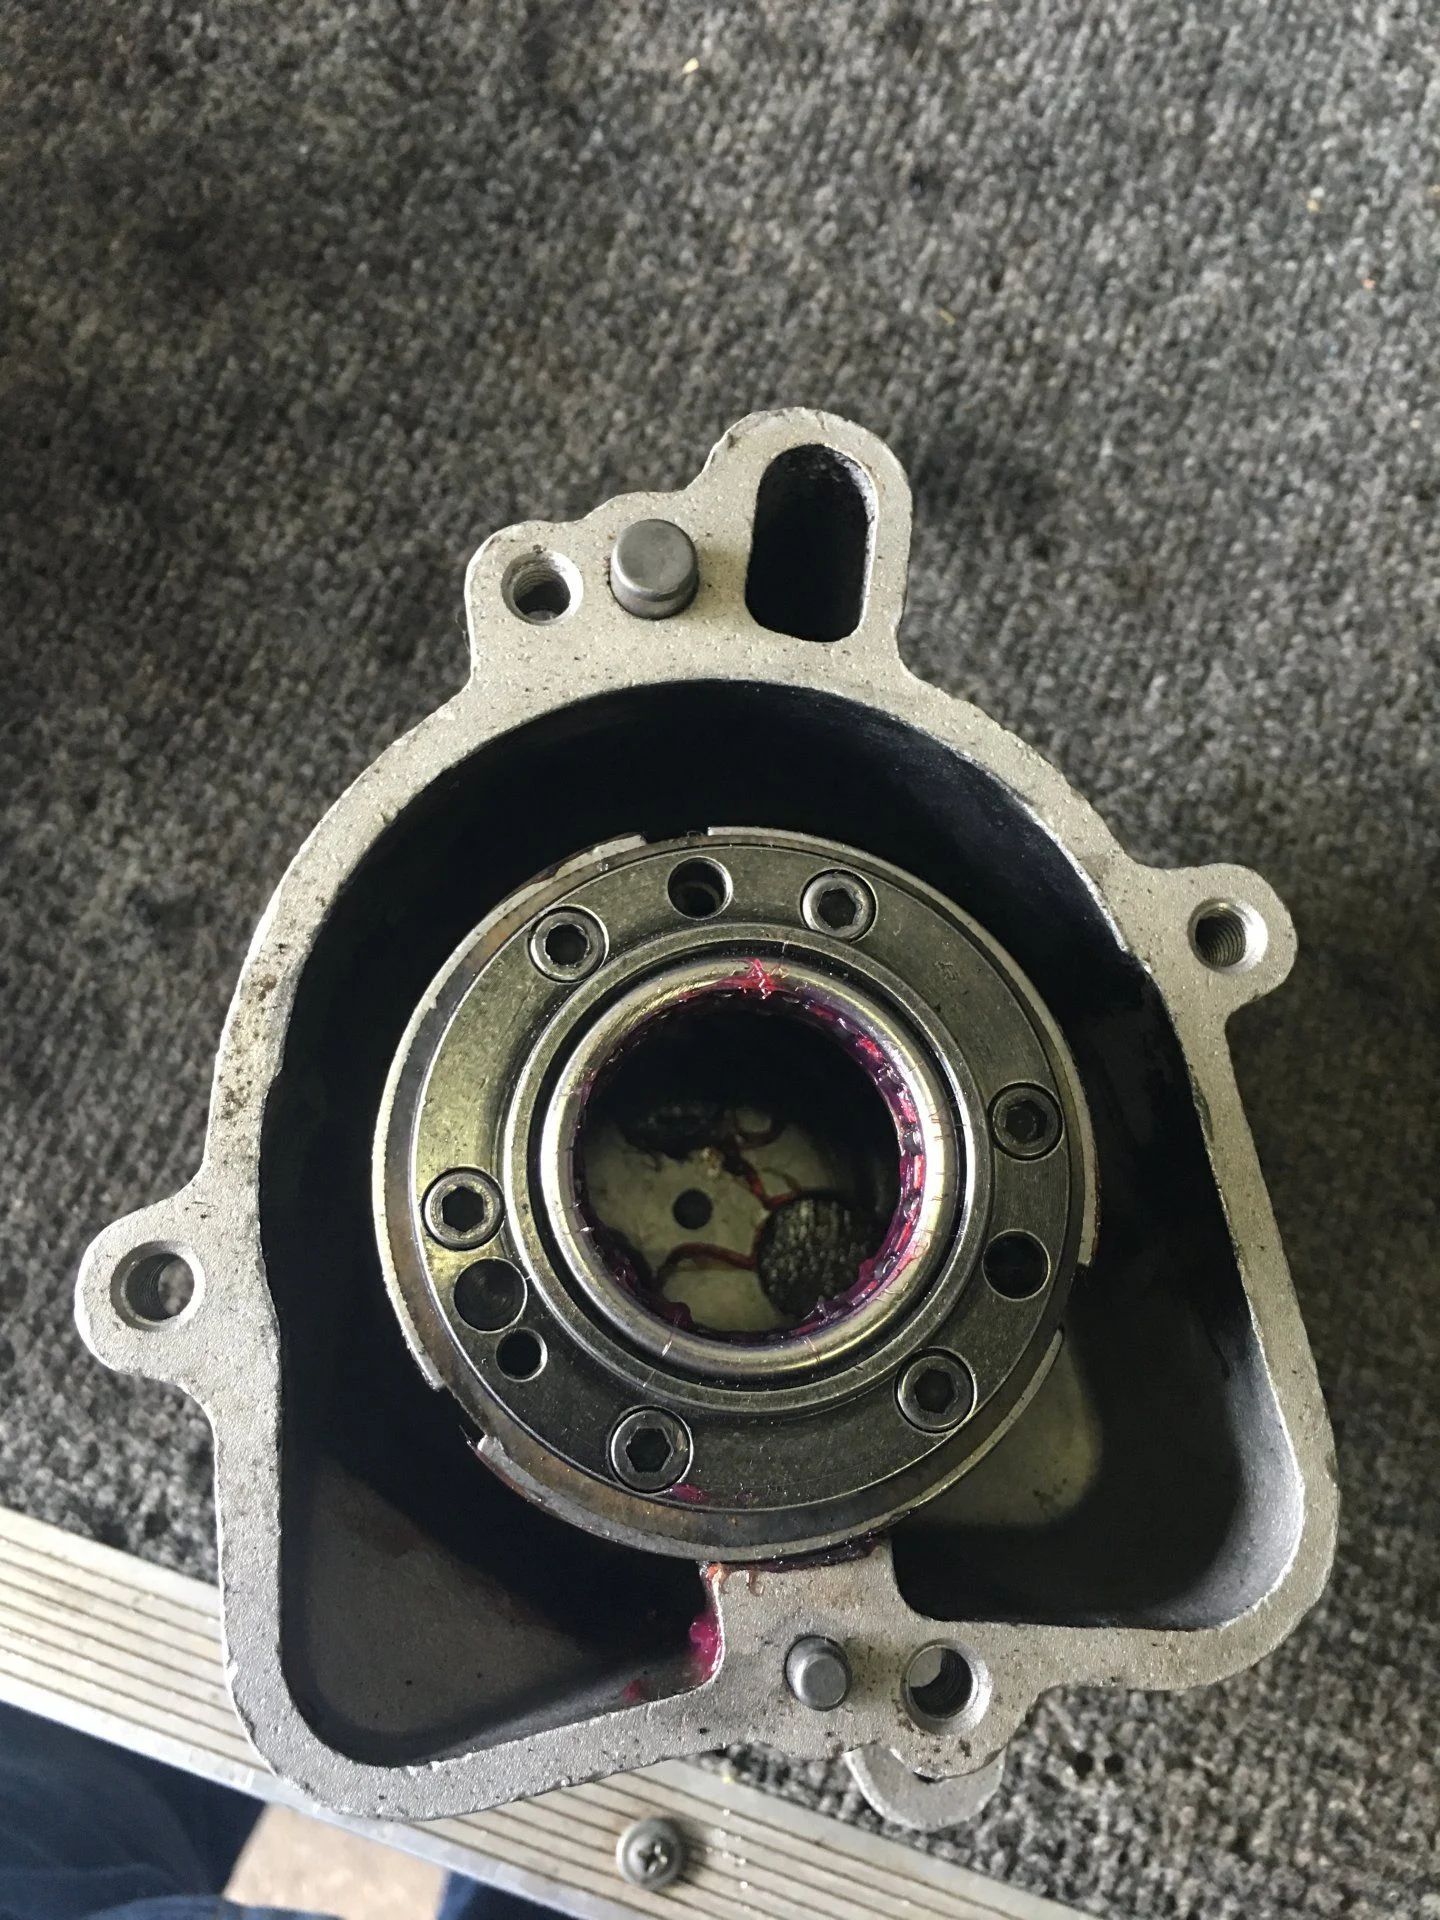
After gutting putting the pump back together. Its not spinning "freely" in my hand still has some resistance to it, did i miss something or is it bent maybe?
Hard to say brother. To be honest, my pump was still good so I didn't gut it. I just ordered the idler pulley to replace it.
Someone with first hand experience will chime in soon though. Sorry I couldn't be more help here.