Builds Ikarus' HDJ81 Aussie-Style Build (5 Viewers)

This site may earn a commission from merchant affiliate
links, including eBay, Amazon, Skimlinks, and others.

Personally, I'd just degrease, use some phosphoric acid to convert the rust, clean, paint . . .


Or run it as it is 😄

I thought all drill bits in Australia spun the wrong way??

haha jk jk

So not too concerned about the pitting? That sounds like an easy way to handle it.

Whew! Could have been much worse. Great job on all of this Max, this thread will be very helpful for my interior someday.

Yeah dude! Hope it helps. I'm just learning as I go
 
A little pitting is not significant IMO.

You're trying to keep grease in and on the knuckle, not trying to seal in oil
 
Bouncing back and forth between different jobs while waiting for paint to dry and parts to get cleaned

Cleaned up the knuckle balls, first with a wire cup brush, then with Ospho, then painted.

y6ZDo5U.jpg


MwlGqMO.jpg


AdDkApu.jpg


Makes me want to pull the axles and do a complete refresh... next time. Gotta resist the urge to restore everything

Parts cleaned up pretty well -

6ZF87nZ.jpg


I matched up the old tie rod/drag link with the new, so in theory shouldn't need an alignment? All new parts from @cruiseroutfit

GgJX0FH.jpg


The ends were all shot. Could easily move them around with one finger. Hoping this helps tighten up the steering.

Z4cmfqJ.jpg


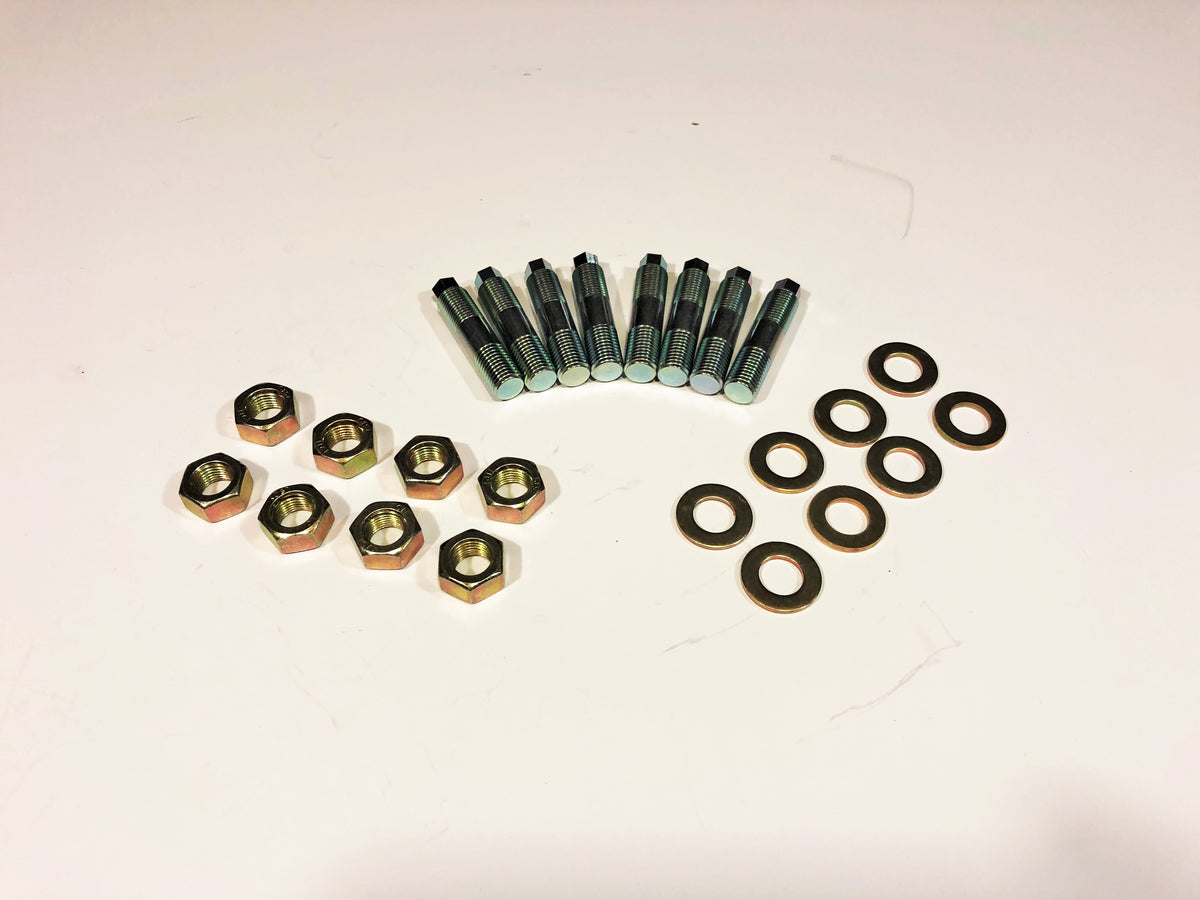
New knuckle studs from @landtank - torqued to 20 ft/lbs.

4w10k4D.jpg


All the paint, gear oil, diesel, brake cleaner, mineral spirits and Ospho fumes are fighting in my body right now to see which one will kill me first. Ospho smells like feet BTW, I'd rather smell gear oil all day than Ospho hahah

hAlHrt3.jpg


For the back window - the Ospho worked well to knock down the rust. Covered it in Eastwood Rust Encapsulator.

ATlnnS1.jpg


#ih8bondo

Fe0rKqd.jpg
 
Busy week. Tired of having this sit in the garage, so I dedicated myself to just getting it done. Less pictures on this round due to all the grease and oil and adhesive.

Wrapped up the knuckles. Went with the 35 ft/lbs inner nut, 47 ft/lbs outer nut method as seen here:

Oonqw1V.jpg


ZwZP19H.jpg


Knuckle kit and bearings, new pads and rotors up front - all via @cruiseroutfit of course, as well as some Slee stainless lines to replace a cracked axle to caliper line. I just installed two and have the other 5 lines waiting for install. I'll probably do a full refresh with rear pads and rotors soon.

CmbR6C9.jpg


wt0RQbk.jpg


Ap18ONZ.jpg


Bled the brakes. Tried this adapter from Amazon and it worked perfectly, with this funky Smotive bleeder. Kinda seems like a Chinese ripoff - just look at the name haha - but I prefer it to the Motive setup. The adapter was perfect and the pressure relief valve is way better than unscrewing the whole thing to let off pressure.

PcZUdmH.jpg


I81obMp.jpg


Bled the brakes using the LSPV - Left Rear - Right Rear - LSPV - Left Front - Right Front technique and it worked great. Slightly squishy pedal but driveable. I found a dirt road and activated the ABS and will do another bleed to get that last 10% firmness.

Threw in some 75W-90. Ended up using almost 4 quarts. Changed out my drain and fill plugs to the allen style, 90341-18021.

awX7Sek.jpg


Wi9yRuu.jpg


Probably gonna put the jacks on the frame rails in the back next time. Is this method with jacks on the rear axles sketchy? Or do other people jack up the rear like that? I consulted the chart in the manual and it shows jack points on the rear axle. Couldn't get as wide of a stance because of the swaybar though.
 
Last edited:
Flipped it around for the final task, the rear window. Turned out to be annoying. Not the most difficult, just annoying

1Vu4HBH.jpg


I started by priming the pinch weld where I'd done my rust prevention, using a 3M windshield primer. It's very runny as you can see, super important to mask everything off.

kM3kjYd.jpg


And then... no pictures of the process because I was covered in windshield adhesive and questioning why I like car projects.

HamYwD9.jpg


No it really wasn't too bad. First, I cleaned up the edge of the window and removed all the old urethane with a razor and windex. Then I followed the FSM process. Prime the inside of the window seal, apply adhesive inside the window seal, then install the glass into the window seal. Clean up all the goop the squeezes out with acetone.

Then you prime the section of the window seal that sits on the body, and add a rope around the border to pull the window seal over the pinch weld from the inside.

Then it's time to install. Get a helper to hold the window up, sitting the bottom edge as close to the pinch weld as you can - I used window suction cups to make her life easier. I kept asking her if this inspired her to get a project car but apparently not????

Then you get inside, and pull the rope around the perimeter to get that seal over the pinch weld. Tap the window on the corners, pull down on it, generally get it into place.

From placing the window to having it installed was maybe 5 minutes.

Then you say goodbye to your helper who has a renewed love for brand new vehicles and you apply sealant all around the exterior lip of the window seal. 15 hrs to set up for the 3M sealant I used.

I unfortunately bought the weather strip 6829160040, which as you can see has an indentation running around the window for a chrome trim strip. I decided to run with it even though I should have bought 6829160050 which is a traditional smooth weather seal. I was just going off the Partsouq parts chart.

1ICg0Fn.jpg


Remove the masking tape and clean up the window. Little bit of touchup to do on the lower left hand corner.

kiHukUa.jpg


All new rear wiper linkage, hardware and arm -

ZSG5RnE.jpg


tWSX3aS.jpg


Finally, new weather seal for the hatch and put all the interior panels back in.

WFMpCBR.jpg


Took it for a quick shakedown drive and everything's looking good. Bedded the brake pads and activated the ABS. Got my EGTs maxed out at 1200° going up a mountain road at 60 mph.

8vZYoXb.jpg


kPy9PSD.jpg


When I took this pic I realized how funny it is that the cruiser looks 100% identical to how it looked when I parked it 4 months ago. But there's a lot of time and energy in there. Still loving it! Hopefully I can get started on some more fun mods now.
 
Last edited:
Solid work, great to see that everything came together without too much head ache. The back window looked like quite a job.
 
Solid work, great to see that everything came together without too much head ache. The back window looked like quite a job.
Same here, feels good to have it back on the road. The back window was a bit of a headache but now that I've done it once I could do it again twice as fast. I briefly considered having a windshield installer do it but as with all things on an old cruiser, I think if you want to do it right you do it yourself. I enjoy learning the process
 
... how funny it is that the cruiser looks 100% identical to how it looked when I parked it 4 months ago...

That is a great thing that it looks like before, because it looks perfect! Great job!
 
Nice work with the build.
Any plans to level the front with coil spacers? What is the difference in height from front to rear?
Thanks!

I’m in the early research stage. I don’t love the stinkbug but I don’t know enough about driveline dynamics to change it just yet.

Height difference is 1” higher in the rear.

Long term goal would be Delta 3L arms and Foxes or Kings or something. But I’m happy enough with the Dobinsons setup that it’s on the back burner.
 
Pretty fun watch -


They don't get as technical as I would have liked but I'm probably in the minority, gotta keep it short and entertaining. That's a cool setup.

ADS pump and injectors, rebuilt engine and refreshed transmission, new turbo. They went with a PDI intercooler and Airbox too.

I actually have a PDI airbox sitting in my garage - I'm trying to decide if I'm ready to install at 4" stainless snorkel to go with it.
 
Really cool example of the time and work it takes to get some performance out of the old HDFT that a lot of us crave.

I’ve enjoyed your build a lot as a great example of a good mix of basic maintenance baselining, “return to OEM” on interior and body, and unlocking some perforce with the PDI and tires! Keep it coming!

Shauno is definitely a part of pushing the US desires even higher for diesel 80’s, okay maybe just for me….

Thanks, and yes agreed. When I saw he was going to be at a meet & greet in Moab a couple months ago I was annoyed that my cruiser was in pieces in the garage. Totally would have driven down there to see the 24/7 guys.

I love this cruiser! Your approach to this build is perfect IMO and pretty much exactly how I'd do it if it were mine. Makes me want to get another 80.

Thanks man! I already want to get another one too. Haha. Probably a 105 next though.
 
How did you like working with the Landtank knuckle studs? Did they thread in worry free? And you said you reused the factory cone washers? What was teh torque spec on the higher rated nuts that landtank provides?
 
How did you like working with the Landtank knuckle studs? Did they thread in worry free? And you said you reused the factory cone washers? What was teh torque spec on the higher rated nuts that landtank provides?
No complaints, everything went great. Just make sure to clean out the threads in the knuckle first. I used all new cone washers, studs and bolts. He sells them all in a kit.

Torque was 40 ft/lbs on the studs and 90 ft/lbs on the nuts - it's on his product page here:

I would either use those or the new Toyota design that has a torx end on the studs (IIRC). I saw some speculation out there on what you should torque those to but I can't remember if Toyota ever offered an official number.
Appreciate the feedback brother. Love how this build is coming along. Leaving no stone unturned as with all your builds!
 

Users who are viewing this thread

Back
Top Bottom