Head Gasket job (total noob) (1 Viewer)

This site may earn a commission from merchant affiliate
links, including eBay, Amazon, Skimlinks, and others.

I didn't update the thread for a longer time. The head is still in the shop and now it is already three weeks there. This is what I was doing recently:

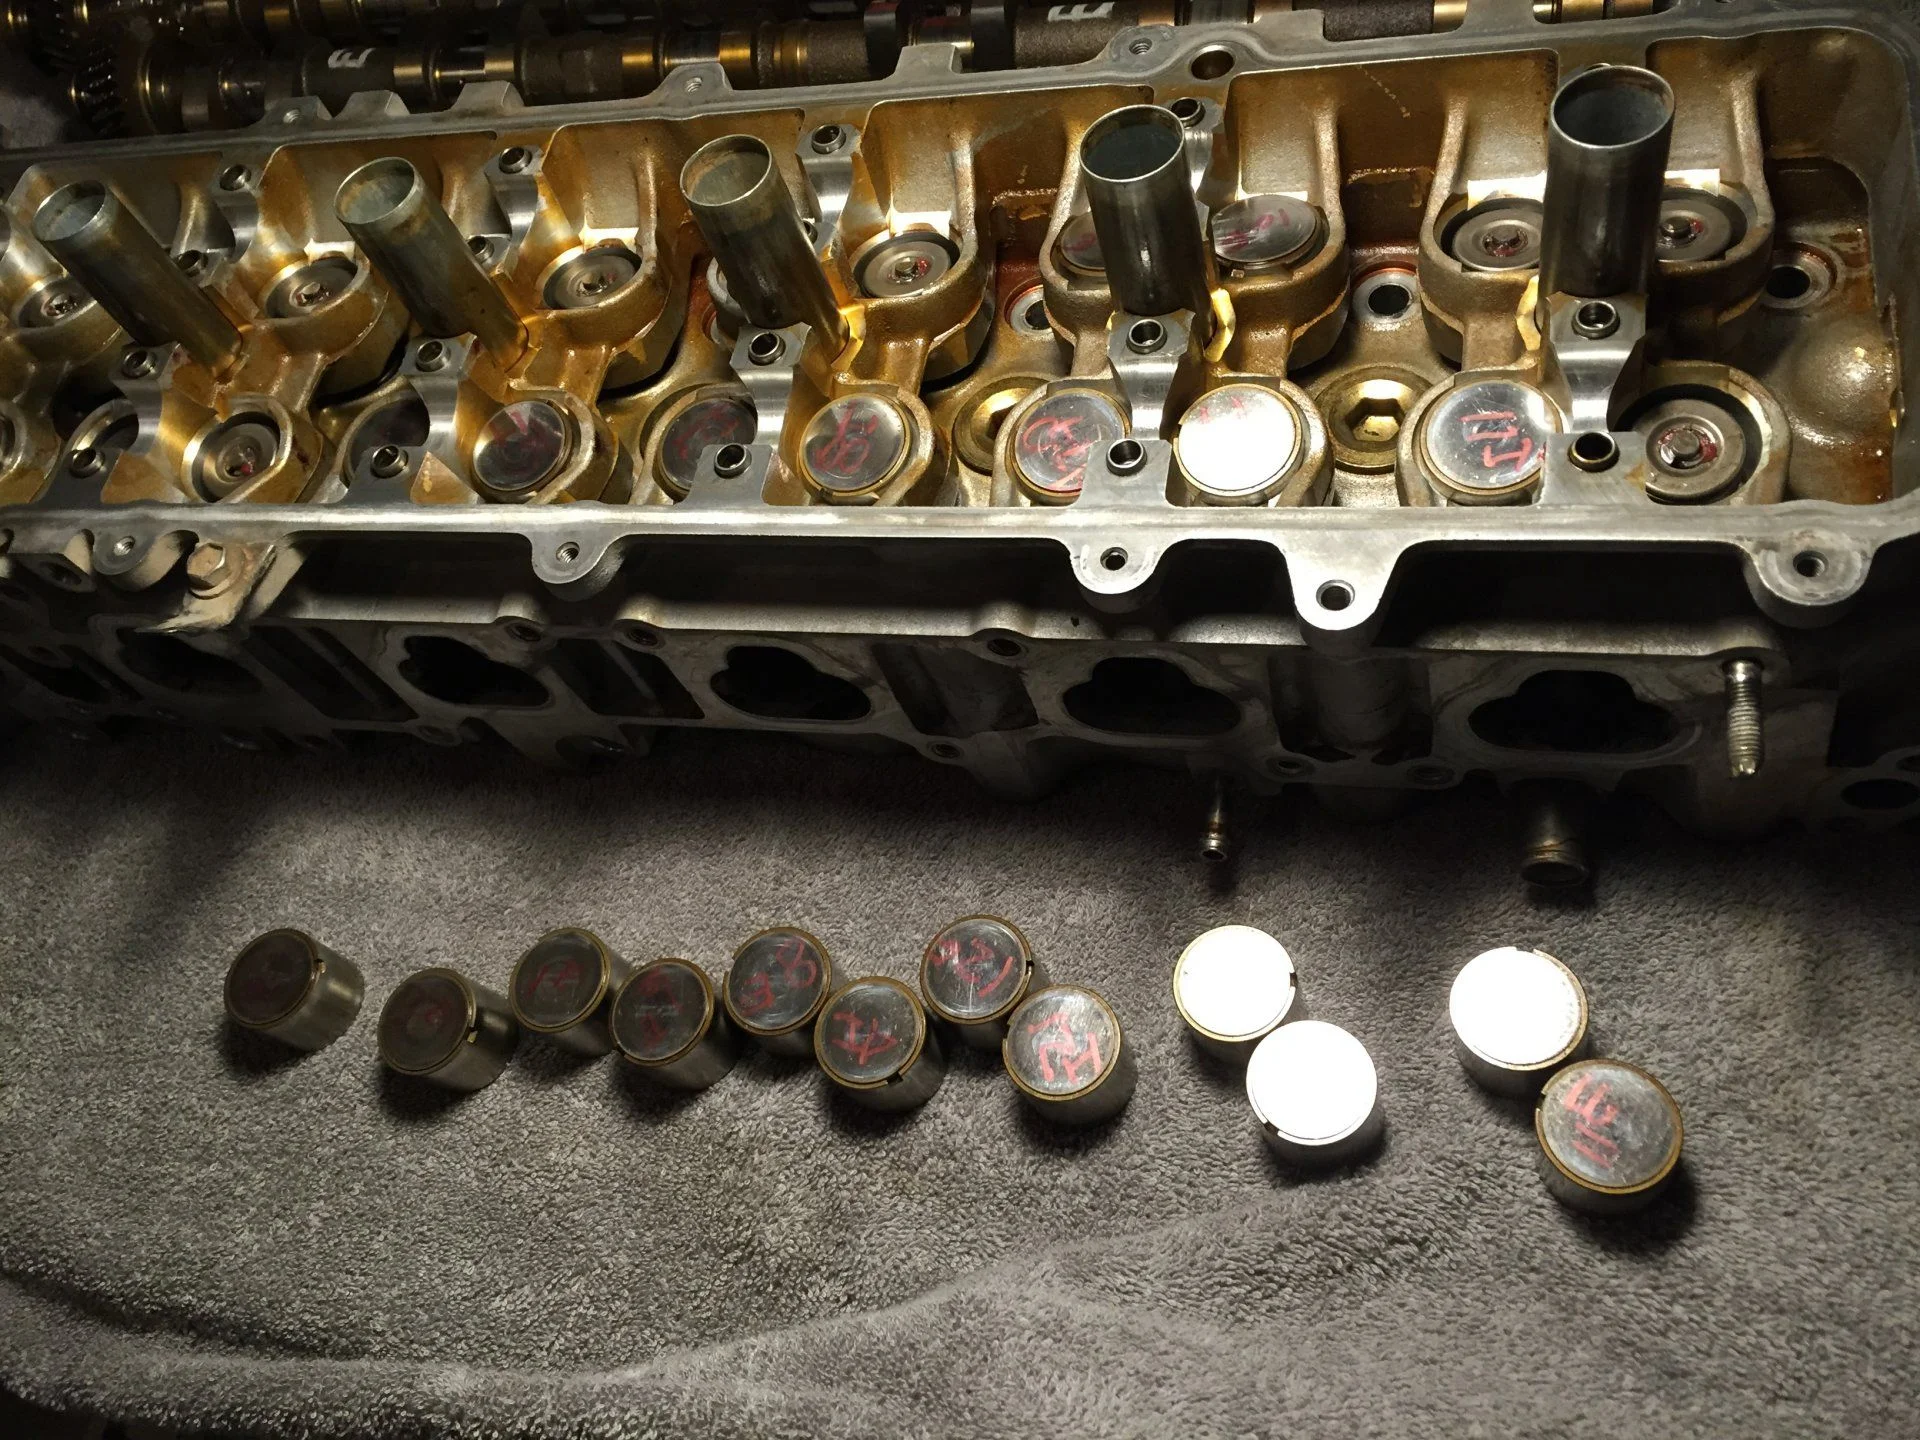
  1. Cleaned all the pistons tops. After cleaning of the pistons I was rotating the crankshaft and cleaning with oily rag until the rag was really clean. It is not perfect but I will leave it as it is. This was the biggest PITA job so far on the project. I spent maybe 6 to 8 hours cleaning the block which I think is too much. The reason is that I am not using any power tools just my hands.
  2. I unwrapped the engine wire, this was the second worst PITA job on the project so far :( . Fortunately the wires are fine and not damaged. I bought some heat tape and will put it on the wire tomorrow.
  3. I completed all the vacuum hoses from intake and throttle body. I had to order couple of bigger hoses from CDAN. Other then that I used five sets of the small hose's sets.
  4. The brake booster vacuum hose was replaced. At the first sight I was thinking that it was overkill to replace it but under closer inspection the hose is really hard as rock on the intake side. Good idea to replace that.
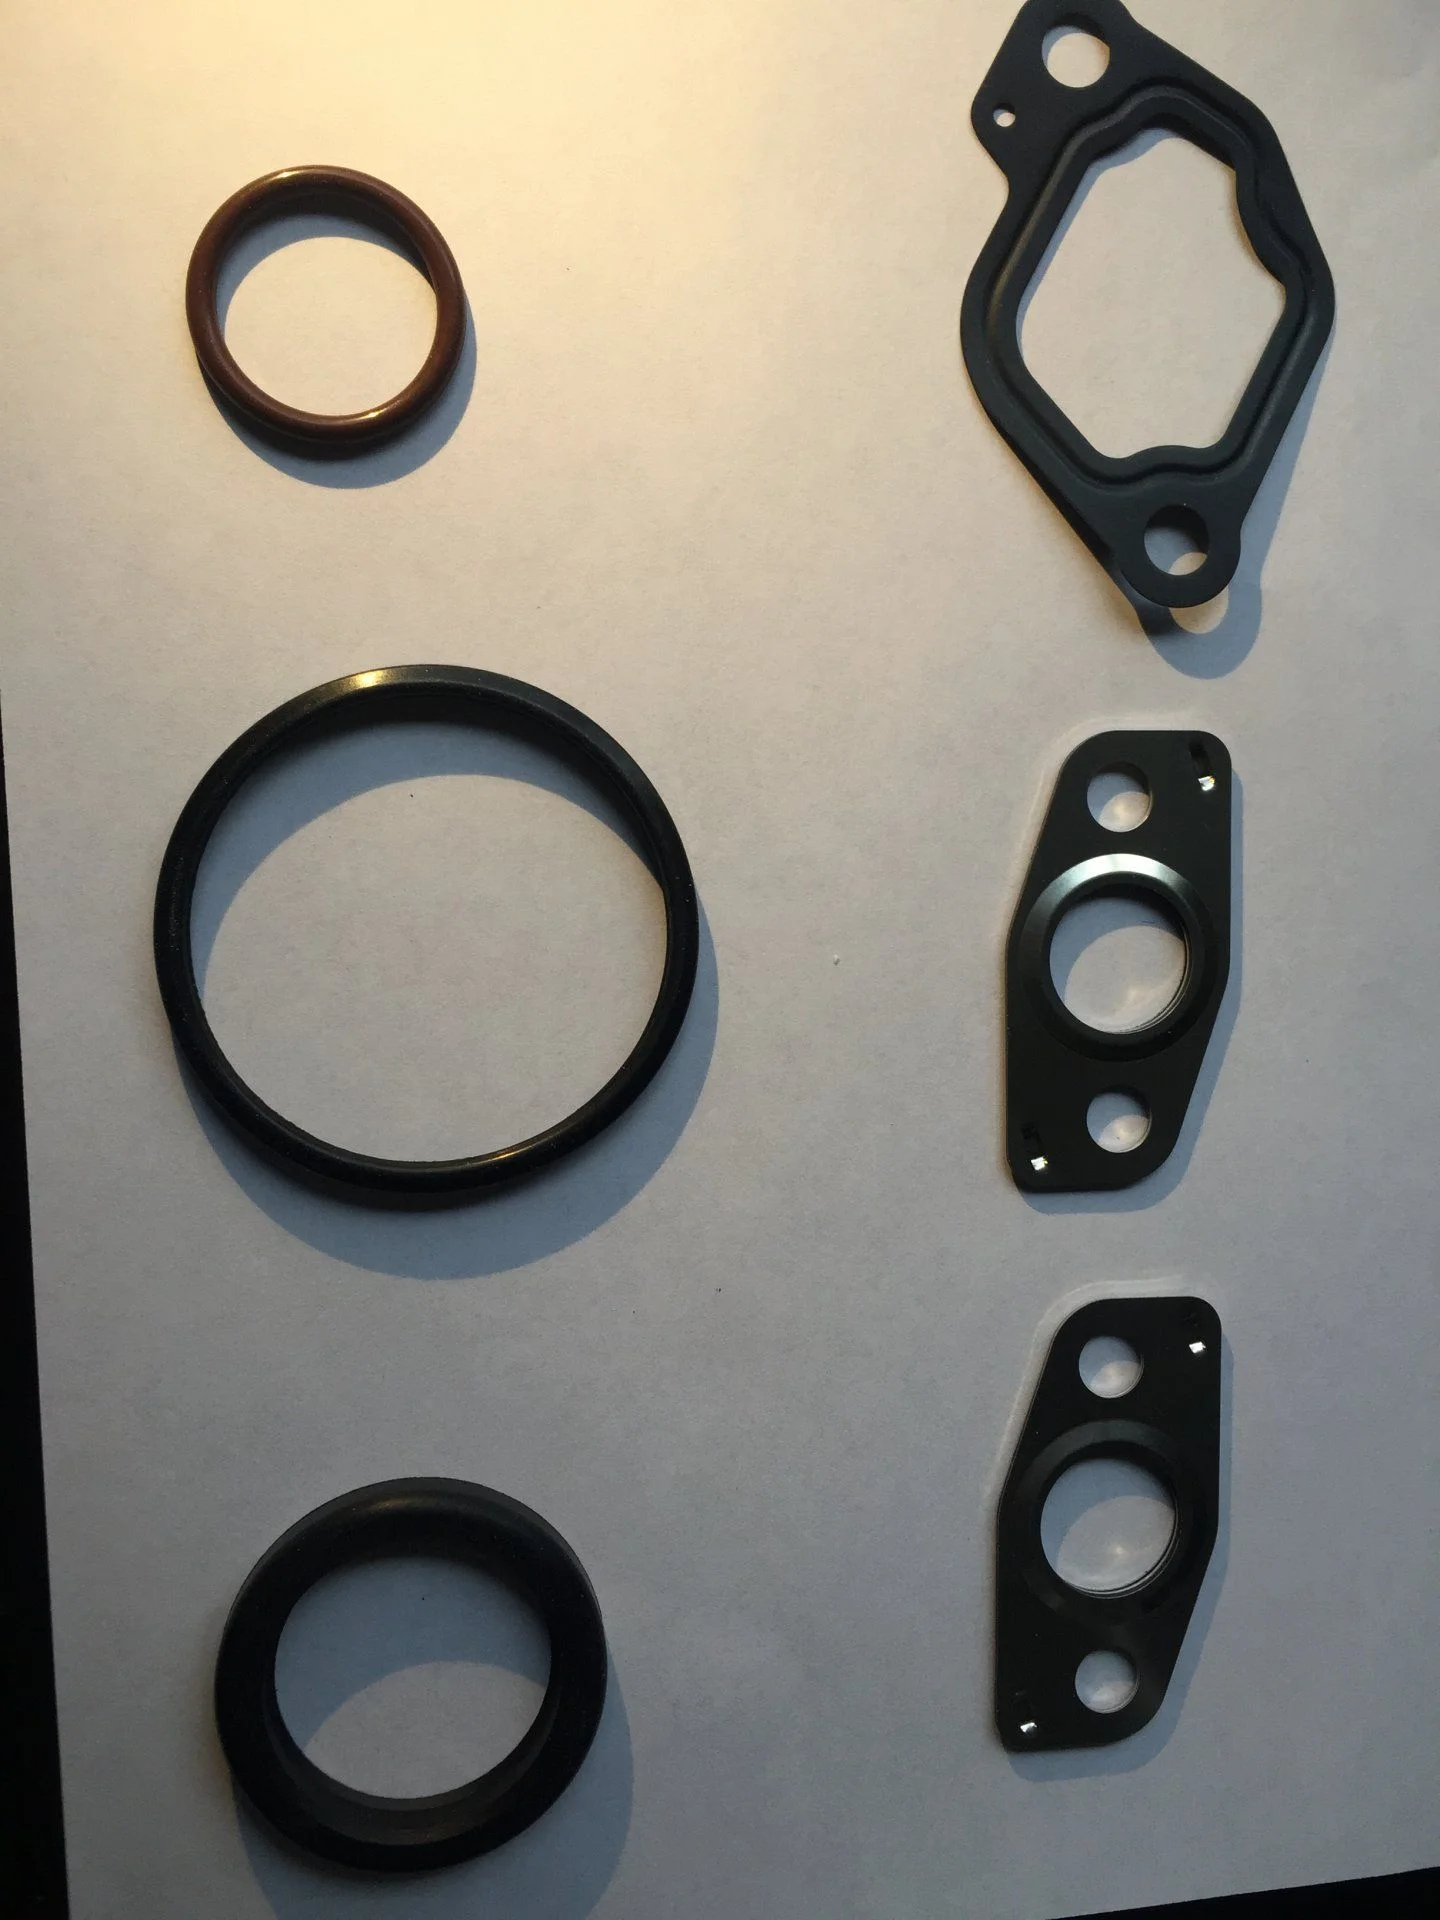
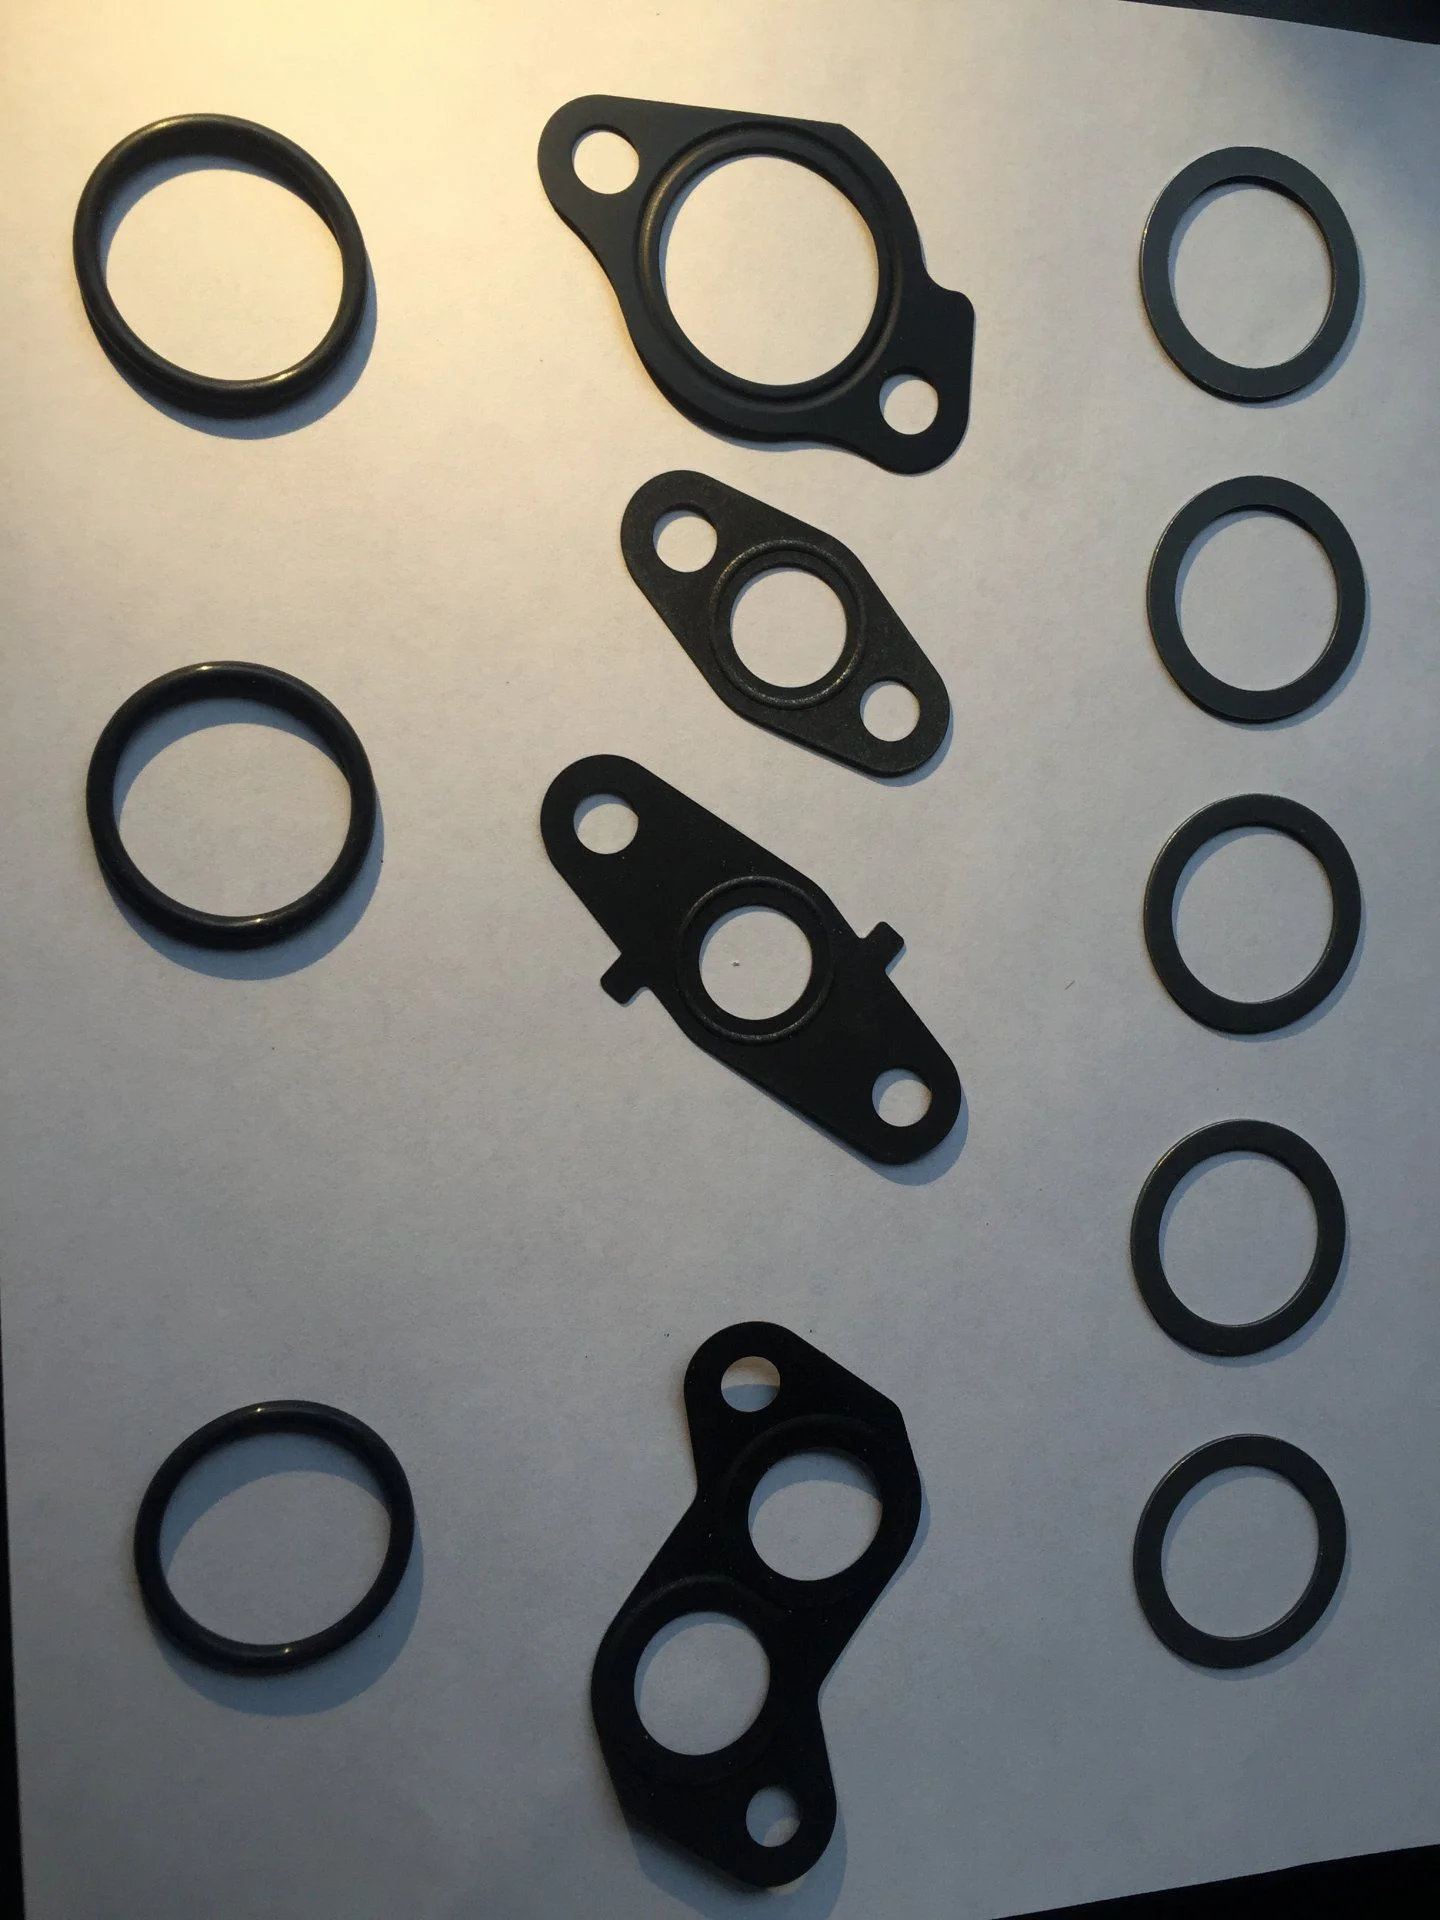
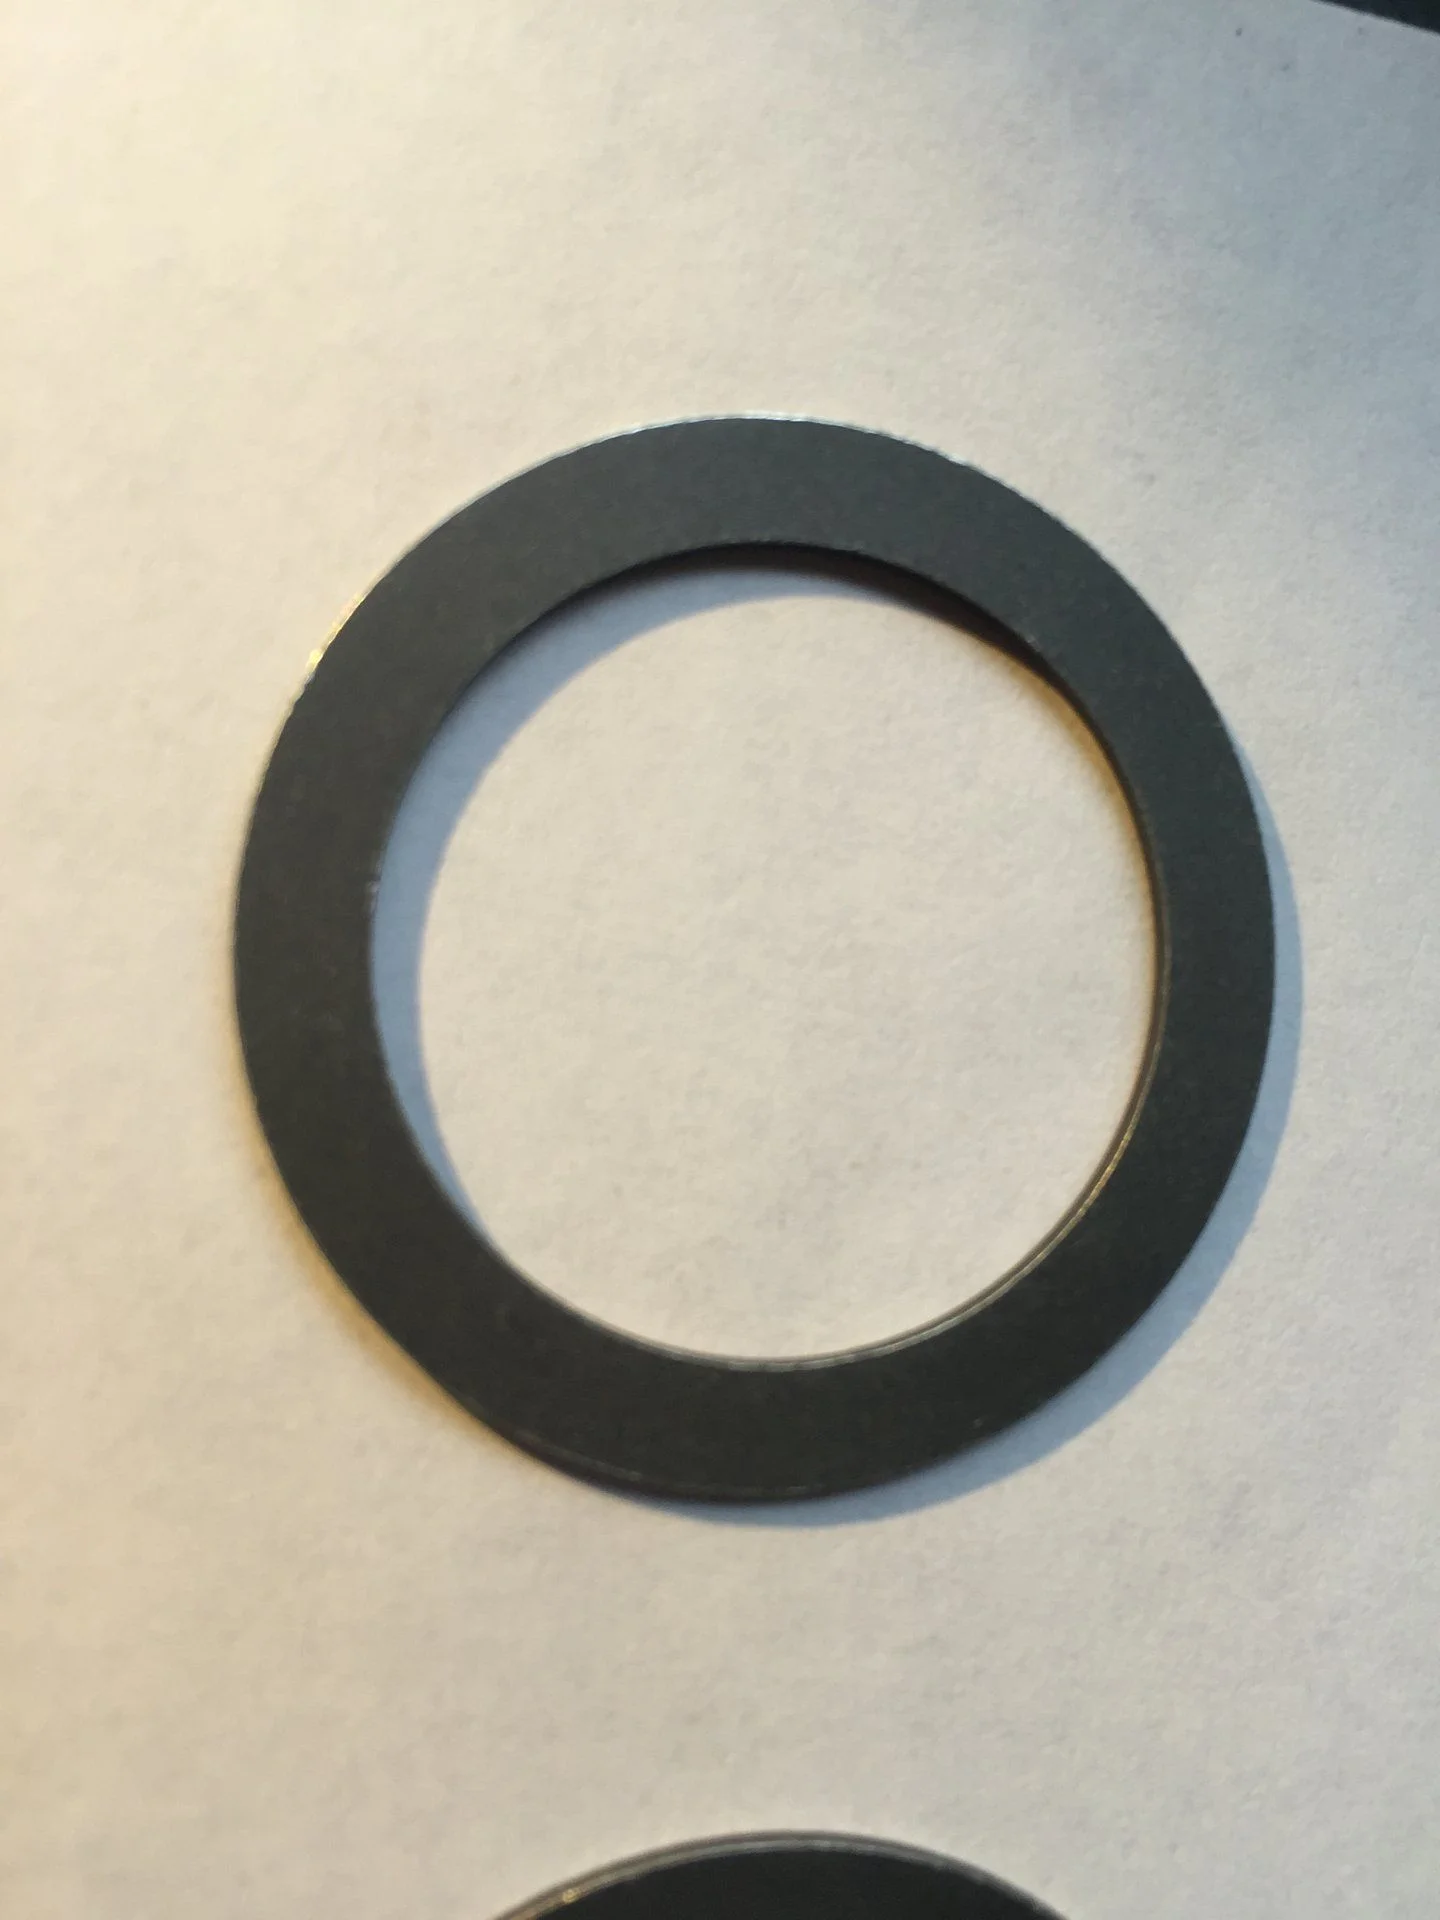
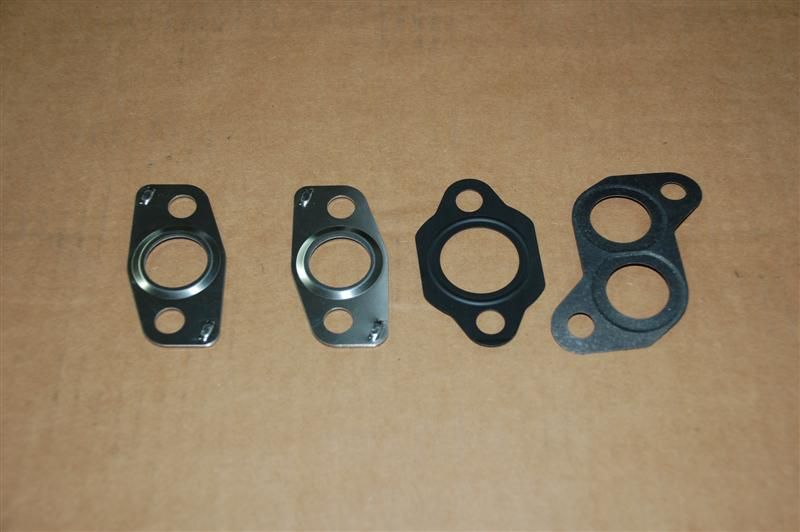
  5. Today I took of the engine oil cooler and replaced the gaskets. Unfortunately I don't have the pictures as my iphone died but there was some serious slug there. The cooler housing on the block was so dirty that it really surprised me. Not a big job and actually I used the torque wrench for the first time to put the cooler back. I replace all three gaskets.

Couple of questions as always.
  1. The power steering pump was leaking before so I ordered the hoses from phhkit web site and the gasket kit from CDAN. I don't have proper stands right now to properly bleed the system (AFAIK the bleeding is just turning the wheels left to right). What do you suggest - shall I do it right now when everything is nice open or do it later ?
  2. The A/F cooler - I have 1997 Land Cruiser with A/F cooler. When I look into the manual the connection of the hoses is directly from the transmission to the cooler. My is different - first the hose is going to the radiator then from radiator to the A/F cooler. I don't know if this is something special or not.
  3. I just realized that I am missing the idler pulley on the alternator side - what do you suggest ? Shall I buy it or run without it. I have seen some people going without the idler and without having any issues.
1. I replaced my pump when I had the head off along with all trans and PS related hoses. This job is much easier to do now that you have clearance. Yes, bleeding is simply turning the steering wheel stop to stop. I believe the manual specifies bumping up to the stop and holding momentarily.
2. Your trans cooling system is the usual set up.
3. Why not install the idler pulley? It can't cost that much.
 
@baldilocks beat me to it.

If you need jack stands, let me know.

Idler pully costs more than it should. Don't really need it, it barely hits the belts. I have seen rigs with it and without it.
 
I decided to buy ARP thread cleaning tap which was suggested somewhere on this forum. It's pricey but I wan't to do it right. Probably would sell it or I would have it rotate to others with head gasket work.

I bought the advanced auto parts heat tape (Design Engineering Cool Tape 1-1/2" x 15' 010408: Advance Auto Parts) and taped the engine wire.

As noted before all pistons and cylinders are almost clean, I will leave it as it is - it's not perfect but it took me really a lot of effort to clean it to this point.

I don't have the air tools so not sure what do you guys suggest me to clean the head bolt threads as suggested way is to clean it with air prior to putting cleaning tap. I tried to suck it with vac cleaner but don't think that I got all out. Also do you guys know how to clean the small holes (just next to piston) which are in some angle , I think they are either oil or water passages.
 
Regarding the small water passages and their cleaning:

This is mentioned by @blkprj80
"Those passages go across to the other side at a 45 degree angle (+/-).
I was able to see where they passed by seeing the "hot spots" on the cylinder walls.
I used a long drill bit by hand to clean the crud out of there before I sent her to the shop.
After she came back I checked them again, and blew a ton of air with different tubes, etc, all over that damn water jacket. There's a lot of crud that needs persuasion to get out of there."

Threadh taken from:

Coolant passage question

I guess I will have to buy a long drill bit.
 
@baldilocks beat me to it.

If you need jack stands, let me know.

Idler pully costs more than it should. Don't really need it, it barely hits the belts. I have seen rigs with it and without it.
I will go ahead and keep it without the idler pulley.

Thanks,

Jorge
 
@baldilocks beat me to it.

If you need jack stands, let me know.

Idler pully costs more than it should. Don't really need it, it barely hits the belts. I have seen rigs with it and without it.
I will go ahead and keep it without the idler pulley.

Thanks,

Jorge

[hijack] Thanks, that answers a question I've had in the back of my head lately regarding a field-fix if one of these things seizes up on me in the middle of nowhere...

Carry on.

:cheers: [/hijack]
 
Hi,

I need some help to identify these parts. Unfortunately the kit from @cruiserdan doesn't come with all the parts labeled and I was just trashing all the gaskets and stuff.


The three o-rings on the left are probably the water bipass pipe

I don't have idea what these are - there are five of them ..
Thanks
Pretty sure the Orings are for the water bypass tube, the gaskets in the middle top to bottom look like: water exit tube on left side of the head, , and the lower two are probably for the egr system (tube to head and valve to manifold). The bottom one is probably for the PAIR valve that your 97 does not have.
 
the one on the middle row of the middle picture that has two little square tabs sticking out looks like the EGR gasket i had for the EGR to intake manifold. It has three holes total, two bolt holes and one hole in the center, the little squarish tabs on it.
 
You just need to jack the front axle up from the diff. Enough to get the tires off the ground to bleed the pump.
 
I am curious that you did not use the water bypass "O" rings.... was there a reason why you chose not to? thanks
 
You just need to jack the front axle up from the diff. Enough to get the tires off the ground to bleed the pump.
I decided to do that later as now I have some other priorities and it is not that difficult to get access to the power steering pump afterwards.
 
I am curious that you did not use the water bypass "O" rings.... was there a reason why you chose not to? thanks
I still don't have the head, should be back on Monday, now I am figuring out what is what .
 
Is there any secret to the gaskets like what goes up and down. Which side goes inside ?
 
The bottom left looks as distributor o-ring, the other (in the middle) is thermostat gasket. I don't have idea what is the last o-ring in the bottom left.
 
Last edited:
So the head is back from the shop. I am not really happy with that as the head was not cleaned and I have to clean the bits myself now.

Then I wanted to take a look on the bottom of the head and the lifters just popped out , is that normal ?
 

Users who are viewing this thread

Back
Top Bottom