Builds Black Project 80 Engine Build Thread (1 Viewer)

This site may earn a commission from merchant affiliate
links, including eBay, Amazon, Skimlinks, and others.

Joined
Jun 20, 2012
Threads
24
Messages
1,967
Location
Lafayette, CO
I'm finally getting around to starting a build thread, partly due to pressure from several friends, but mainly since I want to give back to the 'Mud community if I can.

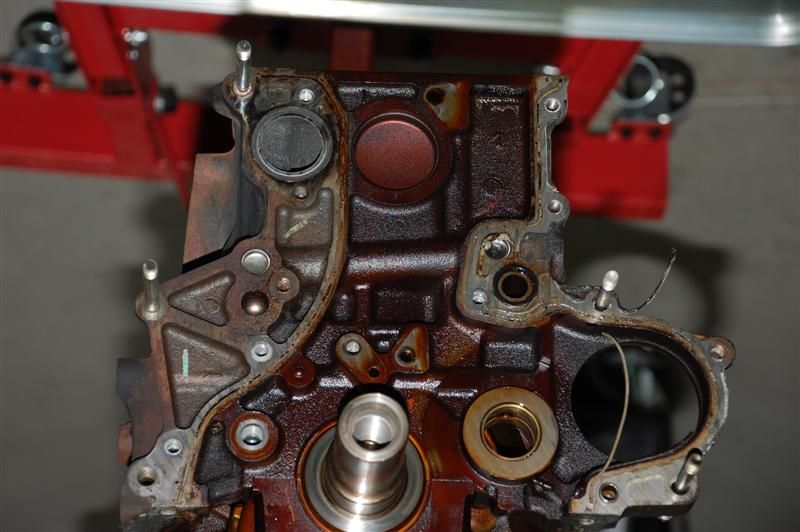
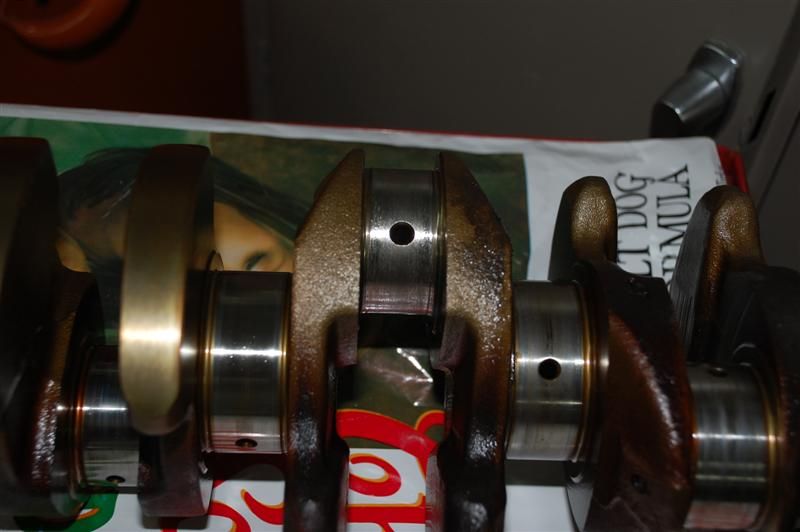
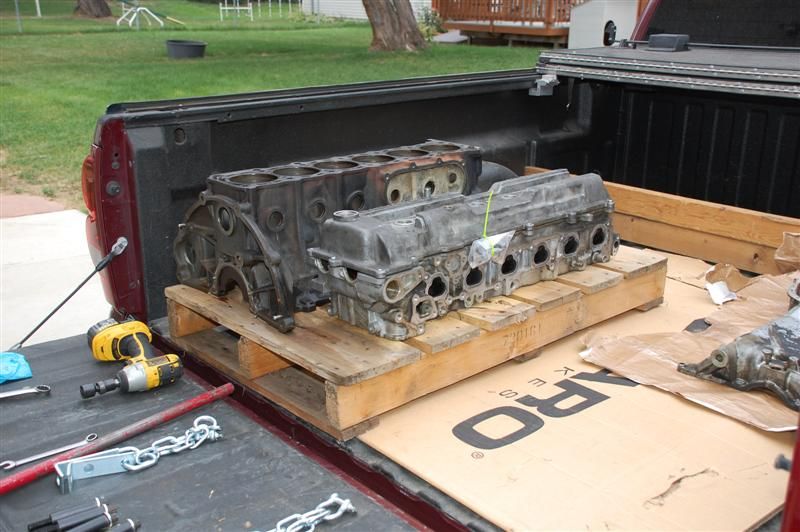
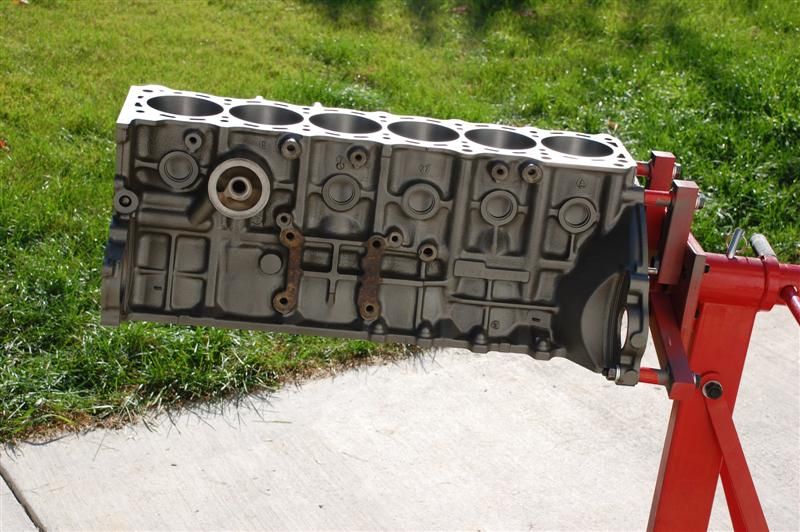
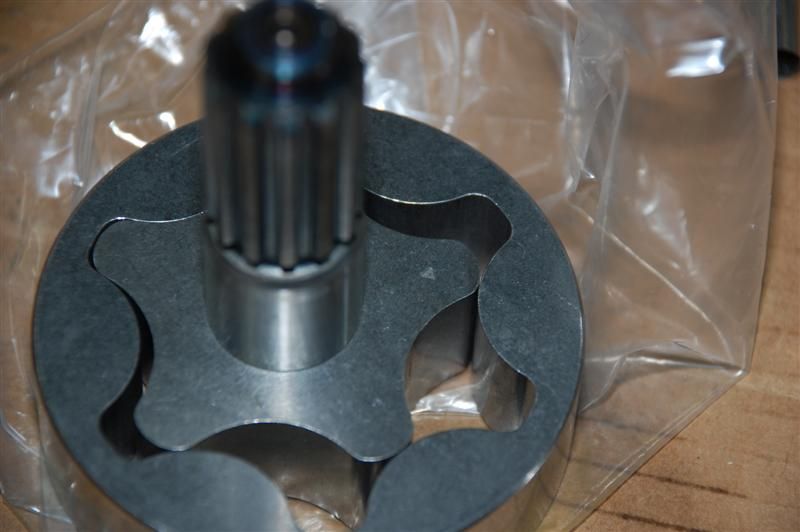
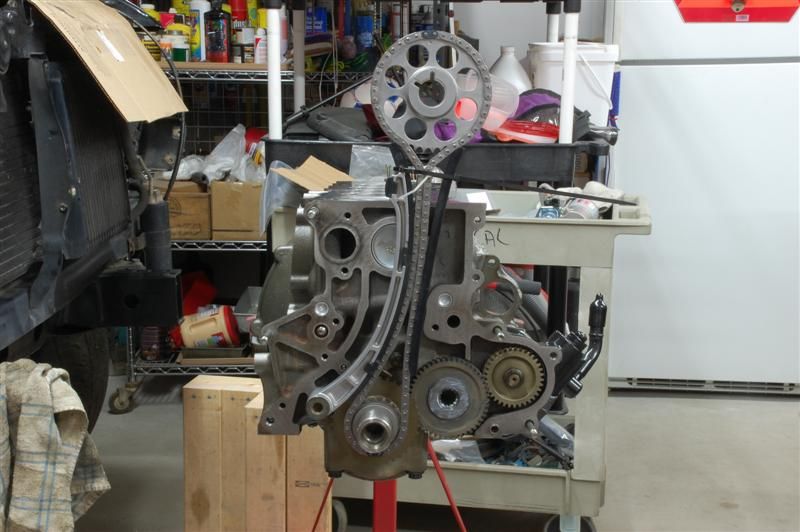
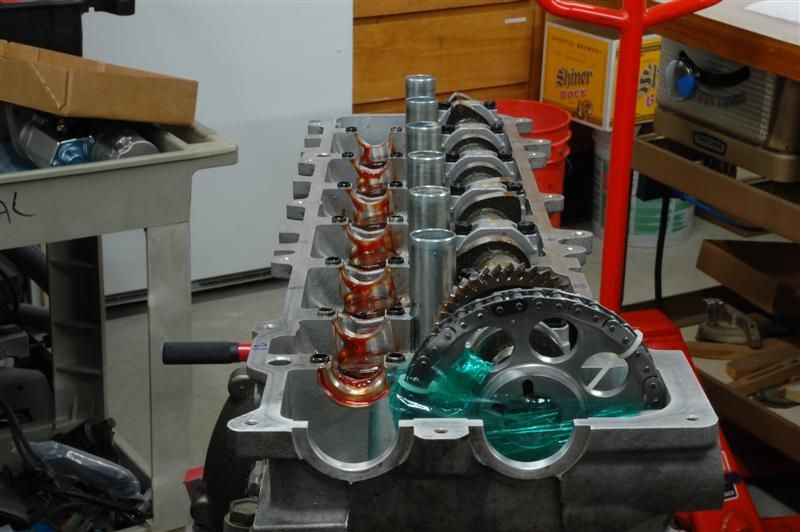
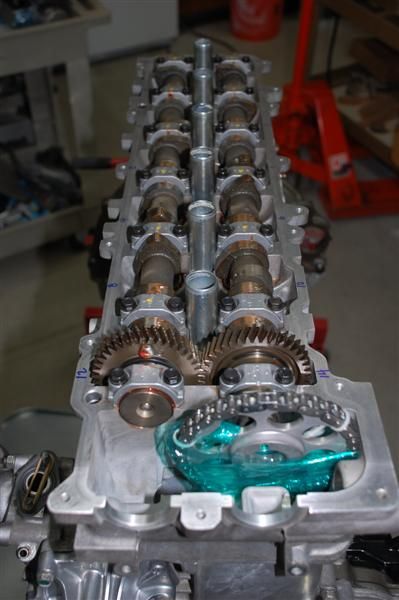
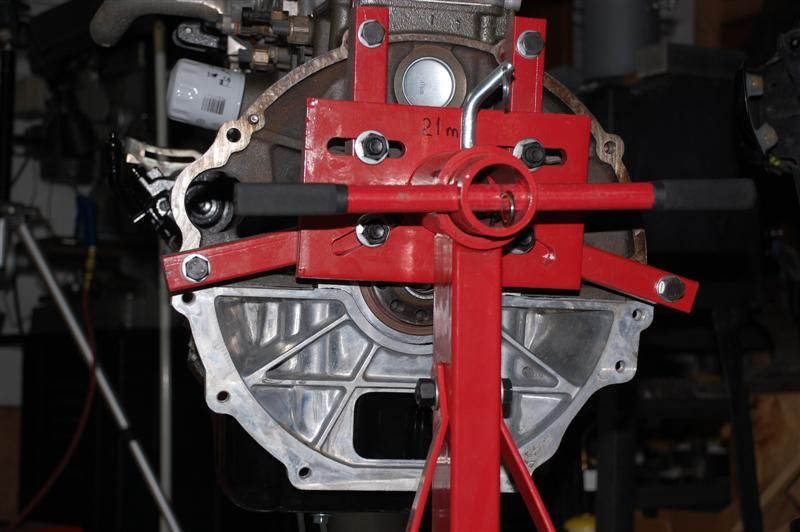
I bought this project on 6/8/12 from a guy who had bought it to try to rebuild it. He decided he didn't want to tackle it and sold it to me. It knocked really bad, and I, like him, thought it might be in the head and an easy fix. Boy were we wrong! The knock was from a rod bearing that had about 1/16" of clearance due to oil starvation. The oil starvation was due to the front crank bold being loose. The reason I know this is that when I was turning it over with a socket, I felt the crank bolt move. At first I thought this was good since bolts like that are sometimes really tight. Boy was I wrong! That big bolt essentially clamps the front gear set, which drive the oil and power steering pump.

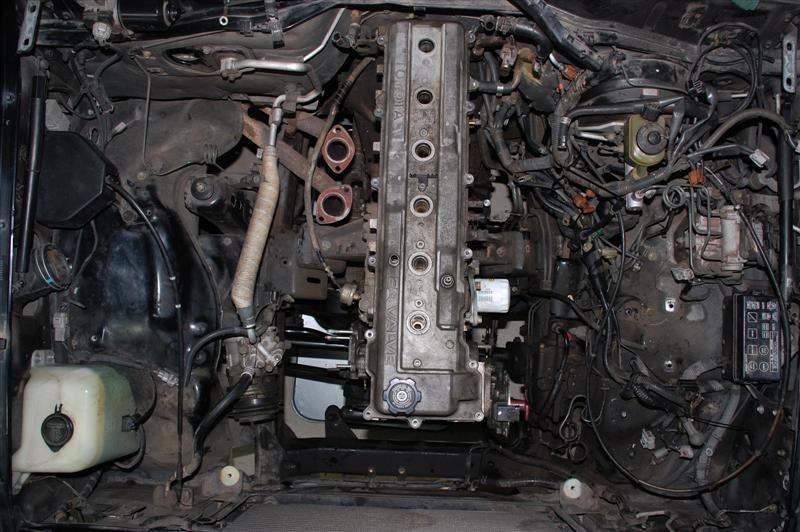
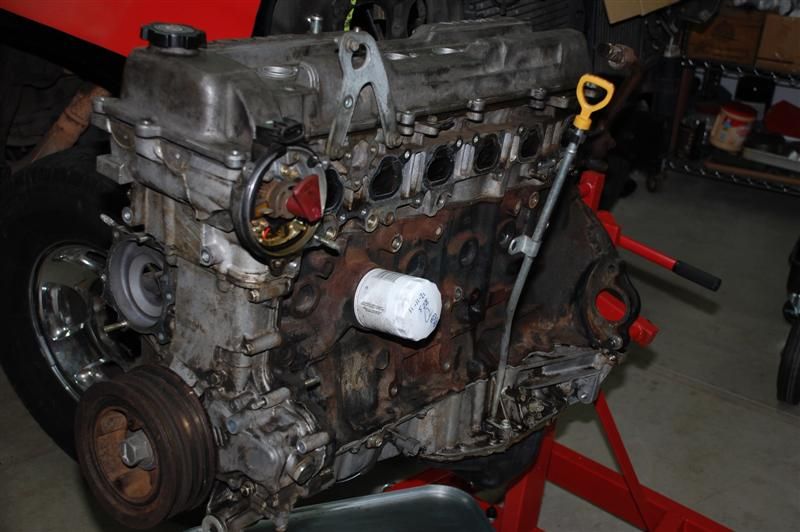
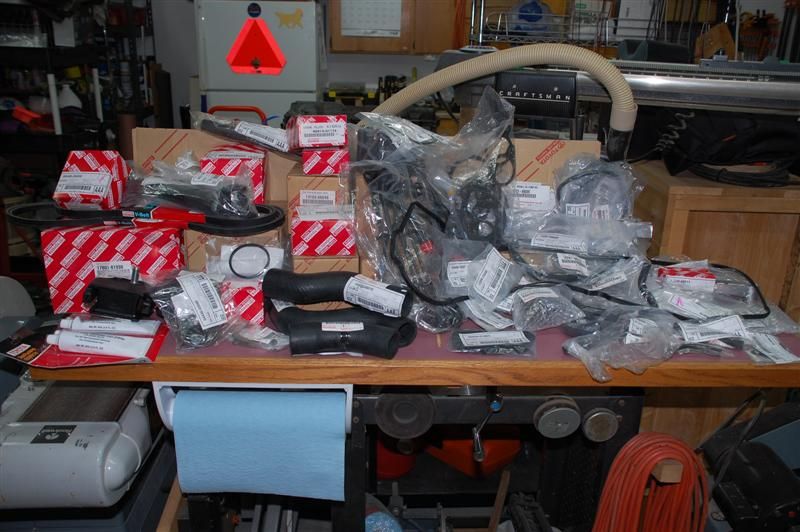
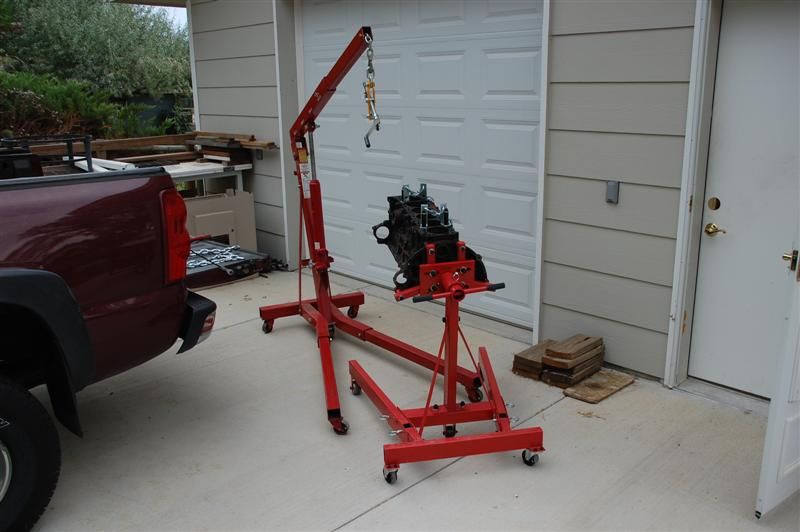
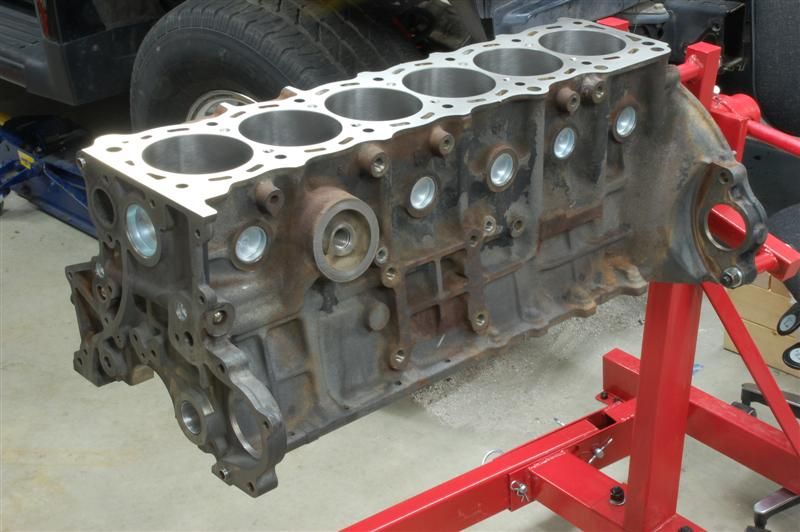
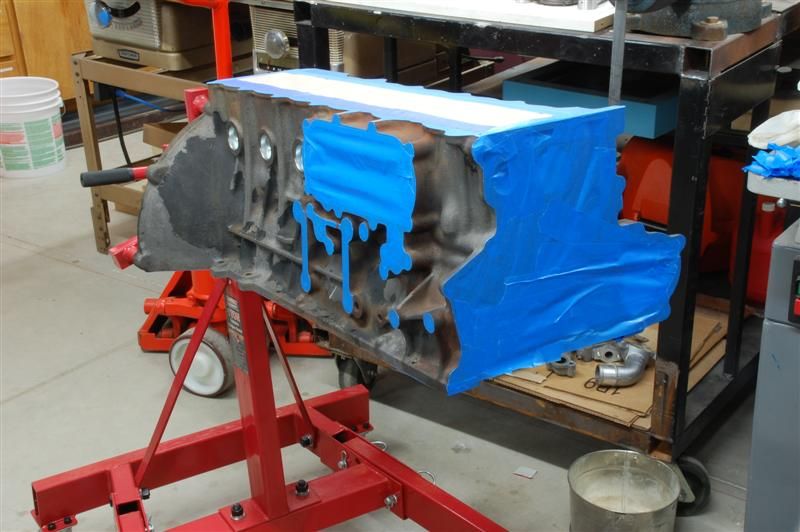
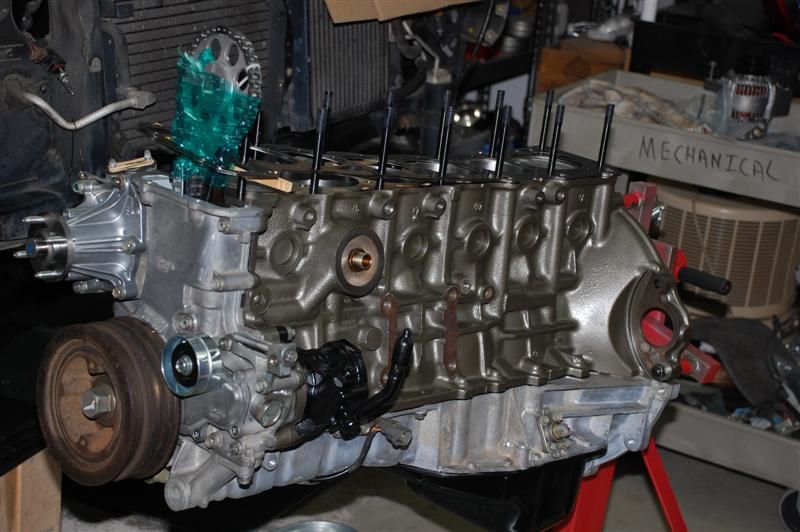
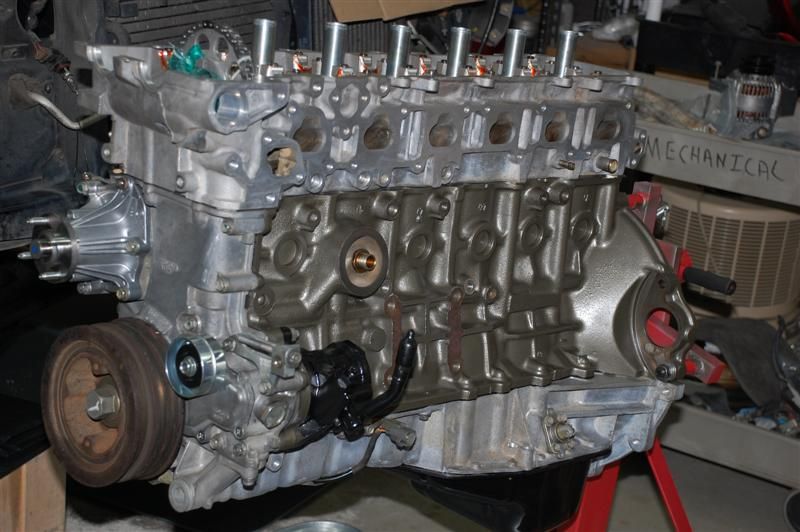
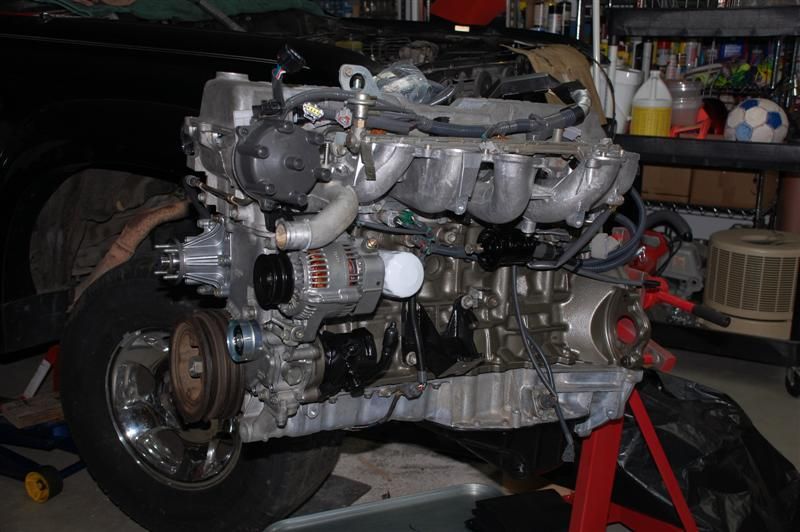
To start, here is a picture of my engine from just a couple days ago, and one from the day I bought the Black Project.

Geez, 5 months from 6/8/12 to 11/9/12? Okay I never said I was fast or that this was a hurry up job. :hillbilly:

I'll keep adding pictures, some from the past, and when I have updates.

Enjoy! :wrench:
DSC_5950.JPG


DSC_3871.JPG
 
Last edited:
April 16, 2020. Editing since photobucketof**** hijacked all my pictures. Now I can only add 5 photos per post, so I'll do what I can.

Here's what the engine looked like before I started tearing into it on the first day:
DSC_3885.JPG


I pulled the exhaust manifolds:
DSC_3924.JPG

Working in the driveway in the sun sucks:
DSC_3945.JPG


There wasn't any good news under the valve cover, in fact, just the opposite:
DSC_3978.JPG


I gave up on the great outdoors and moved it inside. I miss the pinball machine I had to get rid of to make room.
DSC_4004.JPG


Here's a picture of where my distributor was before I removed it. This is TDC1:


This is with the intake removed, while the engine was in the engine bay. Not a good idea, and definitely not recommended. I was stupid to try this. But I succeeded somehow.


The power steering pump had apparently been "repaired by a pro" probably recently I imagine:


Parts washer - worth its weight in solvent (and that s*** ain't cheap!):


Parts stockpile in the back end:
 
Last edited:
Bird's eye view of engine before pulling:


Junk from the left side, poked into cardboard:
DSC_4685.JPG


I'm getting ready to dig in, still no idea why it was making noise:


This can't be good (#5 piston was hitting head):


The front end looked about as bad as the rest inside:


Crankshaft? Yeah, looked bad too. Turned out to be worse...


#5 rod journal was toast, and would not grind in by a mile (got a decent crank from Robbie though, thank God):


Ordered up a boatload of parts from CDan, first of many dollars to help keep his dogs fed.


Loaded the engine block to take to the machine shop:
 
Last edited:
Block and head in the pickup, soon to join all the other parts for the "big ride":


Parts from inside the power steering pump:


Power Steering rebuild kit from Dan:


Masking parts for black paint:


Block ready to mask:


Masking the engine block:


Primered the engine block:


Painted the engine block iron gray duplicolor:

 
Got my Cometic gasket!


Main bearings:


Pistons installed:


Brand new oil pump:


Front end assembly:


#1 oil pan installed:


and #2 oil pan installed:


Ready for a cylinder head:


And cylinder head installed:


Intake cam:


Exhaust cam:
 
Here's where I centered my engine stand bracket. I looked all over and couldn't find anything for guidance on this.


A buddy stoppped by and we did his passenger seat with leather from Shane's kit. We only did one due to time. I'm impressed. I hope to do the same to mine when I get the funds and time.


Here's a nice bundle of wire from CDan:


Spread out on the floor:


Hung on my engine:


I cleaned the throttle body, it was bad:


But it cleaned up nicely:
 
Great thread, have you ever done motor work like this before? How much do you expect to spend all said and done on the rebuild?

Thanks
 
Great pictures for future reference! It is very interesting to see the inside of everything cleaned up like you have here.

Thank you for taking the extra time!
 
Thanks guys.

jmvar: I built a small block chevy many years ago. That was about 1000 times easier than this one. I think I'll be in the 5 to 6 thousand range when she's all done. Machine shop was around 1800, and Dan now has more of my money than I care to add up; at least I can sleep better knowing his dogs are well fed. Plus a new radiator, rebuilt starter, rebuilt alternator. I used Onur's (Beno's) build list with a few adds and deletes here and there. I went with ARP studs and the Cometic HG, so that added a few hundred. To be honest, I'm almost afraid to add it all up. I did have to buy a used crankshaft and rod, thank God Robbie was there for me.
 
looks great man! just out of curiosity what did that harness set you back?
 
Trust me fellas, this motor is going to be fantastic. It was my seat he helped (did nearly everything) me with. Jim is one of those guys that has every tool and is incomprehensibly thorough.

I can't wait to hear this baby fire up. But he has more leather to install ;)
 
Wow truly an impressive undertaking. Good to know people are starting to tear these things down and rebuild them. As out rigs continue to age and rack up miles, finding low mileage donor engines will be rare. I see this will becoming more common place. The rebuild costs however are quite staggering.
 
RJ82, the new harness was around 450 from CDan.

Davework, no problem. What ya need? The old one is still in the truck, I haven't taken the junk off the tranny or o2 sensors yet. All the injector housings are bad, well, there might be 1 or 2 I didn't break the clip on, and CDan says the housings are available still. You can PM me for the parts. I'm not sure what parts will go between a 94 and a 96, but you're welcome to check.

pmccumber - I'm pretty sure your leather will be installed before this baby draws her first new breath. Now that you know how, you can do the work while I watch next time! I'll make sure you actually get the hog rings around the right pieces... :D
 
If you go to the 2nd pic on post #3 above, is it the sensor on the upper left?

Every housing on there available except this one, can't find it anywhere.

It is the thermo switch on the side of the head. Not sure if OBDII trucks have it.
 
Nice work! I hope when my time comes that i can handle this as well as you did. :banana::banana::banana::banana:
 

Users who are viewing this thread

Back
Top Bottom