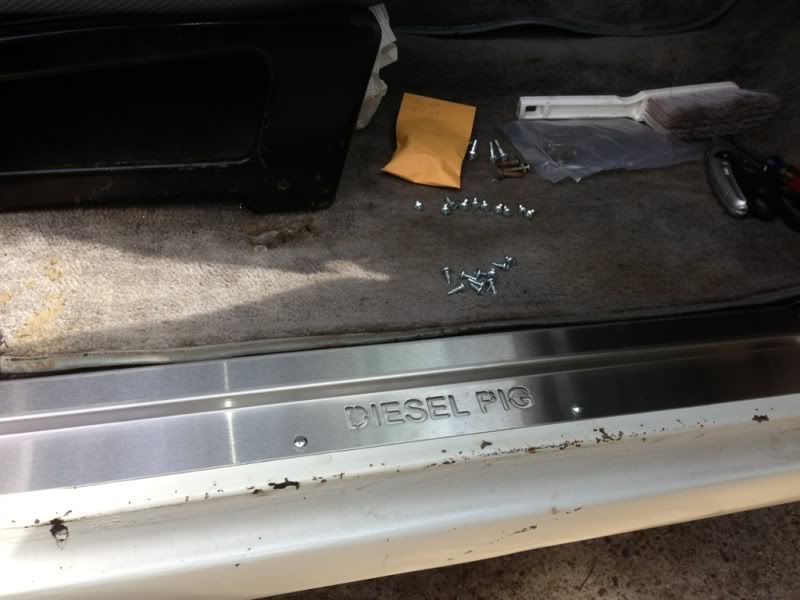
Fresh Pork!

This site may earn a commission from merchant affiliate
links, including eBay, Amazon, Skimlinks, and others.

Tucker,

How were you planning to mount the rear bumper. I replaced the rear cross member, because it looked really weak and I want to build something like your's. With the weight of the bumper, spare, etc. and towing a trailer, you might think about that cross member. Check out what I made, not hard to do.
 
My crossmember already has a hole to allow a 2" receiver right in the center where this is designed to bolt, so that whole area isn't very structurally sound on my pig. This bumper also has provisions to bolt to the tops and sides of both frame rails. I'm thinking I will just square cut the bumpers center holes with the water jet and only utilize the frame rail mounts. The outer mounts are 1/4" plate and have beads on all three sides of the channel, plus the 1/2" shackle ring plates welded to the outside. My receiver hitch is welded and triangulated at both ends (crossmember and shock crossmember) so I won't be towing off of the bumper anyway.

Tucker
 
Last edited:
Tucker,

How were you planning to mount the rear bumper. I replaced the rear cross member, because it looked really weak and I want to build something like your's. With the weight of the bumper, spare, etc. and towing a trailer, you might think about that cross member. Check out what I made, not hard to do.

Ron,
Do you still have that crossmember I backed out on?
Reading these posts, that would be cool to have one off the Pig that I could cut out for a reciever...
Thanks,
 
My crossmember already has a hole to allow a 2" receiver right in the center where this is designed to bolt, so that whole area isn't very structurally sound on my pig. This bumper also has provisions to bolt to the tops and sides of both frame rails. I'm thinking I will just square cut the bumpers center holes with the water jet and only utilize the frame rail mounts. The outer mounts are 1/4" plate and have beads on all three sides of the channel, plus the 1/2" shackle ring plates welded to the outside. My receiver hitch is welded and triangulated at both ends (crossmember and shock crossmember) so I won't be towing off of the bumper anyway.

Tucker

Sounds plenty strong. The problem I have is my long range tank is right there, so I just made the cross member strong enough to bolt to.

Good Job.
 
Found a couple more pics of the Pig in others albums (thanks to all who took these):

DSC_0826_zpse962054c.jpg

Katemcy2013231_zpsac8a14f5.jpg

Katemcy2013234_zps9968ab7c.jpg

Katemcy2013222_zpsc31797f7.jpg


Tucker
 
Tucker,

Are you going to leave it white, under the lettering. I was thinking about painting it black, so it shows up alittle better.
 
So I finally got around to installing my new sill plates, didn't paint under them but will be re-doing the interior soon and might then. Here's some pics ...

6A8D3233-DE1D-4E7F-AE50-7D3CA0CF1889-518-0000002A3A623F8E_zps7c24a46c.jpg

4CA5EDAB-4CCC-422E-8FA1-9CB747B987BC-518-0000002A43DB338A_zps4bd13e70.jpg


B126E55F-7B03-4ECF-8F56-26BBD1890026-518-0000002A51D8EBA6_zps27891f5e.jpg

AEE453D8-9734-48B7-9E98-23E73246596F-518-0000002A57EF43E2_zps4f26d03a.jpg


Put this one on top of the carpet being the driver, the carpet binding hung over and I thought my foot would catch it:
62FA2698-C7B1-4D68-B8D4-AF8E72892BCF-518-0000002A5DAEB1D8_zps2142751d.jpg

71160CA2-EA7B-4AB5-B5E8-86D1E57221ED-518-0000002A62BEFFB3_zps408a9b7e.jpg


462E91CE-D508-4FB3-8B3F-050E39DBC1C2-518-0000002A67BB2198_zps30b2ec43.jpg


I've got the SOR carpet kit, so your install may vary. These are 1000x better than the stock sills -

Tucker
 
I thought our originals only screwed on the inside, under the rubber mat?

I went with self tapping sheet metal screws, the stock ones did indeed screw only on the inside. My stock holes were lost beneath inseparable layers of POR15, QuietCrap, and felt padding. I just went with longer screws in the back and through everything ;-)

Tucker
 
Tucker,

Looks like you could slip a pice of black paper under the front sill lettering; if you wanted check and see if you like the look of it before painting it black.

(If you do, post a picture. I'd like to see.)

JW
 
Finished up a little project I've been working on, my tail light surrounds had been painted black and were peeling badly :-(. I soaked them in some brake fluid all week to remove the paint w/o messing up the plastic. Then I polished them up with some Novus plastic polish since these are plastic chrome. I also ordered a sheet of sponge neoprene and made some new gaskets since mine were gone and these are unobtanium. Here's some pics:

4163ED32-673C-449A-A60C-84AD19881FBA-785-0000005CB988243F_zps6e51b80b.jpg

83BDE226-5AEA-4EAB-9DD7-28A967F42AC4-785-0000005CA3752DBD_zpsa13245df.jpg

B1DE13BA-F16D-4158-B8F4-A0CAF1388ABC-785-0000005CA8E5CB27_zps83c036e7.jpg

9A948696-3C31-4660-9258-80EC98B9D821-785-0000005CAF020E86_zpse7cc4b5f.jpg

F21F18FD-3BAD-4936-B03A-EC440D9FAB48-785-0000005CB4172BA8_zps224645fc.jpg

729D1C56-1BA0-4661-806F-8DED6D356952-785-0000005CCD2E157C_zps04571af5.jpg

BF895B39-BED4-4B2E-9556-D172A546C265-785-0000005CBF409FE4_zps931ae2e4.jpg

D17FA8FF-15D7-47D0-8B96-CA76A6DEDABB-785-0000005CC3F933D9_zps263bd0dd.jpg

E5A068D7-A898-47EF-AEFE-97F40947246C-785-0000005CC854C999_zpsa0fe0a50.jpg


Forgot to get final pics, will take some tomorrow. Wanted to show how to make gaskets ;-)

Tucker
 

Users who are viewing this thread

Back
Top Bottom