- Thread starter
- #61
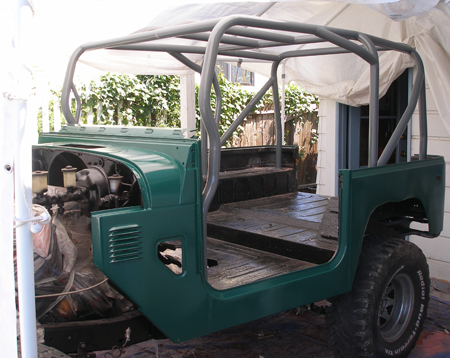
Body Parts
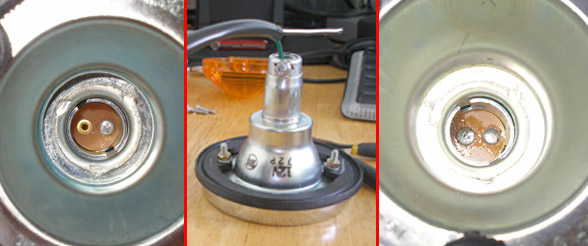
Got 7 of the eight windshield bolts to come out by heating them up and using an impact screw driver. The last one had to be drilled out and tapped after it's head broke off.
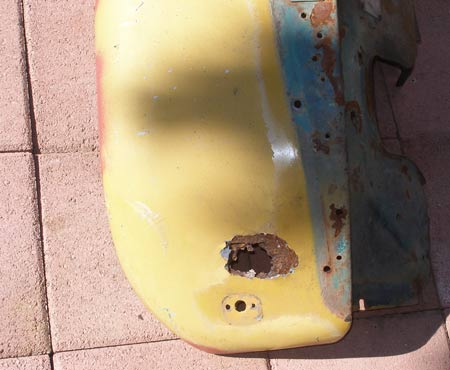
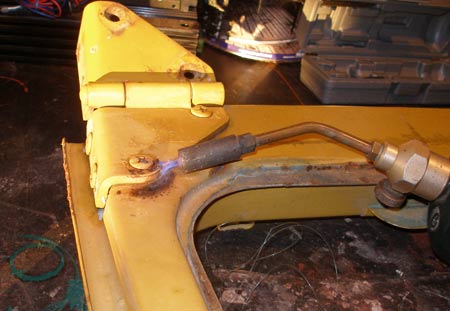
Both fenders had rust holes under the bubbles, where the turn light support mounts.
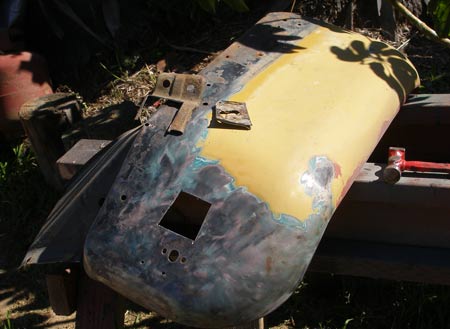
This fender had to be hammered out because of the accident that netted me my air lockers. Link to accident pictures.
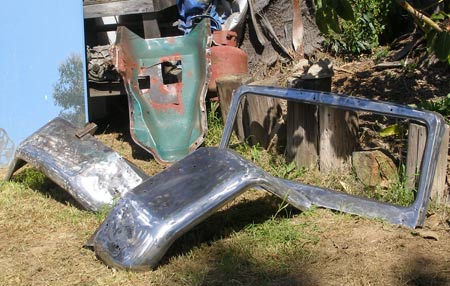
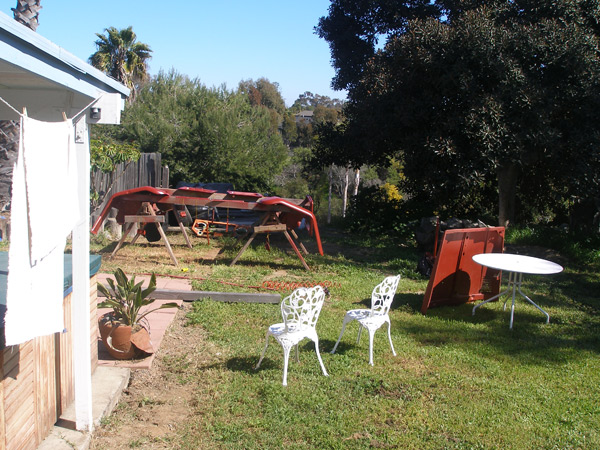
After rust holes were replaced with metal, and every thing wired wheeled down. That windshield frame has lots of edges and I am sure my neighbors are stoked I'm done with this part.
Thanks to DomSmith for stopping by and giving me some good words, and best of all a 6 pack.

Got 7 of the eight windshield bolts to come out by heating them up and using an impact screw driver. The last one had to be drilled out and tapped after it's head broke off.
Both fenders had rust holes under the bubbles, where the turn light support mounts.
This fender had to be hammered out because of the accident that netted me my air lockers. Link to accident pictures.
After rust holes were replaced with metal, and every thing wired wheeled down. That windshield frame has lots of edges and I am sure my neighbors are stoked I'm done with this part.
Thanks to DomSmith for stopping by and giving me some good words, and best of all a 6 pack.
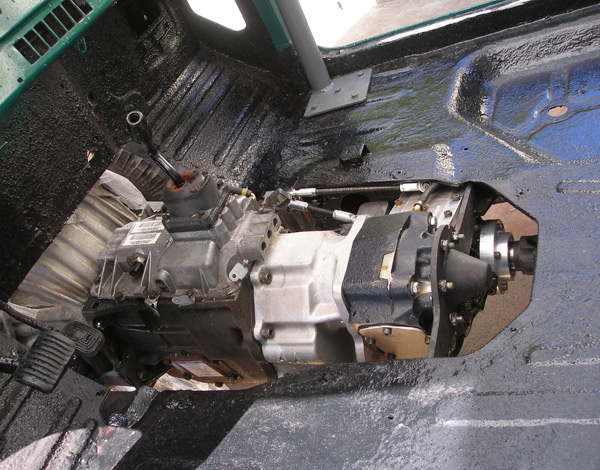
 me mad looking at the fresh Orion.


")
 . Old neighborhood. And I am not doing it every day. The worse of it was when doing the cage. The guy right next door, on a hot weekend day(when everyone has their windows open) did make a request that I kick back for the afternoon. We are on good terms so it was not a big deal and I understood. I mostly work on it during the week, so not too many around during the day.