Builds Father & Son 1 Ton 4Runner Build (1 Viewer)

This site may earn a commission from merchant affiliate
links, including eBay, Amazon, Skimlinks, and others.

Joined
Jan 30, 2018
Threads
3
Messages
35
Location
Maryland
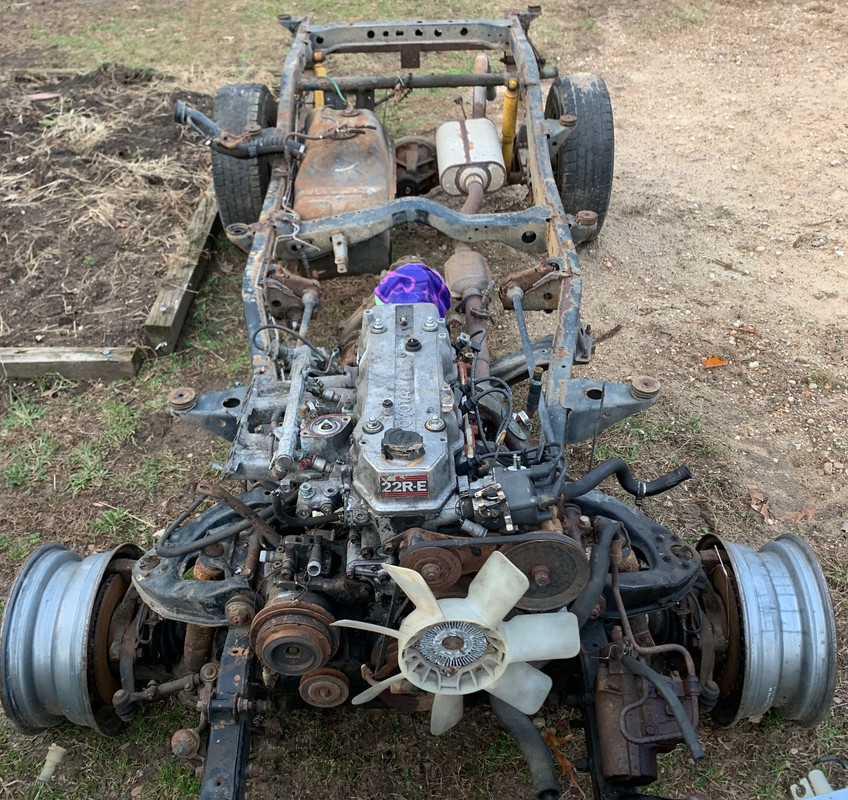
Huge thanks to our family, wheeling family including Dave's Off Road Supply, WFO Concepts, Off Road Design, East Coast Gear Supply, and Bill Griiffith - Verb Precision Machine for helping to make this dream project happen. This is pretty surreal. In ways it seems like just yesterday, other ways a life-time ago, that I was dreaming about building our '89 early body style 4Runner when my oldest son who was just a few months old and the youngest was still about 2 years out. They're now 16 and 14. Their Mom and I bought the 4Runner in '04 from the original owner with 303K on it. I drove it daily for about 5 years, documented the 22RE rebuild on the old PBB site, retired it in '10 to build it, but had to back burner it. Unitil now.

Plan - Full bodied wheeler on 40s capable of street driving. Front and back halfed stock frame, one ton solid axle swap, drvie train swap, simple suspension, full hydro, cage, seats, re-paint, and body protection.

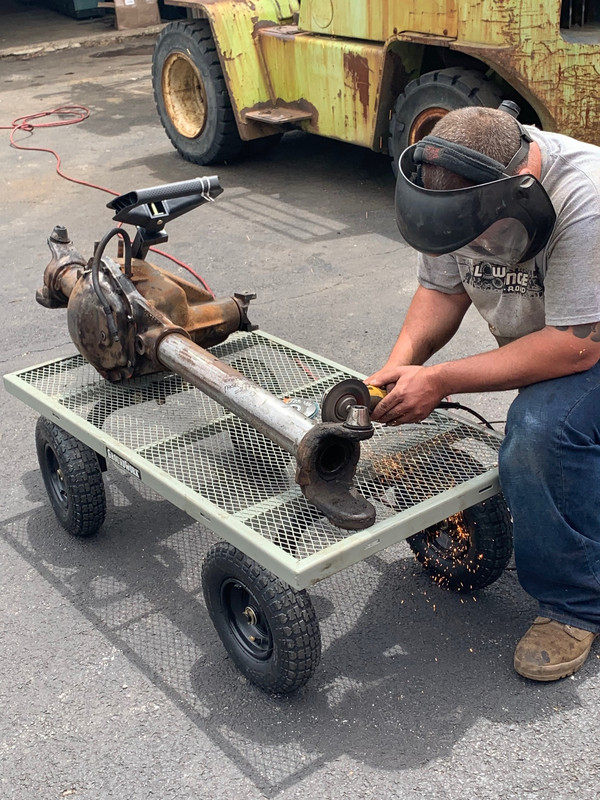
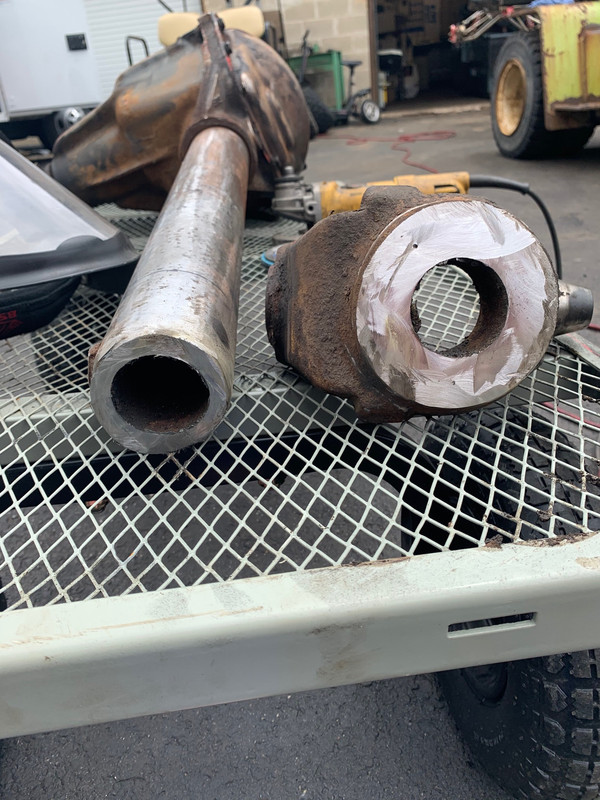
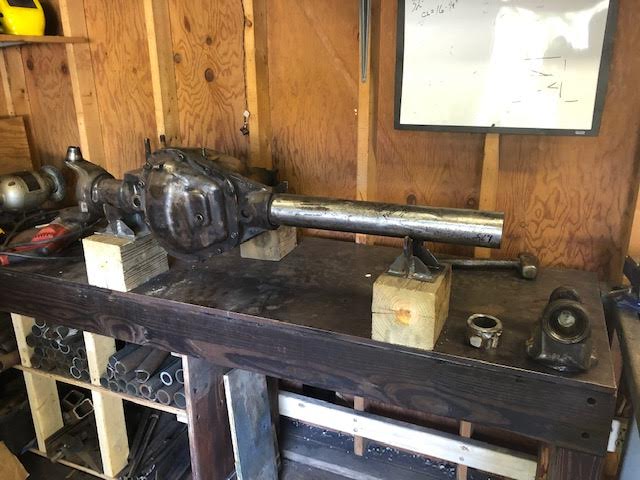
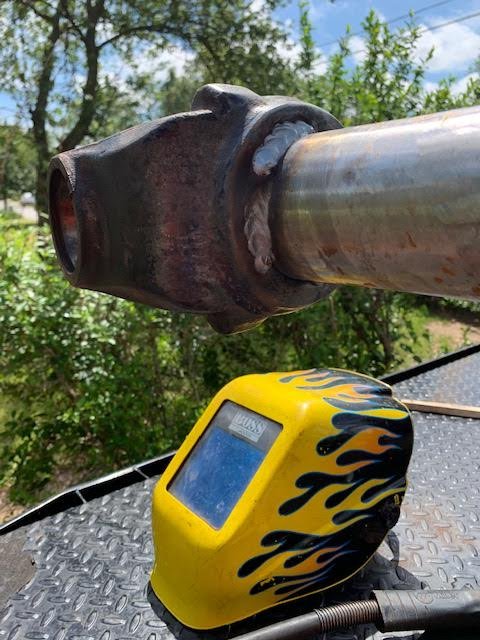
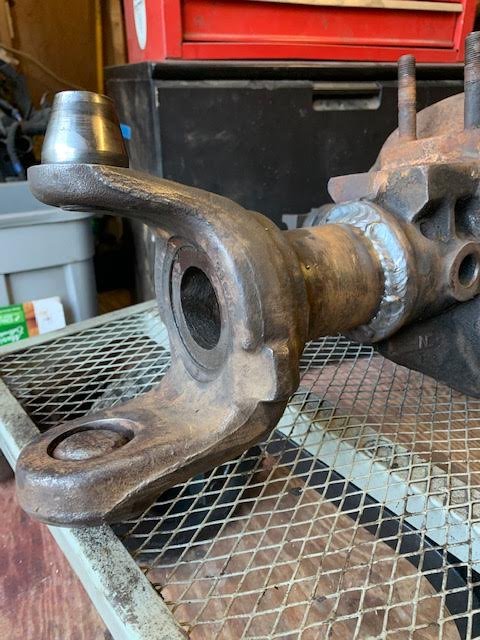
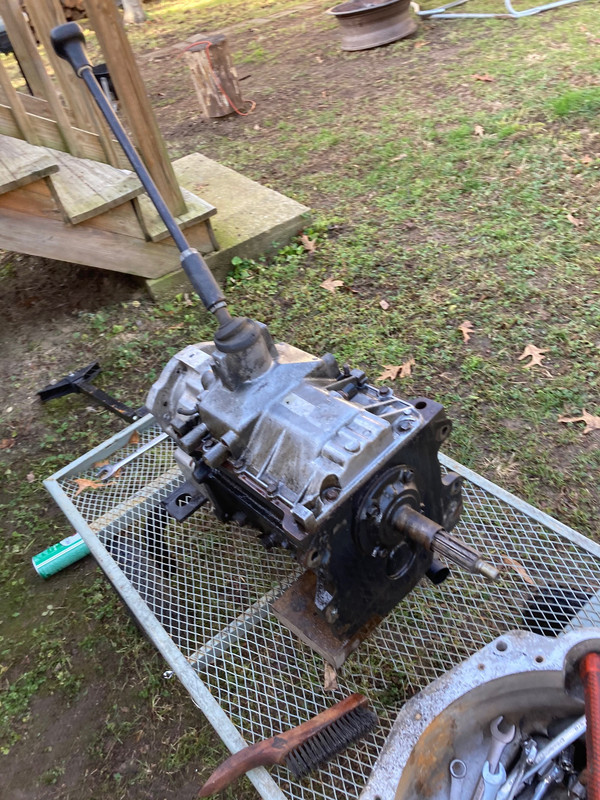
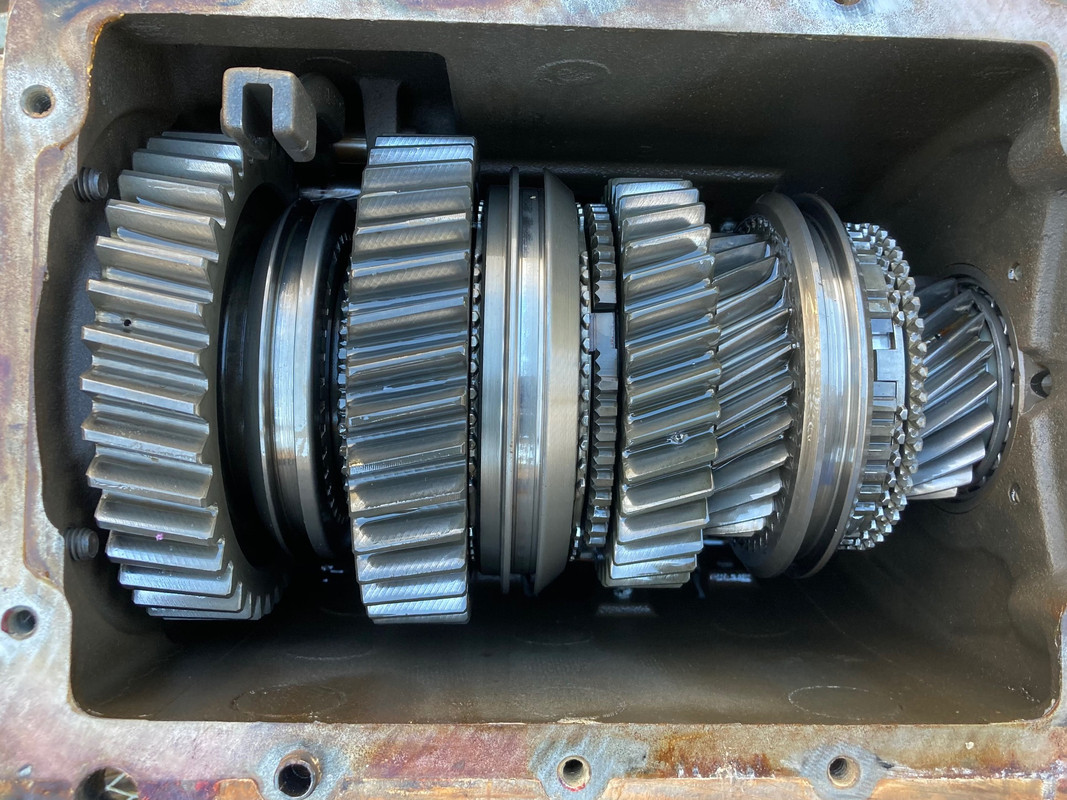
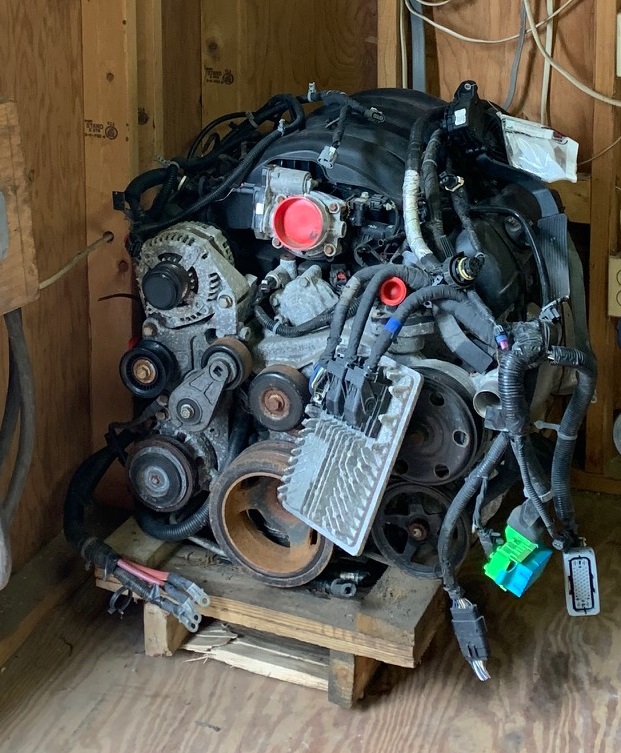
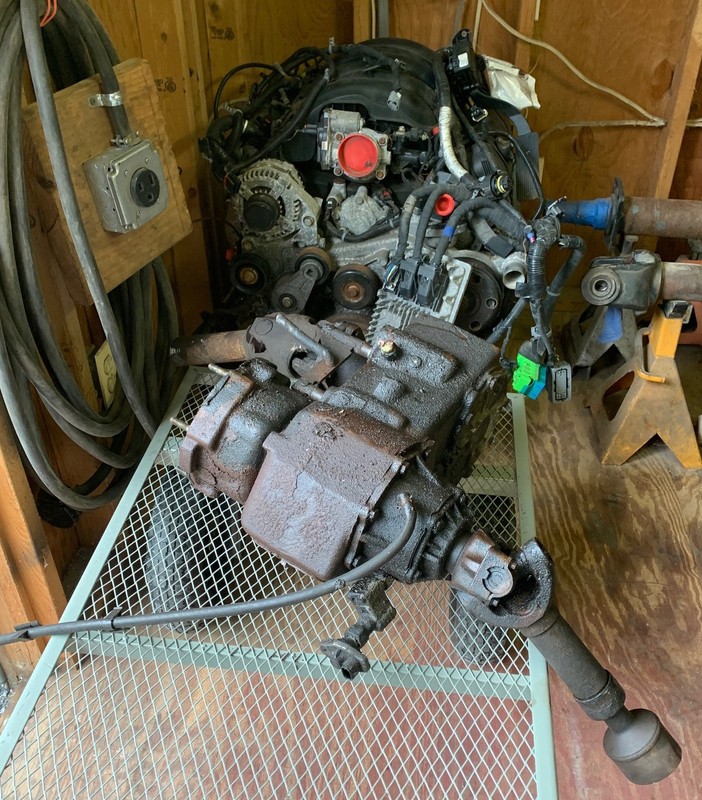
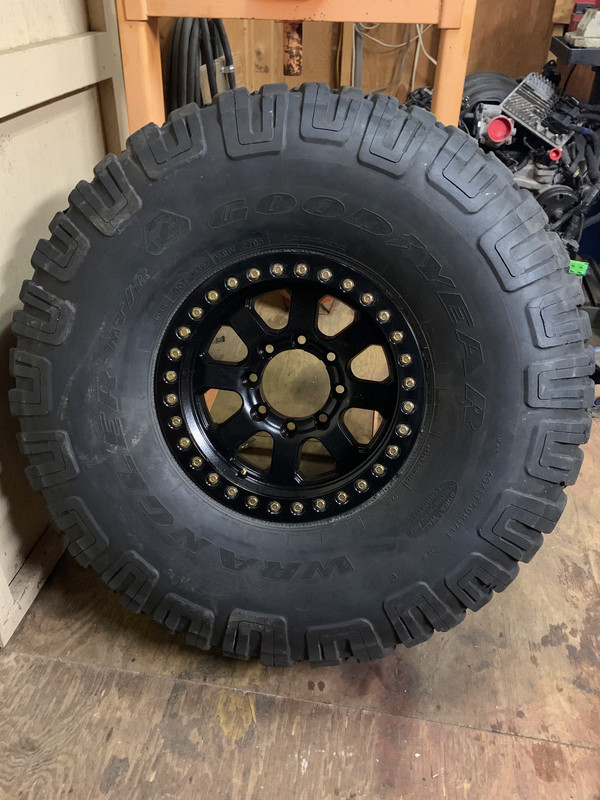
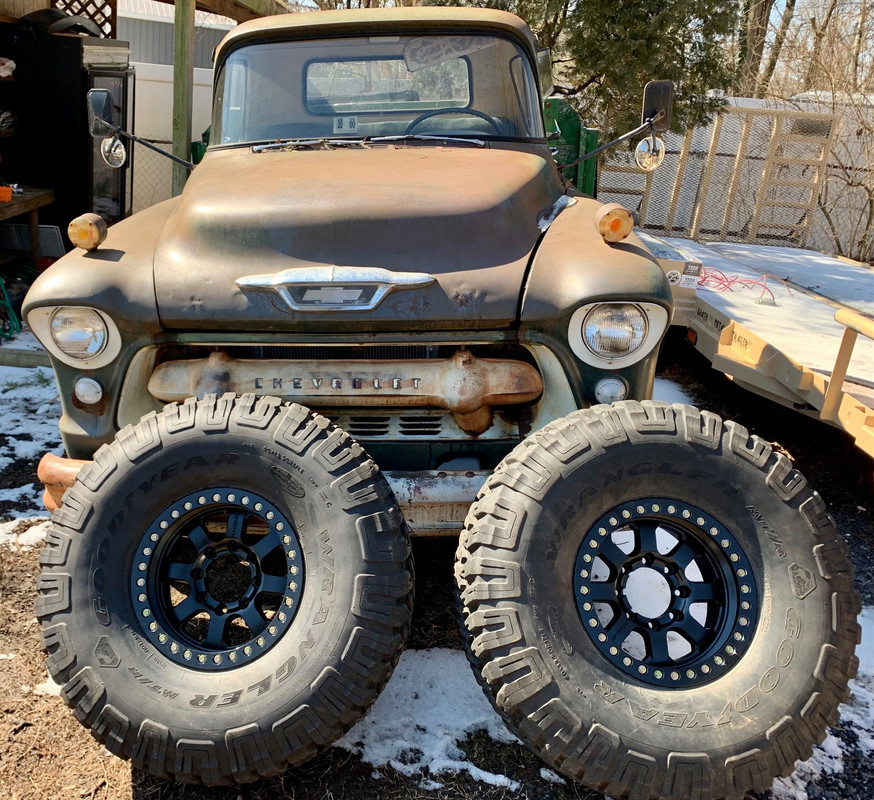
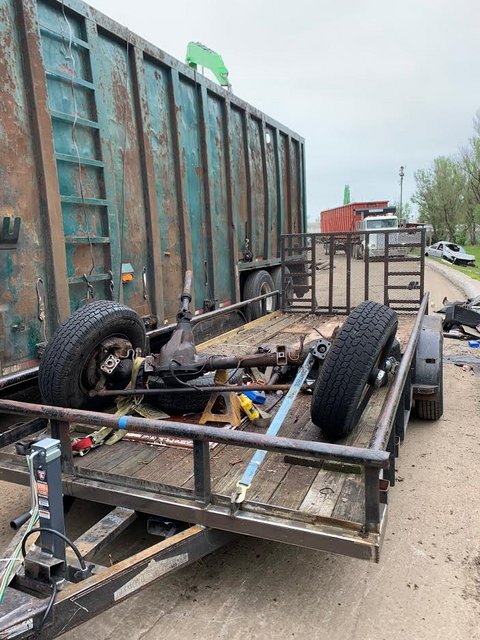
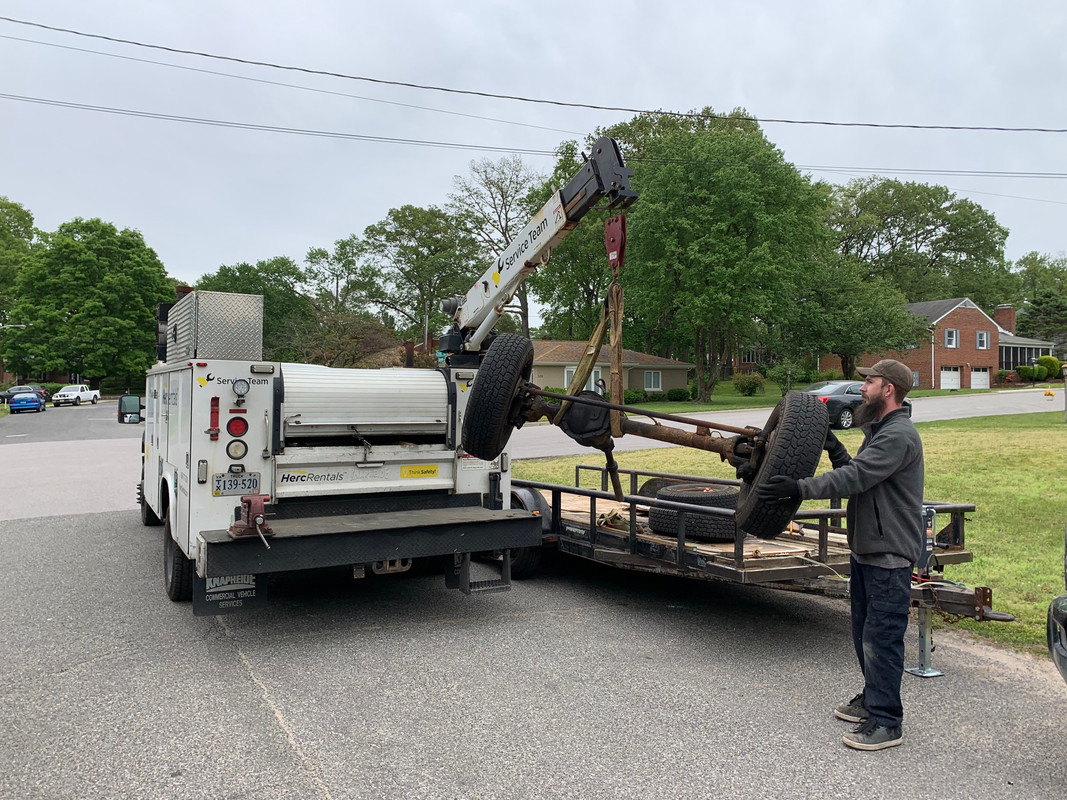
Stock piled: KP Dodge D60 front axle we narrowed to ~ 64" WMS-WMS, Cab and Chassis 14 bolt, 4.56 gear sets, WFO 14 bolt truss, Total Metal Inoovations 14 bolt shave kit, 2014 Chevy LV3 4.3L V6, NV4500 trans w/6.34:1 first gear, ORD Magnum & NP205, Champion aluminum radiator, Trail Gear leaf springs, shackles, Bilstein 5100s, and the front spring hanger / 8274 winch mount I built early this year. Dave hooked us with a set of Raceline Avenger beadlocks which are on the way and we have a set of 6x 40" MTRs on stand-by. Once money allows, we'll order another ORD Magnum underdrive, call Dave Williamson for steering, seats, harnesses, axle setup kits, lockers, etc, get the LV3 harness worked over, ECU flashed, have Bill machine the 205 case, shave the 14 bolt housing, shave the R&P, and round up all the odds and ends.

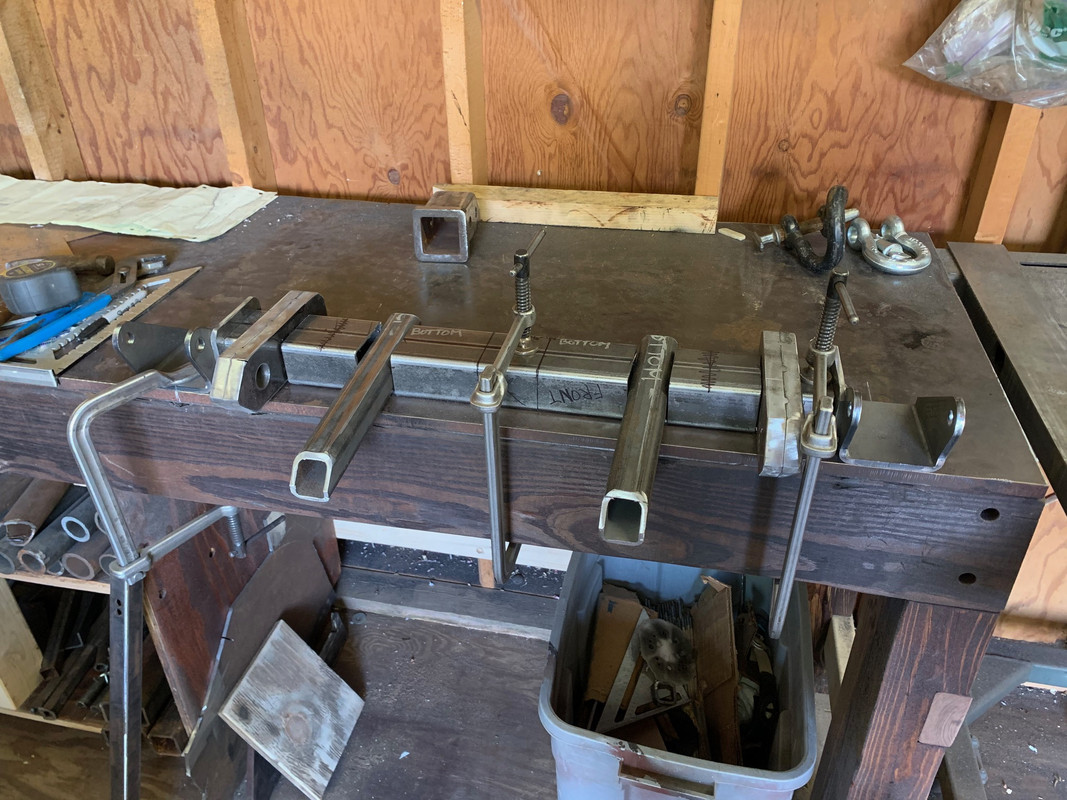
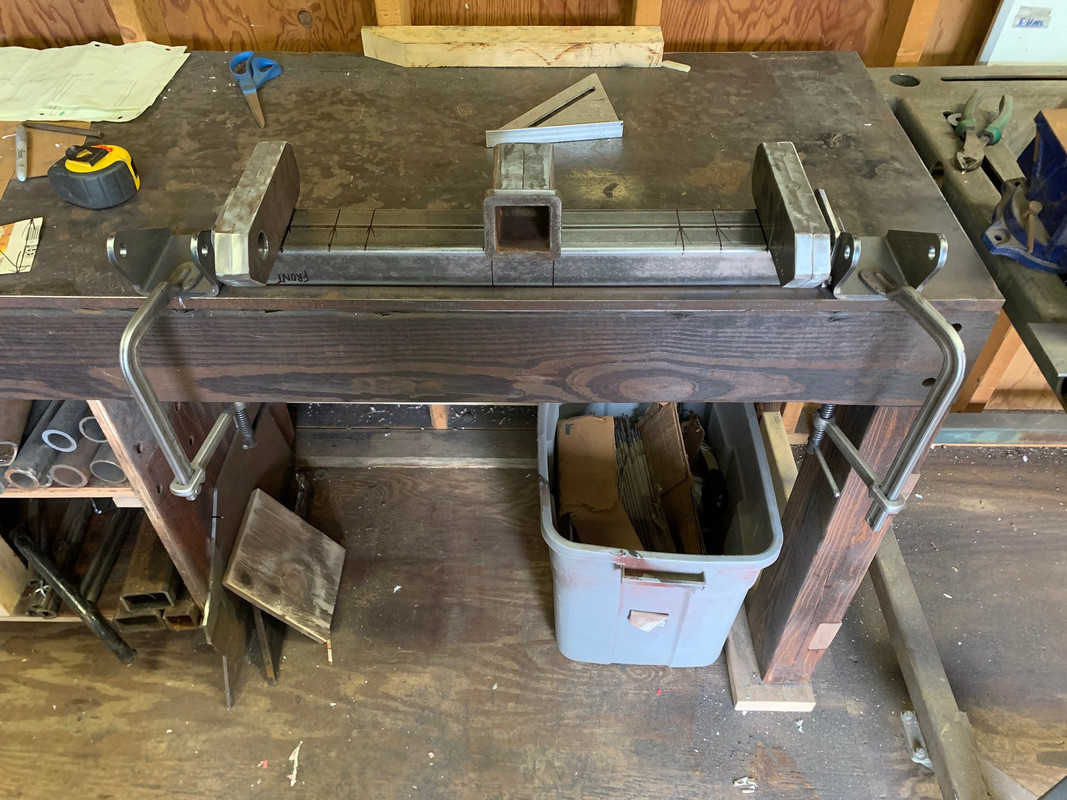
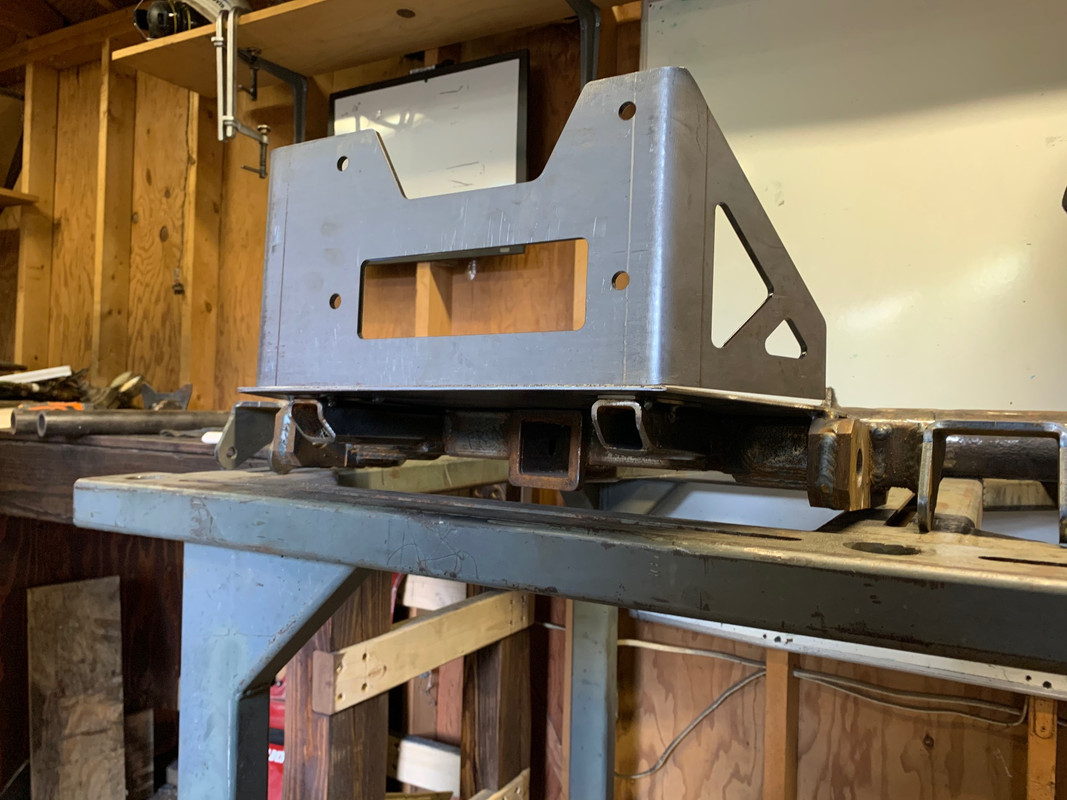
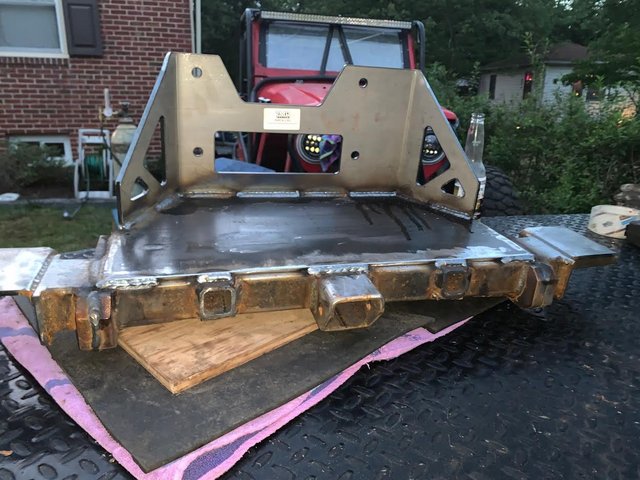
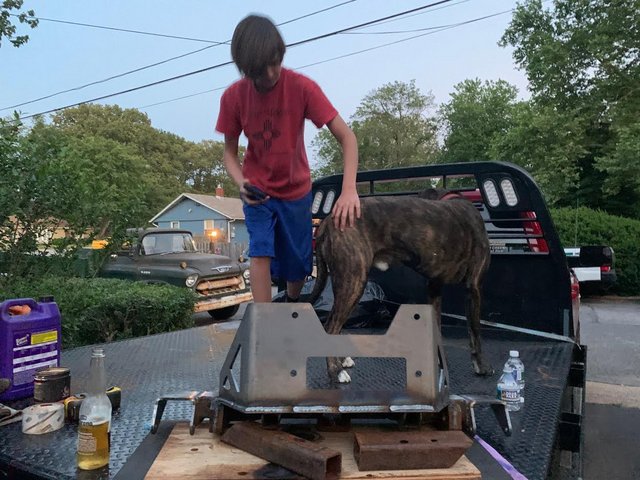
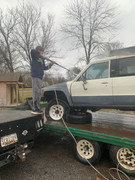
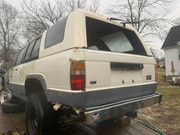
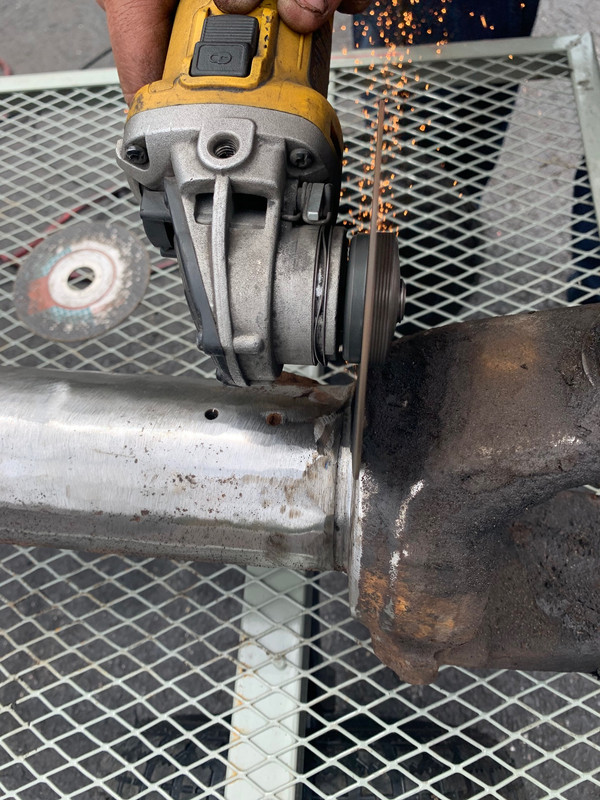
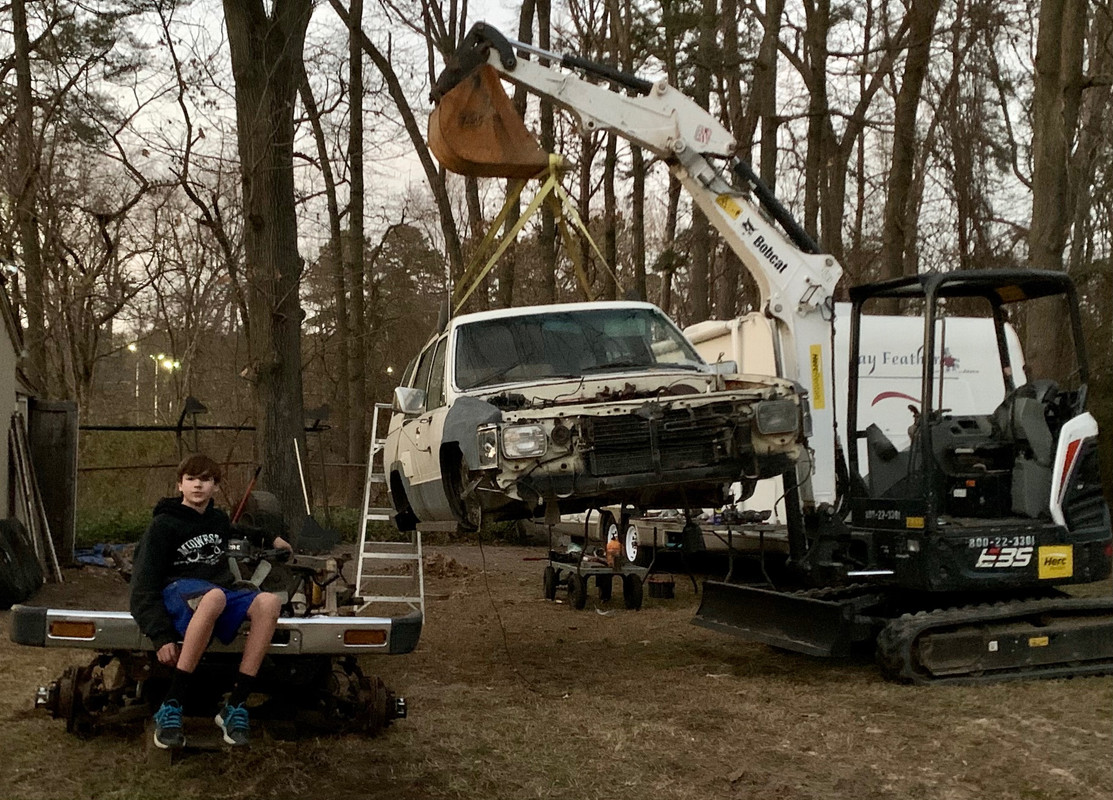
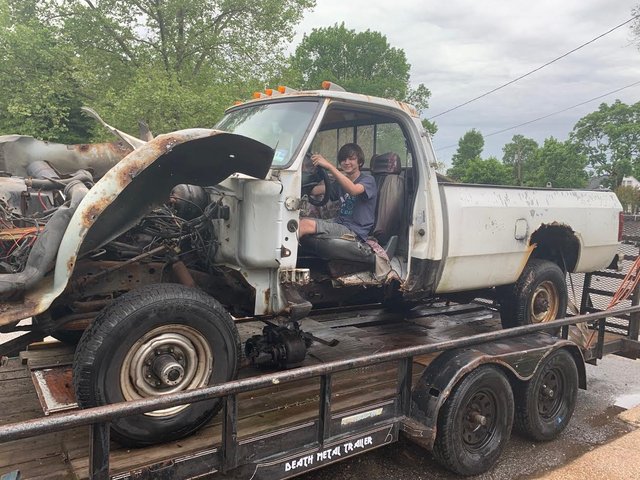
Summer 2020 Noah and I dragged home a pretty beat down and rotten '93 W250 for the 60 front and 205 transfercase. We gutted it and scrapped the left overs.In between projects on my FJ45, Noah and I built the leaf spring hanger / 8274 winch mount.

W350_Tear_Down_2.jpg
1608055553070.gif

W350_Tear_Down_3.jpg
1608055553110.gif

W350_Tear_Down_6.jpg
1608055553148.gif


Dodge-60-off-trailer.jpg
1608055553189.gif
 
Last edited:
Spring-Hanger-00.jpg
1608055593117.gif


Spring-Hanger-01.jpg
1608055593168.gif


Spring-Hanger-02.jpg
1608055593211.gif


4-Runner-cross-member-10.jpg
1608055593294.gif

4-Runner-cross-member-9.jpg
1608055593345.gif
 
Spring-Hanger-00.jpg
1608055658243.gif


Spring-Hanger-01.jpg
1608055658284.gif


Spring-Hanger-02.jpg
1608055658332.gif


4-Runner-cross-member-10.jpg
1608055658369.gif

4-Runner-cross-member-9.jpg
1608055658409.gif
 
As for the 4Runner itself, years ago I trimmed a few inches out of the front fenders and rear wheel openings. I'm not a paint and body guy at all so I just bedlined over the bare metal. It did the job at the time, was always ugly, so we'll probbaly strip down and repaint the entire body eventually. It clears 37s with zero lift so with rear moved back about 1" - 2" and the front moved foward about 4", I'm hoping to won't take much more sheet metal work to clear 40s. I gutted the interior years ago (seats, seat belts, carpet, and interior panels) and Noah power washed years of funk off the body back in January 2020. This past weekend (13 Dec 2020,) we unhooked everything in preparation of separating the body and frame then pulled the body with the excavator. Fortunately the frame is in great shape and very solid.

Noah-power-washing-1.jpg
1608055704874.gif
Noah-power-washing-2.jpg
1608055704927.gif


Noah-power-washing-3.jpg
1608055704972.gif
Noah-power-washing-4.jpg
1608055705009.gif

Noah-tires-tractor.jpg
1608055705056.gif
 
Narrowing the Dodge king pin D60 front. I cut the C off with a cutting wheel and grinder and final cut the housing with Bill's band saw. I split the left over tubing inside the C with the sawzall then hammered out the pieces. We heated the C to about 400* to burn off any junk, wire wheeled, let it cool to about 250*F, welded the C back onto the housing and welded the tubes to the center section.

Dodge-D60-cut-0.jpg
1608055889860.gif

Dodge-D60-cut-00.jpg
1608055889908.gif


Dodge-D60-cut-1.jpg
1608055889979.gif


Dodge-D60-cut-2.jpg


Dodge_60_Narrow_4.jpg

Dodge_60_Narrow_6.jpg

Dodge_60_Narrow_3.jpg

Dodge-D60-tube-cut-scraps.jpg

Dodge-D60-heat-up-knuckle.jpg


Dodge-D60-heat-up-knuckle-temp1.jpg


Dodge-D60-heat-up-knuckle-post-tacks.jpg


Dodge_60_Narrow_2.jpg

Dodge_60_Narrow_5.jpg


1608055890440.gif
 
This past weekend, 13 Dec 2020, we pulled the body with the excavator.
 
We pulled the NV4500 out of a friend's project YJ that he was parting out. It's an early Chevy case, early 6:34:1 first gear & 23 spline output shaft. Advance Adapters must have built this trans years ago but as far as I can tell, I don't think it has any miles on it.


2014 Chevy LV3 aluminum block & heads w/~75k on it. Bought it as a complete drop out from Bow Auto Parts in NH.
LV3.jpg
1608056627305.gif


Dodge NP205. Small diameter input shaft bearing style housing that I'll ask Bill to machine for the 90mm input shaft bearing for the Magnum. In the meantime, we've torn down and bagged up all the parts.
LV3-NP205.jpg
1608056627350.gif
 
Last edited:
Nothing new to report but we plan on getting busy stripping the frame down once this weather system coming through the East Coast clears out.
Drivetrain is sold minus the hand build 22RE with ENGNBLDR, LC Engineering, and DAO Racing components. I spent way too much money back in the day just to net way too little power but hey, hopefully somone can use it.

 
Last edited:
D32BE358-788A-4A3B-98B3-6BB6272D3E43.jpeg
5B680CBB-06FA-48C8-A7D2-A9C46BCCEC12.jpeg
CABFC1FB-DC5F-437F-9615-08C6198D1DD8.jpeg
B6E681C4-7D96-4421-BEA0-0D609D10BE63.jpeg
090E7013-69A9-4EC8-A6DE-246EF9F9B951.jpeg
 
Front diff, CVs, hubs, brakes, trans and t-case are all sold. Thanks to Firemedic831 for htting me up about the engine. I returned your PM, hit me up later.
 
Narrowing the Dodge king pin D60 front. I cut the C off with a cutting wheel and grinder and final cut the housing with Bill's band saw. I split the left over tubing inside the C with the sawzall then hammered out the pieces. We heated the C to about 400* to burn off any junk, wire wheeled, let it cool to about 250*F, welded the C back onto the housing and welded the tubes to the center section.

Dodge-D60-cut-0.jpg
View attachment 2525459
Dodge-D60-cut-00.jpg
View attachment 2525460

Dodge-D60-cut-1.jpg
View attachment 2525461

Dodge-D60-cut-2.jpg


Dodge_60_Narrow_4.jpg

Dodge_60_Narrow_6.jpg

Dodge_60_Narrow_3.jpg

Dodge-D60-tube-cut-scraps.jpg

Dodge-D60-heat-up-knuckle.jpg


Dodge-D60-heat-up-knuckle-temp1.jpg


Dodge-D60-heat-up-knuckle-post-tacks.jpg


Dodge_60_Narrow_2.jpg

Dodge_60_Narrow_5.jpg


View attachment 2525462
Wow nice work !!!!!!
 
Great Father and Sons project, I well be following along.

Happy holidays 😉
 
Thanks for all the interest and kind words. Most recently we painted the beadlocks and mounted the tires.

 
Awesome project. Your going to have a little rarity now days with your boy driving a stick seems most teens thats one pedal to much.

Good luck can wait to see the progress
 
Any updates on this?
 

Users who are viewing this thread

Back
Top Bottom