Builds Do I have your attention.... I call it VERA. (8 Viewers)

This site may earn a commission from merchant affiliate
links, including eBay, Amazon, Skimlinks, and others.

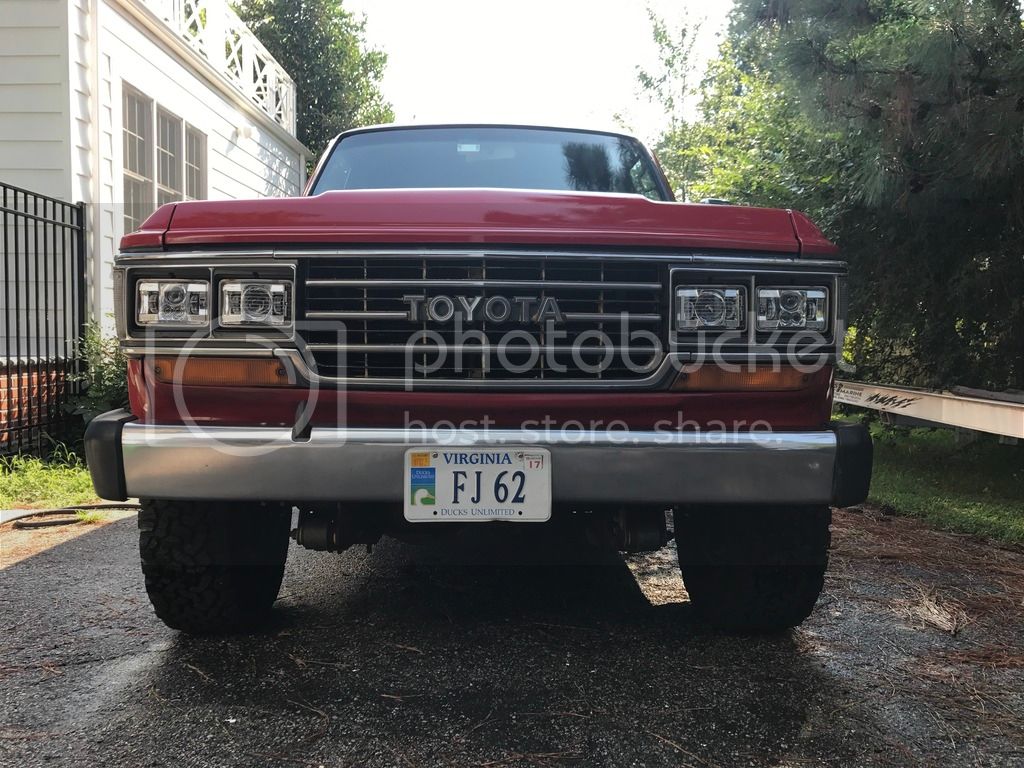
did some research on the negative grounding headlights...

looks like I have some options. my first thought was to find the headlight relay and change the switched side to send power, not ground to the bright side... but I need to look at the wiring diagram...

this is an easier fix, but then have some relays hanging on the side of the bay.


Got the amount for the AC done as well as for the washer fluid bottle. Grab the remote reservoir shocks that I’ve had sitting around and don’t think they’re going to fit. These are Dobinson’s for a 4 to 6 inch lift.

IMG_2594.jpeg


IMG_2593.jpeg


IMG_2595.jpeg


IMG_2596.jpeg


IMG_2597.jpeg
 
here is wiring diagram for the headlights. Looking at this, when you turn the switch on, the relay is tripped and sends positive to the headlight. So there is not two relays, one for low and one for high. Then when you turn on low or high at the switch, it just connects the ground.... I don't see a neat way to rewire this, so will buy the adapters....

1707234573825.png
 
What LED headlights are you using?

I am using Koito leds and also started with a 80 series chassis harness. They came with their own harness and relays. I did have to alter the primary headlight plug but the led harness runs out of that single plug. I am using an older switches.

If you think it might help I can dig through my notes and see how I made it work.

Edit: I clicked on the adapter harness you shared the link to. That looks to be similar to what Koito light uses. That is essentially what I used.
 
Last edited:
followed @UZJ40 lead and ordered a bunch of switches.....

1707418332208.png
 
Hats off to you Sir, very impressive work to transform this project into an incredible Rig!
Inspiring for me and my 80/40 parts piling up!
Thanks for the great binge read and sharing with us all on mud! Would love to see this at SAS in the future!
1707438699823.png
 
Hats off to you Sir, very impressive work to transform this project into an incredible Rig!
Inspiring for me and my 80/40 parts piling up!
Thanks for the great binge read and sharing with us all on mud! Would love to see this at SAS in the future!View attachment 3553654

I appreciate your comments... they fuel me to keep going and digging into the next part of the project!
 
Started working on the front bumper. Inspired by @Tank5 …. However, decided to use some 3/16 thick 2 x 4. I didn’t care for how thin the bumper was at the winch fairlead point, so I’ve bent a piece of metal so the fairlead will slip up behind it. I also wanted to mimic the original bumper angle on the sides. I will cut it shorter, still deciding where I want that to be.

IMG_2653.jpeg


IMG_2654.jpeg


IMG_2656.jpeg


IMG_2658.jpeg


IMG_2659.jpeg
 
Also got the remote Res shocks test fitted and made out for the front. I started with the Dobinson mount, cut it in half, and then made the piece to weld to my existing top of the spring ring

IMG_2655.jpeg


IMG_2652.jpeg


IMG_2651.jpeg
 
Went out this morning for a few minutes, and layed out the length of the bumper and a little angle. Man, those 37" tires look small in this photo...

IMG_2662.jpeg


IMG_2661.jpeg
 
Last edited:
Thinking about using AN to do the power steering line from the box to the pump, high pressure side. I think this picture is from @thatcabledude . Good discussion of parts here... @cruisermatt


looks like I need a 17mm x 1.5 -6an. I will keep the low pressure side fitting, so no change there.


1707760111122.png
 
Other way around.
Pressure = 16mm
Return = 17mm
 
Started working on the front bumper. Inspired by @Tank5 …. However, decided to use some 3/16 thick 2 x 4. I didn’t care for how thin the bumper was at the winch fairlead point, so I’ve bent a piece of metal so the fairlead will slip up behind it. I also wanted to mimic the original bumper angle on the sides. I will cut it shorter, still deciding where I want that to be.

View attachment 3556546

View attachment 3556547

View attachment 3556549

View attachment 3556550

View attachment 3556551
Could you place the oem bumper over the front so it retains the appearance and the strength for the winch/bashing into something comes from the tube steel?
 
Thinking about using AN to do the power steering line from the box to the pump, high pressure side. I think this picture is from @thatcabledude . Good discussion of parts here... @cruisermatt


looks like I need a 17mm x 1.5 -6an. I will keep the low pressure side fitting, so no change there.


View attachment 3556738
Yep, that’s under my hood. Still working great 90k miles later. Make sure to use PTFE stuff.
 
Could you place the oem bumper over the front so it retains the appearance and the strength for the winch/bashing into something comes from the tube steel?
I thought of that; however, the rear bumper is going to be a massive hunk so decided to go this way.
 
Darn... where do I get the 16mm fitting?

Maybe from your friendly Florida Land Cruiser parts supplier? :idea: 😁
I should have the DIY hose-builder parts in stock too.

image.jpg
 

Users who are viewing this thread

  • Fj81
Back
Top Bottom