
Navigation
Install the app
How to install the app on iOS
Follow along with the video below to see how to install our site as a web app on your home screen.
Note: This feature may not be available in some browsers.
More options
Style variation
You are using an out of date browser. It may not display this or other websites correctly.
You should upgrade or use an alternative browser.
You should upgrade or use an alternative browser.
Build Box Rocket 1995 FZJ80 Build
- Thread starter Box Rocket
- Start date
Member Builds and Stories
This site may earn a commission from merchant affiliate
links, including eBay, Amazon, Skimlinks, and others.
- Thread starter
- #342
It's a universal 20" Magnaflow @ericbirk
Last edited:
- Thread starter
- #343
Yes, I mentioned that in a different thread. It's getting replaced this week. Already did contacts but it's still having issues.sounds like your starter needs attention
- Thread starter
- #344
So the starter is finally replaced and gone are my intermittent starting issues. There is also a new axle under the truck after a bearing destroyed the housing. Glad that's done and over with. Not too many more mods to make to the truck, until I can get my new gears installed. Just looking forward to better weather so I can get out and do more camping.
I need to get some better photos but I've had a few questions about the lightbar on my Prinsu Rack. Here's a couple poor quality cell phone pics for now until I can get some better ones.


I need to get some better photos but I've had a few questions about the lightbar on my Prinsu Rack. Here's a couple poor quality cell phone pics for now until I can get some better ones.


- Thread starter
- #345
My CB radio has been mounted (Velcro) to the side of my center console and it was a bit cumbersome to use in that location. So with a little massaging of the dash it now fits in the stock ashtray location, making it much more visible and easier to use.


like that truck and especially the hood mod. Have you done a right up on that yet?
- Thread starter
- #347
No I haven't. Actually I never fully committed to the hood scoop by cutting a hole in the hood for true venting. I have since removed the hood scoop. I still have it but prefer the look without it better.like that truck and especially the hood mod. Have you done a right up on that yet?
My CB radio has been mounted (Velcro) to the side of my center console and it was a bit cumbersome to use in that location. So with a little massaging of the dash it now fits in the stock ashtray location, making it much more visible and easier to use.
How much trimming did you have to do to get the CB in there? i have the same model and with small trimming to the lower mounting screw ears it still isn't fitting. I really don't want to cut the bezel mounting screw area off and I know a bunch of people have put the same CB in there so I must be missing something.
- Thread starter
- #349
Man I wish I had a better memory of just what I trimmed. I'm pretty sure I had to remove the entire lower left screw area (at least on the tan/grey part of the dash, not the black bezel IIRC). If I get a chance to pull it apart again I'll take a closer look and snap a pic or two.How much trimming did you have to do to get the CB in there? i have the same model and with small trimming to the lower mounting screw ears it still isn't fitting. I really don't want to cut the bezel mounting screw area off and I know a bunch of people have put the same CB in there so I must be missing something.
How much trimming did you have to do to get the CB in there? i have the same model and with small trimming to the lower mounting screw ears it still isn't fitting. I really don't want to cut the bezel mounting screw area off and I know a bunch of people have put the same CB in there so I must be missing something.
It's the Slee Uniden mod. It's probably 10 years old

It's the Slee Uniden mod. It's probably 10 years old
I'm such a noob. there's probably a detailed write up about it somewhere.
To the OP, is the hood painted with a black stripe to help with glare from the LED? I have wondered if a roof mounted LED would cause too much hood light up or not. The small one on my bumper works great, but I was thinking I might put another on the roof. because LED.
- Thread starter
- #352
I actually painted the hood before I had the LED. yeah it minimizes glare but I'll be honest, the main reason I painted mine to begin with was because the clearcoat was peeling badly on my hood and I wasn't ready to repaint it so the black was a temp solution to hide the peeling clearcoat. Worked well IMO. After adding the roof mounted LED however, it does help a bit because there is no real reflection of light off the matte black. It still lights up but doesn't bounce the light into your eyes. The biggest factor with a roof mounted LED is location. Mine is set back from the top of the windshield so the roof creates a shadow. It's only the front 25% of the hood that actually gets light from the LED.I'm such a noob. there's probably a detailed write up about it somewhere.
To the OP, is the hood painted with a black stripe to help with glare from the LED? I have wondered if a roof mounted LED would cause too much hood light up or not. The small one on my bumper works great, but I was thinking I might put another on the roof. because LED.
- Thread starter
- #353
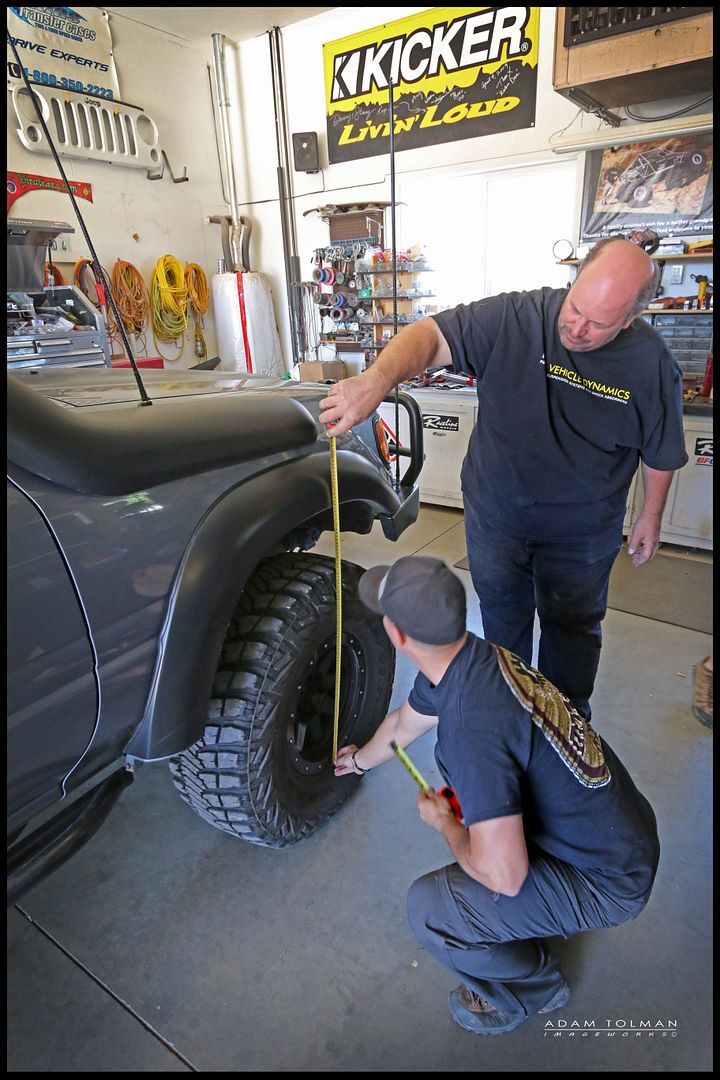
How about an update? A few weeks ago I was able to get my hands on some Autocraft Slinky Long Travel suspension. It was just in time for Cruise Moab, literally. I drove to Moab with my OME suspension and met Darren from Autocraft and Justin from Redline Land Cruisers at Grandpas Garage in Moab and we did the install just in time to make tech inspection.
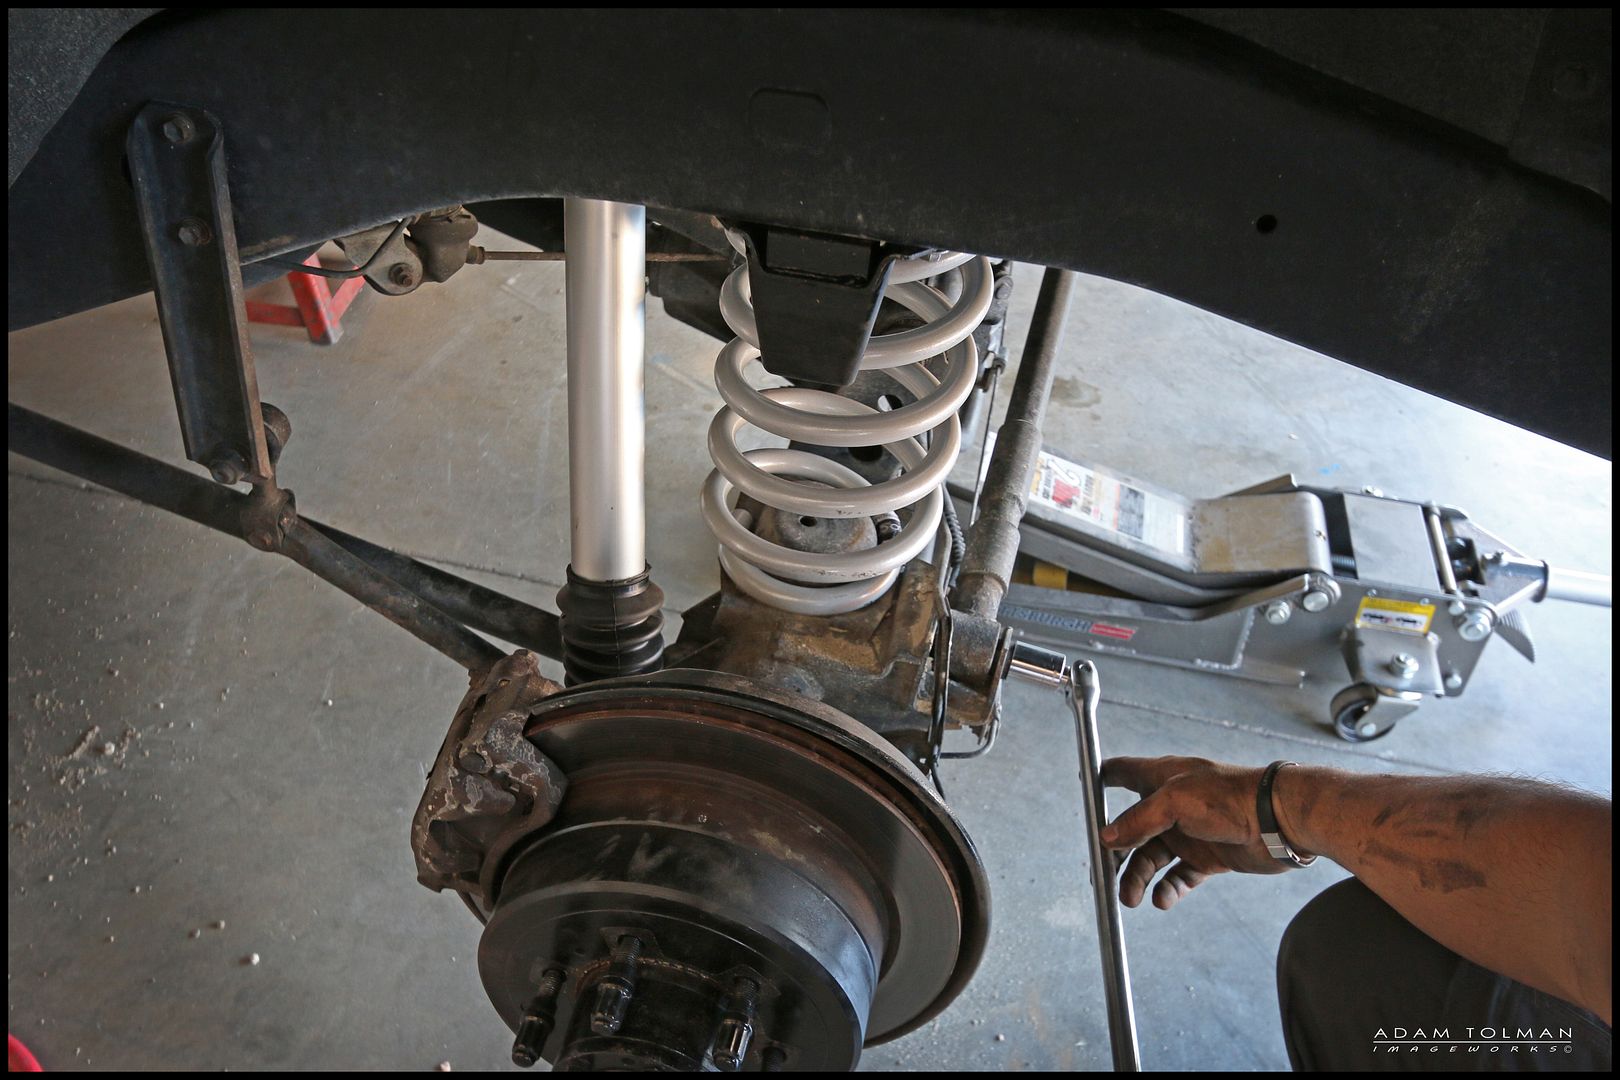
I will be writing an article for TCT magazine to give a review of the suspension but it will be less focused on the actual install, and rather the performance and comparison of the suspension to my old OME stuff etc. So here's a few pics from the install. Overall, it's a very straight forward installation. My installation didn't require a few steps such as some kind of caster correction and extended brake lines. I already had those, as well as adjustable track bars (panhards). This resulted in just a swap of the coils, shocks and swaybar spacers and bumpstops.
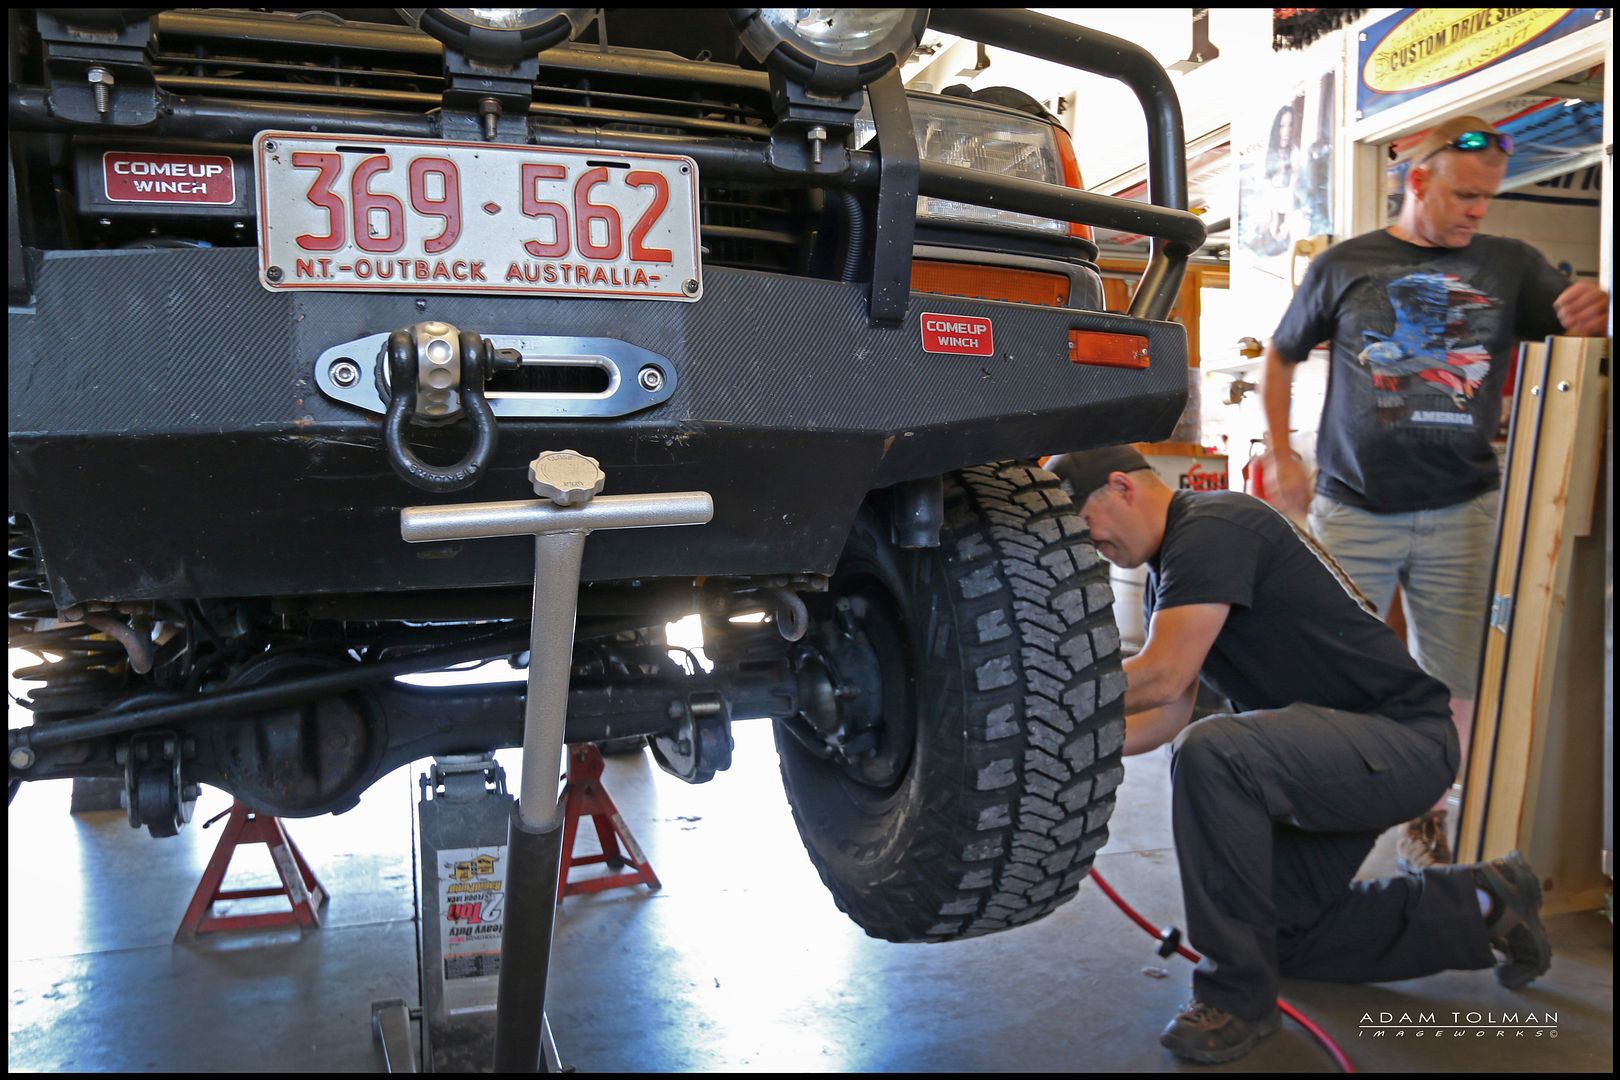
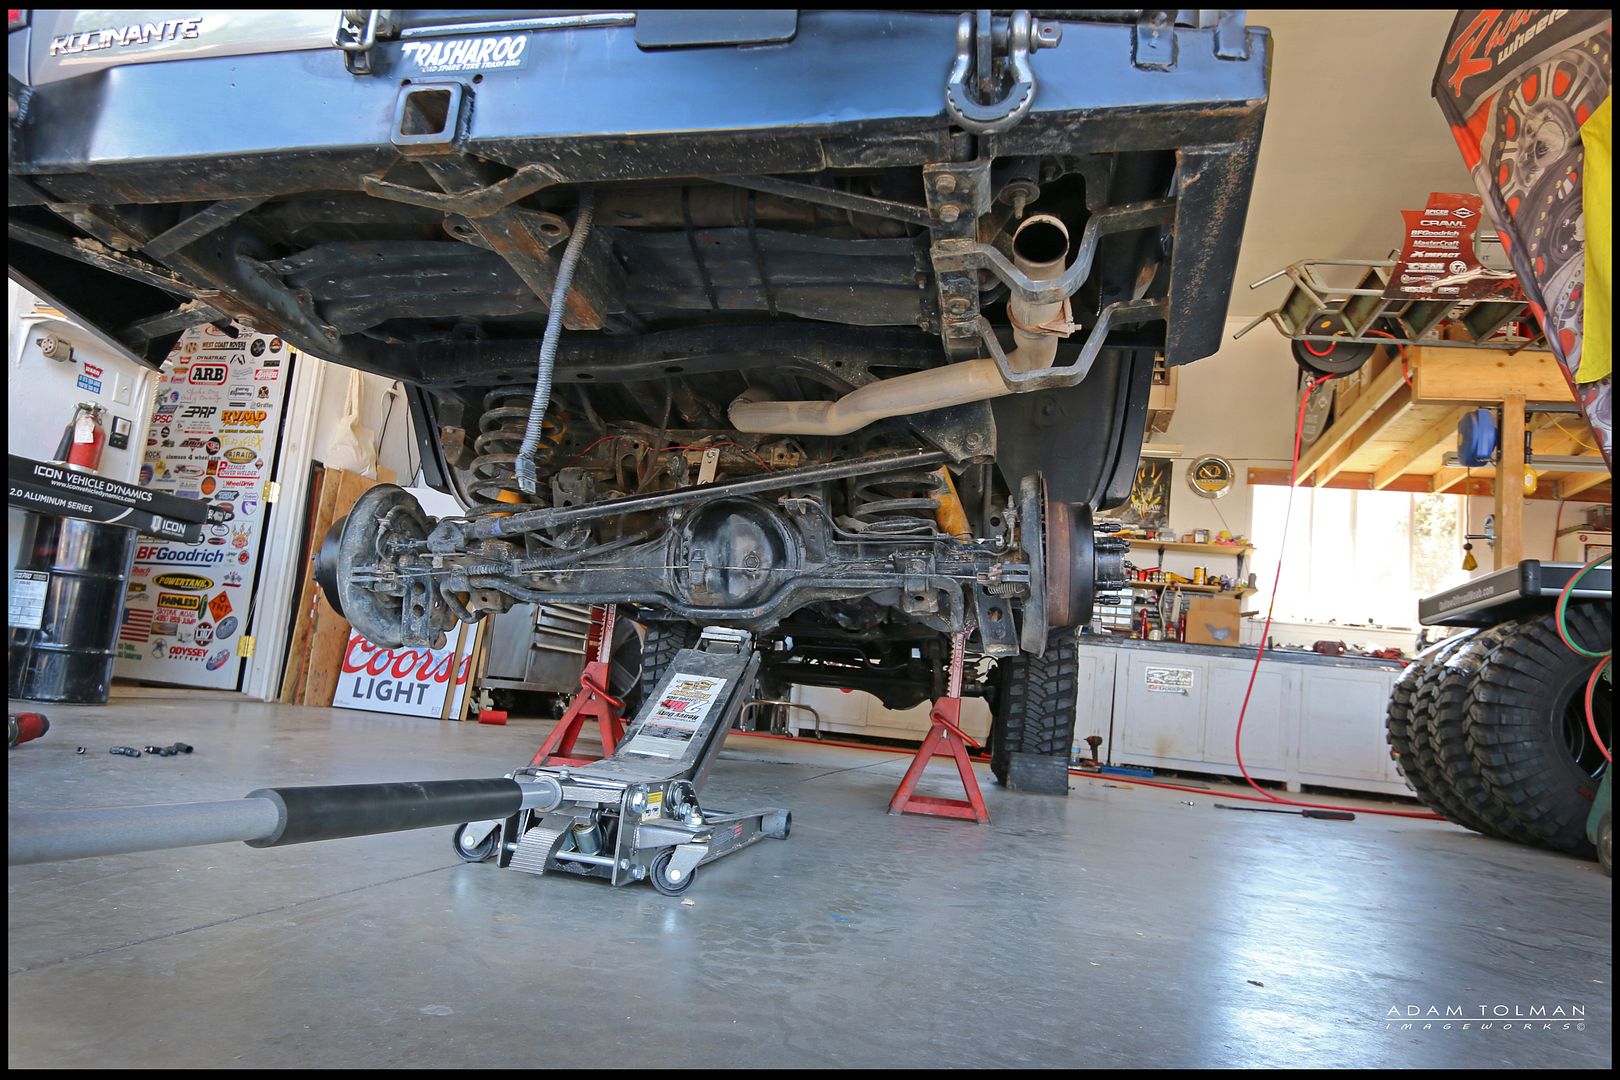
Remember to loosen the track bars and control arms, once it's up on jackstands, just enough to allow free movement of the suspension. Retighten them once the truck is back on the ground on it's own weight.
Getting before measurements.
Old stuff. OME J coil + 2" coil spacer
Here's all the new stuff. After taking before measurements and knowing with the goal was for new ride height and load capacity we chose the set of Slinkys that would best meet the goals. I ended up using 75mm Heavy rate Slinkys on all 4 corners.
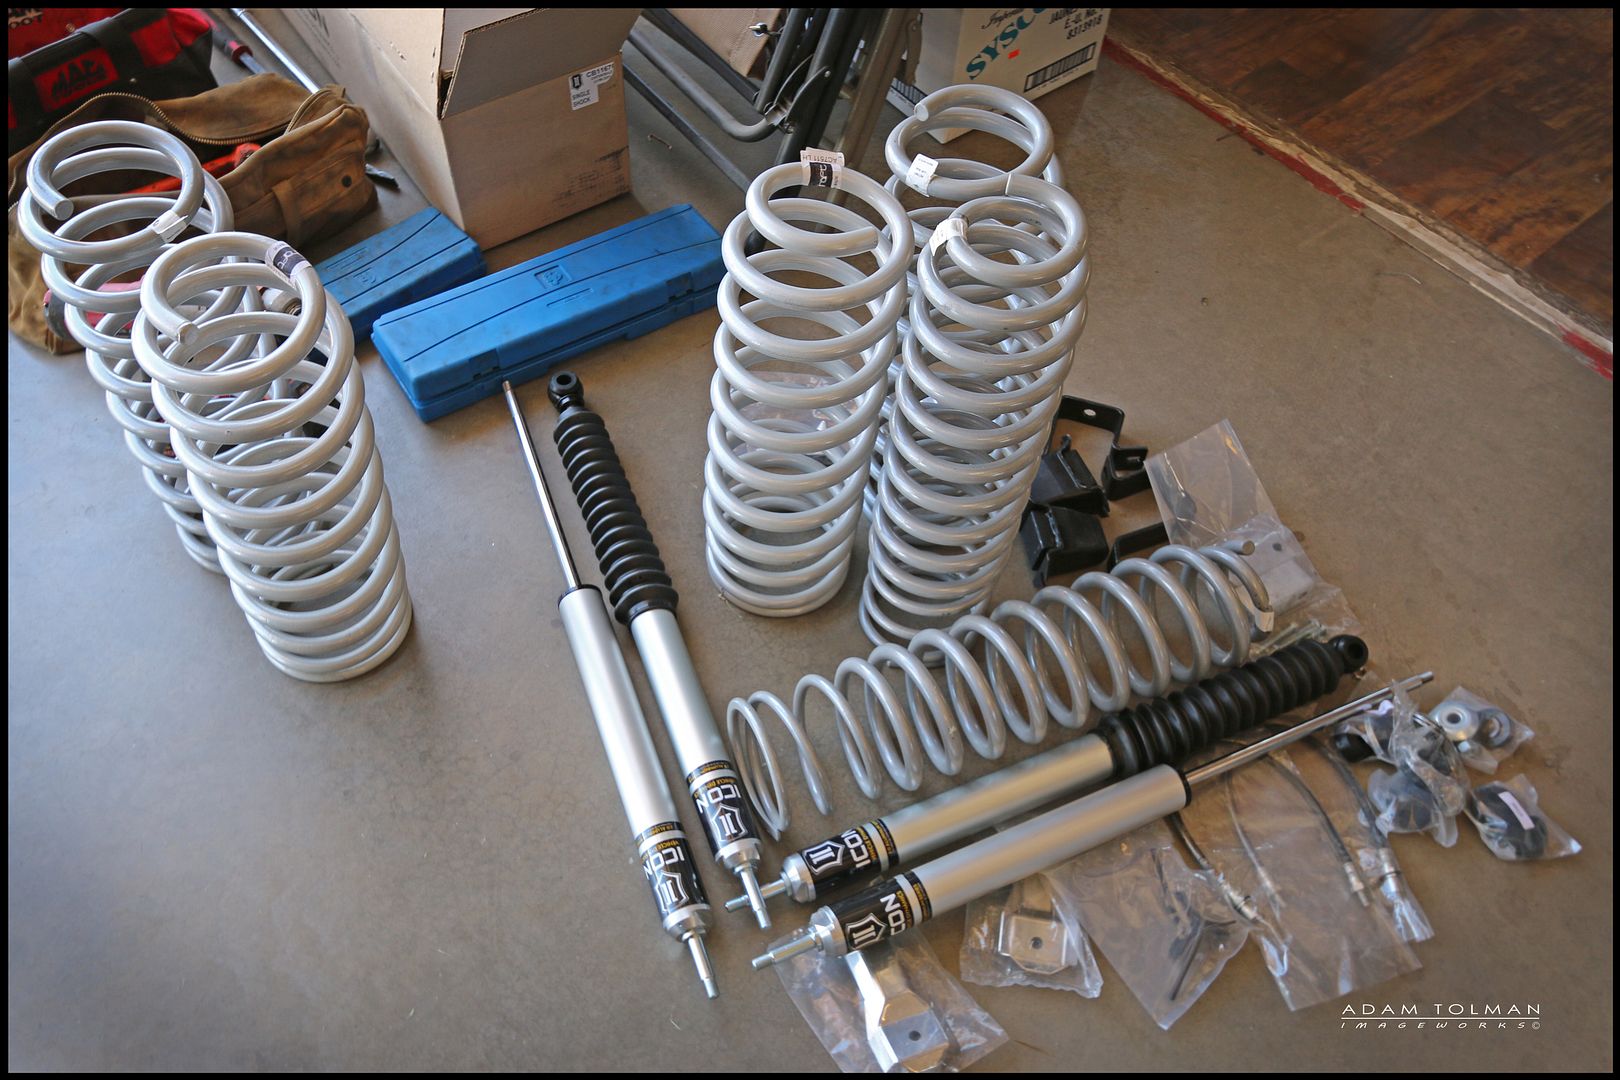
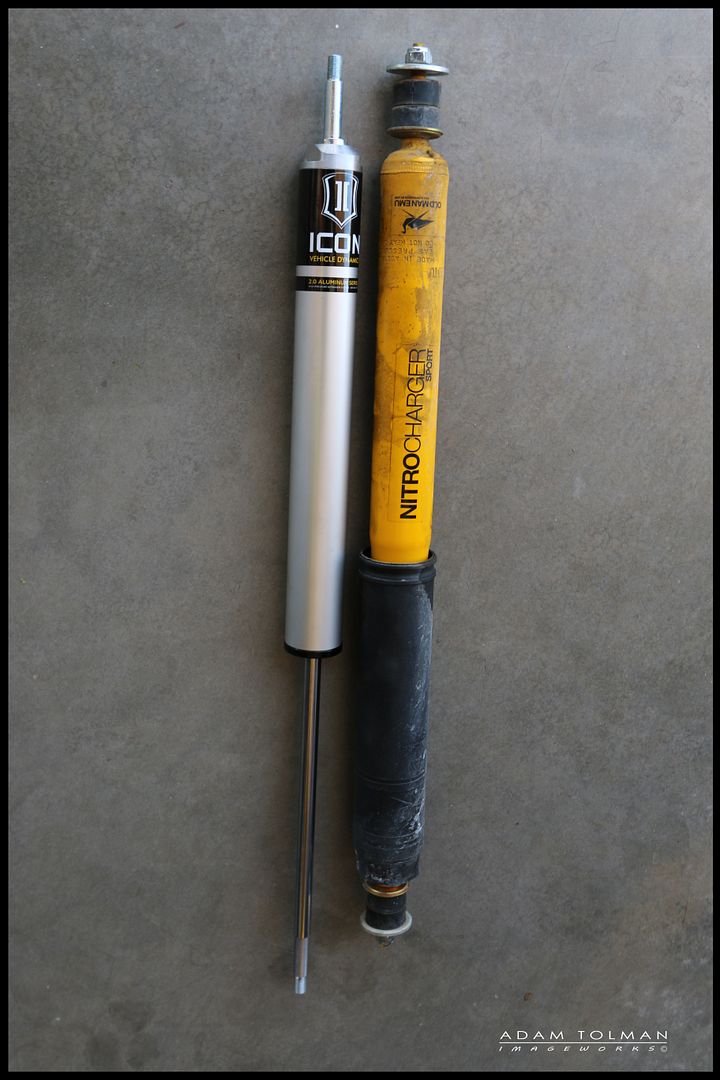
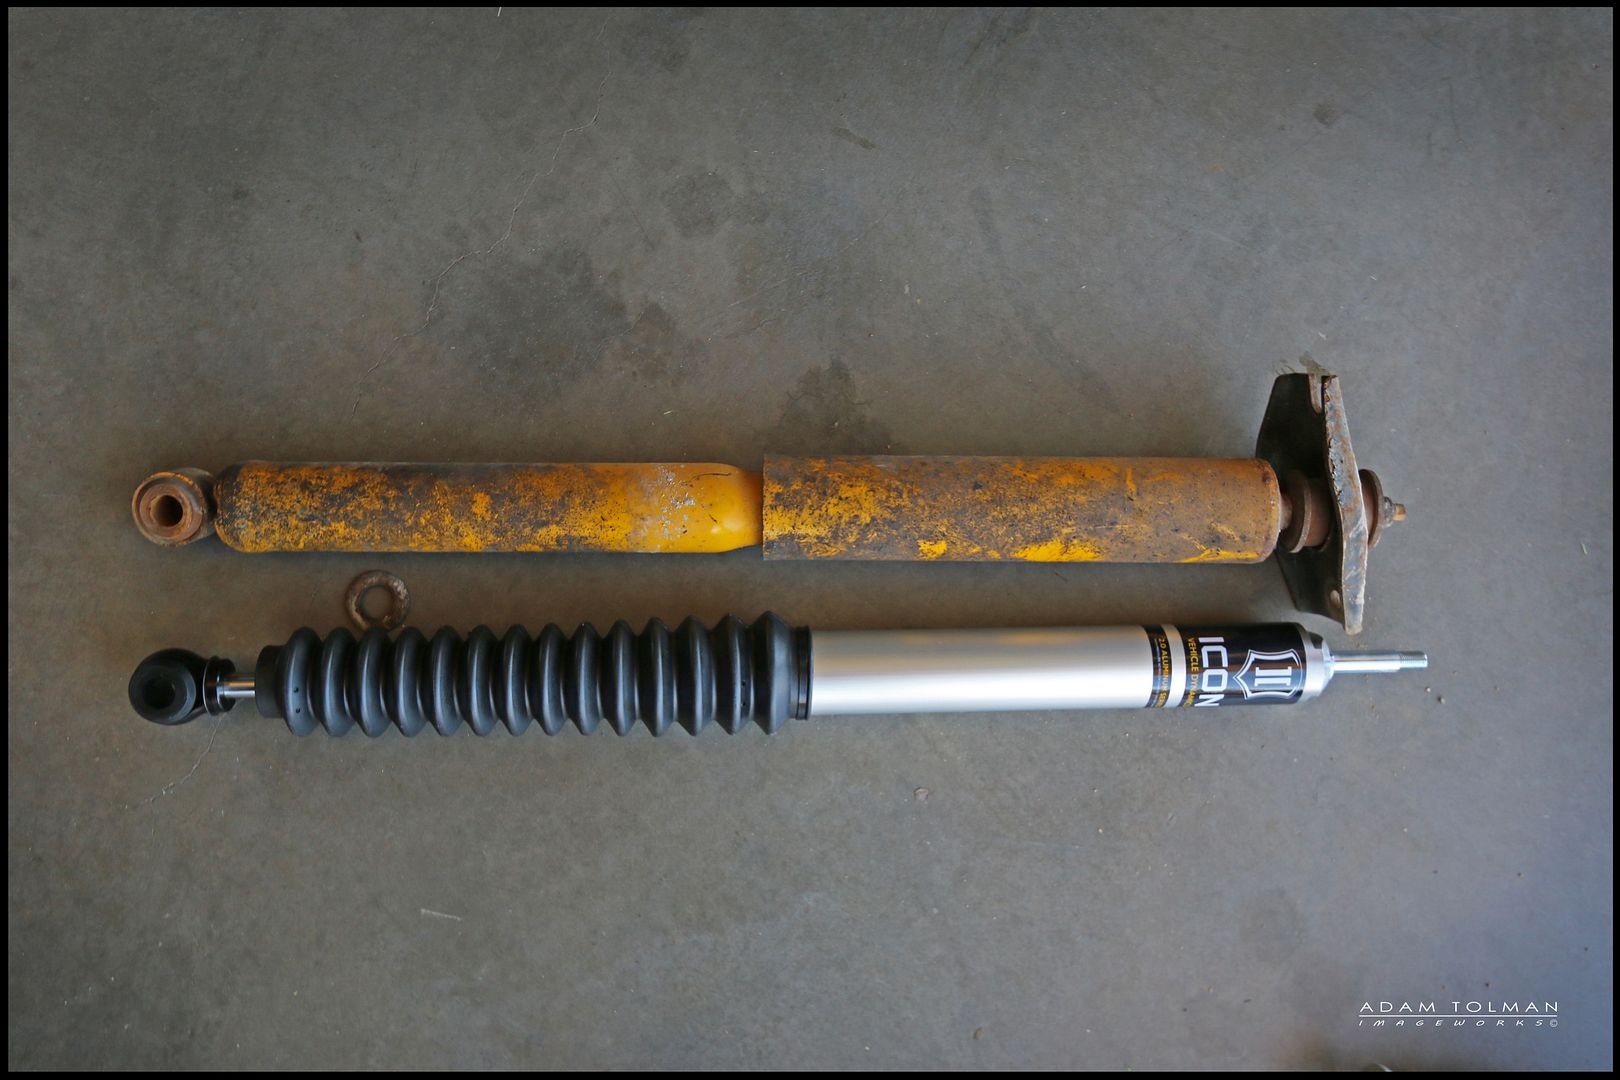
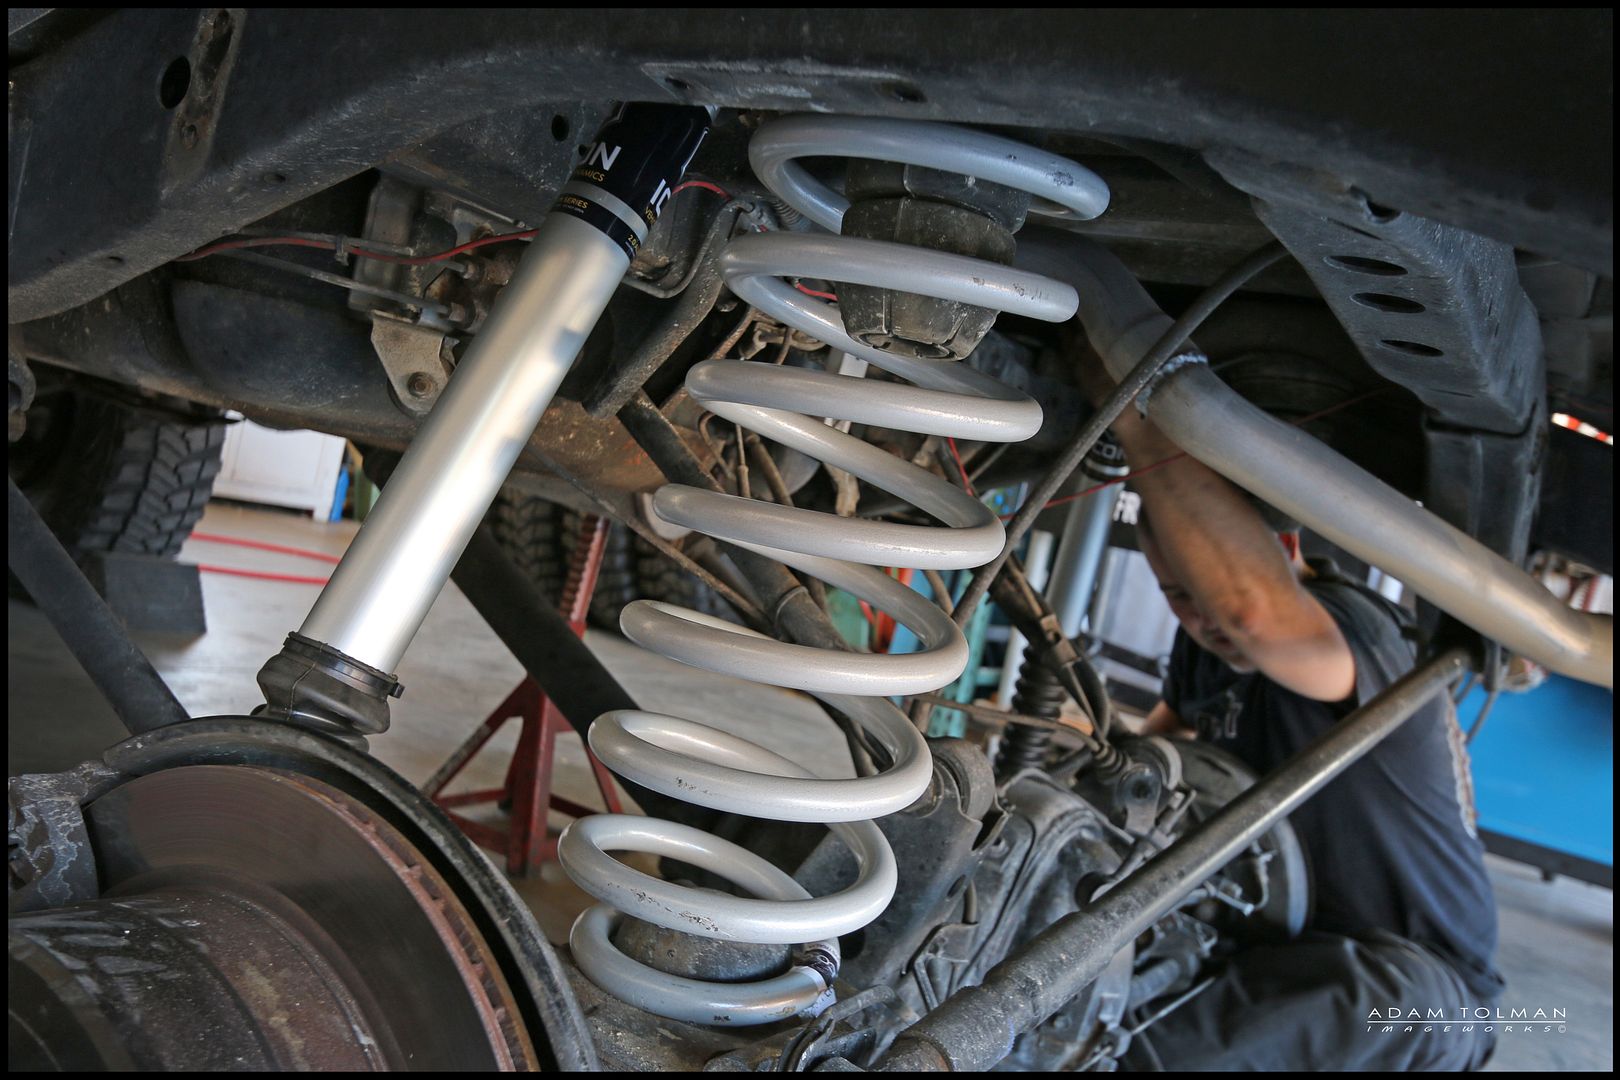
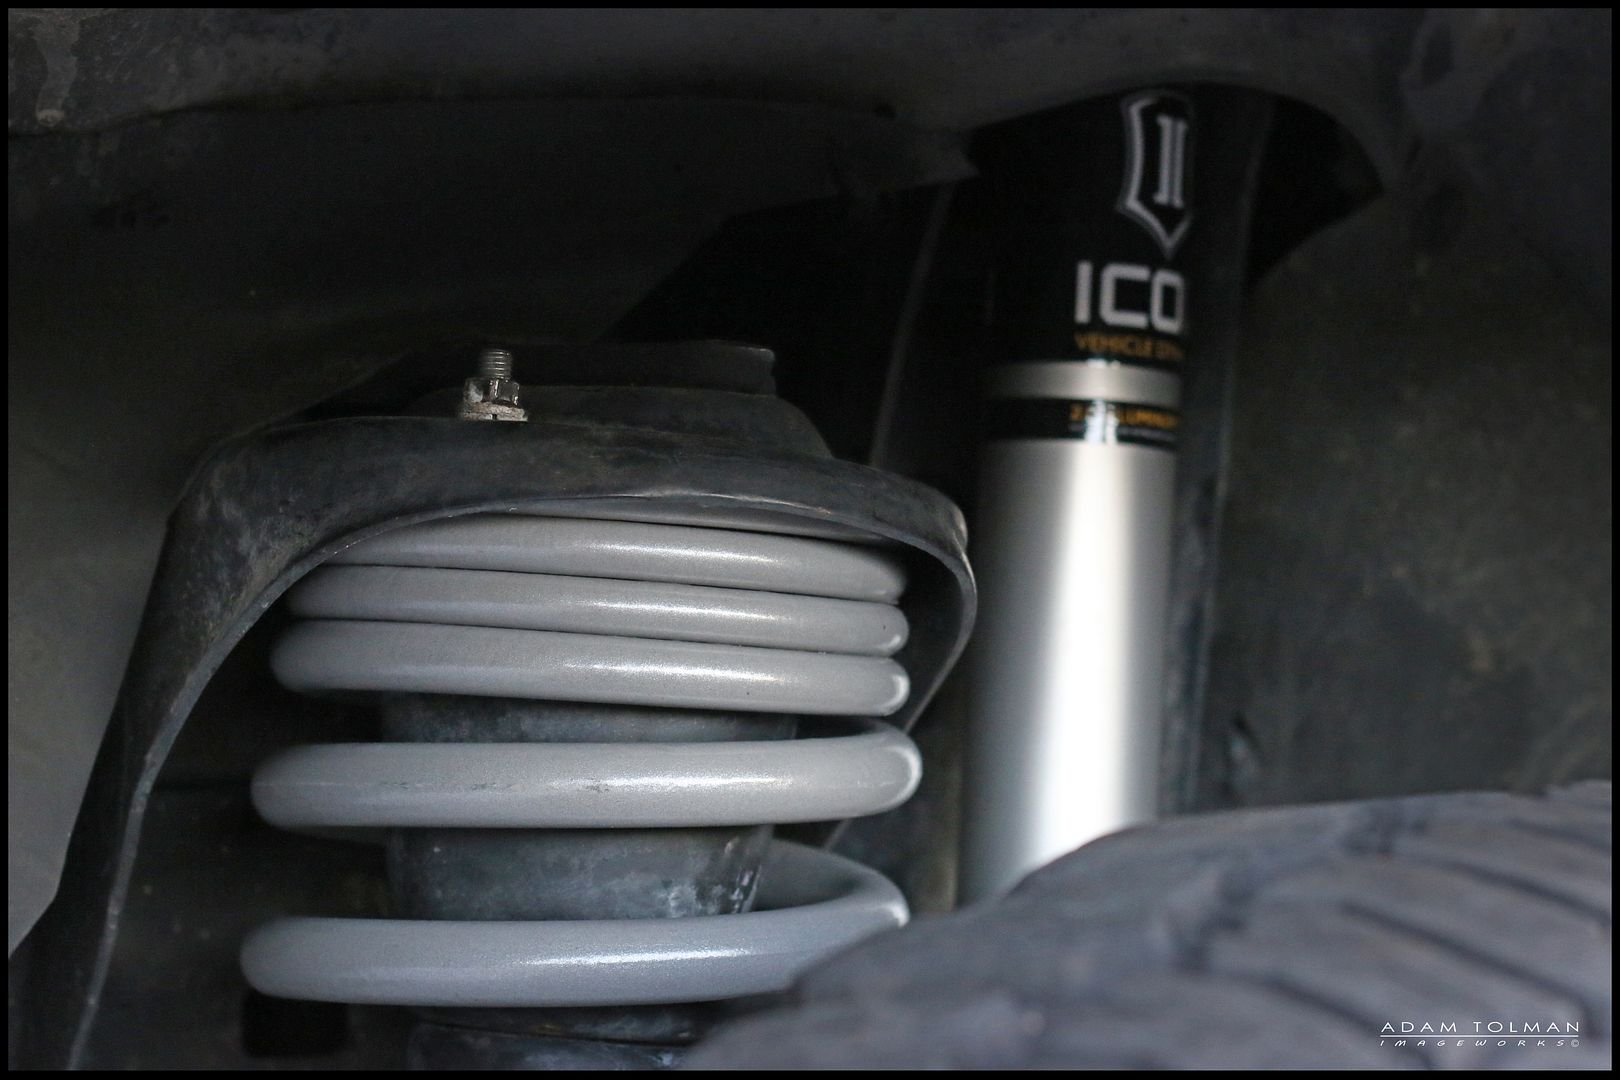
OME L shocks compared to the new Autocraft spec ICON 2.0 shock.
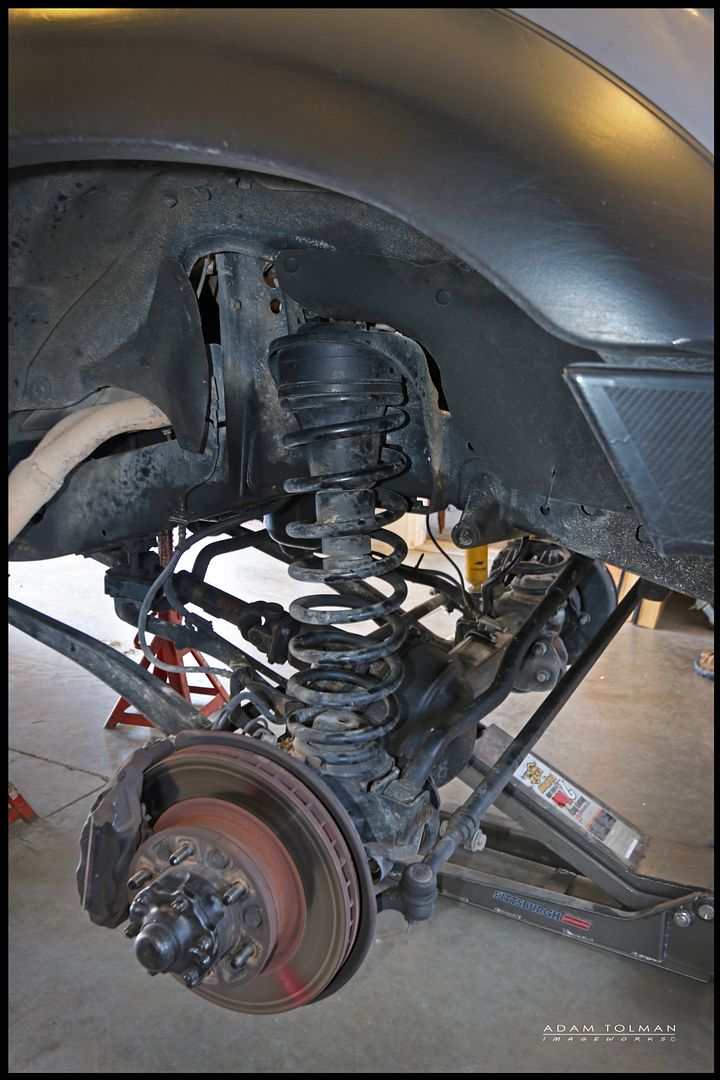
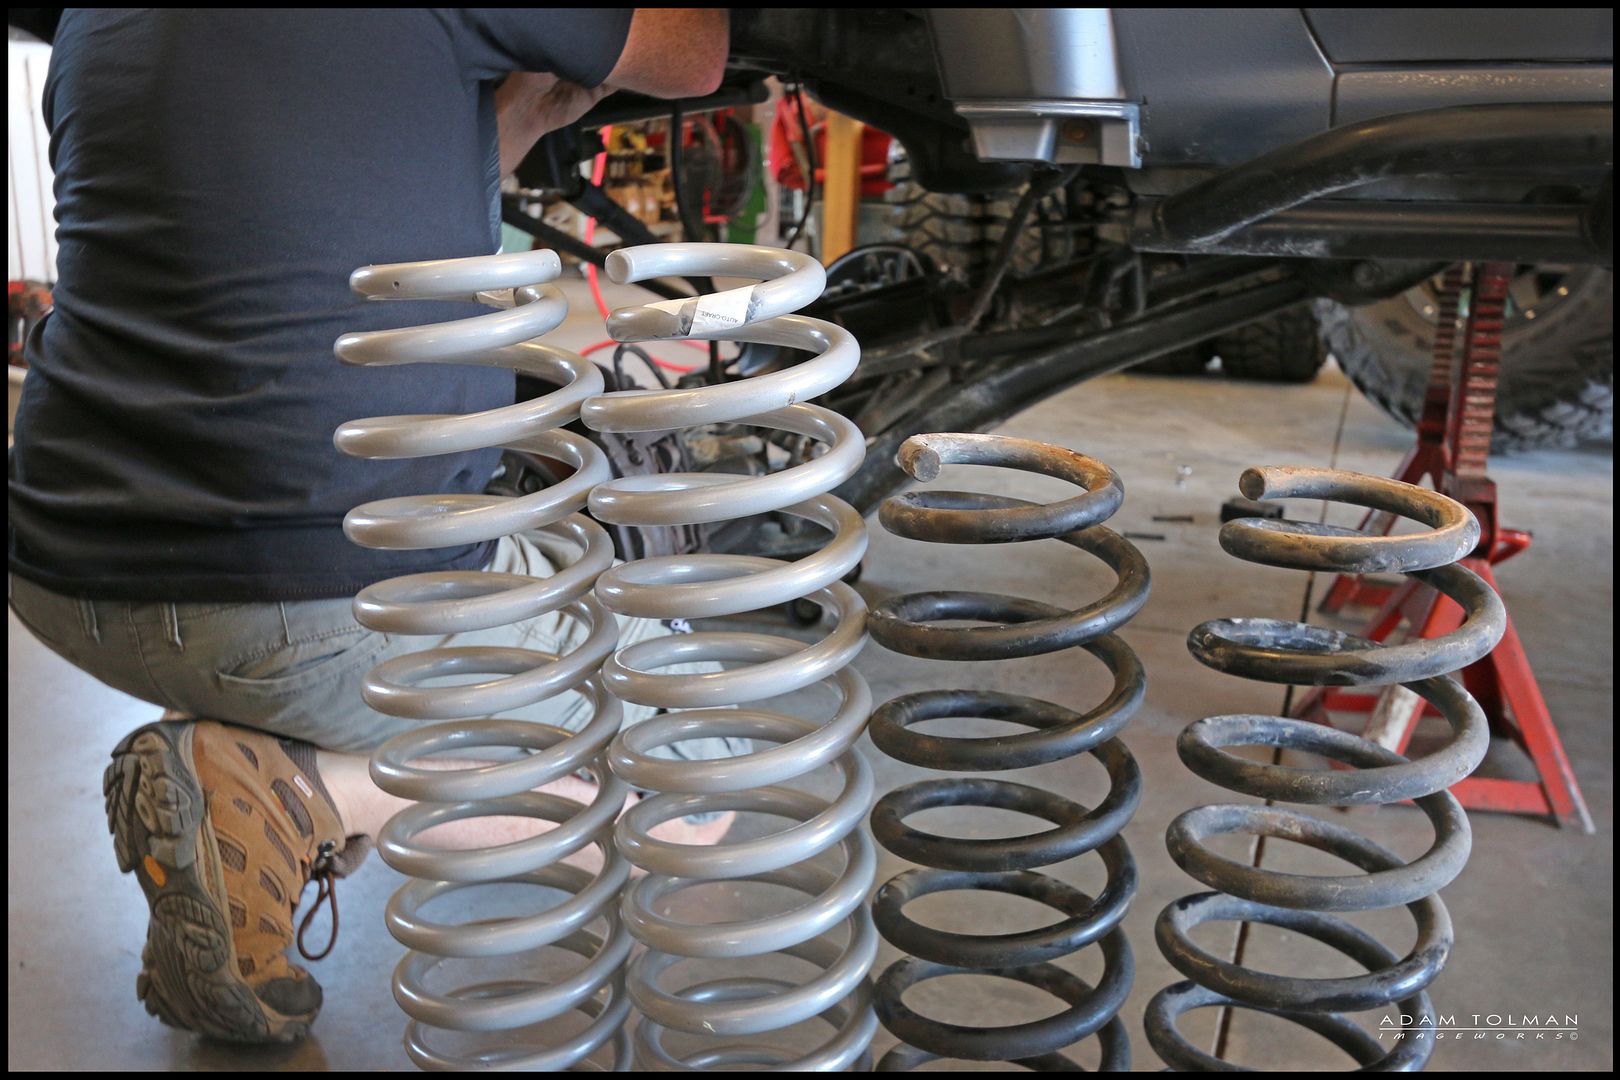
Front coil comparison. Front OME J coil on the right, Slinky 75mm heavy on the left. Note: I lost a good 2+" of ride height with the new setup, but gained about 6" of travel. Lots more droop available with the Slinkys.
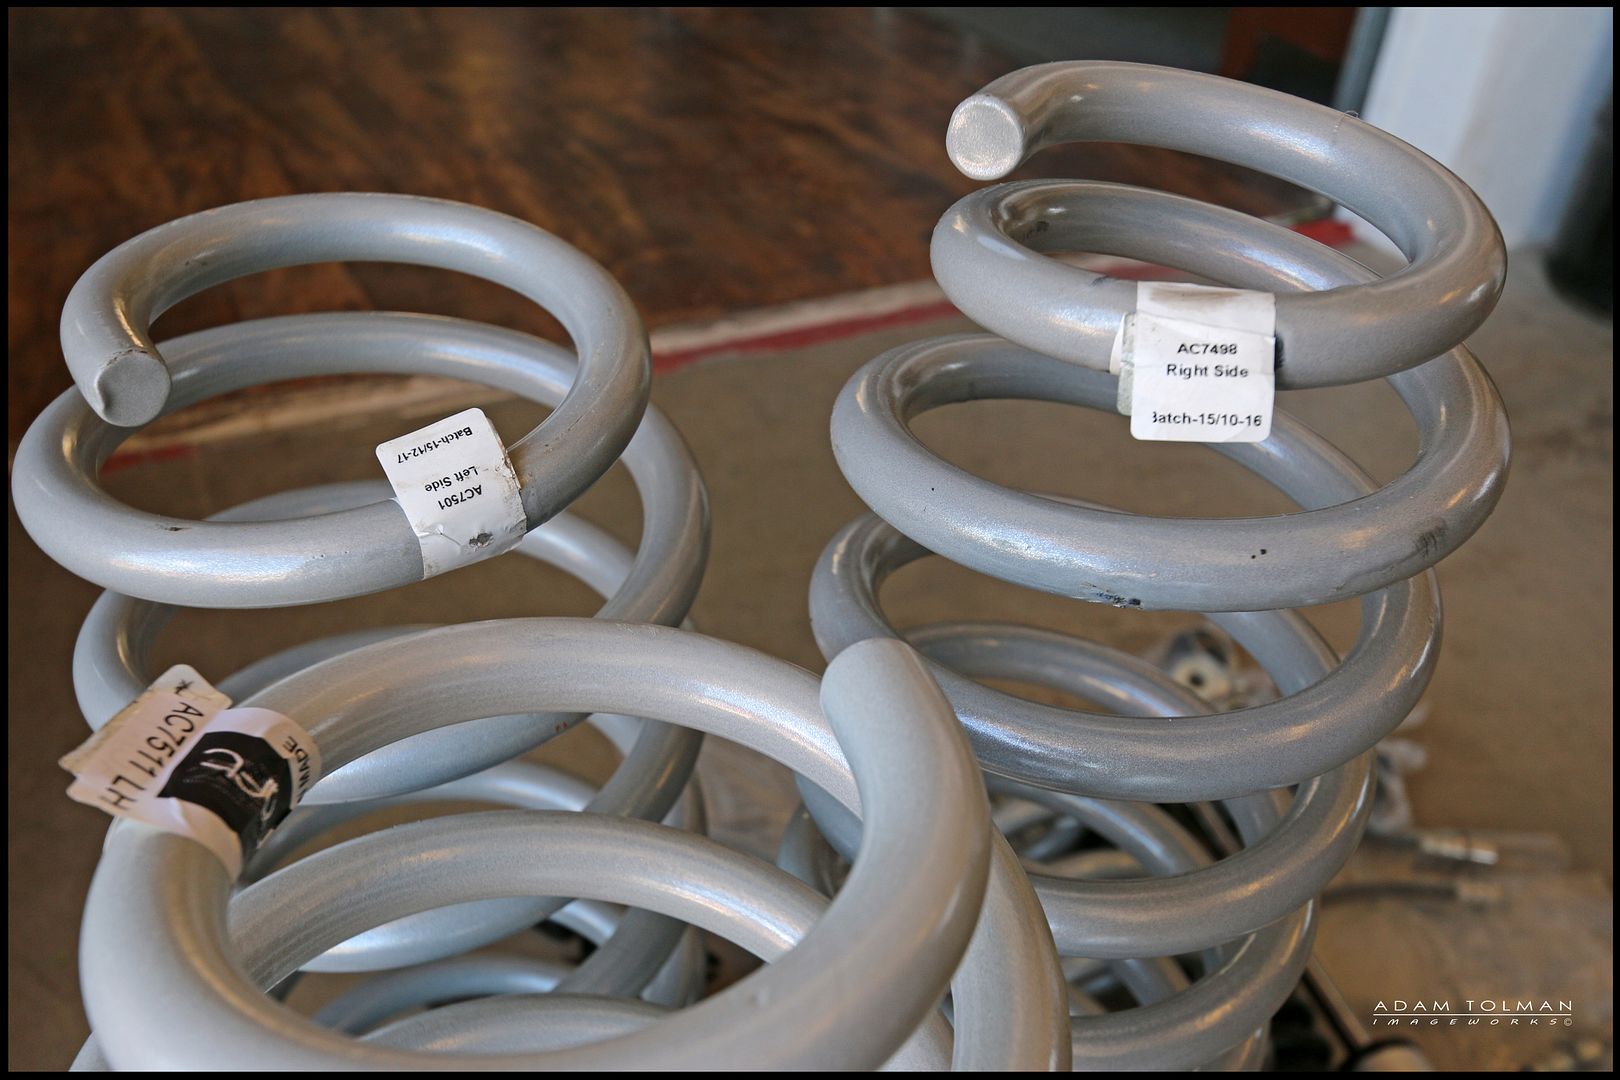
Both set of front coils
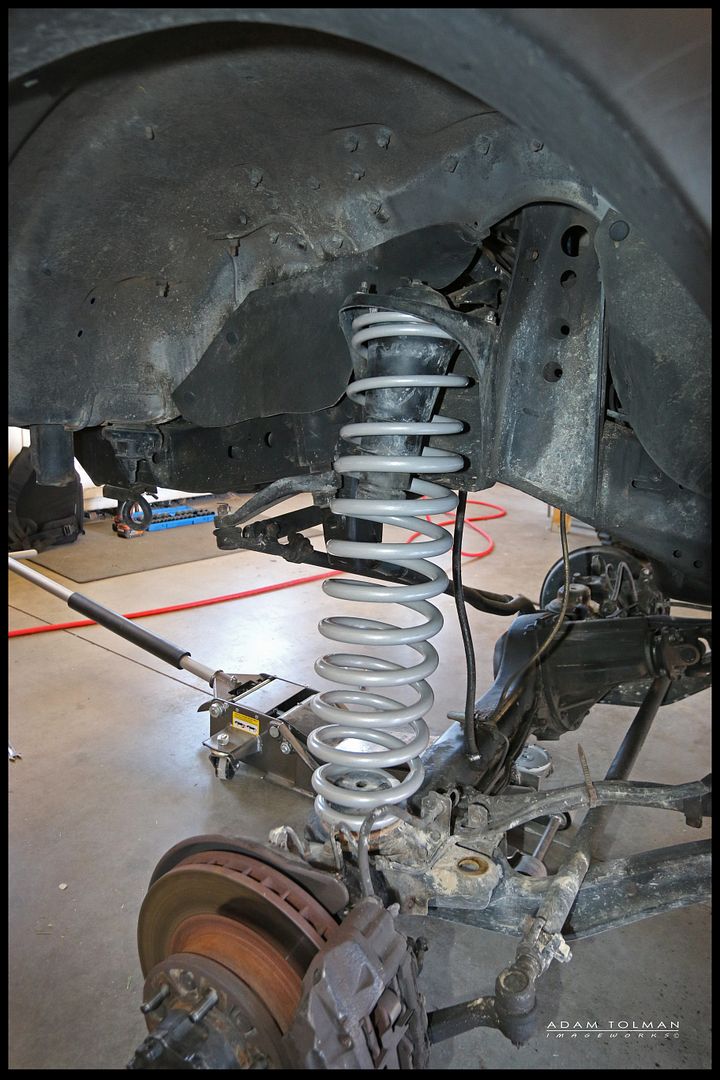
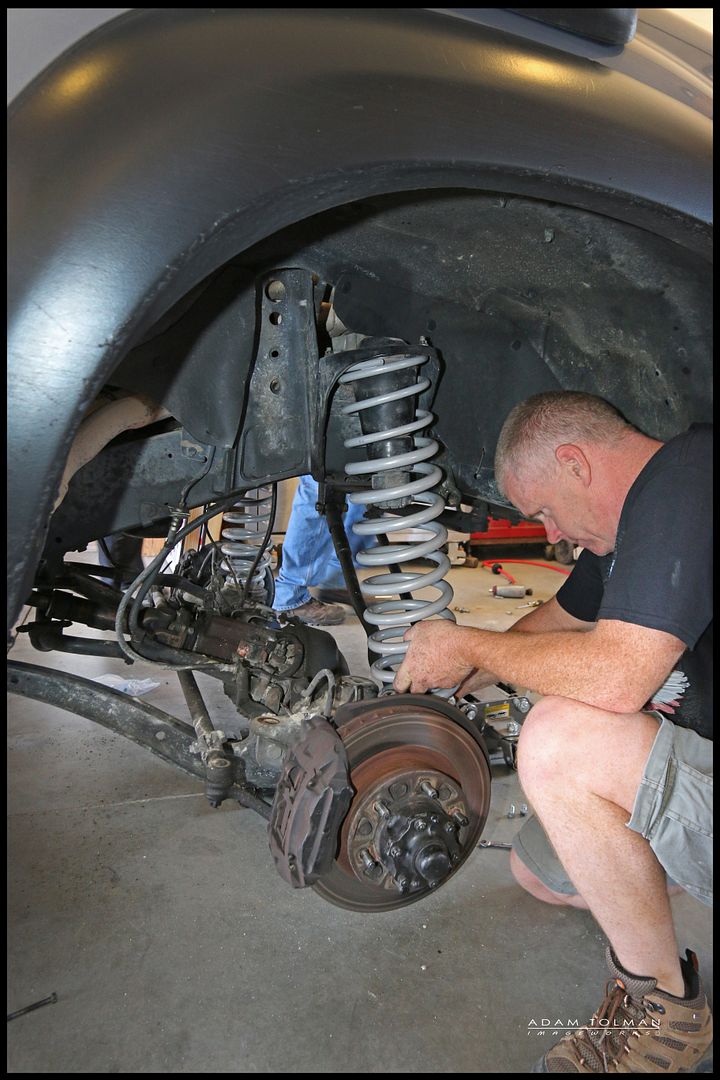
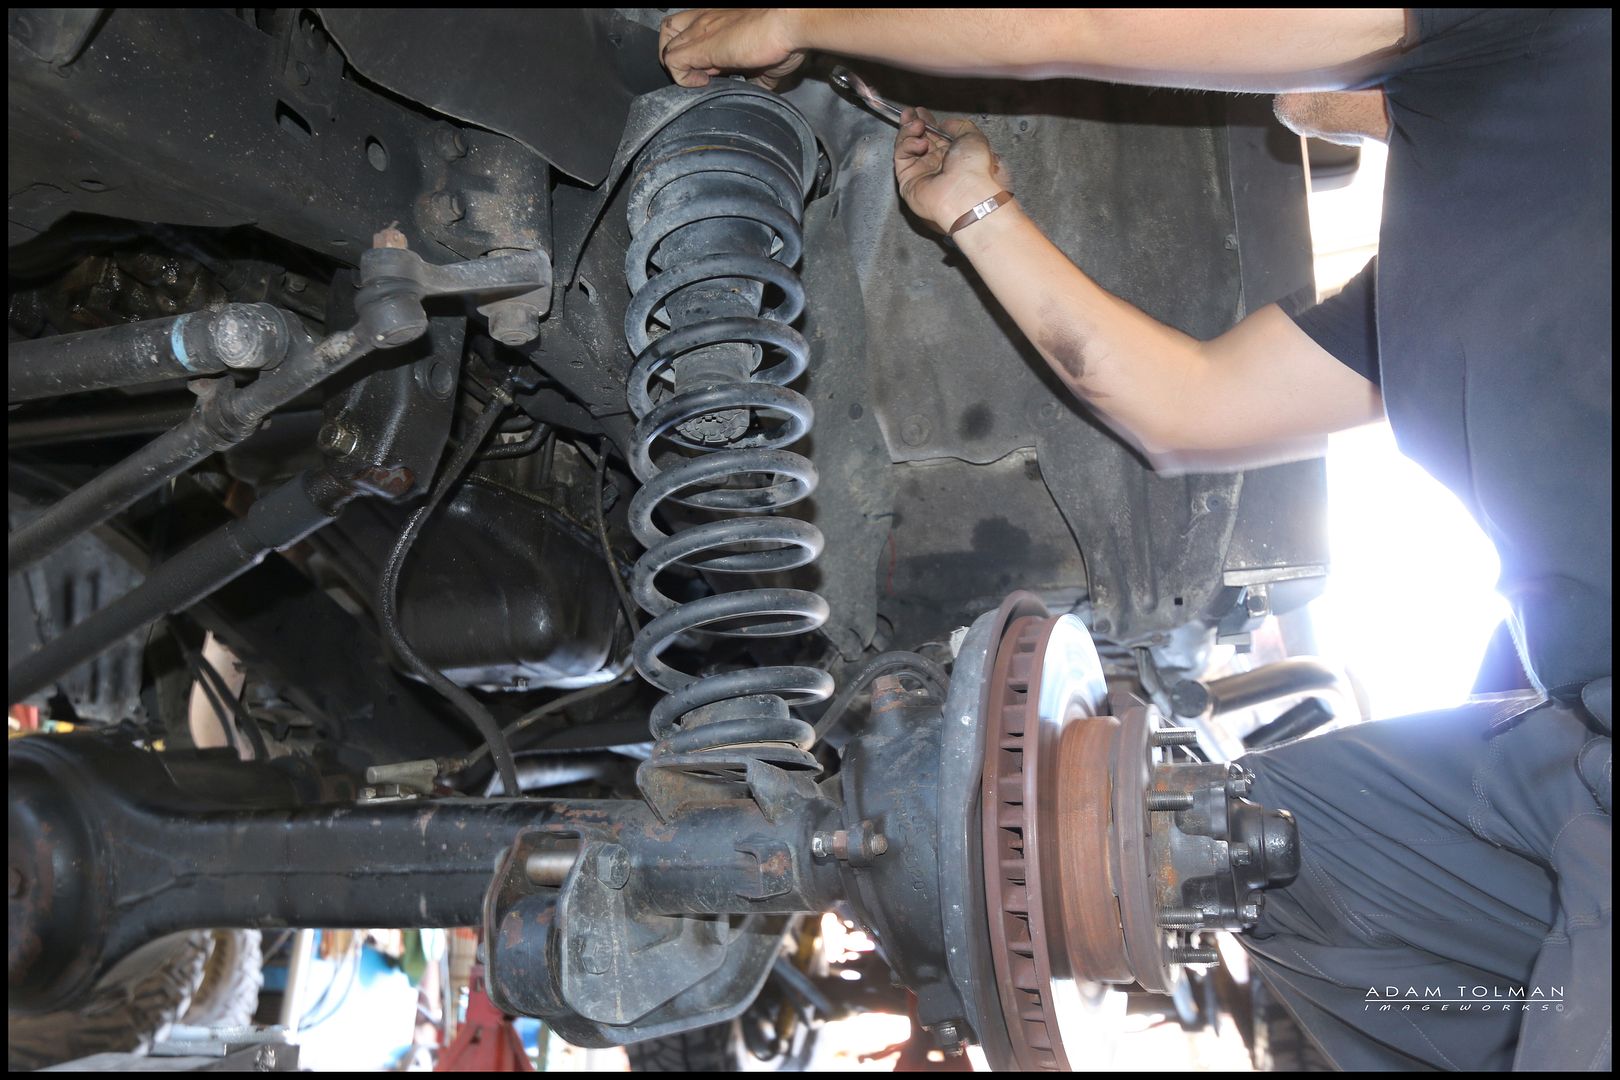
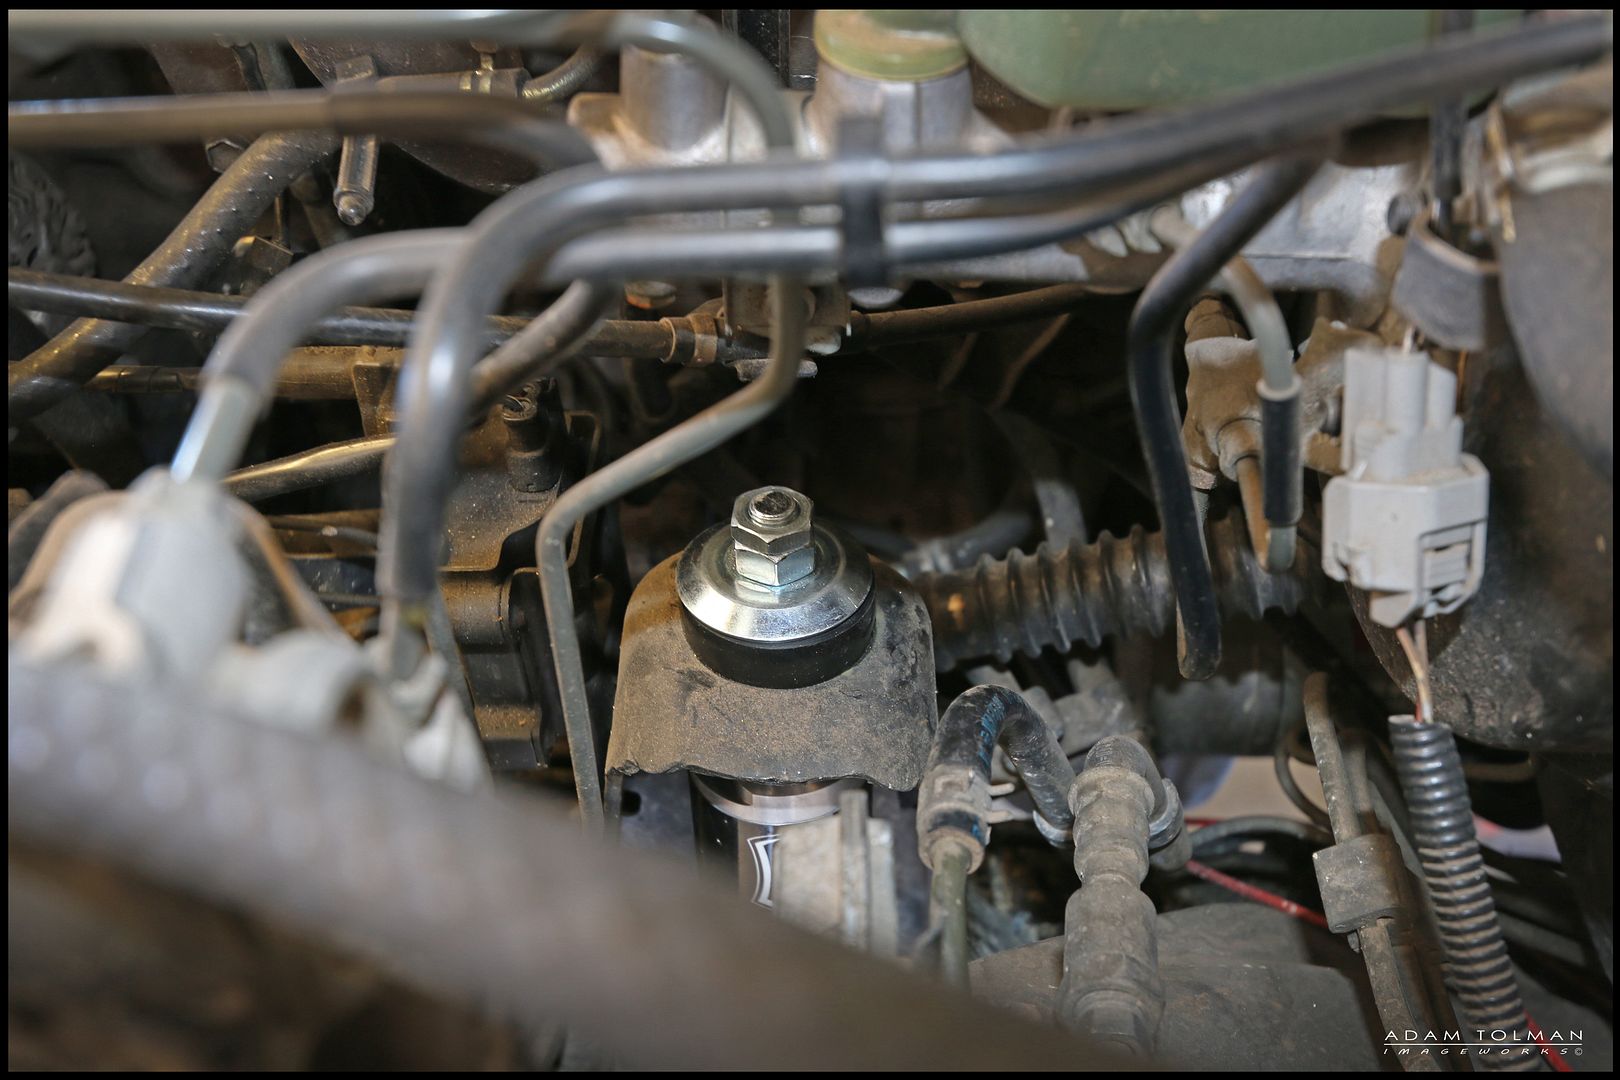
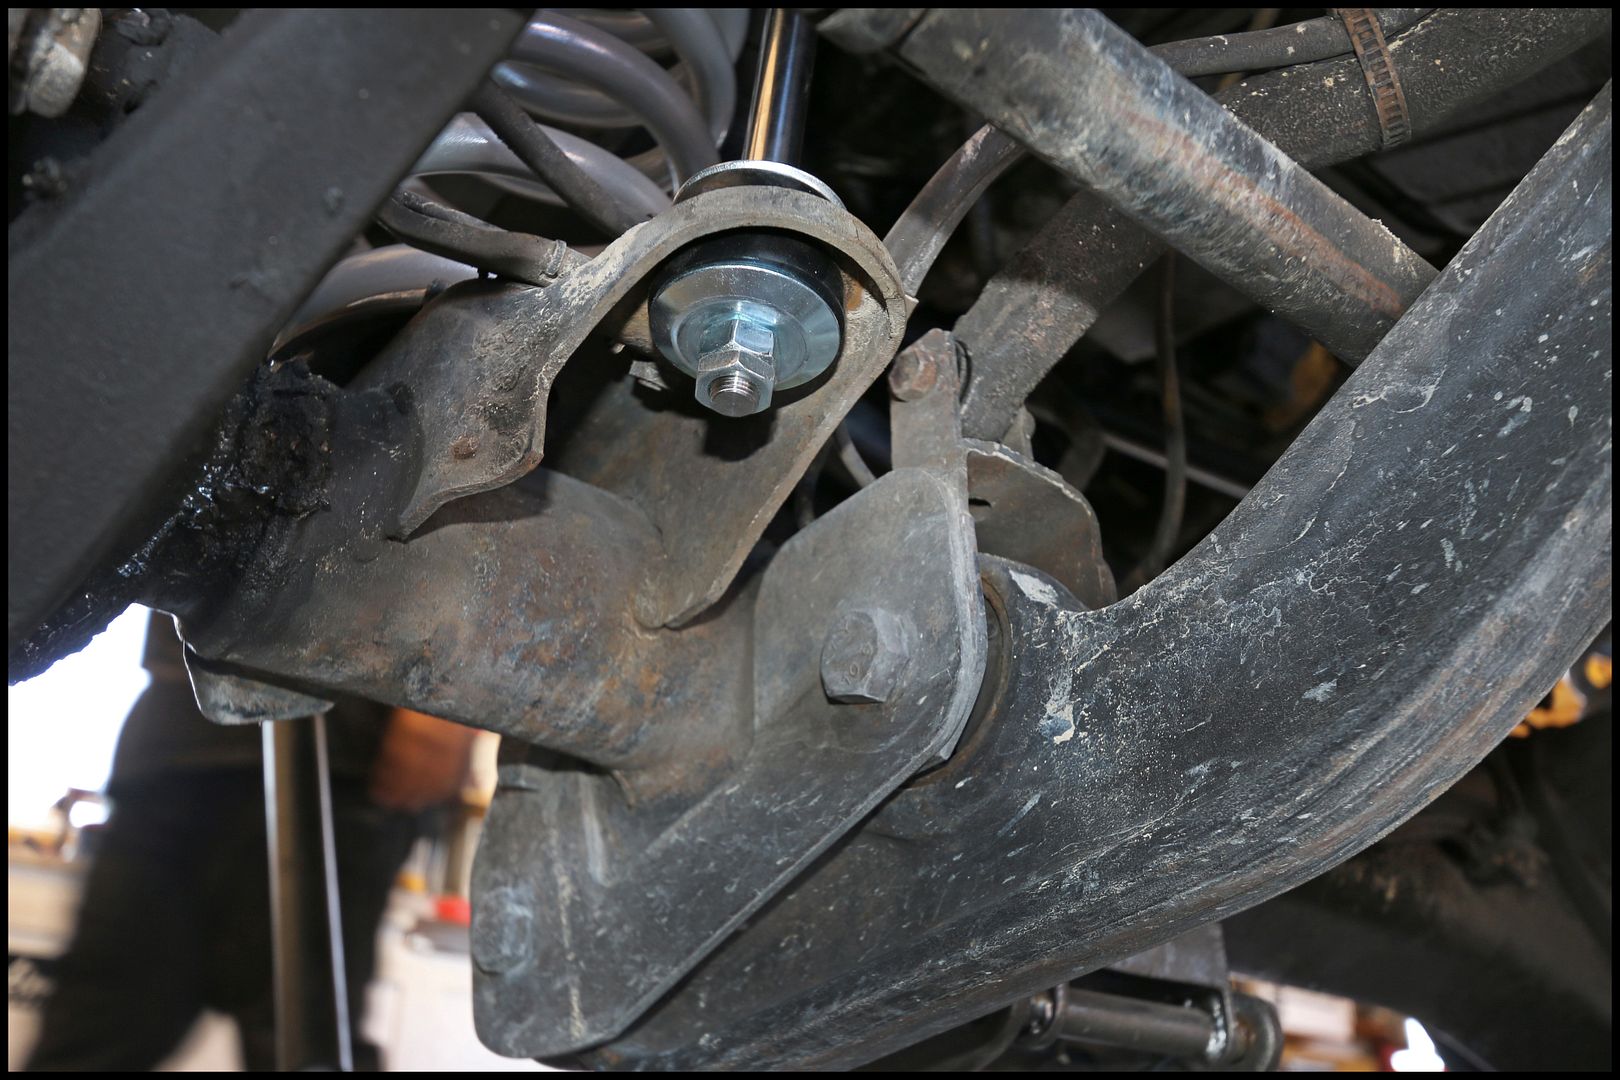
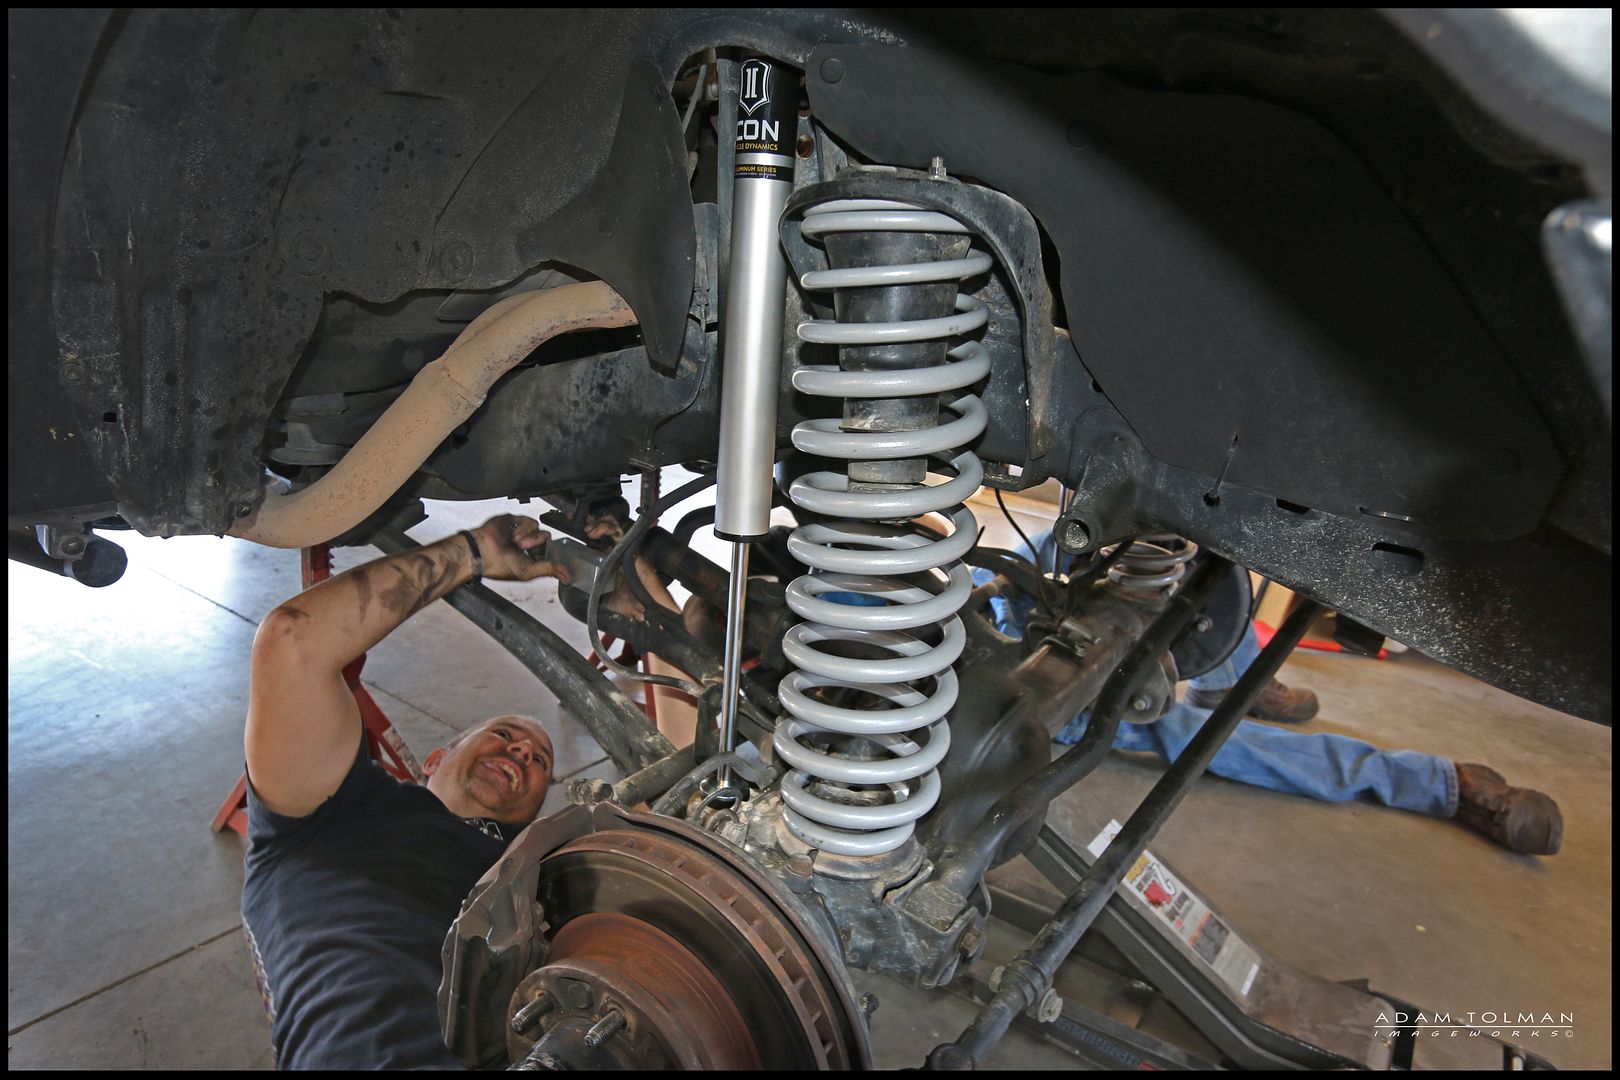
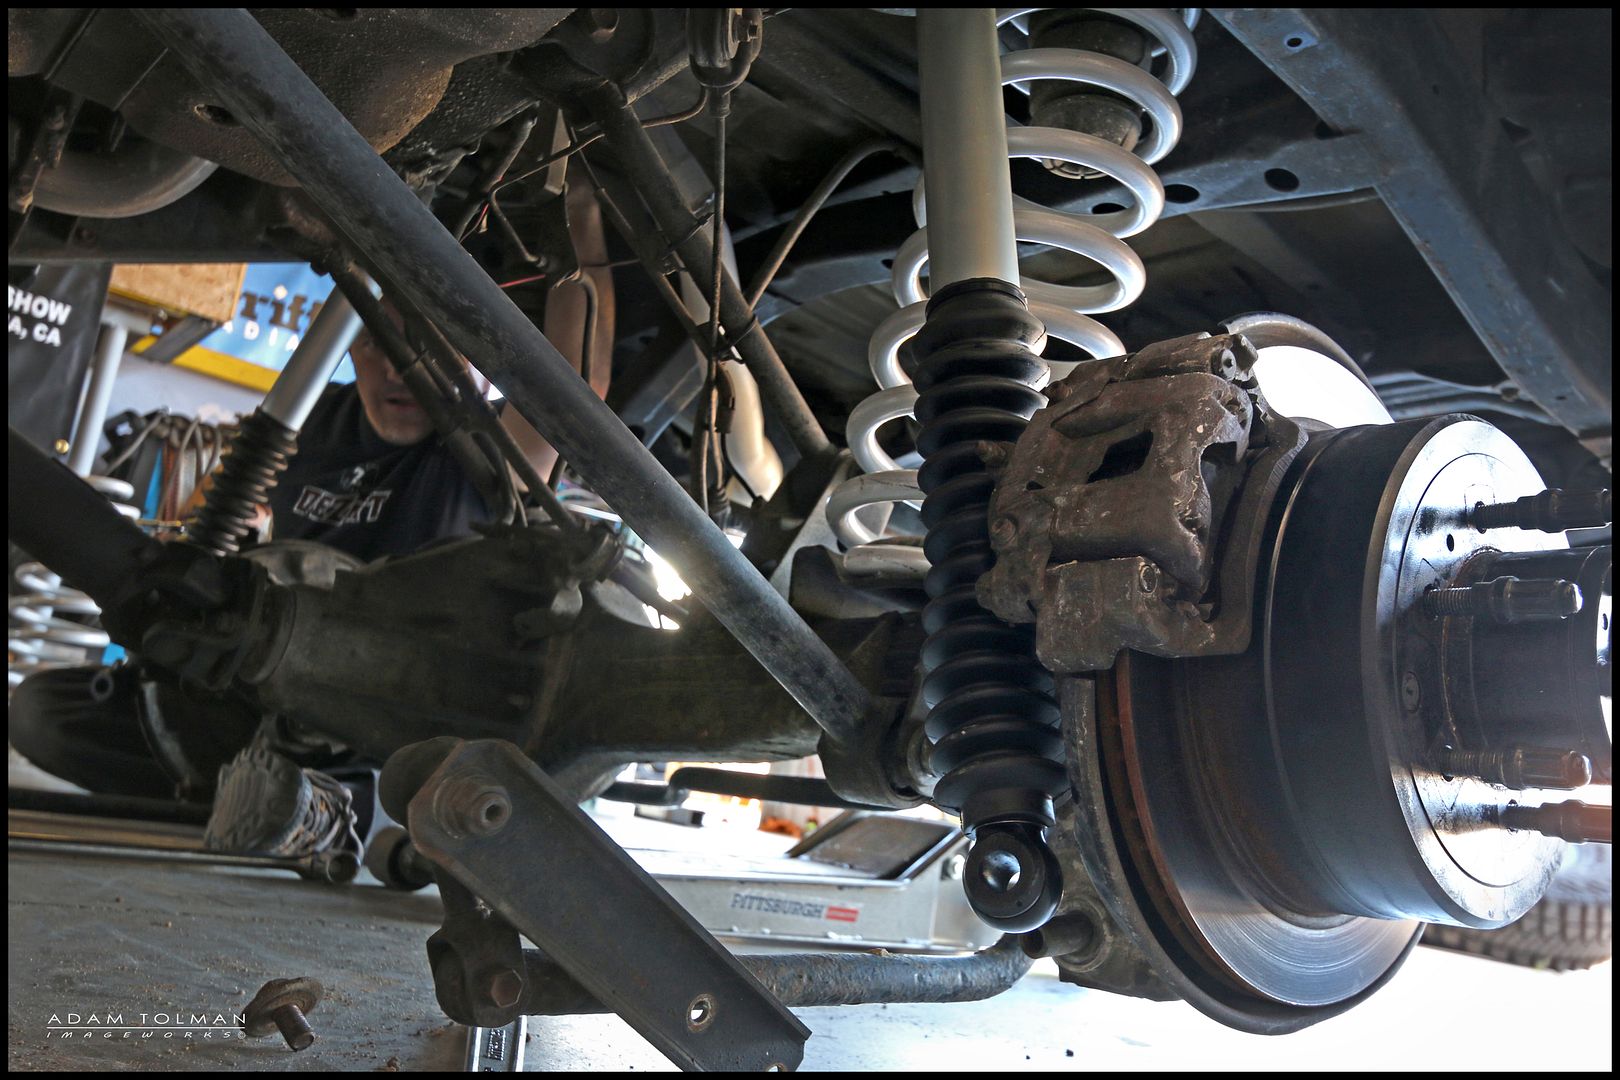
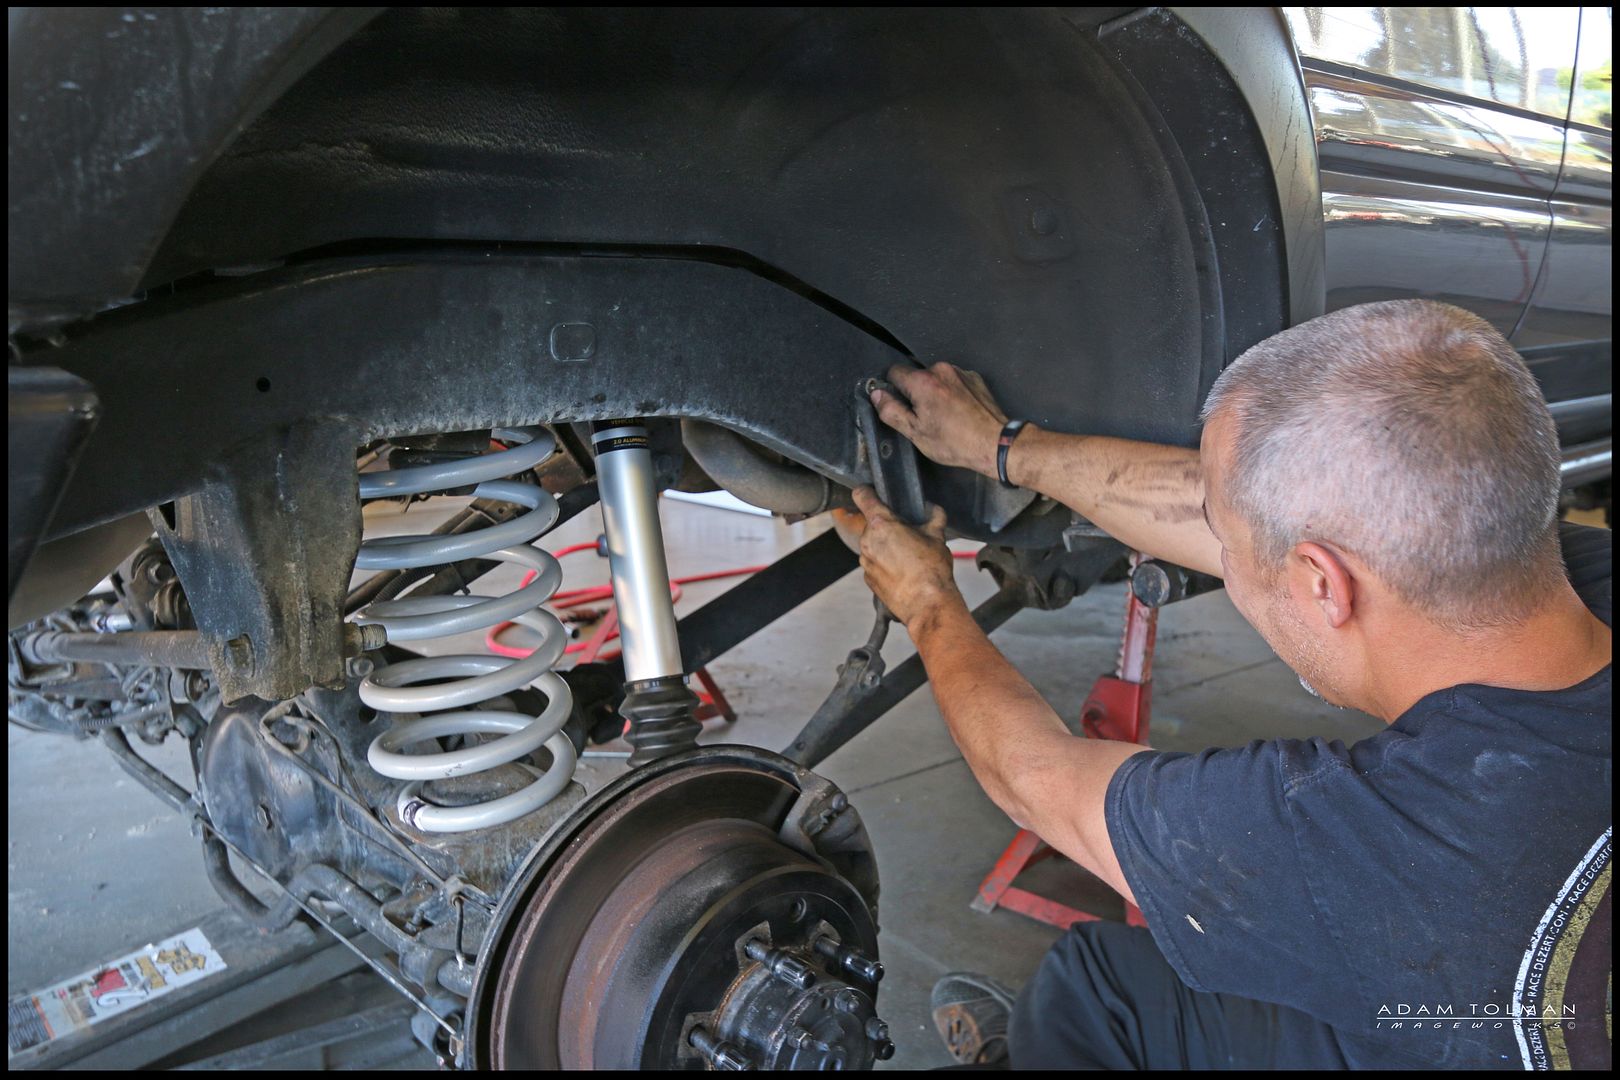
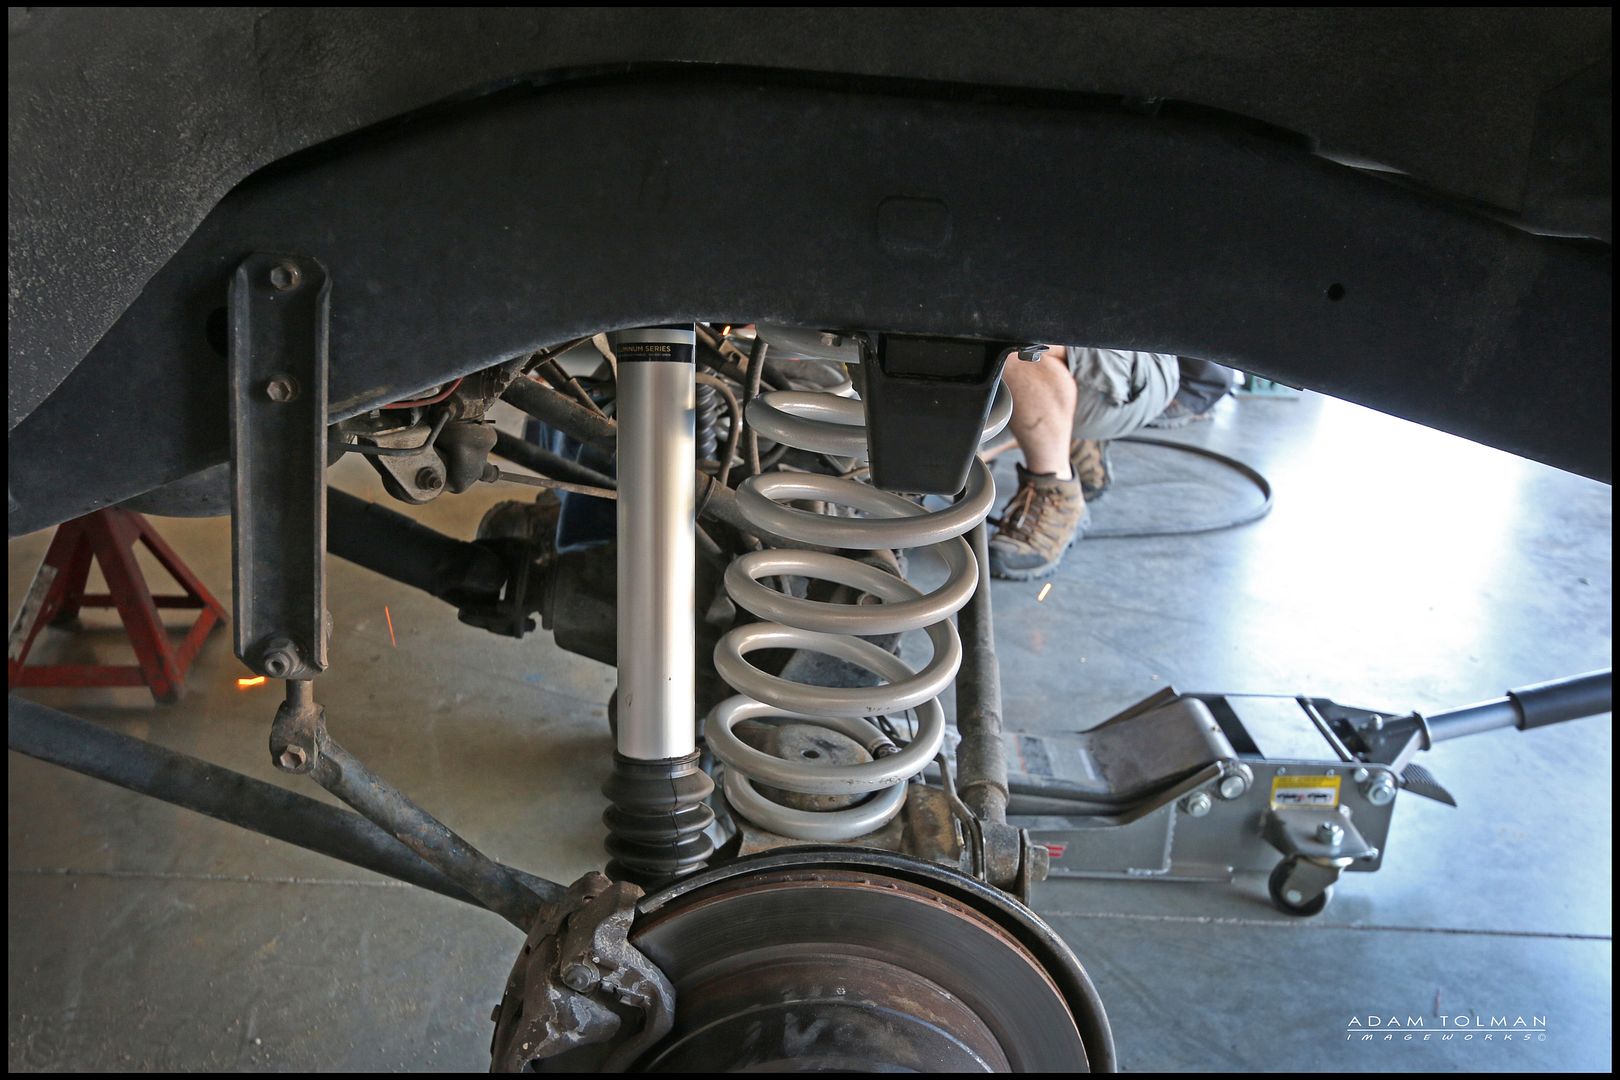
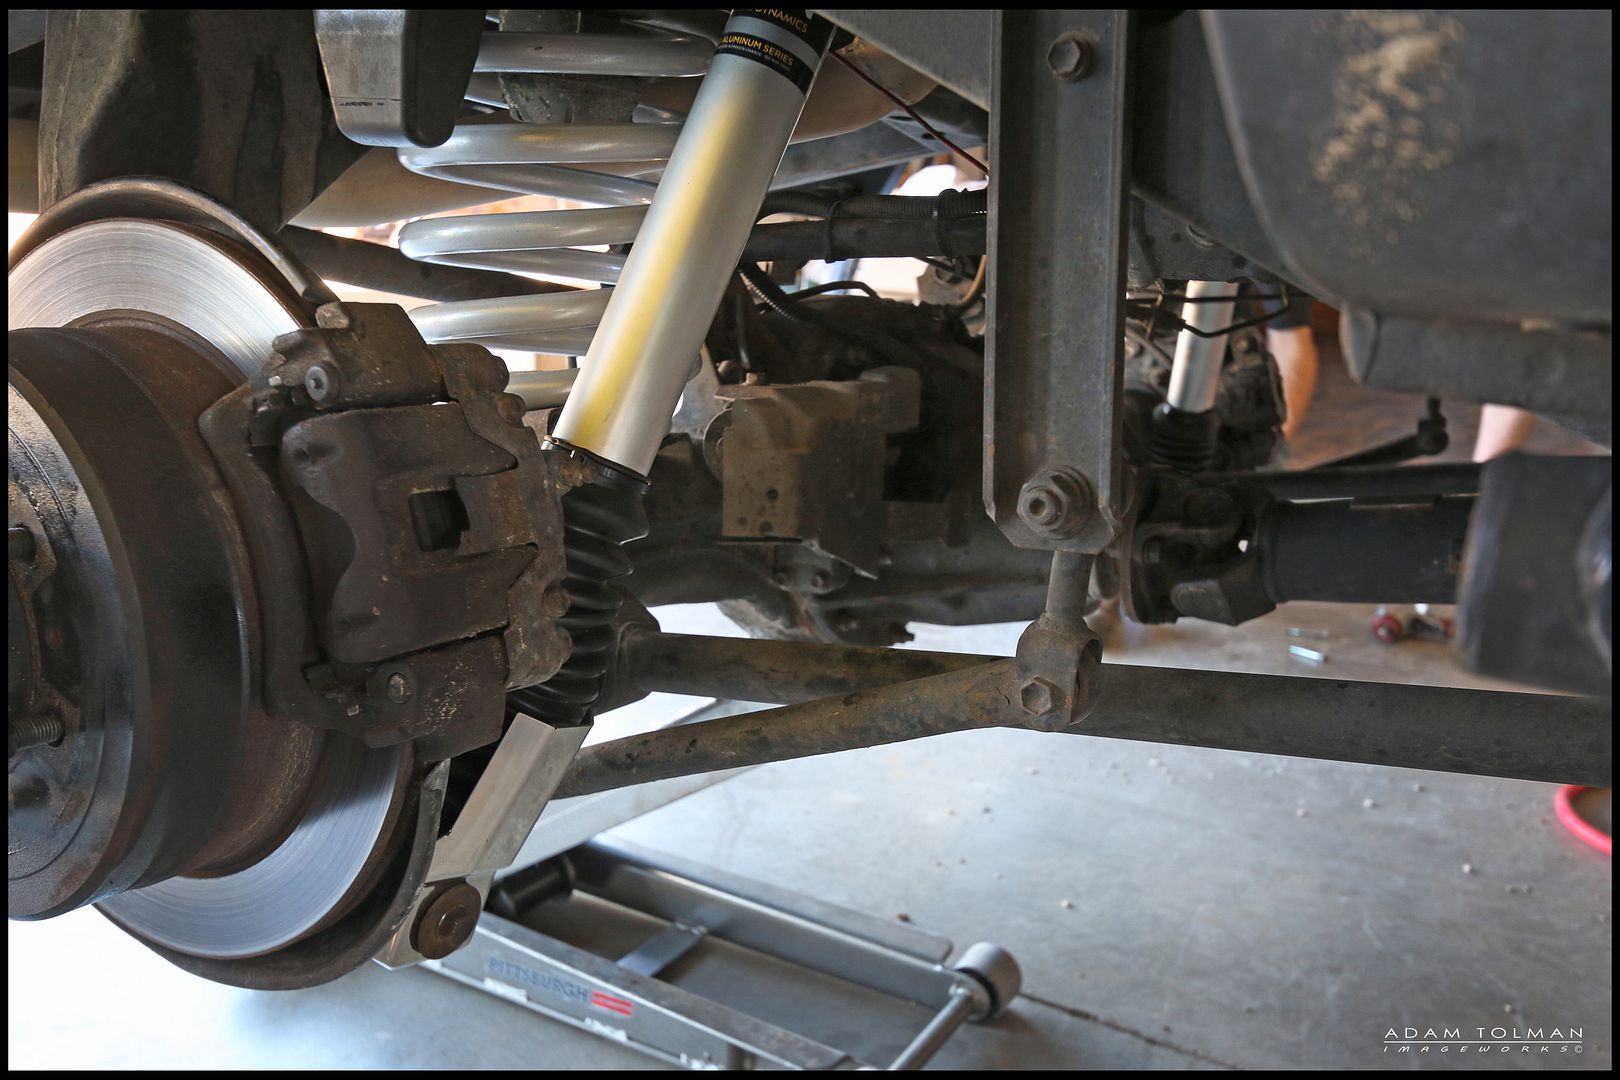
Fitting the front shocks
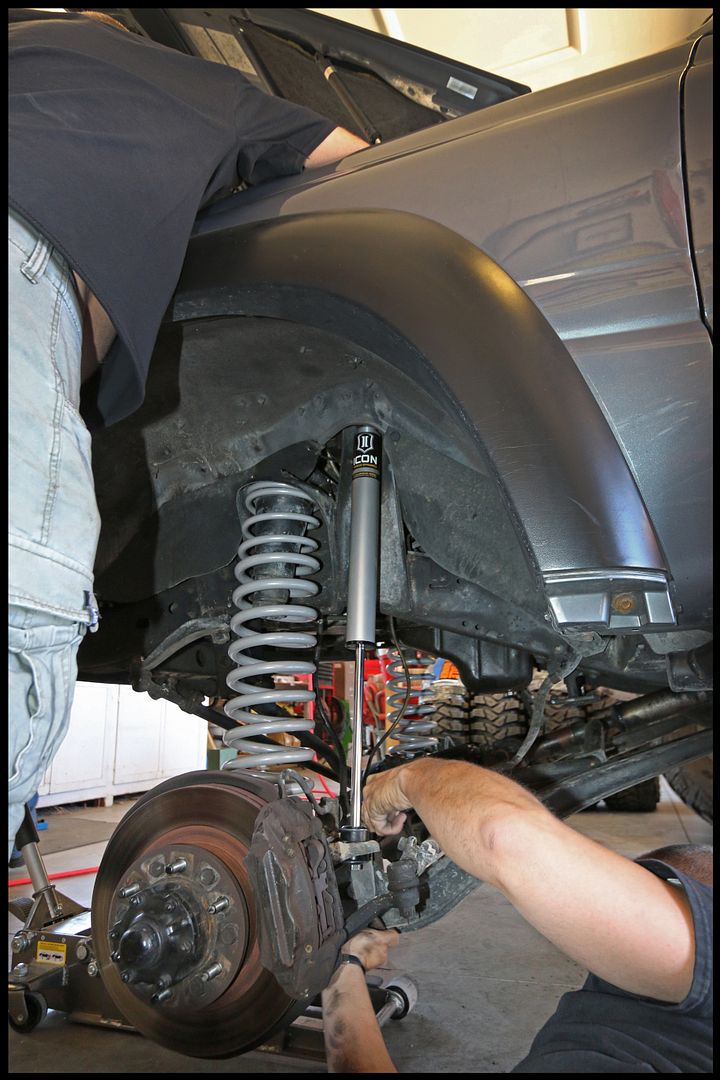
A couple notes, the shocks come with a pair of nuts for each end of the shock. One larger nut and a jam nut. Tighten then enough that there are two threads left exposed after the jam nut is on.
other side
I will be writing an article for TCT magazine to give a review of the suspension but it will be less focused on the actual install, and rather the performance and comparison of the suspension to my old OME stuff etc. So here's a few pics from the install. Overall, it's a very straight forward installation. My installation didn't require a few steps such as some kind of caster correction and extended brake lines. I already had those, as well as adjustable track bars (panhards). This resulted in just a swap of the coils, shocks and swaybar spacers and bumpstops.
Remember to loosen the track bars and control arms, once it's up on jackstands, just enough to allow free movement of the suspension. Retighten them once the truck is back on the ground on it's own weight.
Getting before measurements.


Old stuff. OME J coil + 2" coil spacer


Here's all the new stuff. After taking before measurements and knowing with the goal was for new ride height and load capacity we chose the set of Slinkys that would best meet the goals. I ended up using 75mm Heavy rate Slinkys on all 4 corners.


OME L shocks compared to the new Autocraft spec ICON 2.0 shock.

Front coil comparison. Front OME J coil on the right, Slinky 75mm heavy on the left. Note: I lost a good 2+" of ride height with the new setup, but gained about 6" of travel. Lots more droop available with the Slinkys.
Both set of front coils


Fitting the front shocks

A couple notes, the shocks come with a pair of nuts for each end of the shock. One larger nut and a jam nut. Tighten then enough that there are two threads left exposed after the jam nut is on.


other side

Last edited:
- Thread starter
- #354
rear end coming apart
rear shock comparison. Rear shocks include a shock boot as well as a stone guard.
Sway bar removed and trackbar loose
installed
reattach sway bar
new longer rear bumpstops
with the weight off the jackstands, retighten the track bar
notice the lower stone guard for the rear shocks.
with weight back on the front, the top few winds of the front coils will settle like this. Normal.
final ride height with 35" tires.


rear shock comparison. Rear shocks include a shock boot as well as a stone guard.

Sway bar removed and trackbar loose

installed

reattach sway bar

new longer rear bumpstops

with the weight off the jackstands, retighten the track bar

notice the lower stone guard for the rear shocks.

with weight back on the front, the top few winds of the front coils will settle like this. Normal.

final ride height with 35" tires.

- Thread starter
- #355
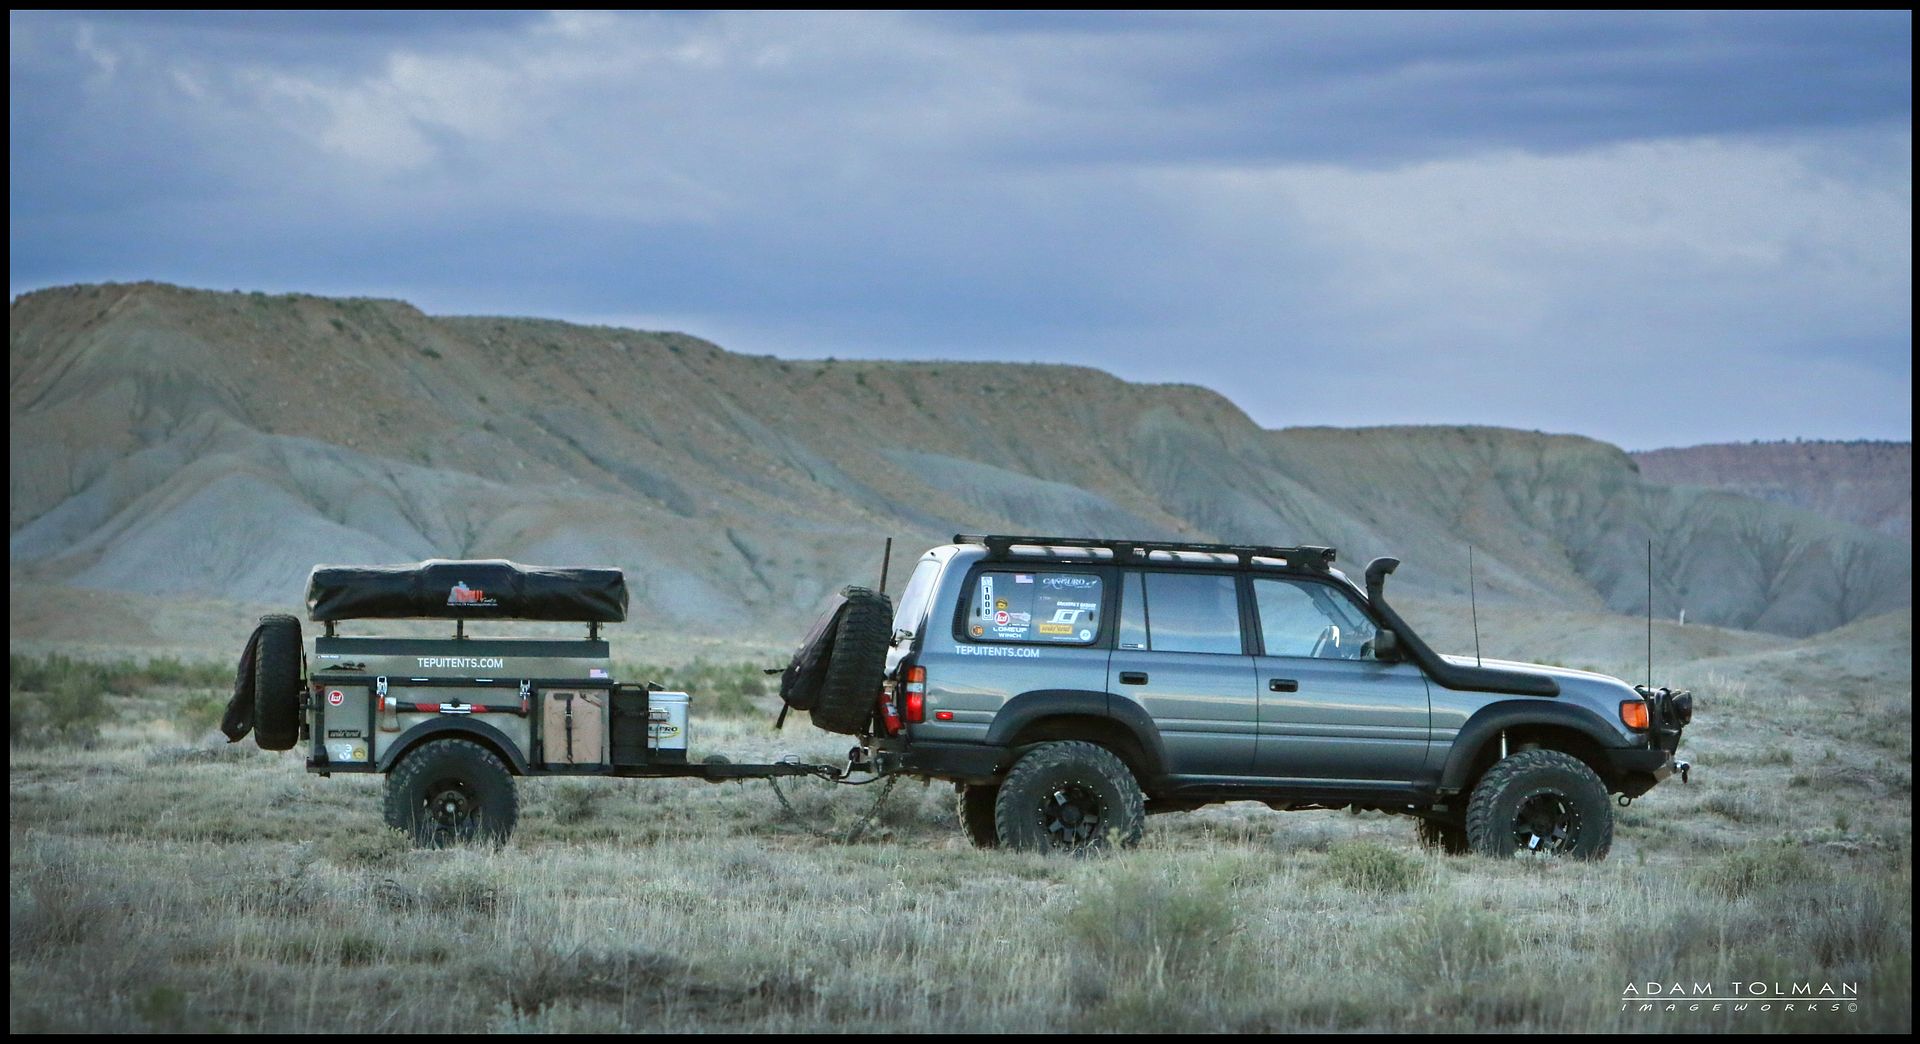
For anyone curious about the new suspension sagging with load, here's my truck fully loaded with fridge, 20lb CO2, full tools and spare parts including a rear 3rd and axle shafts. Pulling the trailer with more camping gear and all the old suspension as well as my Tepui display stuff. Still sitting very level.

- Thread starter
- #357
you'll be glad you did.This is very intriguing to me. I really want to lower my ride height around 2" but if I could gain travel while lowering the height that would be perfect. I am gonna have to look more into this.
For anyone curious about the new suspension sagging with load, here's my truck fully loaded with fridge, 20lb CO2, full tools and spare parts including a rear 3rd and axle shafts. Pulling the trailer with more camping gear and all the old suspension as well as my Tepui display stuff. Still sitting very level.
/QUOTE]
How is the ride fully loaded, and empty?
NOTE: Damn that's a nice looking rig!

Info for purchase and pricing?
would a 2.5 fit?? Im loving my 2.5 Icons on the tundra and I think the cruiser may be a bit heavy for 2.0s