
- Joined
- Jan 6, 2012
- Threads
- 340
- Messages
- 10,940
How many miles are on your LS motor? Or is it a new motor?
Follow along with the video below to see how to install our site as a web app on your home screen.
Note: This feature may not be available in some browsers.
This site may earn a commission from merchant affiliate
links, including eBay, Amazon, Skimlinks, and others.
") I have contacted them a few times with questions and they are very helpful and responsive. So fingers crossed that it starts.
I have contacted them a few times with questions and they are very helpful and responsive. So fingers crossed that it starts. It was a "take out" motor that I got from Tilden Motorsports. They said they did some sort of certification process, which probably means they sprayed some de greaser on it and called it refurbished
I think they said it had 100k on it. It came with a 1 year warranty, which has come and gone.
Thanks for the tip, I replaced them.While the radiator is out you might want to replace the crank seal and harmonic balancer. Ive seen the balancers go at around 120k.
Yes it was nice to see how far I have come. I started it up last week, that was exciting. Yes, I am aware of people moving the axle forward by drilling new hole and welding a plate on the panhard frame mount. Is that the method you are talking about? From looking at the pictures do you think it would look better moving it forward that 1-1.5 inch?Wow, I bet that felt good pulling it outside.
did you know you can push forward the 80 series front axle 1" to as much as 1.5" without any panhard binding?
Not quite correct method. Don't need to do anything with the panhard mount. Drill a new hole in the frame side radius arm bracket and weld new plates in there to reinforce. Simple job. I think it would help your build, and look better.Yes it was nice to see how far I have come. I started it up last week, that was exciting. Yes, I am aware of people moving the axle forward by drilling new hole and welding a plate on the panhard frame mount. Is that the method you are talking about? From looking at the pictures do you think it would look better moving it forward that 1-1.5 inch?
 Axle relocation by Adam Tolman, on Flickr
 Axle relocation by Adam Tolman, on Flickr
 Axle relocation by Adam Tolman, on Flickr
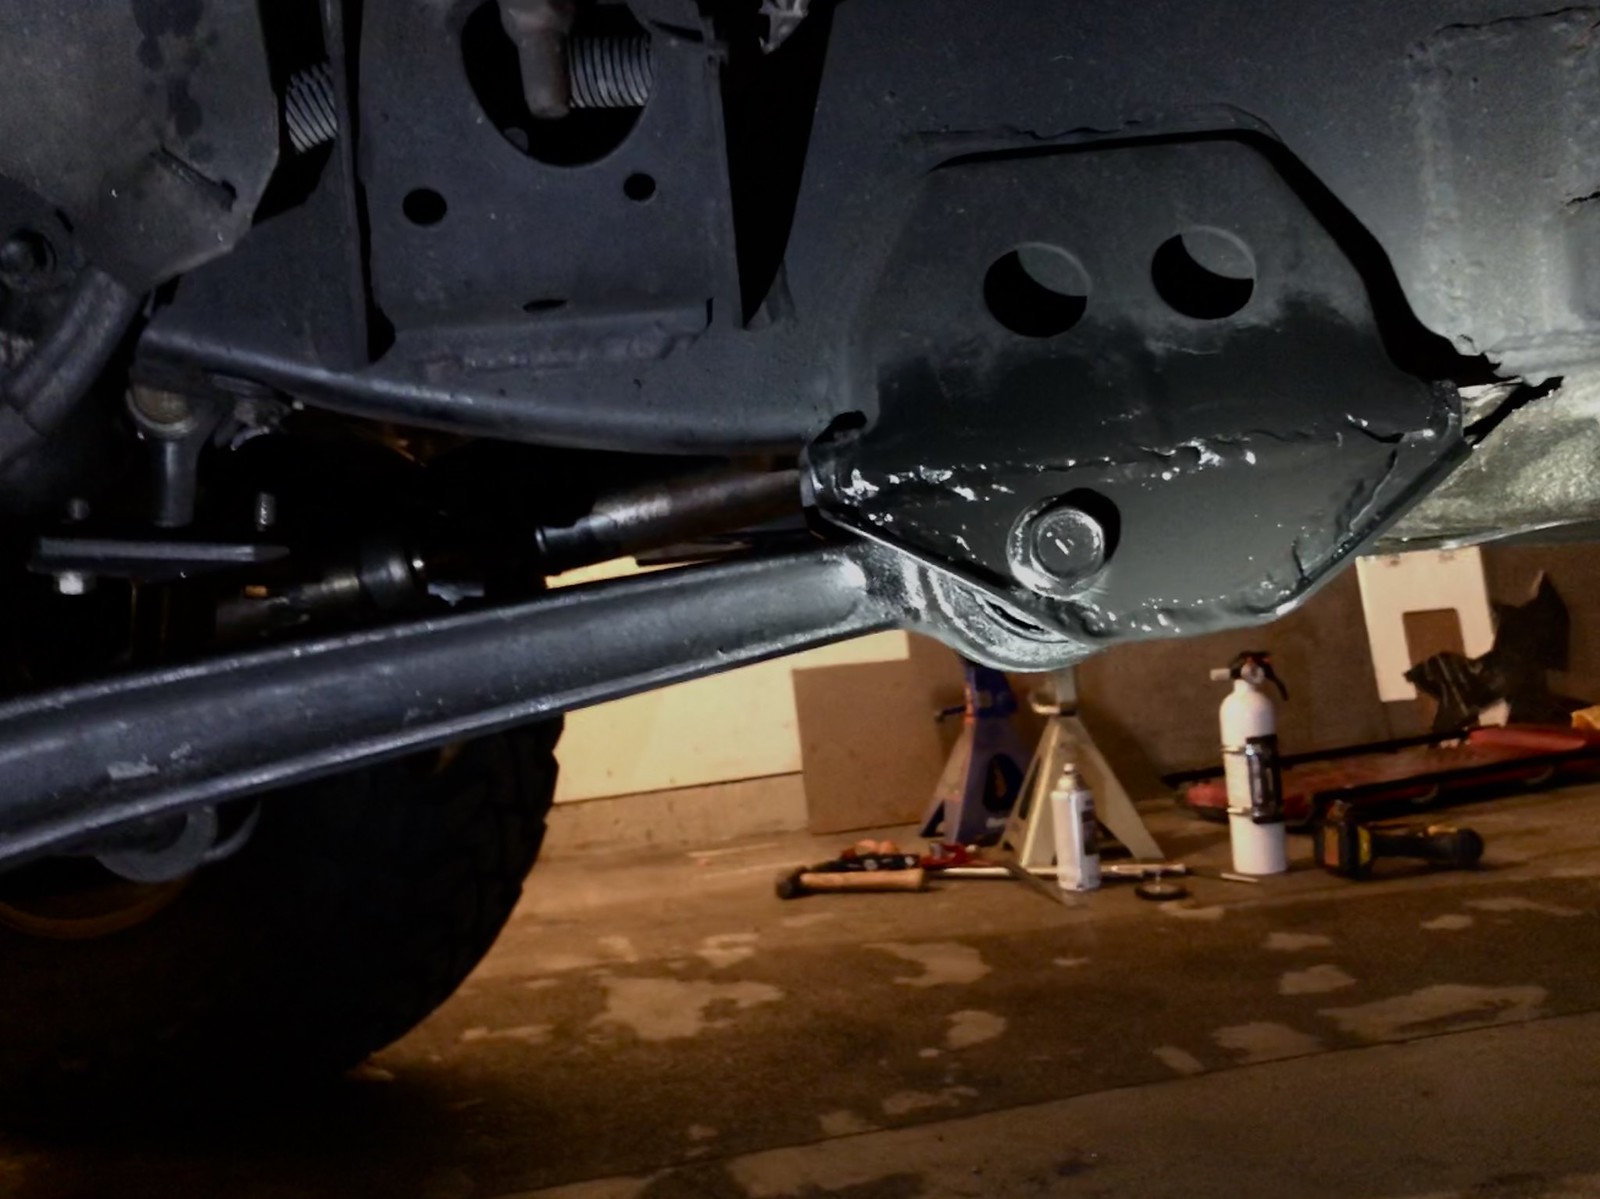 Axle relocation by Adam Tolman, on Flickr
