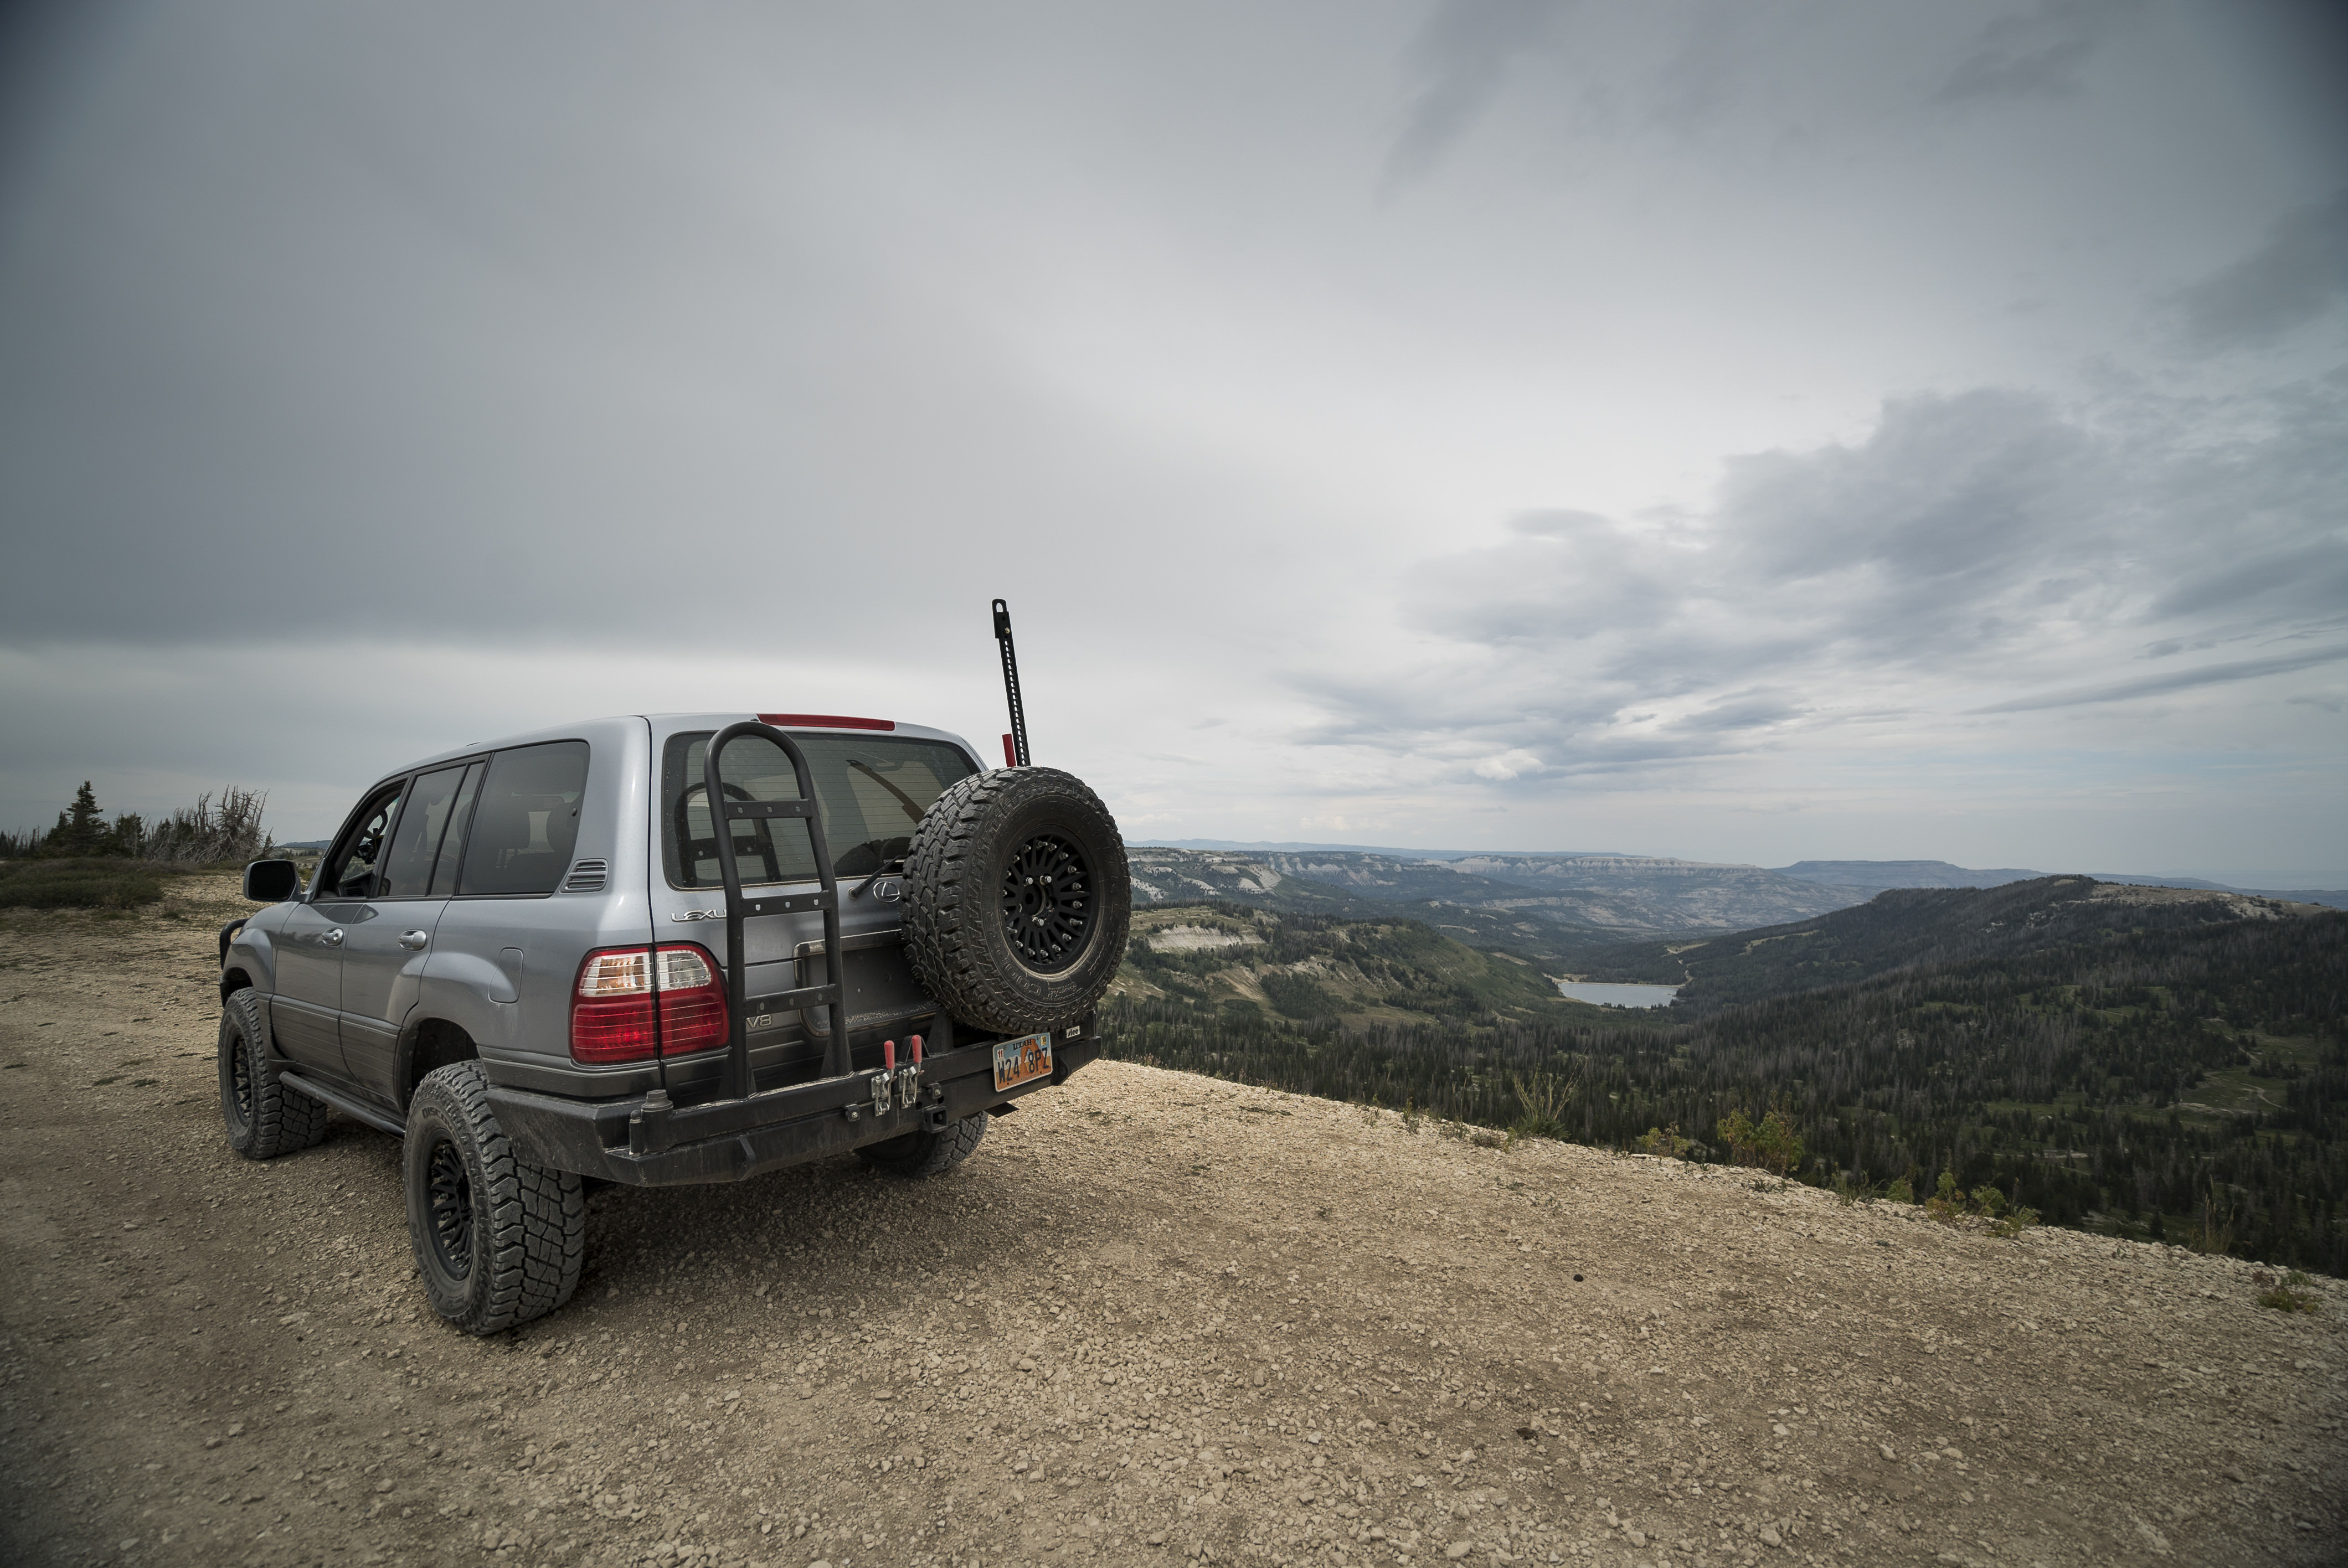
Builds Ikarus' LX470 Offroad Build and BS (8 Viewers)

This site may earn a commission from merchant affiliate
links, including eBay, Amazon, Skimlinks, and others.

They come and go pretty quickly on KSL. I think I know the one you're talking about, those blue headlights are weird. Rebuilt title ISFs pop up all the time for under $20K - I think there's a silver one like that, 16K, looks great, low miles but unfortunate about the title. There was a real clean dark grey ISF for about 22K with a clean title last week but it's gone.

I guess 400+ HP and rear wheel drive is just too much for inexperienced drivers. So many rebuilt title ISFs out there haha

I could never bring myself to buy a Rebuilt Title. I saw those two awhile back both with Rebuilt titles. One will pop up eventually.
 
I could never bring myself to buy a Rebuilt Title. I saw those two awhile back both with Rebuilt titles. One will pop up eventually.

Yup. I tried a rebuilt title once with a WRX because it was a Subaru engine buyback/replacement. Everything worked out fine with that, but I would never buy a rebuilt title from an accident. If your $30K car needs more repair than the car is worth? no thanks
 
Coming from a new 100 owner -- just want to say this is one of my favorite builds currently. Lots of dedication and love put into her. I'm hoping I can end up with something similar down the road. Cheers man, maybe I'll be able to meet up with you and other LC owners out west whenever I head out there.
 
Coming from a new 100 owner -- just want to say this is one of my favorite builds currently. Lots of dedication and love put into her. I'm hoping I can end up with something similar down the road. Cheers man, maybe I'll be able to meet up with you and other LC owners out west whenever I head out there.

Thanks man, appreciate it. Yeah I'm always down for a southern Utah trip, just let me know!
 
Thanks man, appreciate it. Yeah I'm always down for a southern Utah trip, just let me know!

I agree with MrAHC!

Are you going to be at HIH this year? Would LOVE to see this truck! I got all your photos saved and using them as my desktop background for the last year or so.
 
I agree with MrAHC!

Are you going to be at HIH this year? Would LOVE to see this truck! I got all your photos saved and using them as my desktop background for the last year or so.

I wish I was. Looks like a ton of fun - unfortunately by the time I looked into it, all the spots were long gone. Maybe next year
 
FUuLpDS.jpg

HZkA44c.jpg


The POR 15 is making everything look great already. I took my time and hand brushed it on, only took 7 hours haha. Probably just gonna spray next time.
nUshf46.jpg

T6LT8xL.jpg


Halfway done. Tomorrow I'll paint on the primer, then wait 24 hours and rattle can it black with UV resistant spray paint because POR 15 breaks down when exposed to sunlight.

Hey there man. Coming back through this thread again because I'm looking into doing something similar to my undercarriage and was curious about a few things;

1. How has the POR15 held up over time for you, and would you recommend taking the time to coat all suspension parts, on top of the frame?
2. How hard would you say this was to do? It seems pretty simple, just a long process. I'd like to do it myself to save the money but have no prior experience (though I'm sure I'll have some help)
Any other things noteworthy with your experience doing this, as well.

Very much appreciate any feedback

It's held up really well. Only a few tiny chips in the coating from rock strikes on the freeway. When done right it's a super thick coating that's real tough.

It was 2/10 hard and 8/10 annoying. ha. You can definitely do it yourself, and it's a great way to familiarize yourself with the underside of the cruiser. I would set aside 2 days to do it properly.

If you want to do it right and have it last:
1. Prep completely - follow POR15's steps with the metal prep spray, cleaner, degreaser, and wire wheel to get all the surface/flaking rust off. Anything less and it won't stick very well.
2. After that, don't forget the primer and topcoat. POR15 breaks down under exposure to UV, apparently. Paint doesn't stick to POR15 so you need to use their primer, and then I got some Rustoleum black spray paint to cover it all.
3. Jack stands, jack - you'll want to take off all the wheels to get access to all the little areas in the wheel wells. If you want to be really thorough, remove the plastic fender liners cause rust hides under there, especially in the rear driver's side.
4. I removed the bumpers and found some rust under there as well. Also remove the spare as rust hides up there on the underside of the body.
5. Tape off anything you don't want POR 15 on - shocks, brakes, grease points, driveshaft, etc.
6. Make sure you're in a well ventilated area. I wore safety glasses and used gloves at all times, but a respirator only when wire wheeling the rust and spray painting. You have to have a ventilation system if spraying the POR15 cause it's toxic - but brushing on is fine.
7. POR15 gets everywhere and doesn't come off for weeks. It's really messy and I had black arms for 2 weeks after.
8. I ended up using a quart, and have a spare pint for later.

Hey, thanks for the detailed response I really appreciate it. Definitely seems easy enough for a weekend job with a buddy.
Do you recommend doing anything else while I'm under there to kill two birds with one stone?
Also, for suspension parts that you coat and eventually replace, do you just coat the replacement before it goes on?

TIA

If I were to coat some replacement suspension parts, I would do it while off. Much easier.

If there are any parts you want to replace, I would do that first - or at least spray everything with PB blaster and replace rusty bolts before the por15. Would be difficult for any pb blaster to pentrate before working on things, if there's por15 on there.

Nothing in particular to do while you're under there - but I would look at all the wear parts like sway bars links, bushings, UCAs, LCAs, etc. and replace before the por15, like I was saying previously. If you wanted to be really thorough, I would put the truck up on jackstands, remove all the wheels, shocks, springs, swaybar links, maybe even the control arms - then por15 (easier to reach all the little corners) - then install all new parts, lift, etc. But I realize that's a big job and a good amount of money.
 
4z4HDnh.jpg


Now that I've had the Slinky suspension setup for a while, I wanted to post a little review so far. I've had a lot of messages about it so hopefully this will answer some questions for those with stock LXs or people looking to upgrade.

I have not missed AHC. I was never a fan of it for this type of build so I was happy to pull it all out just a few months into ownership. Honestly if I did it all again I'd probably just buy a land cruiser to save me the hassle.. haha. Though, this is on a 17 year old truck with old AHC components and I wanted to add bumpers and sliders. If it was a new truck and I was keeping it stock, AHC seems like a great system.

1. Torsion bars - the Slinky kit came with some torsion bars from an Australian company, but I didn't feel like switching them out so I gave them to a friend and stuck with OME. Been awesome, can crank them up as much as I want. Have gone from stock bumper to ARB front with Comeup winch and sliders, and they're handling it fine.

2. OME vs Icon - OME is cheap and durable, but definitely not as comfortable. I do like OME stuff, as it gives the truck stability/responsiveness and the ability to carry heavy loads. Icon I would say is a nice cross between stock AHC and OME - stable and responsive, but still pretty comfortable. Cons are that it's expensive and the shocks need to be rebuilt sometimes - every 20K under hard offroad use, 50k miles if 80% highway/street driving and 20% trail use, or whenever they start leaking.

3. Icon - I have stage 1. If I was doing it again I might upgrade to stage 3 or 4 (though i got the setup for free so I can't complain.) I would like to be able to change the softness and have a little more cooling capacity. However - I've only wanted those things once so far, on a week long trip to Southern Utah with a bunch of guys with 80s and stage 4 Icons. They were really pushing it, 50-60 mph on dirt roads with small jumps/whoops. I kept bottoming out so I hung back a bit - would have been great to dial it up to 9 or 10 with my camping gear adding weight. Around town though, and the way I normally drive offroad, I haven't needed the remote reservoirs or adjustability. You could save $1-2K with that.

- Also, with Icons I needed to extend my rear swaybar endlinks and brake lines. It was just too close for comfort for me when fully articulated because I gained so much travel in the back. The Slinky kit comes with extended sway bar links for the rear.

JfPEFaM.jpg


- Front travel - just with these Stage 1 Icons, it looks like I gained about .25-.5" extra down travel in front, which is a nice bonus. (I'll have to go back and check properly. I was in a hurry installing them before a trip)

UwLGx9C.jpg


4. Slinky Springs - from Endless Horizon Outfitters, who import them from 4xOverland in Australia. These springs are incredible. Best thing I've ever done for my truck - improved the ride a surprising amount. They offer two versions, medium and heavy. I have medium but need to go with the heavies. Medium is fine around town with the Slee rear bumper and 100lb spare, but when I load up about 3-400lbs of gear/passengers it sags a bit. They're a progressive spring so they handle both loaded and unloaded comfortably.

5. UCAs - Light Racing UCAs from Cruiser Outfitters. Been great, no complaints. No problem getting a good alignment.

6. Diff drop - I know people have opinions on this, but I think it's a required item, especially with Icons. I rebooted my CVs at the same time so the rubber didn't have to get used to a new configuration and crack. No problems yet.

That's all I can think of now. Love the setup and I'm not planning on changing anything. When I rebuild the shocks, I'll probably add the remote reservoirs then. Apparently it's something you can do afterwards if you want to turn your Stage 1 into Stage 3 - but I still need to research that. ICON CDC (Compression Damping Control) Valve Upgrade | Icon Vehicle Dynamics -

If not, I'll be upgrading to stage 4.
 
What’s stage 4 Icons?

I’m only seeing Stage 3 everywhere I looked.
 
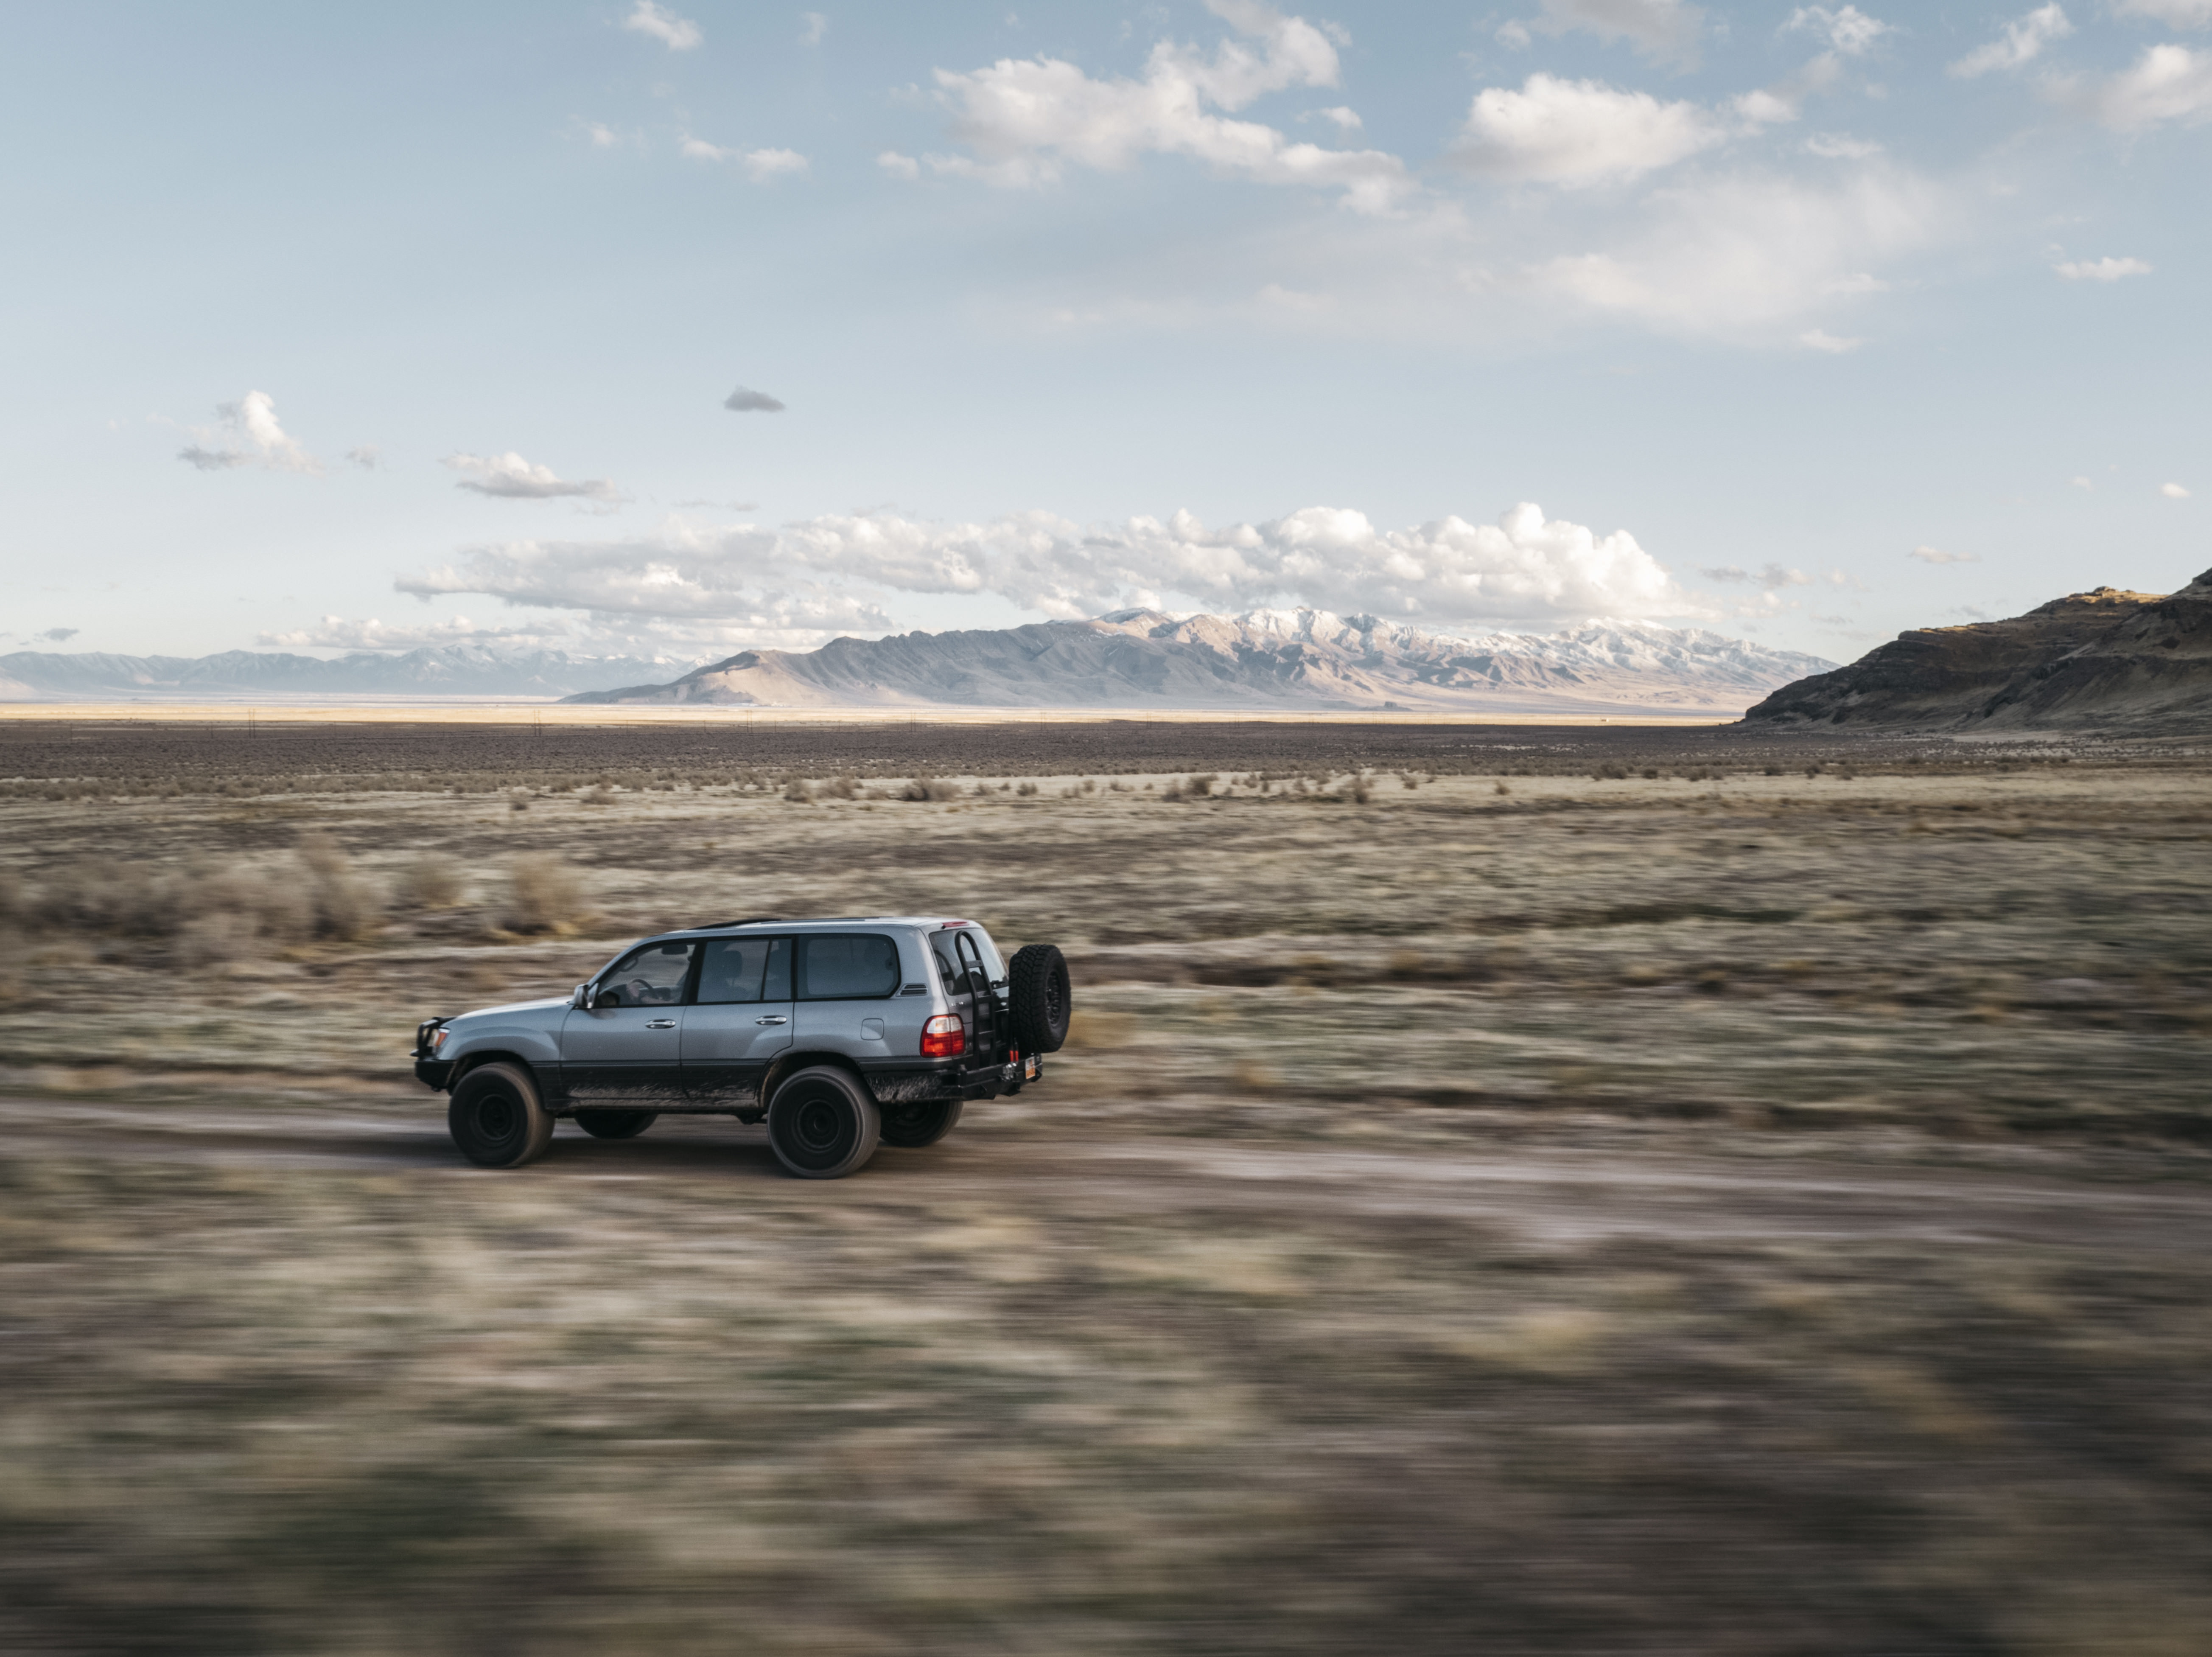
Got out to the desert for a minute today. Grabbed some pics with the new wheels -

2wwiZuO.jpg


De1gxa1.jpg

Still winchless. I think I'm gonna pick up a Comeup Seal Gen2 12.5 synthetic pretty soon here

8uY2XGt.jpg


1TeZuhr.jpg
What camera do you use/im assuming the last picture is a drone. Mind filling me in briefly on what gear you use to document so well? You're awesome man!
 
Nice write up man! I kinda agree it's neat having an LX but if I could go back I probably would've held out for a LC. I really wanted to follow you down the slinky Icon path but the cost for entry was a major deterrent. Do I want to go Baja fast over bumps? Of course! Could I justify the cost of entry? Nope! But again I am envious.
 
What camera do you use/im assuming the last picture is a drone. Mind filling me in briefly on what gear you use to document so well? You're awesome man!

Thanks man! I personally use Sony a7sII/a7rII, and sometimes a Canon 1DX. And yes, drone is an Inspire 2. Biggest key is to get a nice prime lens like a 35mm f/1.4 or 50mm f/1.4. Those lenses almost never leave my camera. Also if you shoot around golden hour - right before, during and after sunset - your pictures will always turn out better. Even on an iPhone

Nice write up man! I kinda agree it's neat having an LX but if I could go back I probably would've held out for a LC. I really wanted to follow you down the slinky Icon path but the cost for entry was a major deterrent. Do I want to go Baja fast over bumps? Of course! Could I justify the cost of entry? Nope! But again I am envious.

Agreed. I was very happy to win a set. Originally, if it was up to my wallet I probably would have kept the OME and done Icon very last, after lockers, regear, body lift, snorkel, etc. However, now that I've seen the difference, it very well may be the first mod I do on any truck from now on.
 
9e6z8am.jpg


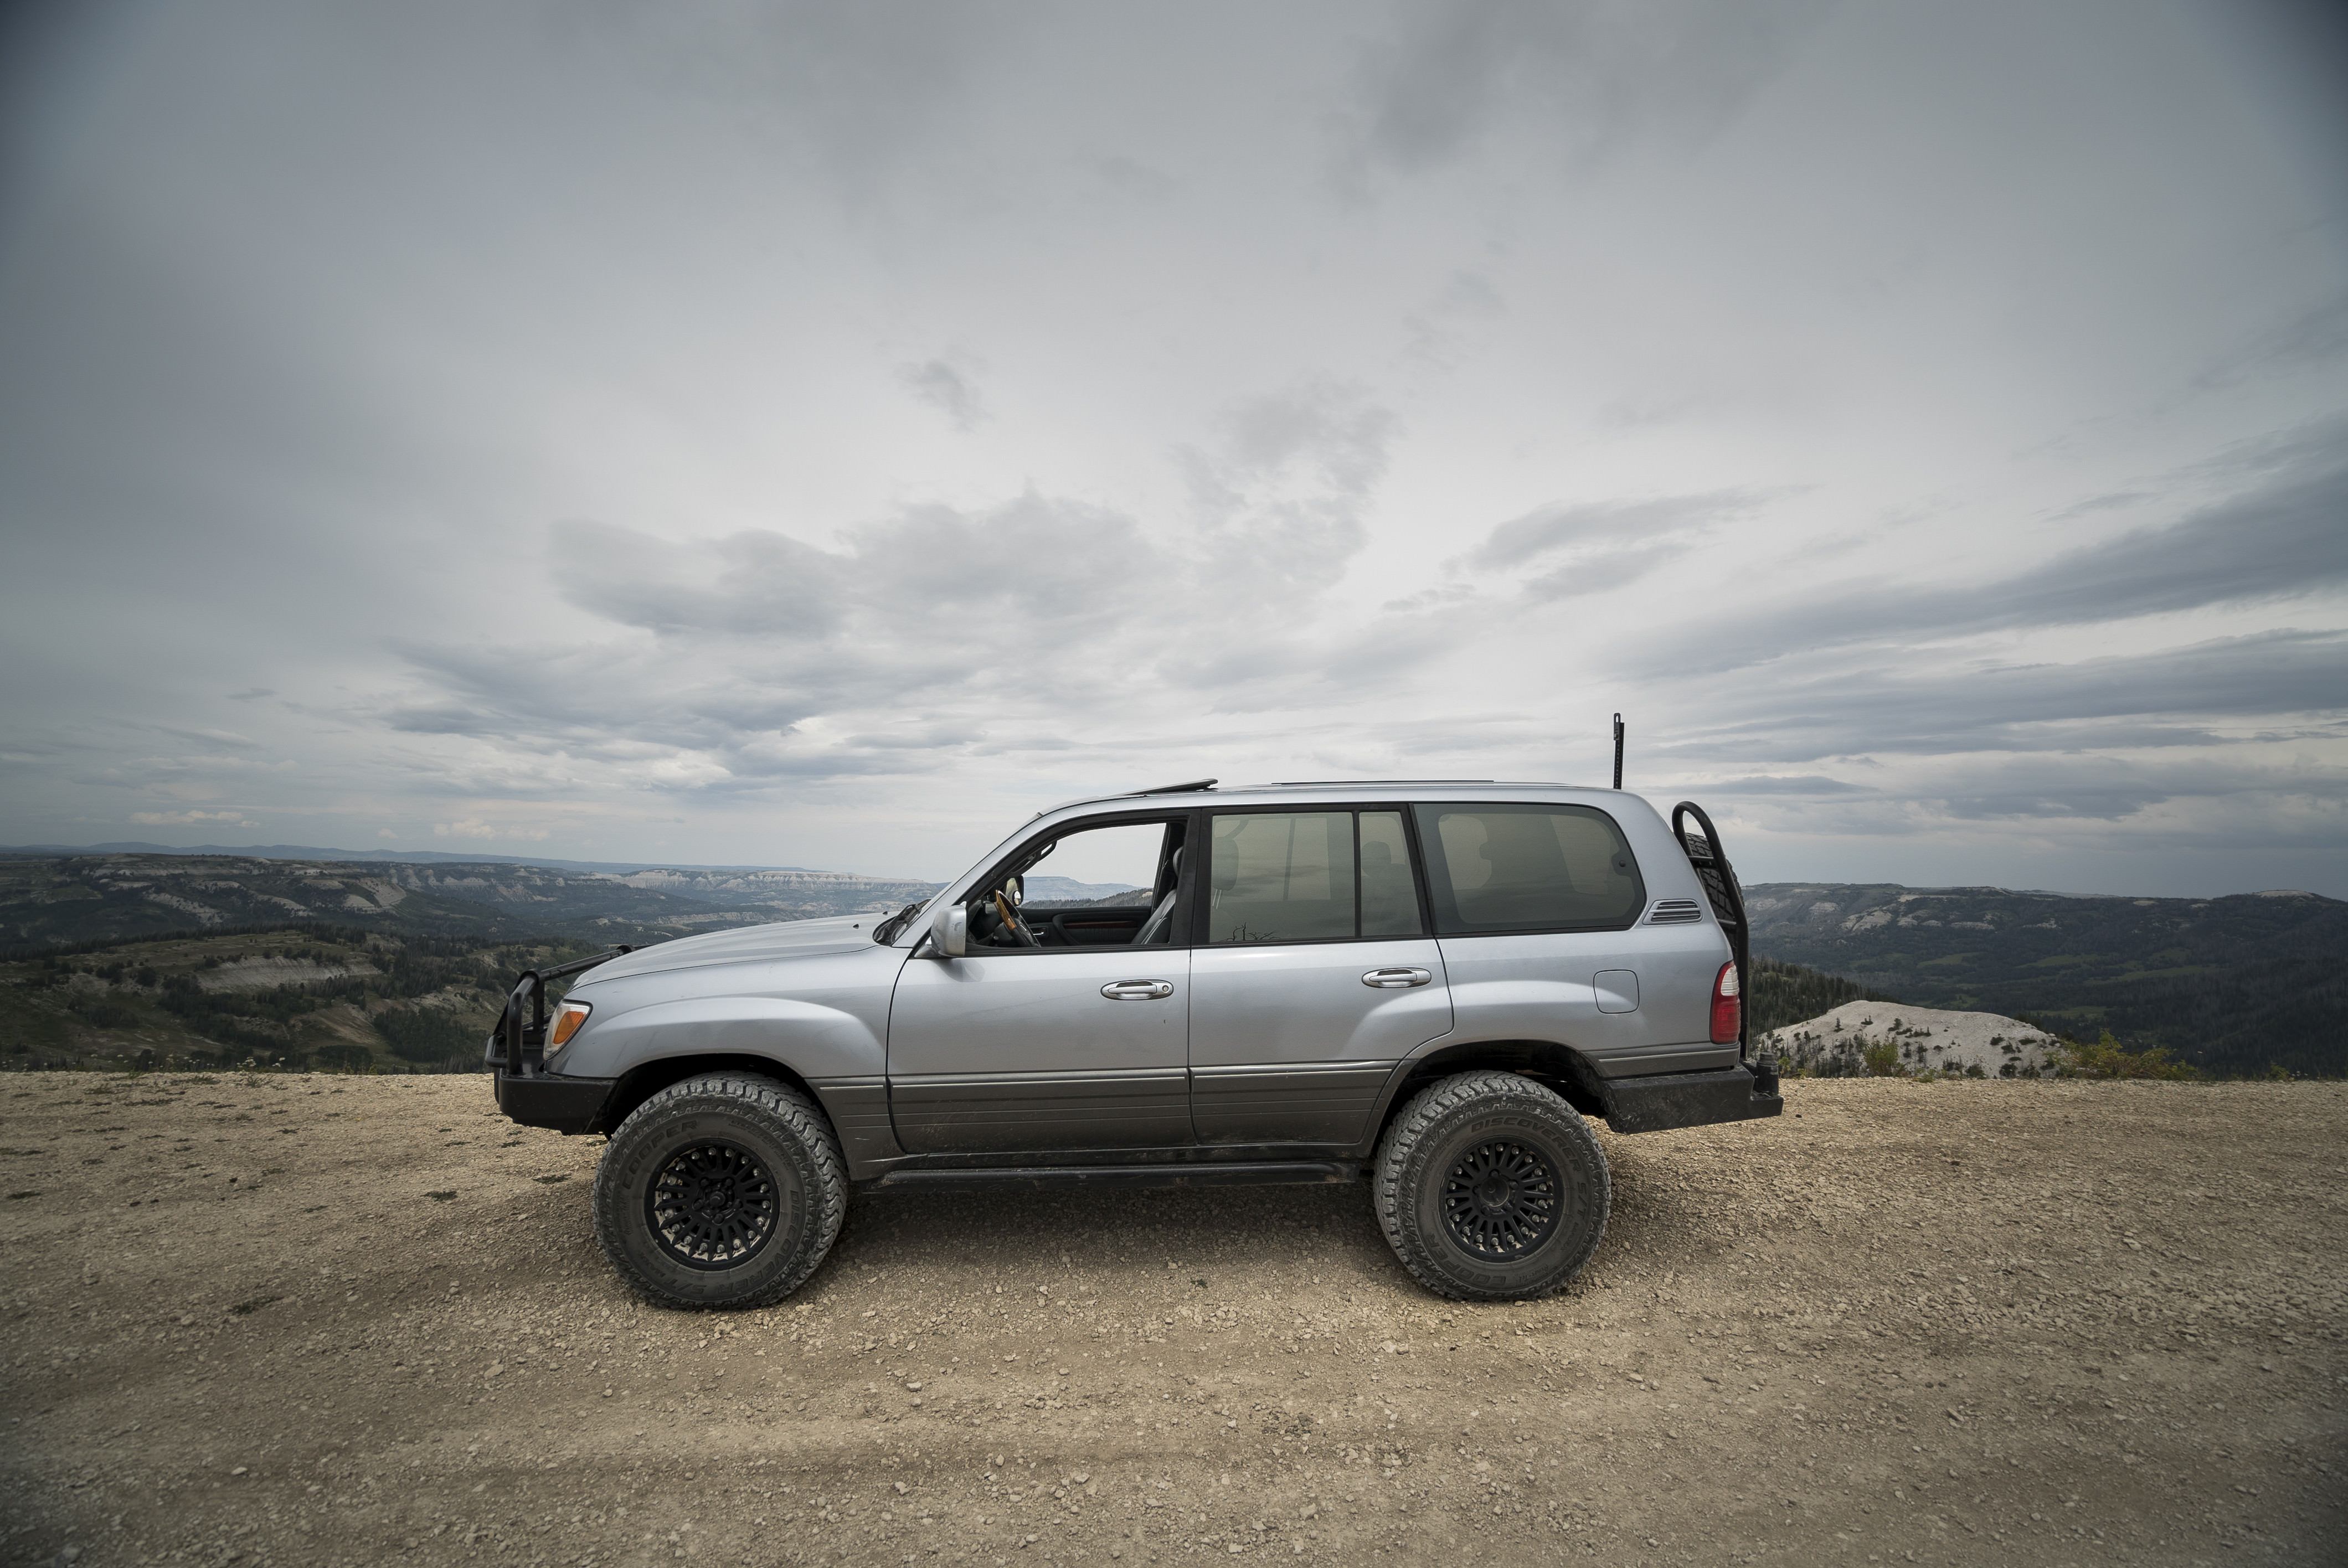
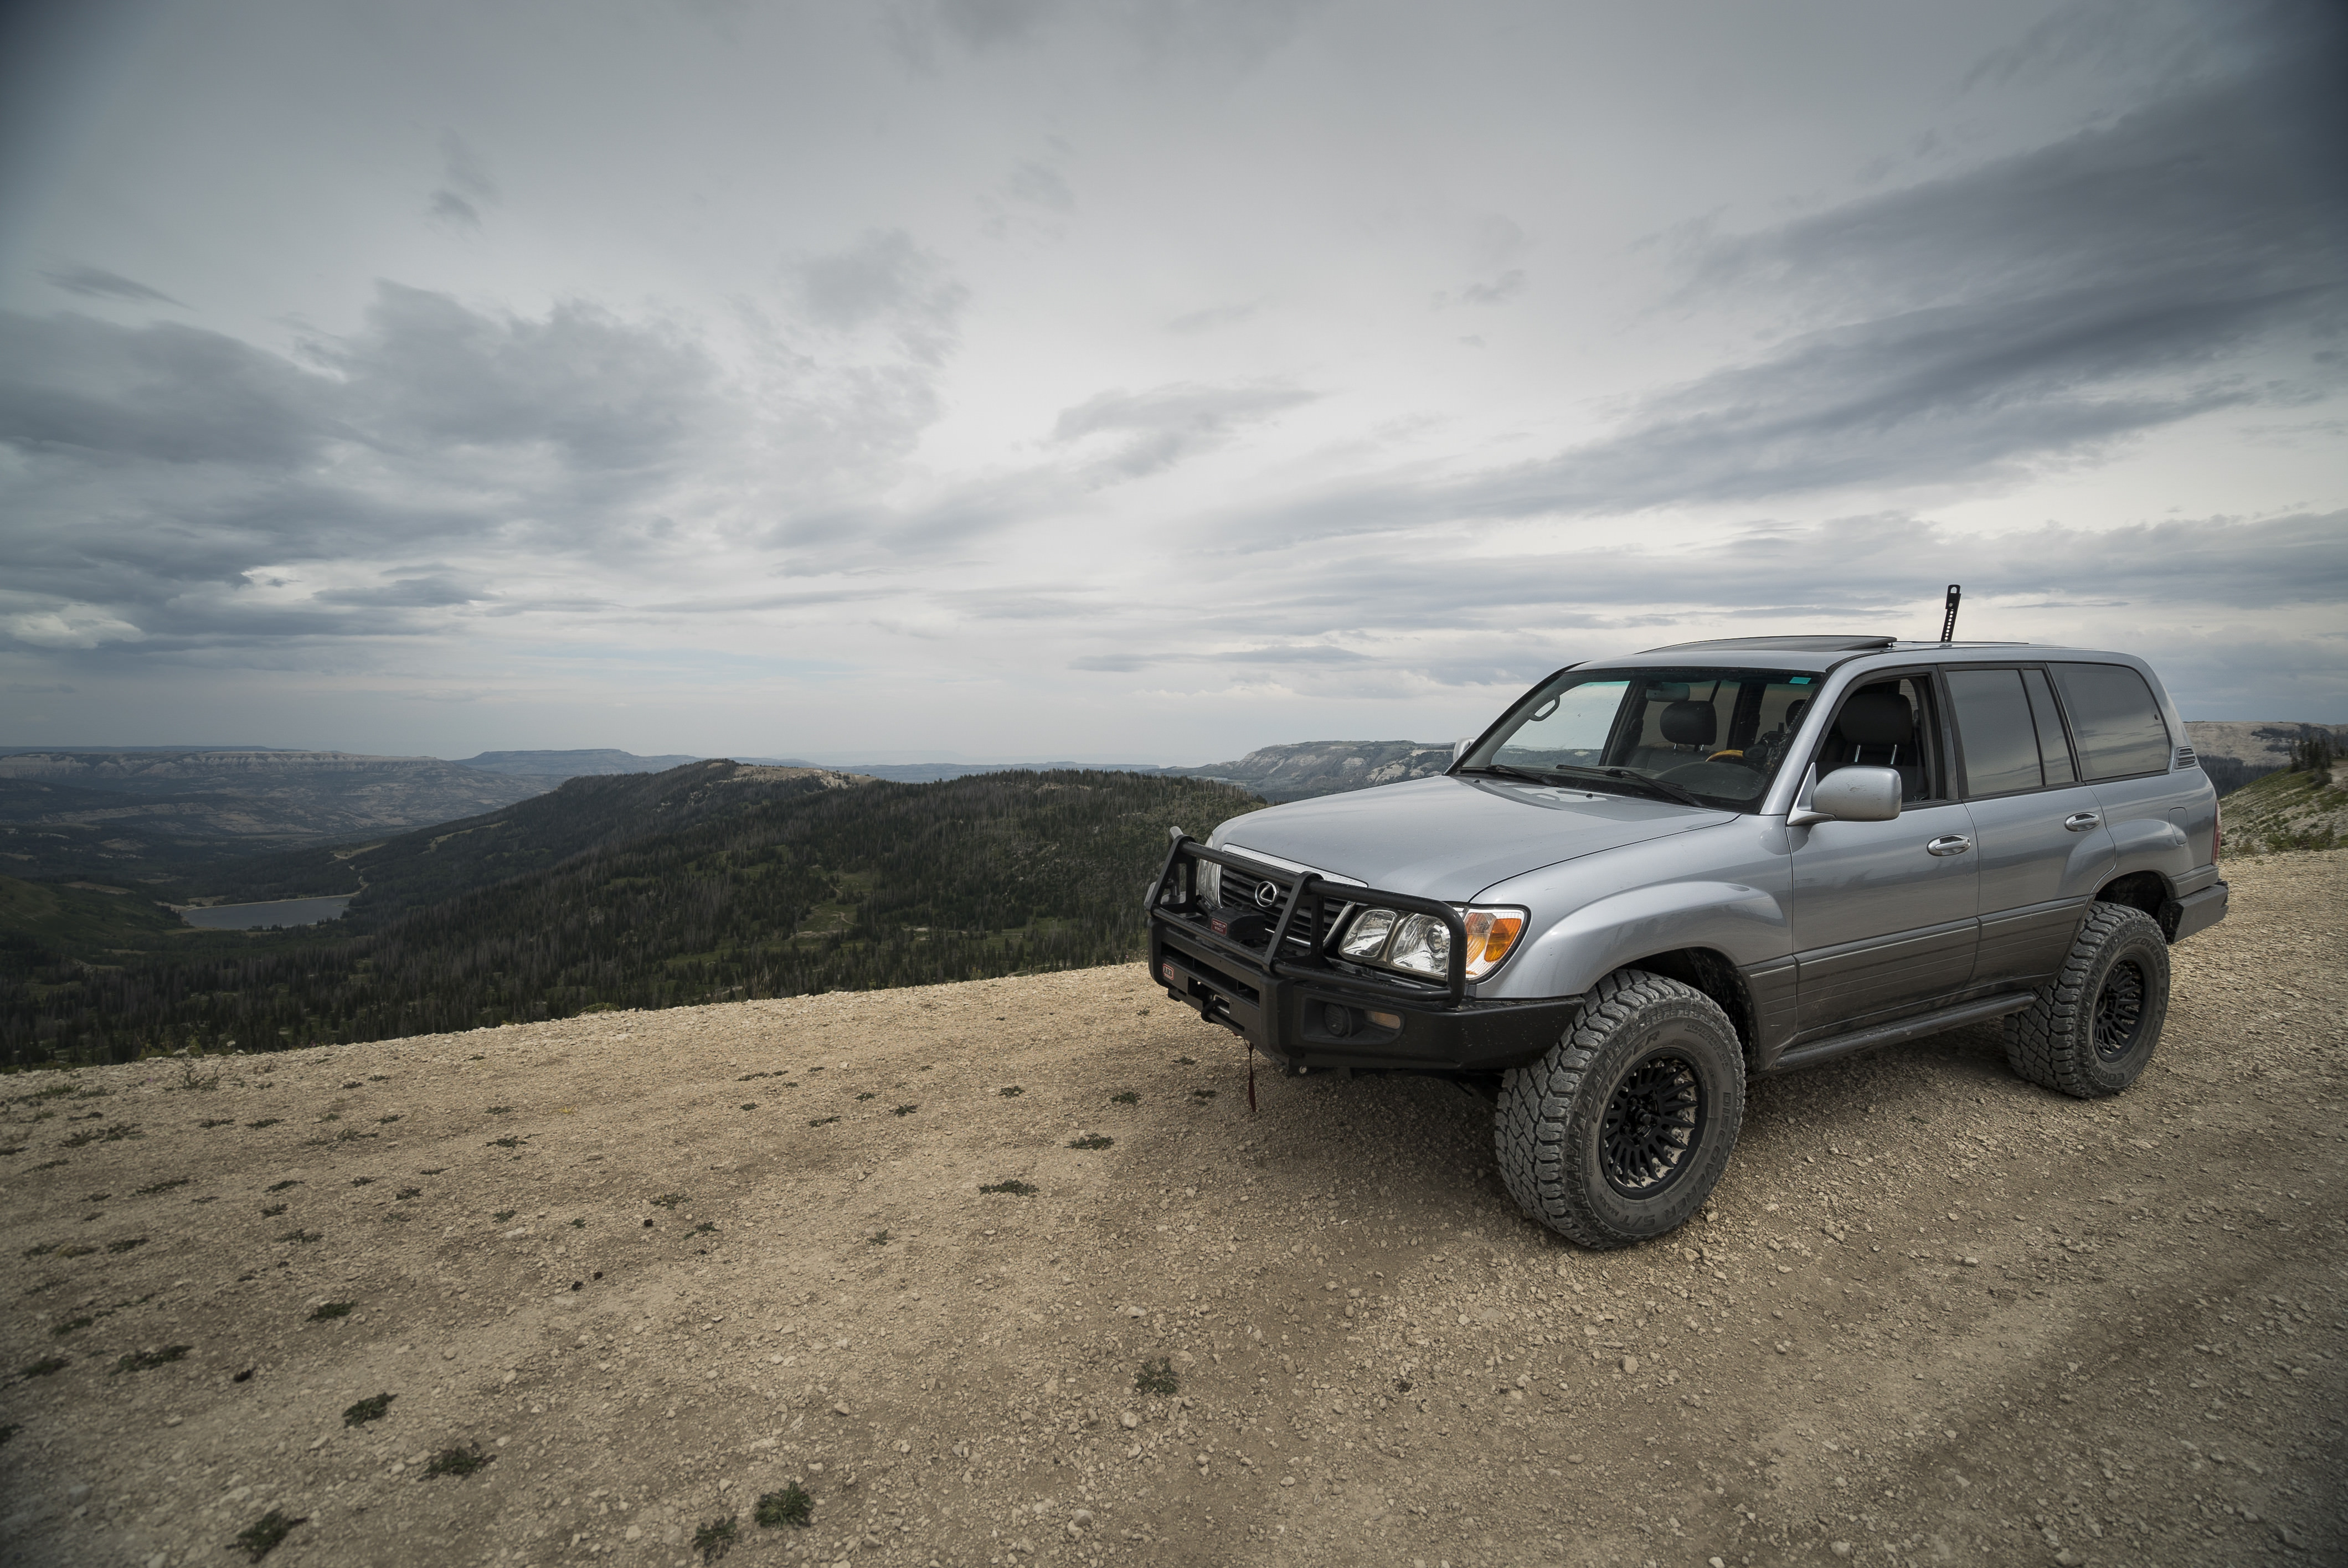
Exploring parts of Utah I haven't seen before - 100 miles on dirt on this route yesterday. Just touched pavement once halfway through.

WIs2cdn.jpg


36gh7ZT.jpg


0KB3Gg5.jpg


Most of the trail was between 9K and 11K feet. Temperature was 60°, a nice change from 100° in the valley.
 
Thanks man! I personally use Sony a7sII/a7rII, and sometimes a Canon 1DX. And yes, drone is an Inspire 2. Biggest key is to get a nice prime lens like a 35mm f/1.4 or 50mm f/1.4. Those lenses almost never leave my camera. Also if you shoot around golden hour - right before, during and after sunset - your pictures will always turn out better. Even on an iPhone


Agreed. I was very happy to win a set. Originally, if it was up to my wallet I probably would have kept the OME and done Icon very last, after lockers, regear, body lift, snorkel, etc. However, now that I've seen the difference, it very well may be the first mod I do on any truck from now on.
And what software for editing?
 

Users who are viewing this thread

Back
Top Bottom