Looks great. Where is that cover from?Picked up a steering wheel cover and sewed it on. Took about 3.5 hours.
View attachment 1585236
View attachment 1585237
View attachment 1585238
Navigation
Install the app
How to install the app on iOS
Follow along with the video below to see how to install our site as a web app on your home screen.
Note: This feature may not be available in some browsers.
More options
You are using an out of date browser. It may not display this or other websites correctly.
You should upgrade or use an alternative browser.
You should upgrade or use an alternative browser.
What Did You Do with Your 80 This Weekend? (80 Viewers)
This site may earn a commission from merchant affiliate
links, including eBay, Amazon, Skimlinks, and others.
More options
Who Replied?Welcome back to Ohio. I'm down in Columbus.Over the past few weekends I:
Moved from the SF Bay to NE Ohio - couldn’t be happier to be home.View attachment 1585218
View attachment 1585213 View attachment 1585214 View attachment 1585216
Stuffed my fusible link with dialectric grease and solved my low idle issue. Now for the knock sensor code...
Also found that I’m getting 9.6mpg (limp mode mpg?) so I bought a 48.7mpg daily:
View attachment 1585208
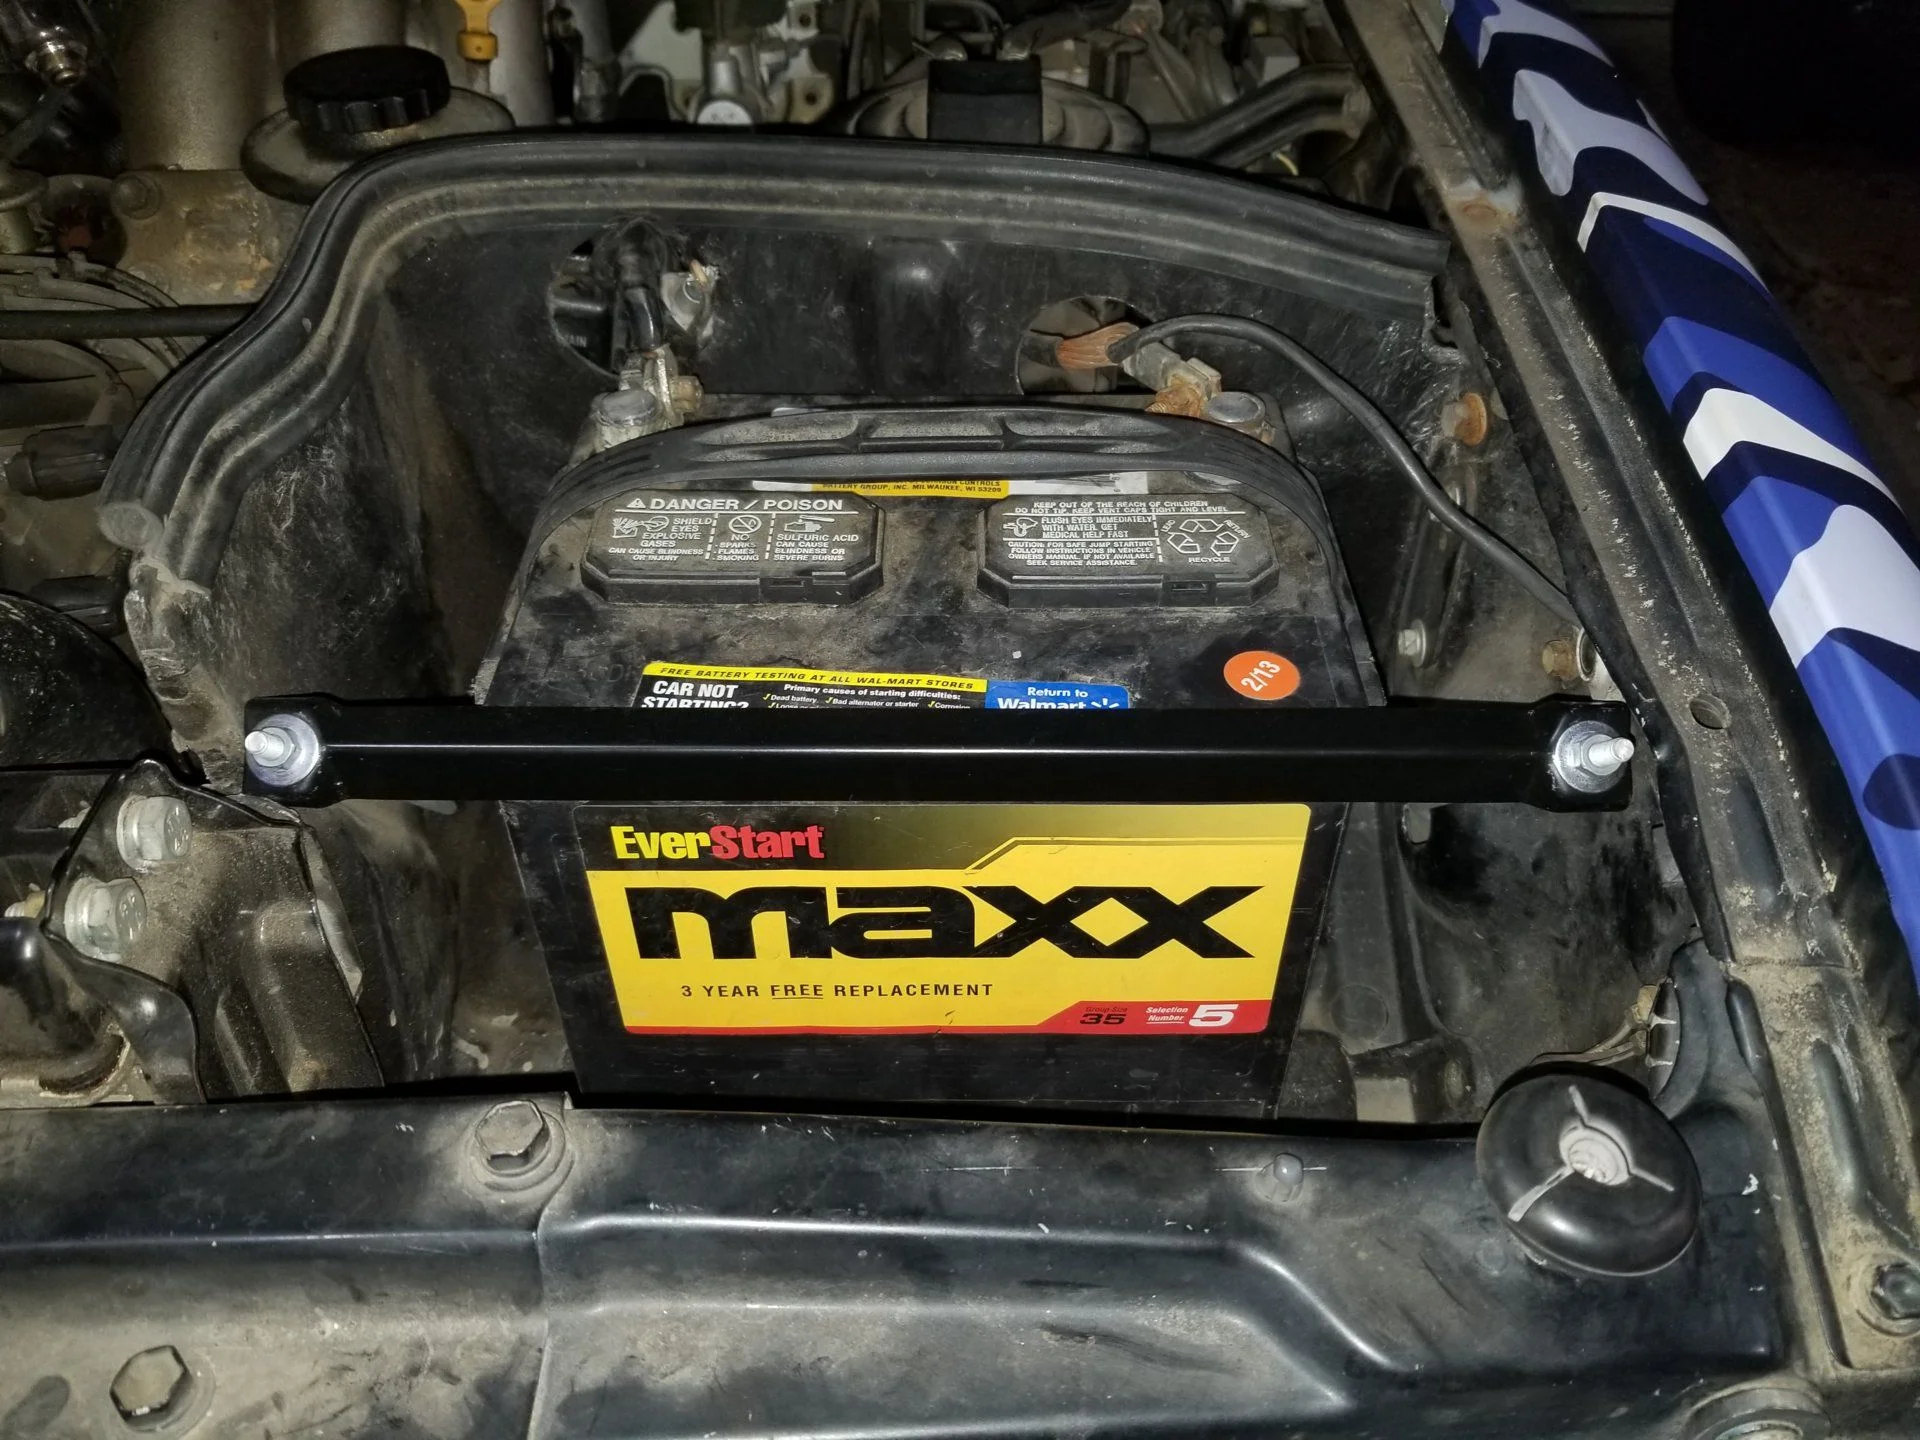
Battery tie down installed ... thanks Onur. Need to finish the fix with a new battery cable clamp now. My original broke off during my first wheeling trip because I forgot the battery wasn't secured.
Installed the Lowes catch can mod. The old hose was so brittle it felt like PVC and cracked in several pieces when I attempted to remove it. Parts store run ... I think NOT. Pop the hood on the LX and steal the hose off of that. Cut the section out for the catch can only to find the clearance is super tight. Will now have to order 2 new hoses from Onur and do this twice ... like everything else on the truck.
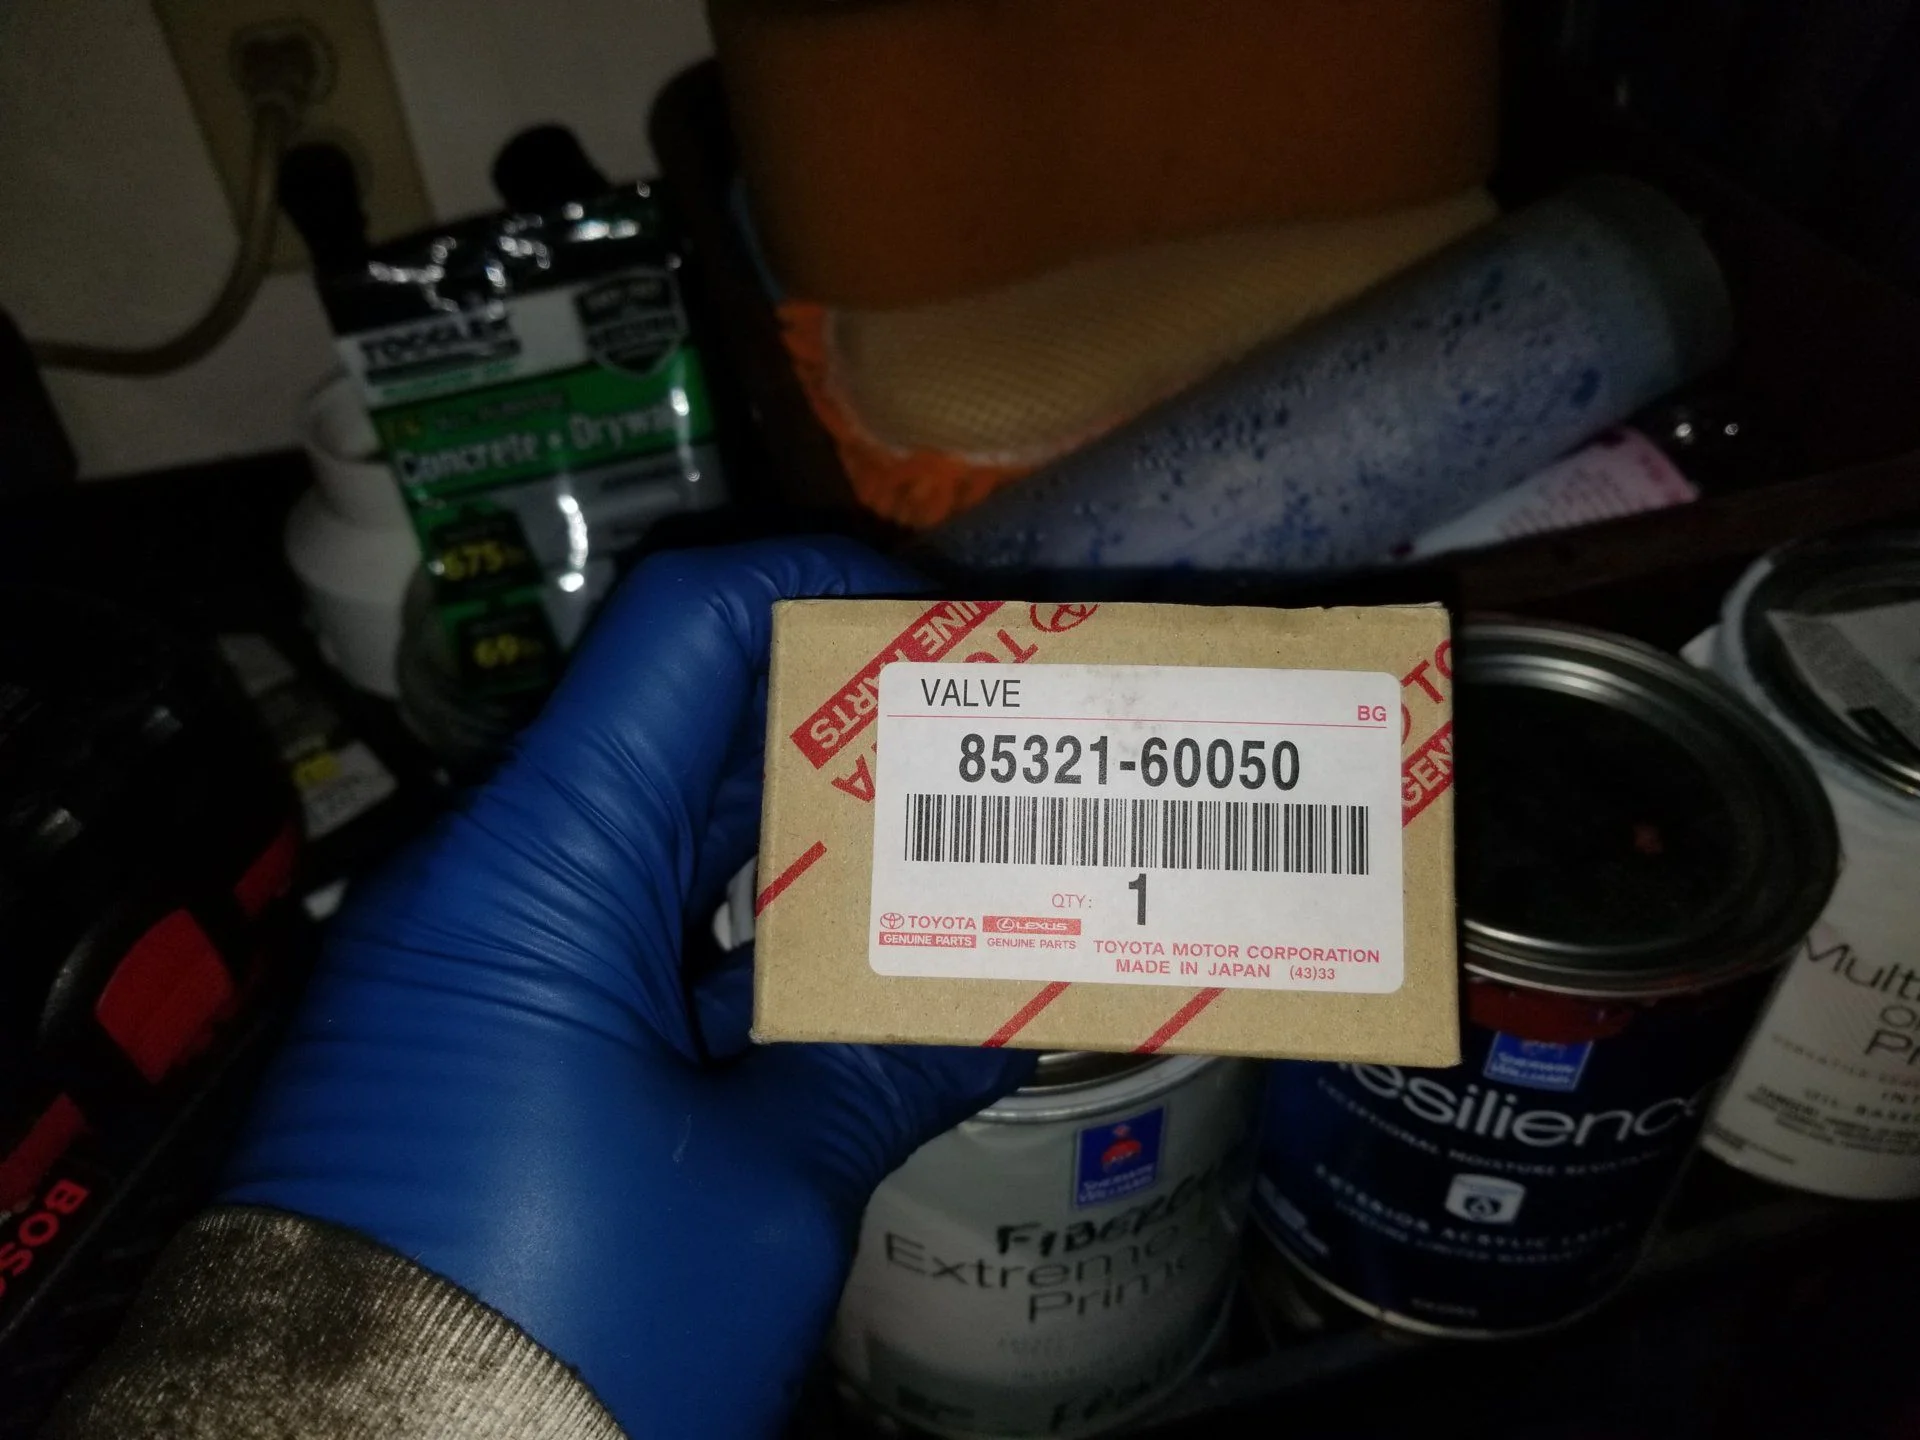
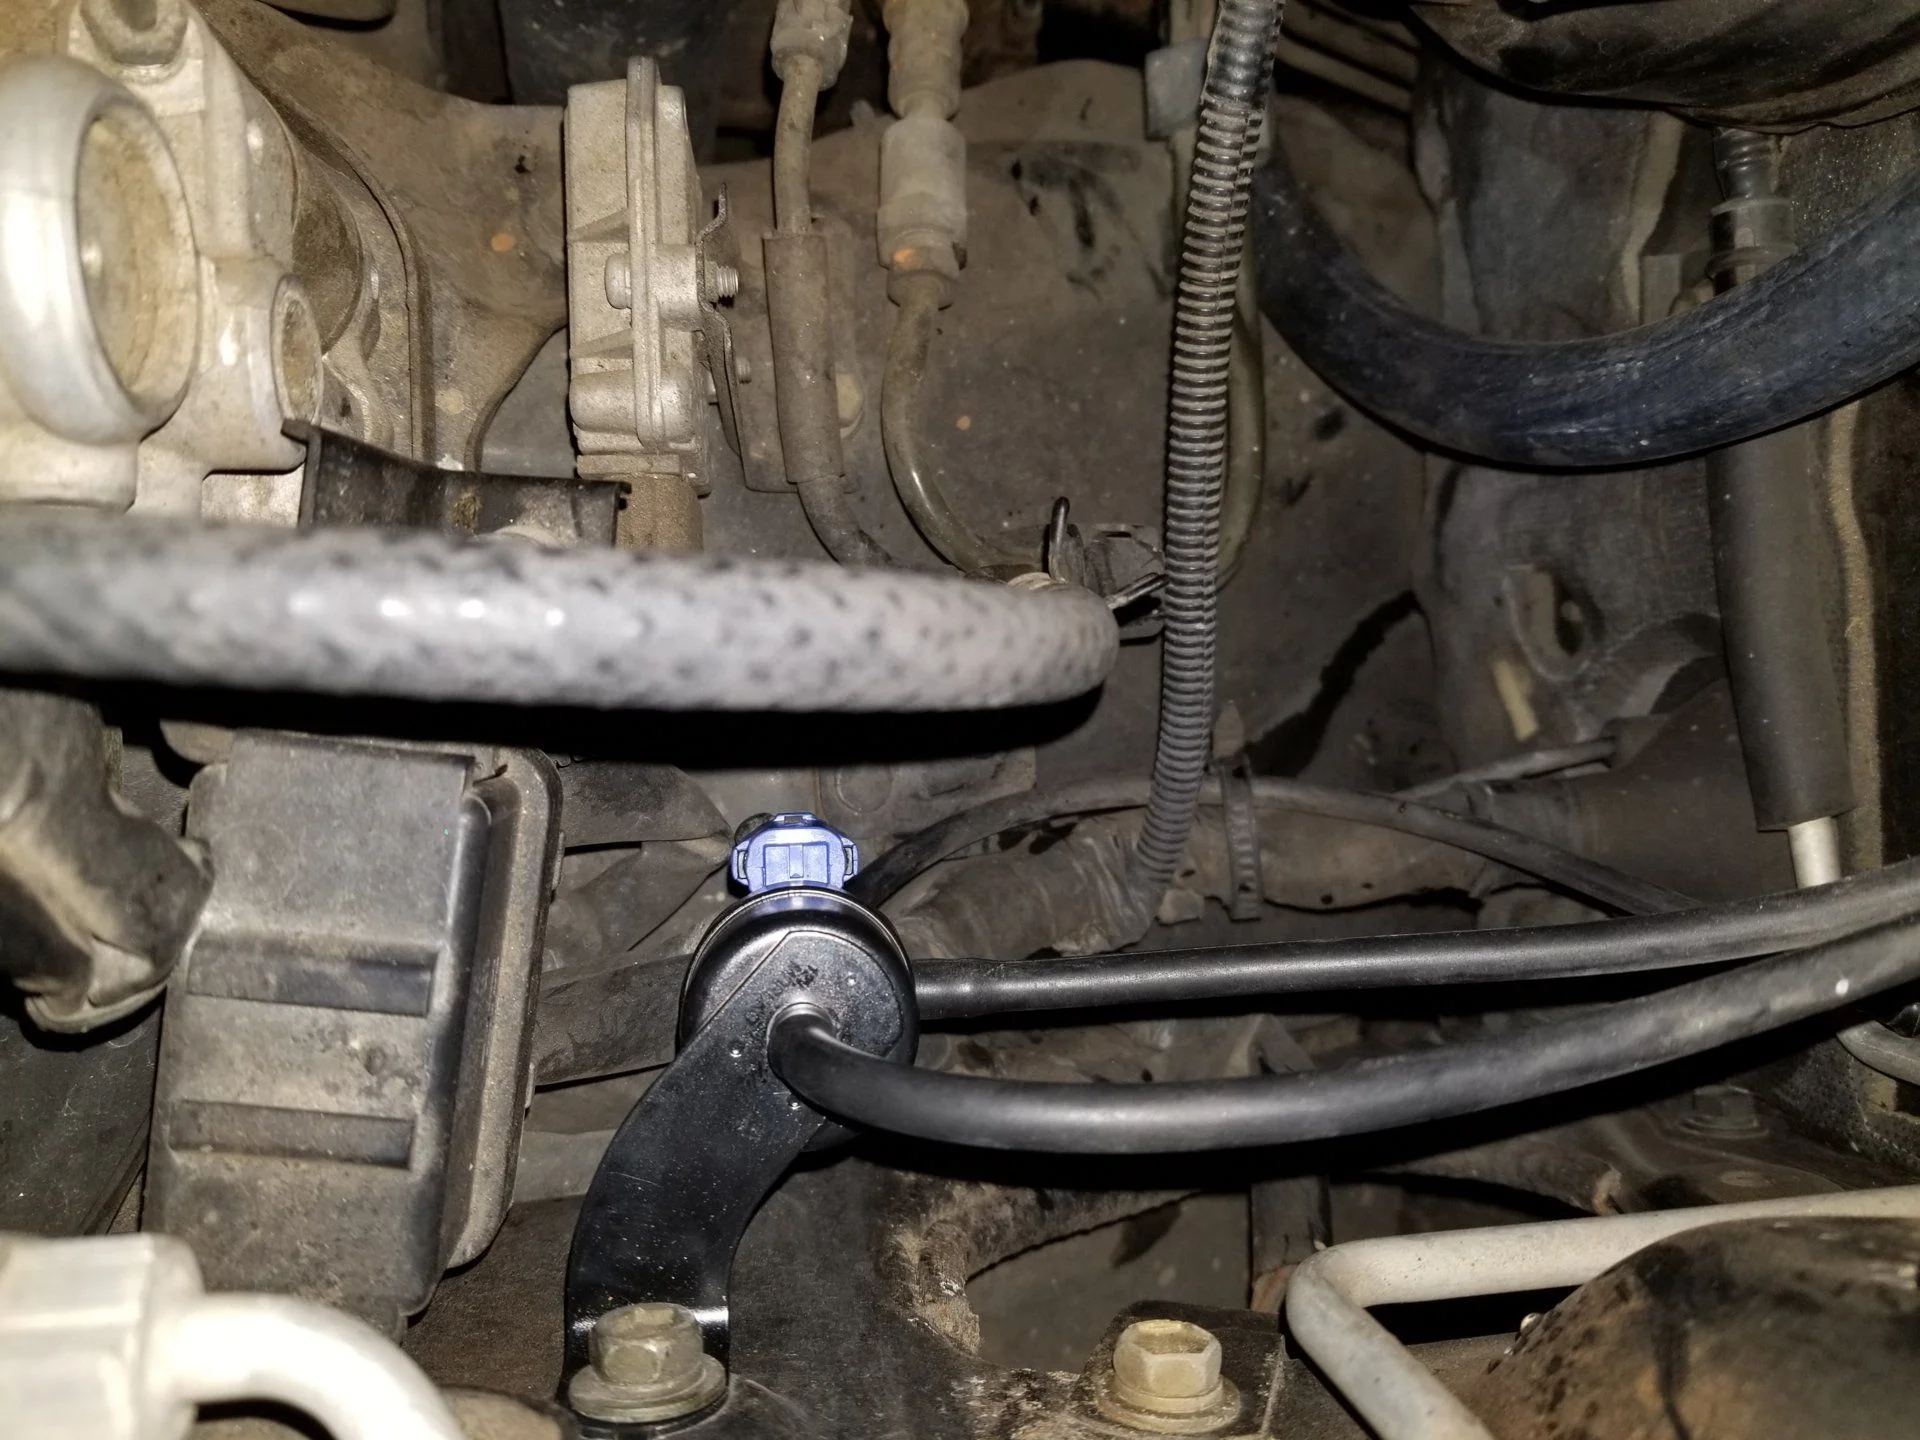
Hooked the rear washer back up with the new diverter unit from that parts guy.
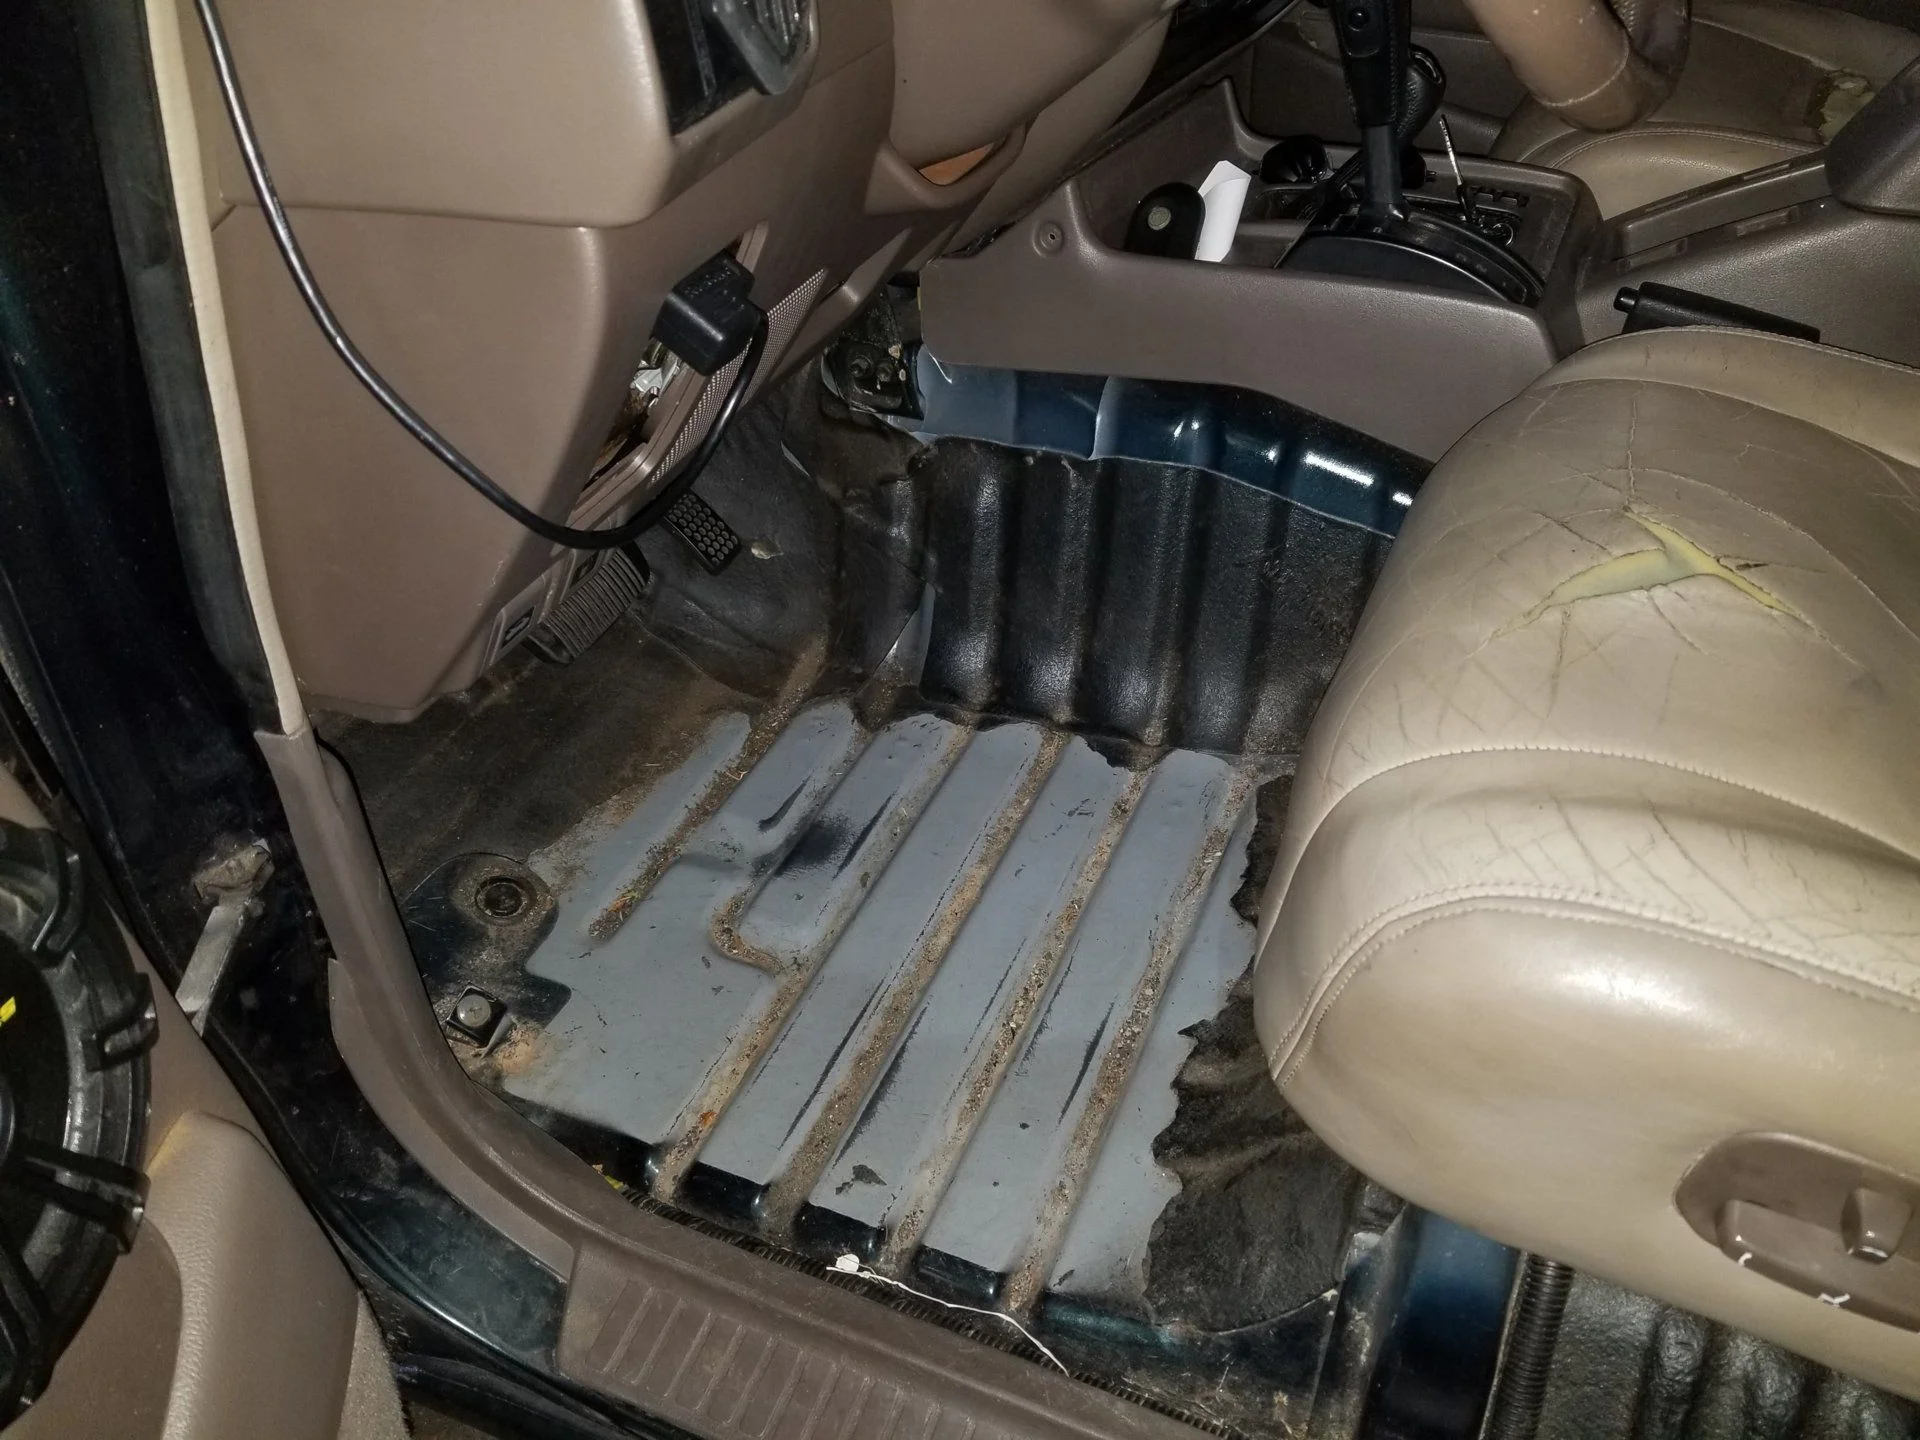
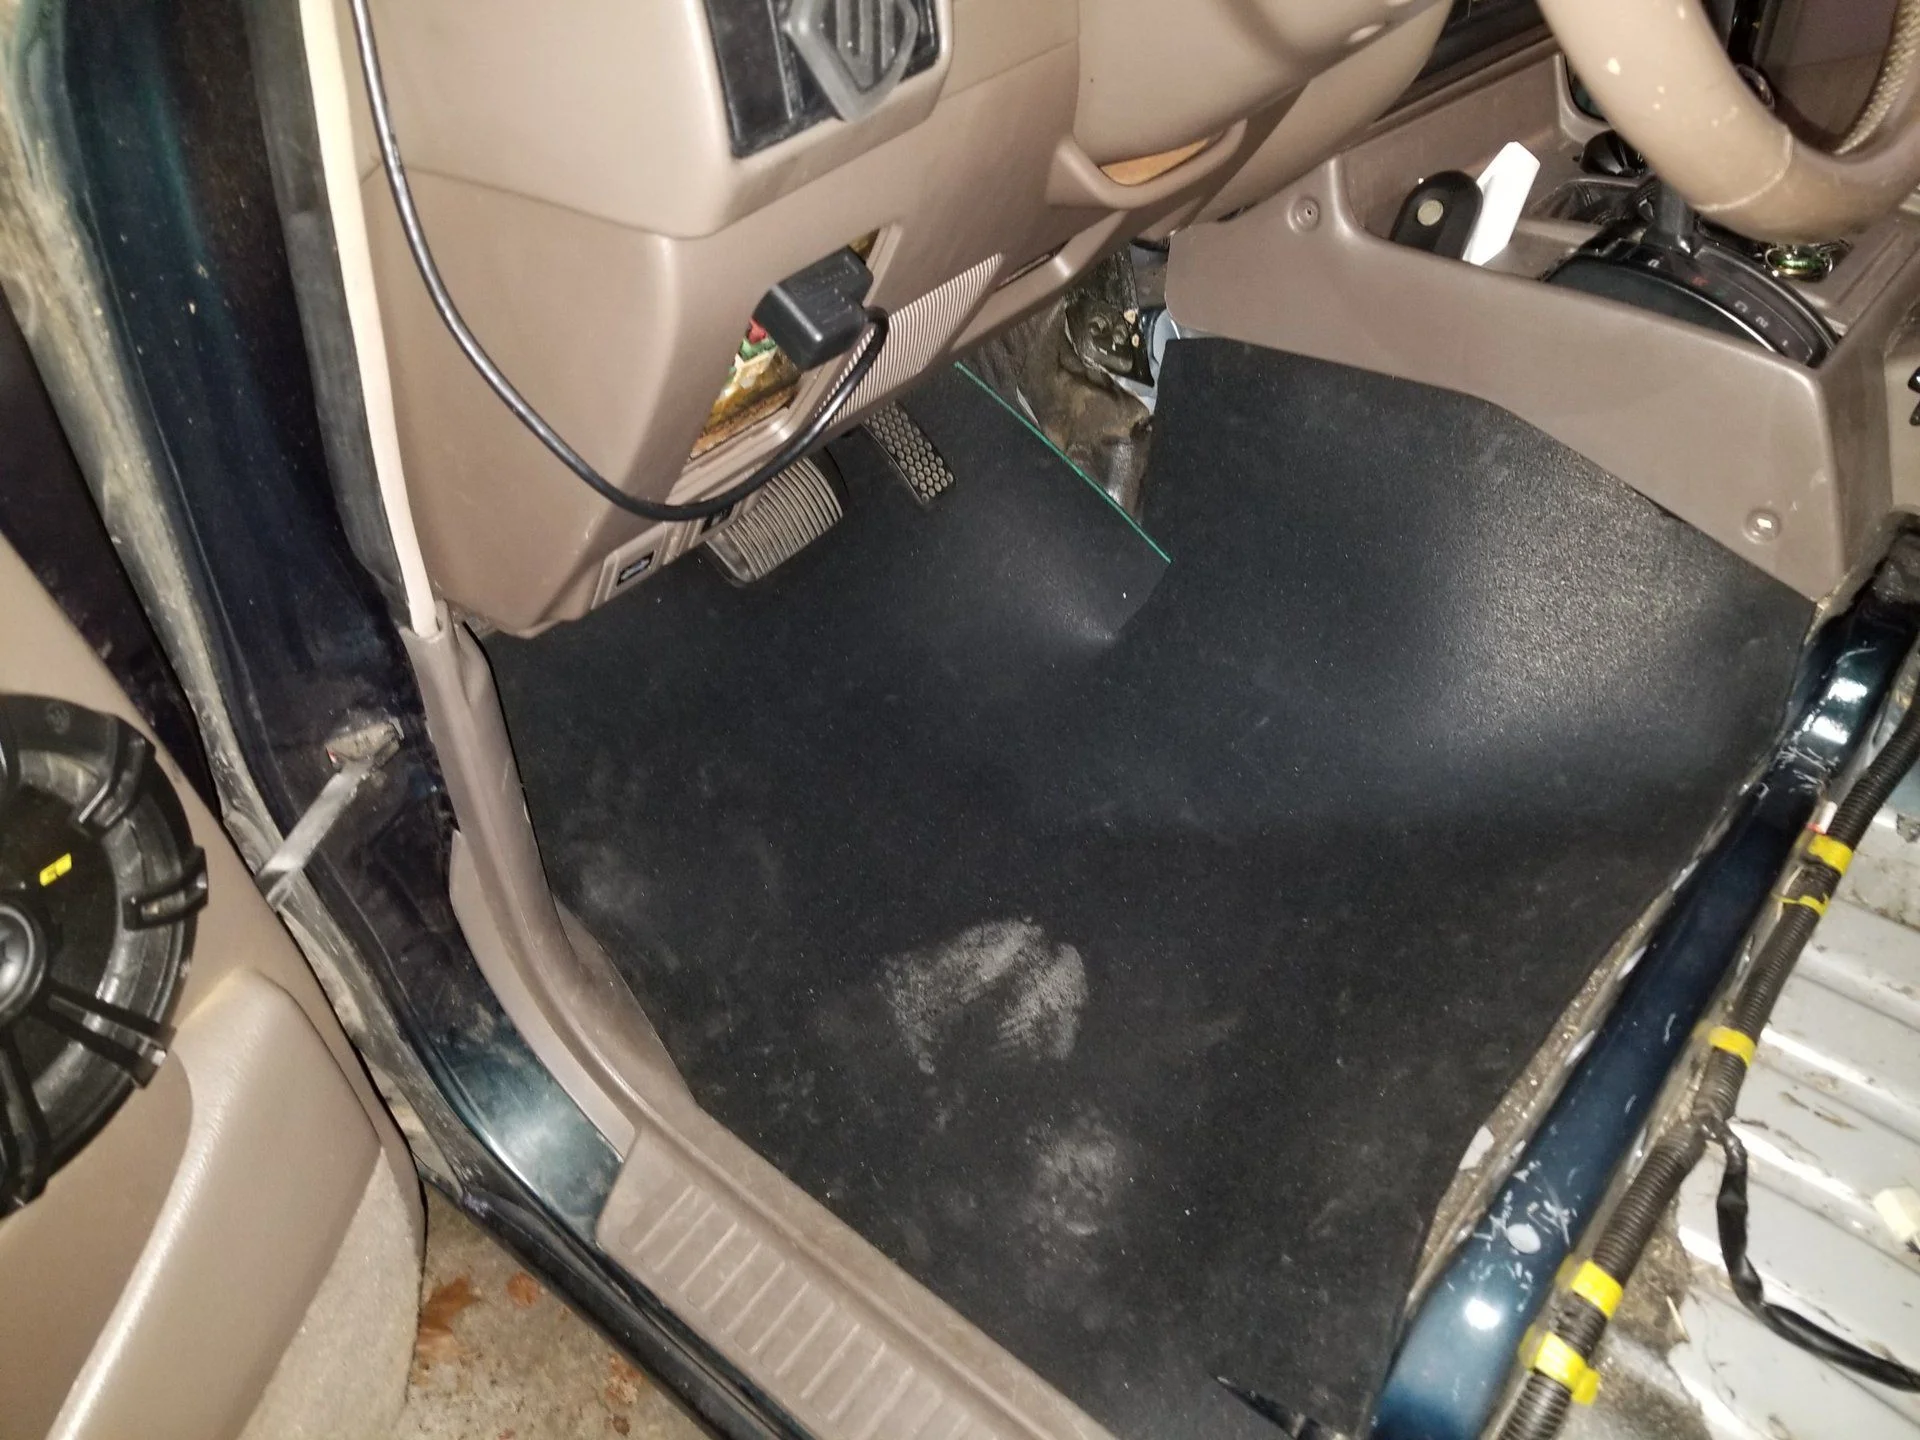
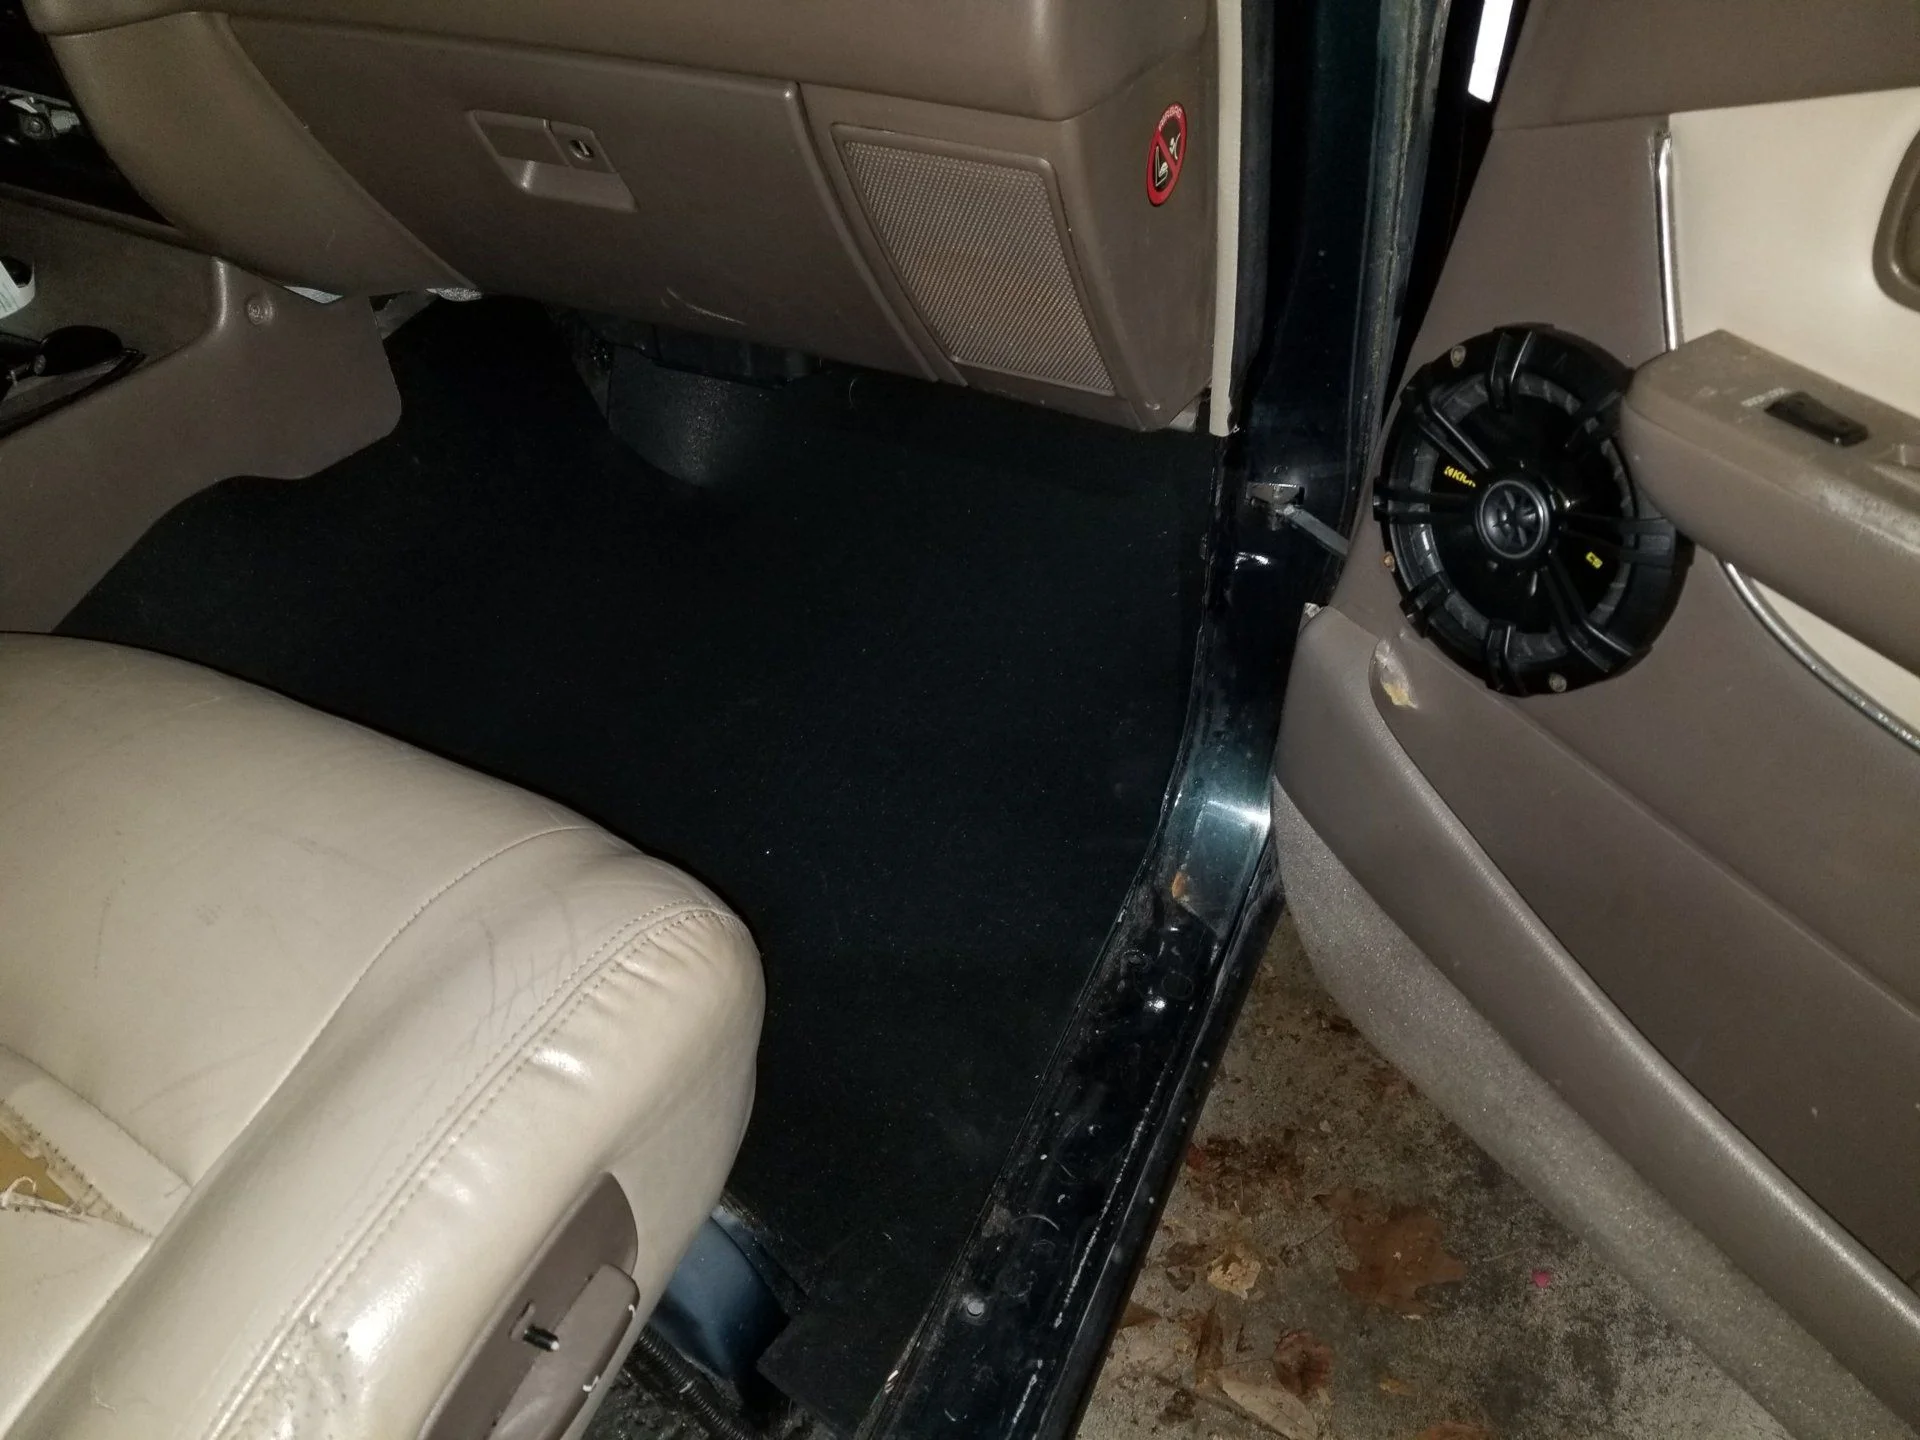
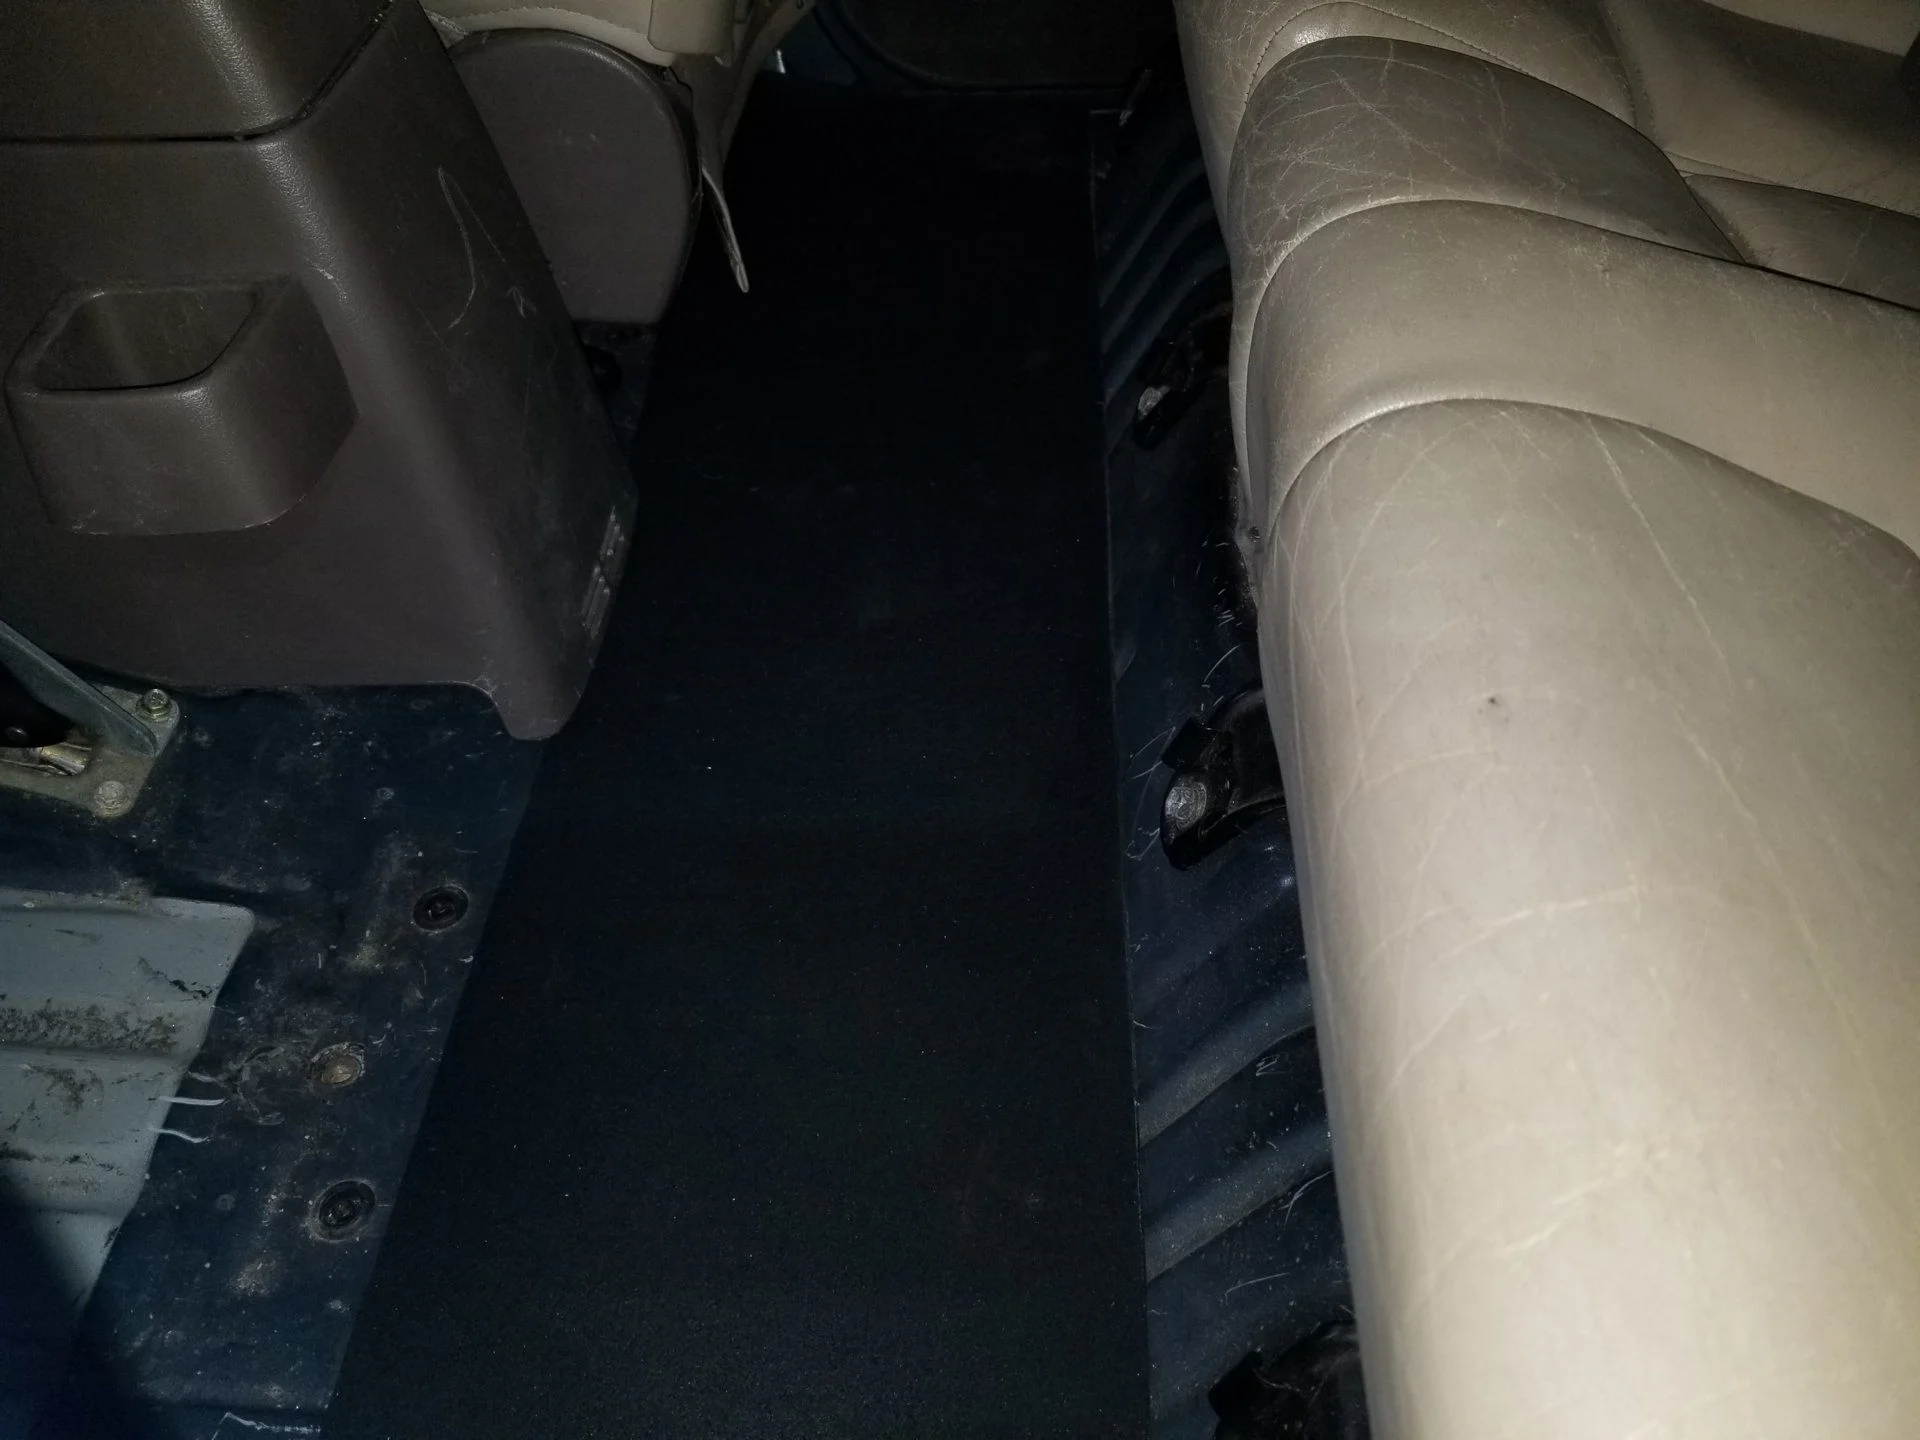
Since the PO had so nicely decided to remove and throw away all the carpet I finally got around to cutting pieces of the 1/4" gym mat to roughly fit the foot wells and rear seat area. Def seems to cut down on the road noise a bit, so some win there. I will see how it holds up over the winter. The goal is to have something that can be removed and hosed out. If it works, I will Monstaline the interior in the spring.
Before:
After:
No pics for this, but I finally took the 10 mins to do the 2 zip tie mirror fix (it's actually 4 zip ties ) for my funhouse drivers side mirror. I was skeptical, but it works like a champ and the mirror is still fully adjustable.Both of my top tabs had been busted off.
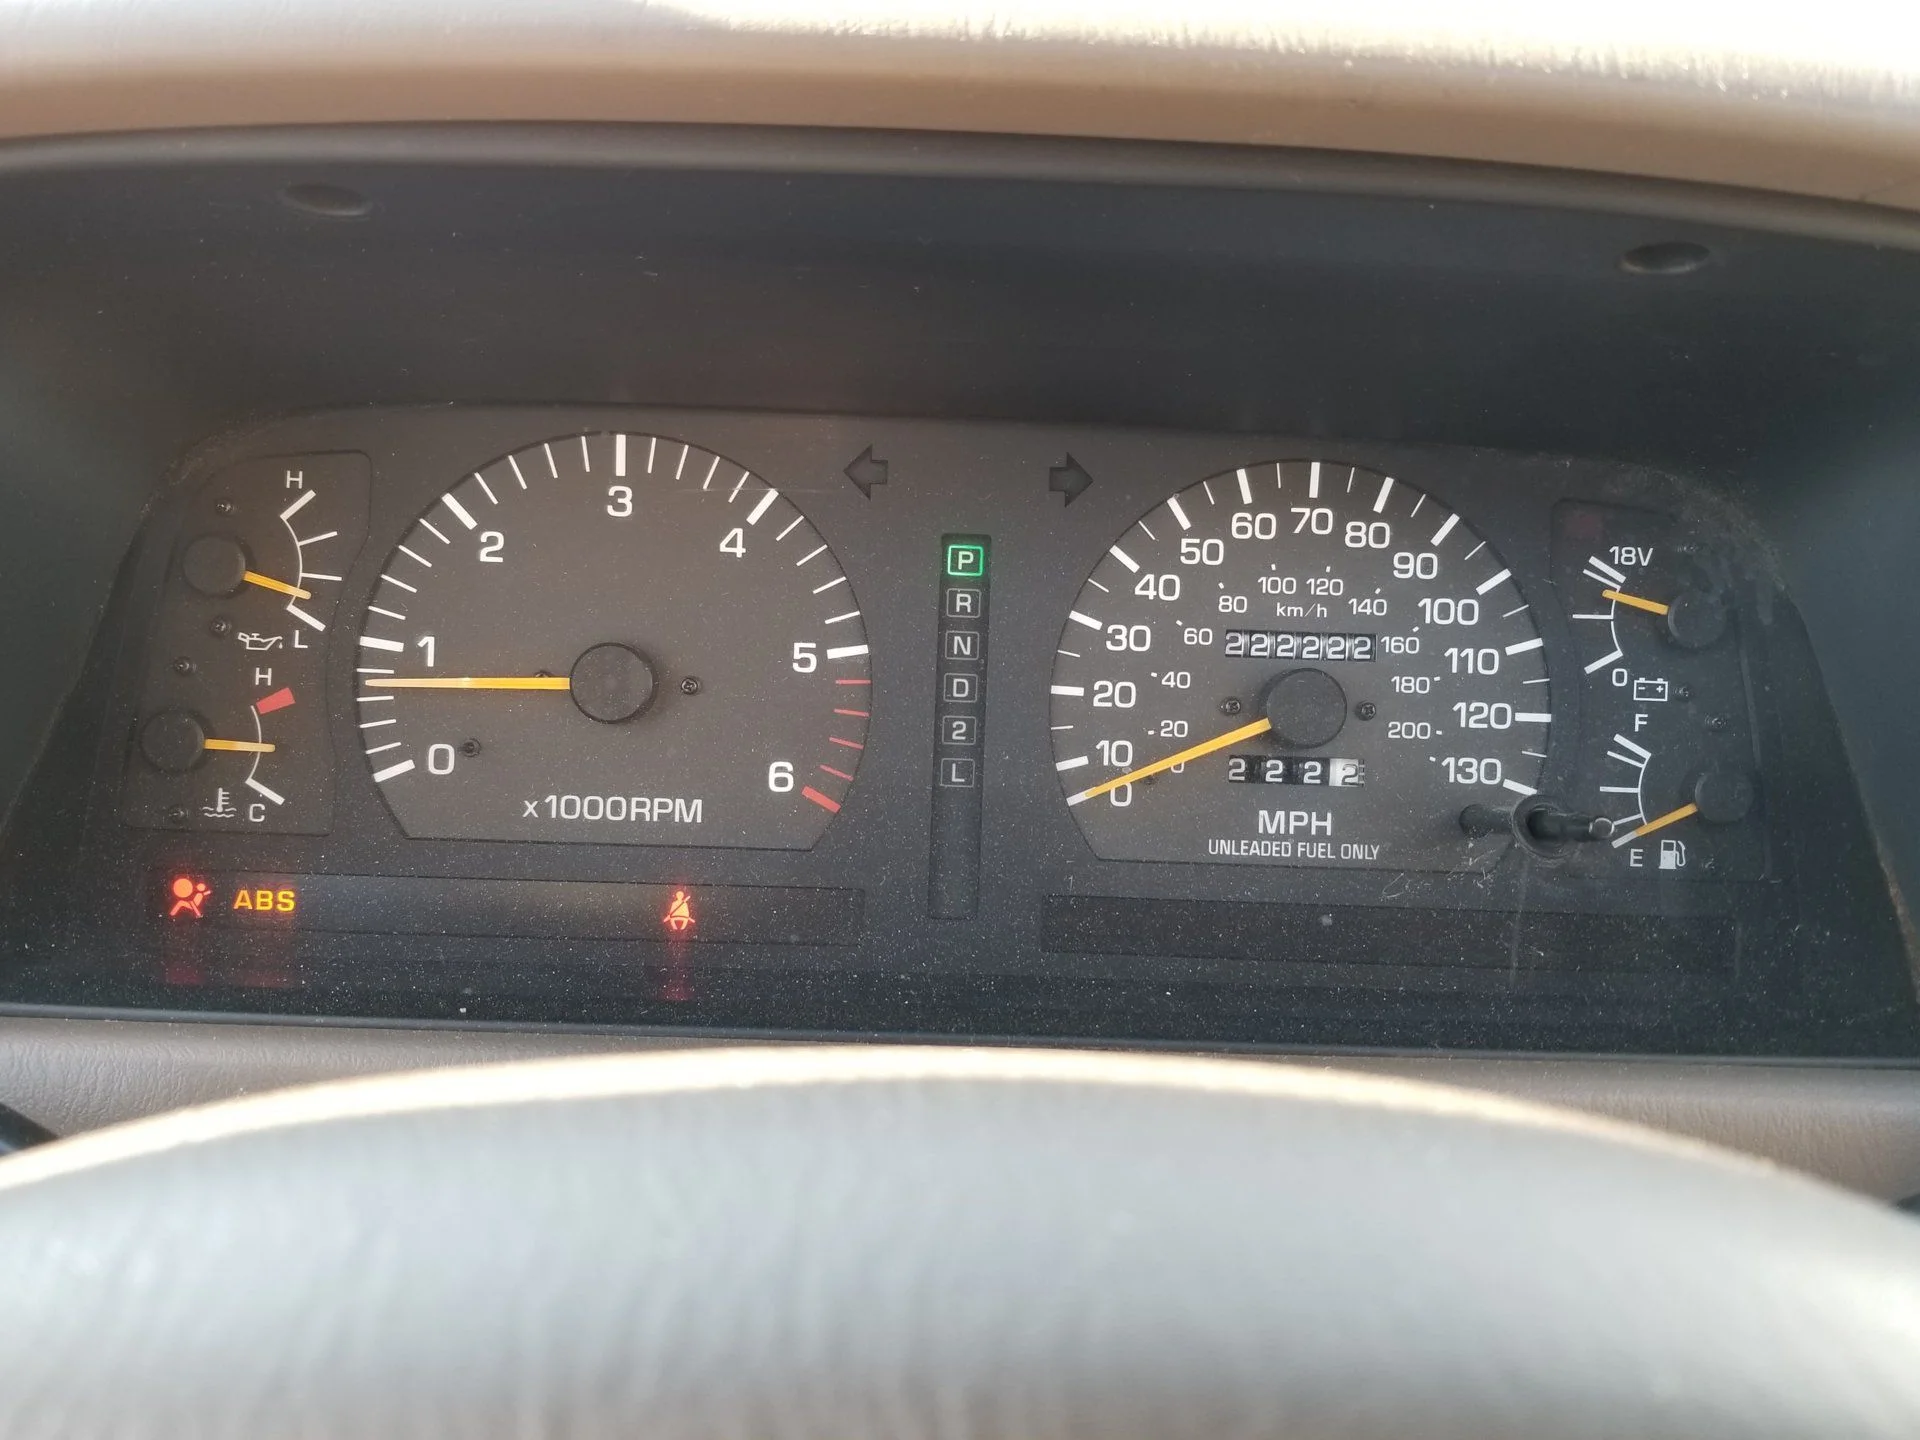
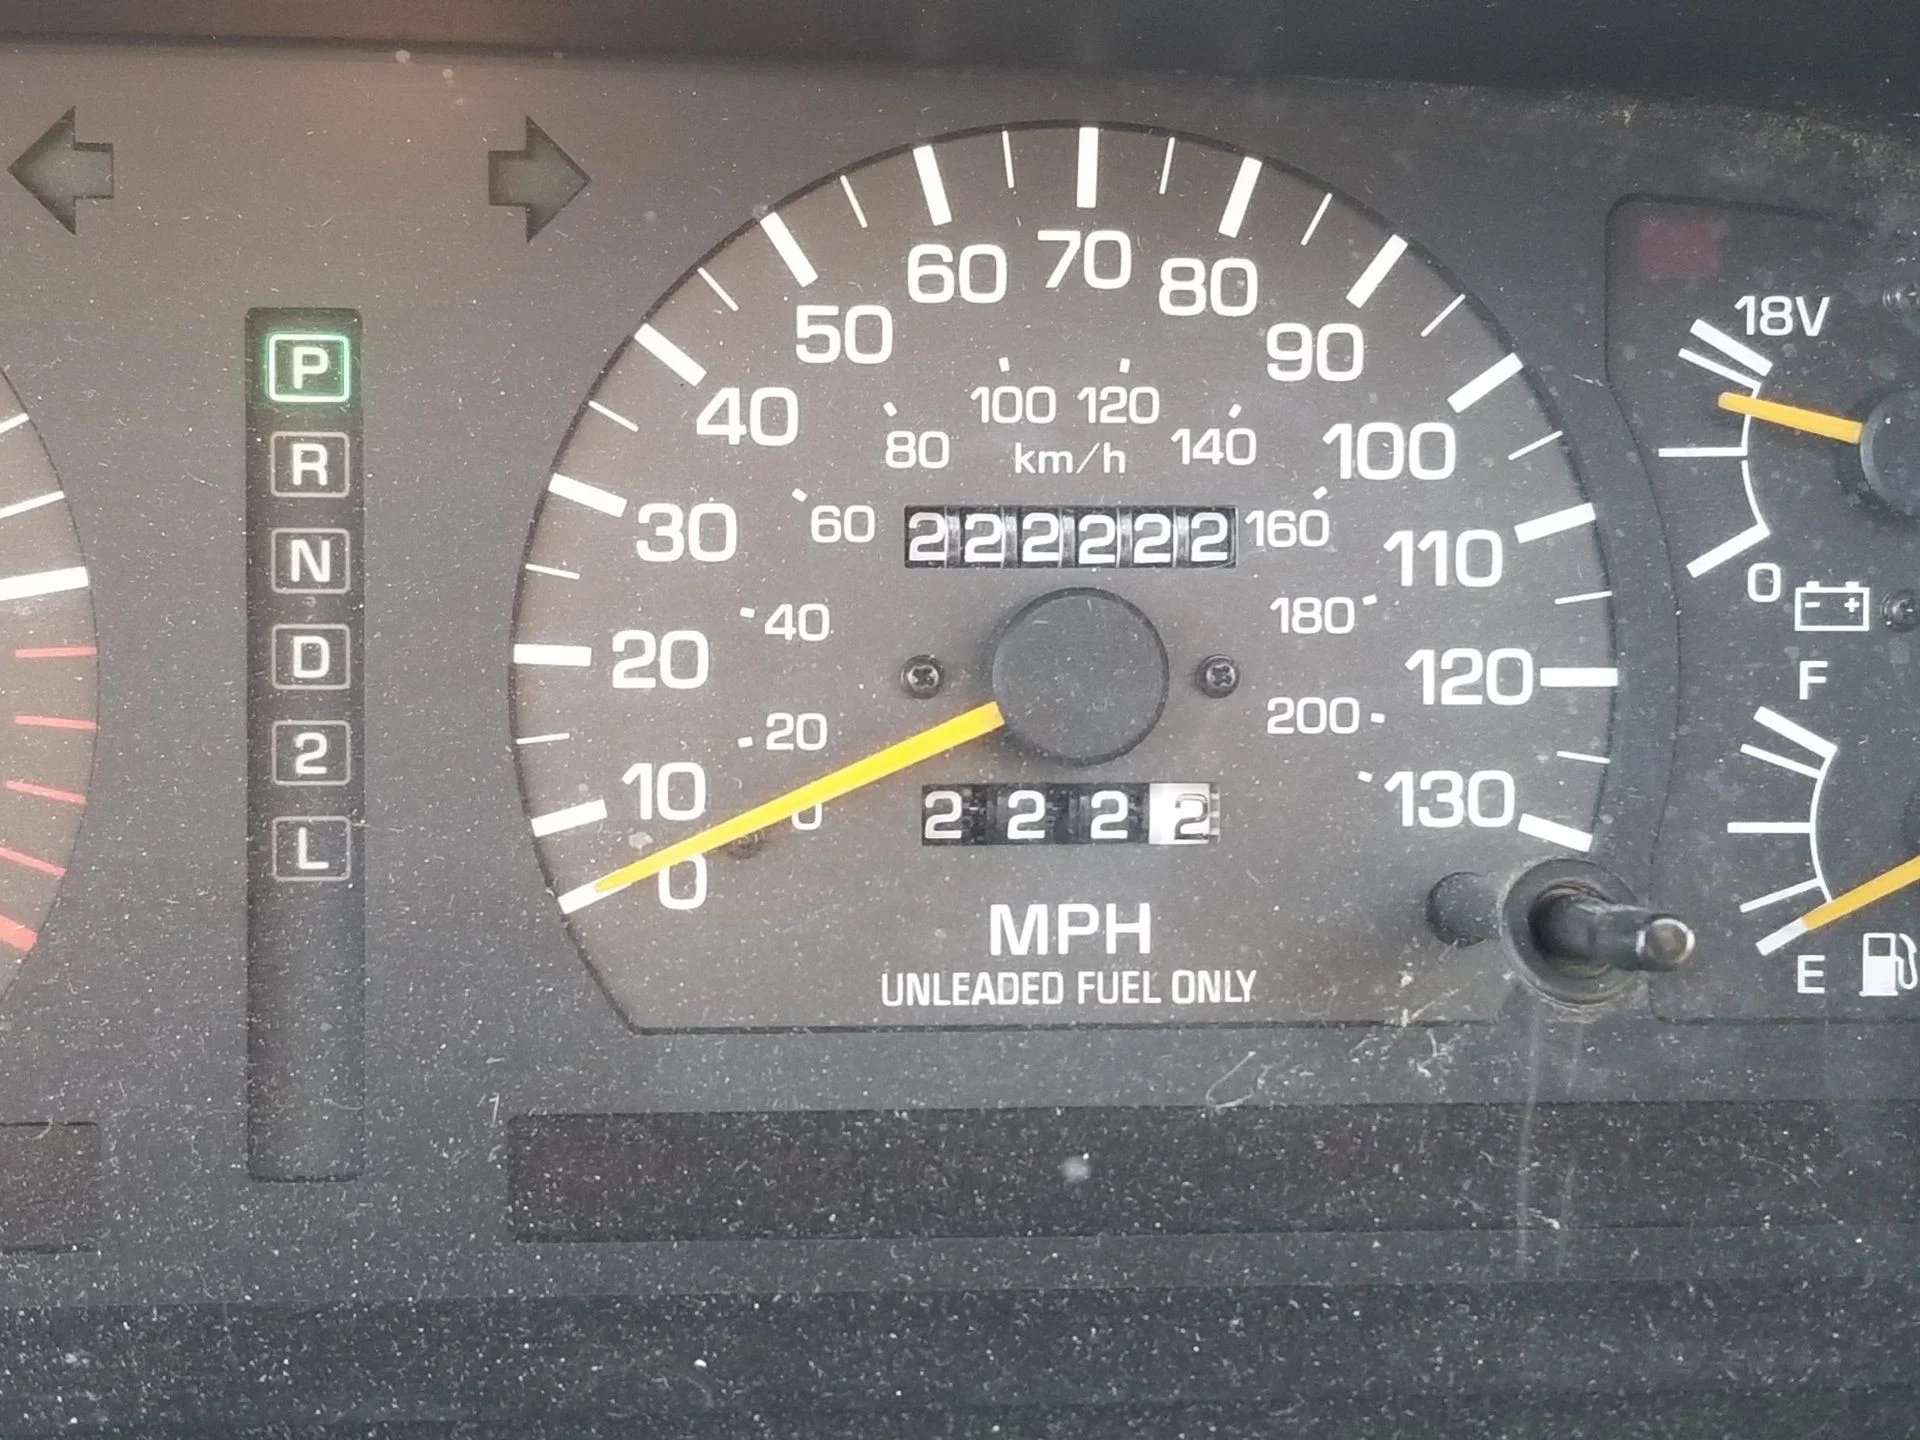
Finally ... completed the 2nd break in cycle. I was way too happy with myself for setting the trip meter right and not forgetting to get this pic. You can see my constant co-pilots, the SRS and ABS lights as well as my Cruiser in it's natural state of hovering near empty. Points off for not keeping it in gear and showing the D light works.
Installed the Lowes catch can mod. The old hose was so brittle it felt like PVC and cracked in several pieces when I attempted to remove it. Parts store run ... I think NOT. Pop the hood on the LX and steal the hose off of that. Cut the section out for the catch can only to find the clearance is super tight. Will now have to order 2 new hoses from Onur and do this twice ... like everything else on the truck.

Hooked the rear washer back up with the new diverter unit from that parts guy.
Since the PO had so nicely decided to remove and throw away all the carpet I finally got around to cutting pieces of the 1/4" gym mat to roughly fit the foot wells and rear seat area. Def seems to cut down on the road noise a bit, so some win there. I will see how it holds up over the winter. The goal is to have something that can be removed and hosed out. If it works, I will Monstaline the interior in the spring.
Before:
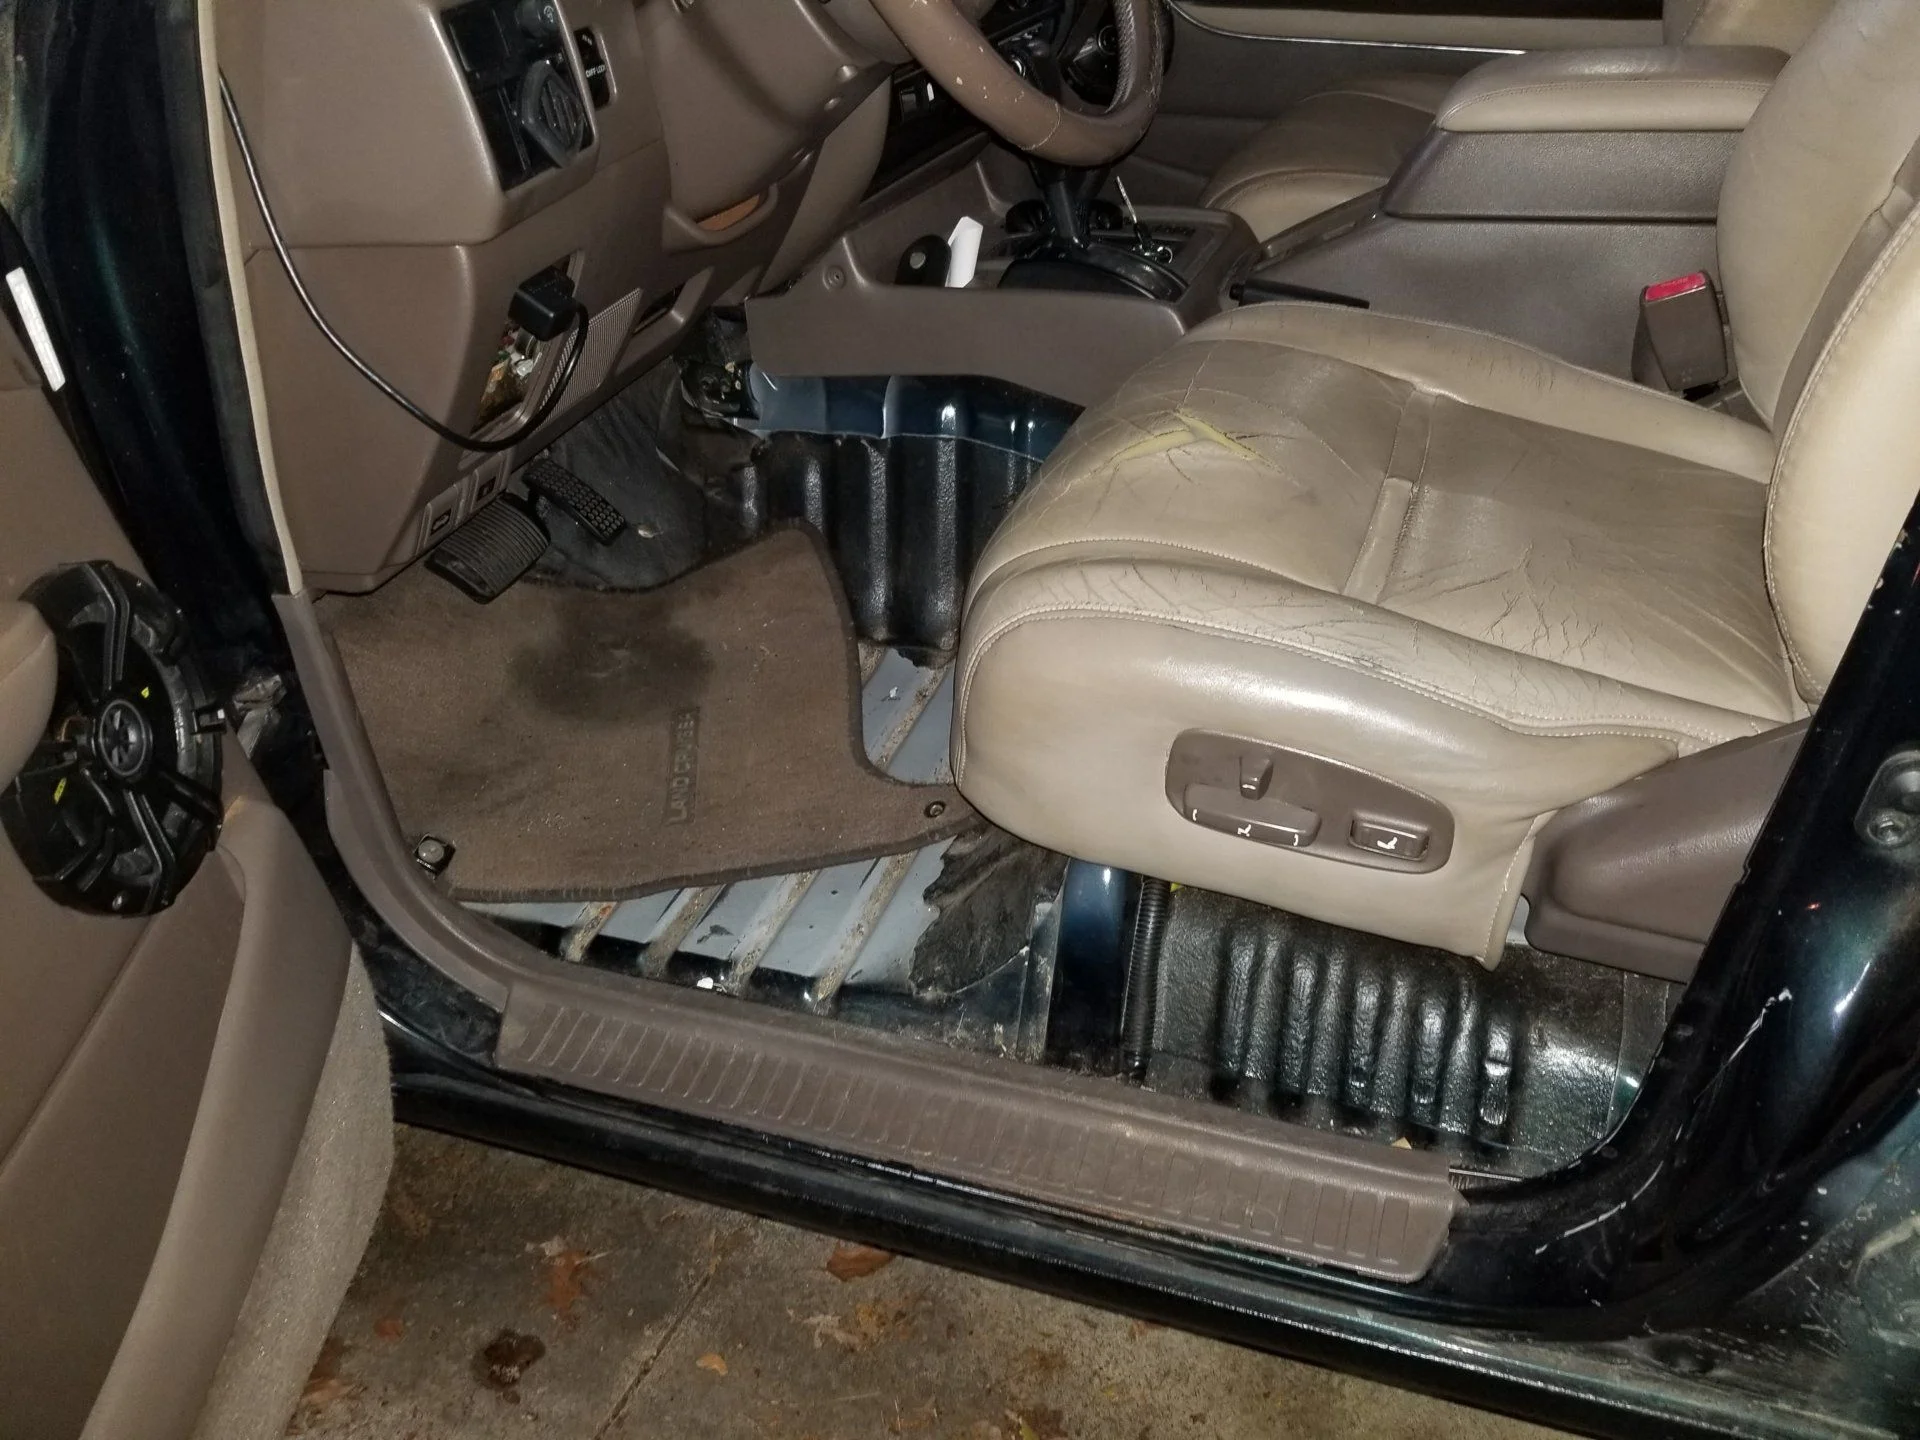
After:
No pics for this, but I finally took the 10 mins to do the 2 zip tie mirror fix (it's actually 4 zip ties
) for my funhouse drivers side mirror. I was skeptical, but it works like a champ and the mirror is still fully adjustable.Both of my top tabs had been busted off.Finally ... completed the 2nd break in cycle. I was way too happy with myself for setting the trip meter right and not forgetting to get this pic. You can see my constant co-pilots, the SRS and ABS lights as well as my Cruiser in it's natural state of hovering near empty. Points off for not keeping it in gear and showing the D light works.
mingles
GOLD Star
Great mounting method. How did you do that? More pics of mount?
I used drop "L" brackets mounted to the extruded aluminum rails with standard 80/20 hardware. The panel did need to be spaced upward about 1/4" to then clear the roof ribs.

Which solar panel did you use? Can you take pics of your setup
The panel is an old Siemens SM50 50 Watt panel that was left over from a job I did about 15 yrs ago. It is no longer in production. The closest similar thing available is something like in the link below. It is so expensive because the solar panel industry has moved to much larger (physically and electrical capacity) modules as the norm. Small dimension, 12V panels are an odball in today's market.
https://www.amazon.com/Shell-Siemens-Solar-SM50H-Replacement/dp/B003DI6FU0
https://www.amazon.com/Shell-Siemens-Solar-SM50H-Replacement/dp/B003DI6FU0
Depending on how much it is worth to you though, the 51" length fits PERFECTLY between the frame rails of the rack. Didn't plan it that way, it just worked out.
Polish, sealant complete. Wax next.
I gotta do the same thing to my white cruiser. Turns out a couple doors have been repainted with what looks like no clear coat.
What are you doing with your paint? Can you describe the process and purpose?
I'm using the Chemical Guys TorqueX system. Look them up online and on YouTube. I used a heavy cutting pad (orange) in combination with V34. Did the whole truck (tape off the stuff you don't want to spill over on). Then Green pad (heavy polish) with V36, and finally Black (medium finish) with V4 (fine polish with sealant). Wax is next.
Mdej3
SILVER Star
Picked up a steering wheel cover and sewed it on. Took about 3.5 hours.
View attachment 1585236
View attachment 1585237
View attachment 1585238
Good job!
Where did you get it from?
LS1FJ40
SILVER Star
Finally replaced my hillbilly block off plates from deleting the PAIR system. The nuts were barely finger tight. I’m guessing I was getting a pretty good exhaust leak from both. Embarrassing. I’ve had the block off plates and gaskets since a week after I deleted the PAIR about 16 months ago...
But I need one more plate for up by where the EGR used to be. That one is holding up but will get it swapped this week.
Need to snag a 95-97 tube that goes straight back so I can replace the 93-94 tube that jogs around the PAIR plumbing.

But I need one more plate for up by where the EGR used to be. That one is holding up but will get it swapped this week.
Need to snag a 95-97 tube that goes straight back so I can replace the 93-94 tube that jogs around the PAIR plumbing.
Ahhhh.... reconditioned, original paint!!! Finally done with the major parts. Need to do some re-paint on the fendors.
Pictures. If anyone has questions on process or help, I'm happy to answer.

Overlandeffex
SILVER Star
Had those on my jeep before I sold it. Get back to us how you like them on your cruiser.Got new tires! So far so good...really quiet at all speeds. These are replacing the old Falken Wildpeaks. Probably the worst tire ever for snow!
View attachment 1584965
View attachment 1584966
View attachment 1584967
RFB
97 FZJ80 LIFTED SC DUAL BATTERIES,37s
went out to test my suspension mods, climbed several 6ft plus rock walls and miles of enormous boulders, everything held up except the new tom woods DS that well thats shot still made the 100 mile trip home at 70 vibrations and all. video will up on my youtube channel if at all interested JAILBREAK OVERLANDER
Amazon prime!Looks great. Where is that cover from?
Genuine Leather Steering Wheel Cover for 2005-2011 Toyota Tacoma / 2003-2009 Toyota 4Runner / 2004-2010 Sienna / 2003-2007 Sequoia / 2004-2007 Highlan https://www.amazon.com/dp/B00QLYA3XS/ref=cm_sw_r_cp_apip_xlUMiGN68lLVe
RFB
97 FZJ80 LIFTED SC DUAL BATTERIES,37s
I would kill for that garage floor.Put the magnaflow cat on. More clearance and prepping for sliders. The other cat will be removed and exhaust ran over the frame.
View attachment 1585242
View attachment 1585243
View attachment 1585244
View attachment 1585246
RFB
97 FZJ80 LIFTED SC DUAL BATTERIES,37s
where LCH ? I just sewed on another but it does cover the wheel to the horn. it looks fine but Id really prefer perfect like you have. only prob is LCH only offer two colors.Picked up a steering wheel cover and sewed it on. Took about 3.5 hours.
View attachment 1585236
View attachment 1585237
View attachment 1585238
RFB
97 FZJ80 LIFTED SC DUAL BATTERIES,37s
looks great sweet install that price on a 55watt panel tho, although I understand seimens is a cut above, but stillI used drop "L" brackets mounted to the extruded aluminum rails with standard 80/20 hardware. The panel did need to be spaced upward about 1/4" to then clear the roof ribs.
View attachment 1585286
View attachment 1585287
The panel is an old Siemens SM50 50 Watt panel that was left over from a job I did about 15 yrs ago. It is no longer in production. The closest similar thing available is something like in the link below. It is so expensive because the solar panel industry has moved to much larger (physically and electrical capacity) modules as the norm. Small dimension, 12V panels are an odball in today's market.
https://www.amazon.com/Shell-Siemens-Solar-SM50H-Replacement/dp/B003DI6FU0
Depending on how much it is worth to you though, the 51" length fits PERFECTLY between the frame rails of the rack. Didn't plan it that way, it just worked out.
View attachment 1585292


Installed a Chinese snorkel and went wheeling.
Similar threads
Users who are viewing this thread
Total: 81 (members: 16, guests: 65)