Ditto. That's beyond cool, Willie. Well done. I like nearly everything about it. If fact once I get my RW rims you are driving my car dam it. I especially like the wheel centered at the back rather than to one side. Definitely move the camera to underside of the wind deflector (dust magnet) above. There is a thread existing (perhaps on Lcool) showing how to go about it, reasonable straight forward I seem to recall.
How about some more info on the latching mechanism. More pics! This is something truly new and requires its own thread.
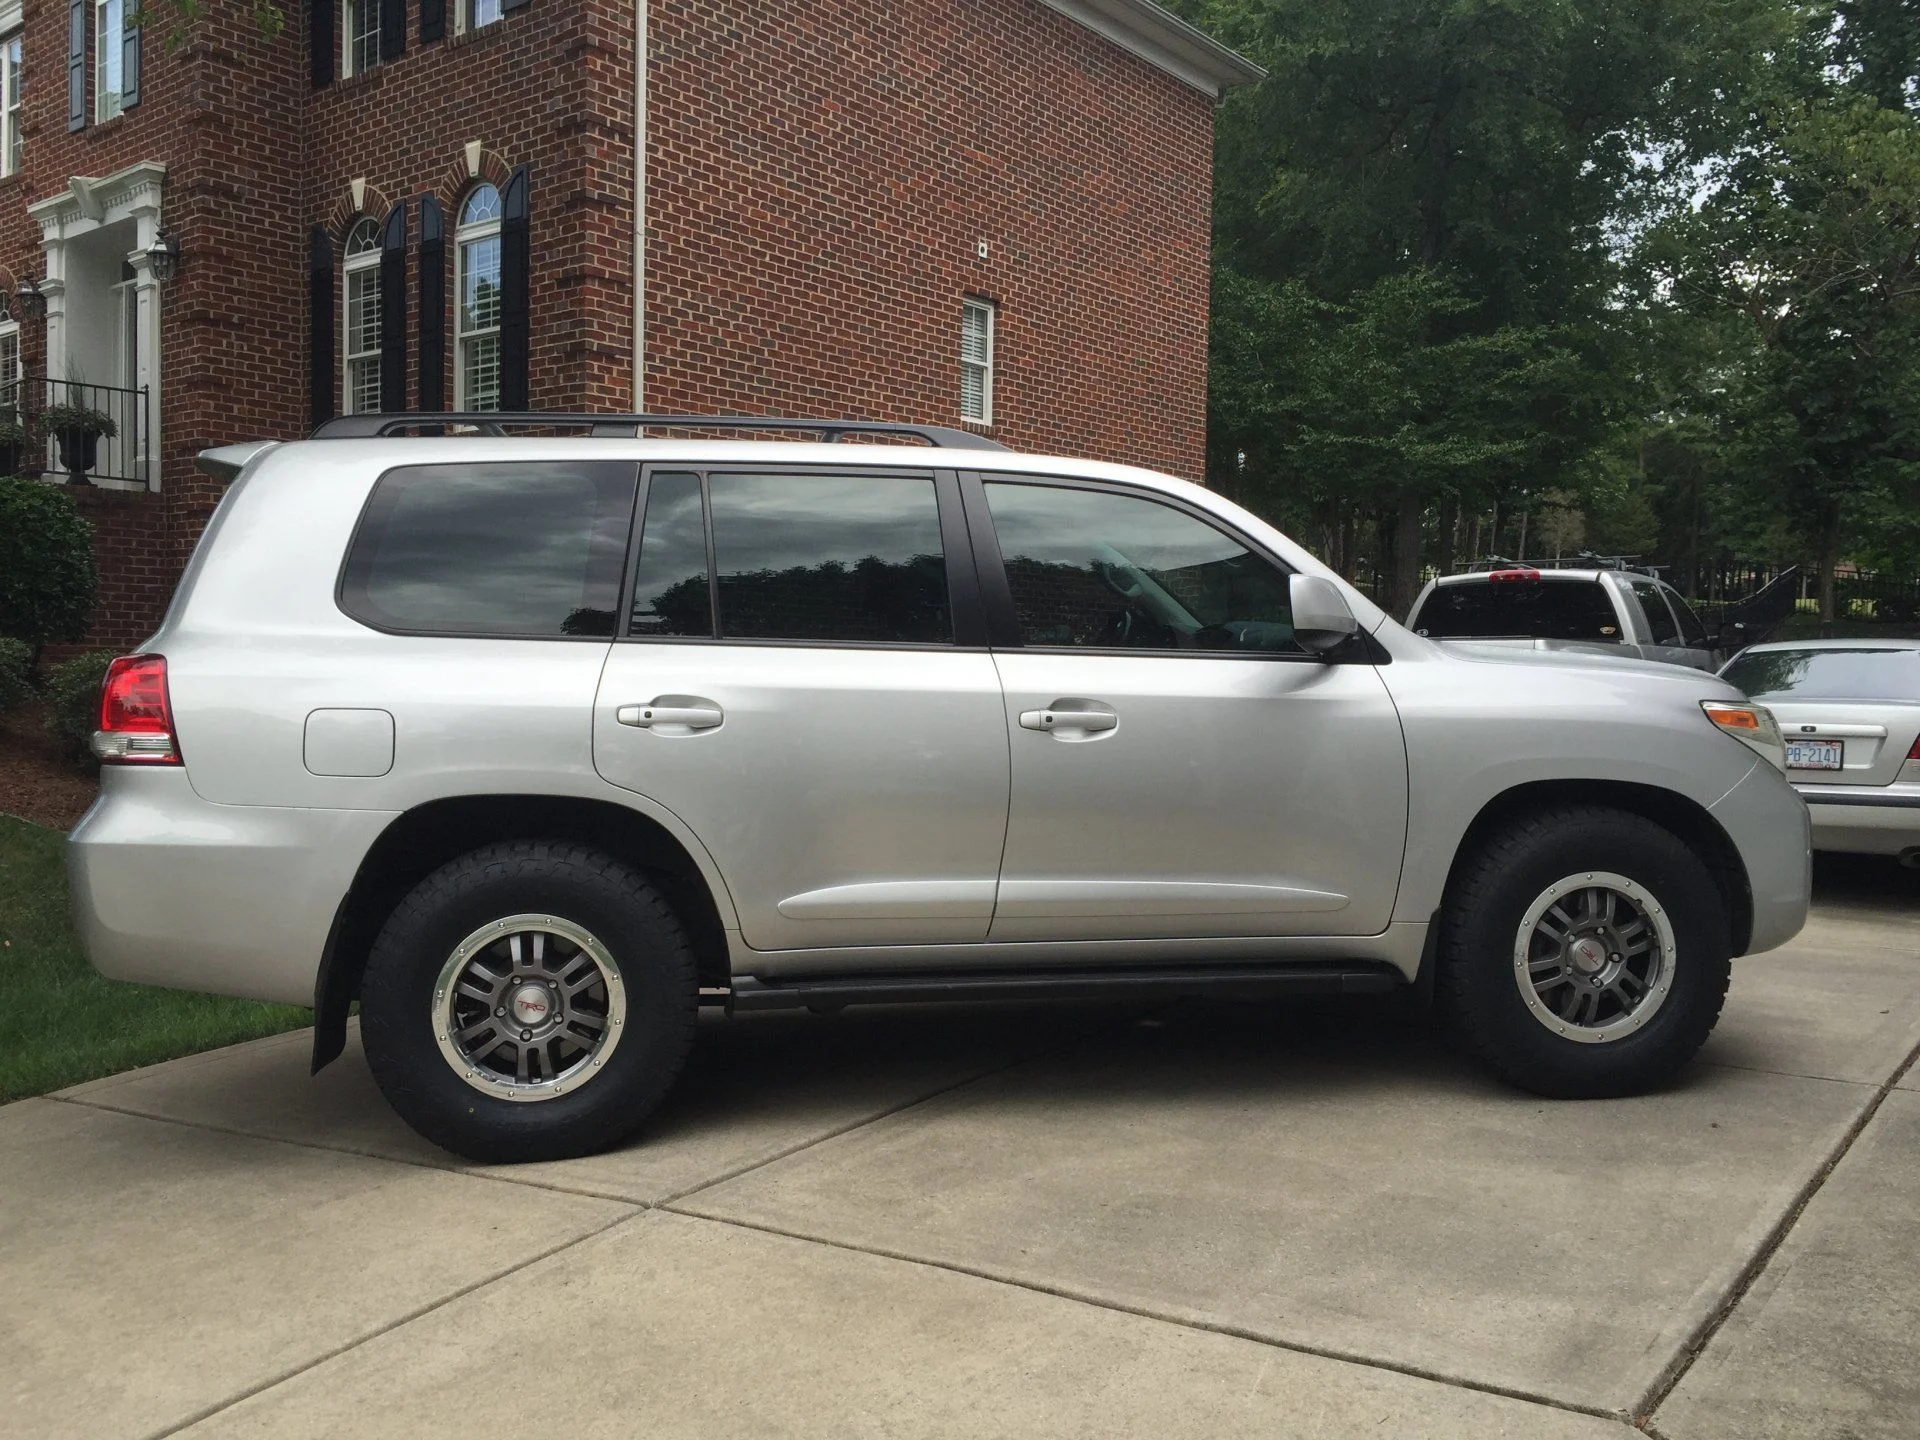
Question: Would it be possible to 'tip' the leading edge of the bumper sides (closest to the rear wheels) down maybe an inch so as to run parallel with the remainder of the molded angle on the factory plastic trim above? Or are there practical design constraints requiring what I assume to be the level line you have gone with?
Thanks Billfish - I like your detail response and feedback - always welcome.
To answer your question on the degree / pitch of the bumper side, the answer is in your question - there are practical design constraints requiring "this" bumper to follow the frame contour. Now keep in mind I am a consumer not a fabricator nor an engineer. My request was to keep this as high and tight as possible. If you look under your rig at the frame rail it is not level - from the end of the frame moving towards the wheel well there is about a 1/2" (-+) in rise, at least there was from where I measured today. The plastic molding can be trimmed a bit more to defuse that visual and may. I'm going to trim a bit more plastic molding off to allow some flex room in between the to surfaces (metal bumper / plastic molding).
The rear mounting brackets are slotted to allow some adjustability (up and down), however the front brackets (by the wheel wells) are not - that doesn't mean someone couldn't use some spacers / washers to fine tune to an appealing level finish. It was designed to be level and after the final fitment there is a bit of a rise, not the full 1/2" of the frame, its less. I hope that explanation answers your question as I really have no other logical reasoning to throw out there, but good question nonetheless.
As to the latch for the bumper - check out
www.emsoffroad.com and look under the tab, tire carrier. There's a couple options to select from.
On my bumper there is a tab just below and off to the right of the lock / latch on the bumper. In that tab there is a threaded hole and I have a hand dial (fancy wing nut) that screws in as a secondary back up just in case the swing out was to fail.
I'll do a write up (my first ever) on the bumper if you guys would find it useful.
James is the fabricator (
www.rlcweldfab.com and on facebook) and his contact info is on there should you (anyone) choose to investigate obtaining one of these bumpers.
I hope that answered your questions - and the latch website will illustrate the latch better than my camera skills will.
thank you