I have no experience with a trailer like this…why does set up take longer than a ground tent? I would think quick set up would be a reason to go with a trailer?Very happy with it! It's been a great trailer. I should probably make a build thread some day to share more.
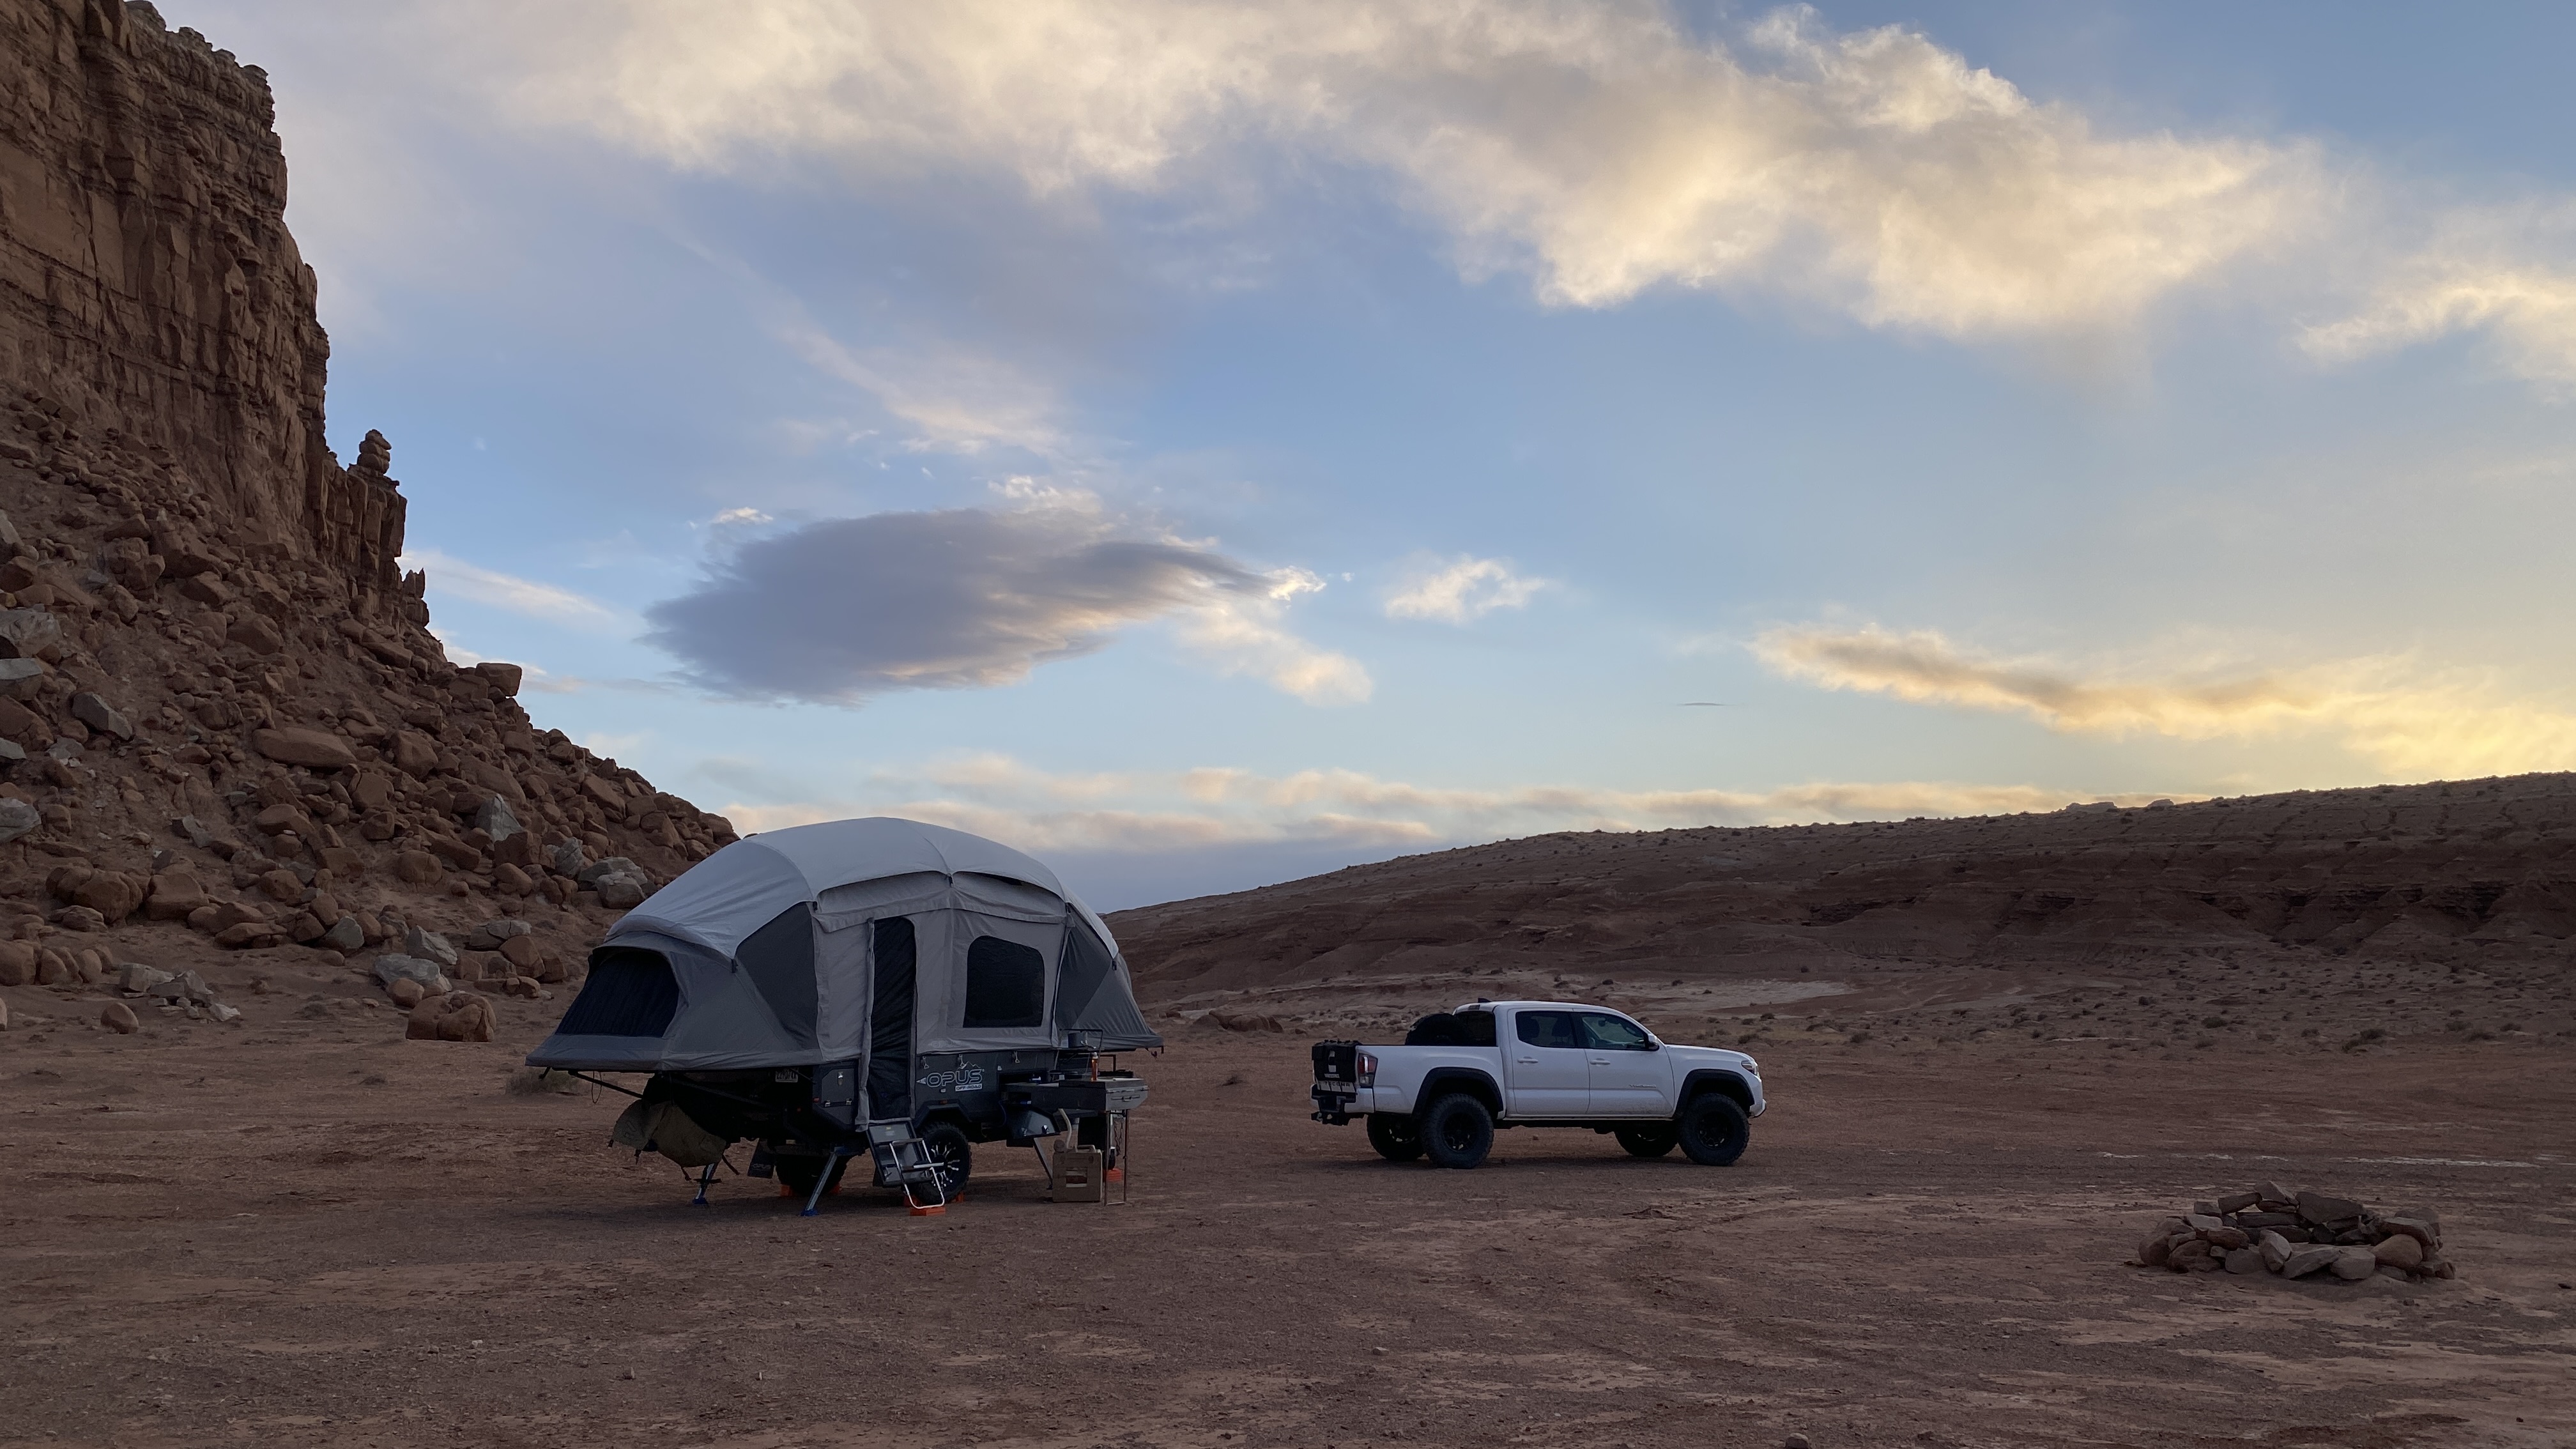
I've always been a trailer hater but now that my family wants to go camping more, we decided to try a lot of different options and settled on the opus. It gave us the space of a large ground tent, the amenities of a small RV, and the offroad-ability of a rooftop tent. It's really impressive how much space you get when it folds out - ceilings are around 8' in the middle, with two queen size (ish) mattresses.

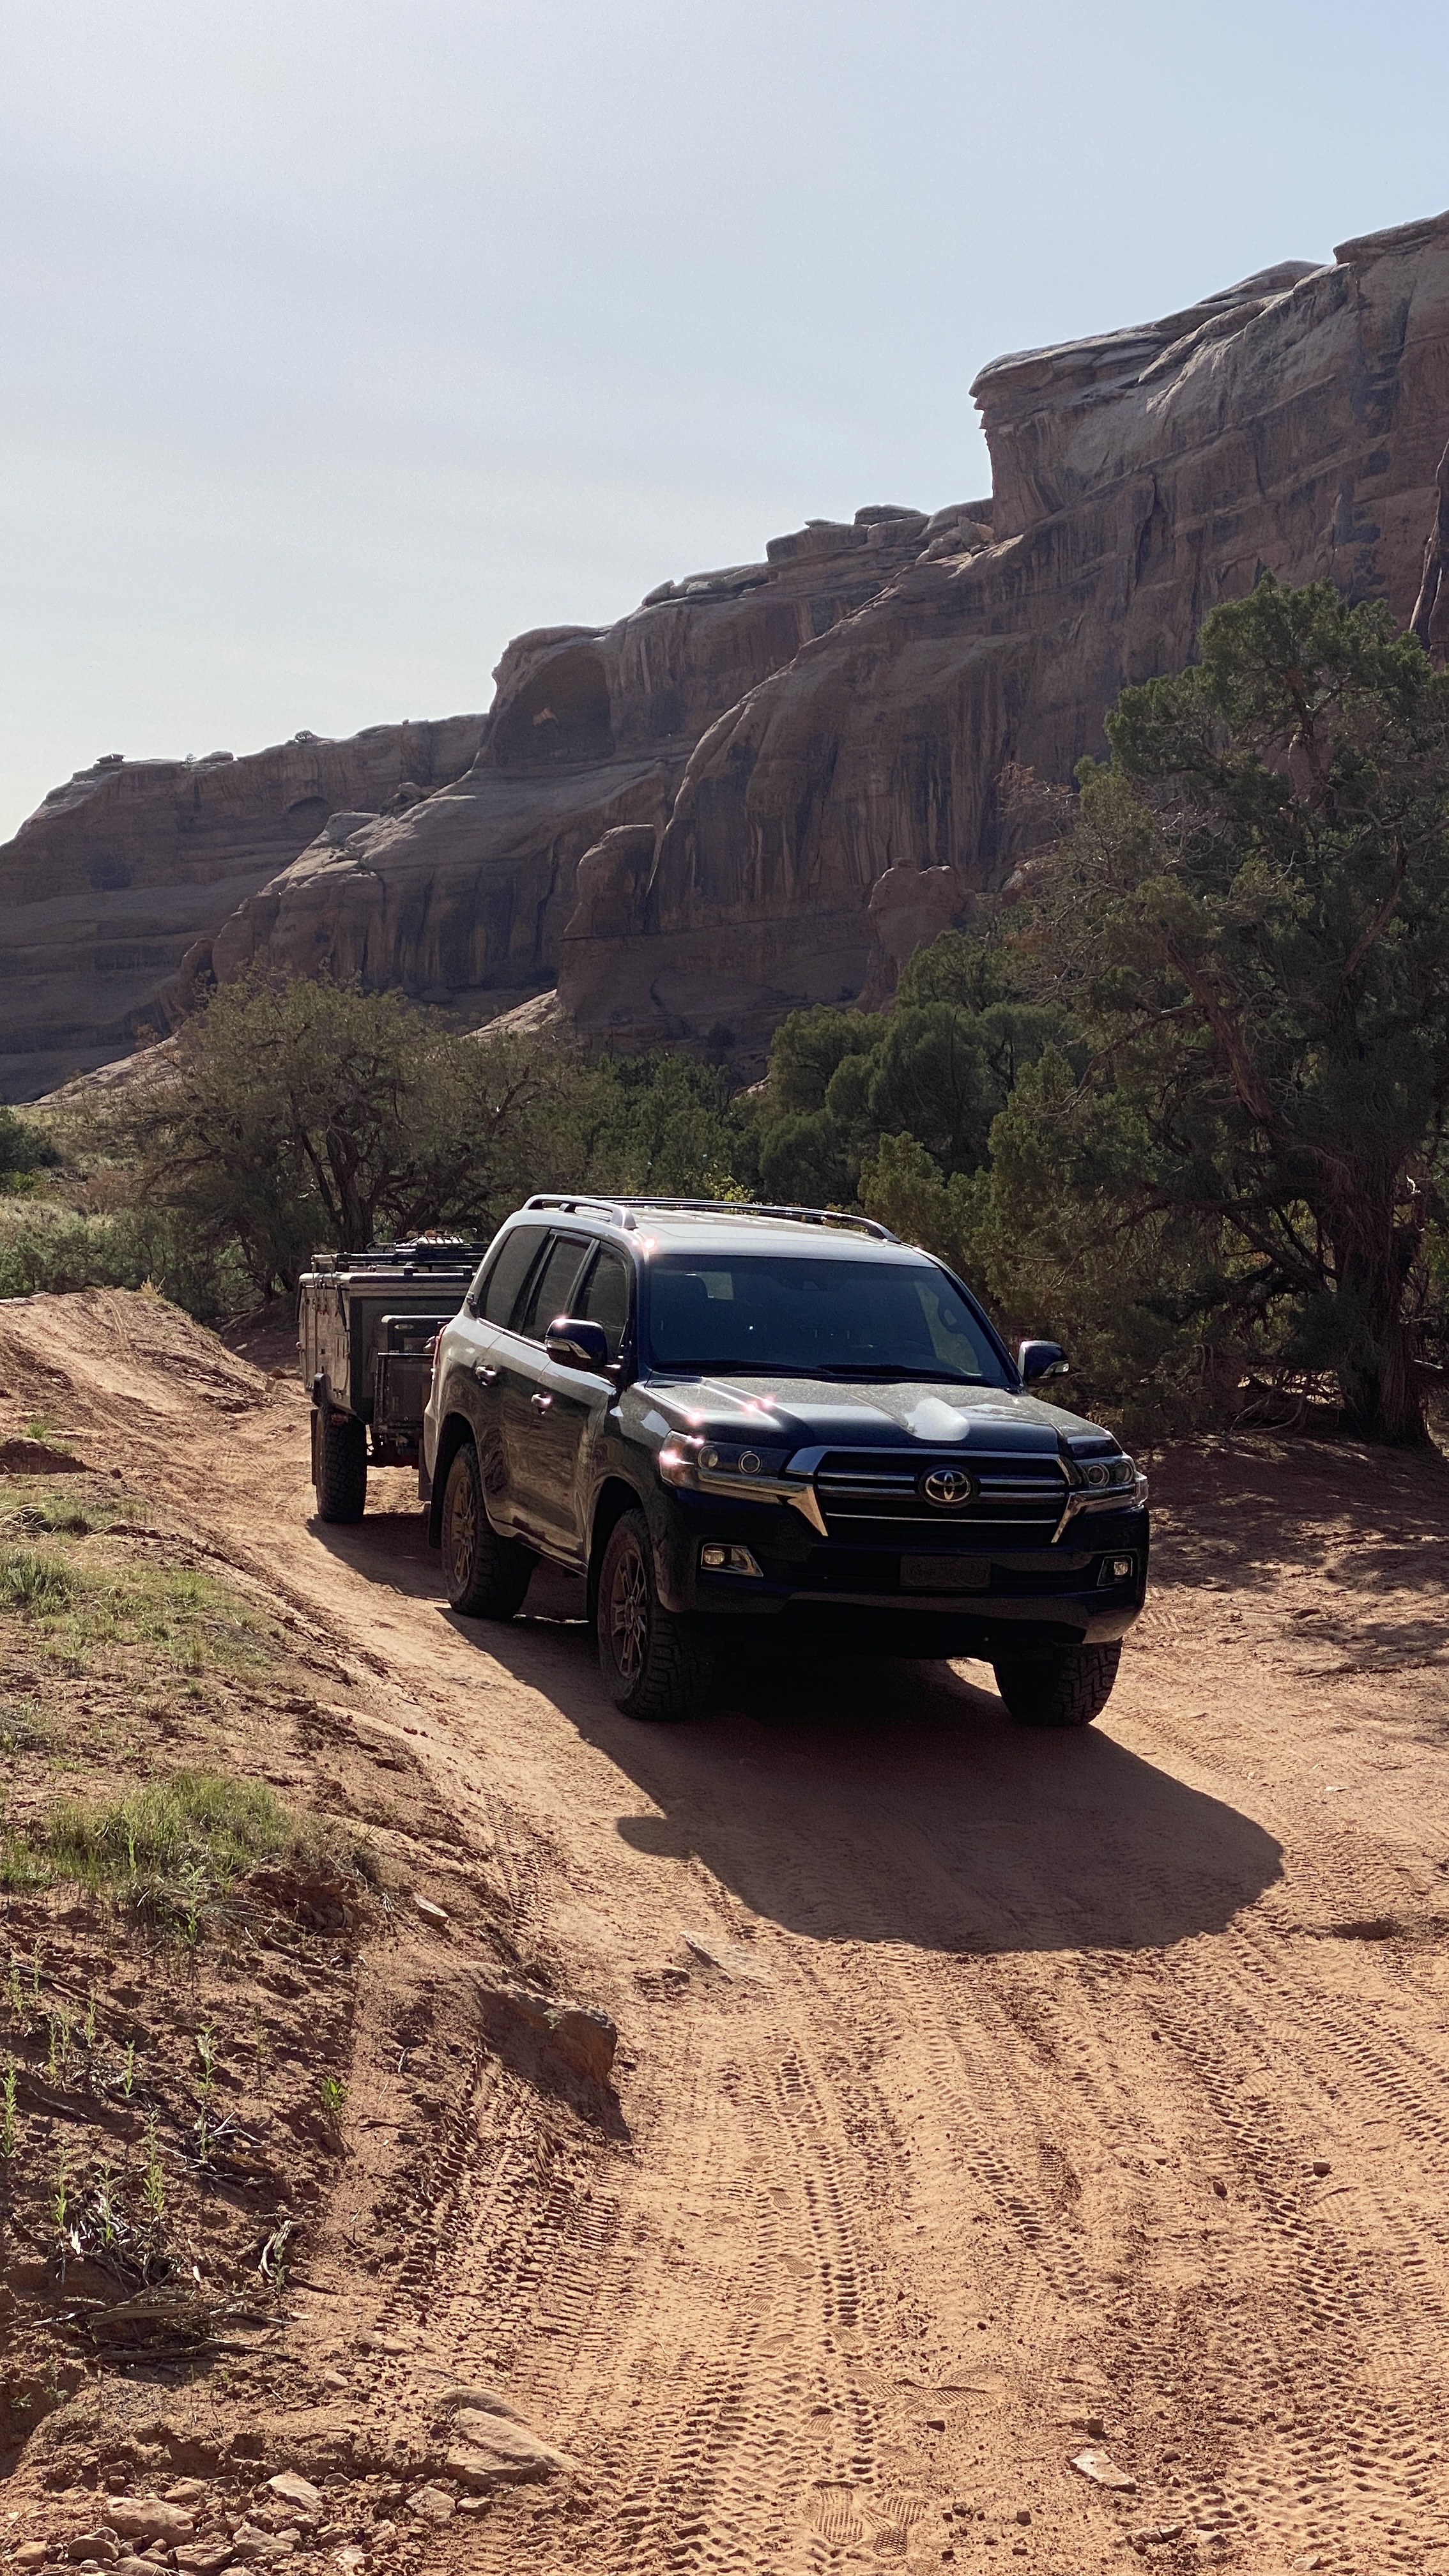
Pros: It's pretty well-built and has held up to some decent offroad trails around Utah. With a dry weight around 3K lbs it tows really well with the LC, and decent with my Tacoma.
Plus 2x 20gal water tanks, a full kitchen + fridge, independent coil suspension, quality canvas tent.

There's enough space for storage inside that all I have to carry in the LC is tools, clothes/pillows etc.
Cons: However it is Chinese made and assembled in the US - as with all things made there, they're made as nicely as the company outsourcing to China wants to pay for - so I'd say for the important stuff like the frame, tanks, suspension etc. it's solid, but there are a few smaller things I'm watching - I already replaced the chinese junk tires with some KM3s. A lot of Australian users replace the shocks/springs with new ones, and some of the components like the propane valves, sink drain, water pumps all work "fine" but are cheap and will most likely be replaced. The stock mattresses weren't comfortable at all so we replaced those with Expeds.
Wiring, cabinetry, cushions etc. are all good and the construction of the trailer will hold up a lot better than most cardboard or whatever they're using in cheap American RVs

Finally I wouldn't get one of these for faster-paced overland trips. It takes a good hour+ to set up and tear down so this is more of a "set up and camp for 3 days" kinda deal. For trips where I'm going 100+ miles a day and camping somewhere new, I'm still using a ground tent and will most likely get a RTT soon.
Navigation
Install the app
How to install the app on iOS
Follow along with the video below to see how to install our site as a web app on your home screen.
Note: This feature may not be available in some browsers.
More options
Style variation
You are using an out of date browser. It may not display this or other websites correctly.
You should upgrade or use an alternative browser.
You should upgrade or use an alternative browser.
What have you done to your 200 Series this week? (11 Viewers)
- Thread starter MScruiser
- Start date
-
- Tags
- 200 series
This site may earn a commission from merchant affiliate
links, including eBay, Amazon, Skimlinks, and others.
More options
Who Replied?It's just this particular style. It's an air frame pop-up tent - aka inflatable tubes instead of tent poles. The process looks like:I have no experience with a trailer like this…why does set up take longer than a ground tent? I would think quick set up would be a reason to go with a trailer?
- Level, chock wheels and disconnect the trailer,
- Open the roof rack and roof panels (all on gas struts)
- Lower the spare tire (it's on gas struts) and open the door
- Close all the air valves & start the compressor
- As the tent inflates, set up the stabilizer legs
- Once the tent is inflated, close all the isolation valves between the individual air beams
- Set up the table, unpack, set up the kitchen, inflate mattresses
It's just a little bit of a process. Maybe an hour depending on variables - opening up is faster and packing down is slower. I think a smaller hardside trailer like a Mission Overland or a teardrop would be 10x faster, with the tradeoff in usable interior space. With this I have the size of a smaller trailer on the trails, but while camped the size of a small RV in bad weather etc. It easily sleeps 2 adults and 2 children.
Last edited:
Decided to make a platform real quick for an upcoming White Rim trip. Not ready to commit to drawers yet, but I wanted something to mount a fridge slide to. Fabbed up some shallow Z shaped brackets with a welded nut on the back that mount to factory tie down bolts. Mounts without removing or modifying carpet. Maybe not the bestest mount method, but I think it will work for now. Built with 3/4 Cabinet grade plywood I had in the shop from several years ago so it was about $915 cheaper than the Goose Gear platform and I didn't have to pay to ship it, so that was nice. Though I'm sure my quality is not as deluxe. Luckily I had a spare bottle of Raptor liner kicking around too. Used some left over T-nuts I had from building a climbing wall for the kids for mounting points for the slide. Makes removing the drawer slide super simple. I added some on the left side as well in case I want to build a removable drawer box.


If you are considering the Dometic CFx75 be forewarned it is very large. It is nice having so much fridge room but it takes up a lot of space. It is nice and quiet though and works great. At some point it may turn into my shop fridge and be replaced with one a little smaller. Seemed like the freezer option would be nice, but I actaully haven't used it yet. May fab some kind of bracket tonight to hold down the water tank in the corner.

If you are considering the Dometic CFx75 be forewarned it is very large. It is nice having so much fridge room but it takes up a lot of space. It is nice and quiet though and works great. At some point it may turn into my shop fridge and be replaced with one a little smaller. Seemed like the freezer option would be nice, but I actaully haven't used it yet. May fab some kind of bracket tonight to hold down the water tank in the corner.
Last edited:
That is way nice! Any pictures of the bottom side and mounting?Decided to make a platform real quick for an upcoming White Rim trip. Not ready to commit to drawers yet, but I wanted something to mount a fridge slide to. Fabbed up some shallow Z shaped brackets with a welded nut on the back that mount to factory tie down bolts. Mounts without removing or modifying carpet. Maybe not the bestest mount method, but I think it will work for now. Built with 3/4 Cabinet grade plywood I had in the shop from several years ago so it was about $915 cheaper than the Goose Gear platform and I didn't have to pay to ship it, so that was nice. Though I'm sure my quality is not as deluxe. Luckily I had a spare bottle of Raptor liner kicking around too. Used some left over T-nuts I had from building a climbing wall for the kids for mounting points for the slide. Makes removing the drawer slide super simple. I added some on the left side as well in case I want to build a removable drawer box.
View attachment 2999042
View attachment 2999043
If you are considering the Dometic CFx75 be forwarned it is very large. It is nice having so much fridge room but it takes up a lot of space. It is nice and quiet though and works great. At some point it may turn into my shop fridge and be replaced with one a little smaller. Seemed like the freezer option would be nice, but I actaully haven't used it yet. May fab some kind of bracket tonight to hold down the water tank in the corner.
View attachment 2999044
That is way nice! Any pictures of the bottom side and mounting?
Sorry, didn't take any pics before installing, but here is a little drawing. I wanted to be able to remove it easily back to factory state so this is how I set up the brackets. I used 1/8-3/16 flat steel 1 1/2" wide and made the bends on my vice with a sledge hammer, then welded on the nut. I left the cargo loops in place just so I didn't lose them. Doing so will require that you remove one to make sure the nut location doesn't interfere with the loop and the mount hole location is correct - neither are centered on their tabs on the new bracket. The brackets actually turned out pretty well, without the platform installed they sit pretty much flush with the top of the carpet.
Last edited:
Sorry, didn't take any pics before installing, but here is a little drawing. I wanted to be able to remove it easily back to factory state so this is how I set up the brackets. I used 1/8-3/16 flat steel 1 1/2" wide and made the bends on my vice with a sledge hammer, then welded on the nut. I left the cargo loops in place just so I didn't lose them. Doing so will require that you remove one to make sure the nut location doesn't interfere with the loop and the mount hole location is correct - neither are centered on their tabs on the new bracket. The brackets actually turned out pretty well, without the platform installed they sit pretty much flush with the top of the carpet.
View attachment 2999215
Thanks for the super high quality answer and diagram! Makes total sense now! I have to ask, what software/program did you use to draw that? Thanks Again!
Fireworks. I do ecommerce by day, so have used Fireworks for years to create graphics. I'm sure there is something better available these days, but it's what I am used to.Thanks for the super high quality answer and diagram! Makes total sense now! I have to ask, what software/program did you use to draw that? Thanks Again!
This is a great idea!
Riffing on the idea, and I haven't looked at the actual fixture to know if this is possible, I wonder if you can put a flat bracket underneath the stock tie down. Then nest the nut within the ring. That way can use the factory ring just as easily as the nut/bolt down.

Riffing on the idea, and I haven't looked at the actual fixture to know if this is possible, I wonder if you can put a flat bracket underneath the stock tie down. Then nest the nut within the ring. That way can use the factory ring just as easily as the nut/bolt down.
Sorry, didn't take any pics before installing, but here is a little drawing. I wanted to be able to remove it easily back to factory state so this is how I set up the brackets. I used 1/8-3/16 flat steel 1 1/2" wide and made the bends on my vice with a sledge hammer, then welded on the nut. I left the cargo loops in place just so I didn't lose them. Doing so will require that you remove one to make sure the nut location doesn't interfere with the loop and the mount hole location is correct - neither are centered on their tabs on the new bracket. The brackets actually turned out pretty well, without the platform installed they sit pretty much flush with the top of the carpet.
View attachment 2999215
Yeah i am sure you could do that. I did it the other way just in case the bolt extended past the nut - then it had some room so it wouldn't contact the floor and scratch it up. But yea with some planning that would be great. You could probably weld on a washer to space it up a little, then the nut? Good idea!This is a great idea!
Riffing on the idea, and I haven't looked at the actual fixture to know if this is possible, I wonder if you can put a flat bracket underneath the stock tie down. Then nest the nut within the ring. That way can use the factory ring just as easily as the nut/bolt down.
View attachment 2999474
My plan is to leave the platform in always (at least for the foreseable future) and just remove the fridge slide in between trips so I can use the cargo area. So i wasn't as concerned about using the tie downs as I was just not losing them and being able to easily return to stock form. But your idea gives you the option to do it either way. You could also use my same bracket but mount the nut end over the carpet instead of over the ring, the bolt would go down into the carpet, but then you would have the function of both. Your idea is cleaner though.
kcjaz
SILVER Star
After carrying a spare starter plus manifold gasket and other related misc parts around for almost 2 years, I preemptively replaced my starter at 163k miles. No idea how much time it had left but with no way to tell and given the difficulty of a DYI trail or remote replacement I just decided to do it on my time, not it’s time.
how was the job? How did you access it?After carrying a spare starter plus manifold gasket and other related misc parts around for almost 2 years, I preemptively replaced my starter at 163k miles. No idea how much time it had left but with no way to tell and given the difficulty of a DYI trail or remote replacement I just decided to do it on my time, not it’s time.
kcjaz
SILVER Star
Piece of cake, I had a local club member do the work in his shop.how was the job? How did you access it?
 We did discuss his approach and he removed the manifold and took it out the bottom. Access is from side through fender well and from bottom. Took him 4 hours.
Direct swap? What are the part numbers you used? Don't need to fabricate brackets or wiring or anything? TIA!Toyota Jamboree sparked the desire for some extra lumens for early morning/night runs and the Baja fog swap being 100% plug and play made it an easy choice

100% direct swap, it's a kit made for 4Runners, Tacomas, and Tundras, but the brackets fit perfectly for the 2016+ 200 series. It also comes with a harness adapter (just make sure to test the pins before inserting them into the harness to make sure you have them matched up properly). Part is Baja Designs 447115 and it's available on Amazon with everything here: Click MeDirect swap? What are the part numbers you used? Don't need to fabricate brackets or wiring or anything? TIA!
I also stumbled onto this video right after I did it which shows which wires would match up:
")
I somehow went 0/2 when I did it yesterday--first time I had already inserted the wires into the harness, but an allen wrench pushed them out. Second time I just hooked them up bare before realizing I needed to switch again. I did also notice that dudes crack nails thoughDude needs a nail trim. Here is a screen capture from that video of the wiring. You have a 50% chance of getting it right without knowing.
View attachment 3000894
CharlieS
GOLD Star
That's a useful tech tip. When I did the BD lights on my last 200, I tried the pins in the vehicle side plug to make sure the lights worked before installing them in the plastic plug housing (the plastic plug housing come loose in the BD kit). I just assumed that was standard practice.
One might say I'm not the sharpest crayon in the shedThat's a useful tech tip. When I did the BD lights on my last 200, I tried the pins in the vehicle side plug to make sure the lights worked before installing them in the plastic plug housing (the plastic plug housing come loose in the BD kit). I just assumed that was standard practice.