What have you done to your 100 Series this week? (76 Viewers)

This site may earn a commission from merchant affiliate
links, including eBay, Amazon, Skimlinks, and others.

Got started on the Timing Belt on one of the cruisers today. Not fun.
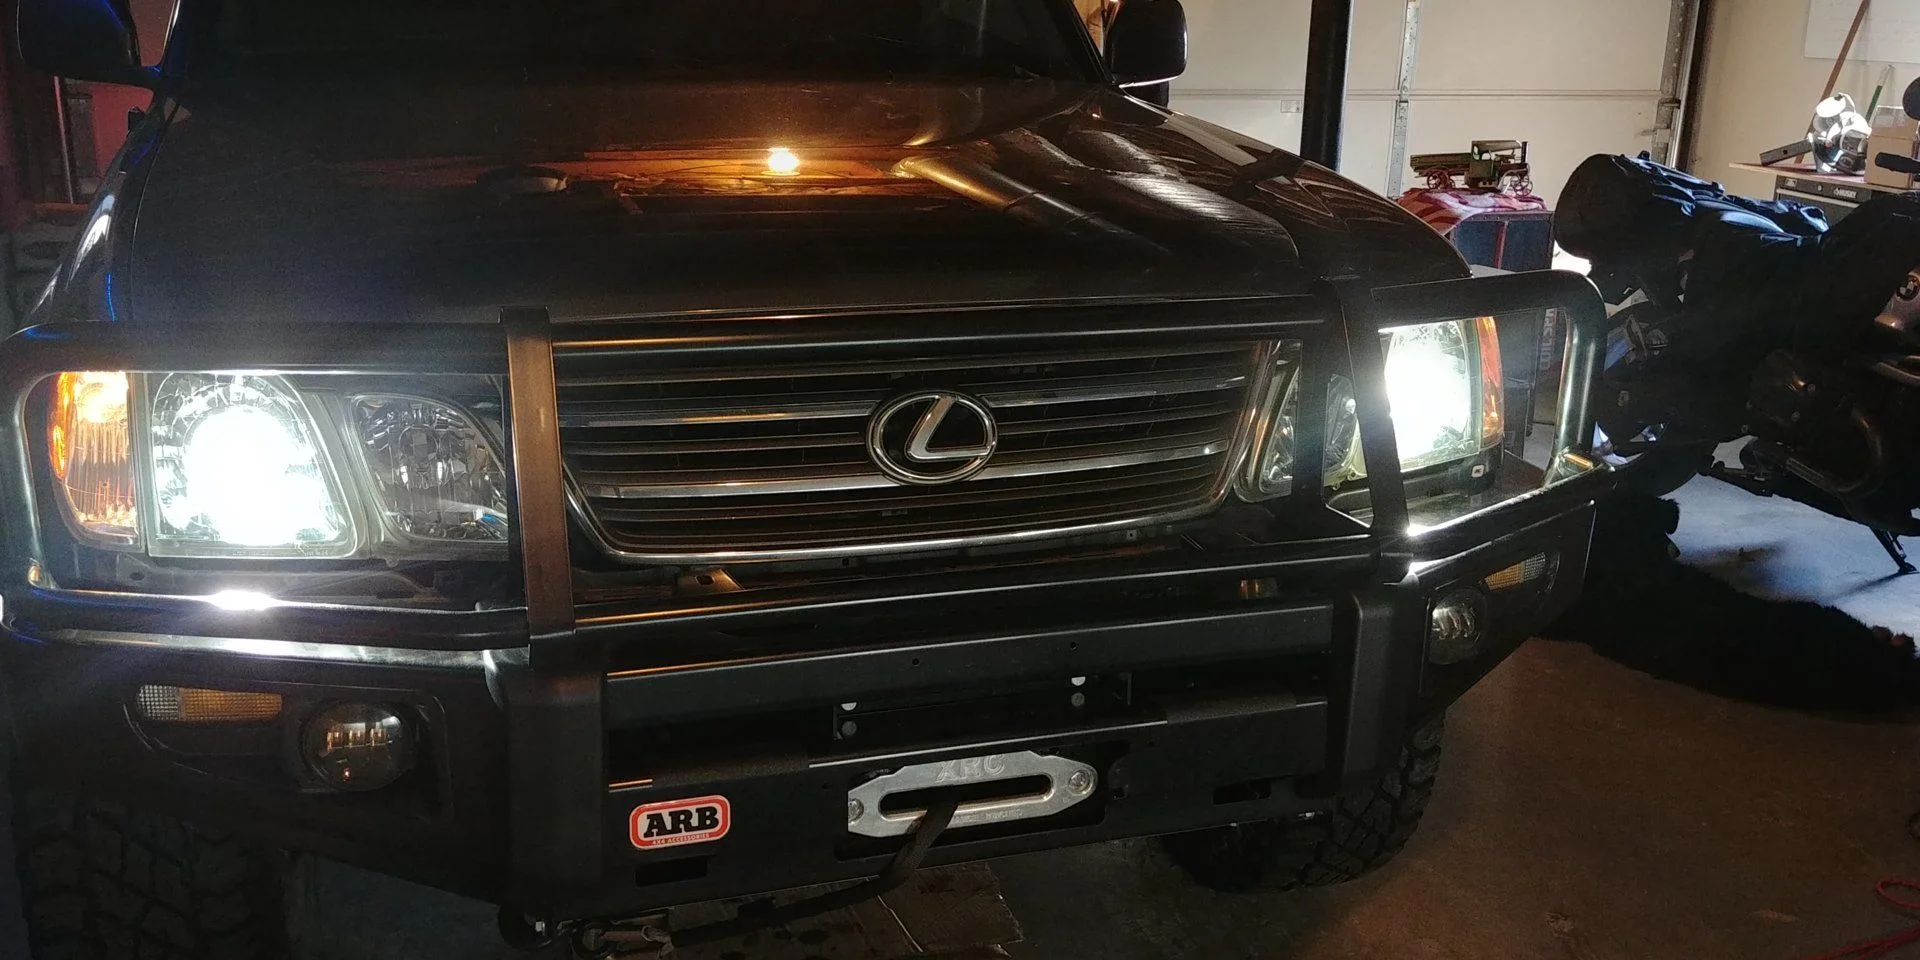
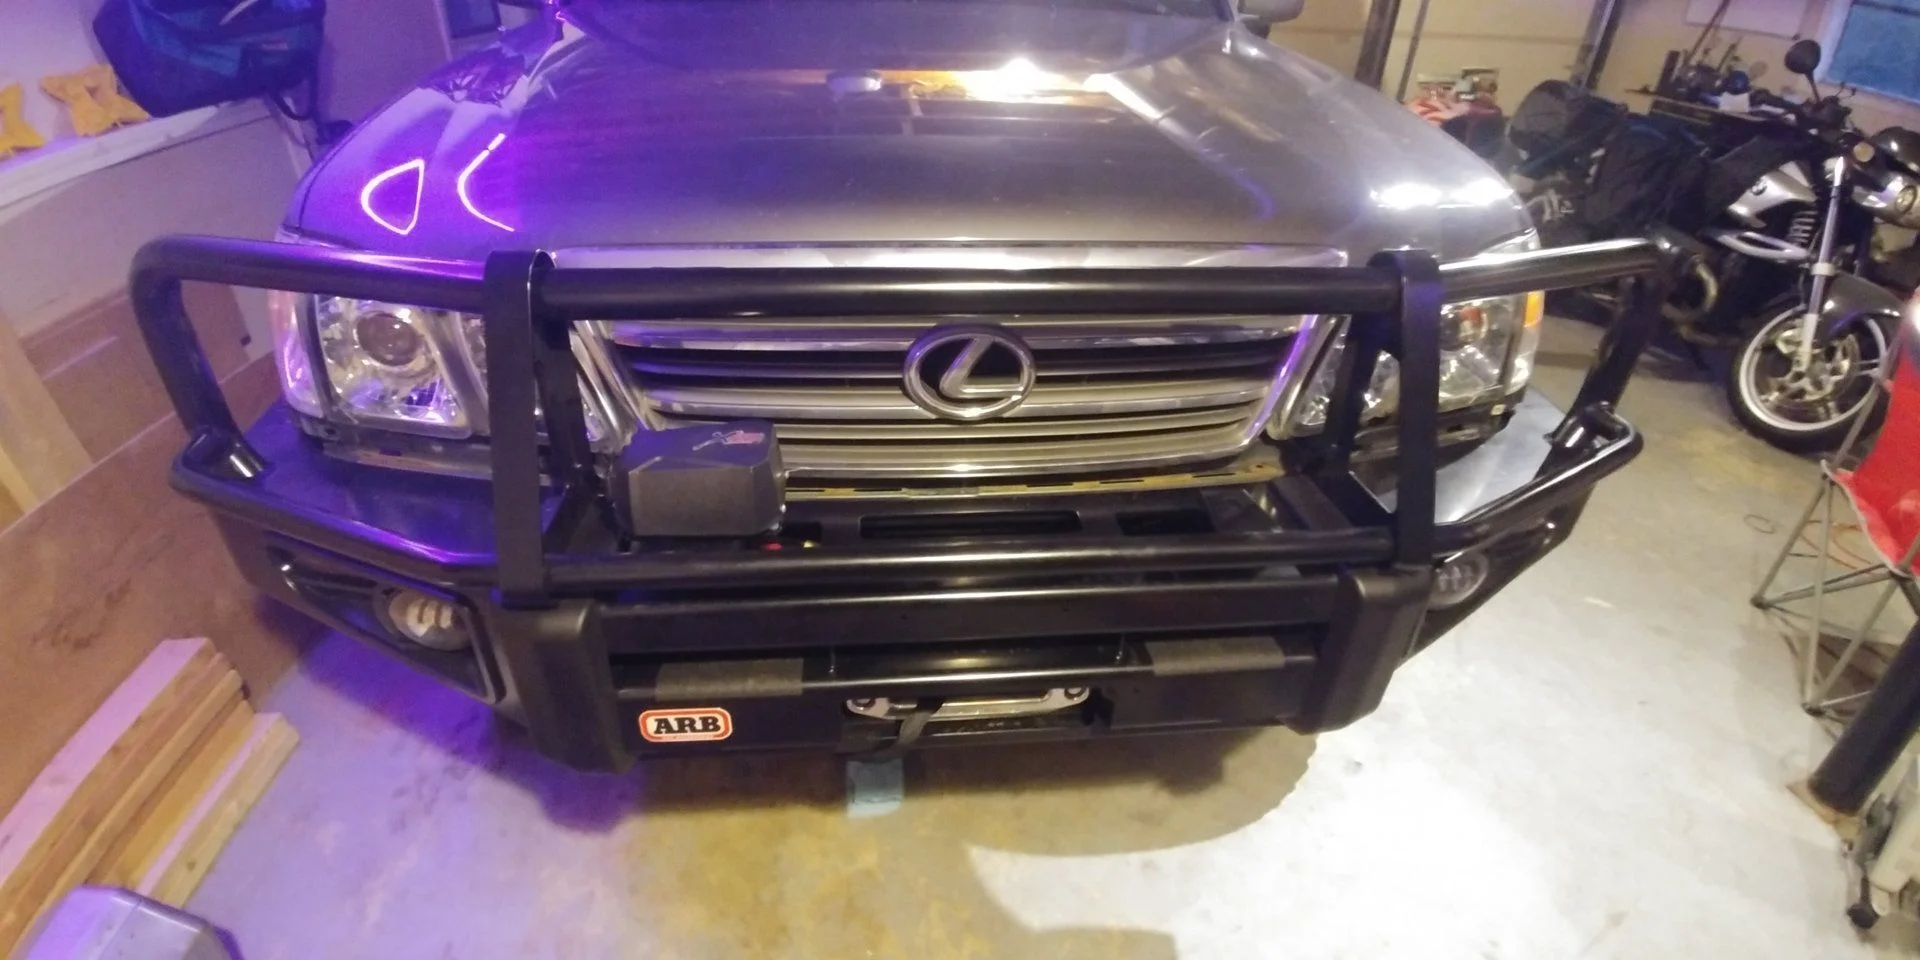
2E831B04-284F-4456-B440-85F8A57CB92E.jpeg
 
Today had my tires rotated and a slow leak fixed came home and did an oil change, chassis lube, brake fluid bleed, power steering fluid change, oil pressure switch change, and speedometer gear change to 31 tooth to match my 32s.View attachment 1883966 View attachment 1883968
Are there an assortment of gears available to compensate for various tire diameters?

And where does it go? Transmission?
 
There are some gears available but limited. Best I can tell from my research there is a set for the US 4.30 ratio and a set for the 4.10s. These are not interchangeable. All other gears are for overseas models. The gears are located in the transfer case. The one I am using matched the 4.10/5speed auto setup I have. There appears to be 3 options that fit the stock steel 12 tooth gear in my transfer case. Options are 31-33. Stock is 32 teeth. So, not a lot of wiggle room but will work with one size up or down.
 
Wrapped up the ARB bumper install with JK fog lights, IPF's and a Warn.
IMG_20190120_113109.jpg
IMG_20190120_095234.jpg
 
Looks great, did you do it yourself? @87warrior

If so, how difficult was it?
I did the install in my garage and it wasn't bad. You need a metal cutting device, a few good drill bits and some semigloss paint to coat the newly exposed metal. A good dose of patience is also needed to get the winch mounted to the bumper and a helper to lift the bumper to the Cruiser (my wife helped me here). All in all, I would say the bumper install is equivalent in difficulty to repacking the wheel bearings.
 
Got the rear Infinity coaxials installed. Put Kilmat in both rear doors. Running off the head unit they sound great....to the point where it almost has changed my mind about putting a sub in the factory spot....I think a 4 or 5 channel amp will be more than sufficient....5 channel just in case I decide to add a sub later. Definitely makes a massive difference over the factory speakers and my factory speakers were in perfect condition....but the Infinity speakers are awesome. Crutchfield said they wouldn’t fit but I had zero issues.

76E43F4E-CAFC-4AD1-9DD2-0FA38F96DF35.jpeg
 
hacked up some energy suspension polyurethane body spacer to fit in the torn Front diff mount. Some dremel artwork needed to fit the contour of the lower mounting plate.

46769758402_72bbd833d7_c.jpg


46769758532_5a2461c32f_c.jpg
 
A few things over the past week~10days:

Received a P0051 DTC= Upstream 02 sensor Bank2 Low; Tested and found it completely failed. I found that removing the front wheel and fender skirt as the easiest access to the upstream 02 sensor. I was surprised it didn't take much effort to remove- current mileage 194k. Replaced with Denso 234-4138. Also replaced Bank 1 upstream 02 sensor. Best practice is to replace both in parallel: upstream bank 1&2 together and or downstream bank 1&2 together.

While I had the wheel off I noticed some grease has seeped out from my CV inner boot: I installed brand new OEM CV's 15 months (10k miles) ago just a few months out of warranty. Not super happy to find relatively new boot clamp leaking. I have a 2" lift and a diff drop. @2001LC had the recommendation on the NAPA clamp CVB 686-5833 (thank you Sir). The OEM clamp width measures 7mm and these are also 7mm and just slightly thicker gauge steel and they fit the clamping surface of the boot groove as designed. This is why I prefer these crimp type to worm gear type clamps also there is no gear mechanism to rub against and potentially cut the boot and if following the repair manual your get exact crimp tension (with a good crimp tool). These come apart and lock back together so you can install them with out removing the axle and boot. at $2 ea I threw a couple in the onboard tool kit. So far so good.

NWMDC.jpeg


I then found some crust had formed on top of the throttle body; around the non-functional plug others have had leaking issues with. This sucks because the proper fix is replacement of the entire assembly. But either tapping and fitting a screw type plug or jb weld is the low budget alternative. I opted to try epoxy first and if it doesn't hold, then tap and plug. I cleaned the area, used a drift to recess the plug slightly then used JB weld and a cap ( quarter) to seal and reinforce the top of the plug. I think if someone had a cool quarter sized Teq emblem that would be a nice replacement for my quarter cap.

IMG_1902.JPG
IMG_1905.JPG
 
Last edited:
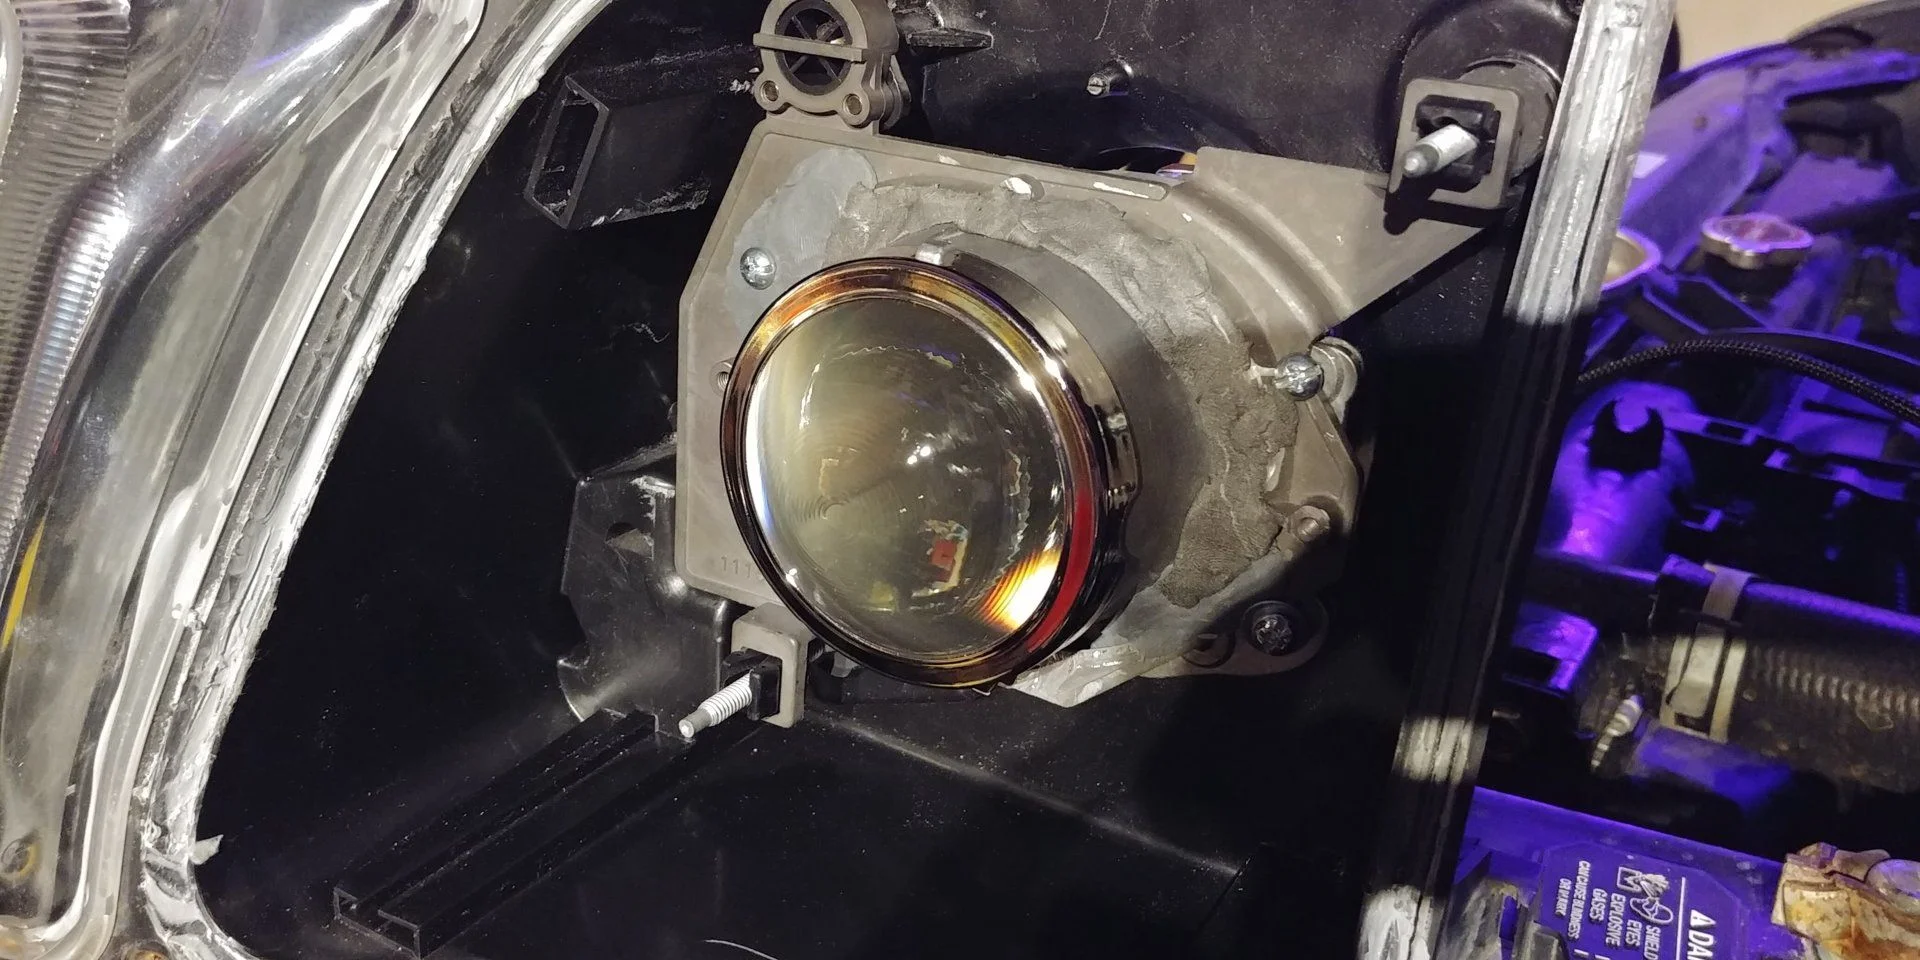
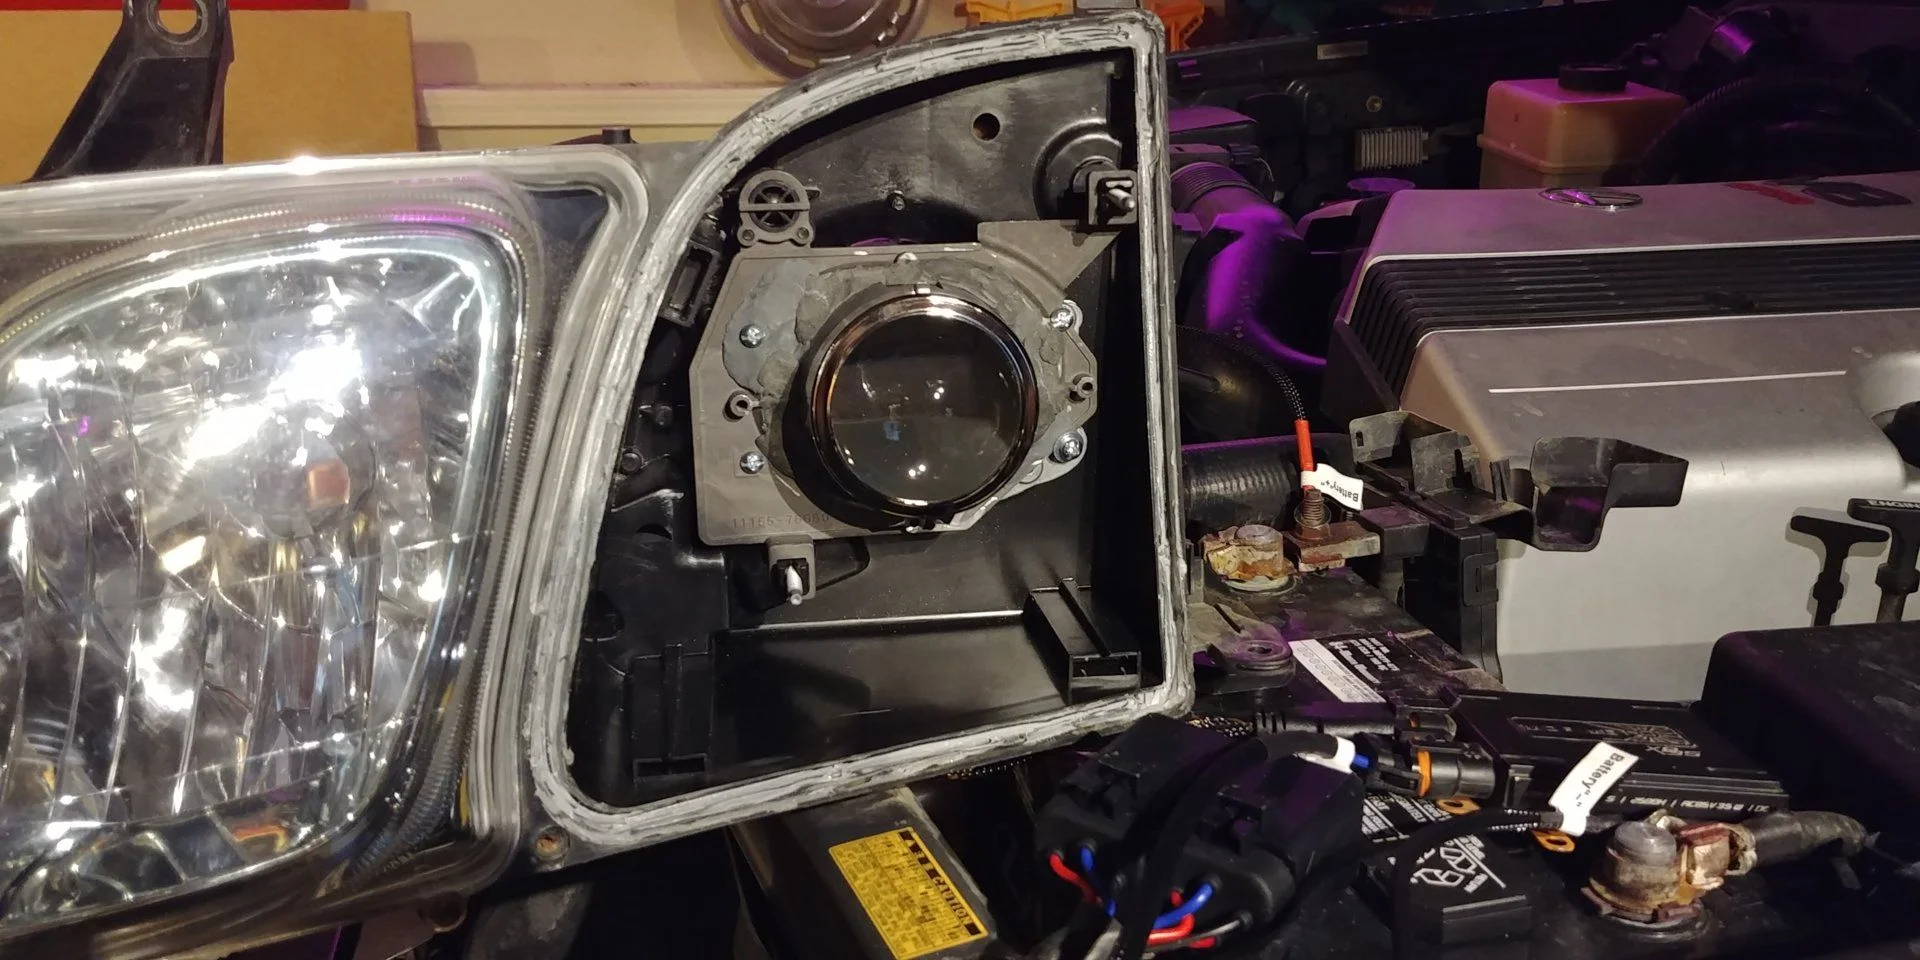
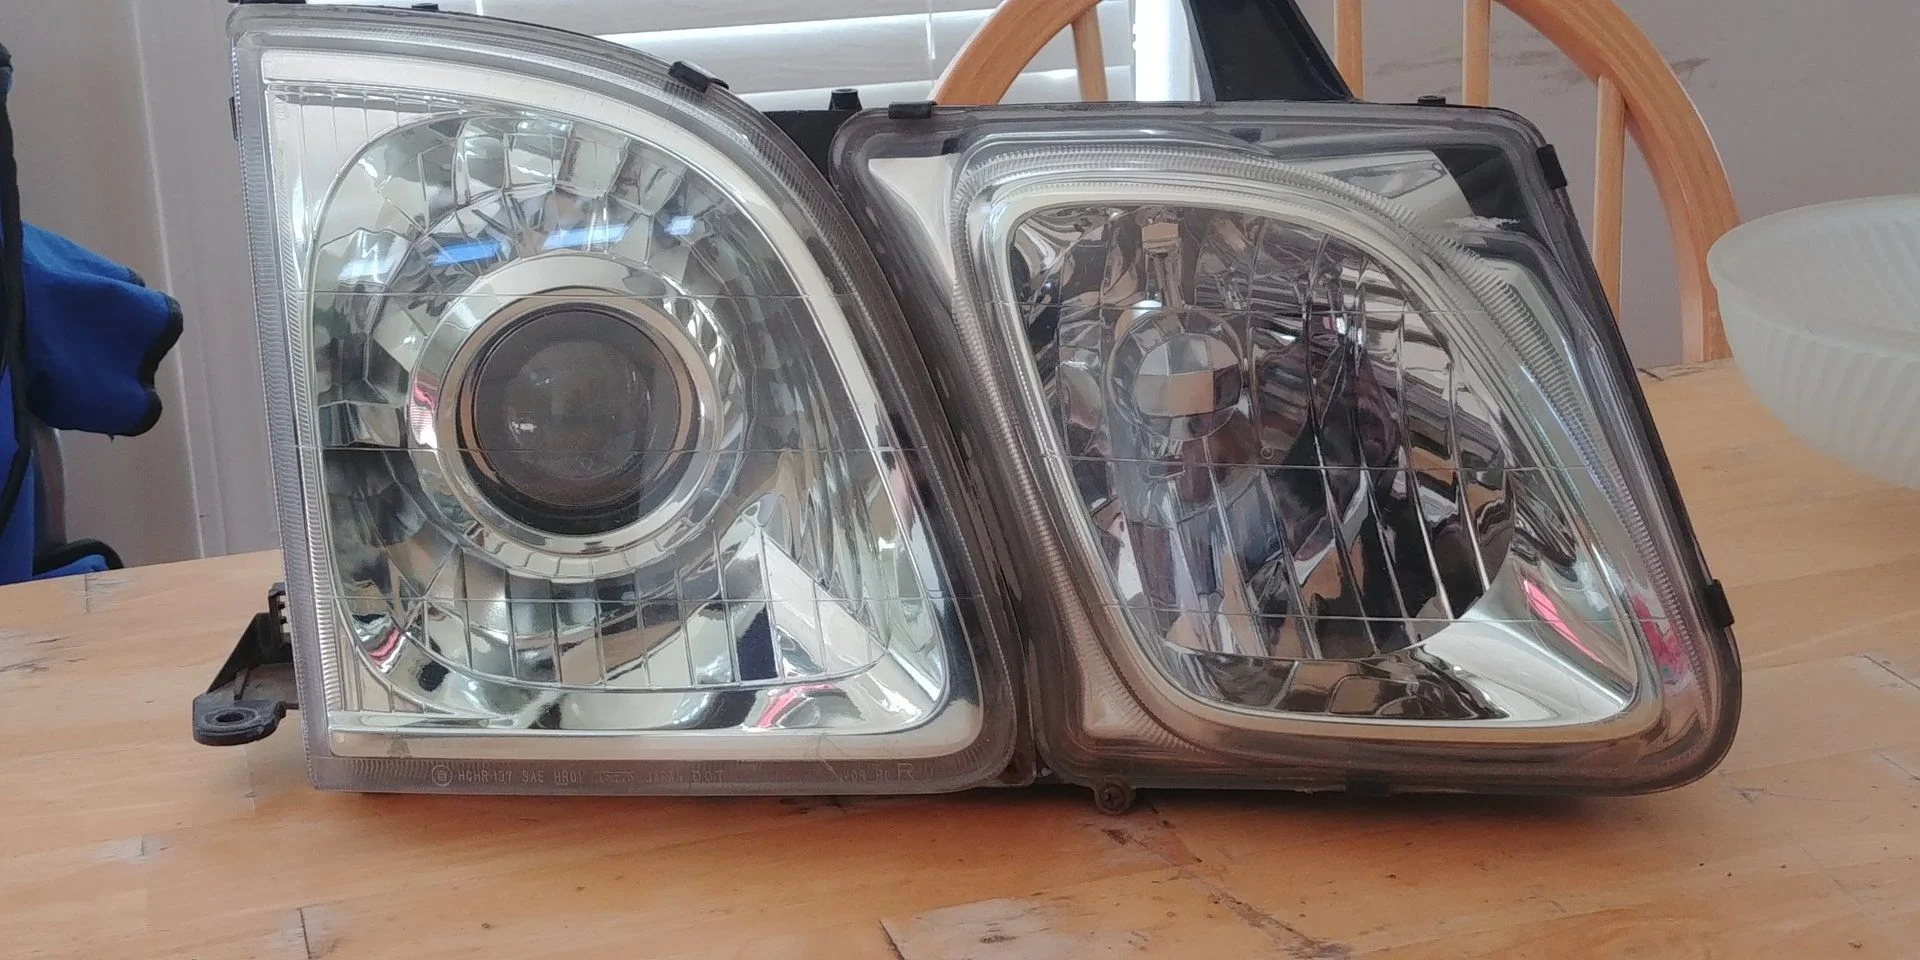
Started and completed my TSX projector retrofit over the weekend. The first side took me all of Saturday, and naturally the second side took a few hours today. Go figure. I still need to have them aimed but I'll need to find a wall with 25' of space in front to do it.


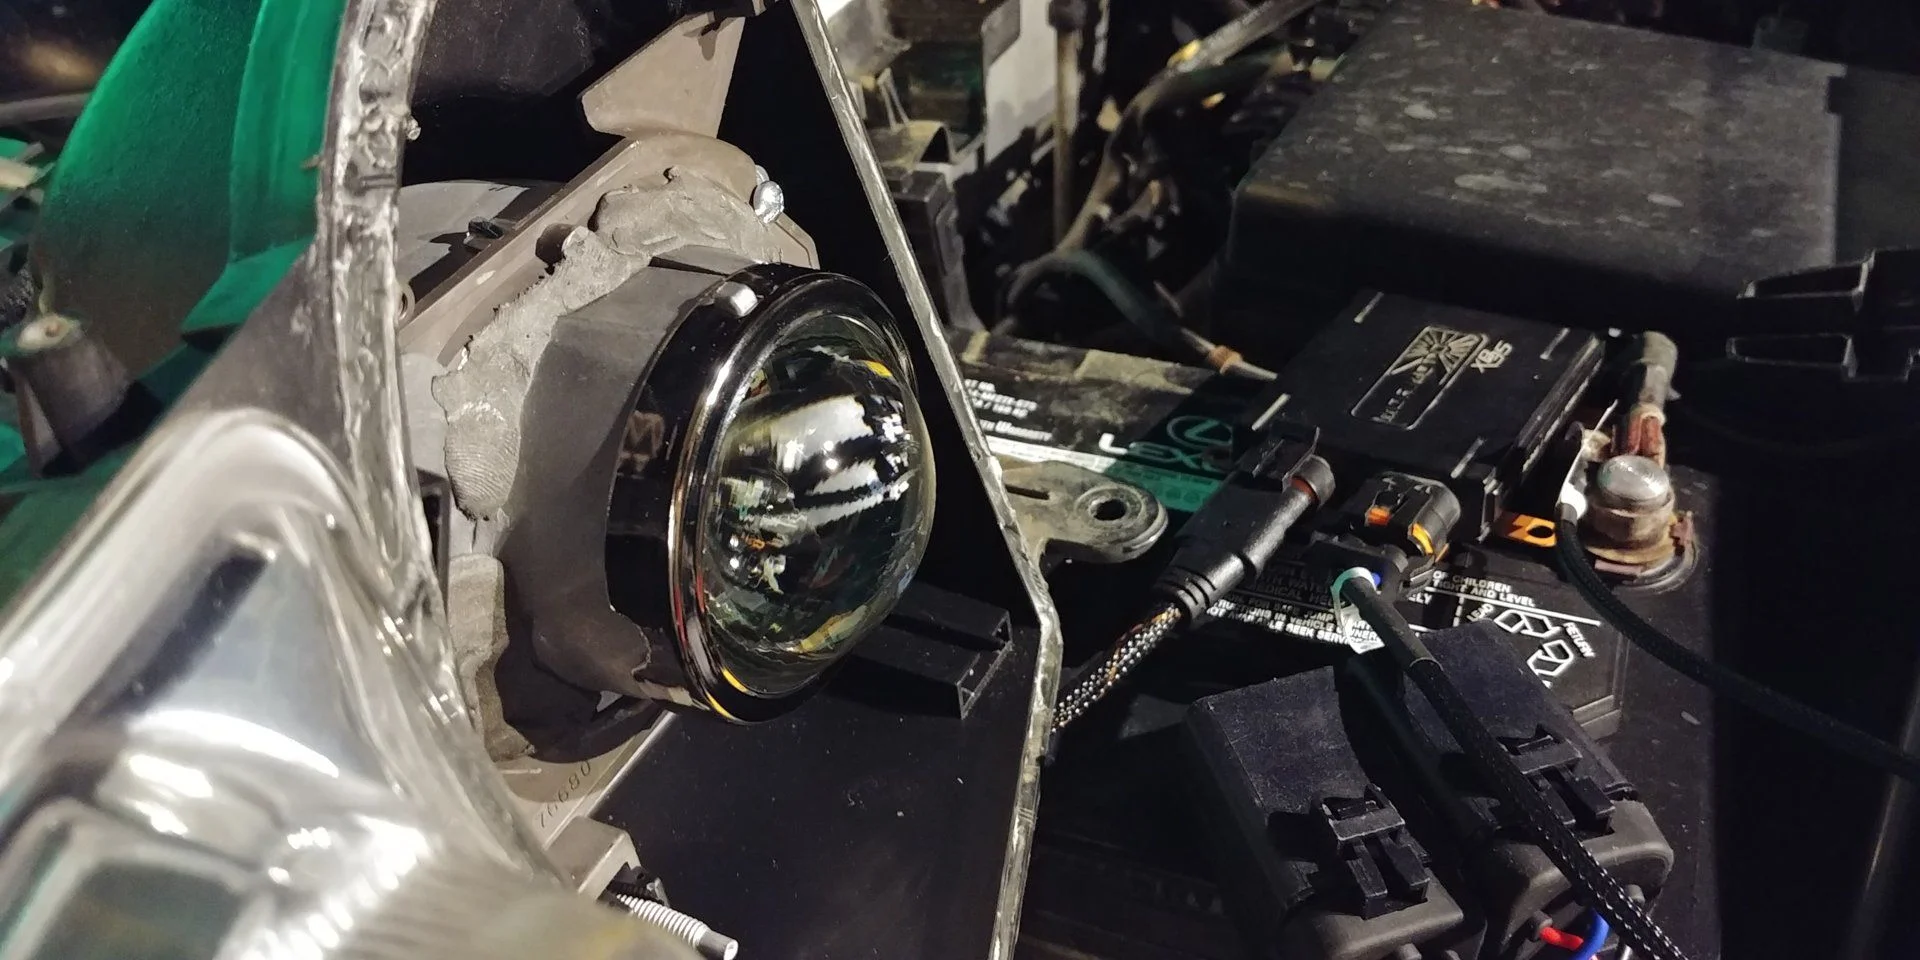
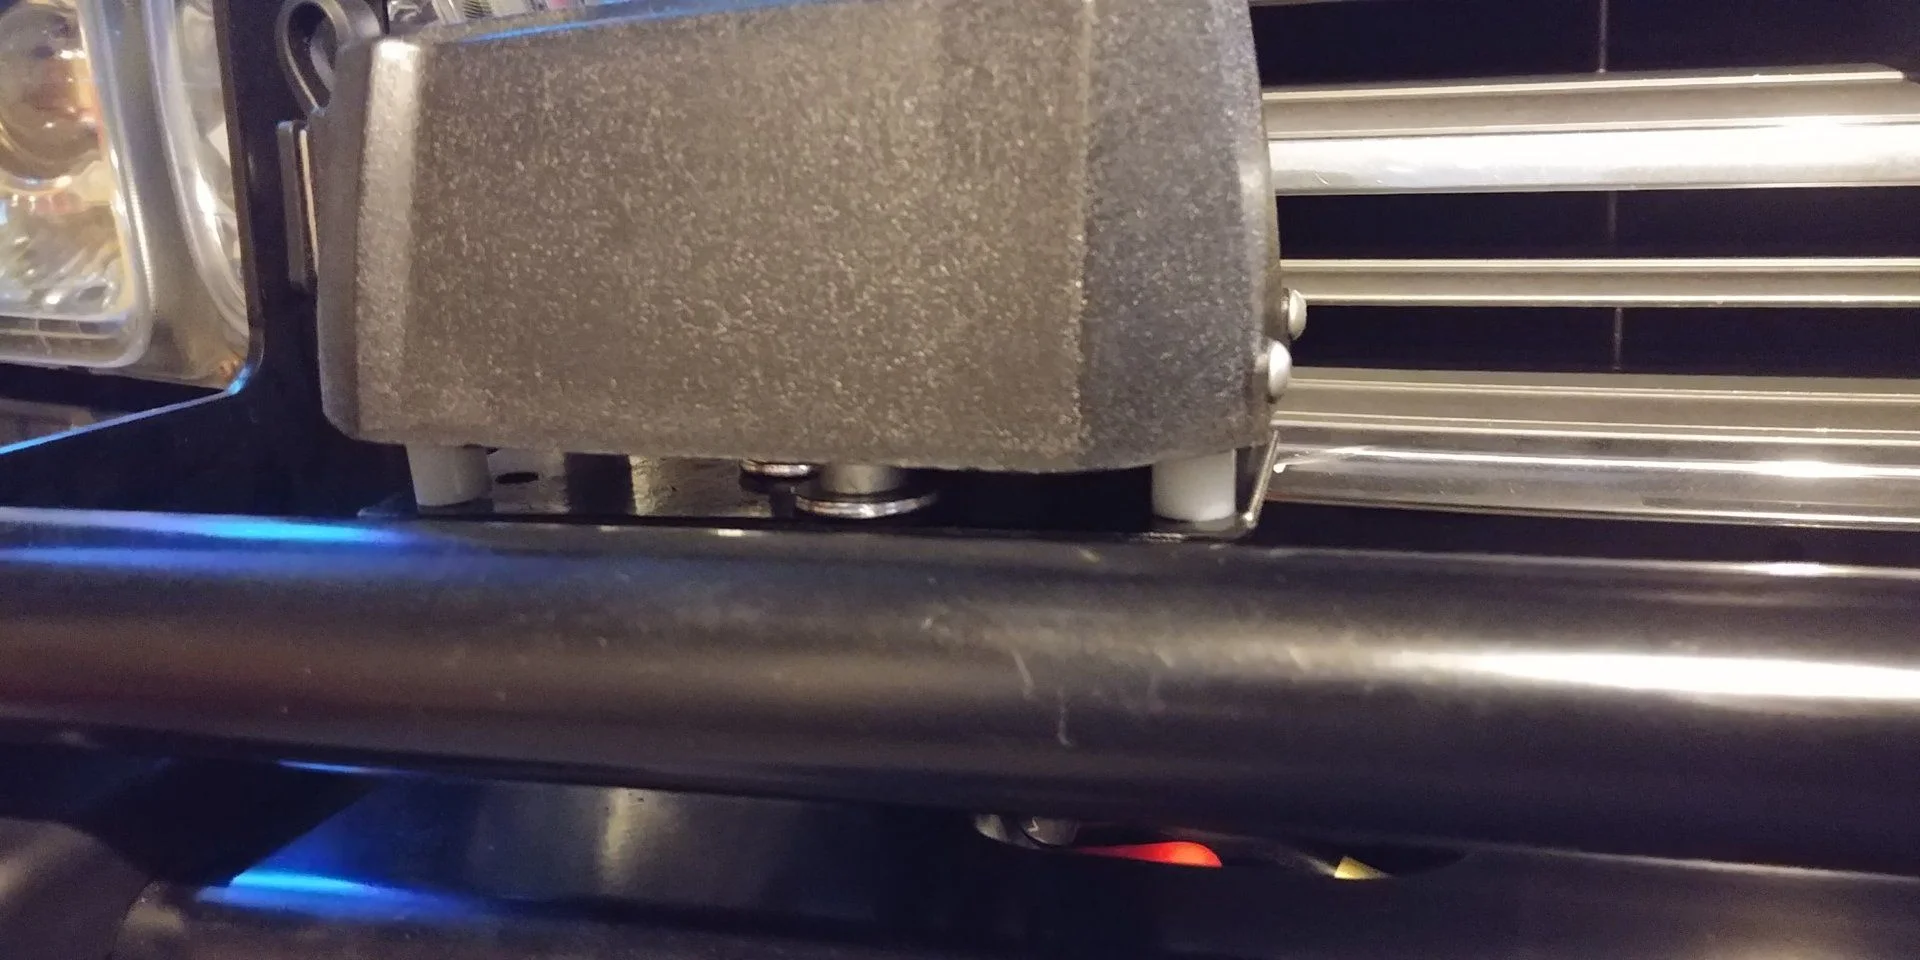
I also got my winch control box mounted up, finally. I'd installed the bumper over Christmas break but left the box uninstalled because I was sick of messing with it at the time. I also needed to figure out how I wanted to mount it. I see a lot of guys run it under the hood but I didn't feel like A) extending the wiring to do that and B) having to pop my hood when I want to use the winch. So I utilized one of the light mounting brackets on my ARB, drilled 2 holes in it, fabbed up a bracket and some spacers to bolt to the bumper then screwed the box to the bracket. Simple enough, will work for the time being. Plus it looks cool.


Is there a guide you followed for this? Just ordered some black depo's and was thinking of getting some projectors.
 
Did you put the LED lights in upside down? It looks like the writing on the lenses is upside down. Those have a nice flat cutoff. Light them up and double check.
They are right side up (I think), but I had the same concern as you! The lenses both seem to be upside down. Adjustment screws are pointed down and the cut off is sharp. Here is an awful, inches from the flat surface, daytime picture of the light pattern. I still need to aim the lights.
IMG_20190121_165550.jpg
 
Had to have the windshield replaced today after a rock strike caused a crack. I used the same shop that replaced it 8 years ago so I hope all is good. I'll keep an eye on it but significant rain is not forecast for the next couple of weeks. At least windshields are fairly cheap for these vehicles - $220 installed. My wife's 2016 Highlander was over $1000. I'm glad we have glass coverage on the vehicles.

Chris
 
I remember some of those plug gaskets were horrible
 
Bought it. (I’ve gone from 60 to 80 and now to 100!) introducing Dixie, our 1999 Toyota Land Cruiser 100 series.
A bit of an adventure to purchase: drove my Lexus LS 400 miles to see it, did the deal, took the 100 to Uhaul, picked up a car dolly, loaded up the LS and towed it home 400 miles, with some drama mixed in at the beginning and middle, but Very happy with how it runs and drives, just working out some kinks, both literally and figuratively.
Had interior detailed.
Had neighbor massage pass fender and pass door to operate again.
Installed new front pass door hinge strap bracket bolt (that was a mouthful).
Massaged front bumper driver corner with a heat gun.
Installed depos (buster pass corner light so went to 06-07 style) with OG bulbs for now, with some sort of retrofit or at least hir or led bulbs eventually.
Plans: grocery getter duty for time being until some other priorities are met, then build up with lift, wheels and tires, bumpers and sliders, skids, front locker, roof rack, lights, etc... let the chaos begin!! :wrench::steer::flipoff2:

Starting point:
99E451E0-E15B-44D2-9F66-B78BE2610CC0.jpeg
3C7EE42B-D070-4F9F-BCF4-833BABD131D0.jpeg
AF48BEB1-C4FB-4A43-8799-6F6C85803655.jpeg
10413745-25FB-43AD-99DA-D27F481CDC76.jpeg
FD693138-A134-4C58-9BC4-5CF86A847620.jpeg
 

Users who are viewing this thread

Back
Top Bottom