
Thanks crimson. Got a load of stuff in the Amazon shopping cart. Did you have preference for the 12 volt outlet?Sure, it's easy. You need about 20' of cable, directly attached to the battery at one end with a fuse (I went with a nice, 100 amp AFS-style fuse), then I ran it under the truck to the back, tied to the top of the farm rail all the way back. In the rear, there's an oval 1"x3" plastic cover just below the brake light - pop that off, drill a hole (sealing with silicone when done if the fit isn't tight enough around the wire) then feed the wire up from there. The wire will come up in a small cavity behind the trim in the interior (just tug at the top of the rear corner trim and the clips will pop out) and viola, you have power to the rear. Tomorrow my Blue Seas fuse box will show up (allows for fused distribution of power) along with a 12v panel-mount power recepticle - just wire it up, pop a 1" hole in the panel and mount.
Running the wire took about an hour, front to back, and the final wiring tomorrow will probably take about 30 minutes. Each upgrade and now I have up to 200 amps* (with the appropriate fuse up front) of power available in the back.
* 200 amps is near the upper limit of current a 4 awg cable can safely transmit 20' @ 12v. But I cannot imagine needing more than 2,400 watts of power back there - 4 awg is absolute overkill for just a fridge.
Navigation
Install the app
How to install the app on iOS
Follow along with the video below to see how to install our site as a web app on your home screen.
Note: This feature may not be available in some browsers.
More options
Style variation
You are using an out of date browser. It may not display this or other websites correctly.
You should upgrade or use an alternative browser.
You should upgrade or use an alternative browser.
What have you done to your 100 Series this week?
- Thread starter SHUSH
- Start date
This site may earn a commission from merchant affiliate
links, including eBay, Amazon, Skimlinks, and others.
Ran some hose from the compressor (which is mounted between the air filter housing and the passenger side headlight) down the inside of the front bumper and wired in a switch (also tucked under the bumper) so that I don't have to open the hood to air up.

Not really - I ordered this on as it's rated at 15 amps (180 watts @ 12v) - should be plenty: http://www.amazon.com/gp/product/B00LZVZL5C/?tag=ihco-20Thanks crimson. Got a load of stuff in the Amazon shopping cart. Did you have preference for the 12 volt outlet?
Rats! Replaced FL/FR wheel sensors, trans<->body ground wire, O2 sensor, re-spliced transmission vehicle speed sensor.
Because of rats. Found one had been nesting in the belly pan and since the truck isn't a daily driver he had plenty of time for mischief. The WSS and O2 cables were missing a good portion of cable and although in theory they could have been spliced with some spare cable, I believe they use resistance as measurement I didn't want to risk cable that was either too long/short or had different a different resistance value compounded with the variance a couple of splices might have added so I replaced them. Time to get a cat.
Because of rats. Found one had been nesting in the belly pan and since the truck isn't a daily driver he had plenty of time for mischief. The WSS and O2 cables were missing a good portion of cable and although in theory they could have been spliced with some spare cable, I believe they use resistance as measurement I didn't want to risk cable that was either too long/short or had different a different resistance value compounded with the variance a couple of splices might have added so I replaced them. Time to get a cat.
Finished installing the 100 amp, always on rear 12v:
Main fuse (yeah, i know it's filthy under the hood):

New plug location (currently fused in the rear at 15 amps):

Fridge in place:

Main fuse (yeah, i know it's filthy under the hood):
New plug location (currently fused in the rear at 15 amps):
Fridge in place:
No, just ran the hot back, I'll ground it to the chassis somewhere in the rear, likely a seatbelt anchor or similar. I prefer grounds as short as possible.
F WIW The factory chassis ground is 8awg
Ended up running 4 awg to the fuse block then used short runs of 10 awg for the hot and ground for the 12v plug. Depending on the length of the chassis ground (I assume it's short) it can likely handle more power than my 4 awg power cable.
Last edited:
Cleaned off a ugly scuff mark I had on my fender.


Just wiped the area clean and used a Mr. Clean's Magic Eraser working from the outside of the marks in. Worked awesome.
Thank to Youtube.
Just wiped the area clean and used a Mr. Clean's Magic Eraser working from the outside of the marks in. Worked awesome.
Thank to Youtube.
Last edited:
")
Whoah! That came out great! Nice work, I'll have to try a magic eraser on a scuff I have.Just wiped the area clean and used a Mr. Clean's Magic Eraser working from the outside of the marks in. Worked awesome.
Thank to Youtube.
Love the install on my ARB front air-locker diff and ARB compressor, switch location worked out very well. Thcompressor is mounted on the extra battery mount plate
I am done with my mods, love the way the truck has turned out, the signature says it all


I am done with my mods, love the way the truck has turned out, the signature says it all
Last edited:
It has to rain in San Diego eventually, and when it does, I'll be ready to cross deep water with newly extended front and rear diff breathers.
Tied the rear along the fuel filler

Ran the front up near the 2nd battery. If the water level gets that high, there will be lots of other problems to worry about.

Tied the rear along the fuel filler
Ran the front up near the 2nd battery. If the water level gets that high, there will be lots of other problems to worry about.
- Joined
- Jan 31, 2015
- Threads
- 29
- Messages
- 715
Some new tires this week

Added the PFRAN LED kit along with reverse lights and parking lights so I decided to get some 9006 LED's for the fog lights

Compared to stock

Both

Noticed the left light is fogged so ordered some new ones off EBay and will replace the housing next week...
I also stripped and did rust treatment and then added primer to the strip between the headlights and bumper. Paint started coming off from some nicks and wanted to get it right before rust set in
Compared to stock
Both
Noticed the left light is fogged so ordered some new ones off EBay and will replace the housing next week...
I also stripped and did rust treatment and then added primer to the strip between the headlights and bumper. Paint started coming off from some nicks and wanted to get it right before rust set in
Bled the AHC today with 2 cans of suspension fluid. What a freaking difference! So amazing what a smooth ride this SUV has. Also changed the fluid in the two diffs/transfer case and greased the zerk fittings.
Two days ago had the timing belt/water pump/tensioners/Rad hoses/serpentine belt etc etc replaced! Everything really refreshed this low mileage 68k LX.
Two days ago had the timing belt/water pump/tensioners/Rad hoses/serpentine belt etc etc replaced! Everything really refreshed this low mileage 68k LX.
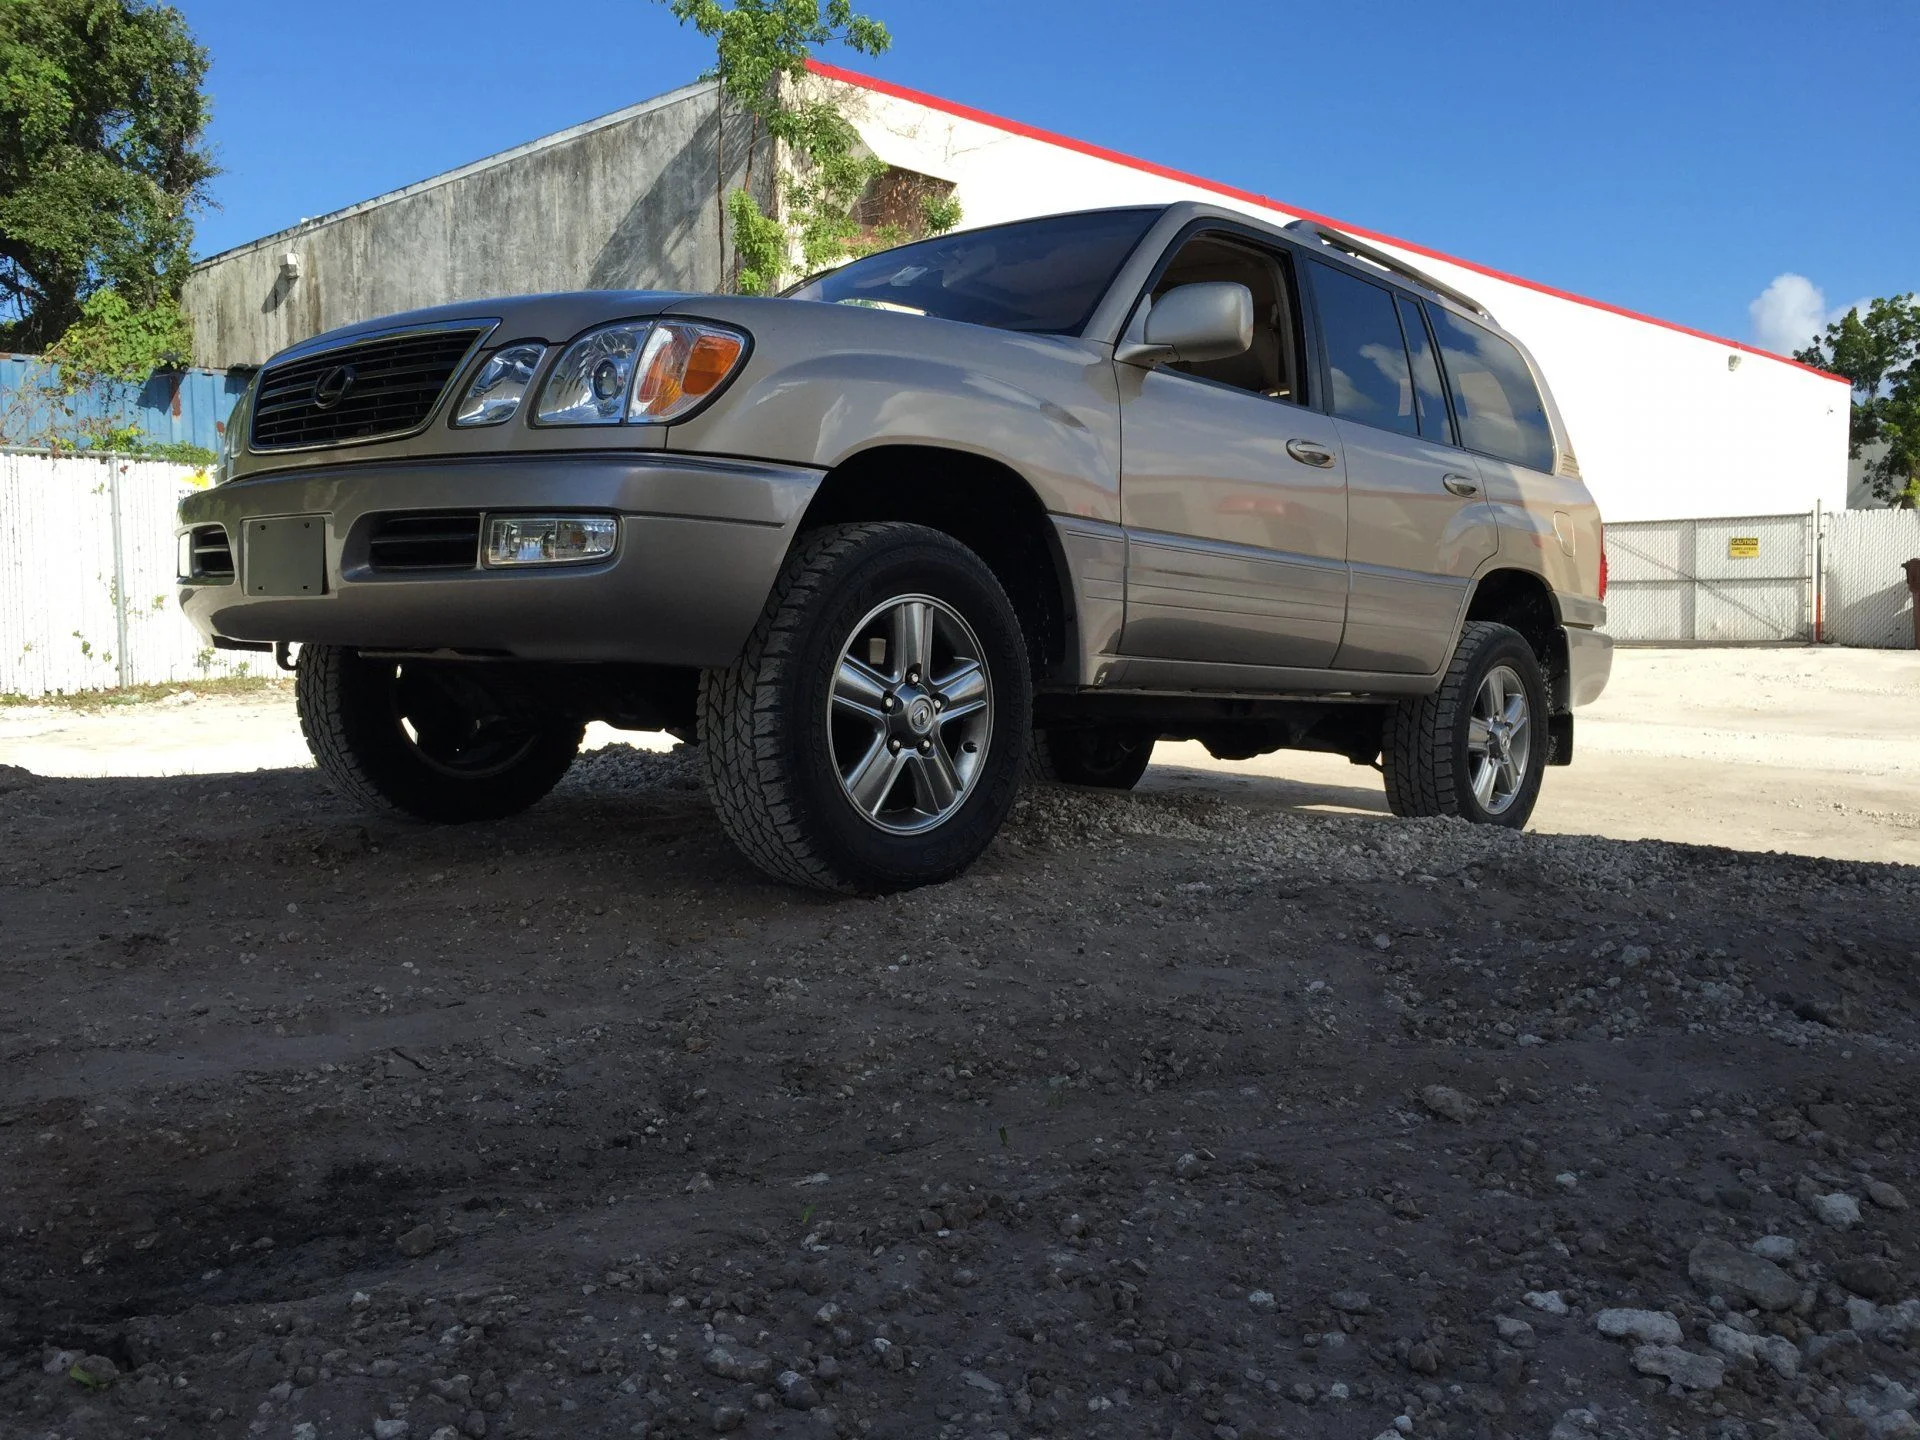
turned 100k ! and put my new RW's and 305's on....

