What are you working on? (3 Viewers)

This site may earn a commission from merchant affiliate
links, including eBay, Amazon, Skimlinks, and others.

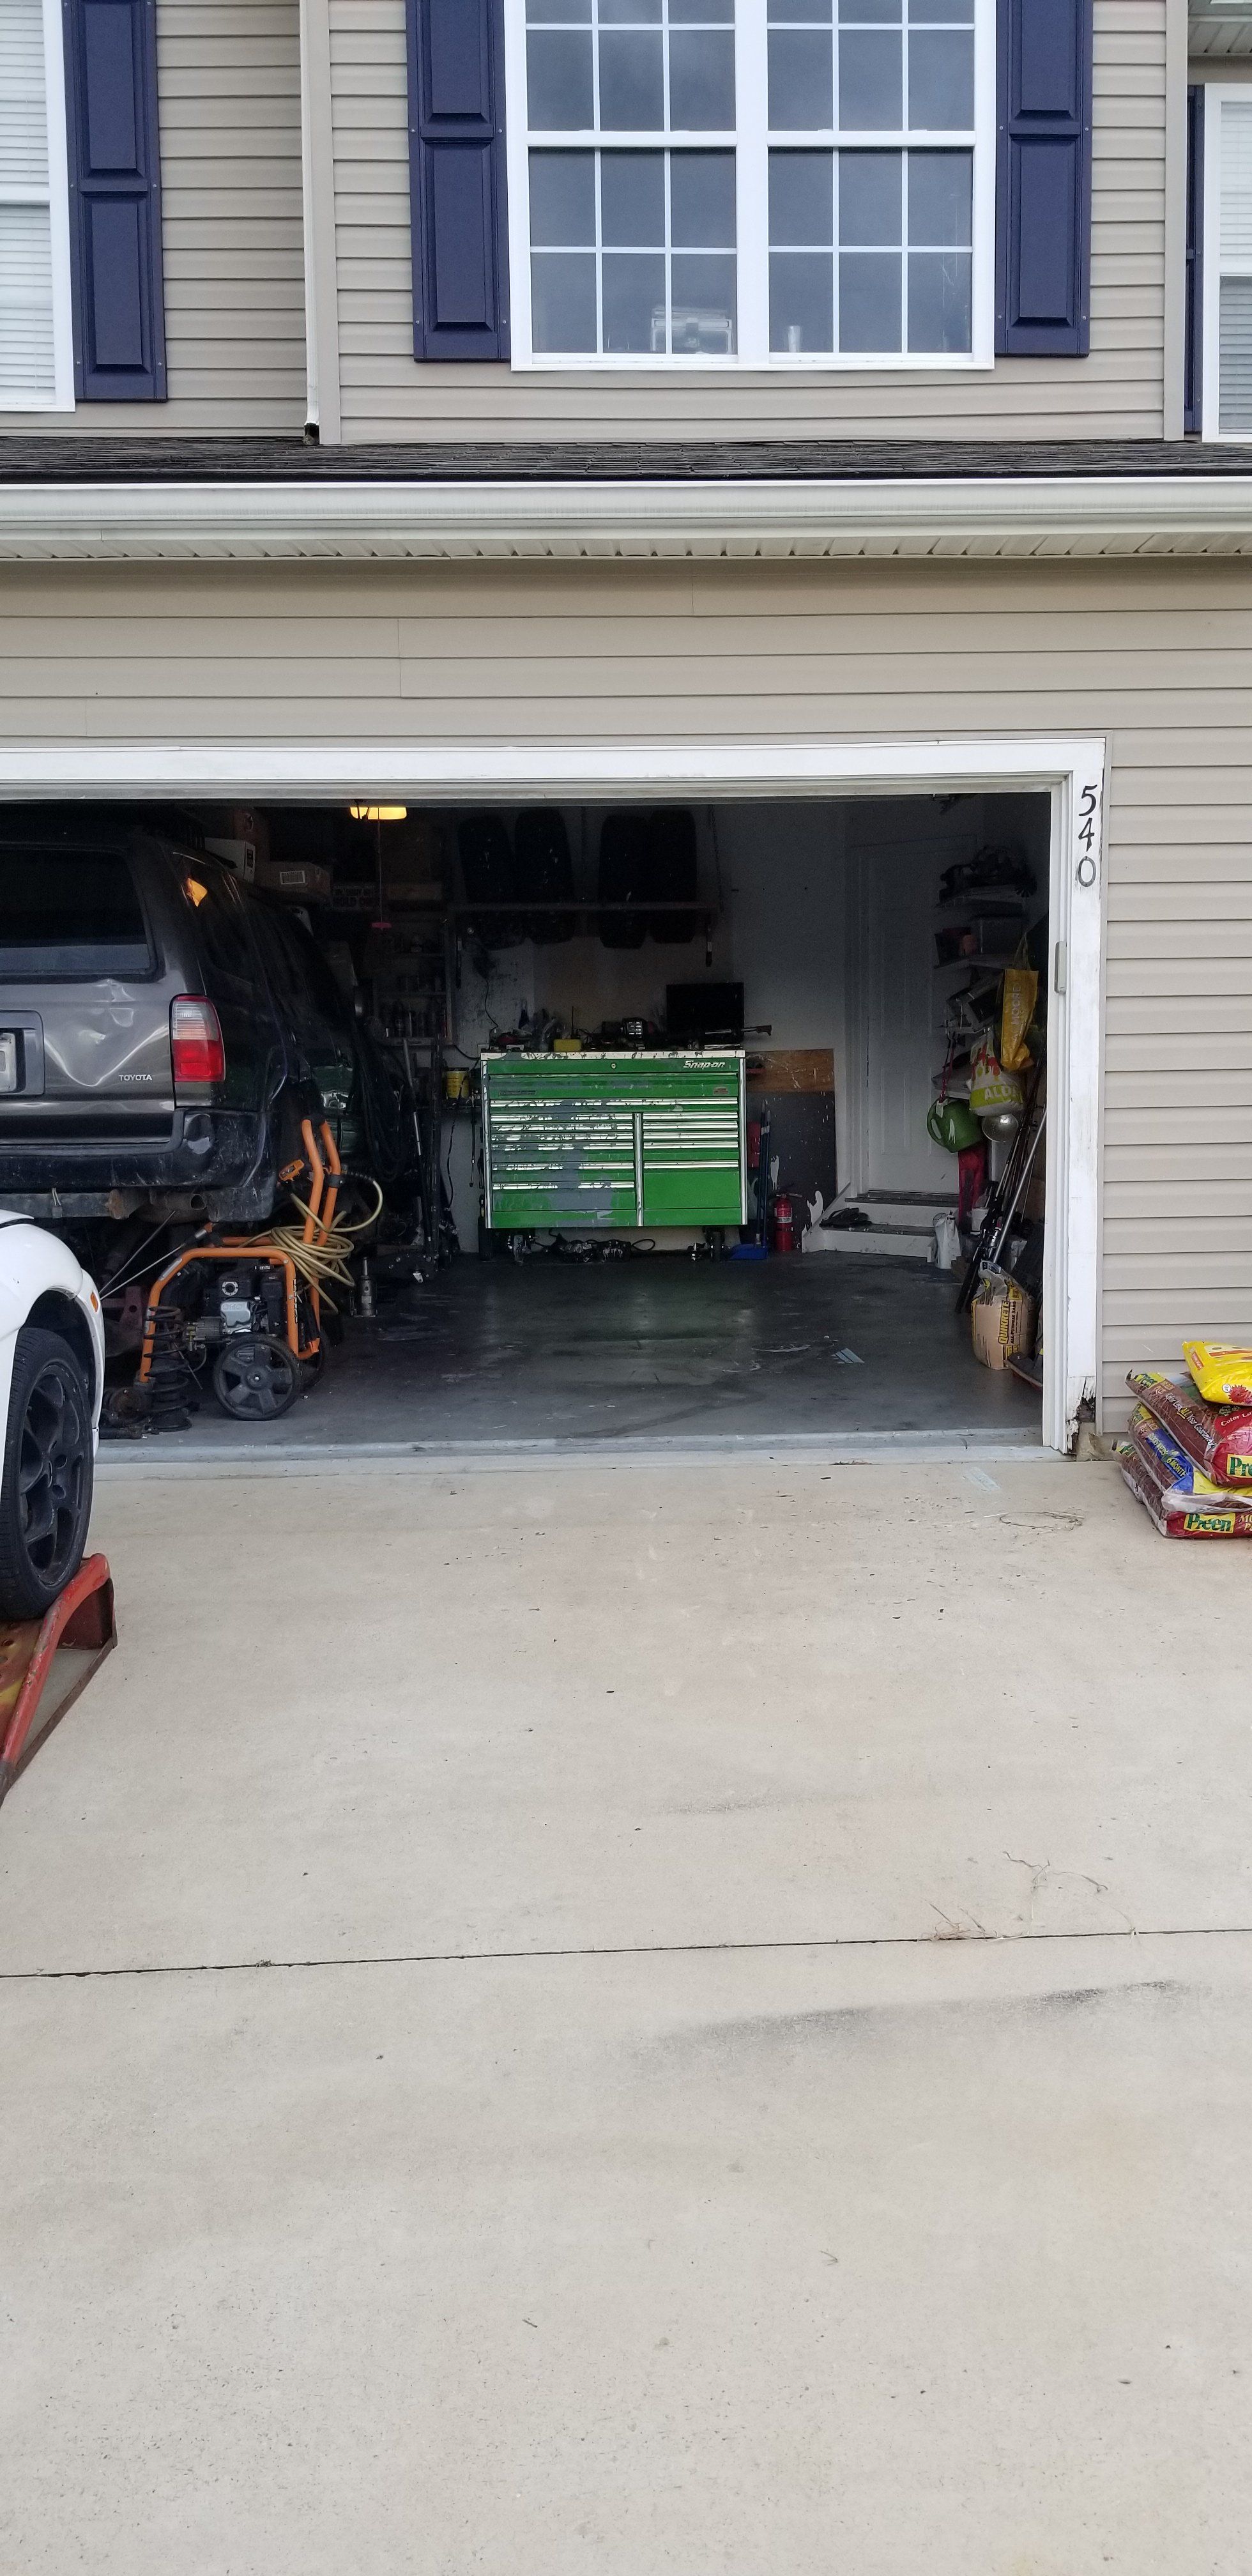
Got the new battery and the truck started right up ... off to a good start. Took the air out of the rear tires and tossed some weight in the back and it just slid into the garage ... bonus.

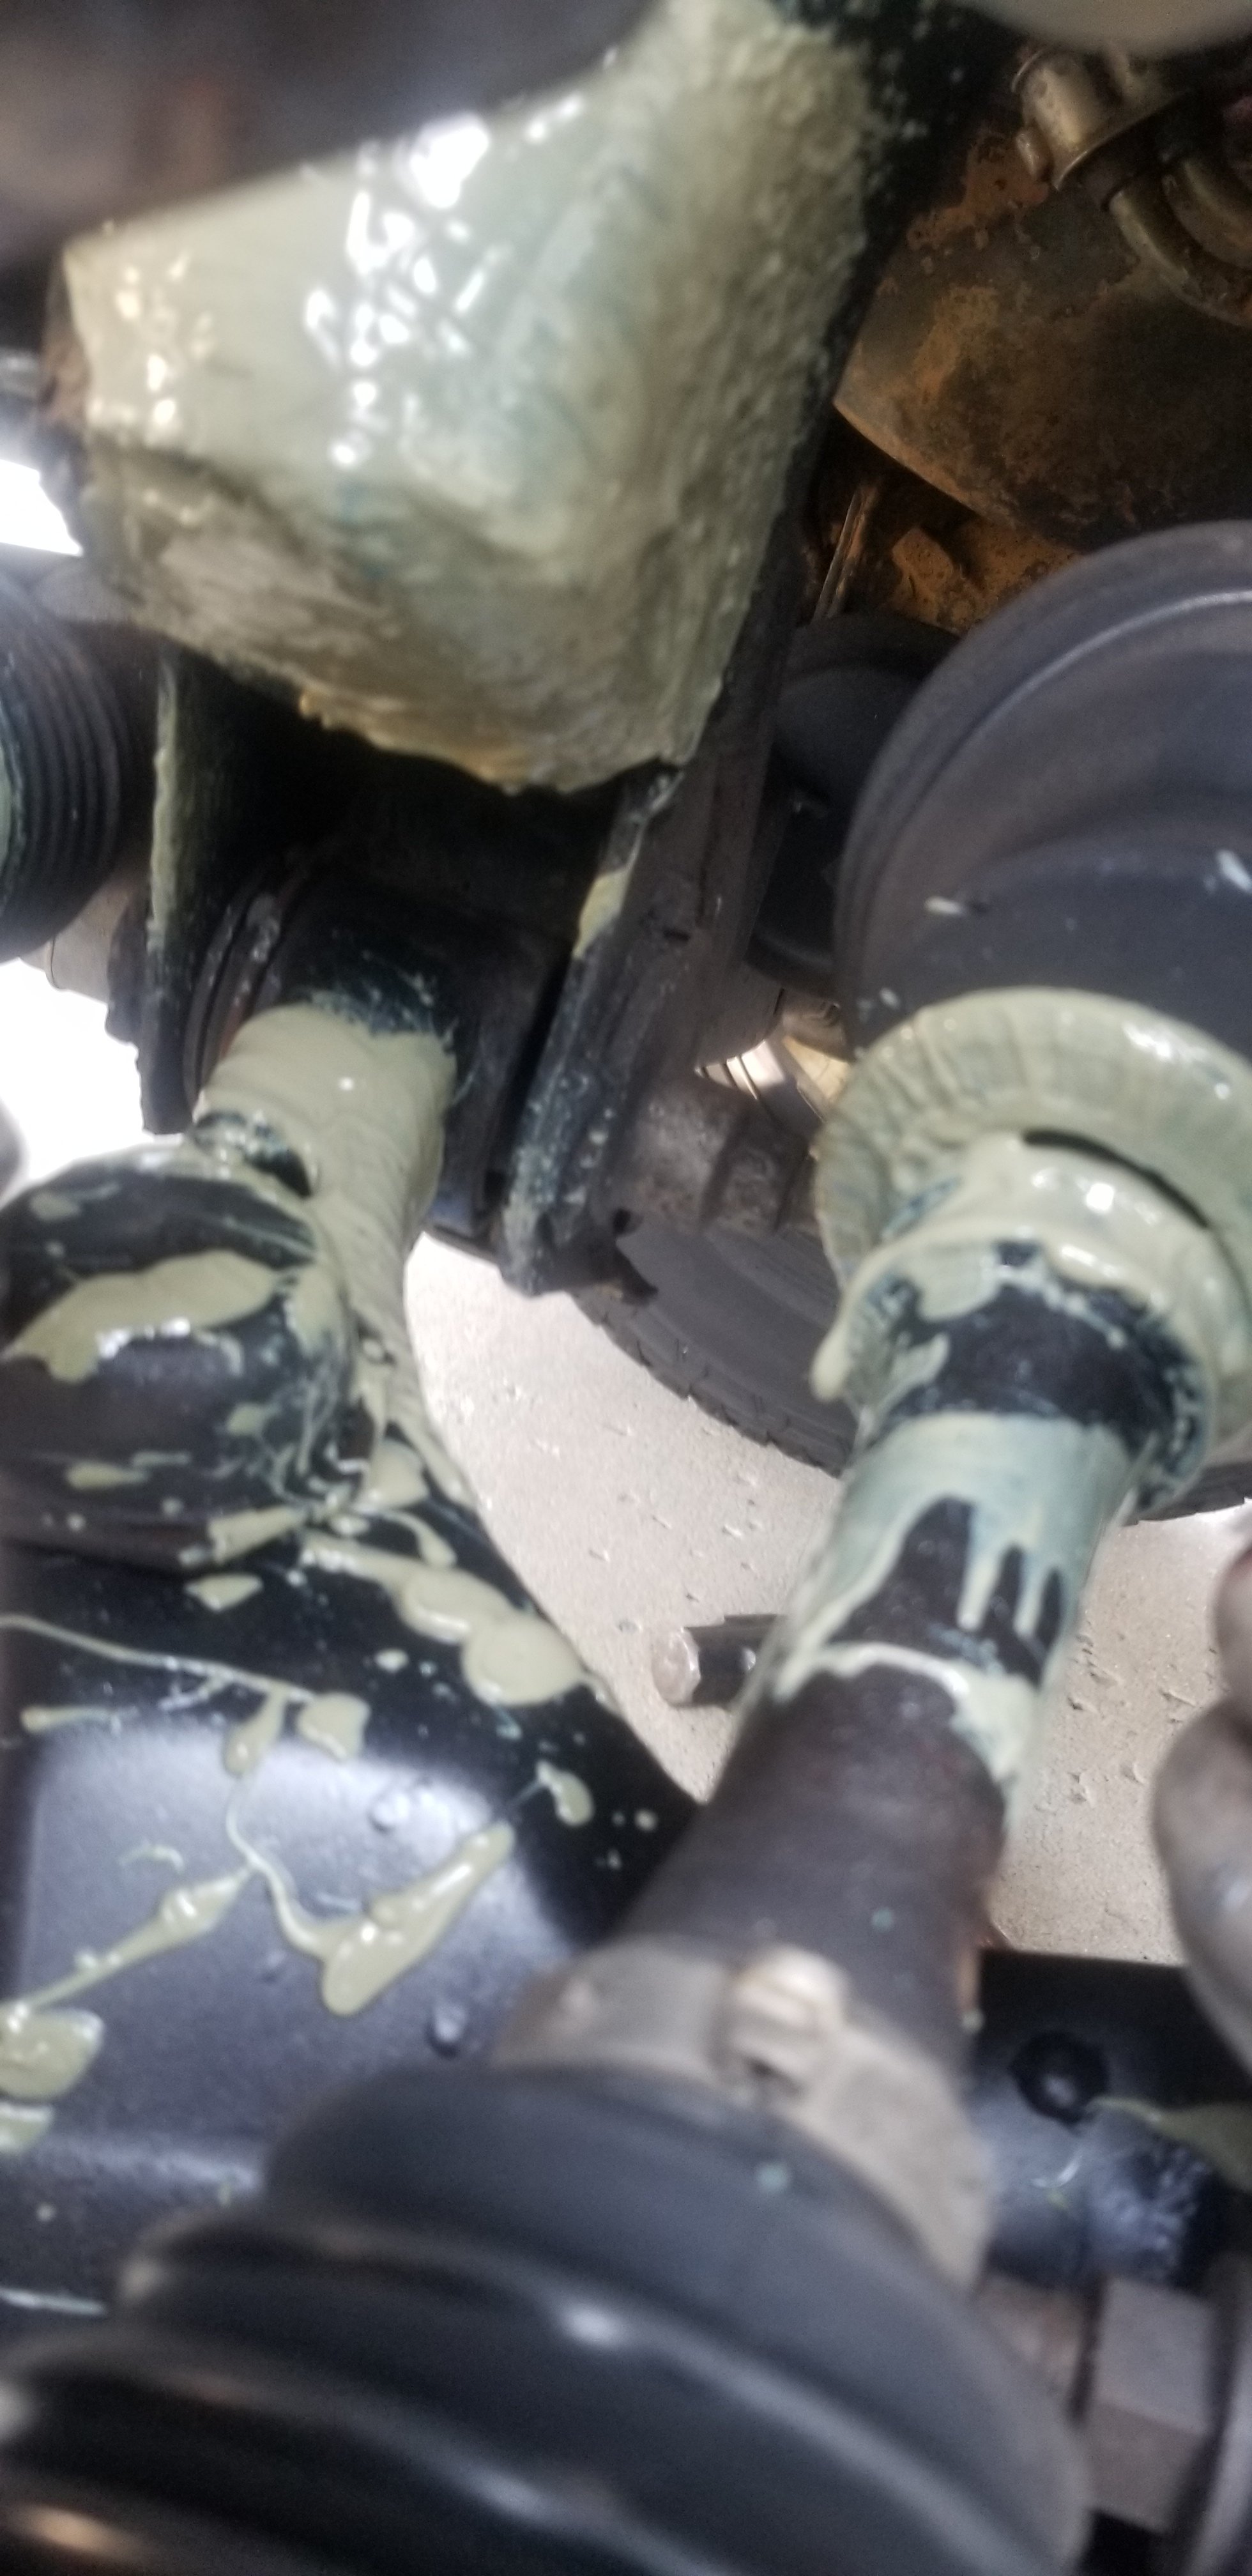
Tear down is pretty straight forward, no issues on the main parts. Checked all the pulleys and they spun freely and without wobble, so not sure what is causing the belt chirp issue. It goes away at rpm and doesn't always happen at idle either. Open to any thoughts on that ...

20190825_135014[2].jpg


20190825_135028[1].jpg


As usual something has to cause drama. The clip that plugs into the alternator broke :bang: any idea if a new clip can be purchased and re-pinned and more importantly, how do I get this clip off with the push tab broken?
20190825_134755[1].jpg
 
Found the connector and ordered from Conecelli -
90980-11349

Ebay:

Now just need to get the old one off still
 
Small right angle pick.


E48583DF-E927-418A-B81F-18A596F7859A.png
 
@Crusha ... ok, I have one of those, I will try that and see if it works. Thank you.

What am I trying to do with the pick? Push up or down or what?

I tried some of the de-pinning keys I have, no luck.
 
Found some motivation today to go get the truck clean, and clean out the garage so we can start parking in it again.


I scrapped up the floors best I could:

And got a new shelf, for the basement:

This coming week will be cleaning and painting the upper control arms to get them installed before the September 14th trip.
 
@Crusha ... ok, I have one of those, I will try that and see if it works. Thank you.

What am I trying to do with the pick? Push up or down or what?

I tried some of the de-pinning keys I have, no luck.

If you can get underneath and pry up.
 
Last edited:
Fixed the clutch spring (thanks @shmukster!)

Drove it to my father-in-laws for a family gathering.

840C5019-1E0D-466F-95BC-24D68C45BC8C.jpeg


The FJ40 is always in good company at his place. We’ve been working a little on his road runner, but weirdly that blue ford van’s radiator exploded today - and vented steam right through the dog-house and onto my father in law. Got a nice burn on his back to show for it. It ruptured the seam between the tank and cores like a tin can and, since the engine and radiator sit between the two front seats, it actually pushed the doghouse up, and gassed the whole inside of the car - luckily he’d just parked it and shut it down (said it was running a little hot on the way home). I guess the heat-soak/temp spike at shutdown was the final straw. How it could build pressure to that degree without venting the cap or the overflow tank I have no idea. Happened a couple hours before I got there.

A9BEDCE2-463D-4414-B5F6-764C50BDDB14.jpeg


Some pictures from his stable:

7053CBB8-F15F-40B0-BCA4-81FC273CF926.jpeg


64E4A1F9-DC4D-4FBE-A509-F176E422C7CC.jpeg


42D319D5-3C83-4DAA-A466-0C9EDFBB4CF8.jpeg
 
Fixed the clutch spring (thanks @shmukster!)

Drove it to my father-in-laws for a family gathering.

View attachment 2067383

The FJ40 is always in good company at his place. We’ve been working a little on his road runner, but weirdly that blue ford van’s radiator exploded today - and vented steam right through the dog-house and onto my father in law. Got a nice burn on his back to show for it. It ruptured the seam between the tank and cores like a tin can and, since the engine and radiator sit between the two front seats, it actually pushed the doghouse up, and gassed the whole inside of the car - luckily he’d just parked it and shut it down (said it was running a little hot on the way home). I guess the heat-soak/temp spike at shutdown was the final straw. How it could build pressure to that degree without venting the cap or the overflow tank I have no idea. Happened a couple hours before I got there.

View attachment 2067381

Some pictures from his stable:

View attachment 2067382

View attachment 2067384

View attachment 2067385
Umm, some details please:
Screenshot_20190826-070225.png
 
Umm, some details please:
View attachment 2067776

Wow good eye - wish I could say Ed Roth owned this car - or that it had any cool history - but I believe the plate it a repro (I'll check with my father in law). He dragged it out of a field somewhere locally a couple years ago. As you can probably tell from all his cars, he's a huge fan of the Patina/RatRod movement and all things hot-rodding. Most of his cars have vanity plates. I believe the Bel Air's is "DROPOUT" and his 36 Pickup Ratrod is "RATRACE." His stuff has a ton of Rat Fink references. I believe he's even got a Rat Fink tatoo.
 
@YotaFun ... that did the trick, alternator is out now. Waiting on parts.

In the interim I'm trying to solve a missing door stop on the pass side. The part that keeps the door from swinging wide open has always been missing from the PO. I got it all apart today, but I don't see a simple pin or piece that keeps the rod in the door. Anyone know what part(s) I'm missing here. Trying to not have to disassemble the driver's side to compare.

20190826_143834[1].jpg


20190826_143839[1].jpg
 
Almost forgot to mention that I touched the front valve cover bolt and it moved. Went around and checked the others and almost all were less than finger tight. WTF is that about? They are super low tq. Oddly, the valve cover wasn't leaking other than in just one spot.
 
That's a nice nest. Send it to this guy.

For the record, I absolutely love when someone has an intense passion for something, the odder the better.

His last sentence is "Nature is my therapy", which I think a lot of us could probably relate to.

 
Been working on some things on the truck for the up coming trip, had a blown cv boot, took a couple of spares I had and rebooted them and replaced the one blow axle:

Also working on getting my upper control arms installed but they needed a little work, little flakey, little rusty, so I cleaned them up and painted them:

Then I have had some extended rear bump stop lying around so I finally installed them, should help with clearing the 35s and keep the drive shaft out of the gas tank:

Lastly, @Pacer Inspired me, so I picked this up from harbor freight to at least test fit, still need tongs a winch to fit on but i wanted to make sure the base plate would fit:
 
Not so much for the off-roading side of things but more for the amount of camping we’ve been doing. Rokmen was running an introductory special on these Rok-Rax which are pretty versatile. They can be used for an awning mount, block mount or tie-down/ strapping points as well. Another feature is an ax and shovel mount combo. I’ve been burying that stuff in the back on the vehicle every time we head out and it’s always a pain digging them out as they are the first tools needed. I put them on the bottom as I didn’t want them flying around and had no way to true way to secure them so this fits the bill and easy access!
126E392B-BB30-43AC-B5CF-F0F8204B986C.jpeg
FB8333BE-BA30-42C1-8B4A-5628CFF7F6FB.jpeg
3593354B-918F-4D7E-9DA5-D0C5507772D6.jpeg
 
Been working on some things on the truck for the up coming trip, had a blown cv boot, took a couple of spares I had and rebooted them and replaced the one blow axle:

Also working on getting my upper control arms installed but they needed a little work, little flakey, little rusty, so I cleaned them up and painted them:

Then I have had some extended rear bump stop lying around so I finally installed them, should help with clearing the 35s and keep the drive shaft out of the gas tank:

Lastly, @Pacer Inspired me, so I picked this up from harbor freight to at least test fit, still need tongs a winch to fit on but i wanted to make sure the base plate would fit:

OEM Toyota bubblegum pink!
 
Had grandiose plans to cut and JB weld the radiator brackets to lower it 1" back to the stock height. I then remembered I have no fab skills and did the same method I have seen others do, drill lower holes in the brackets and drop it down.

20190828_110446[1].jpg


Still deciding how I'm going to tackle the mounts in the front, but I drilled lower holes in the mounting piece just in case since I had the tools out.

20190828_110434[1].jpg


20190828_110439[1].jpg
 
Had grandiose plans to cut and JB weld the radiator brackets to lower it 1" back to the stock height. I then remembered I have no fab skills and did the same method I have seen others do, drill lower holes in the brackets and drop it down.

View attachment 2069881

Still deciding how I'm going to tackle the mounts in the front, but I drilled lower holes in the mounting piece just in case since I had the tools out.

View attachment 2069883

View attachment 2069884
So it was that easy?
 

Users who are viewing this thread

Back
Top Bottom