Builds Warhorse-LS3 C&C & more (1 Viewer)

This site may earn a commission from merchant affiliate
links, including eBay, Amazon, Skimlinks, and others.

Incredible as always Stan! Probably the most "Barrett Jackson" worthy work I have every seen..

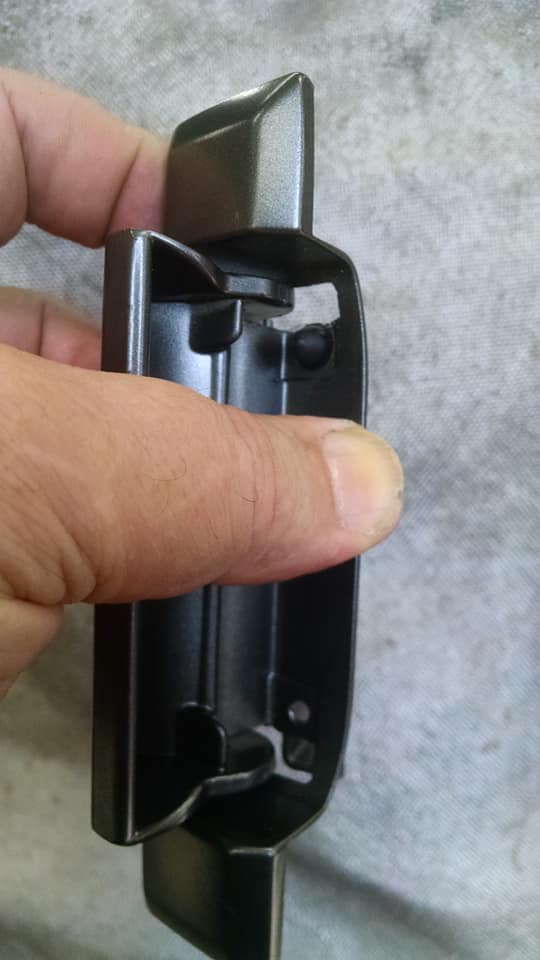
Quick question on the blasting of the headlight bezels/doors? What media did you use to get the chrome plating off without damaging the plastic below? This is something I have been contemplating doing as I am at the point where I have to "touch up" my stuff on almost a yearly basis.
 
You are too kind.

I use glass, gets a good finish on most everything. This grill and both surrounds had the bubbling up that is often seen. Once past the areas that are bubbled getting that stuff off is tough. My worry was that if I only blasted the bad areas and feathered it all in, would it stick. Murphy's law being what it is, I chose to take it down to bare plastic.

Be patient, it takes a while.
 
Grill and headlight surrounds are black and gunmetal. Center part of the door handles will be black.

59328058_2433257746705102_3390657194478272512_n.jpg

59463175_2433257833371760_1525041143329325056_n.jpg

58756895_2433257886705088_2494975596354863104_n.jpg

59565820_2433257930038417_3800427538719703040_n.jpg

58591303_2430019577028919_9170245932808142848_n.jpg

57471843_2430019497028927_6159369567916261376_n.jpg

59526493_2430019623695581_4106750915577380864_n.jpg

58608389_2430019660362244_392760362488823808_n.jpg

Love the work you did to the grill and headlight buckets! They look incredible and you still have OEM parts. I put aftermarket replacements on mine and I’m somewhat disappointed at the quality of both fit and finish.

I’d like to ask about your process in case I do this in the future. Did you use a plastic primer/adhesion promoter after blasting? The gunmetal color went down first then was masked off before the black went down?

Thanks!

-Ed
 
I used an automotive primer for plastic parts. The black went down first, masked off the bars and then sprayed the whole thing gunmetal. If you look hard you can see that the back side of the horz bars and the vert sections all have a light texture. Did that with the gun then sprayed a wet coat. The desired effect was to dull everything out as you get deeper into the grill to add an illusion of more depth.

What you see in yellow with a little more blue fine line tape on the edges is all there is of the black on the grill
59526493_2430019623695581_4106750915577380864_n.jpg

Thanks for the info. Turned out amazing, incredible attention to detail. You’ve got a few hours into this truck. I wonder if you’ll be doing the fender vents in the same manner...

-Ed
 
ARB bumper mounted. Frame side mounts required some re working, seems they don't make a 60 bumper that fits an 80 frame. :)

60038411_2441582579205952_1108138056705114112_o.jpg
 
Yeah, I know, I'm weird but it's the little details that get my blood going. If you have a 60/62 your door handles probably do not sit flush an make a metal to metal clank.

That's because they are missing rubber bumpers. Rubber bumper above my thumb and hole it fits below my thumb. Doorman #45393 Two packs required to do 4 handles.

59744461_2444360342261509_930448009764798464_n.jpg

59911788_2444360448928165_3455970908177432576_n.jpg

59720018_2444360508928159_2655314671204040704_n.jpg
 
I tackled the AC & heater box . 32 years of yuk removed and I evicted the mice in the heater box. Replaced the evaporator, switches and thermister. All weather strip will be replaced as well. The heater core is in fine shape.

60184100_2451618001535743_5487362165692170240_n.jpg

60281704_2451618048202405_2991811915598004224_n.jpg

60192568_2451618091535734_141243525697110016_n.jpg

60626353_2451618128202397_7382027580334931968_n.jpg

60349242_2451618164869060_2131052456040202240_n.jpg

60273853_2451618198202390_1757703962749829120_n.jpg

60346796_2451618224869054_389923313251516416_n.jpg
 
Right there with you Jason, everything was washed down well. Aside from the mouse house the layer of dust and crud was pretty thick as well. Now everything is all clean and fresh with all new gasket material as well.
 
I've been working on the tailgate and hatch prepping them out for install. Both have Dynomat installed. Wiper motor mounting plate needed s little welding. The hatch is from Wagon Gear, nice unit. Onur sent me the license place light assembly, 24V unit with 12V bulbs. All hardware will be painted to match once final adjustments are made on the gate and hatch.

60983963_2469926163038260_6736594811513470976_n.jpg

61118993_2469926243038252_5048087096934268928_n.jpg

60825253_2469926346371575_2078614221070794752_n.jpg

61103657_2469926399704903_4651252614367805440_n.jpg
 
Thanks to @red66toy walking me through it, rear quarter sliding windows are going in. The owner of the truck found this set in Australia. Blasting revealed some old repair work that needed a little massaging. Primer, sand, primer and paint and they are ready for new weather stripping and glass (old) installed. More painted parts, who'd have guessed.

61051153_2469931163037760_1152310940645982208_n.jpg

60883477_2469931239704419_4955237669295620096_n.jpg

60805404_2469931299704413_572751365143527424_n.jpg
 
Thanks to @red66toy walking me through it, rear quarter sliding windows are going in. The owner of the truck found this set in Australia. Blasting revealed some old repair work that needed a little massaging. Primer, sand, primer and paint and they are ready for new weather stripping and glass (old) installed. More painted parts, who'd have guessed.

Nice Chase (@red66toy) need to finally update that window thread.
 
Amazing work, looks fantastic!

Couple questions if you don’t mind:
The Ron Davis radiator, did they build that custom or how would I go about getting same setup for my swap?
What kind of motor mounts did you use?
Thanks!
 
Ron Davis already makes a direct replacement for the 60 series. Just tell them what size hoses you are using top and bottom, what side you want the top hose to be located and to add a steam port.

I use Chevy motor mounts with custom brackets.
 
Thanks much guys :)

Thanks for the laugh Cameron, I do before I work on anything, sometimes during working on something. Saves time in the end on final clean up. My wife has acronyms for my behavior.
 

Users who are viewing this thread

Back
Top Bottom