Builds Olive the 71 FJ40 build

This site may earn a commission from merchant affiliate
links, including eBay, Amazon, Skimlinks, and others.

Cleaned up the tool box lid, body hinges,
sprayed with Epotec.
Rollbar will be sprayed in black raptor
Can anyone tell me if the tool box lid is body colour? Mine was painted black but was green underneath, it seems they were body colour from factory from looking at pictures on Ih8mud.

IMG_2008.jpg
IMG_2010.jpg
IMG_2012.jpg
 
Last edited:
Attacked the rear sill and quarters, glad i did. Found the sill underneath was saveable so sandblasted and welded any holes. Had a new outer sill bent up at the local sheet metal shop for $45. Made up some patch pieces for the quarters and tried my best not to heat warp the sheet metal. Happy with how it turned out.
Need to sandblast in behind the rear sill and paint. Looking at filling the gaps underneath the guards with some seam sealer before it gets raptor. Not 100% sure if this is overkill or going to cause rust down the road. Any recommendations?

IMG_2241.webp

IMG_2242.webp
IMG_2243.webp


IMG_2245.webp


IMG_2246.webp
 
All welds ground down and rear sill installed. Last picture shows the gap under the guard which I'm still deciding whether or not to seam seal.
Looking at using this for my seam sealing
Sikaflex® 252
Sikaflex-252 is a non-sag 1-c polyurethane adhesive of stiff, paste-like consistency that cures on exposure to atmospheric humidity to form a durable elastomer.

USE
Sikaflex-252 is suitable for structural joints that will be subjected to dynamic stresses.

Suitable substrate materials are timber, metals, particularly aluminium (incl. anodized components), sheet steel (incl. phosphated, chromated and zinc-plated components), metal primers and paint coatings (2-c systems), ceramic materials and plastics.
CHARACTERISTICS AND ADVANTAGES
  • 1-C formulation
  • Elastic
  • Can be overpainted
  • Good gap-filling properties
  • Capable of withstanding high dynamic stresses
  • Vibration
  • Damping
  • Non-corrosive
  • Electrically non-conductive
  • Bonds well to a wide variety of substrates
IMG_2247.webp

IMG_2249.webp

IMG_2256.webp

IMG_2258.webp

IMG_2265.webp
 
Here are some pictures from the last two weeks of work. Panels and body all sanded and prep for Raptor Liner.
Was recommended to go a few shades of green darker as the tintable raptor makes the colour lighter.
Think i should have stuck with the colour i wanted and not going darker as you can see a difference with the original colour on the dash.
Still happy with the way it turned out. Used the vari-raptor gun.


IMG_2451.webp
IMG_2456.webp
IMG_2455.webp
IMG_2453.webp
 
Rear doors and tool box lid.
One rear door i went bait too heavy on the lower section trying to cover a repair.
A little bit of filler should sort that out before painting, Live and learn i guess as raptor won't hide all the sins.

IMG_2444.webp
IMG_2460.webp
IMG_2461.webp
 
Wanted to assemble the gearbox cover but couldn't find a new gasket so decided to make one from some rubber.
Made a template from cardboard then transferred to rubber. Cut out the rubber and attached it with 3M Weather strip adhesive.
Seems to do the job.
IMG_2468.webp

IMG_2550.webp

IMG_2551.webp
 
Moved onto the fibreglass half doors as i got sick of panel beating the steel doors that needed too much work.
I left the paint stripper on one of the fibreglass doors a bit too long and it ate into the gel coat. No big deal just use some poly filler to build them back up, nothing like some extra work.:censor:
The PO had drilled straight through the door inner panel to mount the hinges so also patched that up and fibreglassed some captured stainless nuts in.
IMG_2567.webp

IMG_2568.webp
IMG_2602.webp

IMG_2579.webp

IMG_2569.webp
 
Then moved onto the windscreen surround which had some extra holes drilled for the bikini top.
Found both hinges folded down but had broken bolts. Early hinges don't have the bushes like the later ones i found out.
Good times drilling these little bastards.:rolleyes:
Then drilled them to suit some brass bushes i had
IMG_3043.jpeg

IMG_3045.jpeg
IMG_2584.jpeg

IMG_2588.jpeg
 
Hey mate loving your work. The panel work is coming up great. Where abouts in Aus you from??
 
Thanks mate, happy with the way the panel work is turning out, it is time consuming but enjoyable. Certainly have an appreciation for old school panel beaters.
I live on the Sunshine Coast, Queensland.
 
Here are the extra holes drilled in the top of the windscreen frame where the soft top channel was fitted.
Cleaned and welded the holes up and used the original threaded holes to mount the channel
IMG_3067.jpeg

IMG_3068.jpeg


Can anyone tell me if this hole is factory for the upper door sections or is it the two captured nuts where the eyelet is fitted?

IMG_3069.jpeg

Here is the cut down channel which was too long, now with an overlap in the centre and using captured nuts. Looks much better than screws;)

IMG_3054.jpeg
 
Last edited:
Started to strip the tub, repair the rust pitting and holes under the windscreen rubber.
Wasn't going to go back to bear metal but after finding body filler l'm glad i did.
Last picture shows the body filler thickness.
IMG_3072.webp
IMG_3071.webp

IMG_3079.webp

IMG_3059.webp
 
Picture after some body massaging of the cowl panel which was filled with body filler.
Cleaned up the side section of filler and thought that sometime in its history possibly had an accident and repair.
Was glad to see no more rust in the panels:)
IMG_3081.webp
 
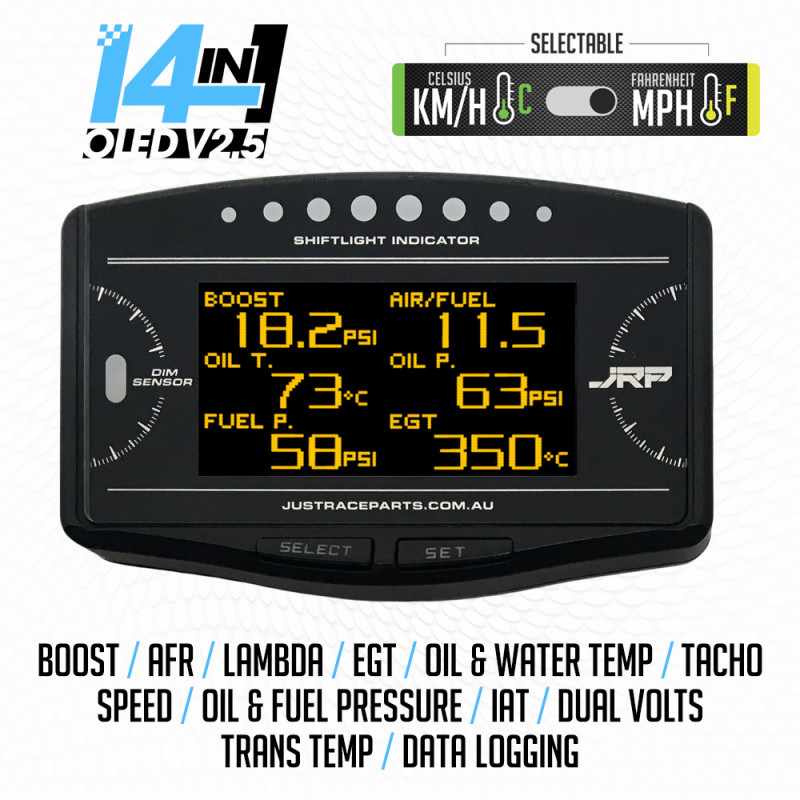
During all that work i found sometime during the last few months to fit up my Just Race Parts multi gauge in my 80 series and wire in the sensors.
Very happy with how it turned out, might change the position of the gauge to the dash as its blocks the high beam indicator light.
Have now added the fuel pressure sensor to the fuel rail. Was waiting on an adapter to come in.
This has alarms set points which can be set and different displays.
Hoping to add a turbo to the 1FZ once the Shorty is finished.
Considering adding one to the Shorty, maybe.
VTMW5994.jpeg
NKTH4874.jpeg
 
Last edited:

Users who are viewing this thread

Back
Top Bottom