Tough times for Ochenta. Things were going smoothly as I slid down the slippery slope of diesel tuning, chasing that dragon-like concoction of more fuel and boost. Rebuilt injectors and injection pump? Check. Air to air intercooler? Check. GTurbo? Check. Dreams of making a fortune street racing? Check.
Then things went south with the transmission in a sudden and expensive way on day one of a planned week long trip around the American southwest, and the truck has been down for a month.
Short version of an ongoing story: Transmission temperature spiked and it dumped a lot of ATF outside Baker, CA. After a very long and expensive tow, had the truck "fixed" at a Toyota dealer in Henderson, NV near Las Vegas. Then a week later entering the highway (again far from home), the truck shuddered violently then wouldn't move...leaving me on the side of the road and in need of another LONG tow. The truck is sitting now at a local transmission shop, in for a full rebuild.
As an aside, if there is a silver lining to this, it is that I have a renewed appreciation for the closeness of those in the Land Cruiser community. Within minutes of reaching out for help (late at night days before Thanksgiving), I had calls back from both Kurt (
@cruiseroutfit ) and Onur (
@Onur ) and have received continued support, references, tips, part numbers, ideas, etc. Incredible and very much appreciated.
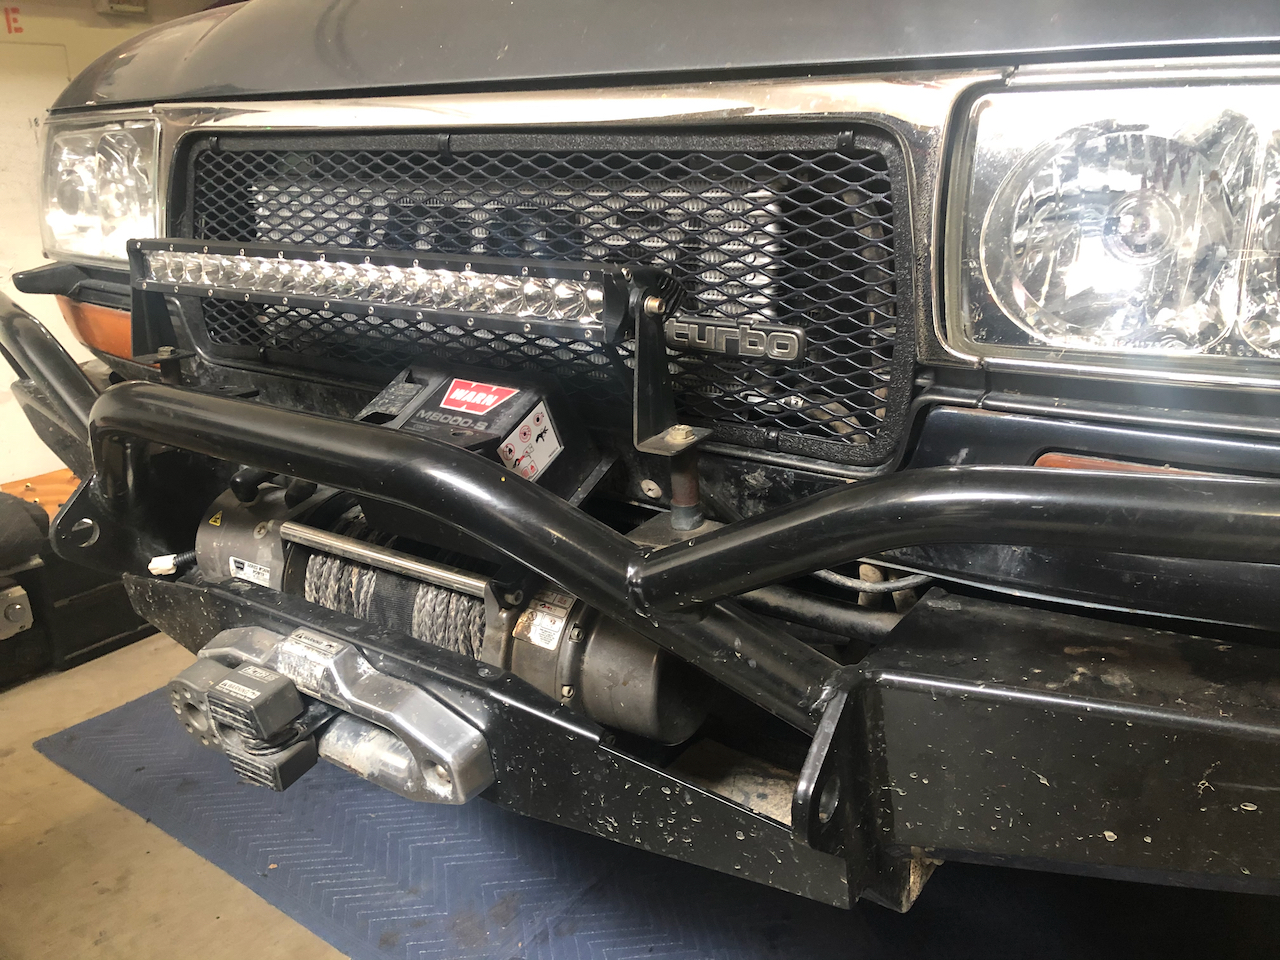
Trying to be a responsible tuner, I ordered an AFR reader and had a oxygen sensor bung welded in. AFRs revealed an opportunity to add more fuel/boost. While waiting for a new aneroid pin from
@torfab , it was time to hit the trails.
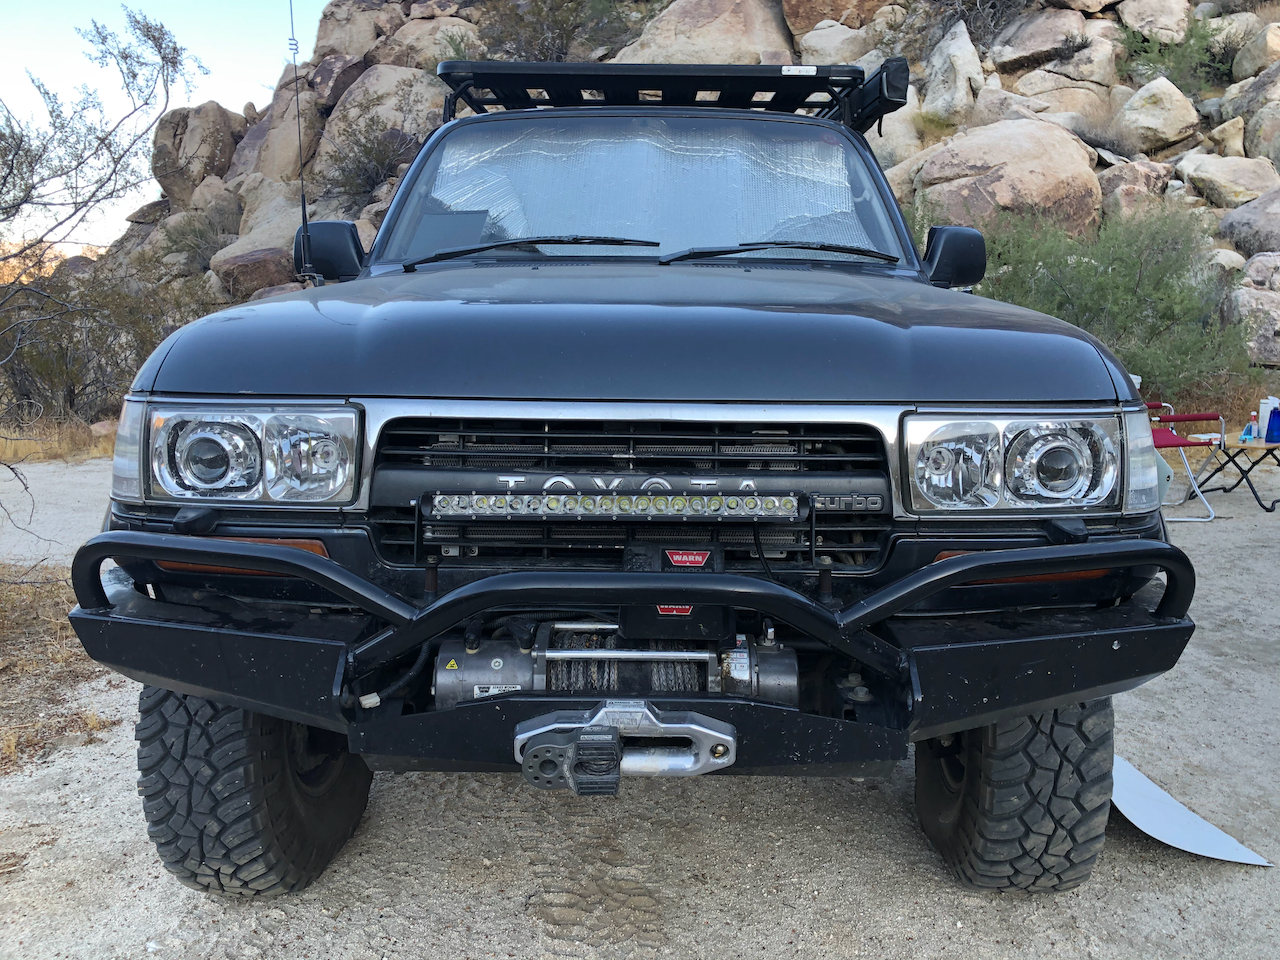
Took the truck out to the desert with my son and his friends (who drove
Lefty, my FJ60) and enjoyed the increase in power from the GTurbo and the lower EGTs from the PDI intercooler. So far so good.
Then, I headed out on a planned week long road trip. As one does with these rigs, I was staring at my transmission temperature gauge on the way up every grade, including the one out of Baker, CA heading toward Las Vegas. Suddenly the temperature spiked and I pulled off the highway immediately. Trans fluid (when the engine was running) poured out of the bell housing. Not good.
Conveniently the scene of the crime was the one exit in the area with a decent place to camp and cell phone signal...so messages went off to Kurt and Onur.
Shortly thereafter, Onur and I were on the phone talking possible root causes and fixes. His prediction: this seal on the front oil pump.
After hanging up with Onur, Kurt texted and said he'd stop by. What? He and his crew were on the way back from racing in the Baja 1000 (and winning, by the way) and sure enough 30 minutes later the showed up at camp, rolled around under the truck, agreed with Onur's assessment on the seal and Kurt made a few phone calls to figure out shop options. What more could one ask for from an online community?
Next day, finally arriving into Las Vegas...just not how originally planned.
The recommended dealer in Las Vegas pulled the transmission and ultimately found that not only was the front oil pump seal bad, but the bushing it goes into was toast. Not good.
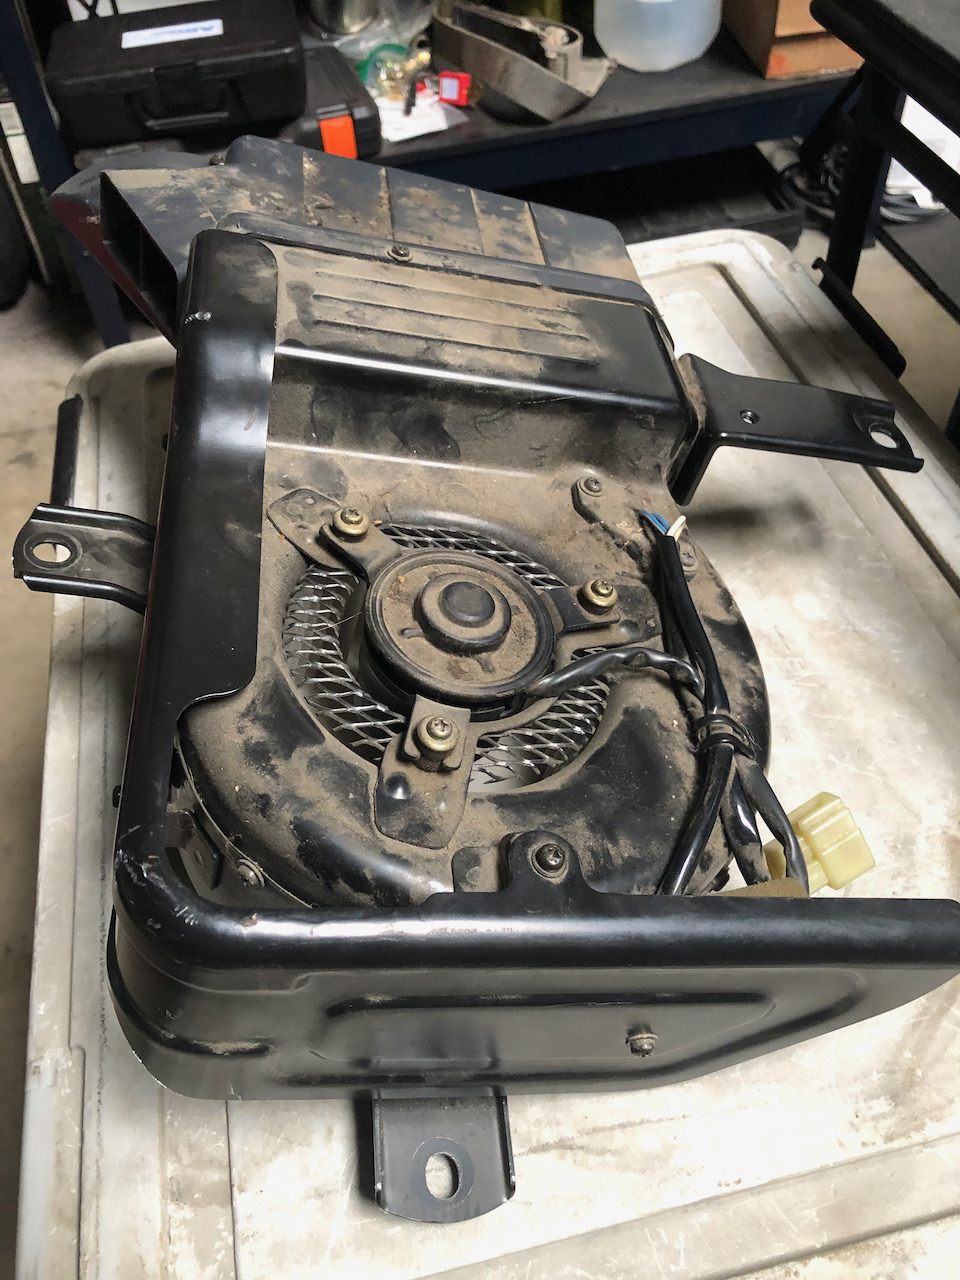
The culprit
Had to leave the 80 in Henderson while waiting for parts from Dubai (the dealer couldn't/wouldn't help with parts)...PM if you want more information on this part of the saga.
Meanwhile, I took this rented off road vehicle through 5 or 6 western states.
Several days and quite a bit of money later, and I was back in Ochenta, happily camping in Afton Canyon on the way back to San Diego.
Days later after the aforementioned shuddering, I was stranded again far from home (this time along Interstate 8 on the way to Anza Borrego), Ochenta got another long ride home.
Assuming all goes to plan, I should have the truck back this week which will hopefully help me forget the giant hole(s) left in my bank account. Spending large amounts on turbos and intercoolers is one thing, but shelling out thousands for transmission repair doesn't have the same appeal. Doing it twice is even less appealing.
Tune in next week...


 ..
..