No "build" updates but I did get an unwitting fix. Since I installed my castor correction, I've been getting a metallic sound in my driveshaft... with a hint of vibration. I took the cruiser to the cabin last weekend to winterize. On the way home, I had the canoe on the roof and I hit a sharp rise over a section of road. It took me by surprise and I really cycled the suspension. After that, almost 100% of the sound and vibration is now gone! My theory is that grease didn't get onto the splines of the driveshaft when I greased them through the zerk. Cycling the suspension forced that grease on to the splines and that took care of my noise. (Do you guys think that's possible?) At any rate, I've put about 200 miles on it in the last couple of days and still have no noise.
Pictures: (because all posts are better with pictures)
Cabin:
Loaded up:
After that, my buddy (who is a farmer) invited me to bring my son out to one of his corn fields to ride on his tractors. We had a great time and even decided to take the cruiser down one of his steep hills to explore the bottom of one of his fields:

Half way down, a duck hunter jumped up off the side of the field. Rather than ruin his day, we decided to turn around. Well... that was easier said than done. We turned around on the steepest part of the hill and, because it was a corn field, there were no rocks mixed in with the mud. This was my first time in legit east coast mud and it was a little unnerving. I hit both lockers and tried to get going. Turning and forward motion was mostly a suggestion on my part. The Cruiser started up the hill at about a 45 degree angle. I hammered down on the throttle to clear the tires and the Duratracs found some grip. We accelerated to the top of the hill and my son had a great time... even though my heart was pounding. (my buddy had told me about getting his tractor stuck down there and ended up needing to call a professional recovery service)
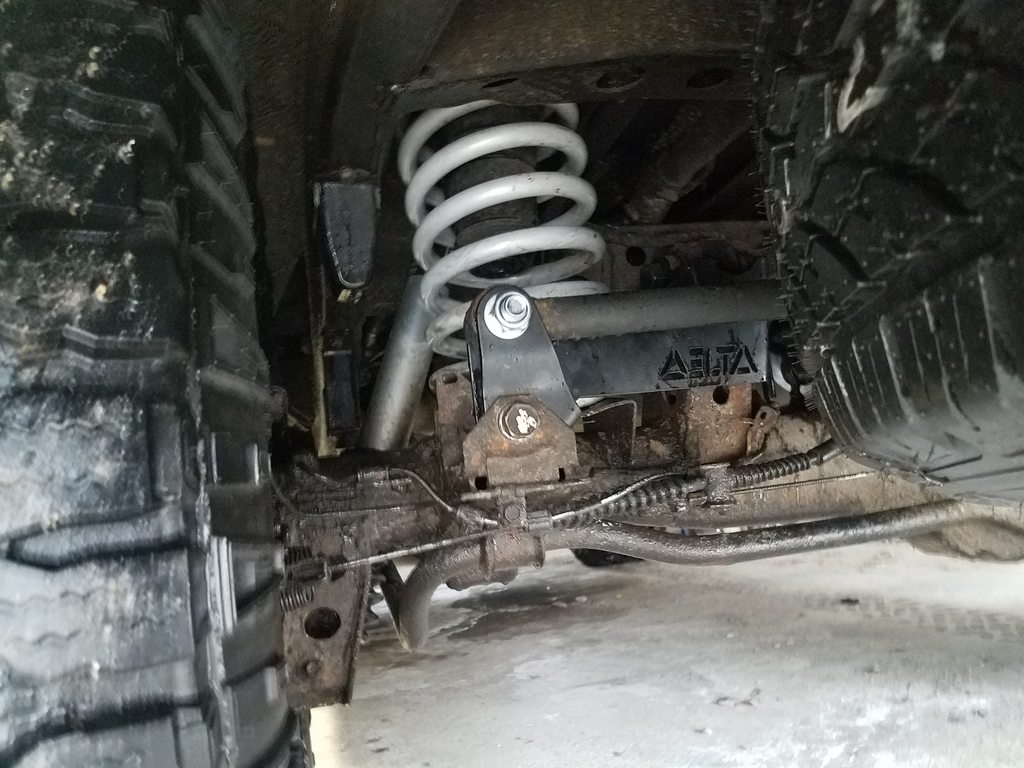
The cruiser doesn't look to dirty in this picture but I'm here to tell you it really was:
Long story short, I'm still enjoying my Cruiser.


 Mechanic I have never used one of these in 40 years of Wrenching. I Usually do just like you Did except I go tell there just a little deflection instead of a full belt width. Pretty dam hard to over tighten the belts. JMHO