Also finished the dual battery setup using the Blue Seas ACR and switch. Wanted to build my own washer bottle relo bracket and I think it worked out well.
OK, paint is looking tired so I have been working on a paint prep... Haven't decided if I'm going to paint it myself or prep and let someone else do it. Someone repainted the DS which now appears to be due to 1) a dent near the rear taillight and 2) an apparent break in where someone stuck a screwdriver / prybar under the driver's door handle and used the opening to unlock the doors (doh).
I have now removed the roof rack, flares, running boards, etc. Haven't decided on a flare delete yet... Here are some pics of the progress:
Also built, painted and mounted the 4x4 Labs bumper...
I ordered the model made for flares and then de-flared the truck... Had to make pieces to fill in the gap and extend the tube:
Hot rod black (flat / satin)... It's epoxy primed and the hot rod back is 2K so I'm hoping to get good service out of it! Still trying to decide if I like the flat black trim with gloss black body - need to get the sliders painted and front bumper back on to know for sure. Also thinking about some dark grey wrap in the indentions on the doors / quarters and on the hood to give it some accents.
Also needed some space for a fuse holder so welded up some tabs on the washer bottle bracket I had previously bent / welded up and bent up a bracket (not pictured) to hold the front side - need to paint it but this is going to work great I think. The three wing nut mounts allow reasonably quick access to the air filter canister:
Also wanted a place to add / mount relays so bent some stock around the washer bottle and welded in some studs. This makes the relays accessible but yet keeps them out of the way in the engine bay. I like using the wing nuts as it makes getting access to each relay easier:
Finished my drawer system today... Was a fair amount of work to get right but enjoyable nonetheless. One long (regular length) drawer and one shorter drawer to accommodate 10" sub. Got the local metal supplier to shear me a few slide in dividers out of aluminum and lined the drawers with raptor liner. Welded up brackets on top of the old 3rd row brackets to support the wings & welded blind nuts to secure the tie downs. Time to load up the tools!
Installed new speakers as my Polks were fried (too much RMS). Tried the JBL GTO-629's which fit both front and rear for those searching for an alternative to the traditional Pioneers. Did the sound deadening while I was in there.
Used long drywall screws till I can get suitable alternatives... Had to rotate the grills in the front 90 degrees to clear the dash when the door is closed.
Not pictured but by far most satisfying - swapped the rear springs as the PO had them installed backwards (DS on PS and vice versa)... First time the truck has sat level since I bought it!
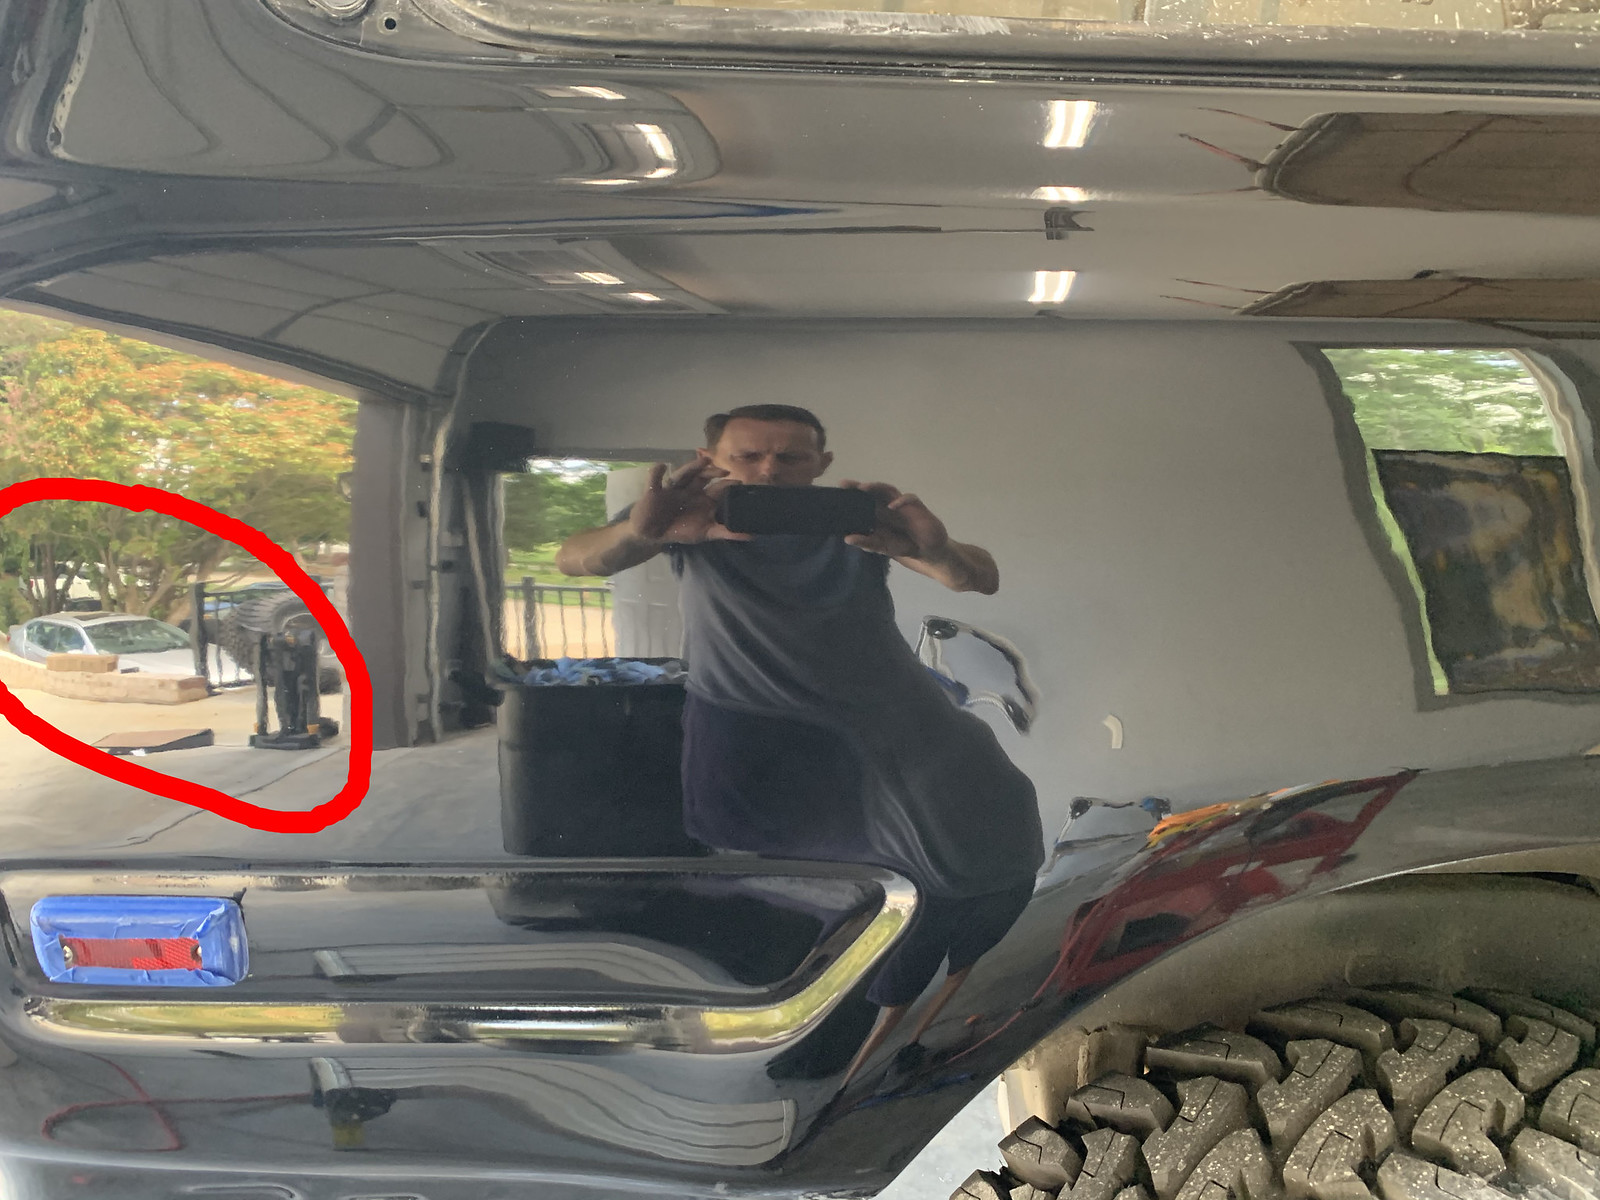
Well, busy weekend... Finished my OBA setup, tailgate storage and instrument cluster lighting:
OBA - went with the PUMA compressor but used a viair tank underneath. Compressor is located between the drawer system and the trim in the back. Plumbed for front and rear connections and my ARB setup. ARB controlled via the magic dial I've always wanted.
Was lucky enough to get my hands on a Wit's End Turbo setup from @Tedward. He's a great guy to deal with if any of you have the privilege of buying or selling with him! Thanks again!
Installed with 90,400 on the clock... Will hopefully provide many years of enjoyment! So far, the truck doesn't overwhelm you with power - it just feels like it was supposed to perform this way from the factory. It feels "lighter".
Update dump as I've been doing several things over the past couple of weeks!
First, installed a part-time kit + new prop shaft studs at the t-case side + longfields since I had to have the closer groove to accommodate the hubs - fairly involved but made a lot easier by having a lift:
Next bought a fancy 14 n 1 gauge system from @MyWhiteSheep who included a tapped and painted water outlet for coolant temp... What he didn't tell me is I'd have to disassemble practically the whole driver's side of the engine to install that sensor! But, a few busted knuckles later the distributor, alternator, battery box, etc was off and I had the thing on. This led to a fair amount of "while you're in there" so I now have new coolant and a new Asian water pump at 90,600 miles.
Fancy 14 in 1 gauge is in. Articulating arm isn't nearly as obtrusive as it looks in this pic. Like the location a lot - Thanks to @NLXTACY for creating a cool part to enable this mounting location.


 Untitled by jeff elliott, on Flickr
 Untitled by jeff elliott, on Flickr
 Untitled by jeff elliott, on Flickr
 Untitled by jeff elliott, on Flickr
 Untitled by jeff elliott, on Flickr
 Untitled by jeff elliott, on Flickr
 Untitled by jeff elliott, on Flickr
 Untitled by jeff elliott, on Flickr
 Untitled by jeff elliott, on Flickr
 Untitled by jeff elliott, on Flickr
 Untitled by jeff elliott, on Flickr
 Untitled by jeff elliott, on Flickr
 Untitled by jeff elliott, on Flickr
 Untitled by jeff elliott, on Flickr
 Untitled by jeff elliott, on Flickr
 Untitled by jeff elliott, on Flickr
 Untitled by jeff elliott, on Flickr
 Untitled by jeff elliott, on Flickr
 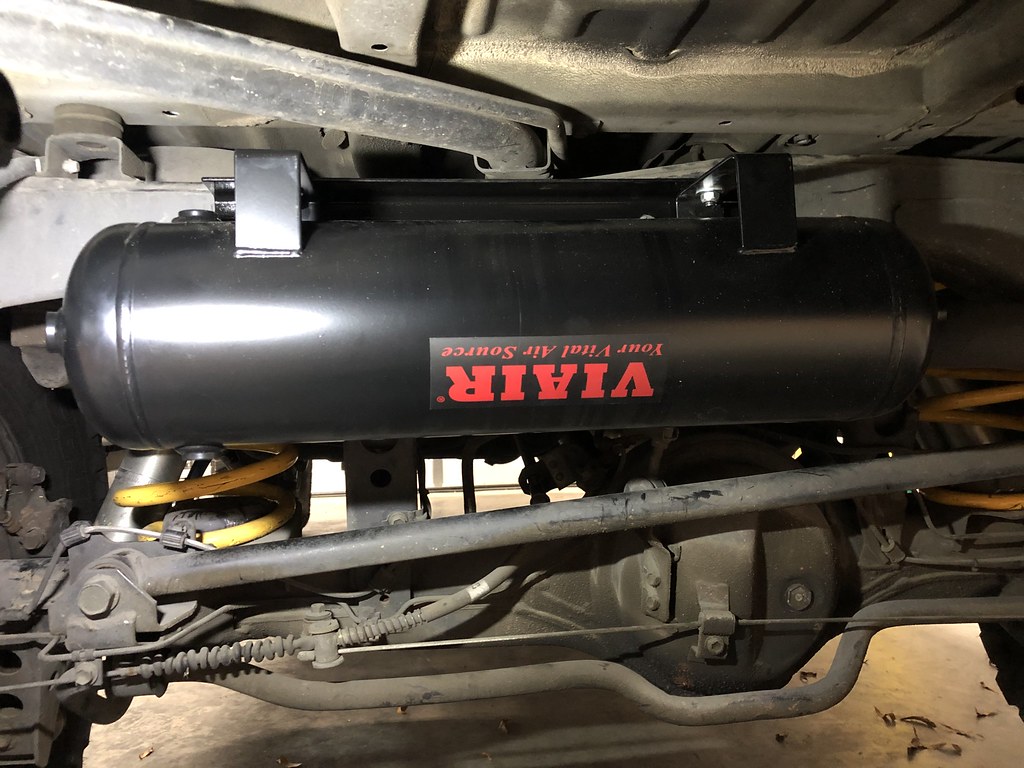 Untitled by jeff elliott, on Flickr
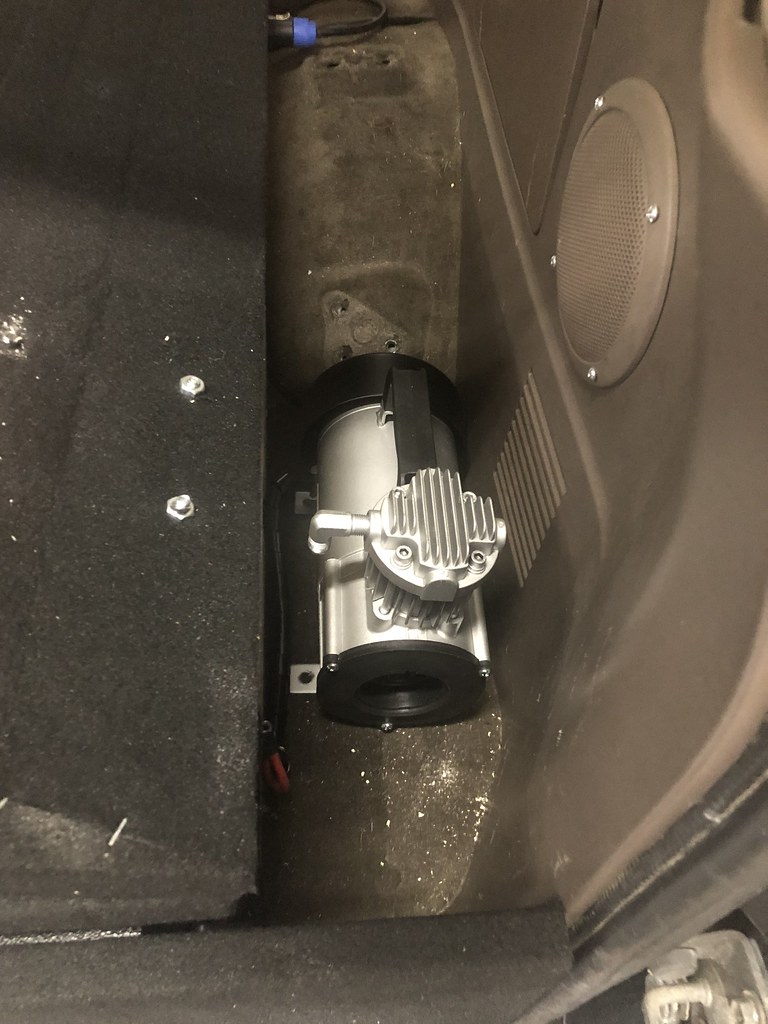 Untitled by jeff elliott, on Flickr
 Untitled by jeff elliott, on Flickr
 Untitled by jeff elliott, on Flickr
 Untitled by jeff elliott, on Flickr
 Untitled by jeff elliott, on Flickr
 Untitled by jeff elliott, on Flickr
 Untitled by jeff elliott, on Flickr
 Untitled by jeff elliott, on Flickr
 Untitled by jeff elliott, on Flickr
 Untitled by jeff elliott, on Flickr
 Untitled by jeff elliott, on Flickr
 Untitled by jeff elliott, on Flickr
 Untitled by jeff elliott, on Flickr
 Untitled by jeff elliott, on Flickr
 Untitled by jeff elliott, on Flickr
 Untitled by jeff elliott, on Flickr
 Untitled by jeff elliott, on Flickr
 Untitled by jeff elliott, on Flickr
 Untitled by jeff elliott, on Flickr
 Untitled by jeff elliott, on Flickr
 Untitled by jeff elliott, on Flickr
 Untitled by jeff elliott, on Flickr
 Untitled by jeff elliott, on Flickr
 Untitled by jeff elliott, on Flickr
 Untitled by jeff elliott, on Flickr
 Untitled by jeff elliott, on Flickr