It took a couple of months of being on the waiting list, but they finally came this Friday. This is absolutely a DIY job - but it wasn't without challenges. Also, be warned: this is dirty job. My truck had probably 3-4 pounds of mud underneath. I can still taste dirt.
My hope is that this thread can save other people some time in the future.
Ordering and shipping
I exchanged emails with Amory in the spring to get notified when the next batch of sliders would be available. Once I got notified from Christo, I ordered right away. The next day I got a photo from Christo - they were on a pallet, on the way via UPS freight:
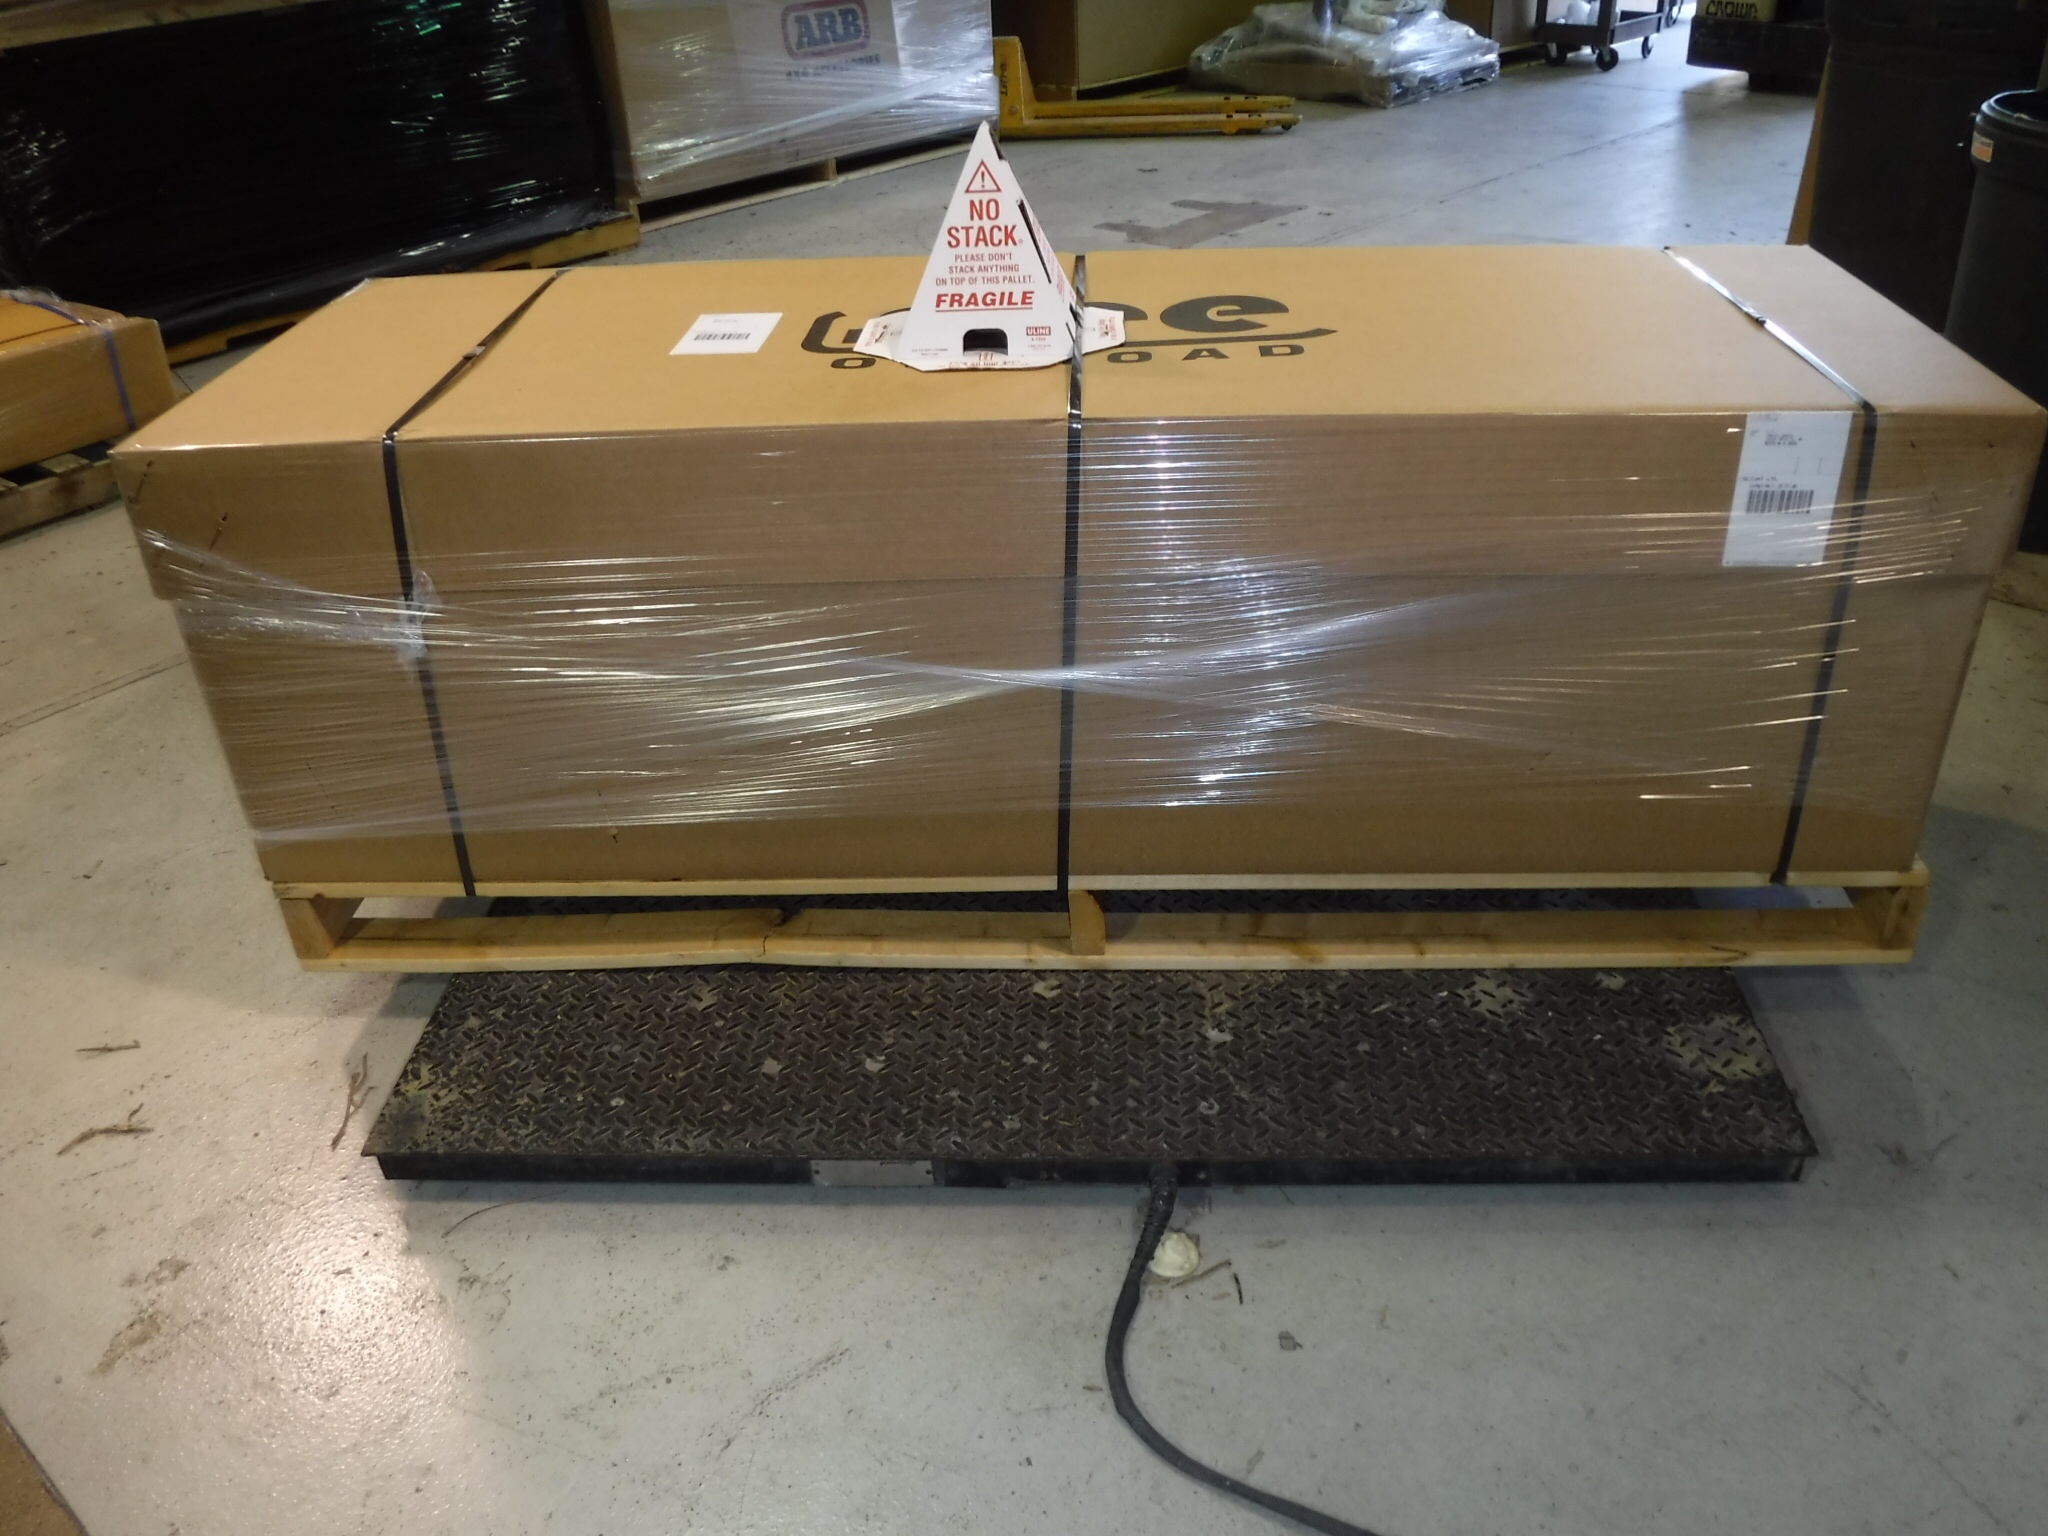
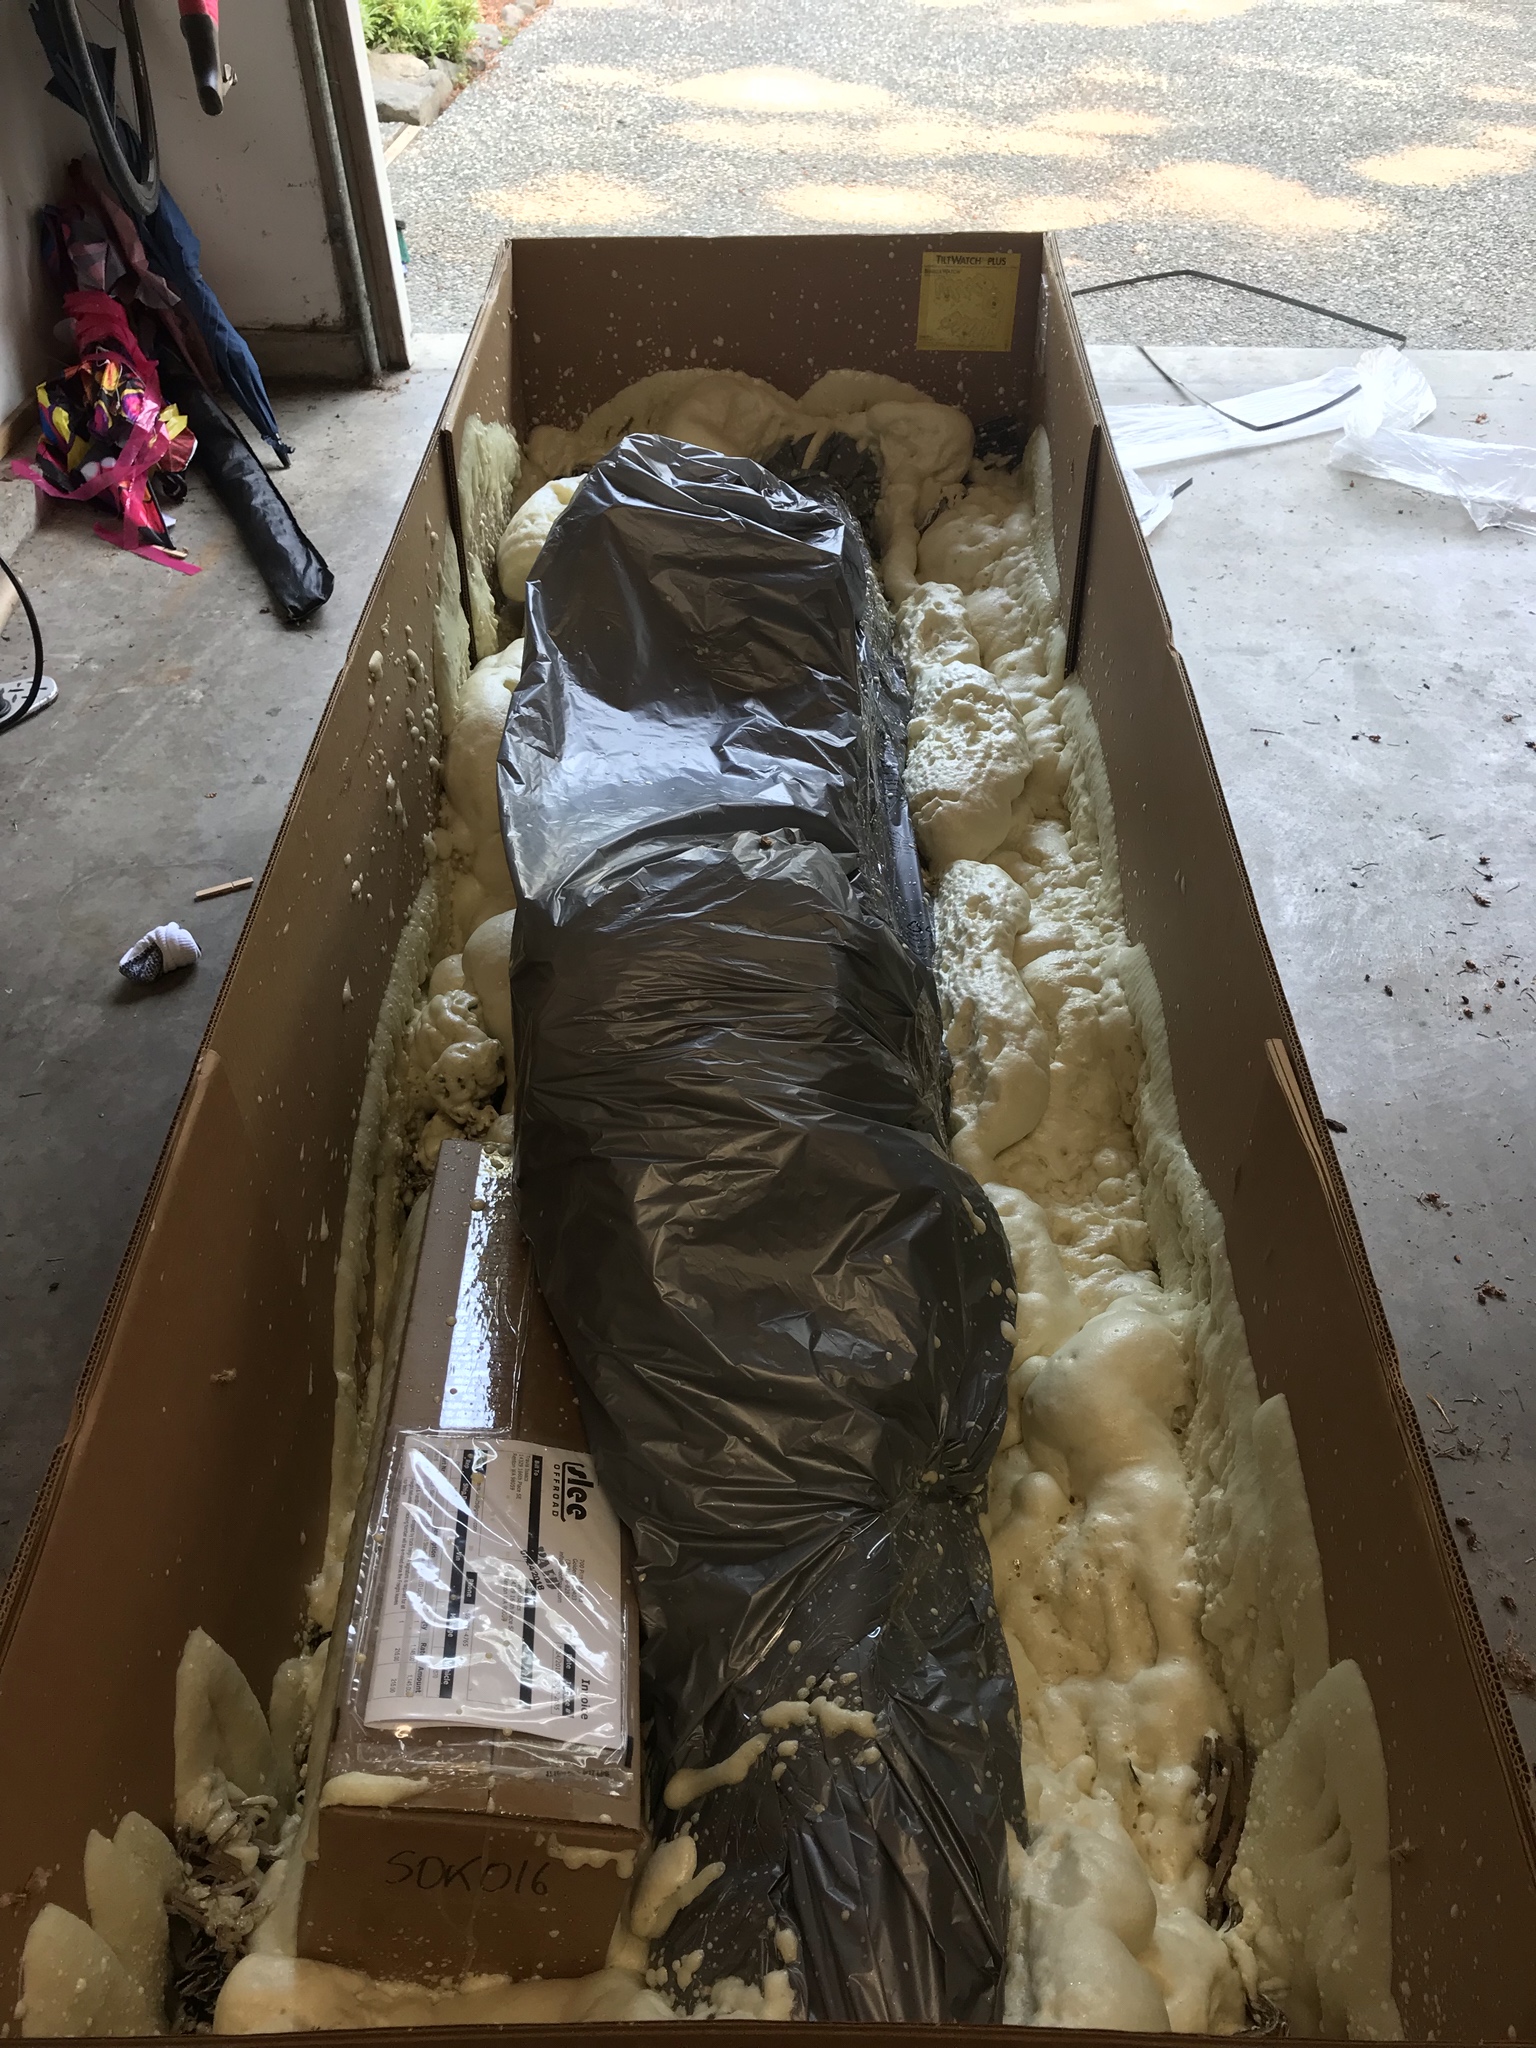
They arrived at my house a few days later. Everything is well packed and there was plenty of spray insulation to keep stuff from moving around:
Hardware & instructions:
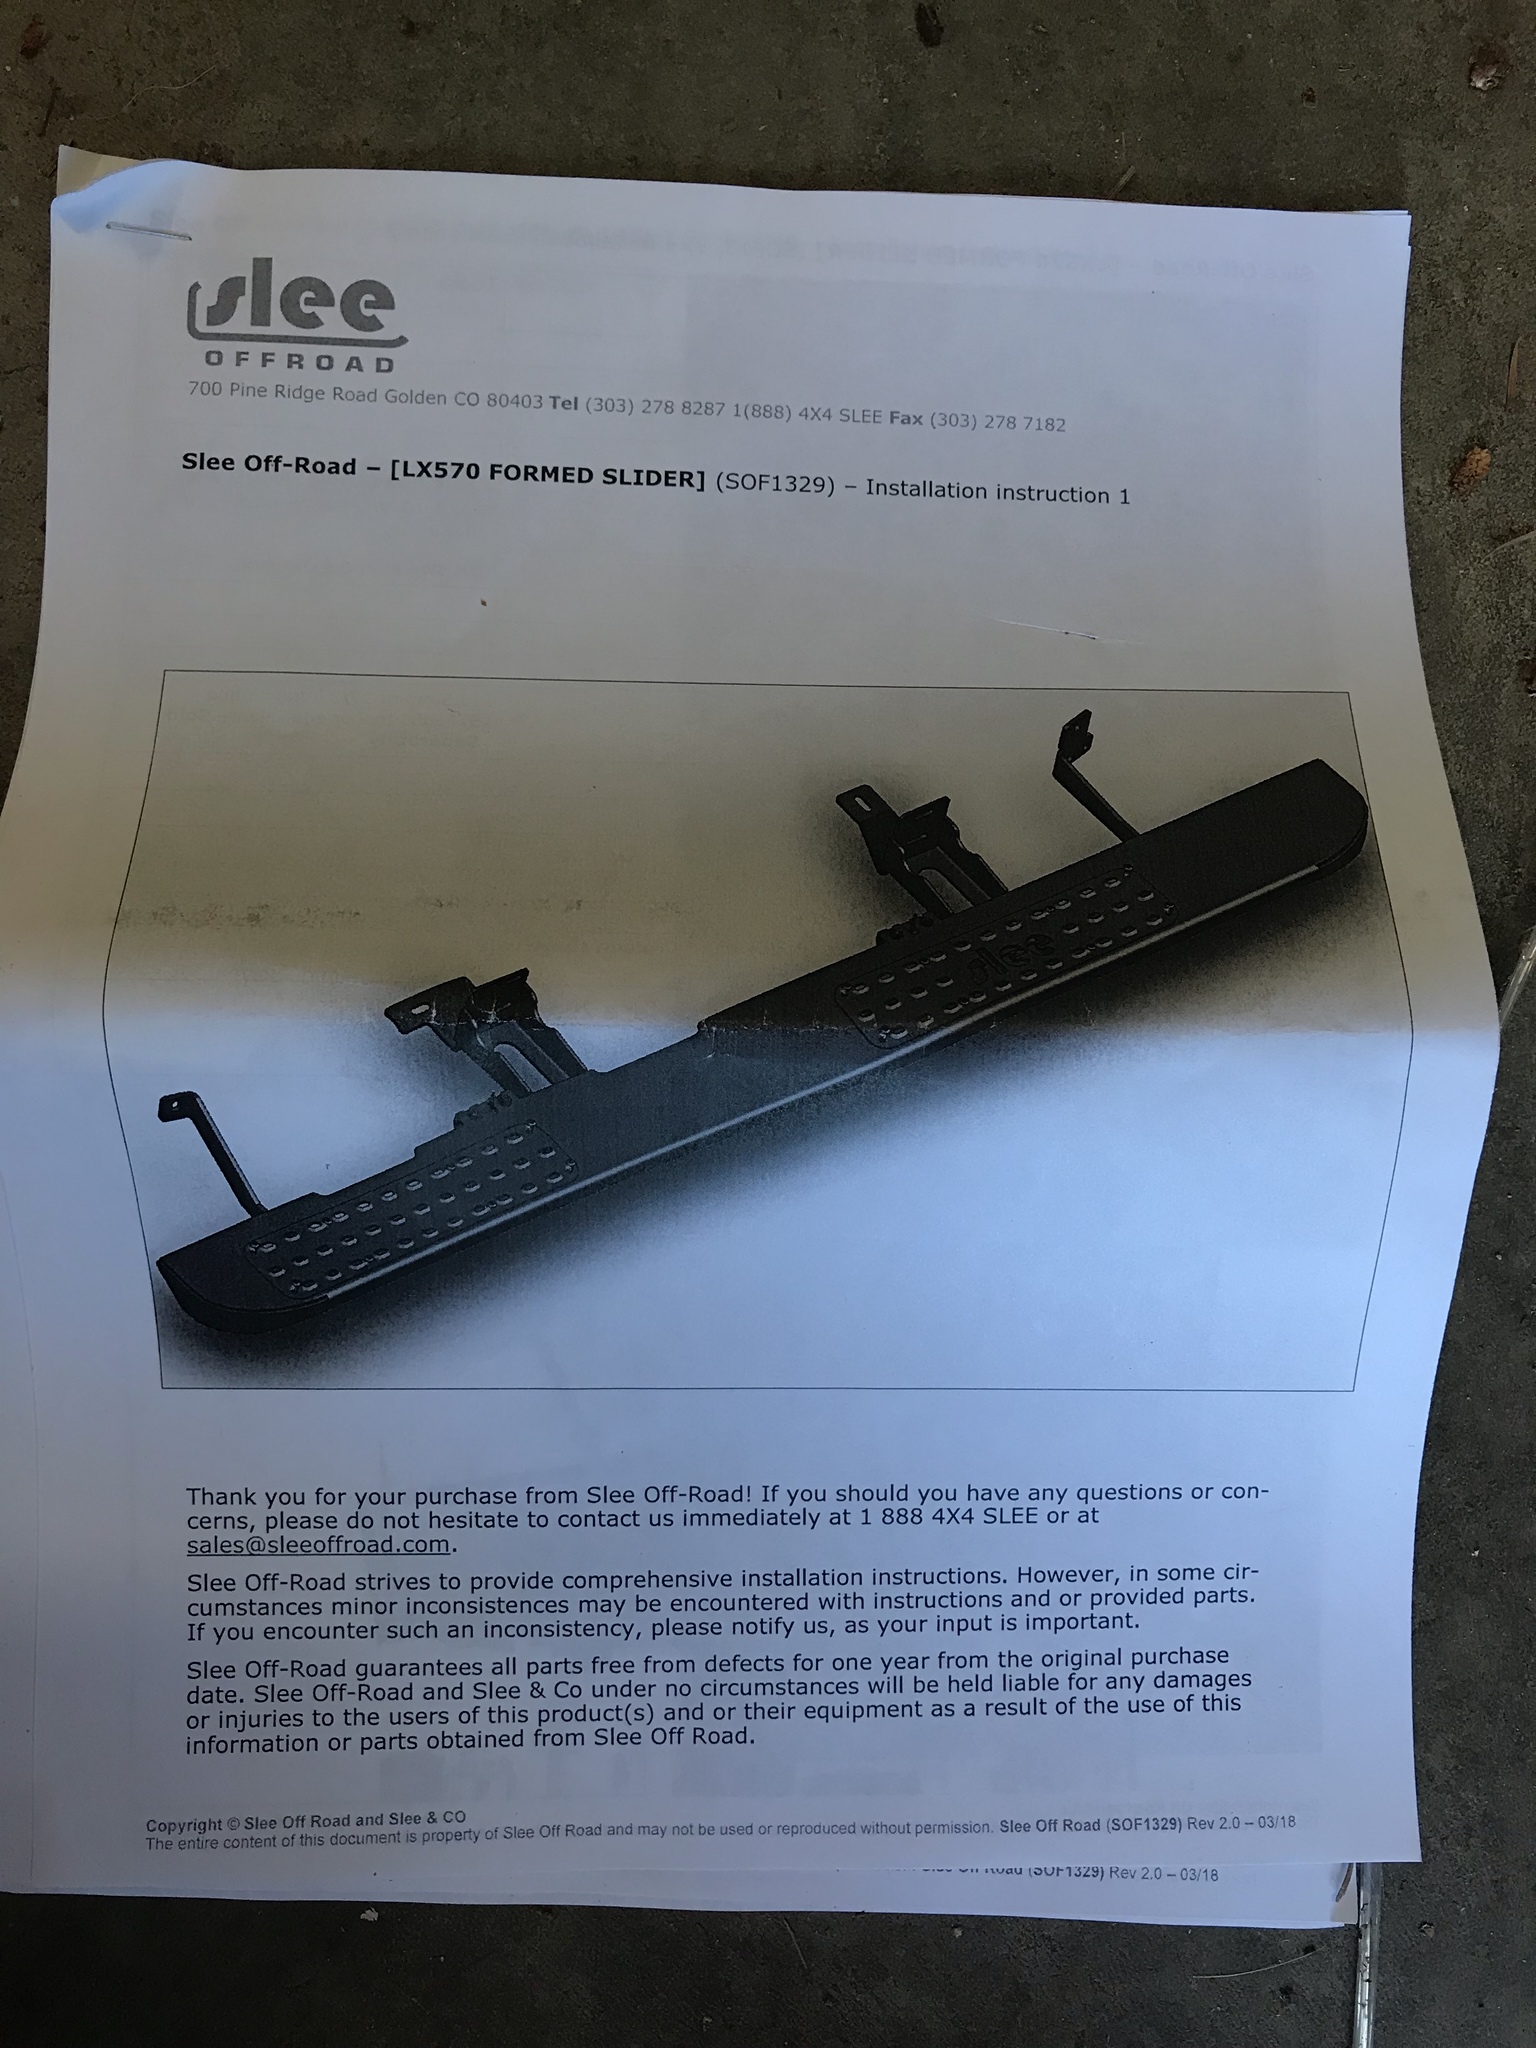
The kit arrived with printed instructions and a few bags of hardware:
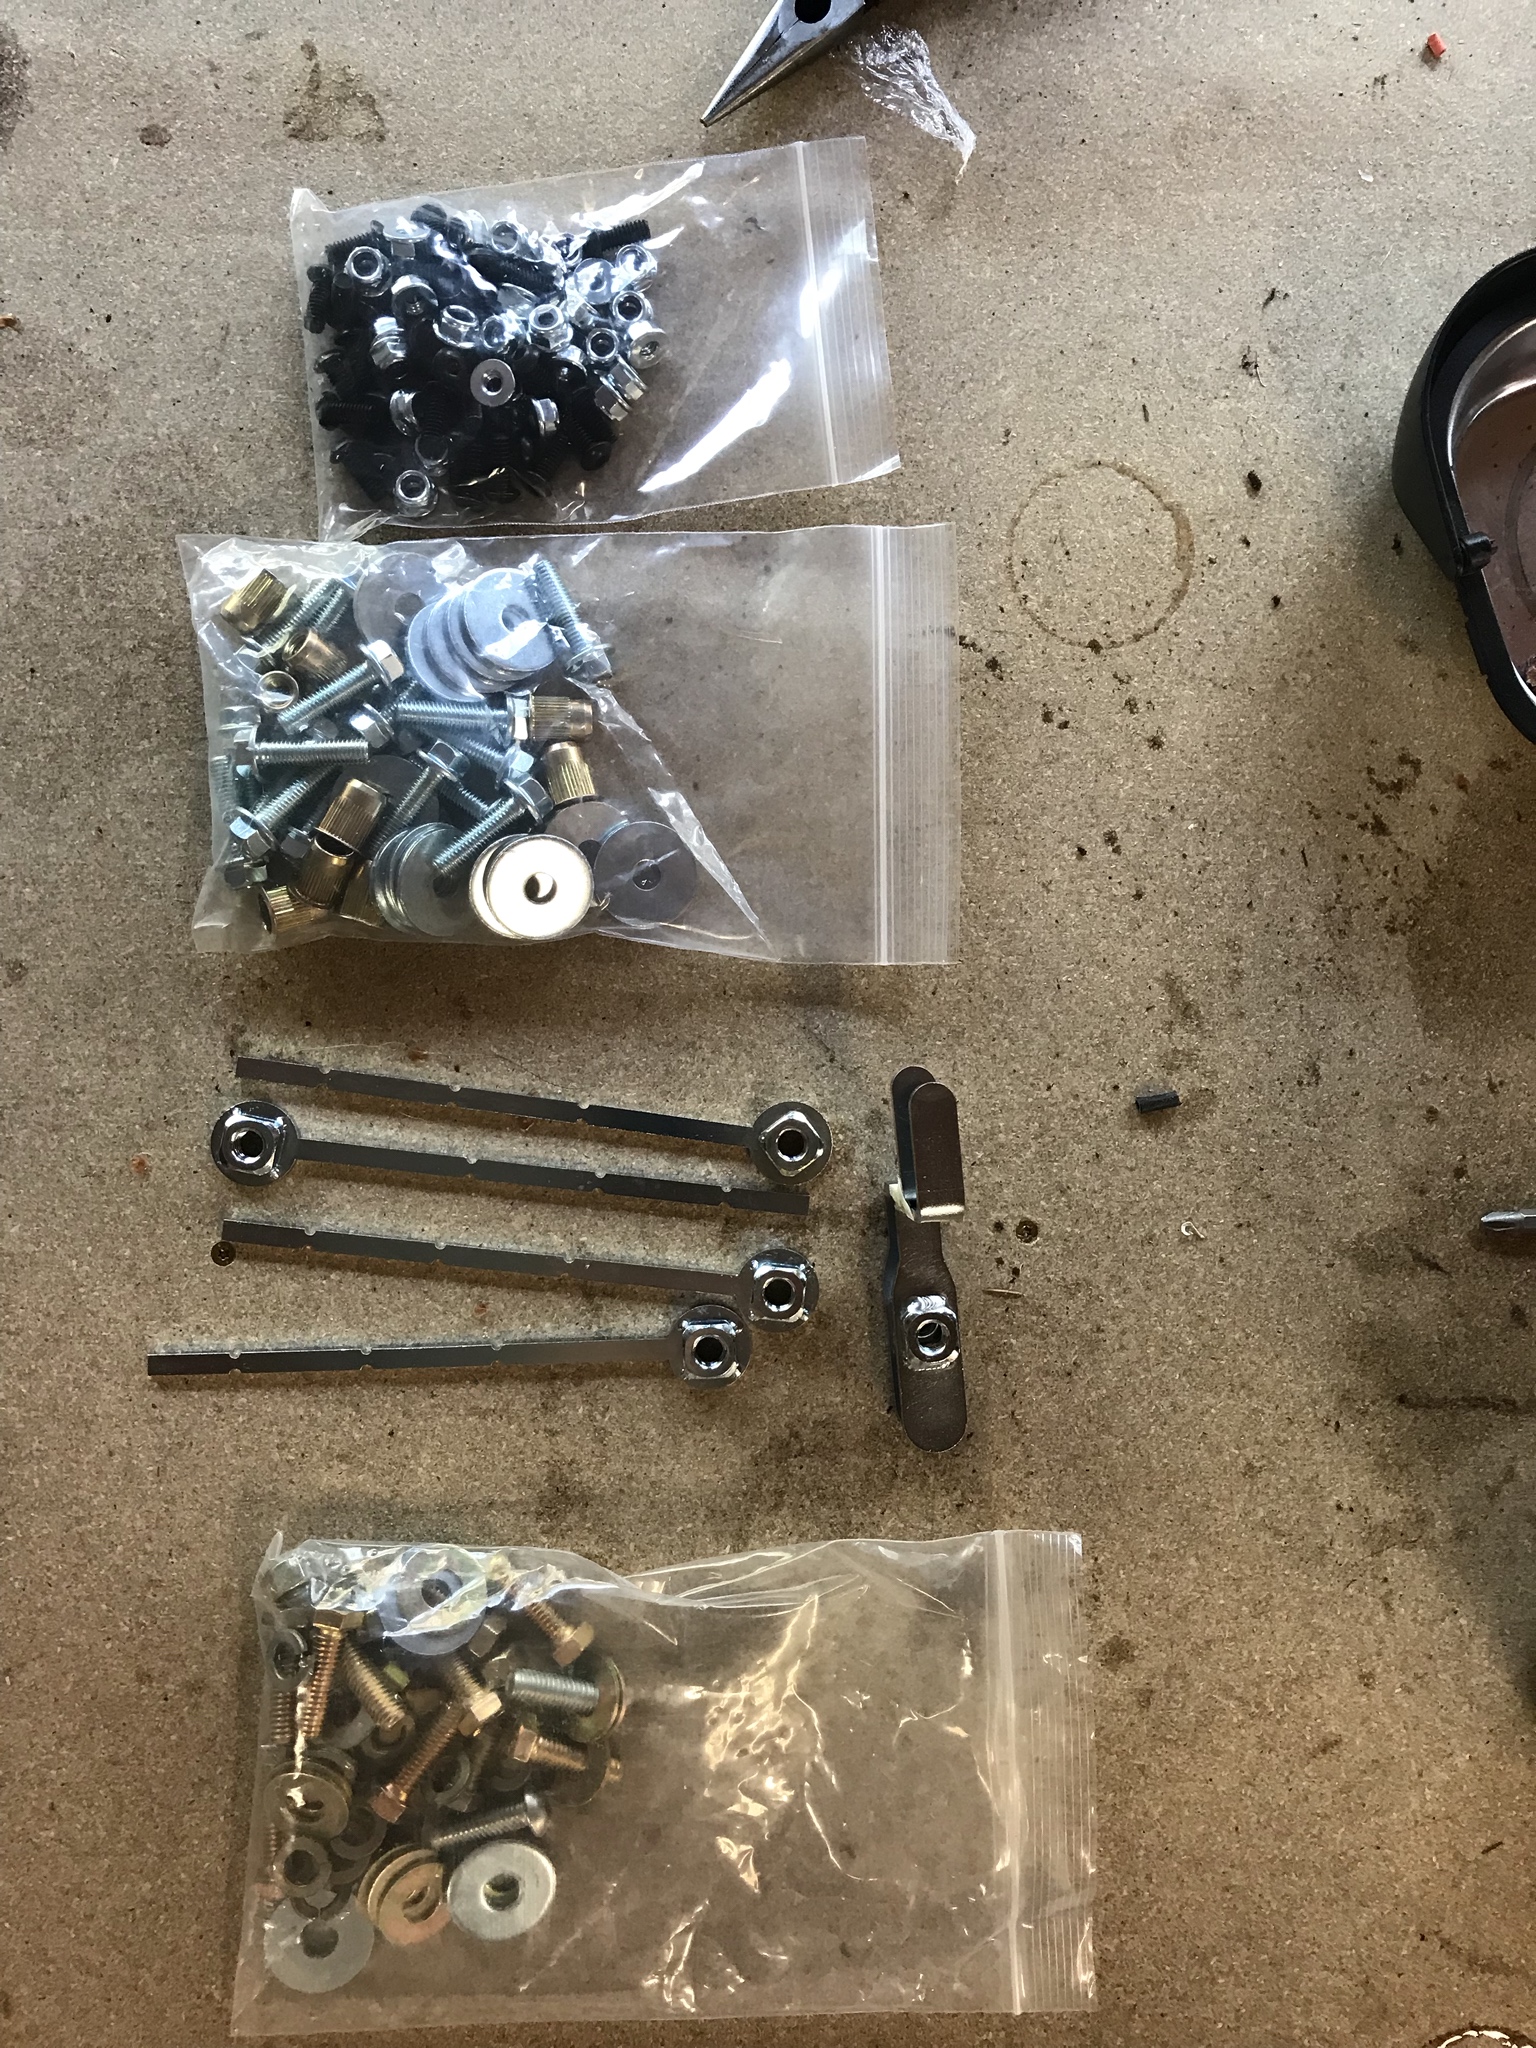
One piece of feedback for @sleeoffroad - the kit come with what I assume is the standard Toyota 200 series hardware, so there is a lot of extra nutserts, etc. It took me a while to figure this out.
Also the instructions have a couple of gaps in them. Here's what threw me off:
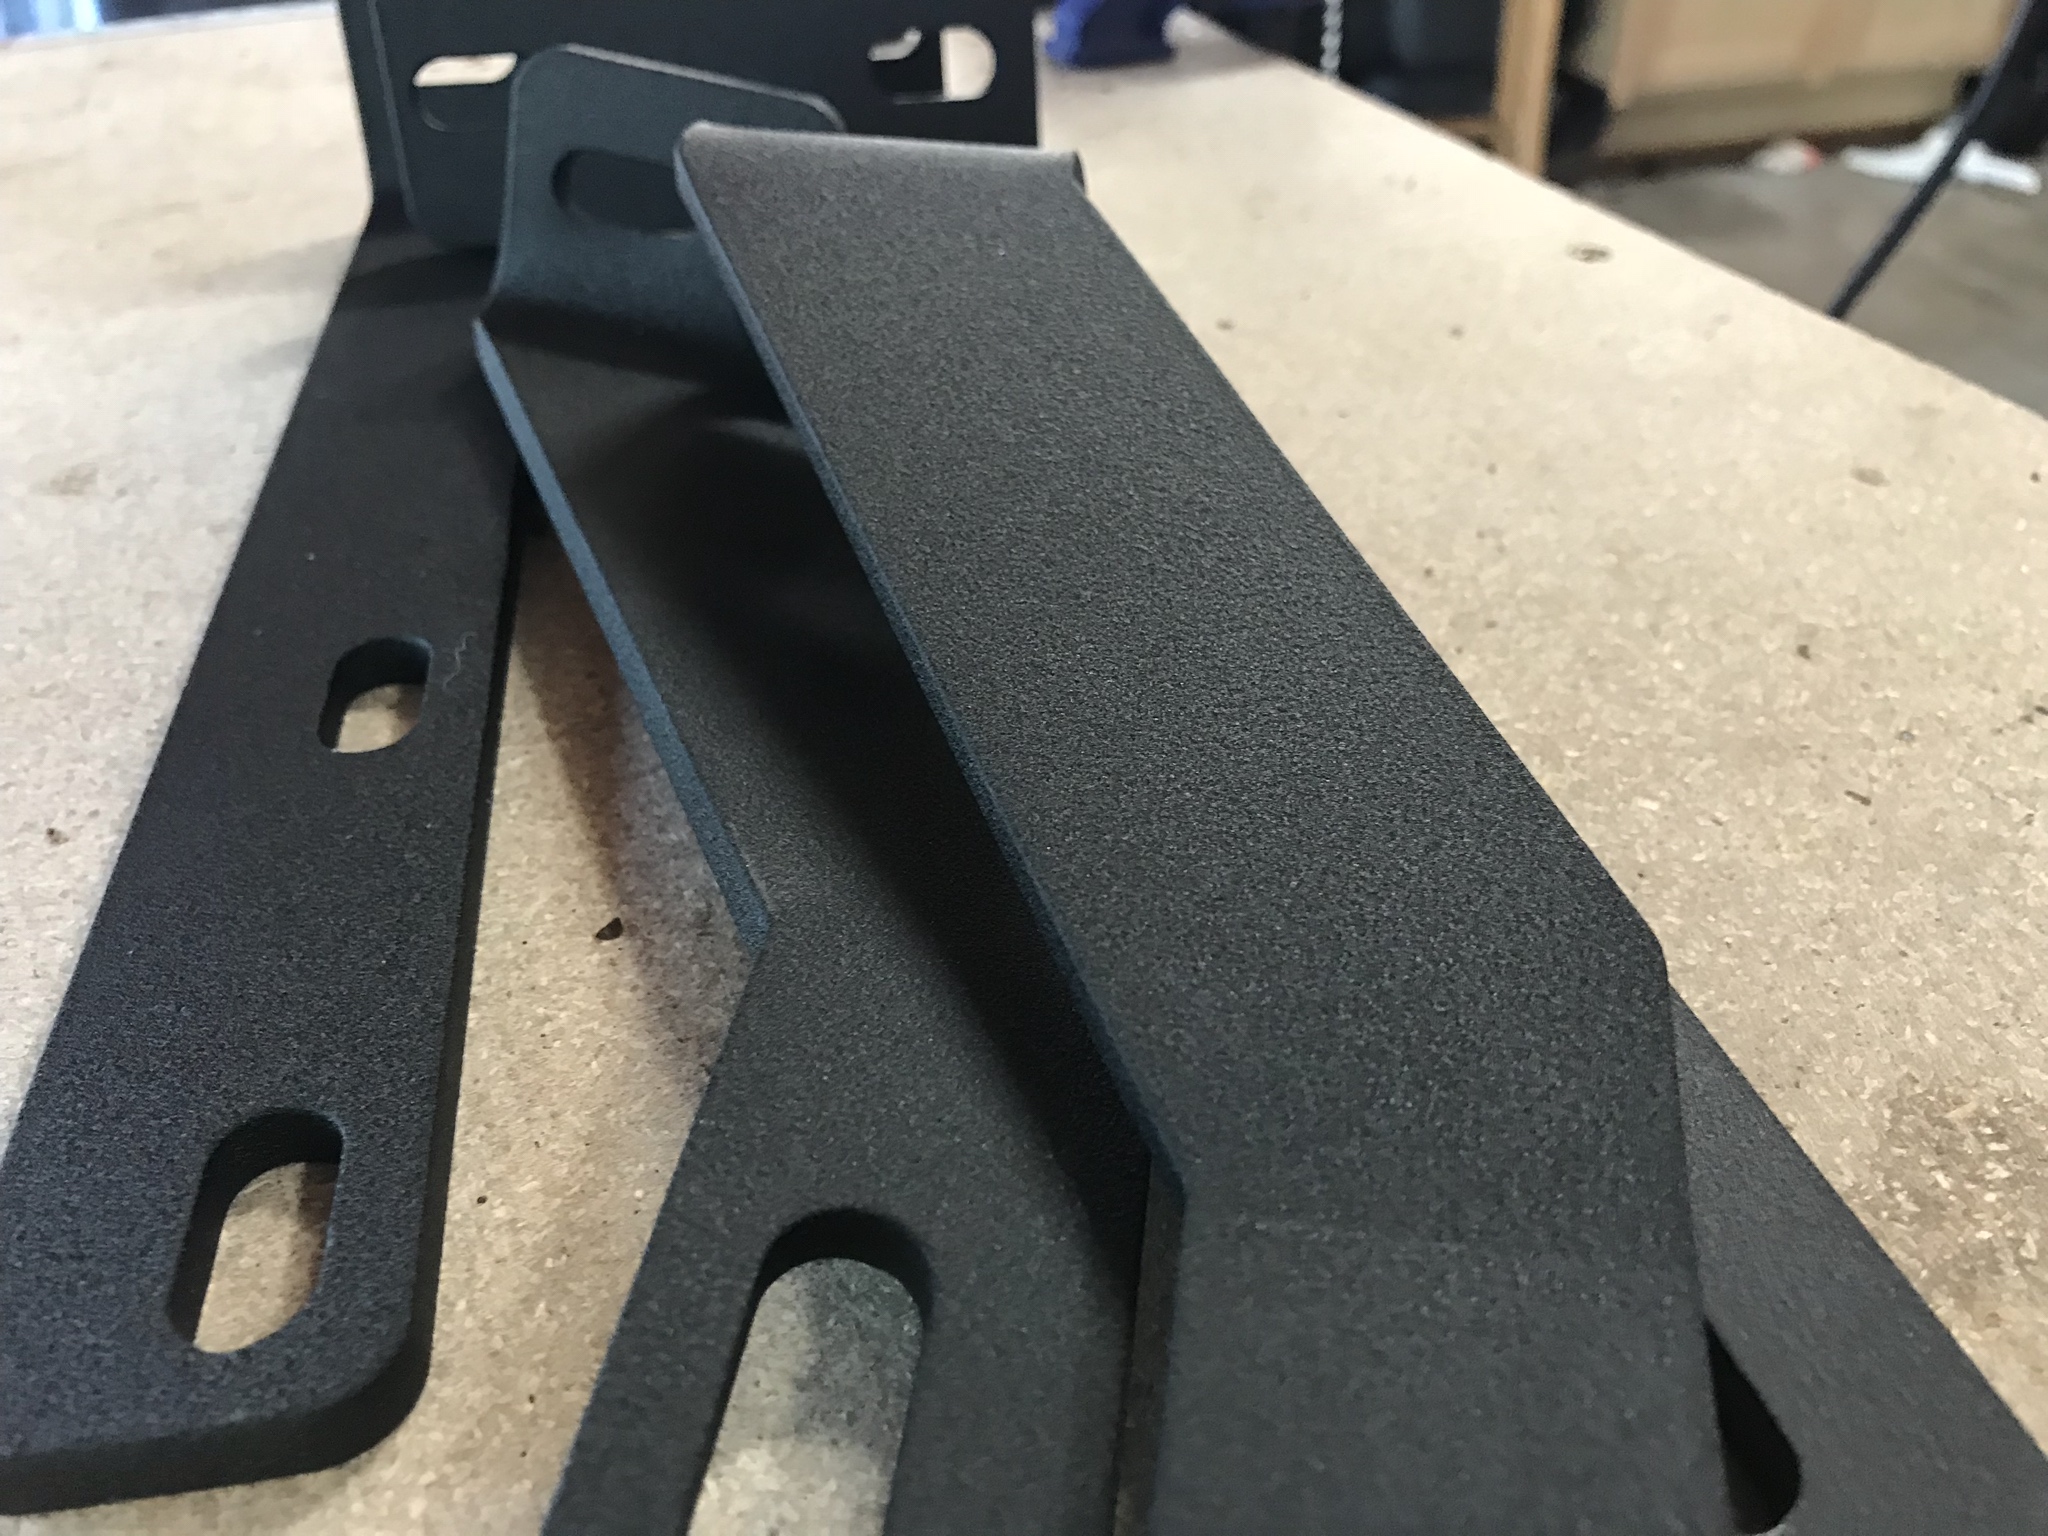
Fit & finish
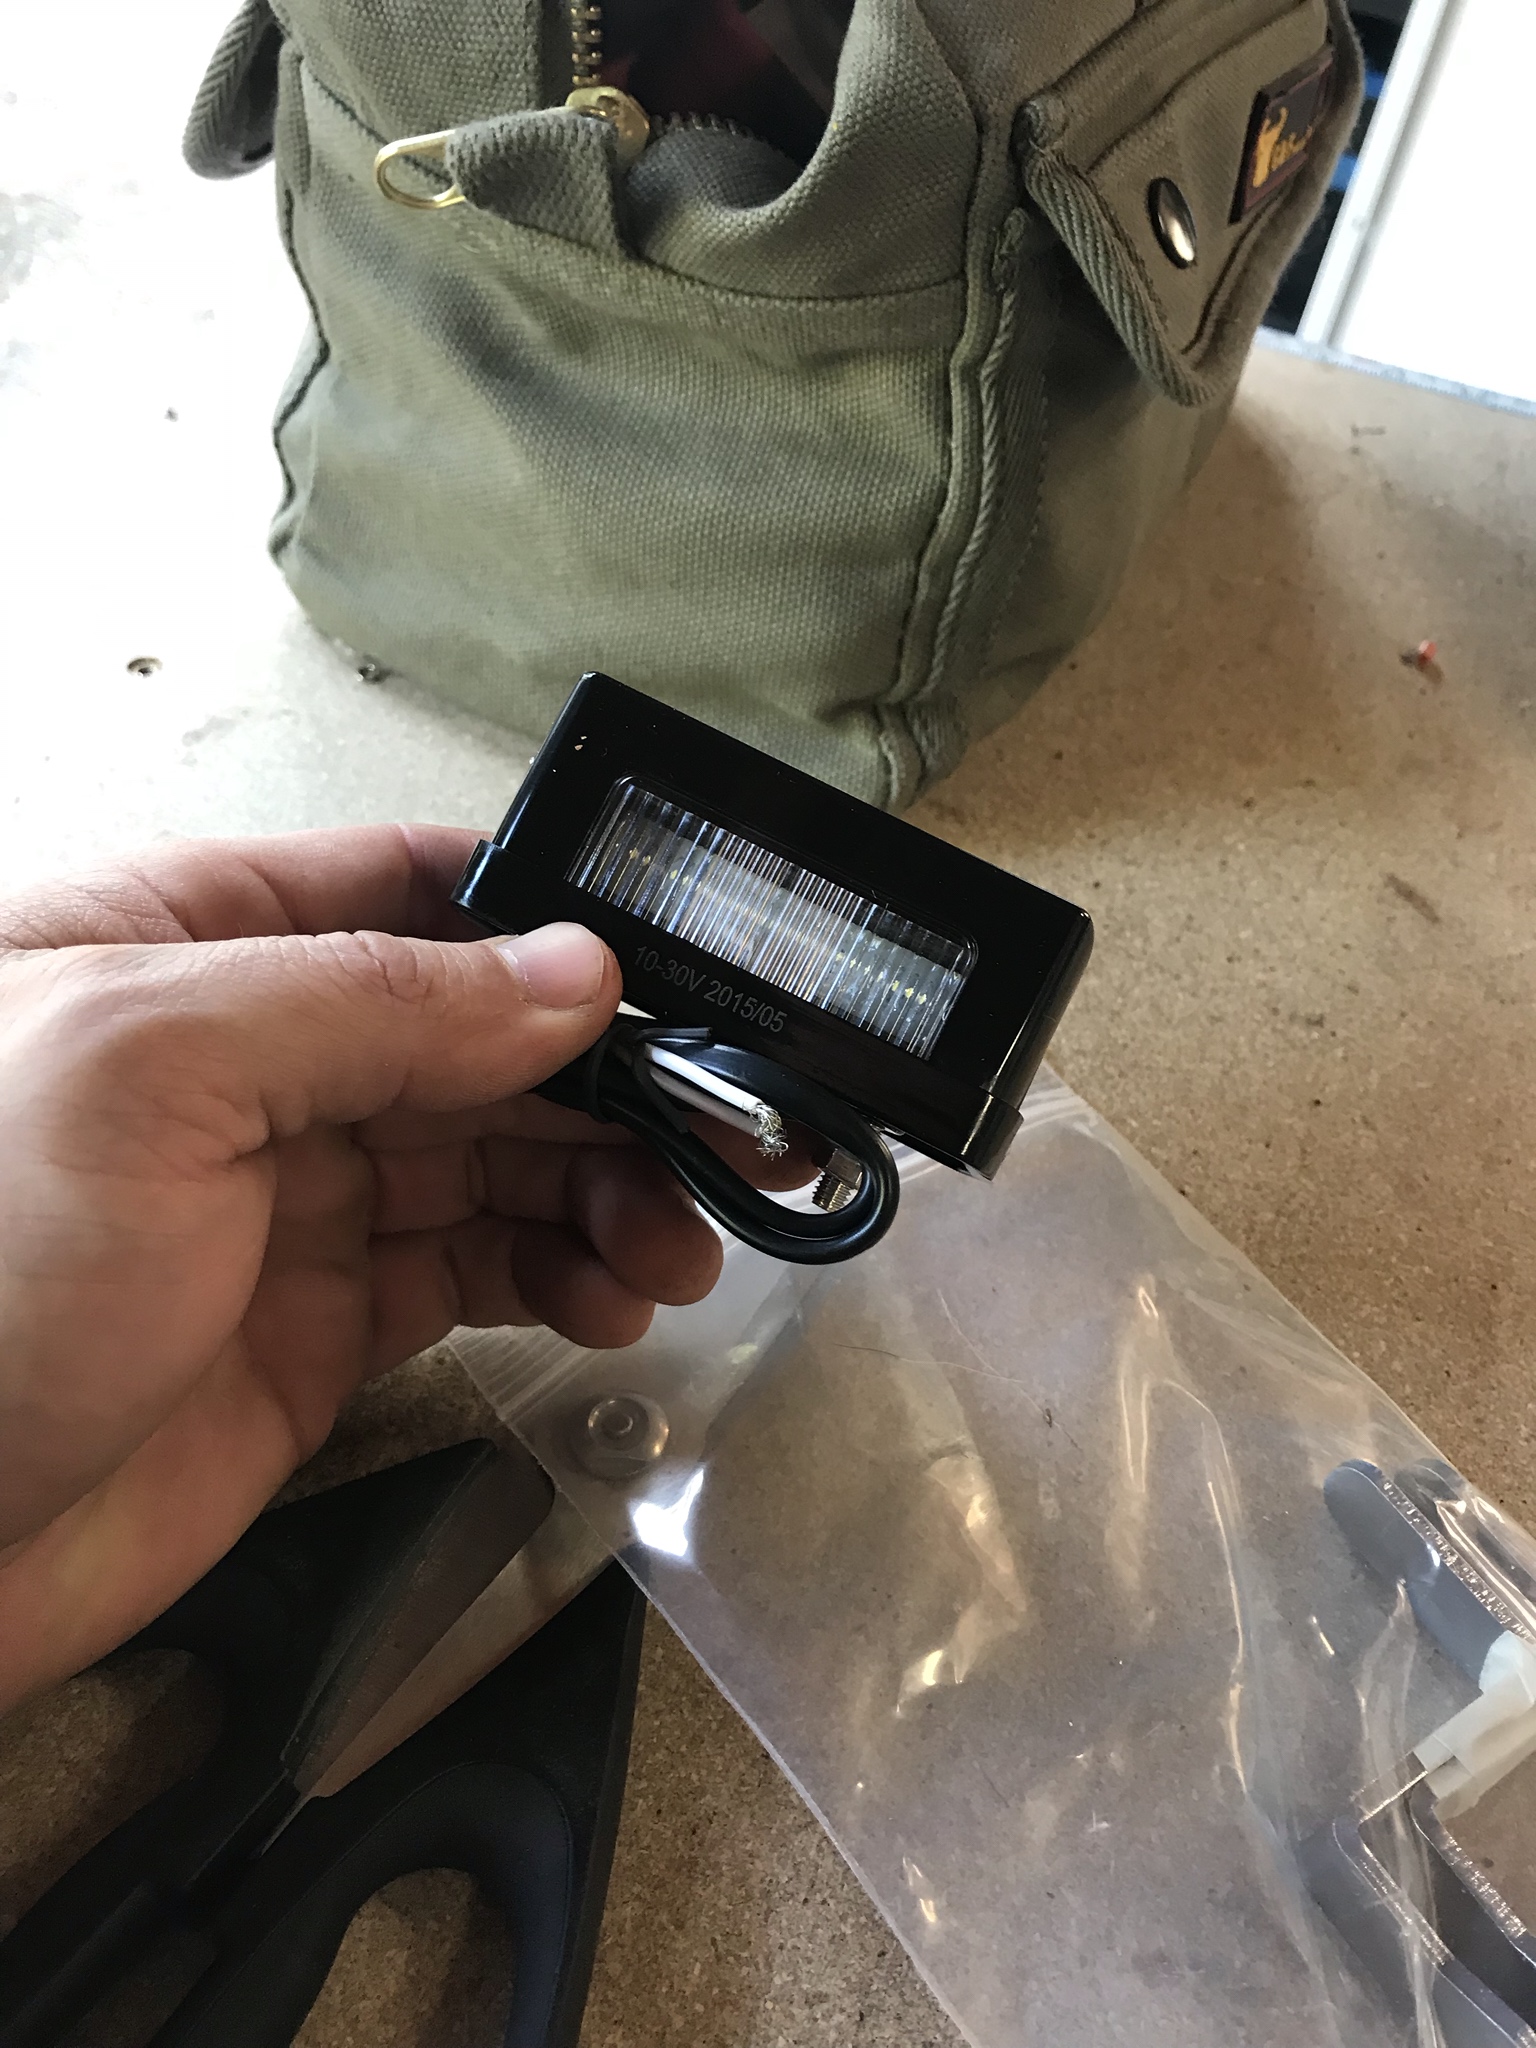
Wow. Just wow. The quality of these is just outstanding. Powdercoat is perfect. The courtesy lights are really nice. Everything is laser straight and fit together well.
Removal of running boards and AHC "mini sliders"
Removing the running boards is easy. You unscrew the mudflaps (if you have them), then unbolt the 10 and 12mm bolts that hold them on. Once you do that, open the doors and start popping the plastic rivets. Mine were in good shape so none of them broke.
Removing the AHC mini sliders is straight forward - there are (8) 12mm bolts. I was able to zip off most with an impact wrench. The bolts closest to the body are just out of reach for my impact so I used a socket and u-joint thingy.
Prepping for slider install
You'll need 3 nutserts to install these - 2 on driver's side and 1 on passenger. The M8 nutserts need a 17/32" drill bit. I searched high and low and couldn't find one locally at Lowes, Ace, etc. I ended up with a 9/16", which is a few mm bigger than the 13.5mm required for the M8. I knew this would be a risk...2 went in fine, one spun (more on that later).
I set the sliders on a jack to see where I needed to drill:
On the driver's side, you'll drill one hole for the front bracket, and one on the bottom of a crossmember for the second-to-last bracket. On the passenger side, you just need a whole for the front bracket.
After drilling, I hit each hole with some spray paint to prevent corrosion.
Bolting up
Second piece of feedback for @sleeoffroad - it wasn't clear which side of the slider that the brackets bolted too (inside vs outside). I got it wrong the first time, which results in the middle two brackets being off from their holes by ~ 1/2". I had to take sliders back down and re-mount the brackets. No big deal, but instructions could have spelled it out.
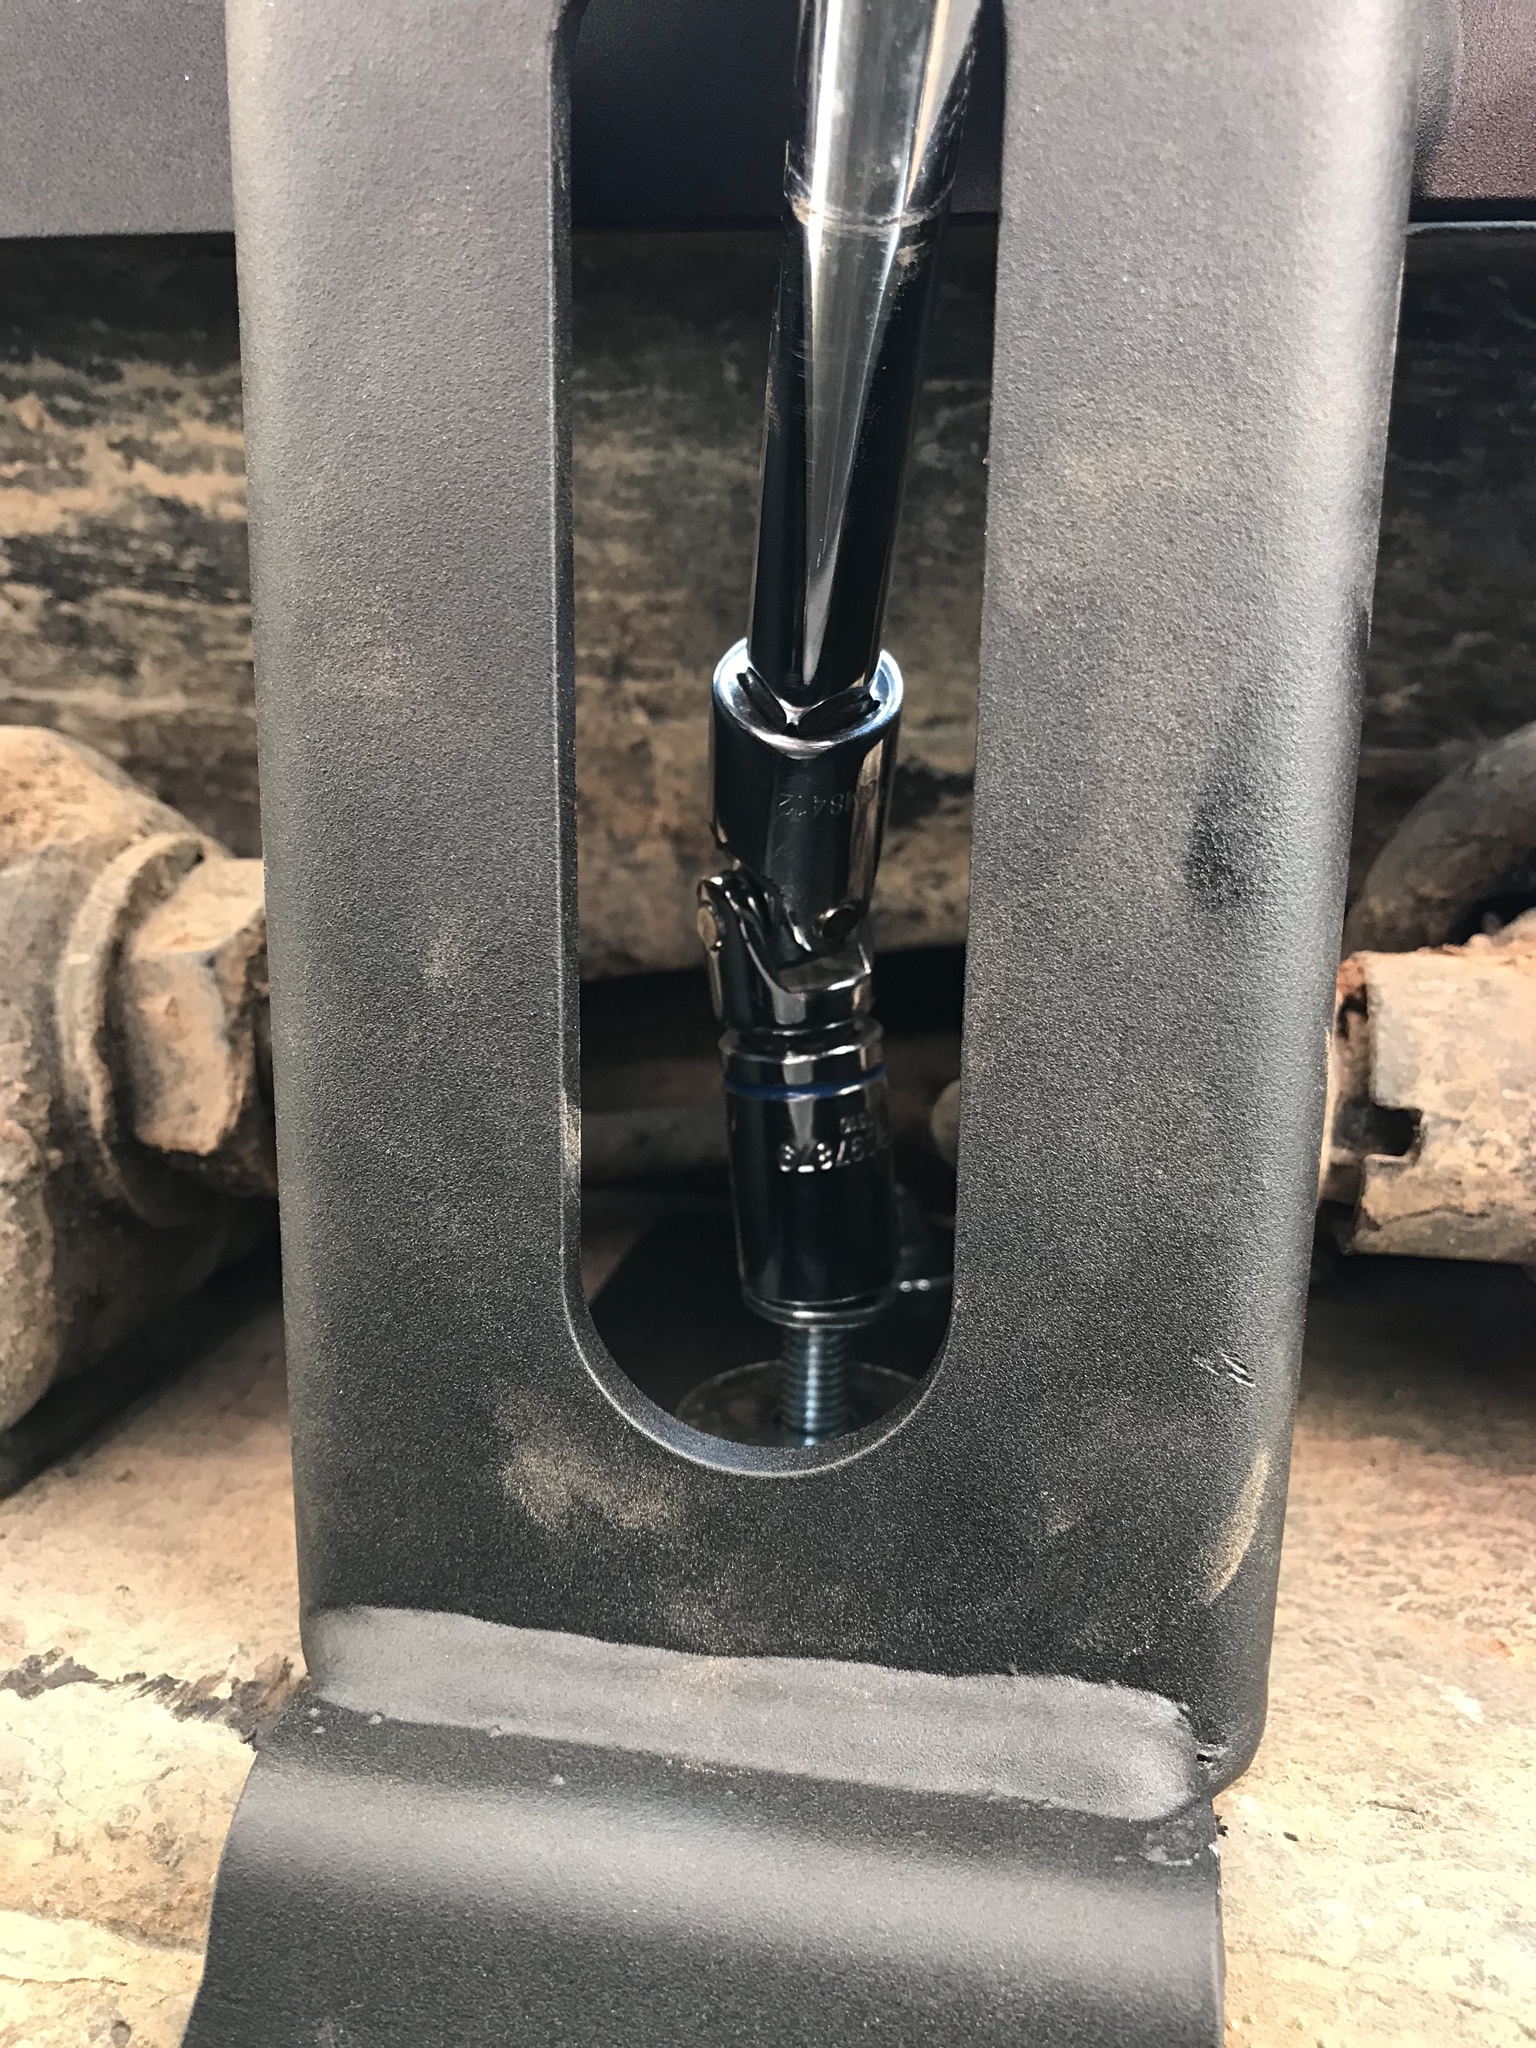
I expected the top holes to be a pain - but they weren't too bad. I had the right combination of long extension (like 6") plus u-joint + socket and I was able to get in through the bottom of the slider:
I just took it super slow. While the slider was on a floor jack, I lined everything up and then got each bolt started. I started tightening inside most bolts and worked my way out. I tightened the 4 bolts that hold on the front and rear brackets last. On the passenger side, one of my nutserts spun and I could not back the bolt out. The front bracket has 3 bolts - and 2 are fine. I'm not super concerned.
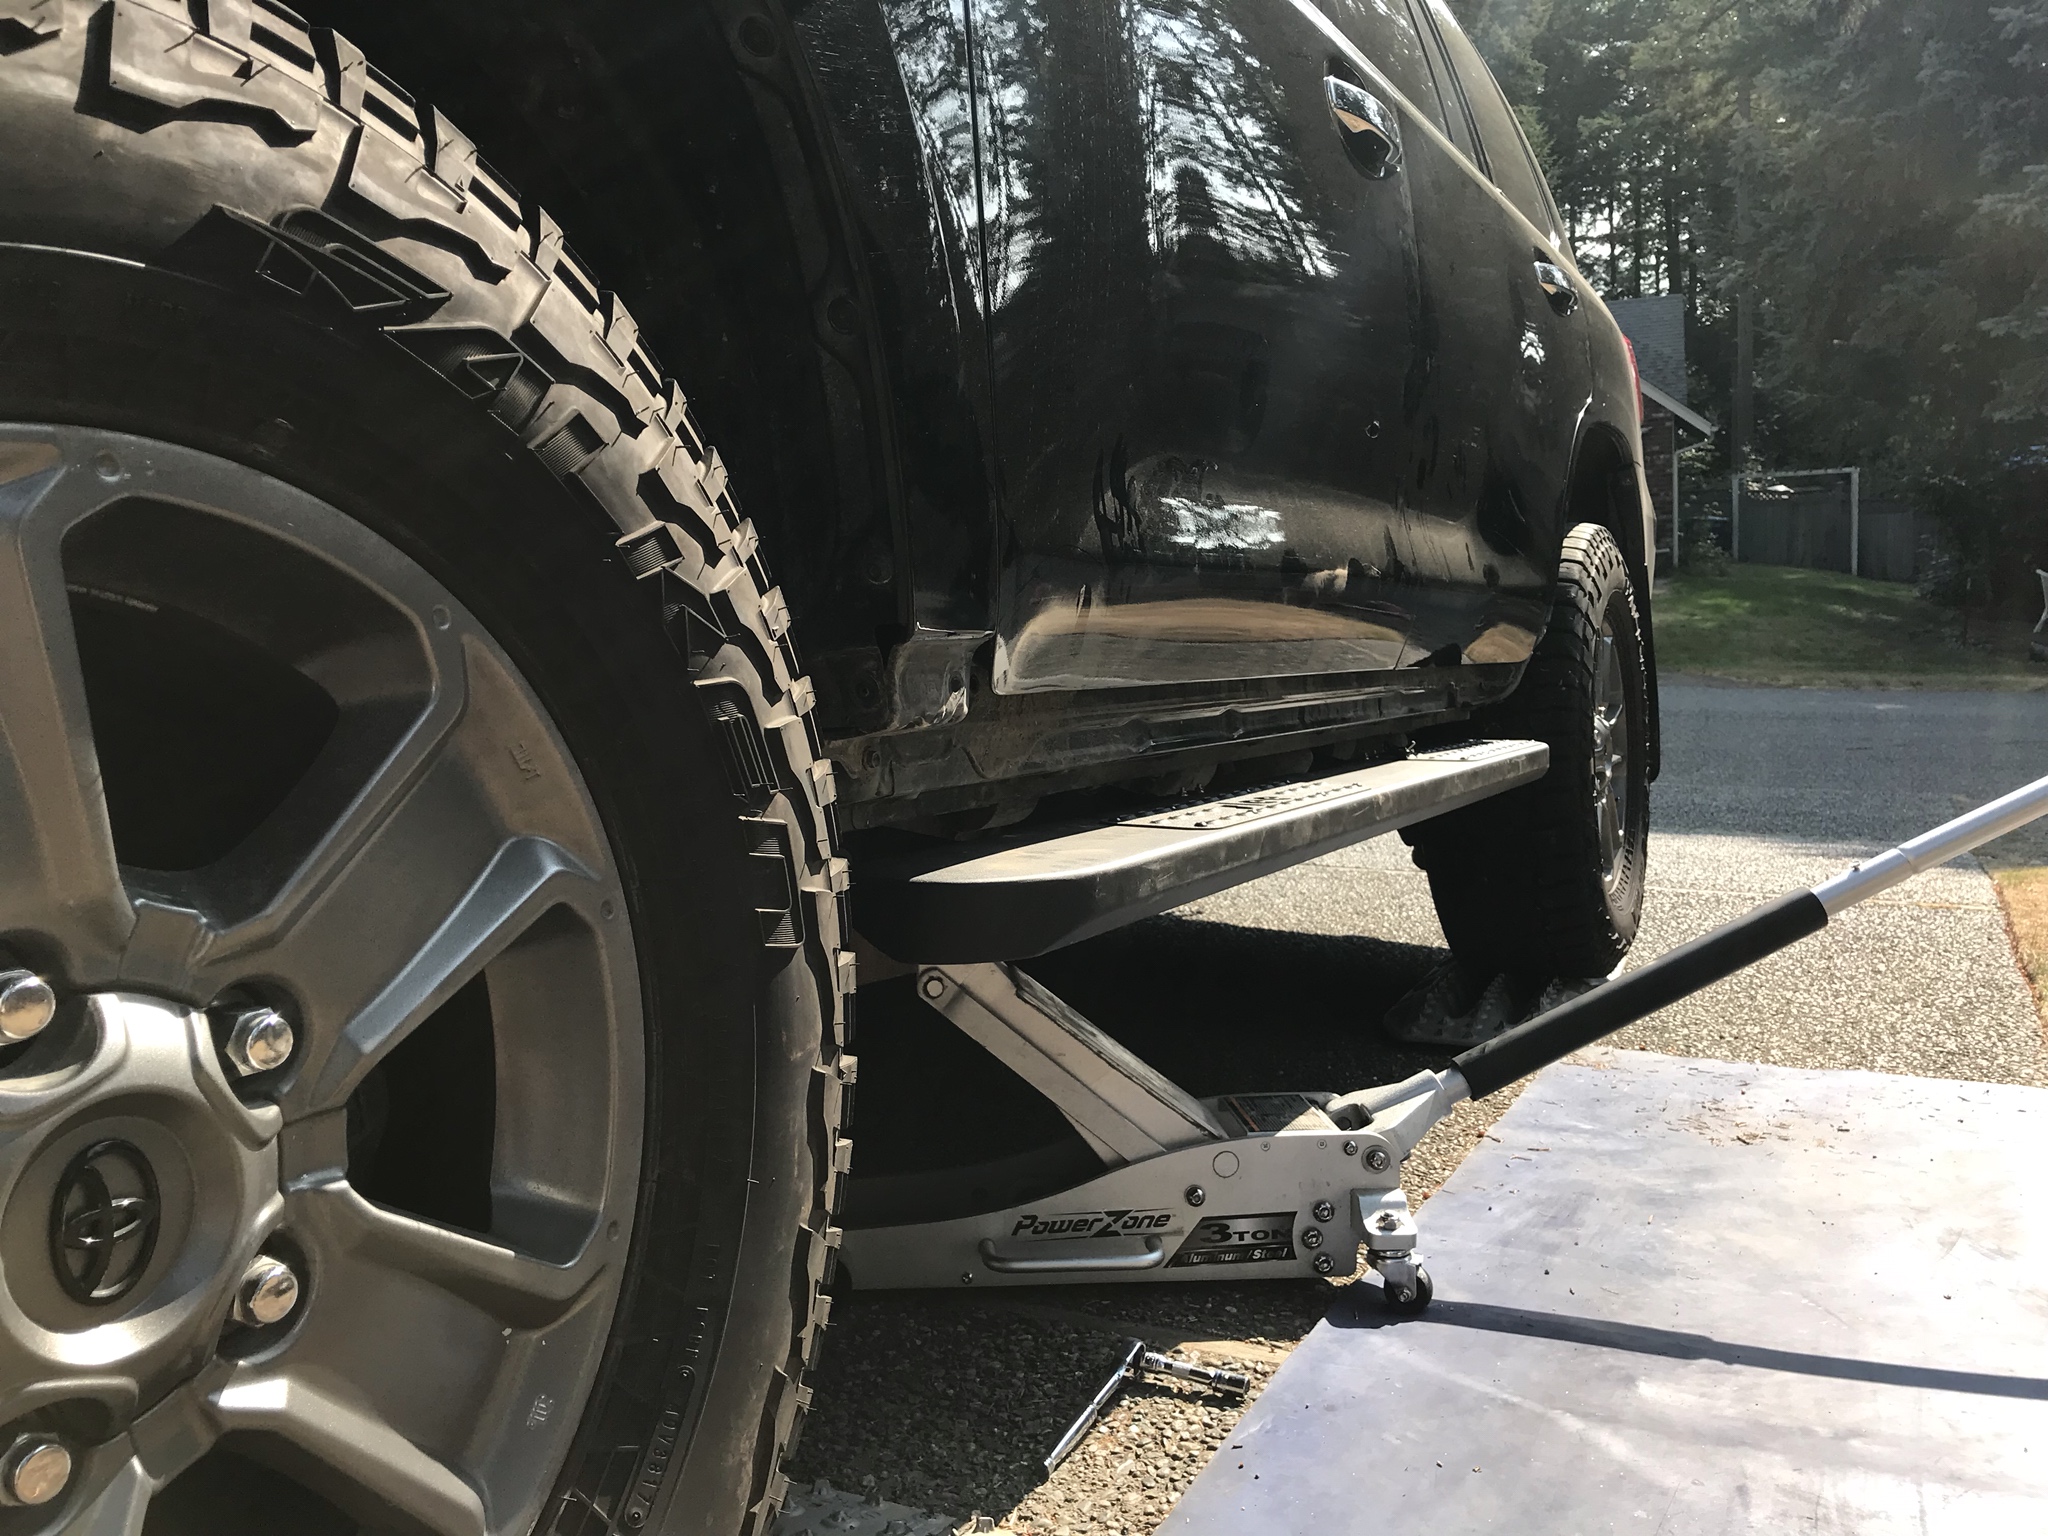
I also ended up parking on my max trax + putting truck in high to give myself room to work.
After tightening everything, I wired the lights. I don't have a soldering iron, so I spliced wires, used heat shrink packed with dielectric grease. I'm sure I'll come back and do these right later.
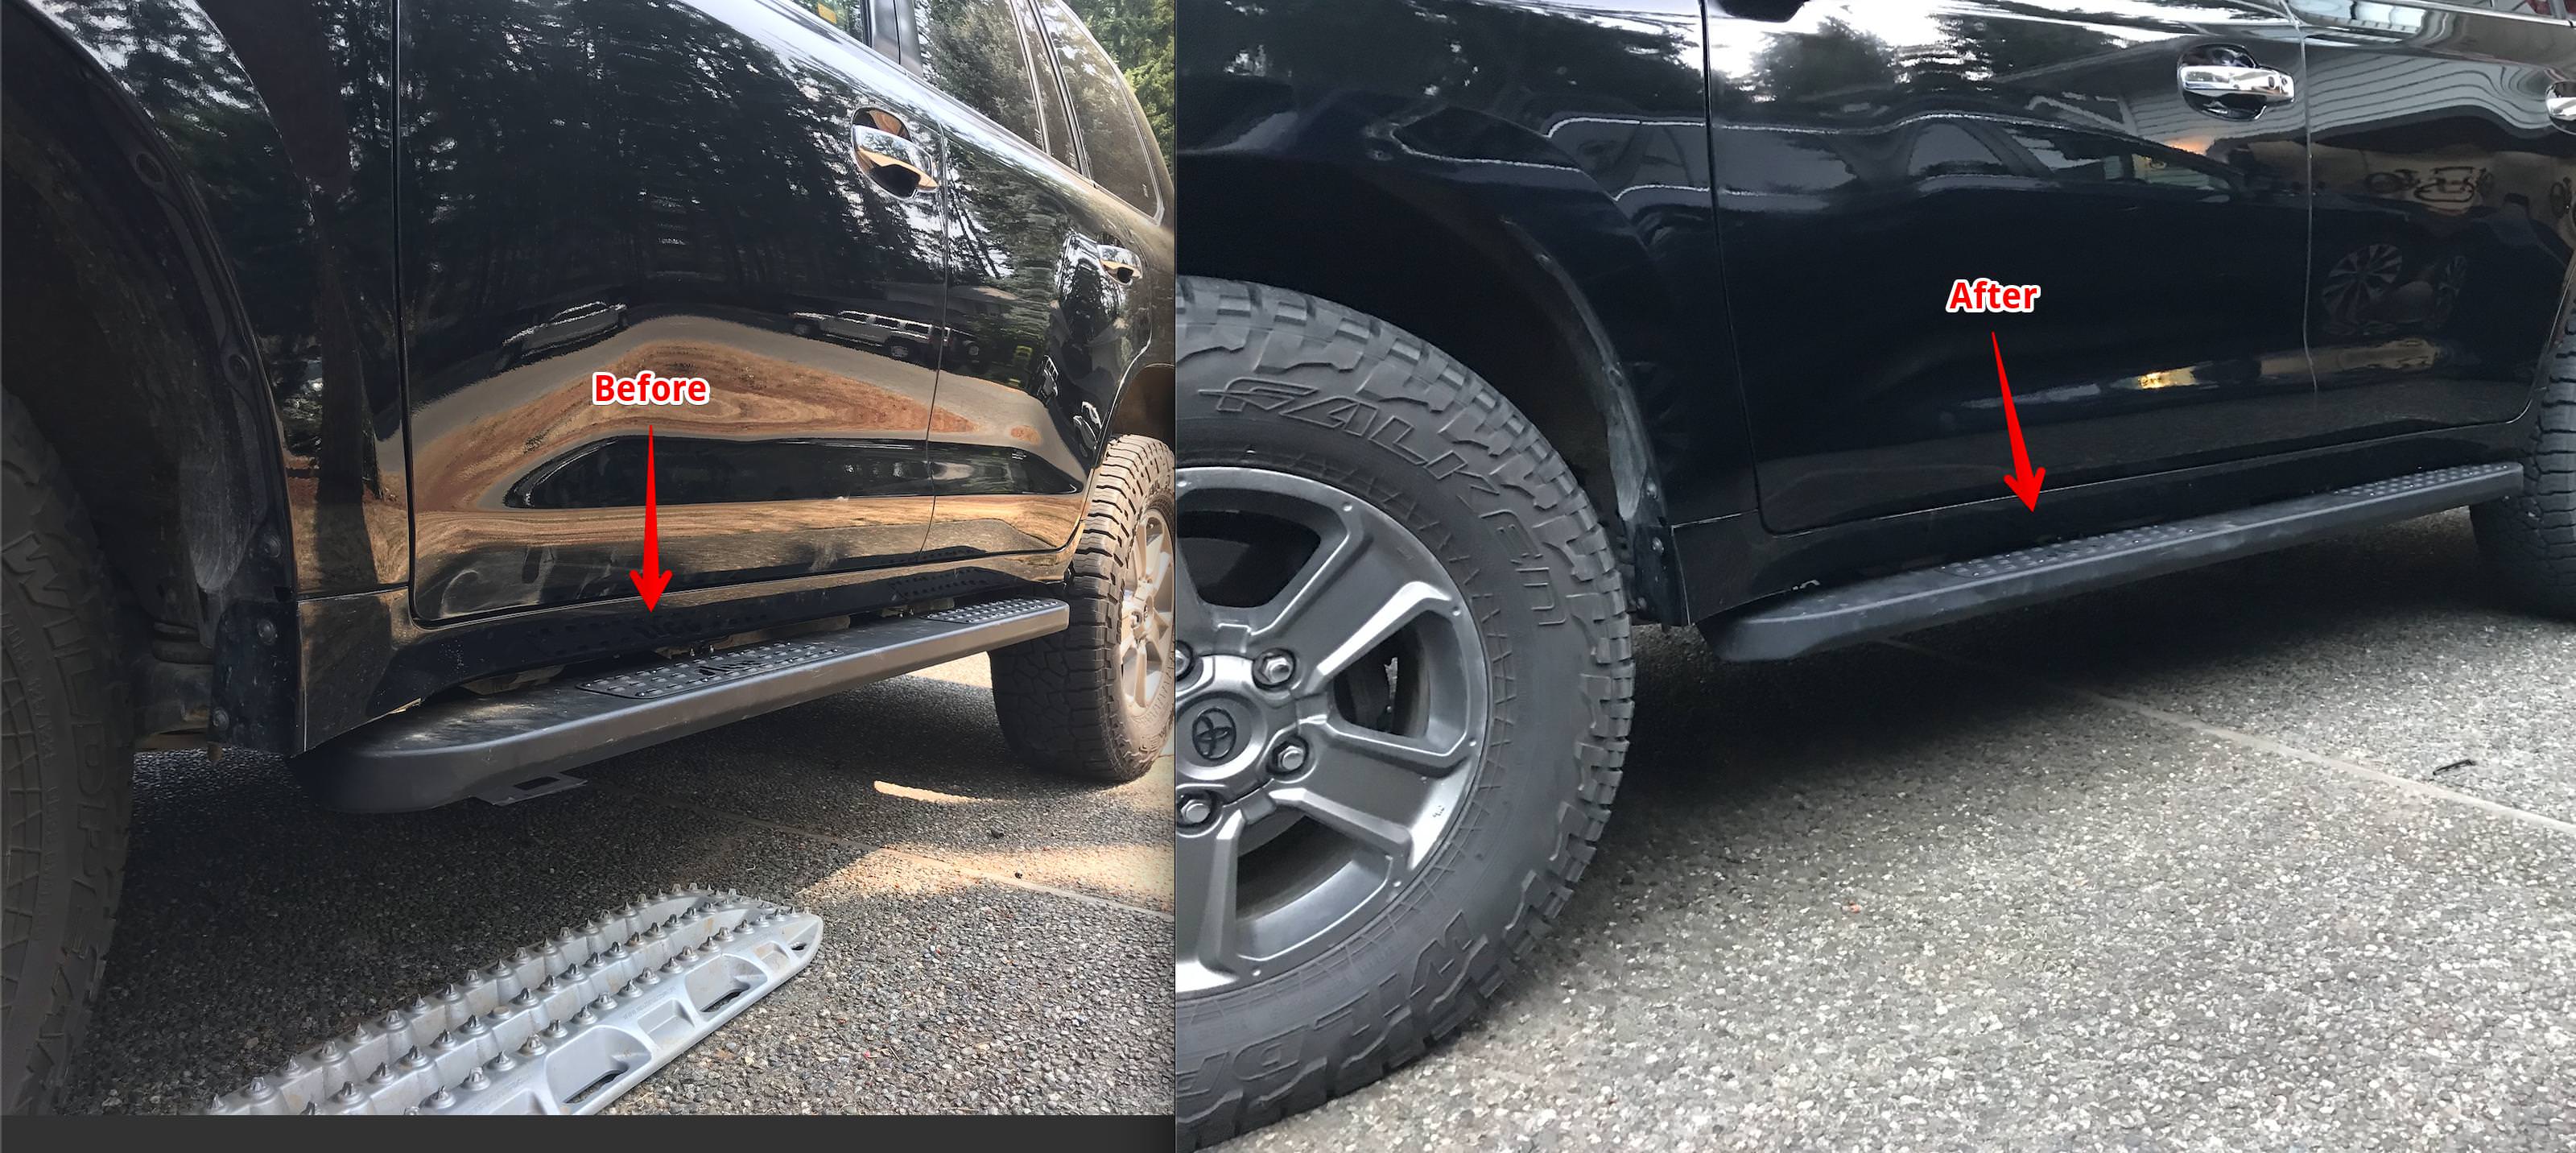
Prepping the rocker panels
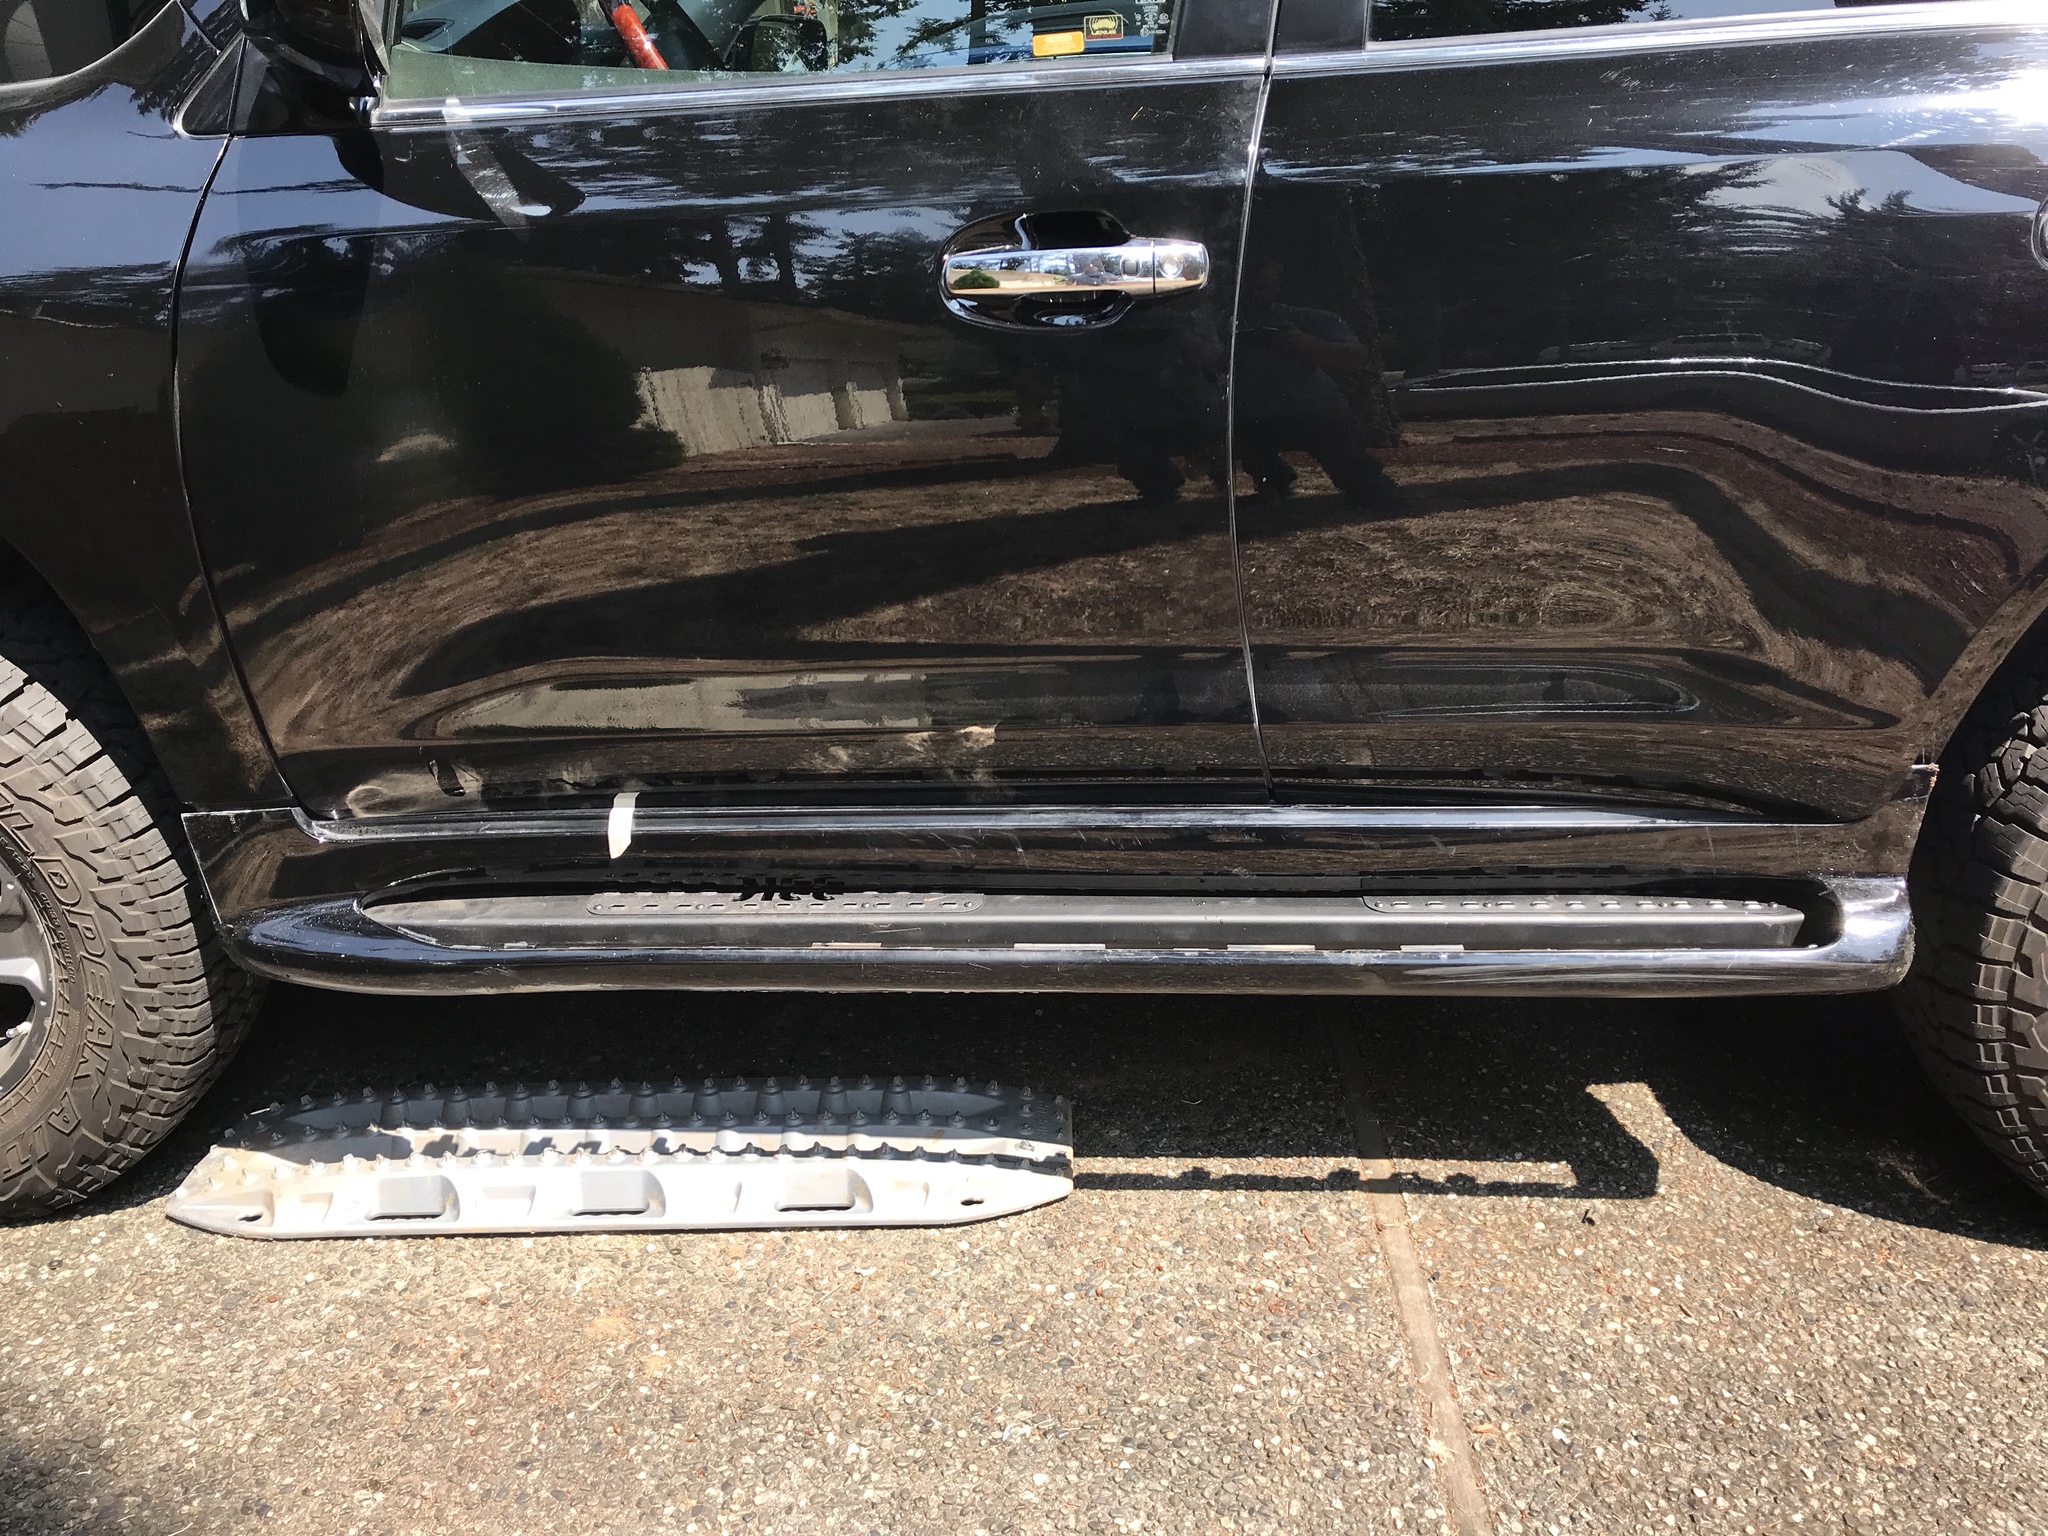
Rather than buy new rockers - I chose to cut mine. @grinchy has a great thread that I followed. An oscillating mult-tool with a semi-circle blade literally cut the plastic like butter.
One thing that's nice - once I removed the tread plate I could set the old board on top of the sliders to get a sense of where I wanted to make my cuts:
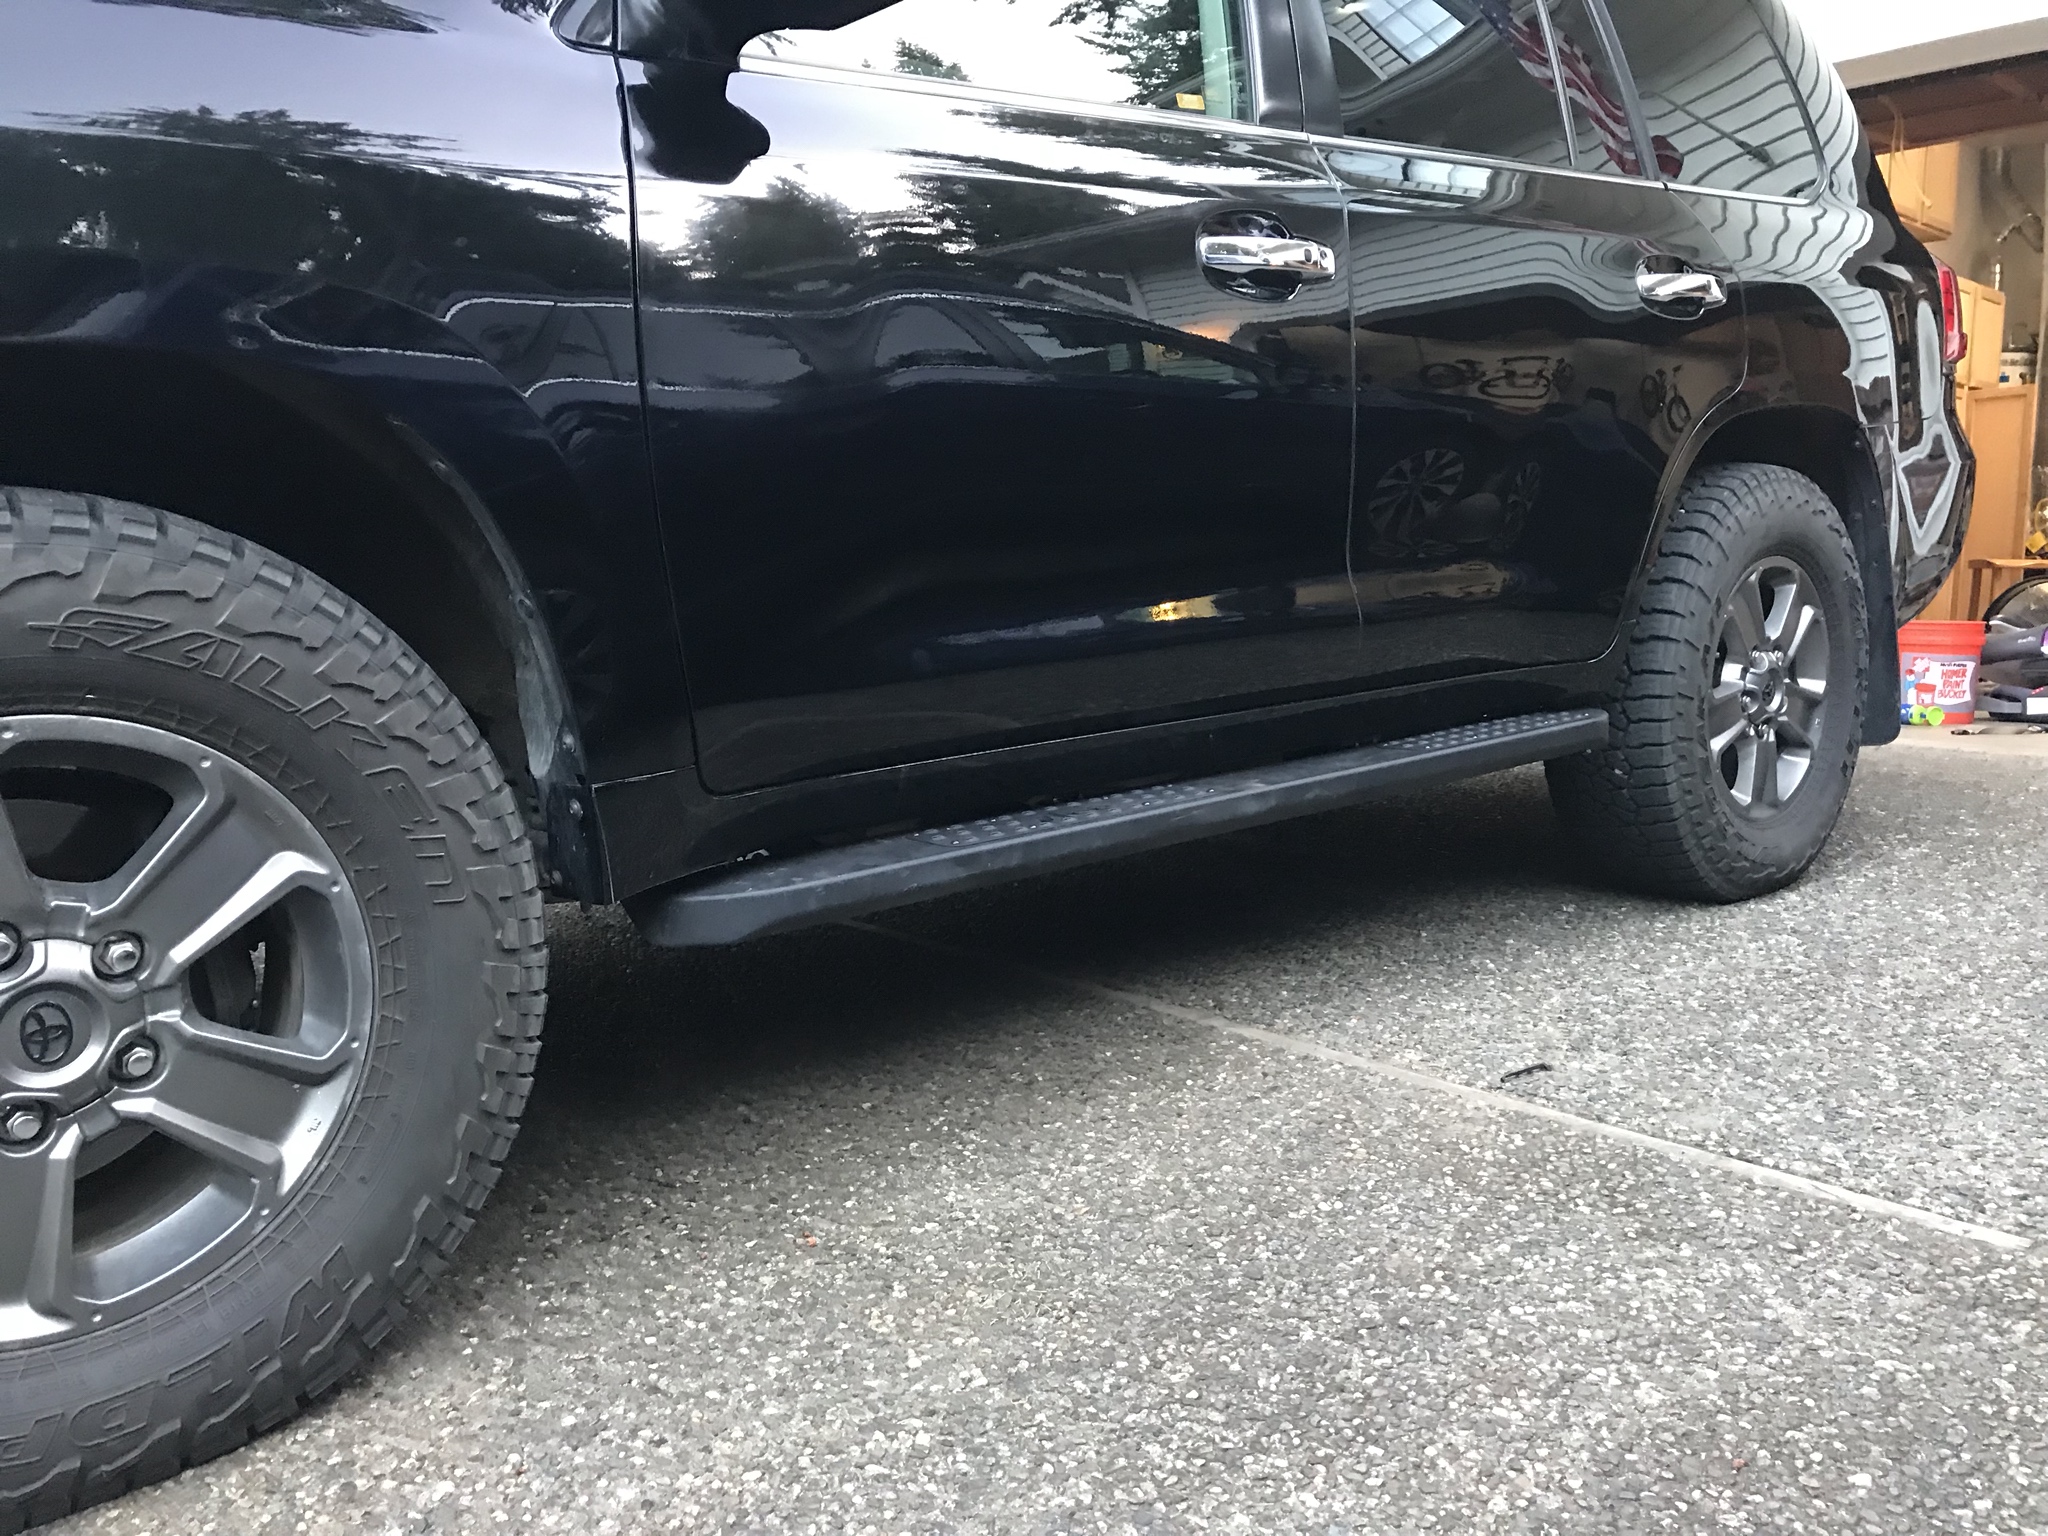
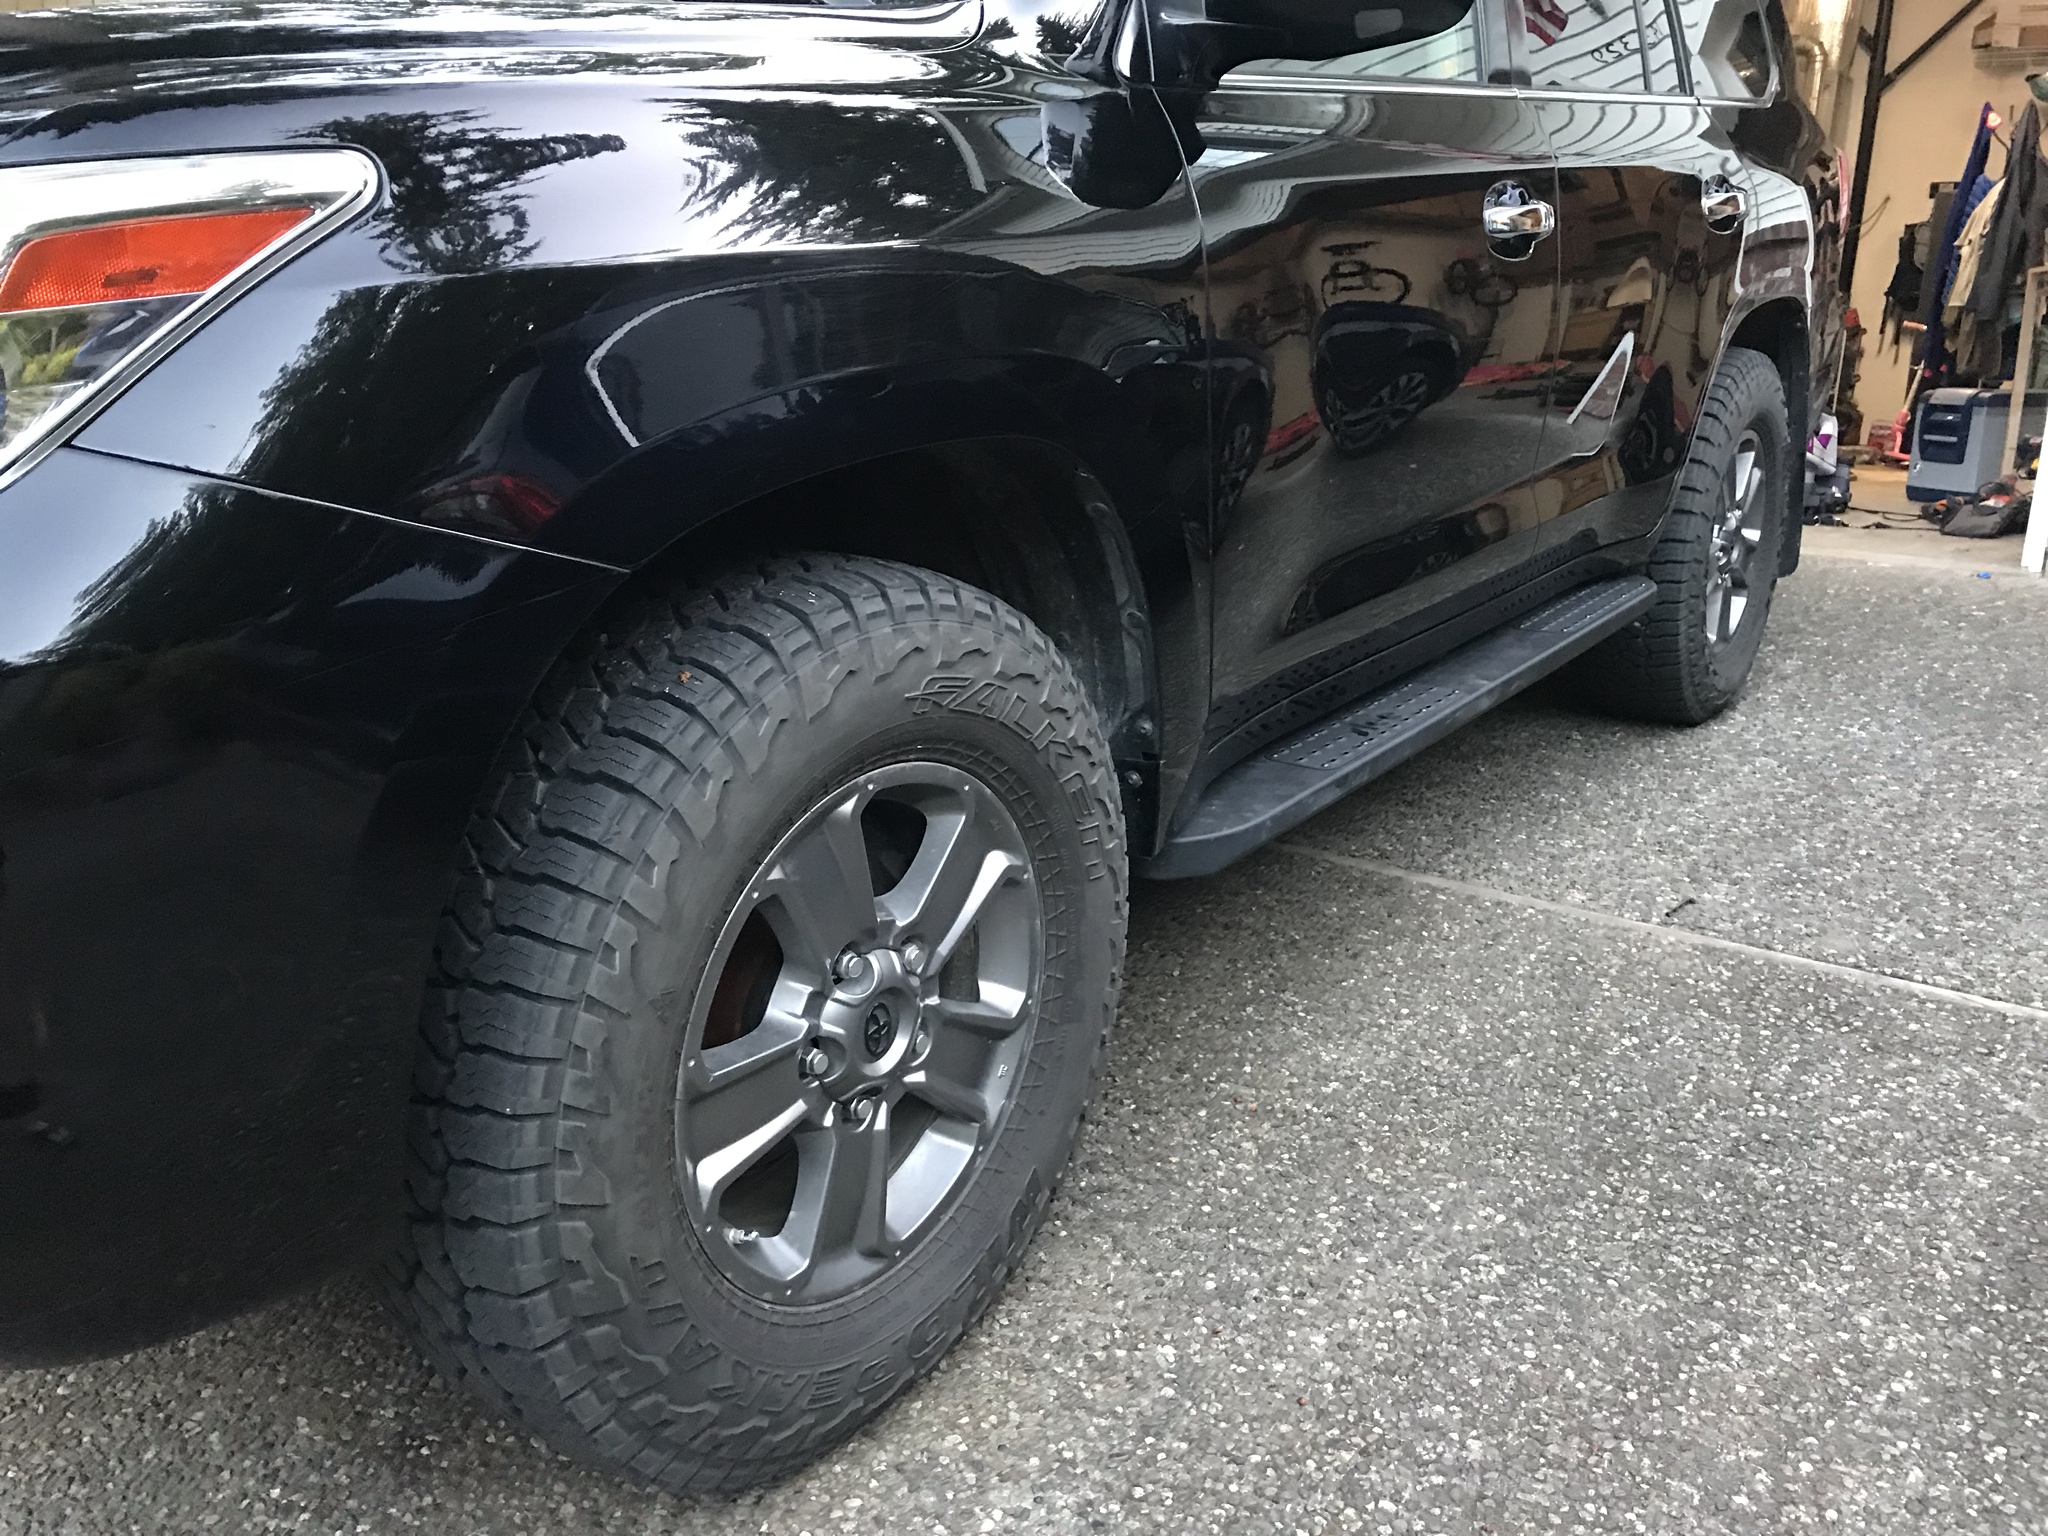
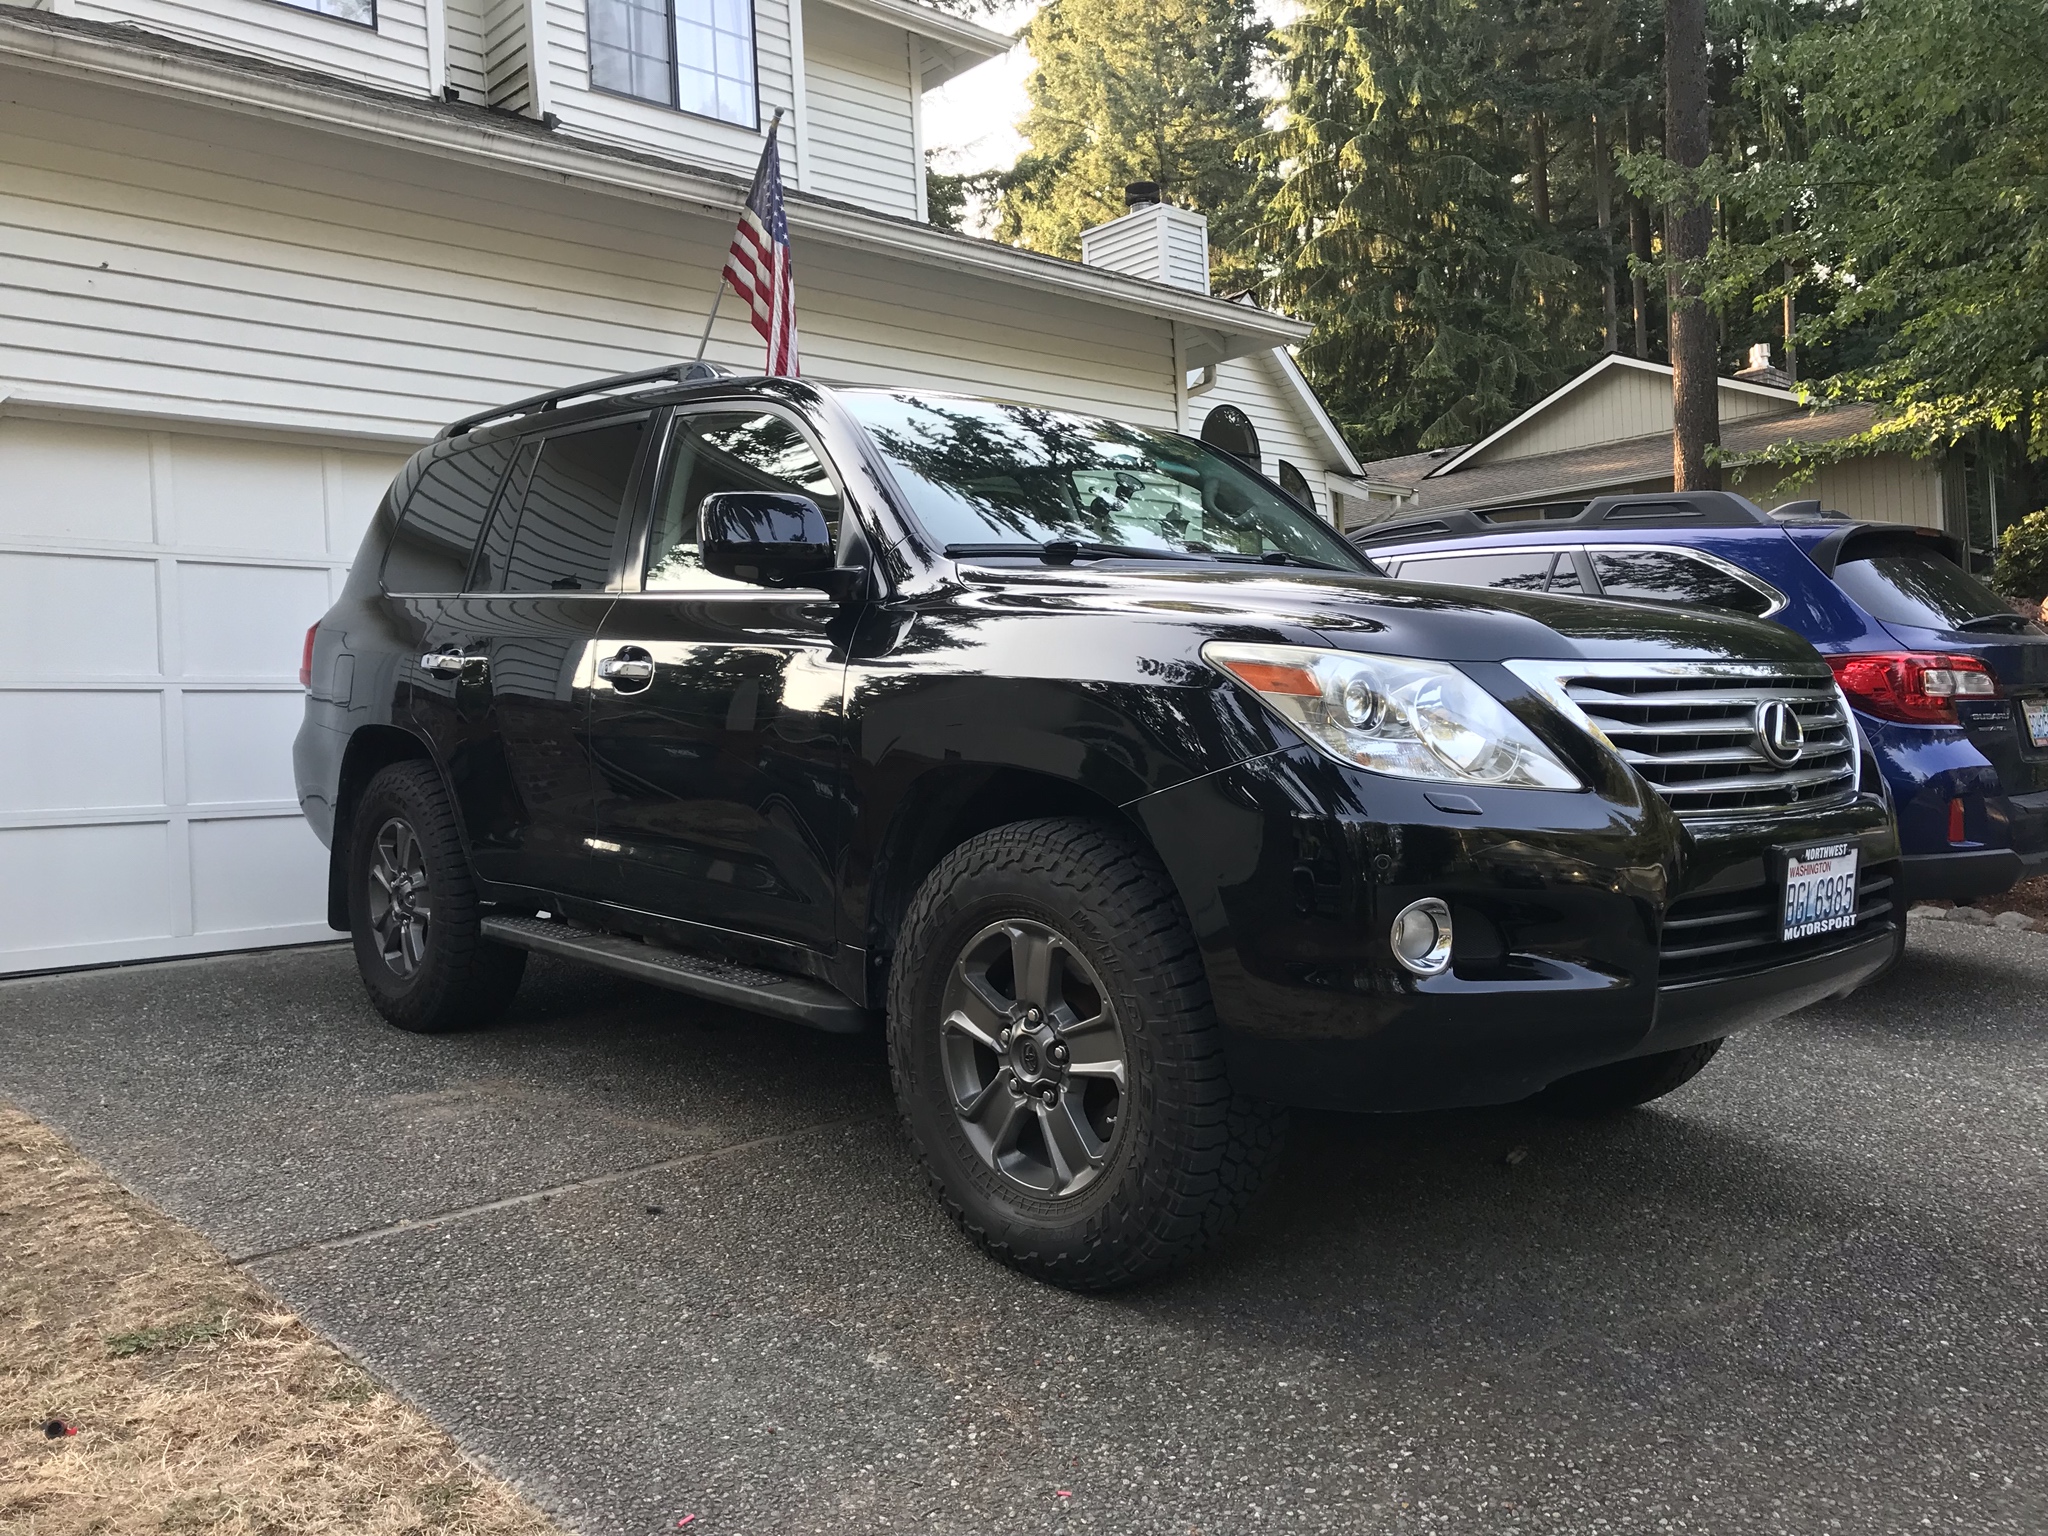
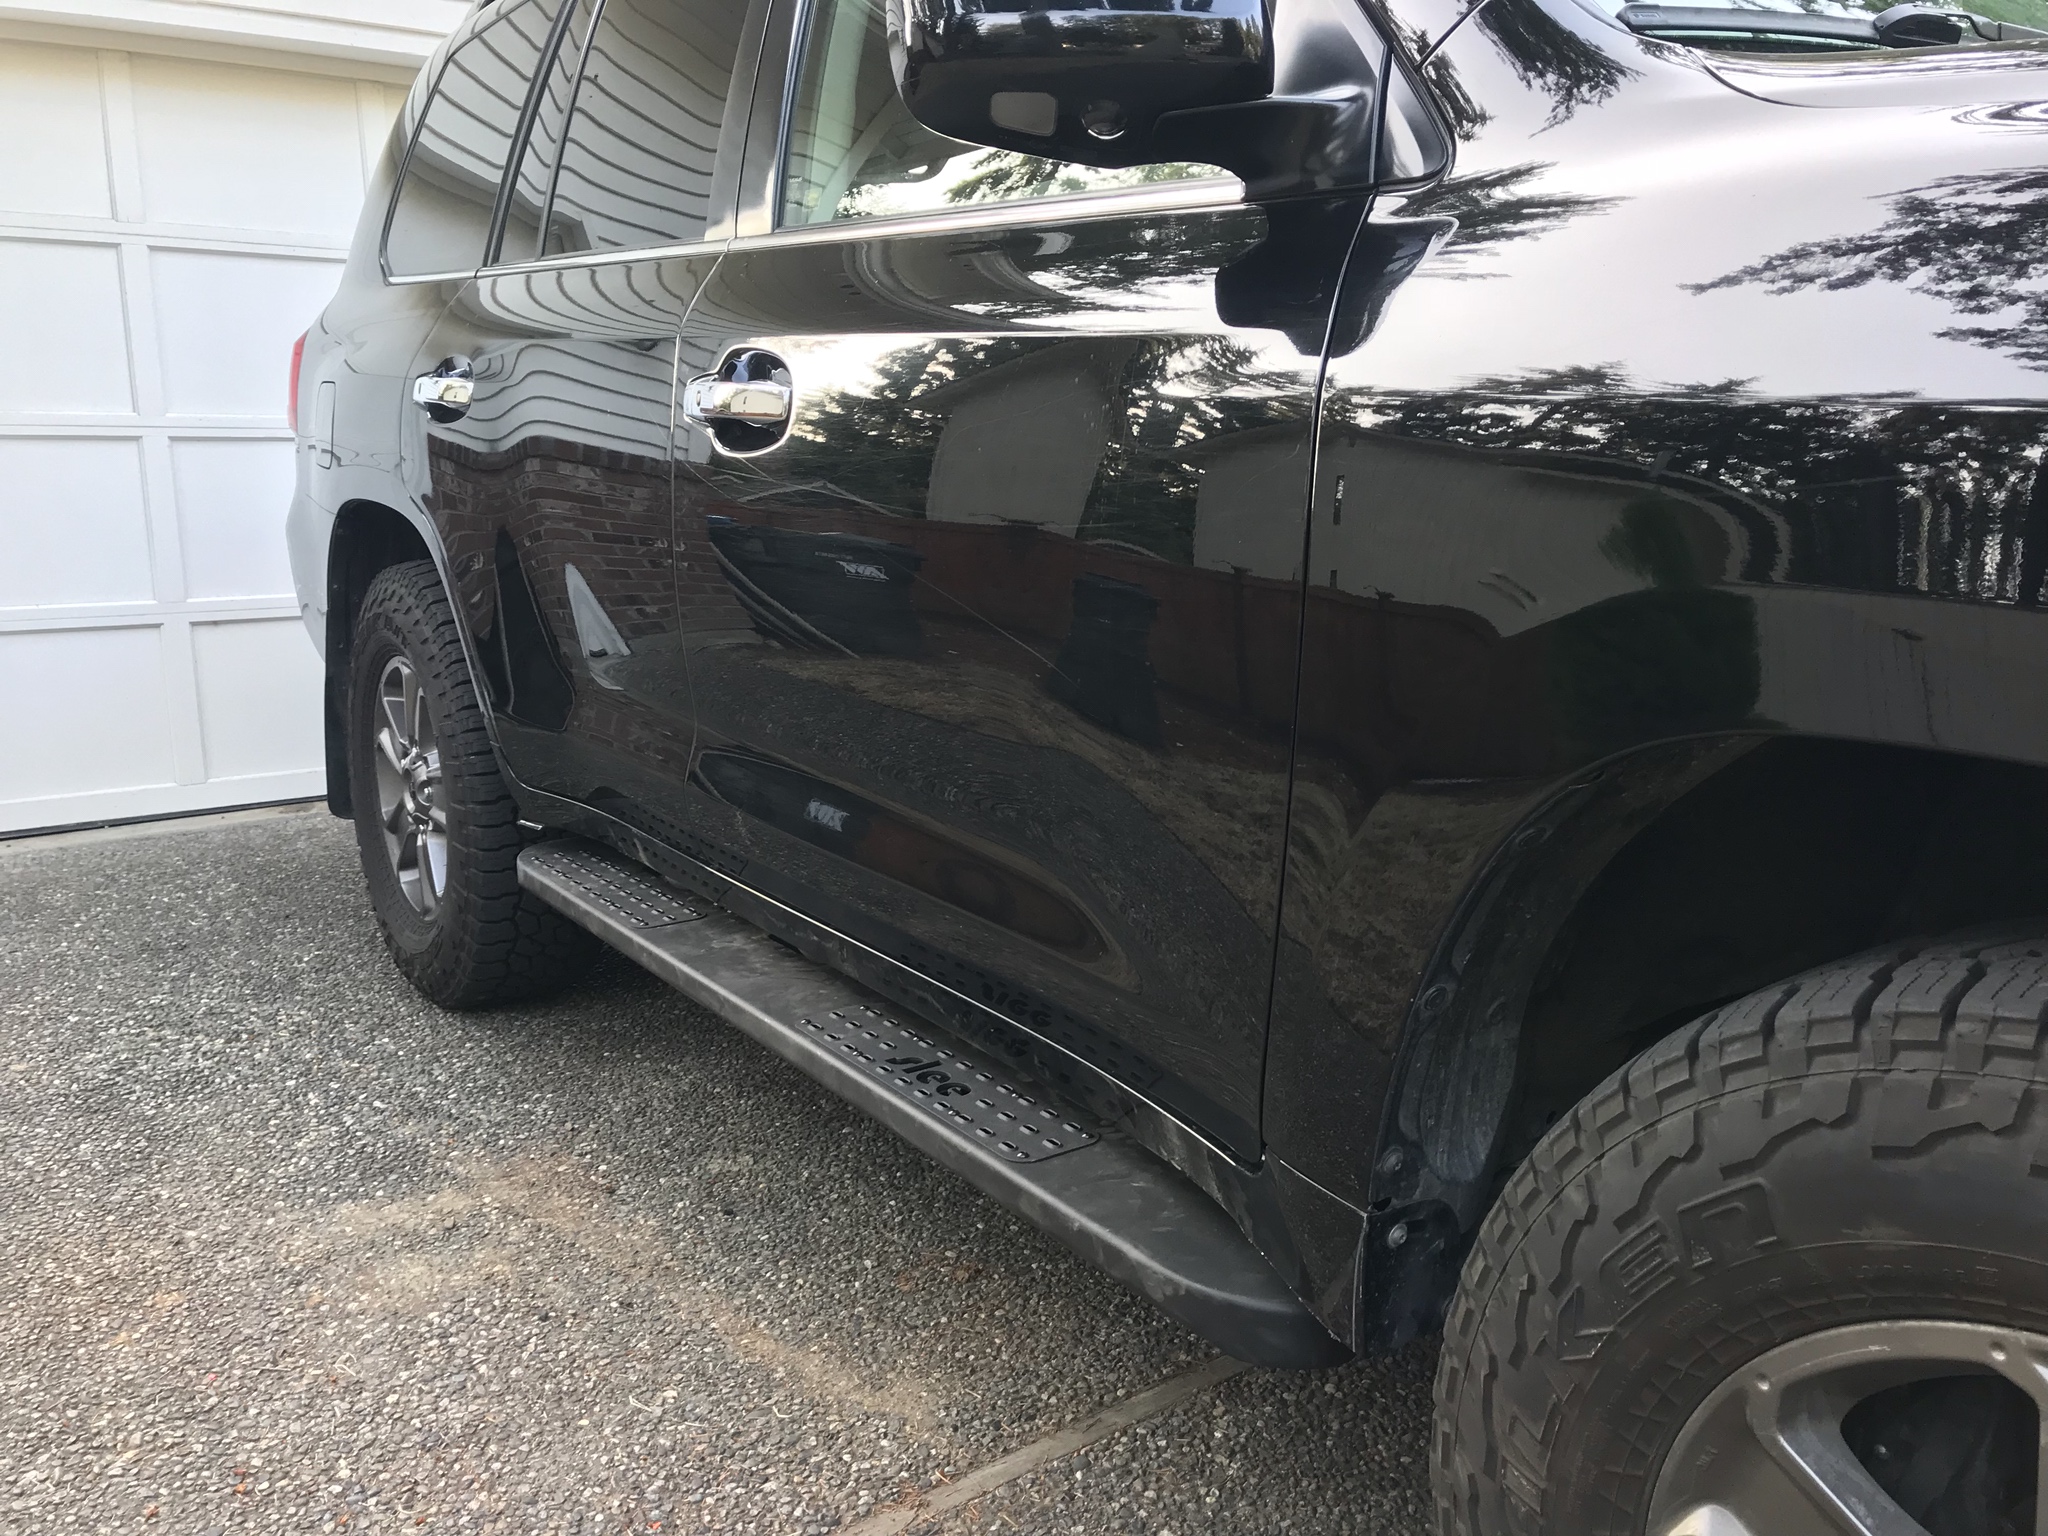
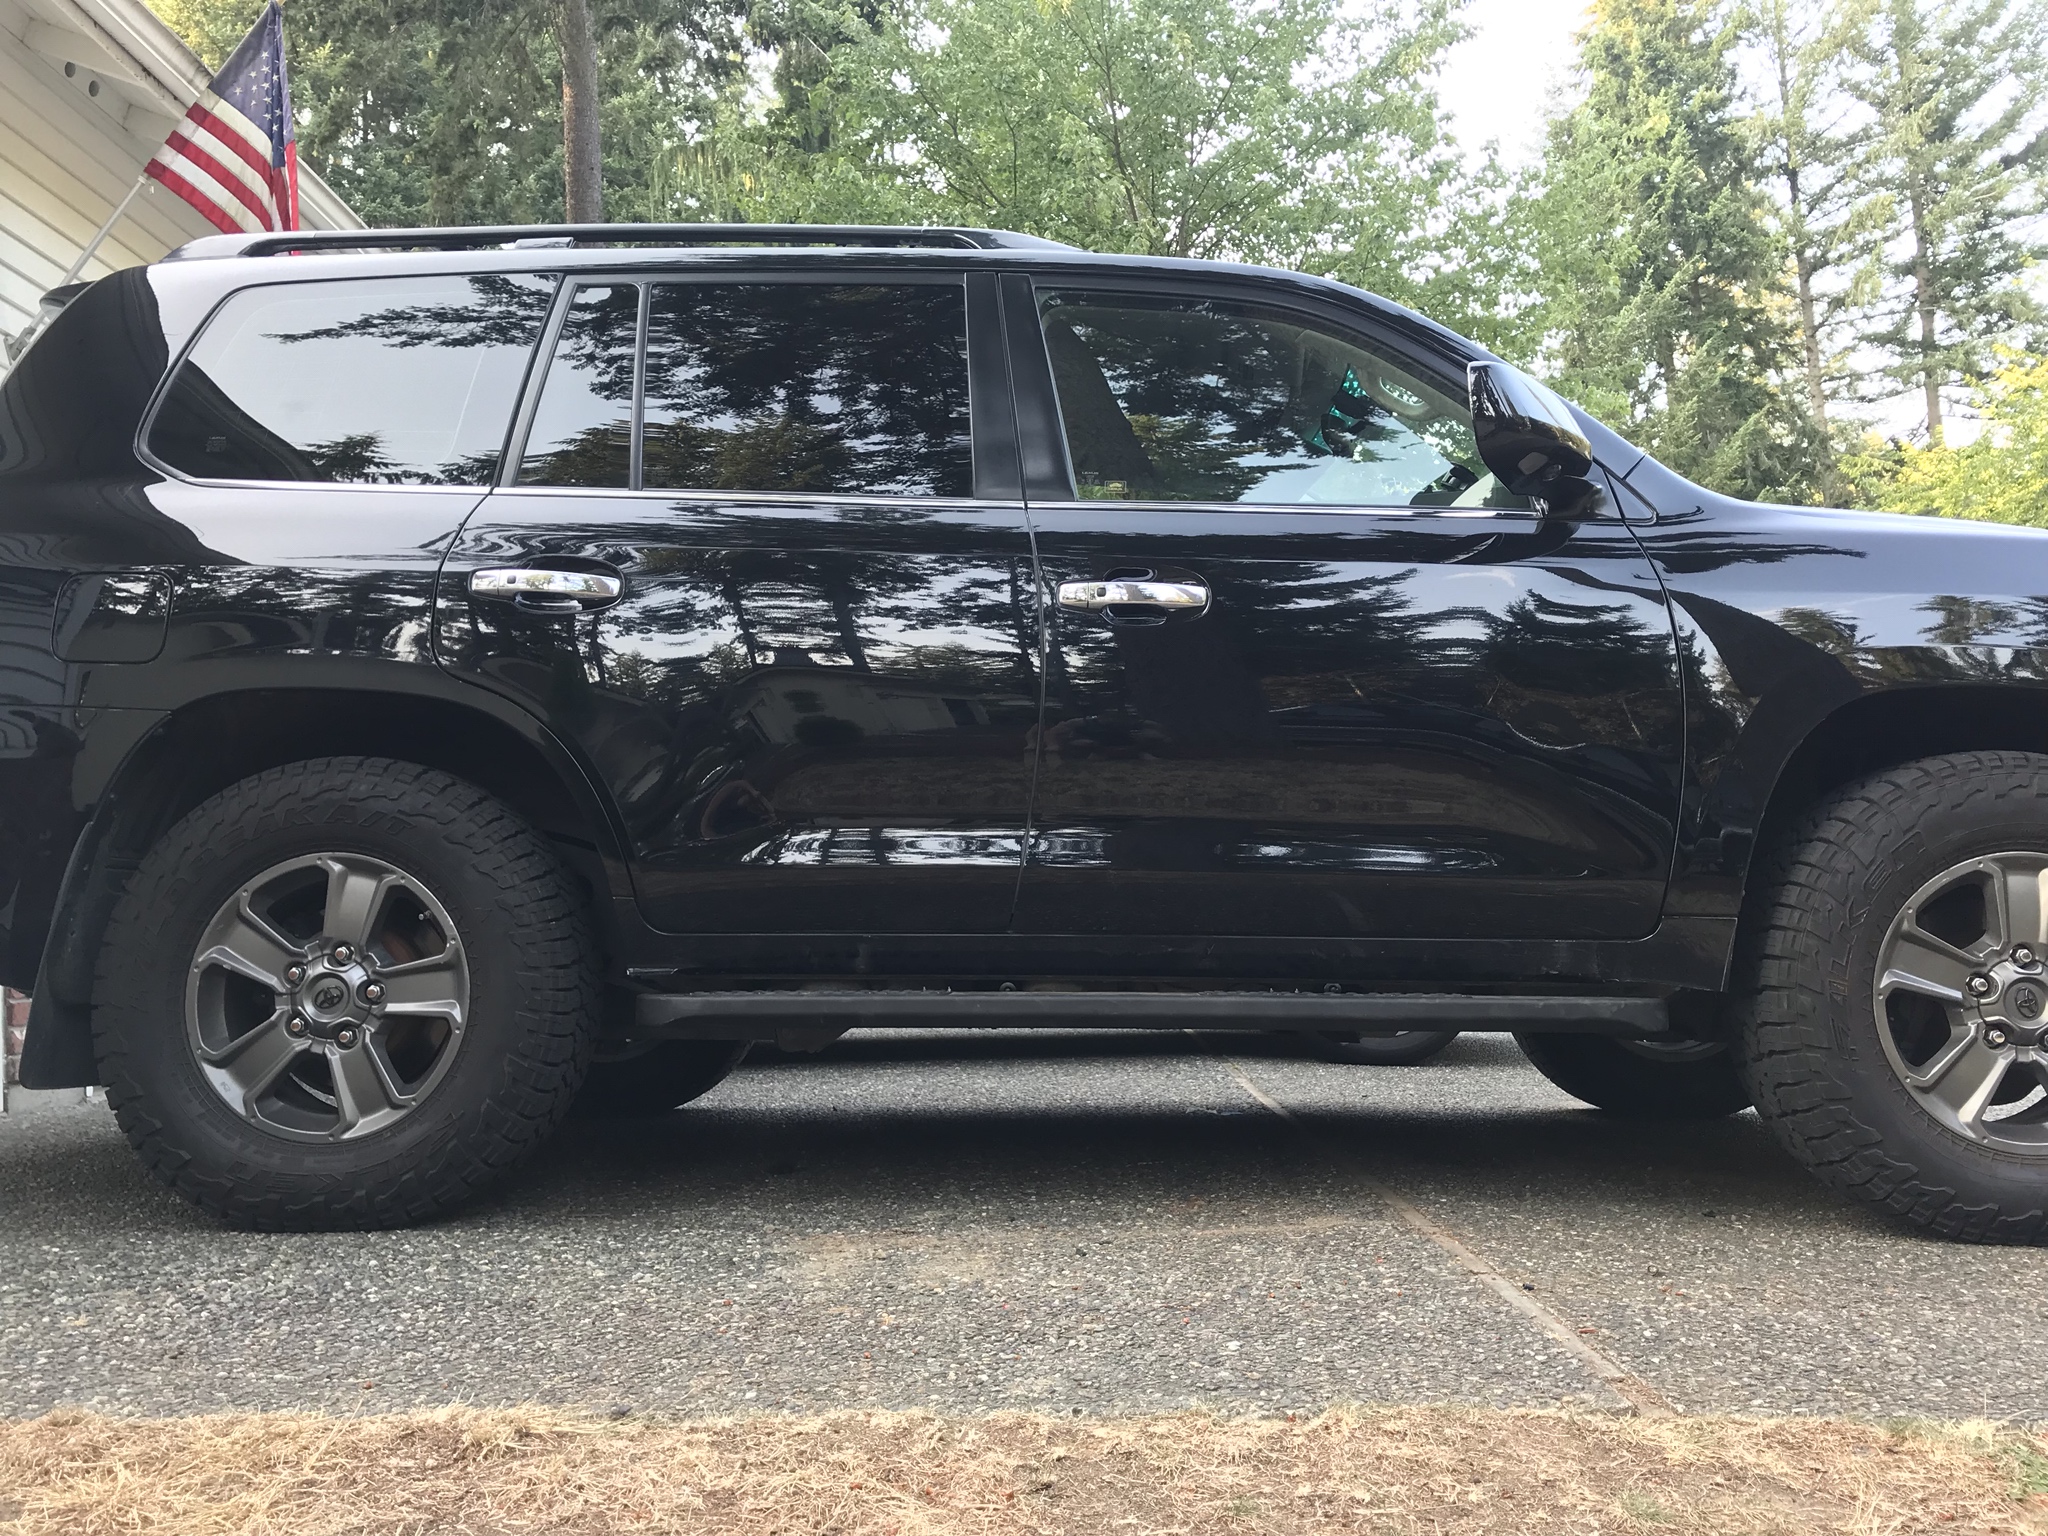
Finished product
My hope is that this thread can save other people some time in the future.
Ordering and shipping
I exchanged emails with Amory in the spring to get notified when the next batch of sliders would be available. Once I got notified from Christo, I ordered right away. The next day I got a photo from Christo - they were on a pallet, on the way via UPS freight:
They arrived at my house a few days later. Everything is well packed and there was plenty of spray insulation to keep stuff from moving around:
Hardware & instructions:
The kit arrived with printed instructions and a few bags of hardware:
One piece of feedback for @sleeoffroad - the kit come with what I assume is the standard Toyota 200 series hardware, so there is a lot of extra nutserts, etc. It took me a while to figure this out.
Also the instructions have a couple of gaps in them. Here's what threw me off:
- While it's probably obvious to others - it wasn't obvious that the "Slee" cutout marked the "front" of the slider. For some reason I assumed it was the back. I only figured this out after mounting brackets and test fitting to truck
- The technical drawing was too small to be useful. A top-down view or illustration would be more helpful
- I didn't know how many nutserts I actually had to install (hint: 3) until I test fit the sliders.
Fit & finish
Wow. Just wow. The quality of these is just outstanding. Powdercoat is perfect. The courtesy lights are really nice. Everything is laser straight and fit together well.
Removal of running boards and AHC "mini sliders"
Removing the running boards is easy. You unscrew the mudflaps (if you have them), then unbolt the 10 and 12mm bolts that hold them on. Once you do that, open the doors and start popping the plastic rivets. Mine were in good shape so none of them broke.
Removing the AHC mini sliders is straight forward - there are (8) 12mm bolts. I was able to zip off most with an impact wrench. The bolts closest to the body are just out of reach for my impact so I used a socket and u-joint thingy.
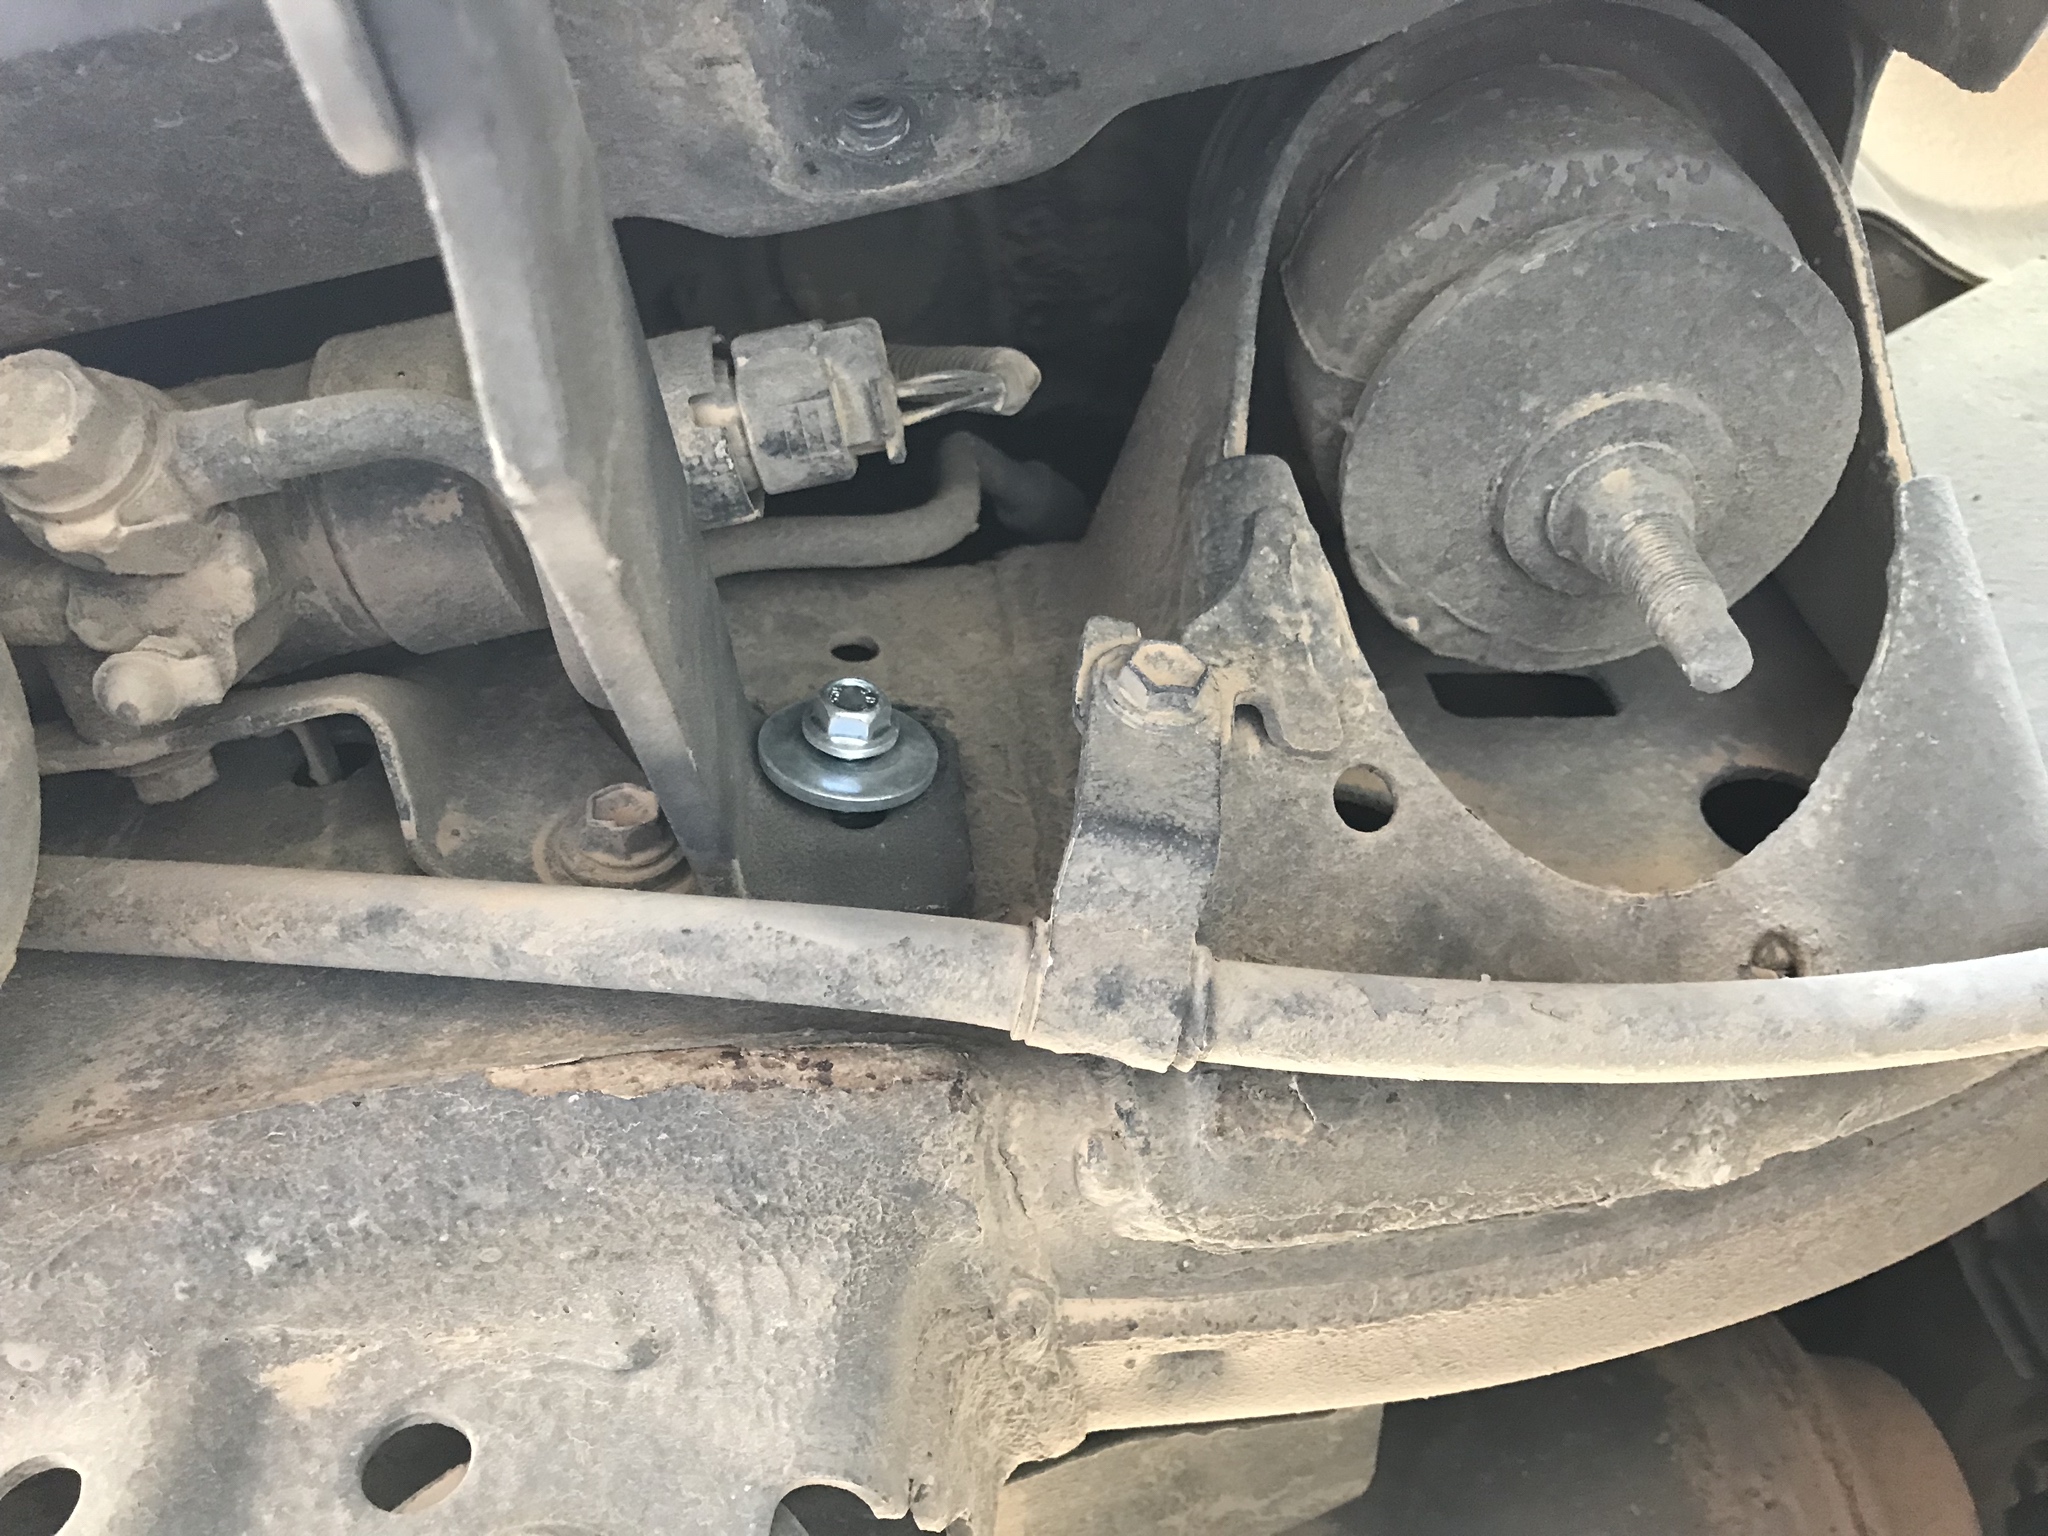
Prepping for slider install
You'll need 3 nutserts to install these - 2 on driver's side and 1 on passenger. The M8 nutserts need a 17/32" drill bit. I searched high and low and couldn't find one locally at Lowes, Ace, etc. I ended up with a 9/16", which is a few mm bigger than the 13.5mm required for the M8. I knew this would be a risk...2 went in fine, one spun (more on that later).
I set the sliders on a jack to see where I needed to drill:
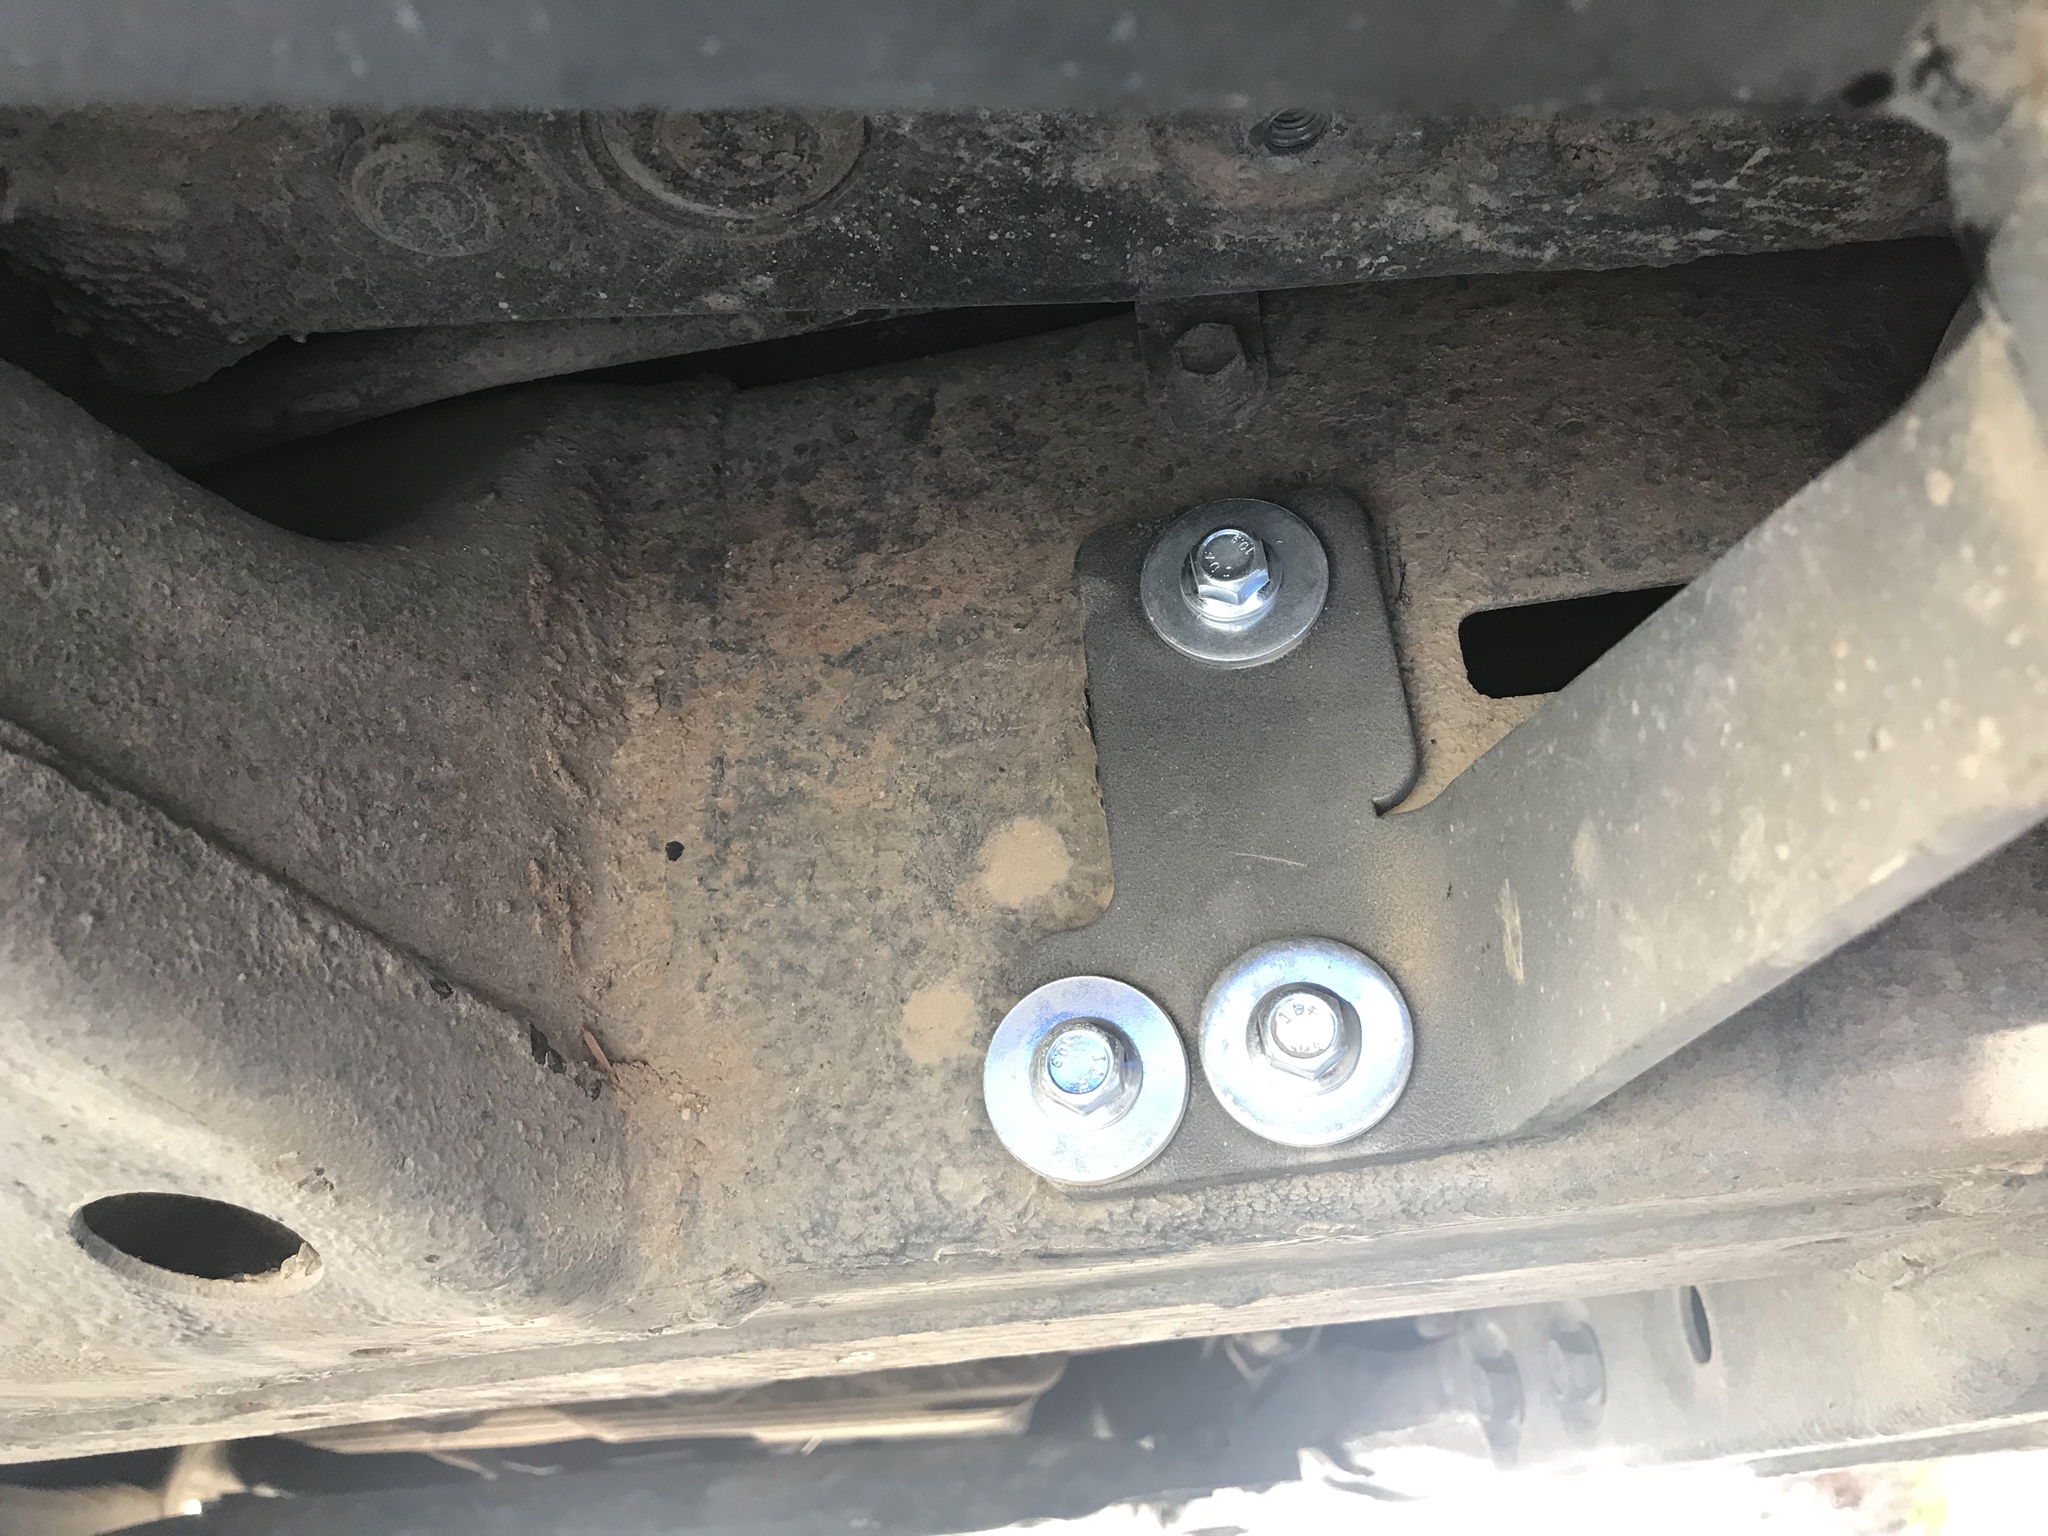
On the driver's side, you'll drill one hole for the front bracket, and one on the bottom of a crossmember for the second-to-last bracket. On the passenger side, you just need a whole for the front bracket.
After drilling, I hit each hole with some spray paint to prevent corrosion.
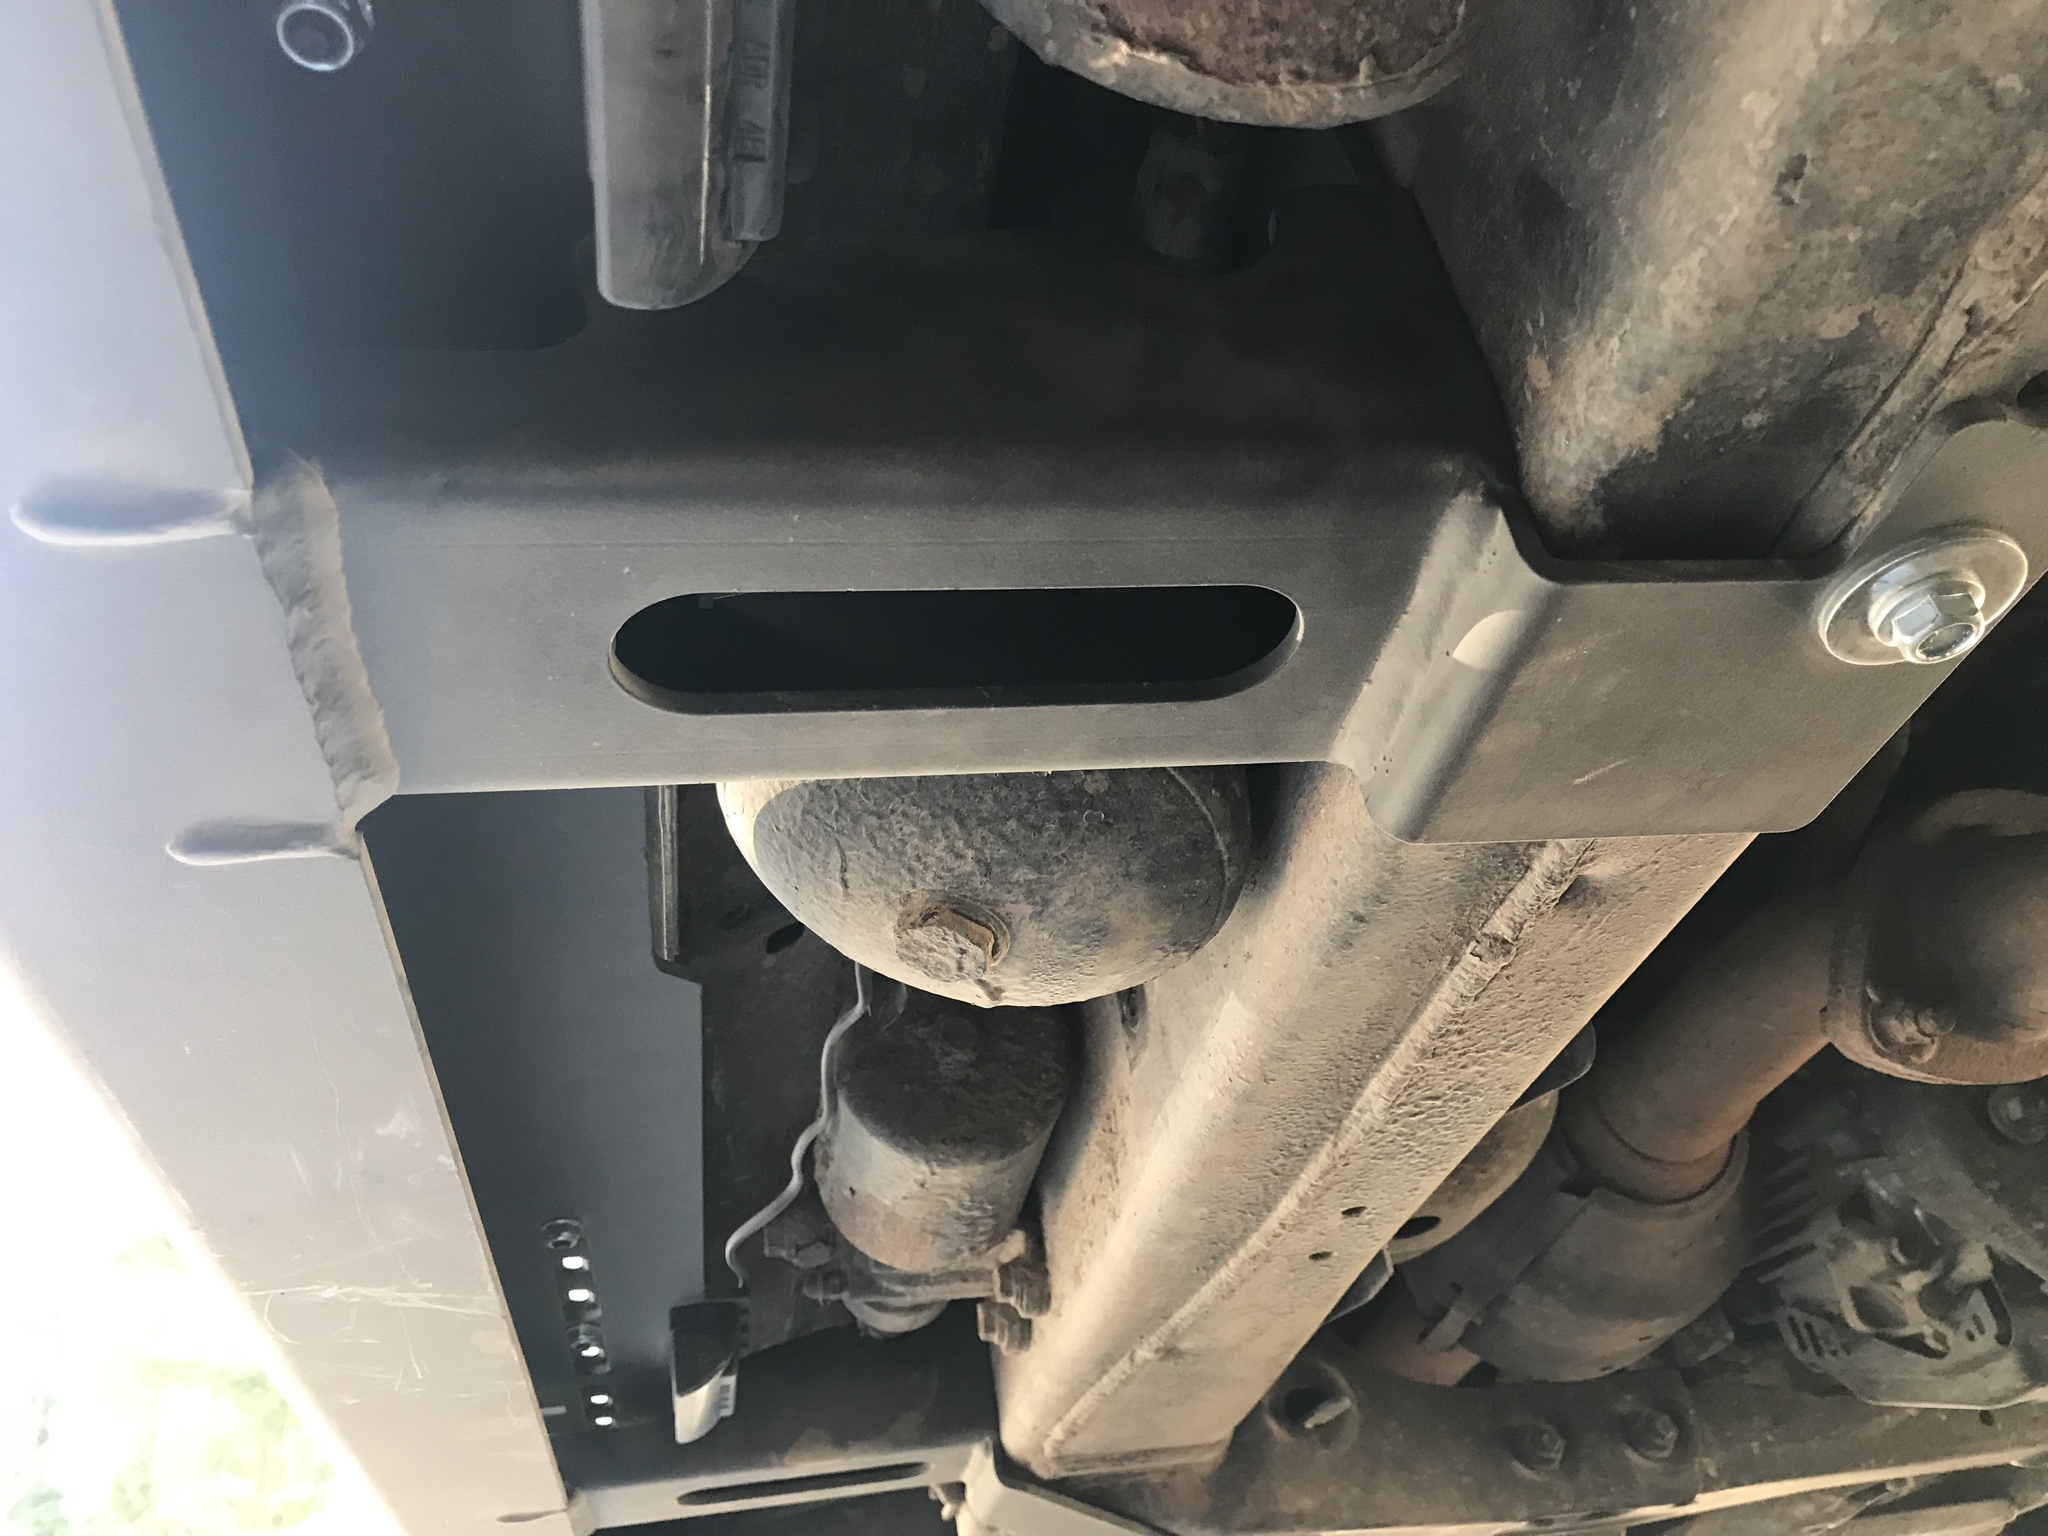
Bolting up
Second piece of feedback for @sleeoffroad - it wasn't clear which side of the slider that the brackets bolted too (inside vs outside). I got it wrong the first time, which results in the middle two brackets being off from their holes by ~ 1/2". I had to take sliders back down and re-mount the brackets. No big deal, but instructions could have spelled it out.
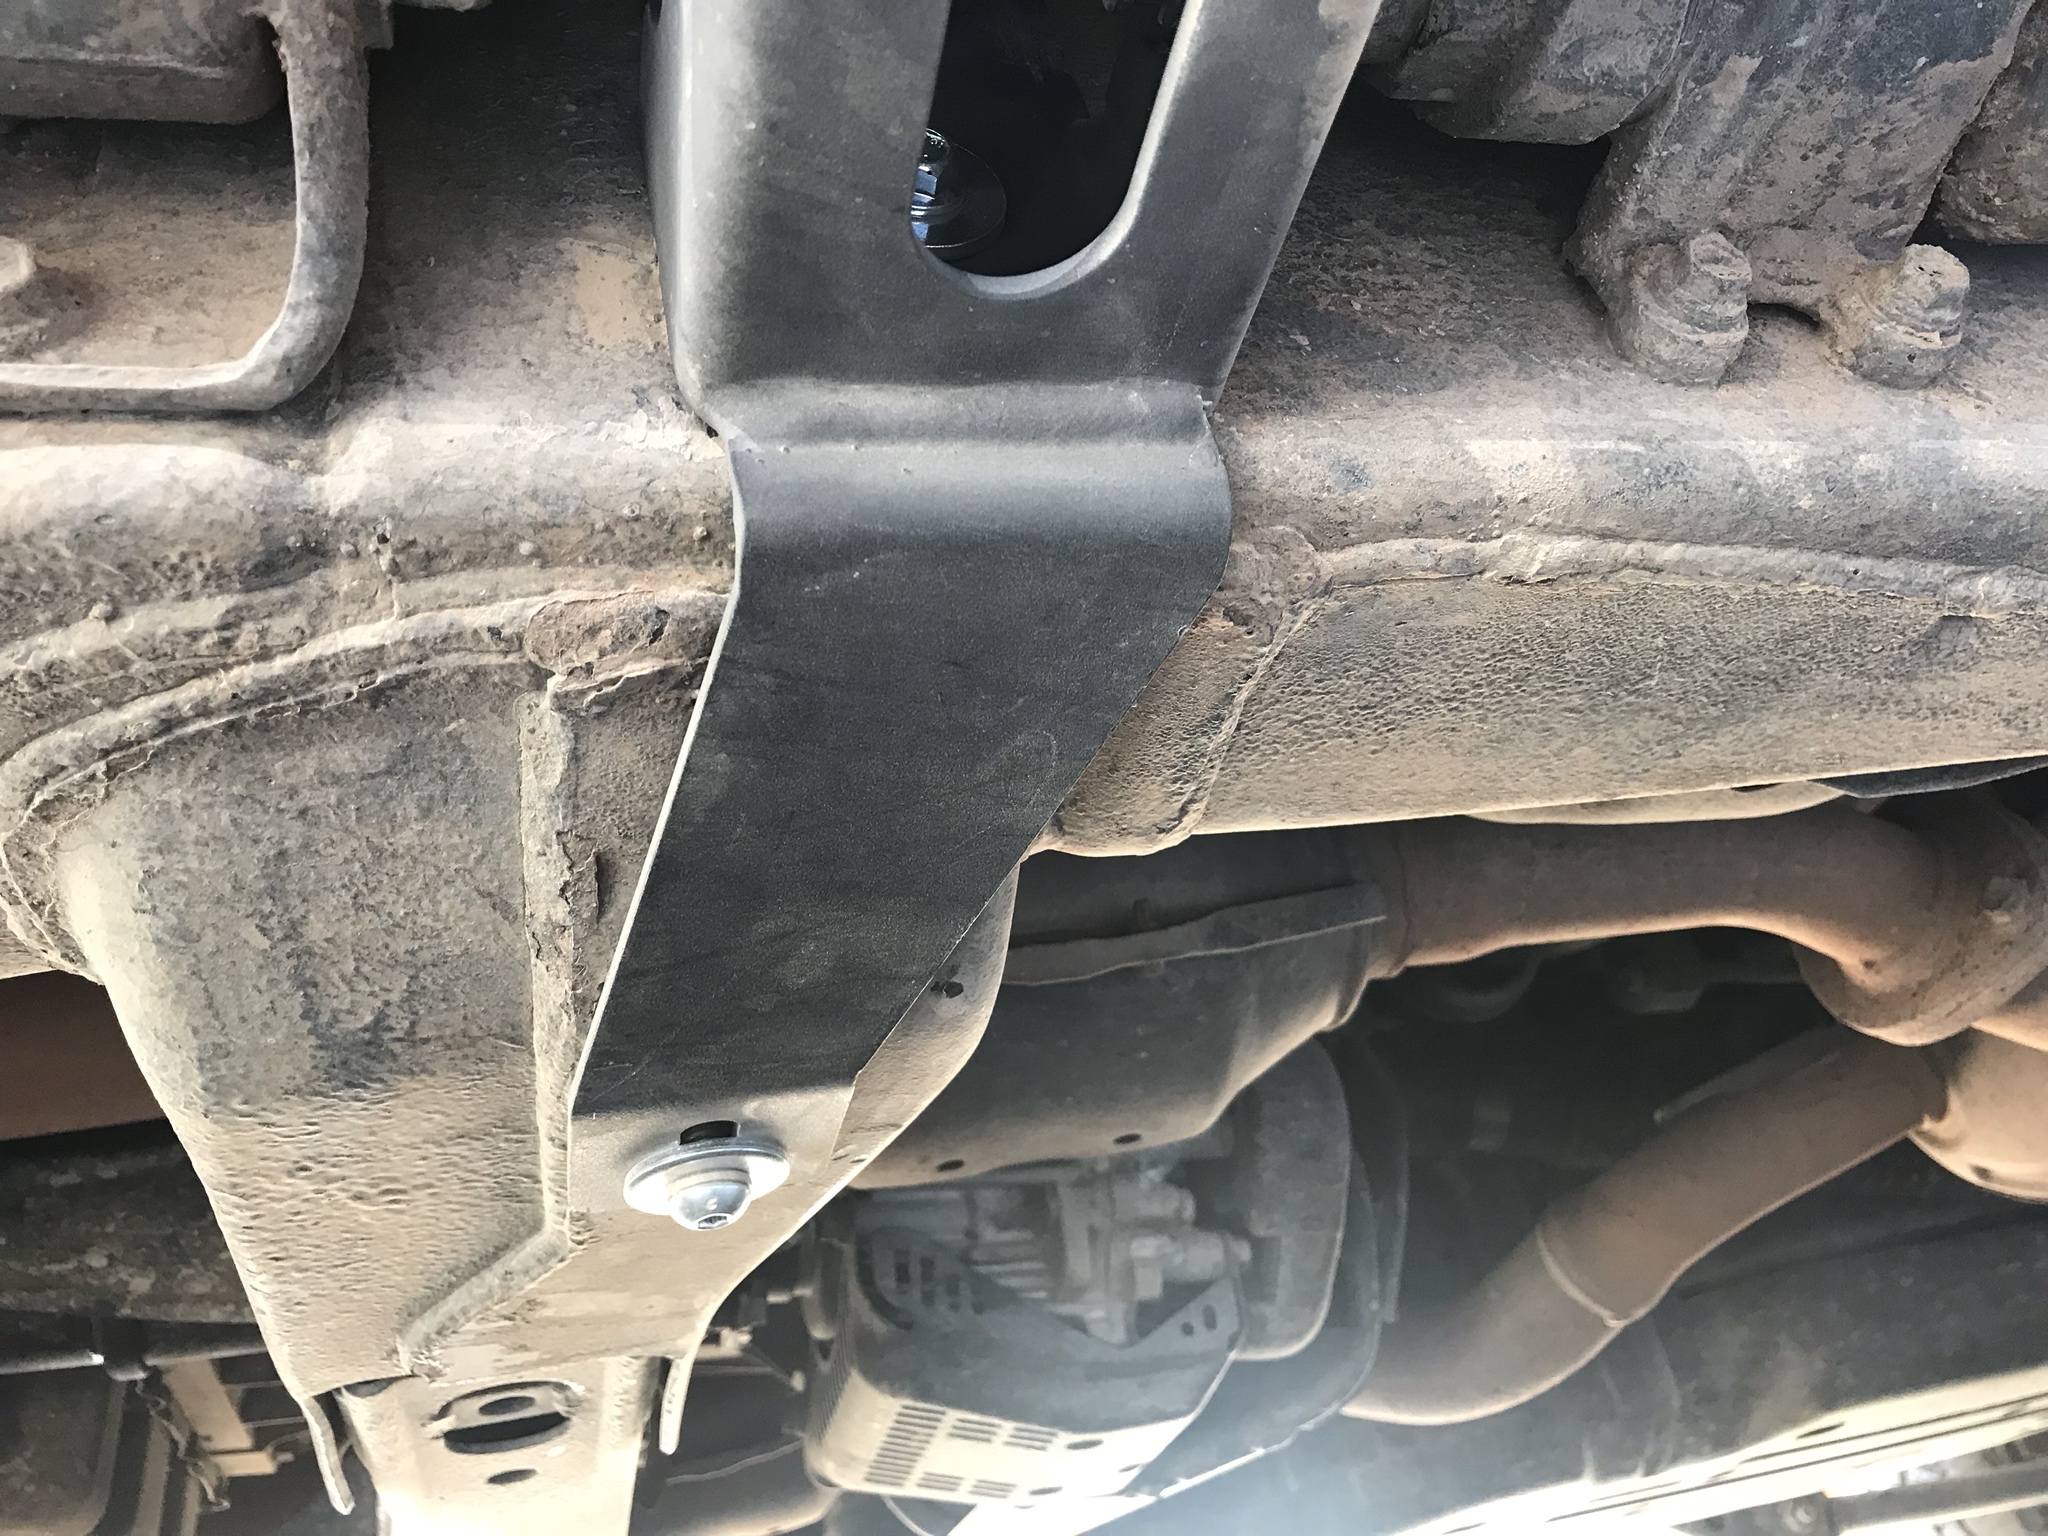
I expected the top holes to be a pain - but they weren't too bad. I had the right combination of long extension (like 6") plus u-joint + socket and I was able to get in through the bottom of the slider:
I just took it super slow. While the slider was on a floor jack, I lined everything up and then got each bolt started. I started tightening inside most bolts and worked my way out. I tightened the 4 bolts that hold on the front and rear brackets last. On the passenger side, one of my nutserts spun and I could not back the bolt out. The front bracket has 3 bolts - and 2 are fine. I'm not super concerned.
I also ended up parking on my max trax + putting truck in high to give myself room to work.
After tightening everything, I wired the lights. I don't have a soldering iron, so I spliced wires, used heat shrink packed with dielectric grease. I'm sure I'll come back and do these right later.
Prepping the rocker panels
Rather than buy new rockers - I chose to cut mine. @grinchy has a great thread that I followed. An oscillating mult-tool with a semi-circle blade literally cut the plastic like butter.
One thing that's nice - once I removed the tread plate I could set the old board on top of the sliders to get a sense of where I wanted to make my cuts:
Finished product
")