


I stacked mine up in the shed, just in case, but more likely so that my kids can haul it to the dump after I'm gone.Did everyone just trash the OEM AHC bars after the install?

Follow along with the video below to see how to install our site as a web app on your home screen.
Note: This feature may not be available in some browsers.
This site may earn a commission from merchant affiliate
links, including eBay, Amazon, Skimlinks, and others.
I stacked mine up in the shed, just in case, but more likely so that my kids can haul it to the dump after I'm gone.Did everyone just trash the OEM AHC bars after the install?

I've got that same shed.I stacked mine up in the shed, just in case, but more likely so that my kids can haul it to the dump after I'm gone.


Hi Folks,
Resurrecting this thread with a couple questions. I purchased my LX with these sliders already on it, so I didn't do the install. Just thought I would ask before I go out in the garage and start tearing stuff apart.
1) Does anybody have a pdf of the installation instructions handy? I know slee sometimes posts instructions to the website, but I don't see them.
2) Based on your installation experience, do you think it would be feasible to mount these maybe 1/2" further out from the body? I'm OK with some light fab (i.e. re-drilling holes, minor welding). If it comes to significant welding, I'd probably ditch the step and use the mounts to build something of my own design.
Please and thank you!
The logo on mine is on the drivers front door footplate. Don't know if that makes them the newer ones or the older ones. Looking at how the arms attach, it appears the bigger middle arms are welded to the step, so I guess adjusting the step on the arms without moving the arms is out.
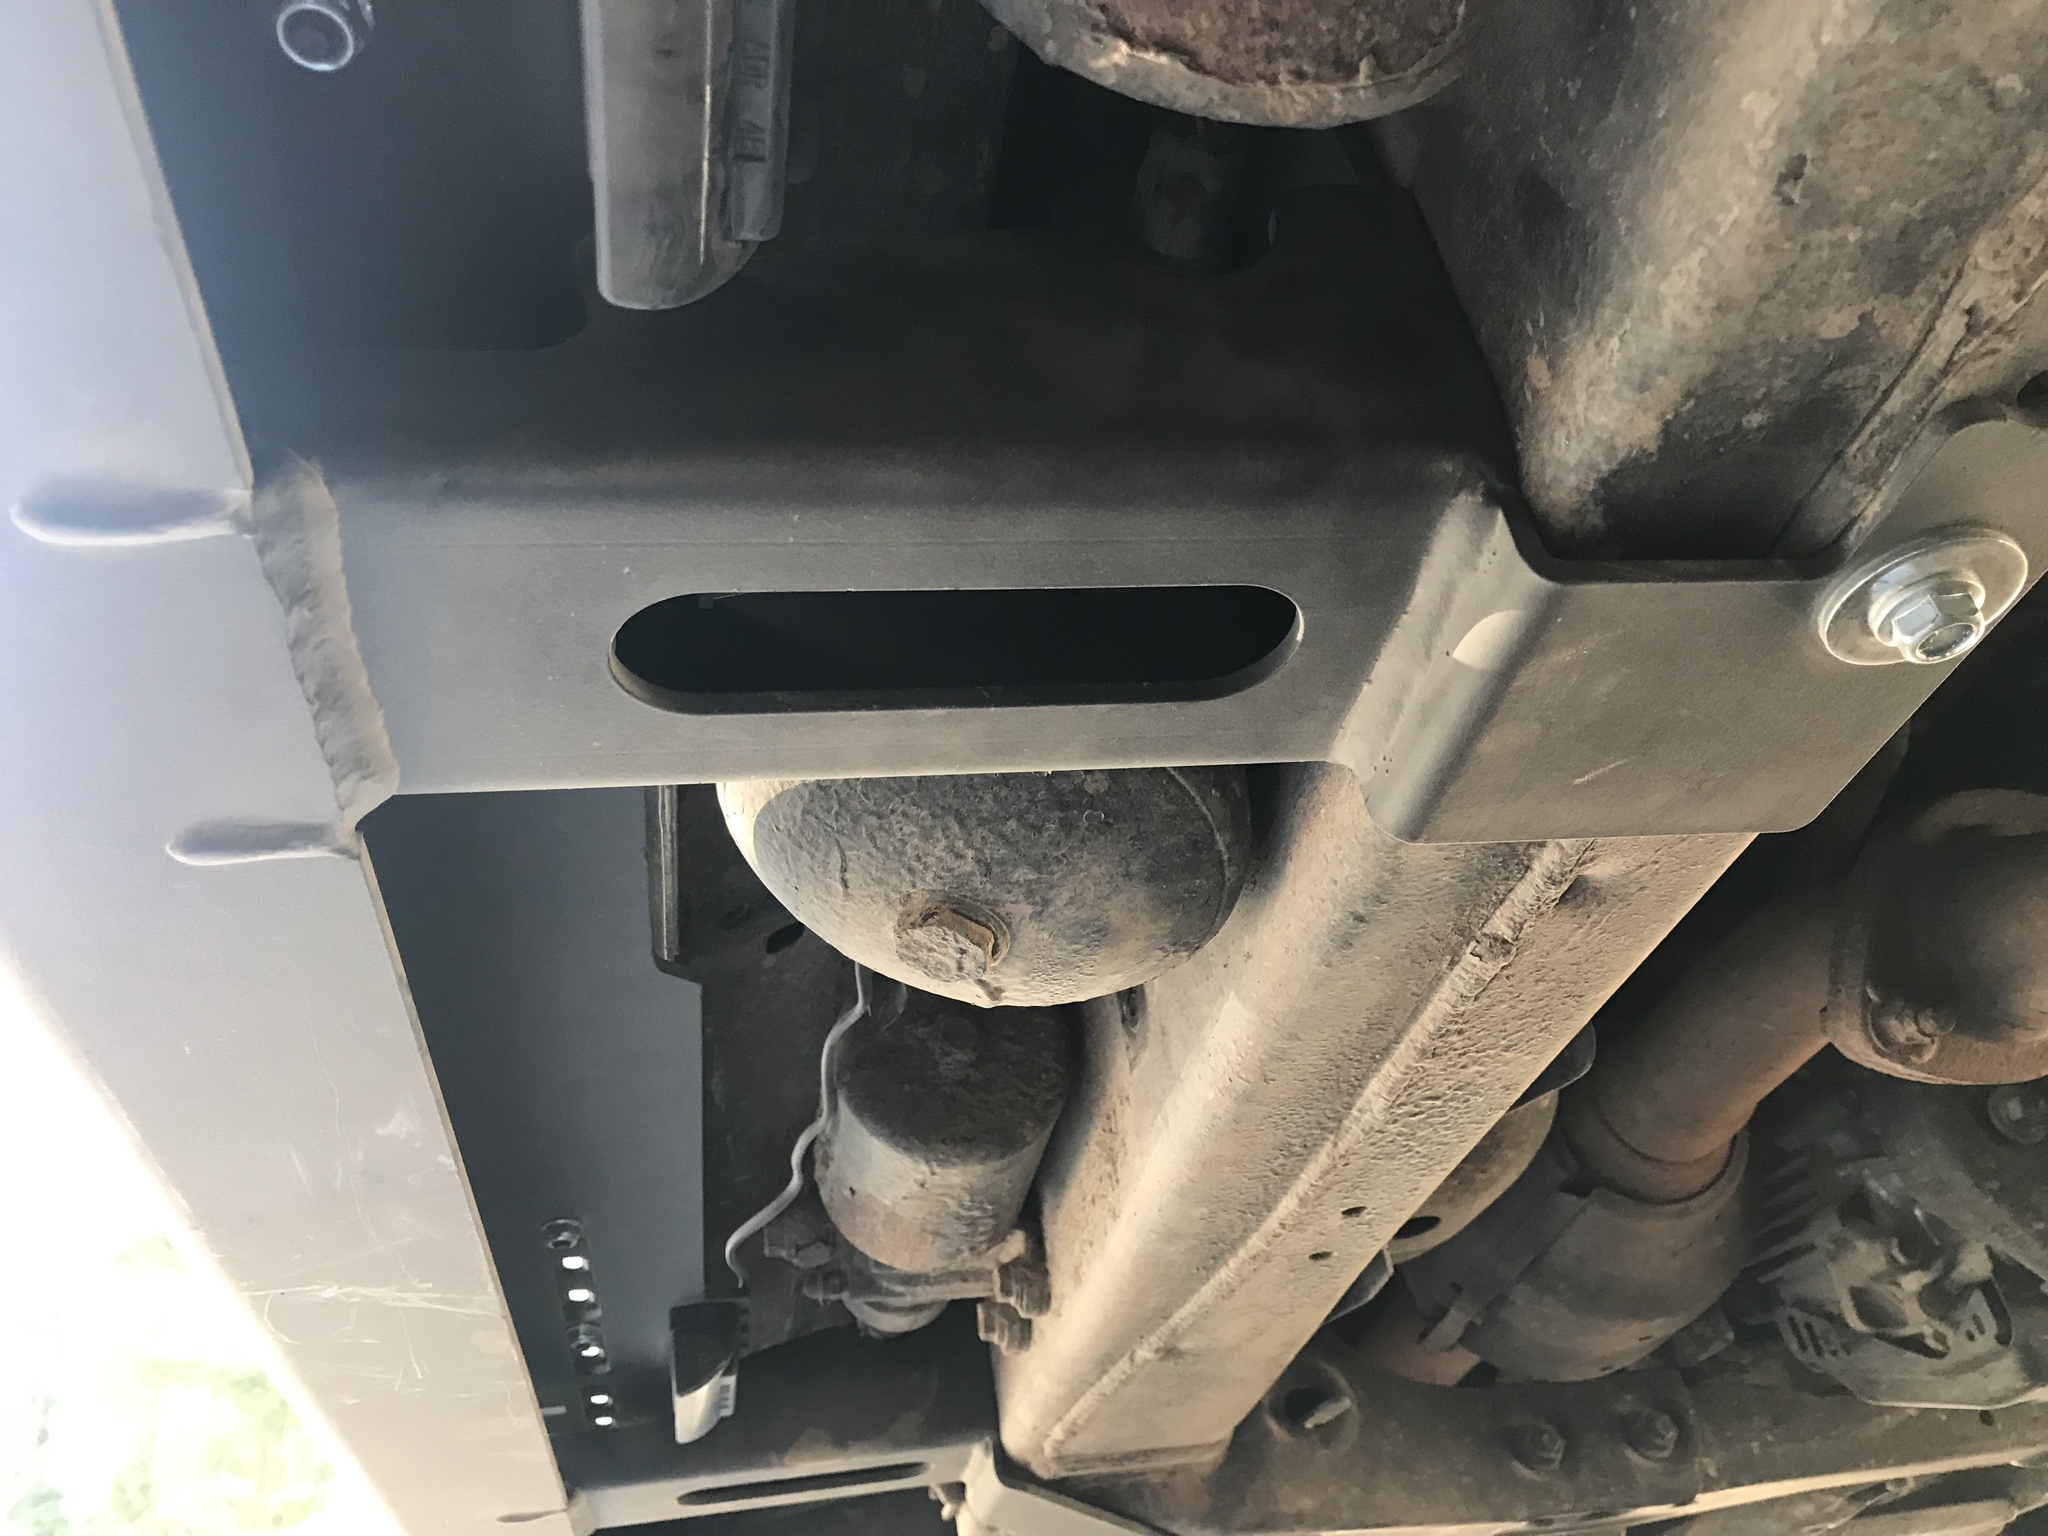


Mine are slightly bent after sliding on a rock. Haven’t went under to see if it’s the mounting bracket or the actual slider yetquestion for owners of the Slee slider steps.. How are they holding up to hits?
I'm asking bc of the 2 piece design brackets have me slightly worried.. also can you HiLift from them (or use a winch on the slider?)
question for owners of the Slee slider steps.. How are they holding up to hits?
I'm asking bc of the 2 piece design brackets have me slightly worried.. also can you HiLift from them (or use a winch on the slider?)
The pictures lack context of where it is on the car. Lot of closeup pictures while switching orientation from front of the car or the back of the car..or underneath facing outward.
Step 3 tells you to install a Rivnut. A zoomed out picture of where the hole is would have helped. It totally omits anything about enlarging a hole or drilling a whole. Hint: it appears to be enlarging one. I haven't done this part yet. Unless I am missing something, this doesn't need to be done at the beginning. I haven't done the Rivnut yet.
Step 6 - You only need to install the bracket (plenty of space to install the light later). Even that, you can get away with doing it while the slider is on the truck. But here's the important part: the bracket needs to be pushed to the rear (for the rear bracket) and to the front (for the front ones) so you can install the bolt later for the slider bracket. I had to end up loosening the driver side rear light bracket because I couldn't get the bolt in.
Disjointed steps:
Step 7 and Step 9 and Step 15 need to be reworked.
I would split Step 15 into two steps: one for the trans cross member (combine step 9 here), and another for bottom rear bracket (combine step 7). a call out for driver side Rivnut should be here. Perhaps move step 3 here..
I would also put these split steps between 13 and 14. I think it's also better to have all the bolts, even for the trans/rear bracket, at least started before tightening the slider to the frame.
Install tips: I had a hard time getting to be level in terms of clearance and what eventually helped was using two jacks to keep them at the right spacing. Passenger side came out to 0.5" and driver side is 0.4-0.6". Using a 3/8" allen key was helpful like another member said.
I had to trim two of the washers to push the sliders towards the back to get clearance from the AHC globes.
I don't have a lot of SAE tools...would be nice to have an option to just include metric nuts/bolts. M8 bolt here...then 3/8" here...


