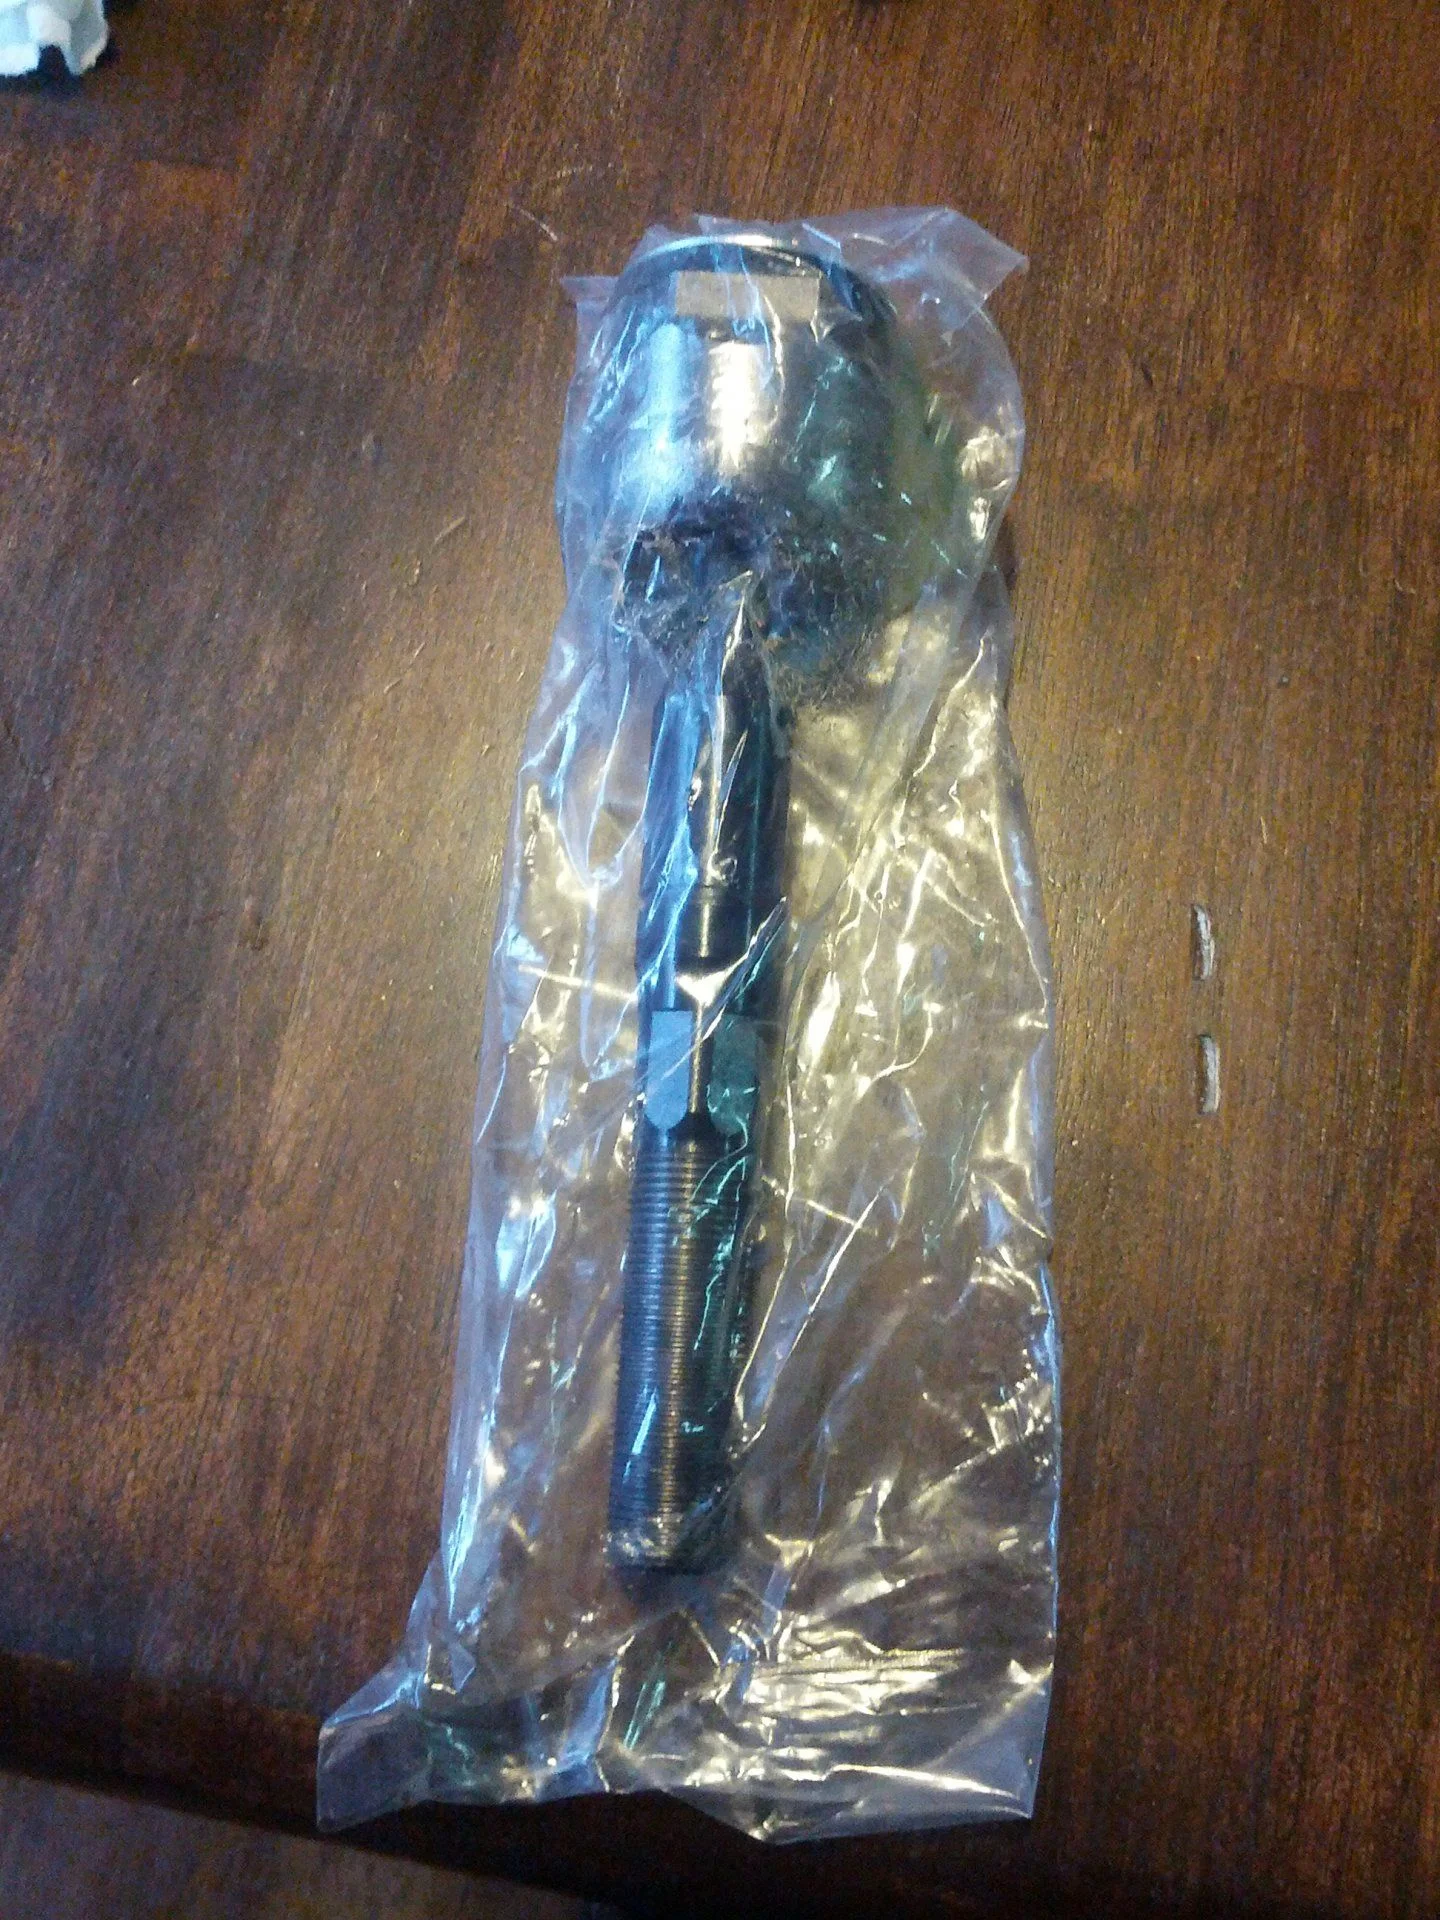
How To: Replace your own steering rack

This site may earn a commission from merchant affiliate
links, including eBay, Amazon, Skimlinks, and others.

Replace TREs.
 
Dealership went over my 280k 100 during an oil change this week and found a small amount of play in the rack. I had told them I occasionally heard a pop when turning and on bumps so they were looking for "problems". There's no leak but they've recommended replacing the rack&pinion assembly stating it's a zero tolerance for movement part. I looked at it when it was on the the lift and the mech showed me how the wheels had a small amount of side to side movement . With the high mileage it seems reasonable the R&P is worn. Debating replacing it now or waiting awhile. Also, are there other bushing which should be changed out at the same time. Looks like outer tie rod ends aren't included in the new assembly, reuse the old ones or replace? Thanks for all the info. S1

I also have the occasional pop when turning/bumps. I was hoping it was the rack bushings I replaced, but it was not. With Julian's assistance I dug deeper to find the drivers side inner tie rod is toast. Only my drivers wheel has movement at 3 and 9, the passenger wheel has no play. I'd pull the rack boots back and watch the inner when moving the wheels to see if an inner is beat before I'd go through the hassle/expense of a rack, even at 280.
Hopefully I'll get this in this weekend:
 
With Julian's assistance I dug deeper to find the drivers side inner tie rod is toast. Only my drivers wheel has movement at 3 and 9, the passenger wheel has no play. I'd pull the rack boots back and watch the inner when moving the wheels to see if an inner is beat before I'd go through the hassle/expense of a rack, even at 280.

Camino70 - Dealer shop has told me that the inner tie rods are not considered a replaceable part, maybe this is just a Toyota practice. Do the inner tie rods come as part of the rack and pinion assembly... Some may question why I use the dealer shop (small town) but I've had good results with them over the years much better than with the independent mechanics.
 
Camino70 - Dealer shop has told me that the inner tie rods are not considered a replaceable part, maybe this is just a Toyota practice. Do the inner tie rods come as part of the rack and pinion assembly... Some may question why I use the dealer shop (small town) but I've had good results with them over the years much better than with the independent mechanics.
I haven't actually done it yet, but looks doable. PN 45503-69015 is pretty expensive from toyo, so I bought a Moog with same part number and made in Japan.
The dealer labor difference in replacing the rack vs the inner and the dealer price difference in the parts may make it a poor financial decision to replace the inner and not the rack, maybe that's why they said that?

I don't think there are factory rack bushings available, you'd have to go aftermarket for that, about $40.
 
Last edited:
I had ordered a new rack from Amazon, search Toyota part # cheaper + free shipping. Get new bushings, rod ends, and clean your steering reservoir out ( I blasted with brake cleaner and used a baby bottle brush on the end of a drill to scrub) and replace those two hoses as mine were slow leakers. I had a shop install this all so big kutos to all you guys!
 
Thanks all who contributed to this thread, I don't usually follow write ups but several points here made this job a lot more straight forward. @ENGINE er Thanks for the initial write up and giving me a name to take in vain as knuckles were busted. @5Cruiser Thanks for the engine lift idea, that is the real key. @rohitash Thanks for letting me know the sucker would come out with the steering shaft attached, saved my day.

When you use the "jack the engine up" method do you still have to pull the oil filter? I'm almost there.

What did you do with the steering wheel? The manual says pull it (first line item, see attached), I've got a seat belt through it and the ignition key on so it has some play in it.
 

Attachments

I'm exactly 4 hours into the swap. Working outside, on a concrete slab, literally under a shade tree. Humidity is high. Heat index is one million (not really, only 100°F :/ )

I lifted one side of the engine. I didn't have a cool swivel head ratchet so I went in from the top and easily pulled the two saddle bolts with a 2' and 1' long 1/2" extension, 1/2" to 3/8" reducer, 3/8" swivel and socket. My next concern is being able to adequately tighten those two bolts.

Removing the coupling wasn't too hard but nothing about this job has been easy so far. I'm actually dreading the install...

I think disconnecting the two lines was the biggest pain in the rear not counting pulling the rack. Even with the engine lifted it's doesn't just fall out. But it's out and it needed replacement. The drivers side boot is shot. It has a lot of slop in it. The bushings weren't terrible but all in all it was past time for this.

Onward thru the fog...


p1972971004-4.jpg
 
Does anyone know the secret password for installing the new rack? $@$)*#$ and @#@#@+ are not correct...

Seriously... it came out with a lot of effort but I've made two tries and it's not even close to going in. I have no doubt it will, just not the way I'm doing it. I believe the manual says something like- reverse removal procedure to install. Uh... no... that's not correct.
 
I want too say I put the passenger side in first through the front and then pushed the inner tierods as far to the passenger side as possible, then with multiple attempts, drivers side up on the engine and possibly several pry bars Involved.
 
Yeah, definitely try to go through the front. Jack up the engine more if you don't have enough space. I didn't have to remove the oil filter cooler but just jacked up the engine more to gain space.
 
I found the magic words... and jacked the engine up some more. Rack is in and torqued down. Tie rods are on and torqued down. lines are connected.

I have to connected the steering back up and that is not going well at all. I have the coupling on the shaft but I can't get the bolt to engage for anything. At the moment it's stuck but not threaded in. Once I get this done I'm home free.

Oil filter, bolt on the tires and rims, add a little oil, add some power steering fluid, that I don't have so I won't finish until tomorrow. Have it aligned.

Except for that damned coupler all is well. I can't wait to drive it. I can tell the difference just in the lack of slop...
 
I figured out the steering connector. The bolt has to line up with the groove in the shaft, just like every other steering box I've messed with... duh moment... But... I ended up pulling the shaft out of the top coupling. That one is not cooperating very well. And it looks like this-

See that plate with a bolt hole in it. The top bolt was not going through that plate. Also, it needs to slide down about an inch. That's going to leave a big hole in the firewall. Something has to be missing from there.

p2118743662-5.jpg
 
So, if you're thinking about changing your steering rack and you've read through my posts and are rethinking it, don't. The improvement in how the LC drives made it all worth it. It took me 7 hours counting posting here :)

It is NOT an easy job but it is doable if you follow the instructions throughout this entire thread. Jack the engine up. That's an extremely good piece of advice from this thread. It's easy to do and it saves a lot of extra work. Plan for a day. Relax. Don't get in a hurry. Step away for a few minutes when it gets frustrating. Don't kick the dog. The dog loves you. The LC doesn't. It can't. Sorry... Remember, stuff happens. I didn't start until 11:30. If i would have started earlier I would have had time to go get some ATF. BTW... get some ATF :) A quart should do it. Maybe get 2 just in case.

It drives better than it ever has. No wandering back and forth. I don't have to anticipate where it's going to go next. And thats' before I've had it aligned.

Hopefully my cruise control will stay on now and I won't get weird traction control alerts for no apparent reason.

Good project. Thanks to all that posted here. It
 
The plate is a safety mechanism and acts as a washer to keep tension on the bolt. It doesn't seal cabin from the firewall. There is another seal that is accessed inside for that.
 
The plate is a safety mechanism and acts as a washer to keep tension on the bolt. It doesn't seal cabin from the firewall. There is another seal that is accessed inside for that.

Good! That's the last thing I was concerned about. Thanks for letting me know

It's a good thing I decided to do this today. I found this when I popped the drivers side wheel off (literally looked just like that)

The little "spring thing" apparently broke. It wasn't in the best of shape but I didn't think it would break. I have small cotter pins in each one now. That should hold until I get some more "spring things"

p1977478611-5.jpg
 
Front wheel alignment specs from the service manual (2000 LC) attached.

I don't live very close to a Toyada <-- spelling on my rack, so I'm going to the local Chevy dealer. I figured I'd save them some time and bring the specs. They probably don't need them but it was easy to grab.
 

Attachments

I began rack replacement last night after work, everything went extremely smooth had the entire rack unbolted and free within an hour except for the back hard line (I spent another 2 hours cussing it, beating on it, spraying with penetrating oil, trying a 4 foot cheaper pipe, that ended up bending, and all the other genius ideas) . Ive never felt something so frozen in my entire life. and of course all you can get on it is an open ended wrench. I went and bought a line wrench hoping that would solve my problem. Nope. I have soaked it in penetrating oil for almost 12 hours now with re applications throughout and have the torch standing by. Not too excited about using a torch in a small area below the engine covered in power steering fluid and penetrating oil.

after this next attempt, im at the point of cutting the line and pulling the thing out and just having a new line made. I'm open to any other ideas.
When I did my rack job on my 4Runner I just ended up replacing the lines. If they're that big of a hassle cut/break the off and replace on the new rack. It sounds like you already damaged/bent the fitting, so I wouldn't waste more time on it.
 
I began rack replacement last night after work, everything went extremely smooth had the entire rack unbolted and free within an hour except for the back hard line (I spent another 2 hours cussing it, beating on it, spraying with penetrating oil, trying a 4 foot cheaper pipe, that ended up bending, and all the other genius ideas) . Ive never felt something so frozen in my entire life. and of course all you can get on it is an open ended wrench. I went and bought a line wrench hoping that would solve my problem. Nope. I have soaked it in penetrating oil for almost 12 hours now with re applications throughout and have the torch standing by. Not too excited about using a torch in a small area below the engine covered in power steering fluid and penetrating oil.

after this next attempt, im at the point of cutting the line and pulling the thing out and just having a new line made. I'm open to any other ideas.
The rear line was by far the most frustrating/irritating/new cuss word creating part of the whole rack replacement. I did apply some heat via a MAPP torch with a concentrated flame in short spurts. IIRC, the rear line is the low pressure return and should have a rubber hose spring clamped to the steel line at the passenger side frame rail. If you have a flex head ratcheting wrench, you can remove the rubber hose and slide the ratcheting end down the length of the steel hose to rear line fitting for a bit more control and leverage.
 
Hey guys, I'm working on replacing my rack but buggered up the return line trying to get it off of the old rack - twisted up the hard line before I realized what was happening. The only place I have been able to find one is at the dealer and they want $527 for a new pair of hoses and only sell them as a pair (return and high pressure). I already have a new high pressure hose from when I replaced the pump a bit ago and so don't need the pair. Any ideas on not needing to pay those prices for just the return hose? I found a Sunsong return hose on Amazon for $26, but not in stock.
 
Last edited:

Users who are viewing this thread

Back
Top Bottom