Builds 1988 BJ74 “Number 1” (1 Viewer)

This site may earn a commission from merchant affiliate
links, including eBay, Amazon, Skimlinks, and others.

Productive weekend.

pull1.jpg


Closer.

pull2.jpg


Out. Still nice and blue back there.

engine1.jpg


What better way to move an old Japanese diesel than with another old Japanese diesel.
Out for a power wash of the engine bay.

japandiesel.jpg


Finally put some doors back on to keep some heat in there once winter hits.

shopdoors.jpg


Lessons learned:
#1 Make sure you get ALL the bell housing bolts out before trying to separate the engine from tranny :slap:

#2 Don't forget to use those nitrile gloves you bought...diesel oil/grease is really nasty and stays a long time.

#3 Remove the crank bolt when the engine is still attached to the tranny. :slap:

#4 You will ALWAYS deal with "while you're in there" and 3 years, $30K dollars later you will sell it for $13k as a project that just needs a few loose ends tied up. :D

DO NOT keep up with what you spend on your Cruiser. It will only serve to depress you. If you're married it's also prudent to not create a paper trail.
 
More fun from the morning.

Overall the cam "appears" to be in good shape minus this one spot in the center. There is a little bit of wear on the lobes which is expected. I will take it to a machine shop to get the full rundown on it.

Cam1.jpg


Here is the wear part in the center, not sure what this rides on but by far has the most damage of anything on the cam.
Cam2.jpg


Cam bearing. This one for sure needs replaced...Smart money says replace them all, especially since I have them.
cambearing.jpg
 
Just a picture FYI for anyone wondering how to get the oil squirters out. Had the wrong sized bolt but didn't feel like going into town to get a shorter one. There are a few methods and a Toyota SST. This worked fine for me.

M8 bolts into the oil squirters on the side of the block, make sure threads are clean.
Use a socket that will fit OVER the oil squirter. Sparkplug socket works fine.
Put a washer or 2, (or 7) then put the bolt in.
As you tighten down, it will pull the squirter out which is only held in by press fit/O-ring


oils1.jpg


oils2.jpg
 
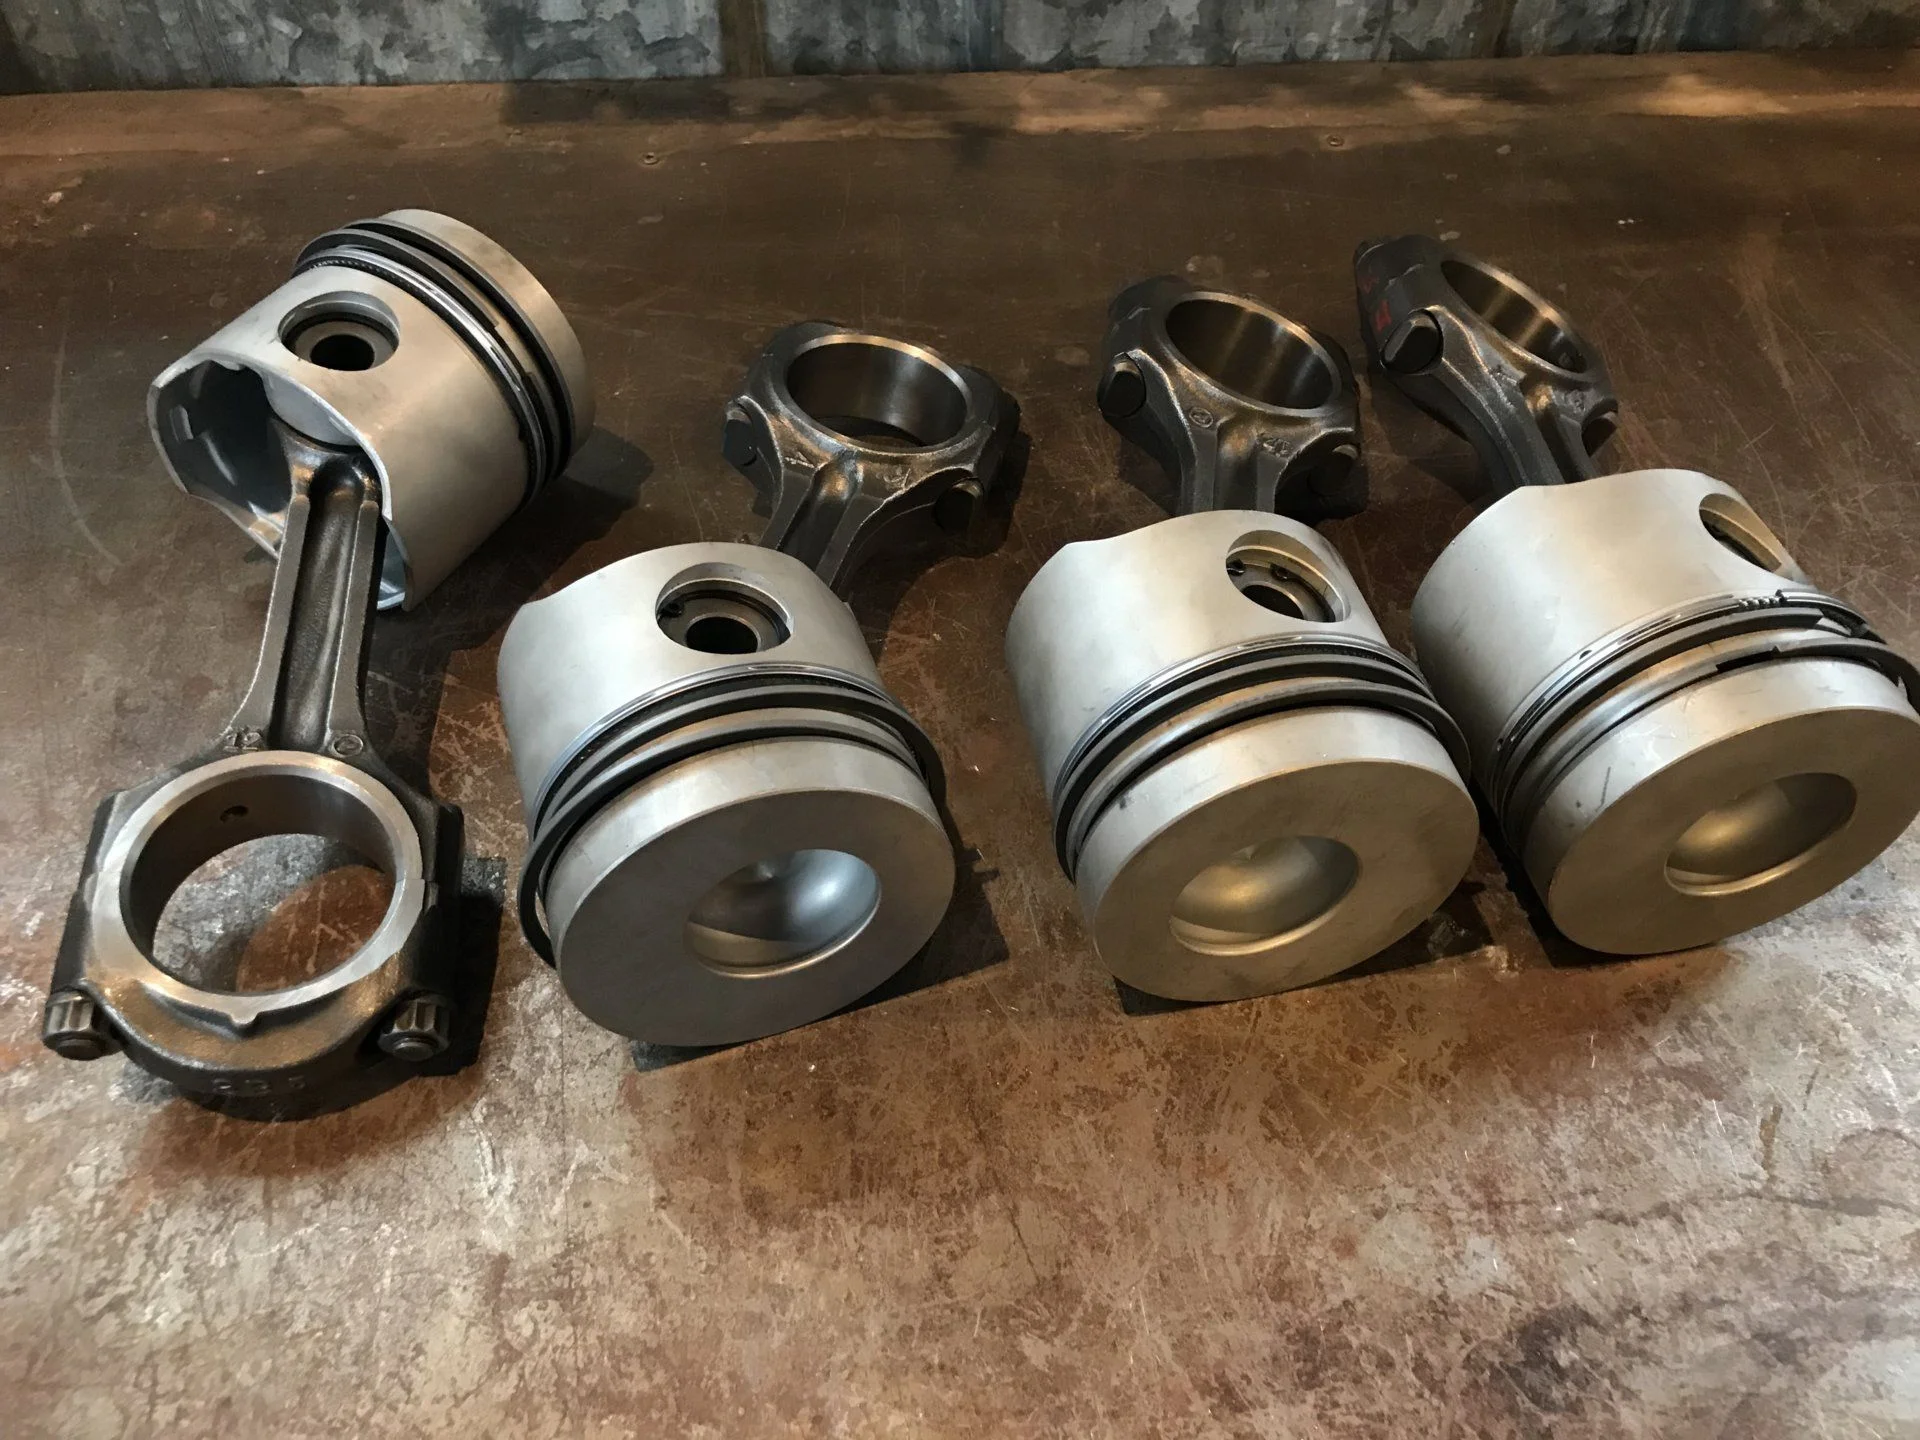
As the block, crank, cam, pistons are at the machine shop, I'm cleaning and slowly going through other parts.

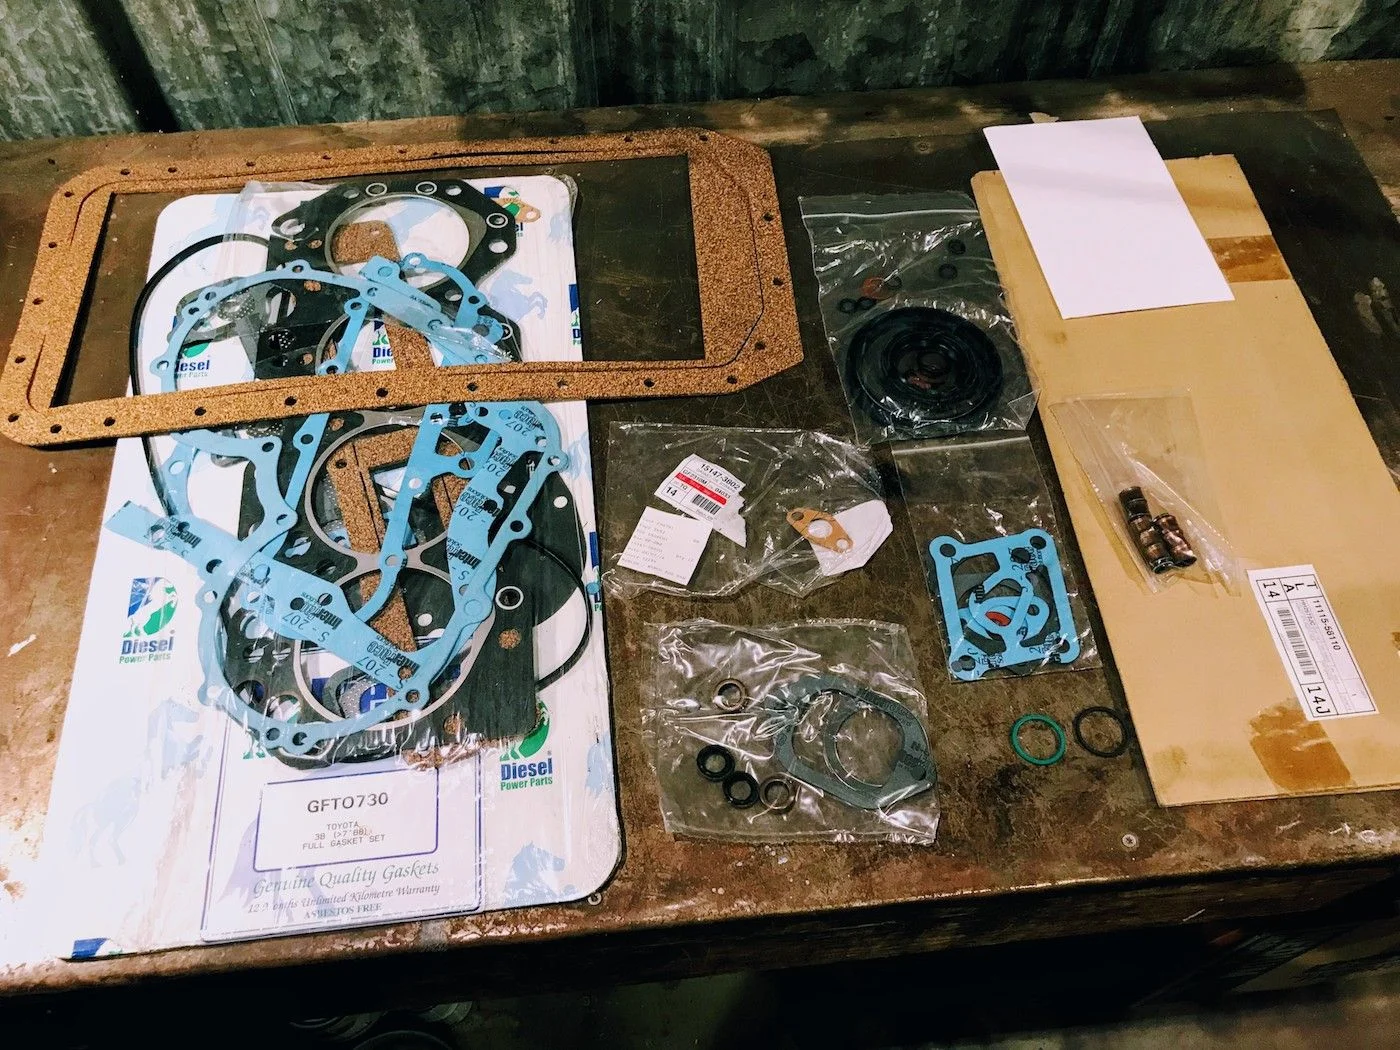
Gasket stash along with OEM headgasket on right. Should have everything I need. I went ahead and ordered an H55F input seal and gaskets for that cover since I'm right there. The rear main didn't seem to be leaking, at least not much but the bell housing had oil so might as well take care of that.


And not so tech related. Pinstripes? Keep them or take them off? There is a red/gray pinstripe that is higher, and also one that is right above the "turbo" decal on the side. I know they aren't factory but they kinda have the late 80s vibe to them. The big "grey" decal around the turbo decal I also don't think is OEM. I could be wrong on that, but not sure wether to keep that one either. It's possible that one is a dealer decal when it was sold. I haven't seen that set of graphics on any other Bj74's, however I haven't seen a ton of BJ74s.

stripes.JPG


Or go more like the Expedtion Portal project vehicle and plain white.

Modern-classic-lead-image.jpg
 
Last edited:
More fun. Progress is slow with block at machine shop. Not too mention it's cold and I'm getting everything else winterized.

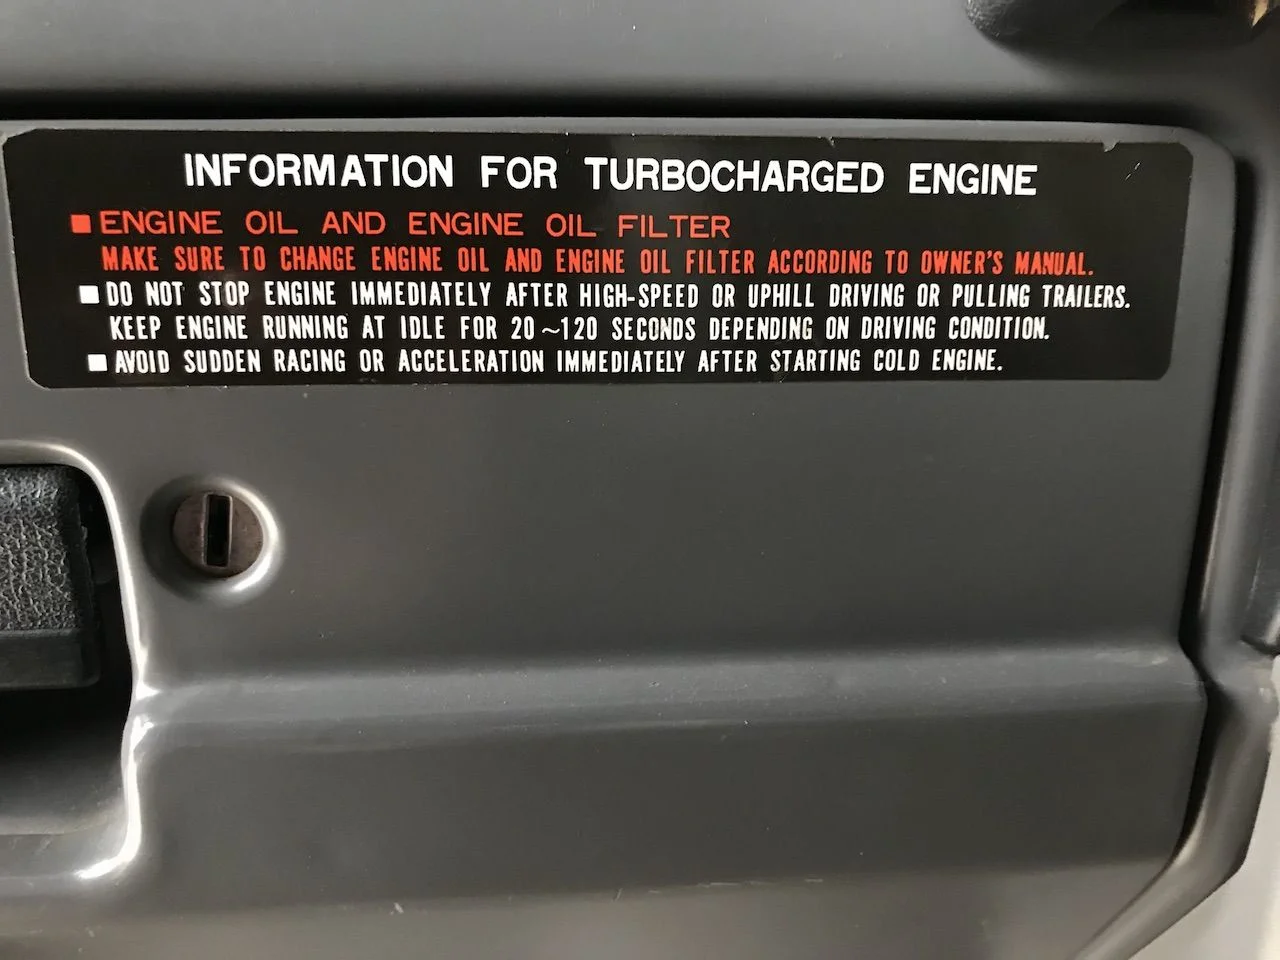
Not sure how much "sudden racing" I'll be doing but hopefully it will scoot along good.


Mystery button by fuel door release. I have no idea what this goes to. Ejection seat? Oil slick? There are aftermarket air horns on this BJ74, but this seems like a weird place for a horn. Any common mods that aussies know about? It is a momentary button.
 
Last edited:
Waterpump came in. WPT-074 for 13BT for future reference.

WPT074.jpg


FREEZE PLUG QUESTION:
Also I don't have the block with me, but does this list look correct on the amount of freeze plugs needed?

Plug, Expansion(For Camshaft) Toyota - 90331-56001 (1)
Plug, Tight, No.1 Toyota 96411-43500 (4)
Plug, Tight, No.1 Toyota 96411-43000 (3)
Plug, Tight, No.1 Toyota 96411-42800 (4)
Plug, Tight, No.1(For Cylinder Block) Toyota 90331-51032 (2)
Plug, Tight, No.5(For Cylinder Block) Toyota 96411-41400 (2)
 
More parts, more cleaning. Just going through every metal, hard part that can be cleaned and cleaning it.
Is there any cleaning solution that can clean the Cad plated parts without removing the yellow?

Rebuilt head:

head1.jpg

I love the Pig grille in the back - respect.

Is that from Pigtastic?
 
If you are going to rebuild it, rebuild it.

Cam came back from grind:
camgrind.jpg


Crank getting polished. Found out middle bearing is out of spec. Going to have to buy .25 undersized bearings now. :(
I think I'm getting them from engine australia as OEM are really pricey.

crankgrind.jpg


Freeze plugs will be ordered. I'm surprised they didn't come with the rebuild kit...unless they are in a box I haven't found yet.
 
Pulling sleeves.

sleevespulling.jpg


Fun information: The bore size for a 13bt just so happens to be the same as the popular Isuzu 6B/4B series of engines for quite a a few years, mainly known in the NPR trucks. Machine shop already had that setup so that was pretty easy for him.
 
A lesson to all. Sometimes the cheap methods work, and sometimes they don't. My friend I got this cruiser from, had a friend help him remove the sleeves. They attempted the "chisel/screwdriver" method to remove the sleeves thats floating around the web. Unfortunately it didn't work this time and left a ridge down the bore of the block. Machine shop said it looks fine, they will smooth out without changing anything.
The worst case they said is that he would use sleeve adhesive/sealant to make sure there is proper heat transfer if that bore is slightly out of spec after cleaning that ridge up. The picture makes it look like a really bad crack, but it's just a ridge the whole way down.

So not a huge deal, but a costly one. It appears none of the "old" sleeves (they were only installed, never had pistons in them) had any issues or cracks, but my friend bought another set to be sure as they thought 2 were cracked.

scratch1.jpg


There are some posts from the web about people welding sleeves, chiseling and all other manners of getting them out. In my mind, the only way/right way is to press it out.

101388d1334278323-tool-needed-cylinder-liner-removal-tool-5-cylinder-617-diesel-cyl-liner-removed.jpg


In other news, radiator back and fixed. I will find out for sure how good it is once it's back up and running. Parts being delivered soon to finish off that machine work.

rad2.jpg
 
Pictures of the overhead Console. Made by RoNo Consoles, I don't believe they are in business anymore. At least the funky gray carpet matches the gray dash cover.

console1.jpg


console2.jpg
 

Users who are viewing this thread

  • Back
    Top Bottom