Navigation
Install the app
How to install the app on iOS
Follow along with the video below to see how to install our site as a web app on your home screen.
Note: This feature may not be available in some browsers.
More options
Style variation
You are using an out of date browser. It may not display this or other websites correctly.
You should upgrade or use an alternative browser.
You should upgrade or use an alternative browser.
1978 LPB Teardown and Rebuild
- Thread starter Awl_TEQ
- Start date
This site may earn a commission from merchant affiliate
links, including eBay, Amazon, Skimlinks, and others.
More options
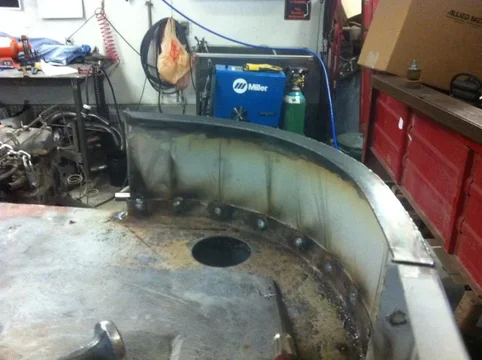
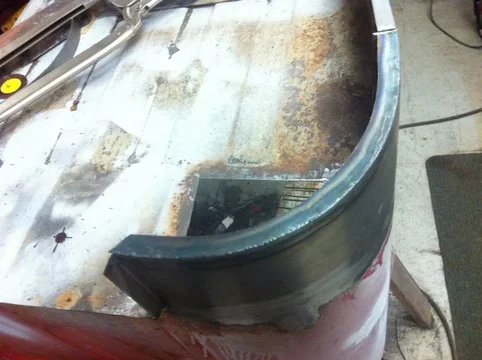
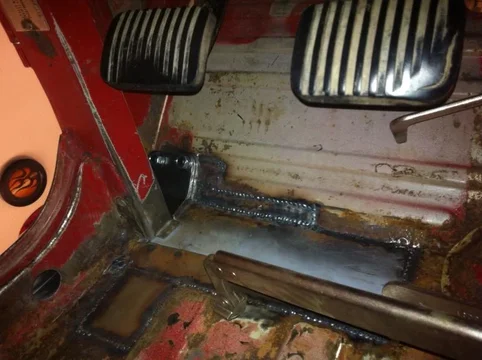
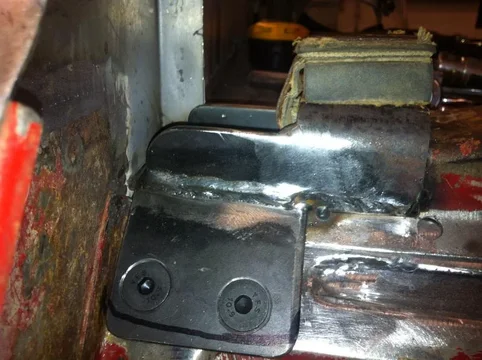
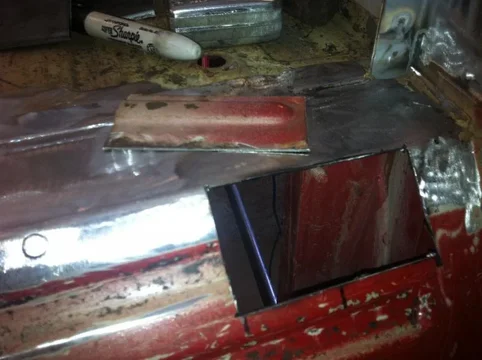
Who Replied?Working on the structure under the roll cage landing in the front corners
View attachment 548295
Stock
View attachment 548296
Mine
View attachment 548297
Wow, that is great stuff.


merbesfield
SILVER Star
Awl_TEQ said:All 80 but I also use the maroon scotchbrite in the 2" and sometimes a 36 grit 2"
2nd the 2" 36 grit and Maroon scotch bright. Nice combo. Good ole flap disc work real well also, but be careful they are aggressive.
Awl_TEQ
Supporting Vendor
- Thread starter
- #730
My new favorite tool for grinding down the weld bead/tacks. I borrowed this one from work but I will be buying one eventually. It allows very accurate and fast removal of the bead without damaging the surrounding area or making a lot of heat. You have to keep the tool moving or you will dig a groove but with practice you can be very controlled. You can see the rib end patch at bottom right of the photo where I removed the bead flush. The tool is a Dynafile belt sander with a 1/2 x 18" belt in 80 grit. This brand is industrial strength and very pricy but you can get them a lot cheaper from CP and others.

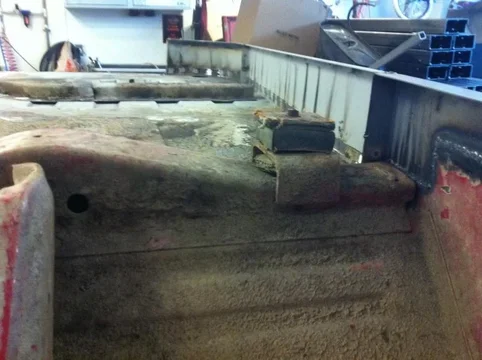
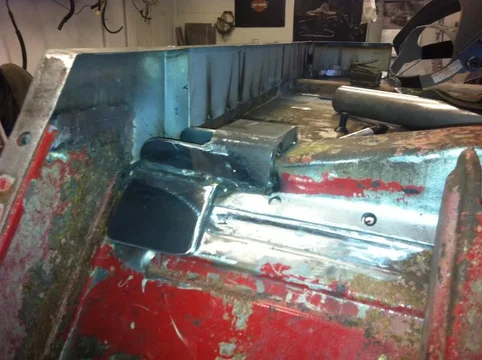
Fabricated the new cab mount and attached it to the old structure.

Match drilled and counter sunk like the other side


Fabricated the new cab mount and attached it to the old structure.

Match drilled and counter sunk like the other side

crushers
post ho
i look forward to seeing this in a few weeks, damn pro work...
whitey45
SILVER Star
Well your work is absolutely bad ass!

crushers
post ho
i would have to say ...
both.
living down here you see "artists in bondo", to watch someone take the time to form steel ... well ... it is refreshing.
both.
living down here you see "artists in bondo", to watch someone take the time to form steel ... well ... it is refreshing.
DanS HJ-45
SILVER Star
Awl_TEQ said:The goal was to minimize the loss of foot room so it is tucked about as far out of the way as possible.
Don't forget to check the window cranks while you are busy preserving foot room. Or, at least ask if you are OK with having to open the doors to roll the windows up or down.
I'm just sayin'... It is possible to overlook such details.
Nice work there! You are positively flying through the sheetmetal!
Dan
Awl_TEQ
Supporting Vendor
- Thread starter
- #738
My front drop will be tight to the top and windshield and then goes through the dash beside the side defrosters. Then it runs from the inside of the dash bending outboard and down just off the inner door hinge bolts. So it will be well away from the crank.
I've looked real hard for conflicts in the layout and only recently realized the door limiter assemblies would hit the cage when closed so I have adjusted the drop tube with another bend. It's hard cuz I took it apart so long ago now I can't remember what it looked like.
I've looked real hard for conflicts in the layout and only recently realized the door limiter assemblies would hit the cage when closed so I have adjusted the drop tube with another bend. It's hard cuz I took it apart so long ago now I can't remember what it looked like.

My new favorite tool for grinding down the weld bead/tacks. I borrowed this one from work but I will be buying one eventually. It allows very accurate and fast removal of the bead without damaging the surrounding area or making a lot of heat. You have to keep the tool moving or you will dig a groove but with practice you can be very controlled. You can see the rib end patch at bottom right of the photo where I removed the bead flush. The tool is a Dynafile belt sander with a 1/2 x 18" belt in 80 grit. This brand is industrial strength and very pricy but you can get them a lot cheaper from CP and others.
I've been looking at these - what do you think of electric? The Milwaukee 6101-6 5.5 Amp Bandfile (1/2" x 18" arm) for example, seems to be around $200.
Awl_TEQ
Supporting Vendor
- Thread starter
- #740
Electric is fine too. I'm just all set up for air. One thing to watch might be the speed though. This air one I have is not terribly fast with regard to belt speed even at full tilt. Reminds me of Crushers comment of slower speed being better. Perhaps counter-inuitive but the unit removes material at a decent rate without heat build up. Faster than the 2" for sure. I have a catalog at work for Dynabrade and could look up the speed of this unit for you to compare tomorrow.
Similar threads
Users who are viewing this thread
Total: 1 (members: 0, guests: 1)

