Builds Found an Arabian FJ40 (1 Viewer)

This site may earn a commission from merchant affiliate
links, including eBay, Amazon, Skimlinks, and others.

I've got the OEM washer bottle that sits on a slant on the driver's side fender under the hood. It worked when I bought the truck which is pretty amazing. But I have had to make several repairs to keep it running. The old pump's plastic housing just kept cracking in a new place... and ultimately leaked bad enough I couldn't keep the reservoir filled. It never bothered me enough in the Middle East.

350sprayerbottle.jpg

351oldbottle.jpg


CruiserCorp had their replacement wiper bottle/motor on sale a month or so back so I picked one up.

352newbottle.jpg


It wasn't quite a perfect fit on the old bracket.

353notquite.jpg


But I didn't want to drill a new hole into the fender to use their bracket. So I improvised and used some of my hardware from @davework

354improvised.jpg


All done!

355inplace.jpg


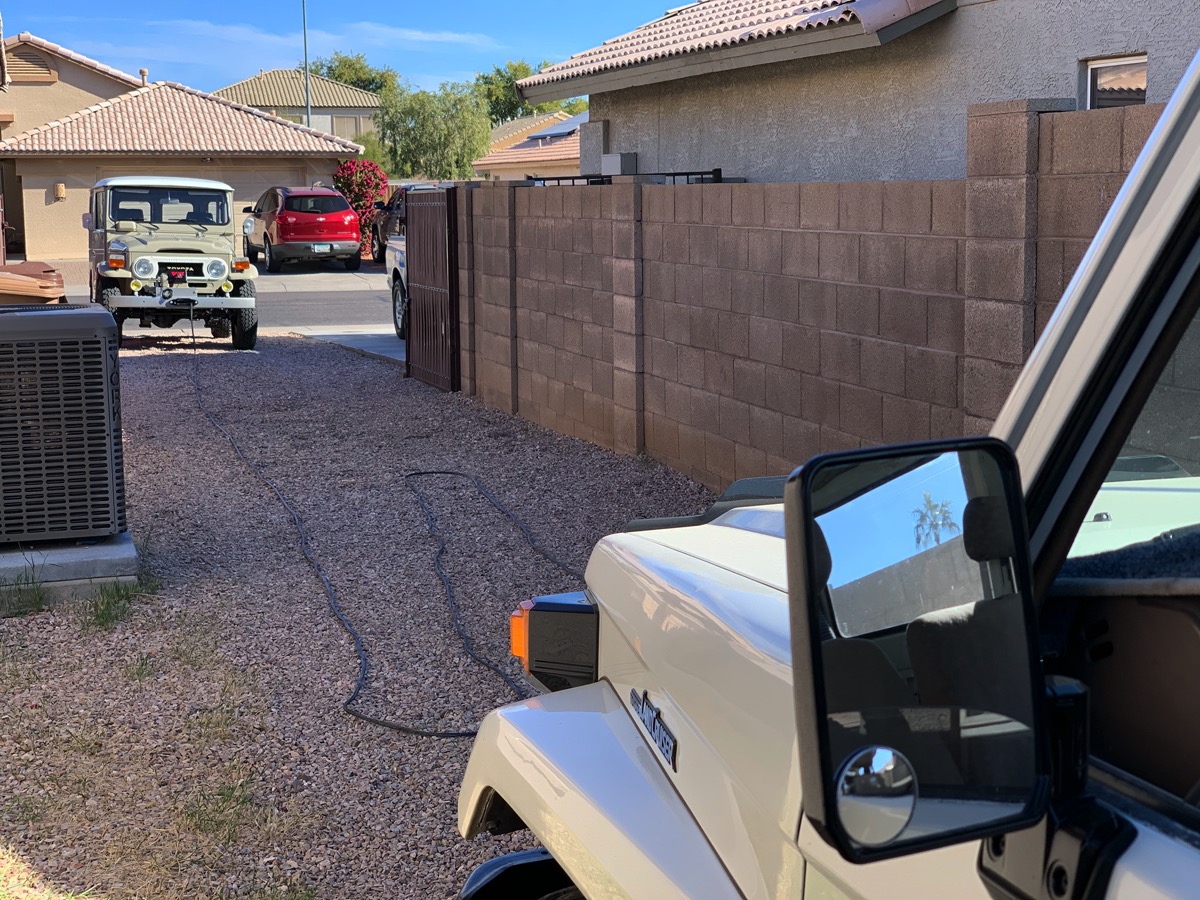
Between this and my Troopy I now have all vehicles with functional windshield washers!
 
Last edited:
Nice repair @Honger, love to see original parts restoration!

Now I understand what those parts are in your pics you texted me @ToyotaMatt, washer bottle brackets.
 
When I restored the 40 I rebuilt the rear brake slave cylinders with a Toyota kit. I wanted the experience and it was cheaper than new cylinders. Well, five years on rebuilt cylinders ain't bad I suppose. One of the rear cylinders froze up and started seeping fluid. I figured I may as well go all the way in and replace all cylinders and shoes (driver's side shoes were soaked with fluid anyway).

Drums and area behind the tire were dirty...
356dirty.jpg


So cleaned that up.
357cleaning.jpg


On removing one of the cylinders I broke one of the hard brake lines. So I bent a new one up. Can't believe how dirty I've left the undercarriage get. Ha!
358newbrakeline.jpg


Also repainted the drums with POR15 caliper paint while they were out.
359painteddrum.jpg


Buttoning things up.
360buttoningup.jpg


Thanks to @cruiseroutfit for the parts on this one.
361cruiseroutfitters.jpg
 
Did an oil change as well...
364oilchange.jpg


Spent some time detailing the truck and had an assistant. She dragged some of her dollhouse toys into the back of the 40 and made it her "treehouse". It's a joy having her around while I tinker.
362assistant.jpg


The engine bay turned out nice. The under hood LED lights are a bit harsh lighting though.
363detailedengine.jpg
 
Good work and an excellent assistant, congratulations!
Fine photo-reportage too Joel!

====
1984 BJ42 (last of the breed), frame-off restored, factory H55F, 4E9 Toyo Beige colour
1983 BJ45 P/UP resto project
1942-44 Willys 1/4 ton trailer resto project
 
Did an oil change as well...
364oilchange.jpg


Spent some time detailing the truck and had an assistant. She dragged some of her dollhouse toys into the back of the 40 and made it her "treehouse". It's a joy having her around while I tinker.
362assistant.jpg


The engine bay turned out nice. The under hood LED lights are a bit harsh lighting though.
363detailedengine.jpg
I like those under hood lights. but then again i am not a purist either.
 
Joel,

Good job on both counts, Dad !

Good work and an excellent assistant, congratulations!
Fine photo-reportage too Joel!

====
1984 BJ42 (last of the breed), frame-off restored, factory H55F, 4E9 Toyo Beige colour
1983 BJ45 P/UP resto project
1942-44 Willys 1/4 ton trailer resto project

I like those under hood lights. but then again i am not a purist either.

Thanks guys!

Just read through this today. Great rig! I'm currently having body work done on my 71 fj40 also in tan color.

I wanted to add to the Seiko pics that popped up a few pages back...

nYQkdci.jpg
Always great to see more Seiko owners sharing their favorites. They last forever!
 
So I lined up my FJ40 to use the winch to help me pull out the bottom half of a palm tree that died due to heat this past summer.

365treepull.jpg


Only to have the solenoid short out on me. I got the 40 out of the way and lined up the Troopy. With a few good yanks I managed to pull it out of the ground.

366standin.jpg


So I got the 40 in the garage, grabbed my multimeter, and tore into the solenoid cover. I couldn't find anything wrong. The solenoid actually checked out. I opened the gear housing to see if something broke or was bound. Nothing. I gave the winch another test and the solenoid seemed to short out on me again once the line was drawn in and started tightening on the drum. Finally figured out, using a jumper cable, that I wasn't getting enough current through the bolted-in connection of the winch. I needed to add a ground cable.

367needsground.jpg


I had a pre-terminated ground cable that I'd used before and hadn't needed. I freshened it up and put new heat shrink on the ends. Then I directly grounded the motor to the battery via a shared ground point on the chassis.

368groundcable.jpg

369grounded.jpg

370groundpoint.jpg


Things worked great after that. No issues.

I was overdue for a re-spool of the winch as it was. So I unspooled it.

371readytospool.jpg


And set up the Troopy to be my anchor in our side yard. Proper spooling of a winch cable should be done under tension after the first wrap on the drum.

372spoolanchor.jpg


I employed an assistant (note this was a posed photo, I didn't let him spool in the path of the truck!).

373assistant.jpg


All buttoned up.

374buttonedup.jpg


And I cleaned up my winch gear and bag before stowing it back under the front seat.

375winchgear.jpg
 
Operation succeded, congrats to the task force!
However, I wonder how the palm trees die due to the summer heat! They are supposed to tolerate Omani temperatures, don't they?

PS. Lost the palm tree in my garden (in Greece), a couple of years ago, due to a bug brought from the M. East...
 
Fun memories!
 
Operation succeded, congrats to the task force!
However, I wonder how the palm trees die due to the summer heat! They are supposed to tolerate Omani temperatures, don't they?

PS. Lost the palm tree in my garden (in Greece), a couple of years ago, due to a bug brought from the M. East...

The last two summers here in PHX have had very dry monsoon periods... and this past summer was "especially hot" I'm told by the locals. Didn't phase me after 11 years in Abu Dhabi. That said, we saw lots of cactus and trees dying around town this past summer. Everyone around here is blaming the really bad heat plus dry monsoons. Meh...
 
Small update...

Before we left Abu Dhabi we had family photos taken out in the desert. Cliche perhaps, but we really did spend a lot of time in the desert... picnics, campouts, etc. My wife was actually cool with including the 40.

376familyphoto.jpg


And now that we've settled into our own house here in Phoenix my wife has started decorating.

377onthewall.jpg
 
@GA Architect has been sharing the travail's of his radiator leak so I figured I'd share my own fluid leak issues...

Back in August, prior to our move, I stashed my 40 in my in-laws garage. This was to keep it out of the way and because I had a red 1982 FJ40 I was selling that needed care and upkeep. My 40 sat for two months... sad.

383parked.jpg


It got fired up a few times a week, but not driven. When I went to pick it up there was a spot of fluid on the floor by the driver's rear tire. That was my rear brake cylinder gone bad and I've already sorted that.

But since doing an oil change and actively driving the truck again I'm battling oil leaks of all kinds...

Immediately upon doing the oil change my oil drain plug has been leaking...
379oilpan.jpg


Then I noticed oil coming off my front axle and it turns out it's from the front end. Having recently done the crankshaft pulley as well as the seal for the timing gear cover I'm quite frustrated about this one. That's gonna be a lot of work to redo.
381frontleak.jpg


But now I'm clearly leaking from the rear main as well. Man...
380rearmain.jpg


To top it off, it's clear that my driver's side knuckle is oozing, indicating gear oil contamination.
382knuckleooze.jpg


Most of this has really come out of the woodwork since my Thanksgiving-day oil change. It blows my mind. After 4 year of nary a drop on the floor from this truck I've had to put a drip pan down.

Hey, at least my radiator seepage is in check. It's never looked worse than this...
378radseep.jpg
 
The last two summers here in PHX have had very dry monsoon periods... and this past summer was "especially hot" I'm told by the locals. Didn't phase me after 11 years in Abu Dhabi. That said, we saw lots of cactus and trees dying around town this past summer. Everyone around here is blaming the really bad heat plus dry monsoons. Meh..
I see Joel...
Was serving in the Middle East too, when my palm trees have been caught. Upon my return home this summer, l tried again and went this time with the more resistant olive trees! 🌳

PS. Great family pic in the desert, thanks for sharing! Cannot say I'm not missing the desert...
 
Last edited:
About a year ago I redid the timing cover gasket and seal when I was replacing the crankshaft nut and plumbing in the heater. At the time, I believe it was @65swb45 who mentioned it could also be the end plate agains the block that was leaking. And I think he is right... cause I still have a leak up front. I also think my oil pan seal is leaking... and I think the oil pan has a slight split in the metal at the drain plug threads. So, in we go.

Popped the 40 up on dollies so I can shuffle it if needed... and it also gives me loads more height to work with underneath.

384inposition.jpg


The first batch of parts.

385parts.jpg


Started digging in.

386openedup.jpg
 
The way I understand re-sealing the front block end cover plate is that I have to pull the cam shaft out... as well as the timing gear off the crankshaft. As well I need to remove the distributor and fuel pump.

Can someone confirm that if I remove the rocker arm assembly from on top of the valves I should be able to remove the lifters and push rods from the side cover? Then I can pull out the cam shaft, right?

It's looking like I'm going to have to pull the winch to be able to remove the cam shaft. Ugh!

387timinggears.jpg


Lots of stuff removed to access the side cover. But hey, an opportunity to clean!

388sidecover.jpg
 
Remove rocker arm, remove pushrods from top, remove lifters from side cover. Then cam. Carefully so you don’t nick the cam bearings.
 
You don’t need to remove the crank gear; the plate has a hole in it for the gear to pass through.

You ABSOLUTELY DO need to turn the crank/ flywheel to top dead center so the alignment marks on the crank and cam synch BEFORE YOU PULL THE CAM.
 

Users who are viewing this thread

Back
Top Bottom