
Does anyone have a prefered part number for the T fitting to put in place of the LSPV?
The best tee to use is that one that's on your truck right now
")
EDIT: fitting, not "tee" for LSPV delete.
Last edited:
Follow along with the video below to see how to install our site as a web app on your home screen.
Note: This feature may not be available in some browsers.
This site may earn a commission from merchant affiliate
links, including eBay, Amazon, Skimlinks, and others.
Does anyone have a prefered part number for the T fitting to put in place of the LSPV?
The best tee to use is that one that's on your truck right now
I know but I'm keeping the ABS for now so I won't have the extra T that you get when the ABS is removed.
I know but I'm keeping the ABS for now so I won't have the extra T that you get when the ABS is removed.
*edit*
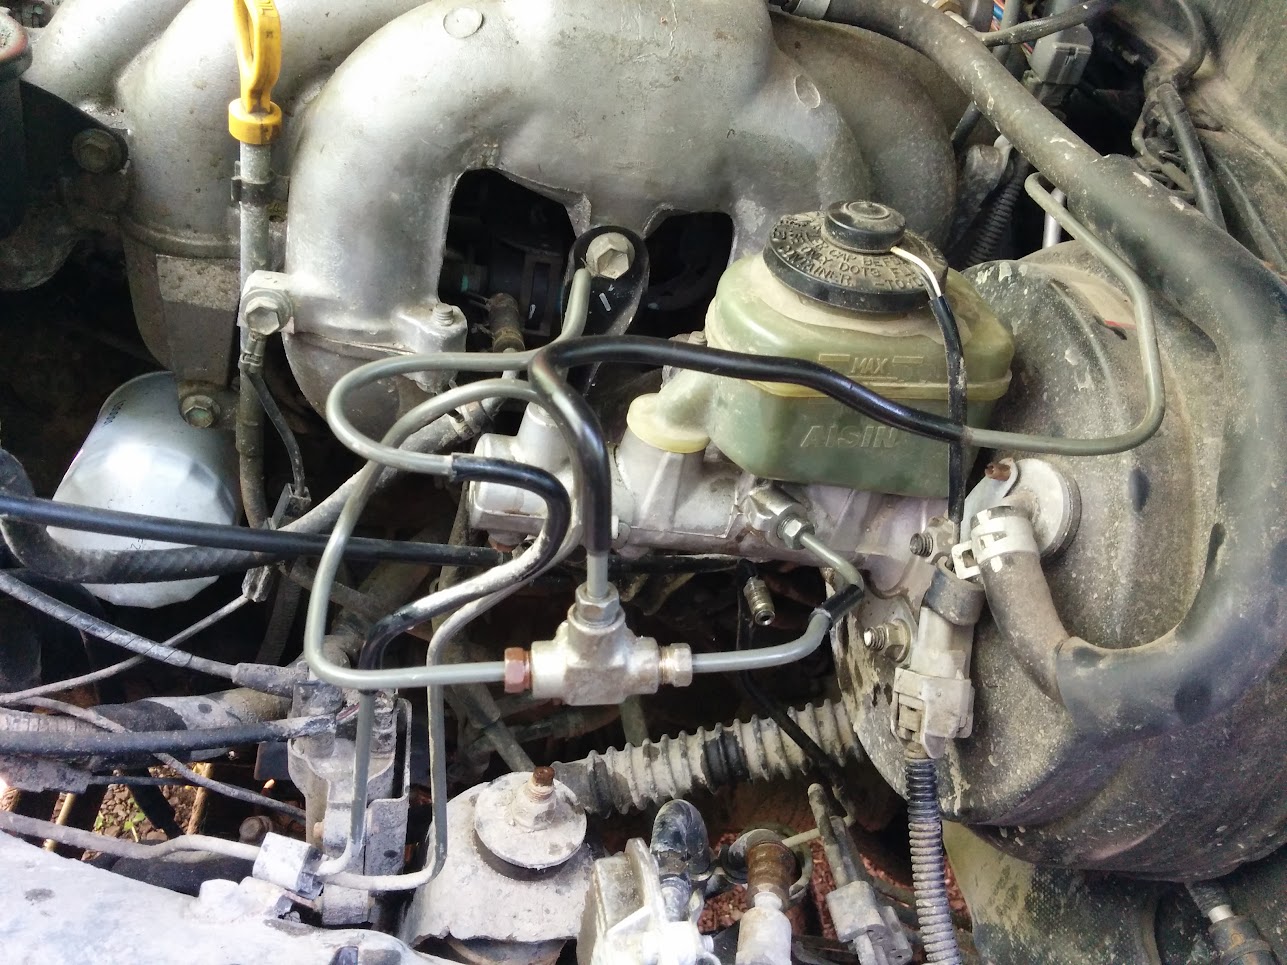
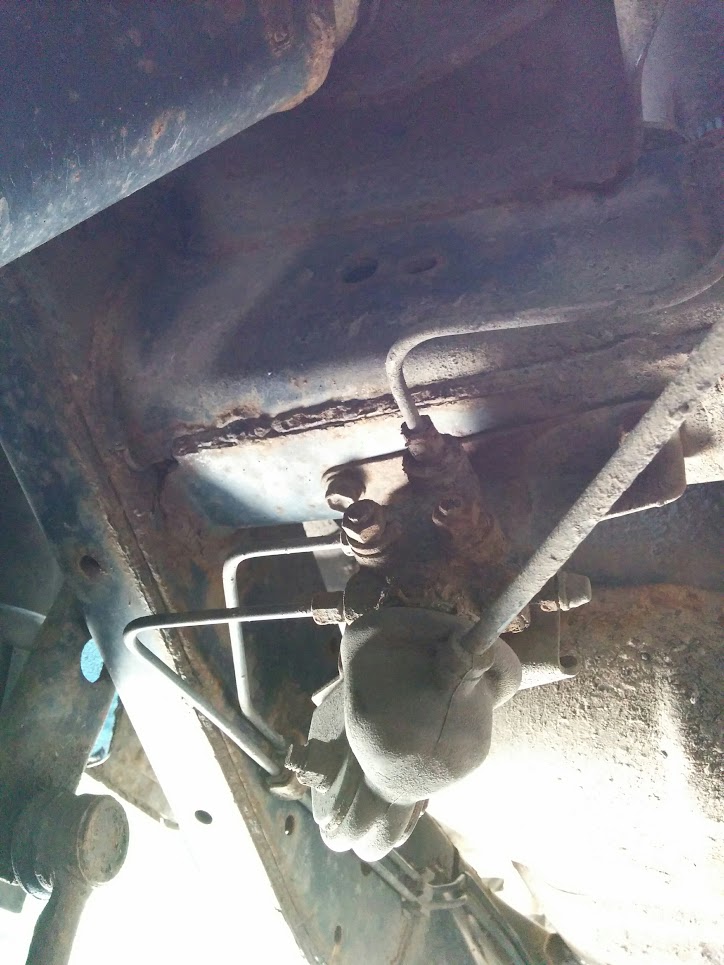
So looking at the pictures again I take a fitting from the drivers front area and that becomes the bypass fitting for the LSPV?
That is correct. The tee your remove from underneath the master cylinder is only used when you delete ABS. Keep it safe for a rainy day.
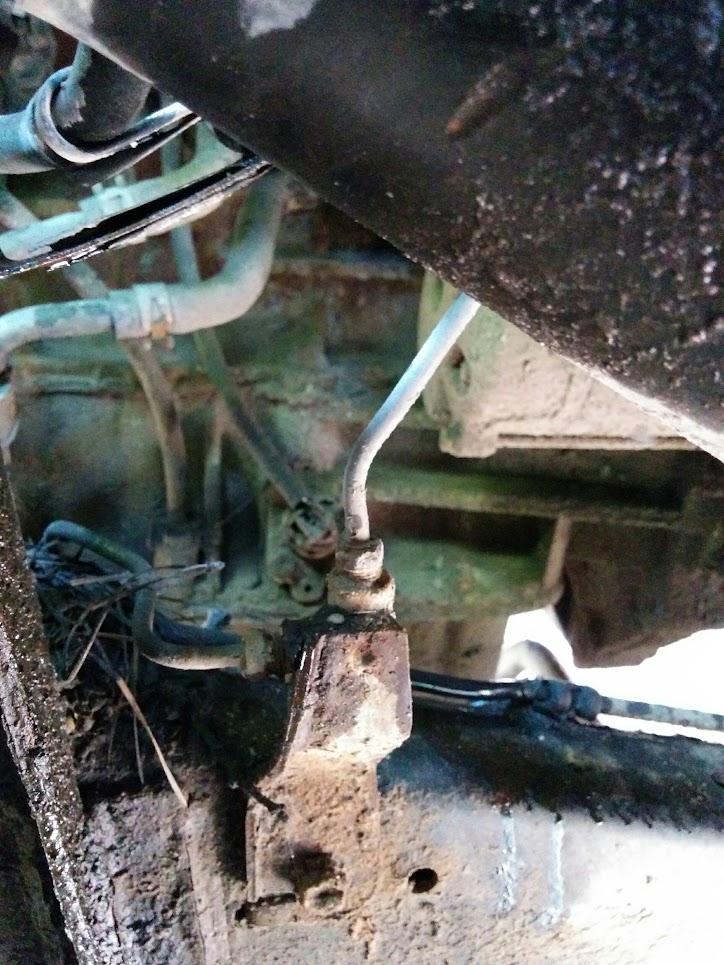
Ok, so the one on the frame of the driver side is only for the LSPV and I won't end up with an open line to the master or ABS if I remove it to use it for deleting the LSPV?
")
I like the feed backWanted to give an update. After I pulled the ABS and LSPV, things were hunky dorry. Towards the end of last summer, I needed to replace the rear pads. I was heading out for a two week road trip towing a camper, 12k lbs GCVW. So I decided to replace the front pads too while I was at it. Installed Hawk LTS pads front and rear. Did not turn or replace rotors.
Love the Hawk pads. Much more bite than the who knows what rear pads and the Akebono front pads I had previously installed. The extra braking was definitely noticeable towing the camper.
Anyway, the increase bite has had a negative effect. The extra bite is now enough to lock up the rears before the fronts. For now I am just dealing with it, as it is only apparent on heavy braking, and I know it is going to happen. I may add a manual PV, or I may install a less aggressive rear pad.
Wanted to give an update. After I pulled the ABS and LSPV, things were hunky dorry. Towards the end of last summer, I needed to replace the rear pads. I was heading out for a two week road trip towing a camper, 12k lbs GCVW. So I decided to replace the front pads too while I was at it. Installed Hawk LTS pads front and rear. Did not turn or replace rotors.
Love the Hawk pads. Much more bite than the who knows what rear pads and the Akebono front pads I had previously installed. The extra braking was definitely noticeable towing the camper.
Anyway, the increase bite has had a negative effect. The extra bite is now enough to lock up the rears before the fronts. For now I am just dealing with it, as it is only apparent on heavy braking, and I know it is going to happen. I may add a manual PV, or I may install a less aggressive rear pad.
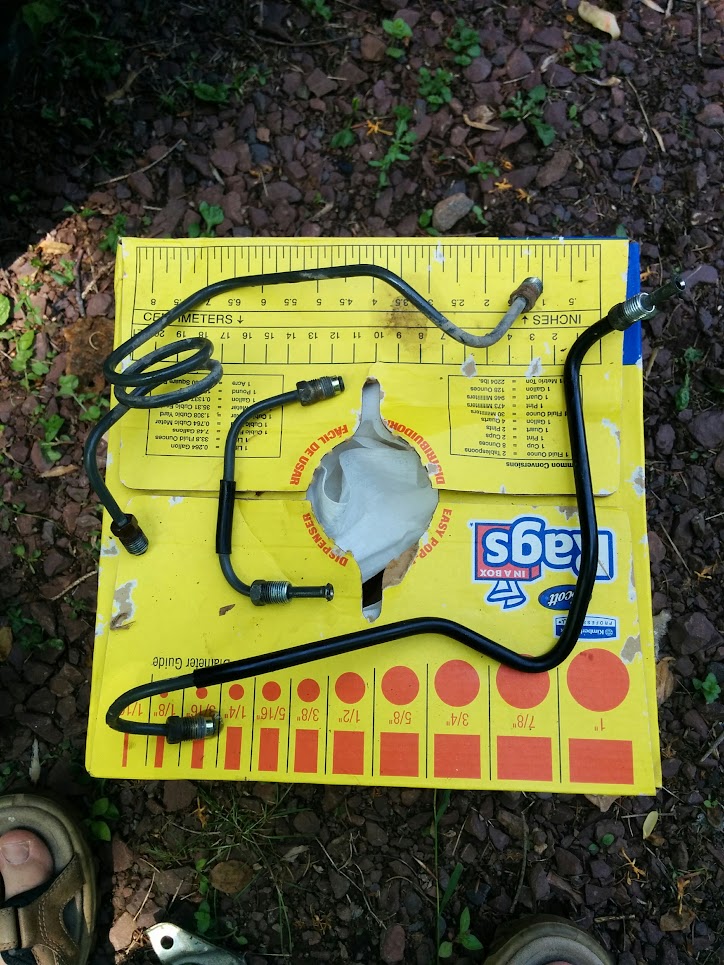
Thought I might add this....
I thought that I was being smart, getting a 10mm thread brake proportioning valve for my ABS delete, so I would not have to reflare the ends.....
Well, not so fast. They needed a longer threaded end to fit and bubble flare, so I ended up having to redo both lines going to this unit.
https://www.amazon.com/gp/product/B011B4UX5U/ref=oh_aui_detailpage_o06_s00?ie=UTF8&psc=1
Per manufacturer, "This valve uses 10mm X 1.0 fittings with a bubble flare, not an inverted flare."
Good info 2f. I'm thinking about doing this mod and I *should* be able to just re-purpose the items that get pulled out, right?
I am a little confused what you are asking. I added a proportioning valve up by the master so I can adjust the power/fluid to the rear brakes. To do this, on @Robkc rig, lexi, we added the standard valve that is setup for US These have a 1/8-27 NPT but include adapters to go to 3/16-24 Female. 3/16 line is the same size as our metric line with m6 x1.0 ends, so I had to reflare the lines to the 3/16 24 thread.
This is made somewhat difficult as we use a eastwood brake line end, thanks to @tornadoalleycruiser and it needs to be mounted in a vise to work well. I use a 4' long pipe wrench to hold it in place while doing this on the car, and have another person there to help.
https://www.amazon.com/dp/B01HOXH242/?tag=ihco-20
Here is the standard valve.
https://www.amazon.com/Wilwood-260-8419-Adjustable-Proportioning-Valve/dp/B002G37IEA/?tag=ihco-20
Anyay, I thought we would be able to use the metric proportioning valve and not have to reflare, but not the case.


I am doing this, thanks for the step byThe best tee to use is that one that's on your truck right now
EDIT: fitting, not "tee" for LSPV delete.
How many of you have added a manual proportioning valve to this mod? I'm on 37's w/ plans to go 39's.......
I've deleted the LSPV from every 4Runer and mini truck I've owned and never installed one, just wasn't sure how important it might be for 4 wheel disk brakes.