"Wyoming": A journey with the '82 FJ60, repair/restore/build/enjoy.... (1 Viewer)

This site may earn a commission from merchant affiliate
links, including eBay, Amazon, Skimlinks, and others.

Joined
Jan 8, 2019
Threads
10
Messages
66
Location
Georgia (state, not country)
Oh, and Questions,... lots and lots of questions.

Wyoming, because that's where she was originally sold and where I'm from.

t4H71TA.jpg


XKnZvlL.jpg


WUl1m3b.jpg


If you haven't already seen my intro thread, that's over here: What has she gotten me into This time!!?!???.... AKA another new guy post - https://forum.ih8mud.com/threads/what-has-she-gotten-me-into-this-time-aka-another-new-guy-post.1277549/

Current Status, March 2022: As purchased plus new 31s
 
As mentioned, she's got new shoes. Happened upon a brand new tire from Nokian, which is a brand I've had Very good experiences with (WR2 and WR3 for many years while living in the Rockies), and decided to chance it based on the descriptions. Sounds very much like a road focused/oriented tire, with the nicer characteristics, and an A/T "look". I have a similar type tire on the '99 4runner and it's been an outstanding choice so-far.

0qUHJsb.jpg


pAU9Gq2.jpg


Only just installed a day ago, and with a whopping 20 miles driven since install so the jury is very much still out on these tires.


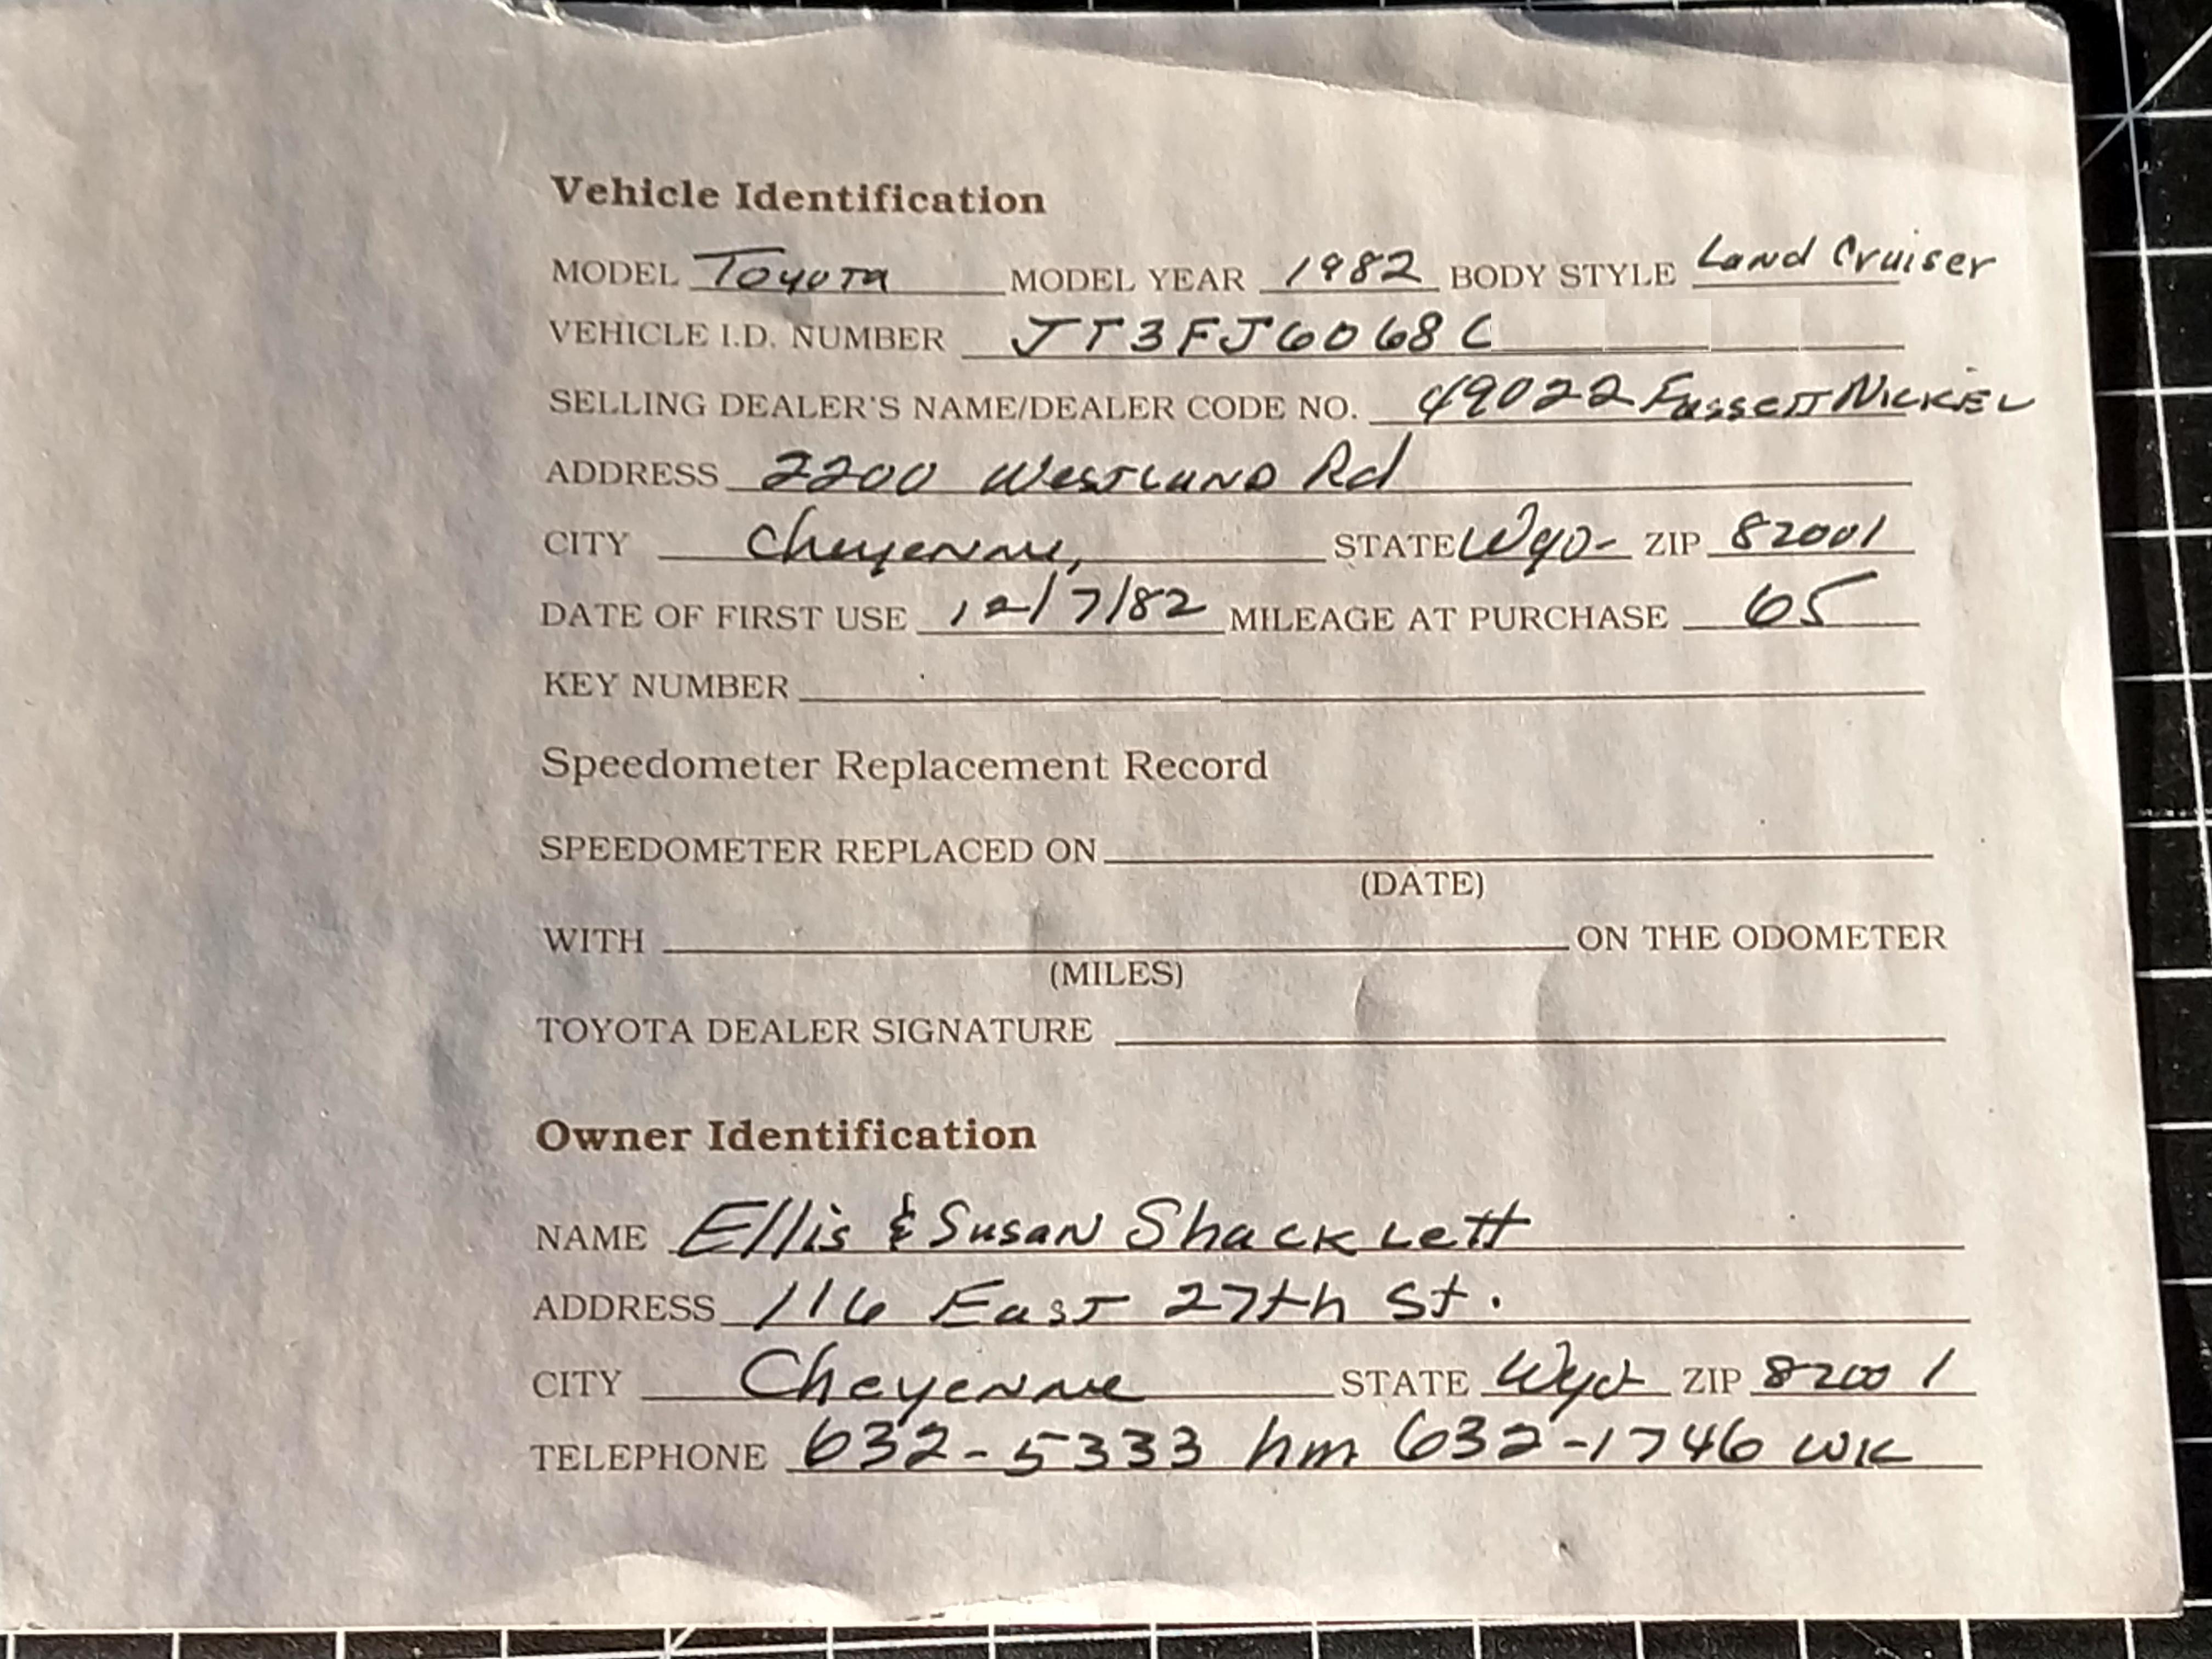
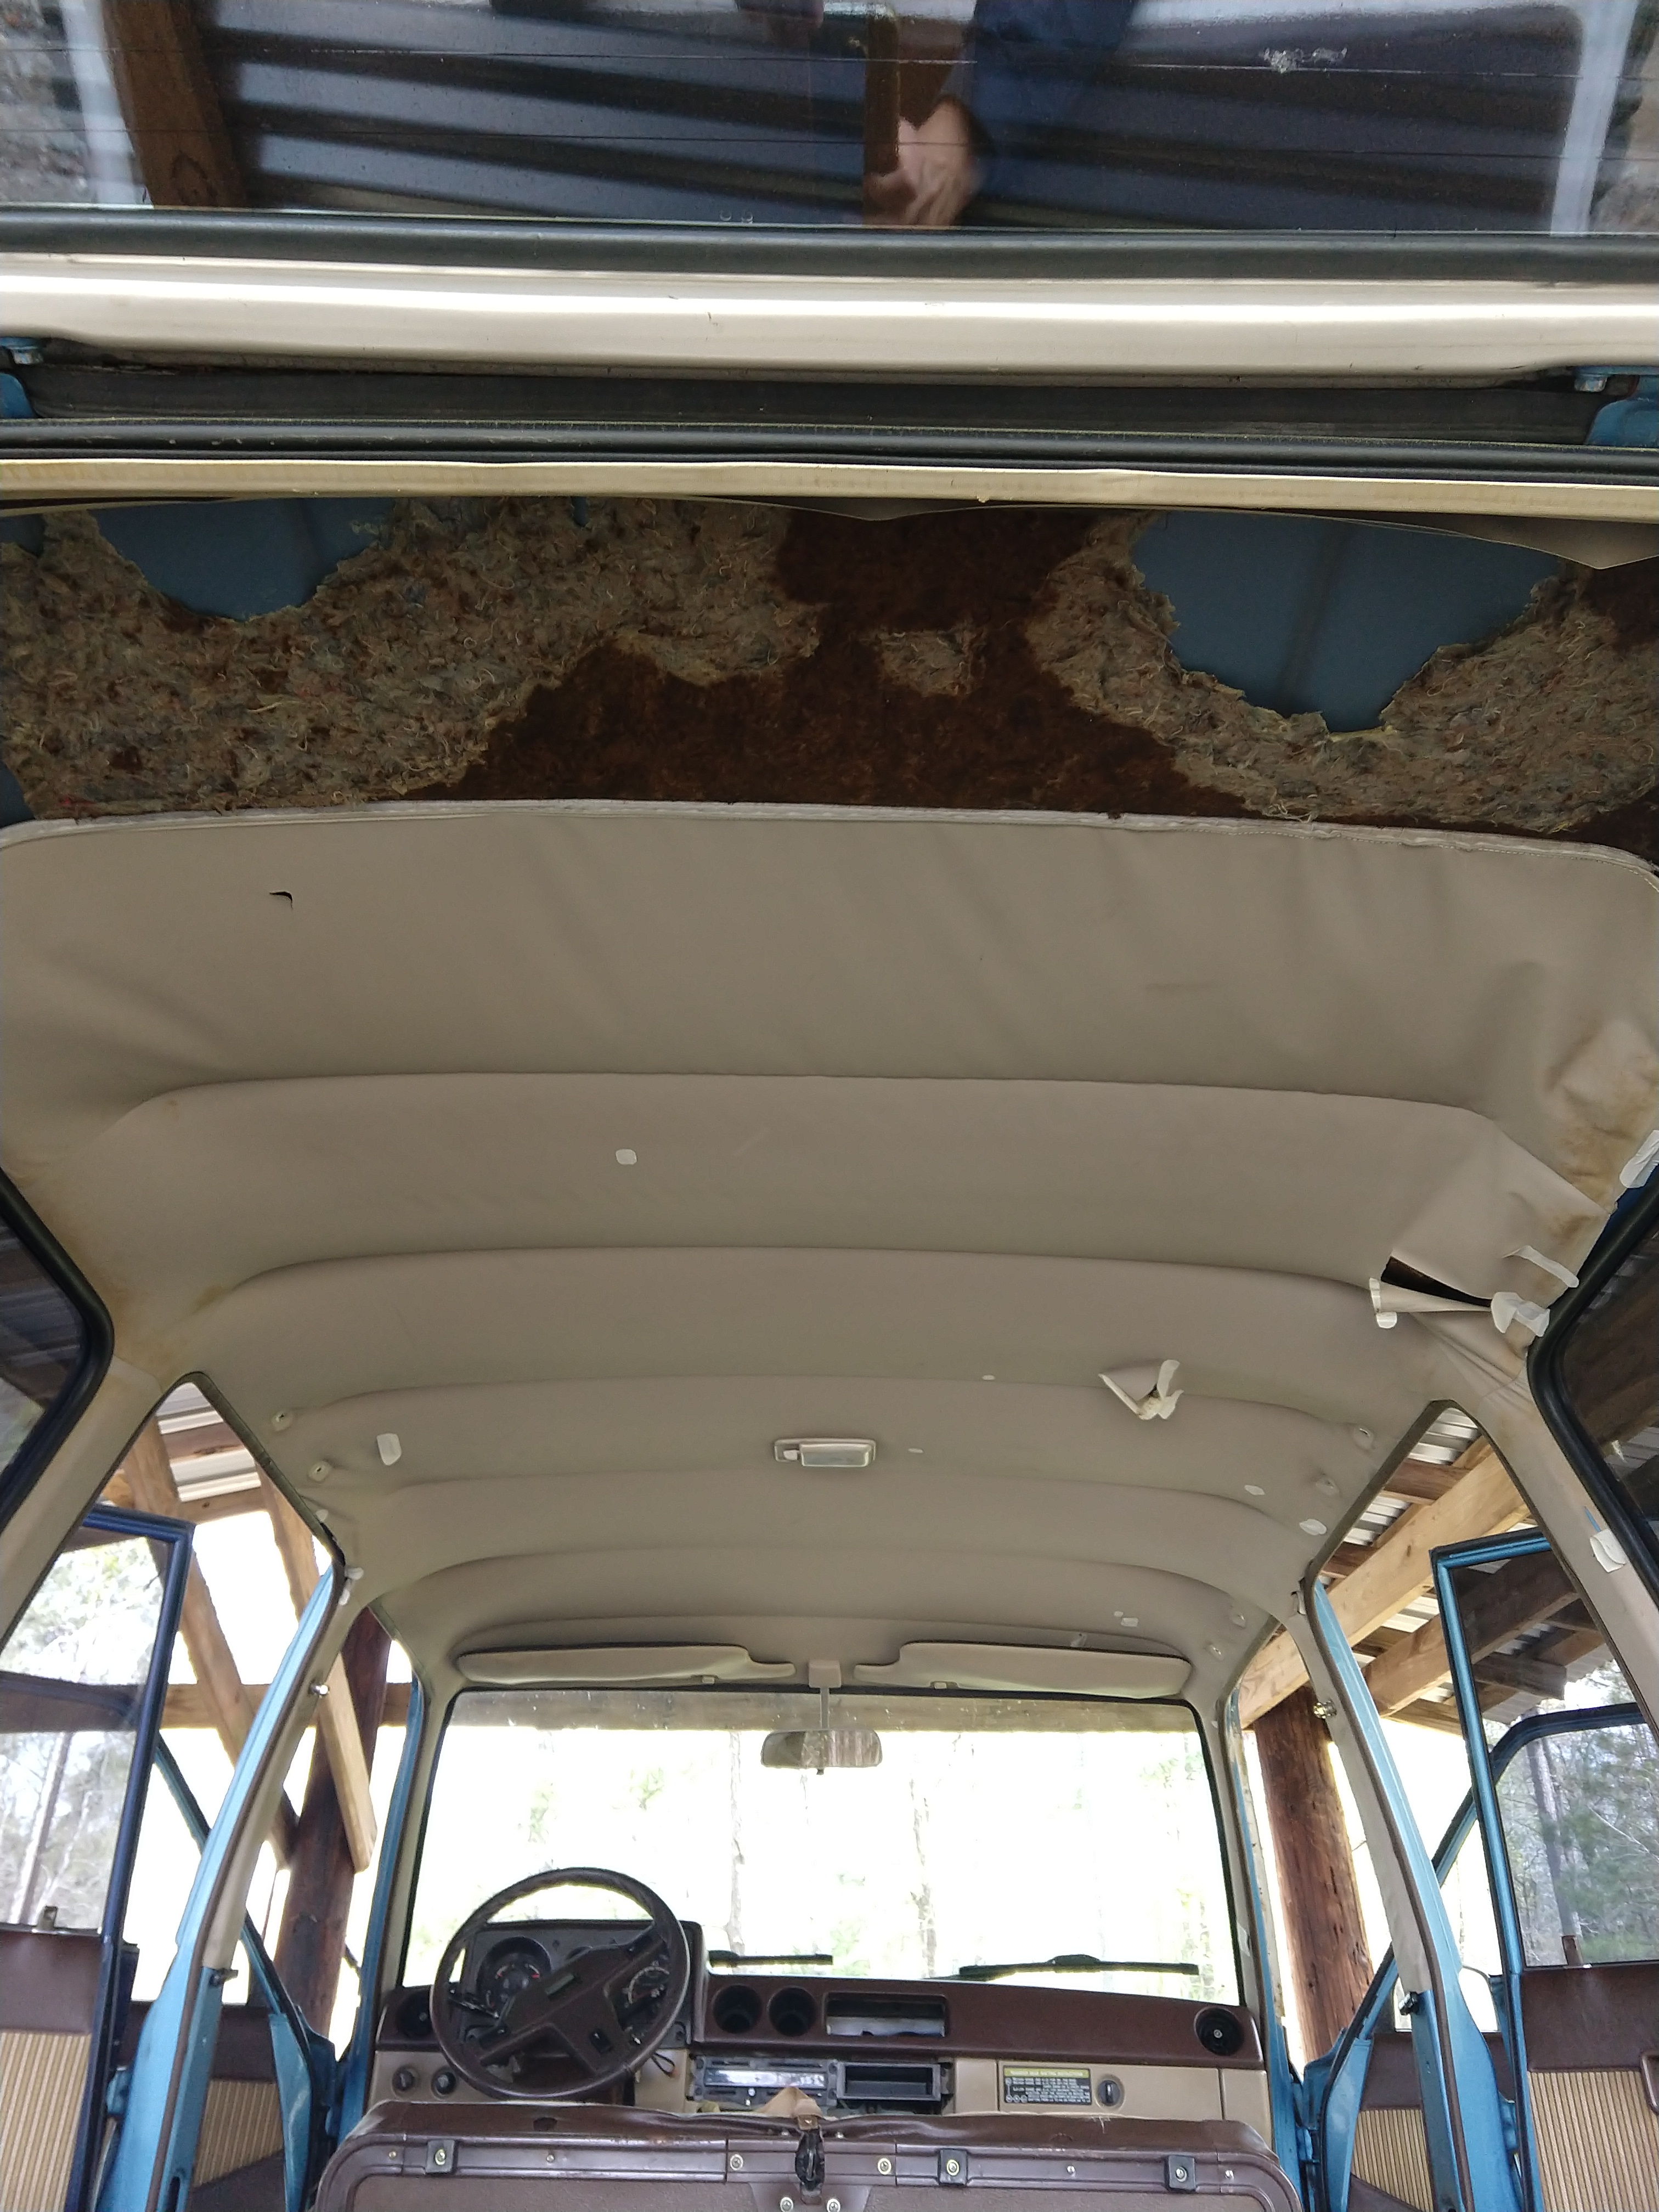
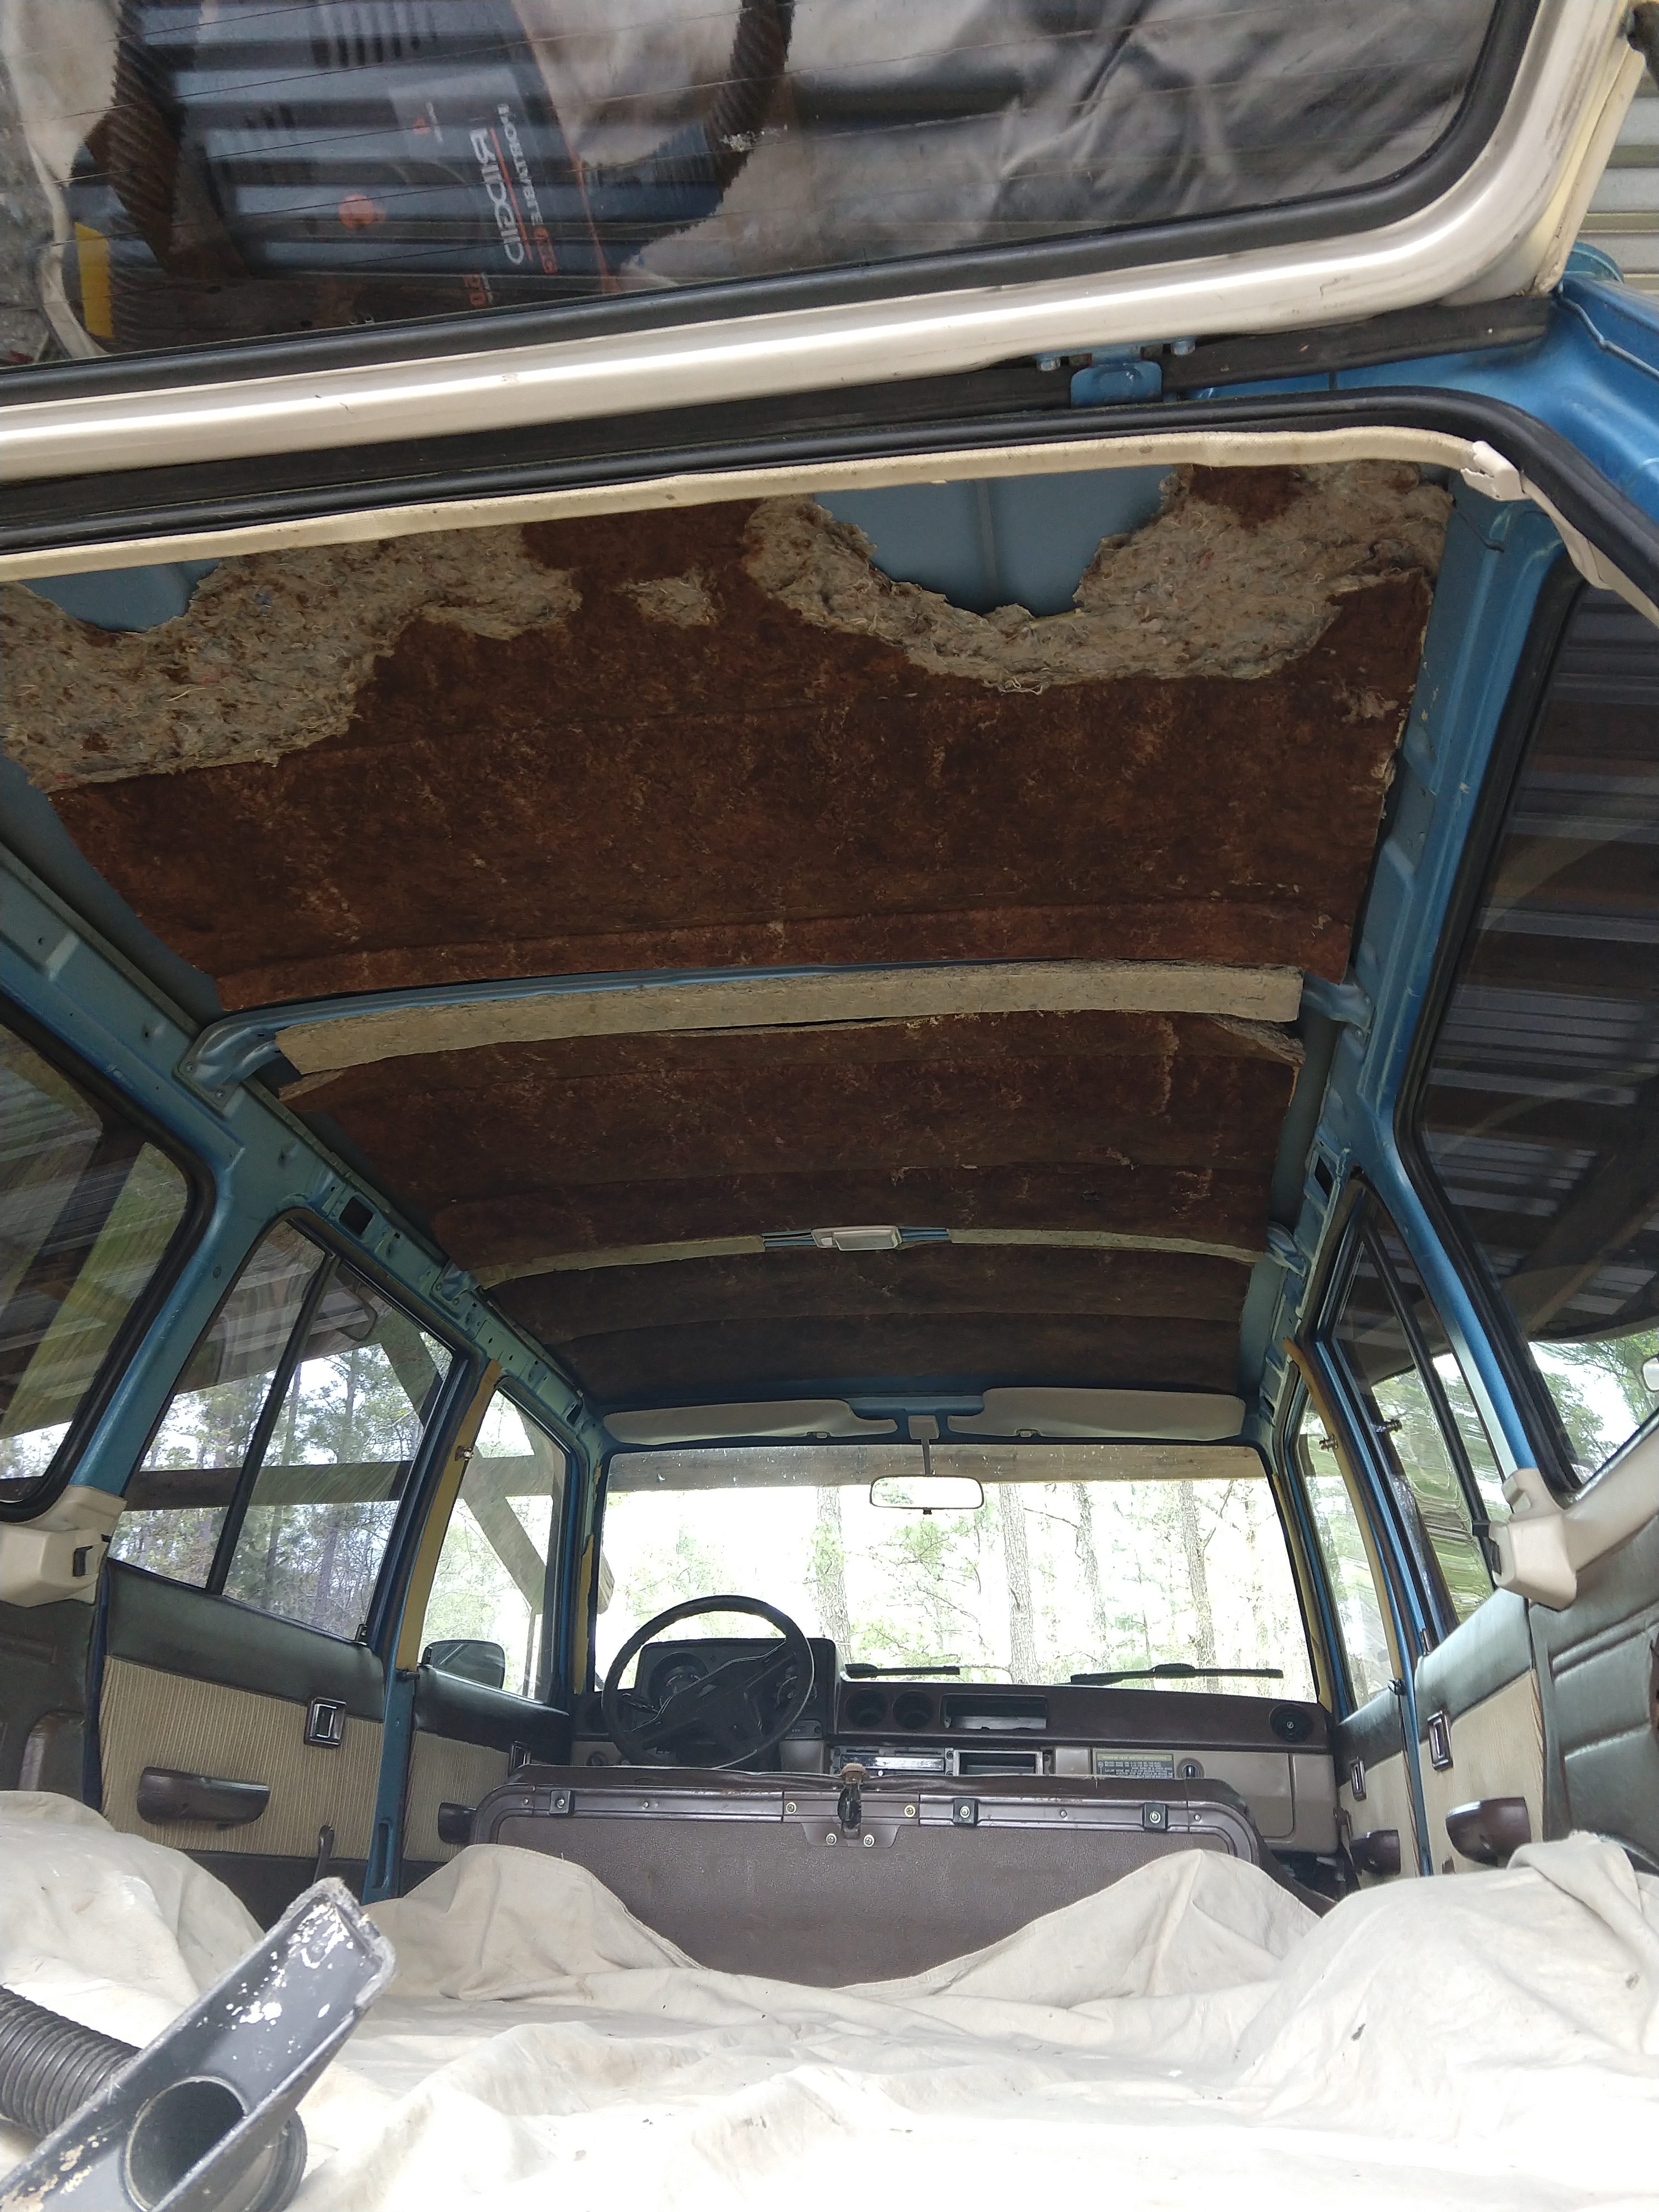
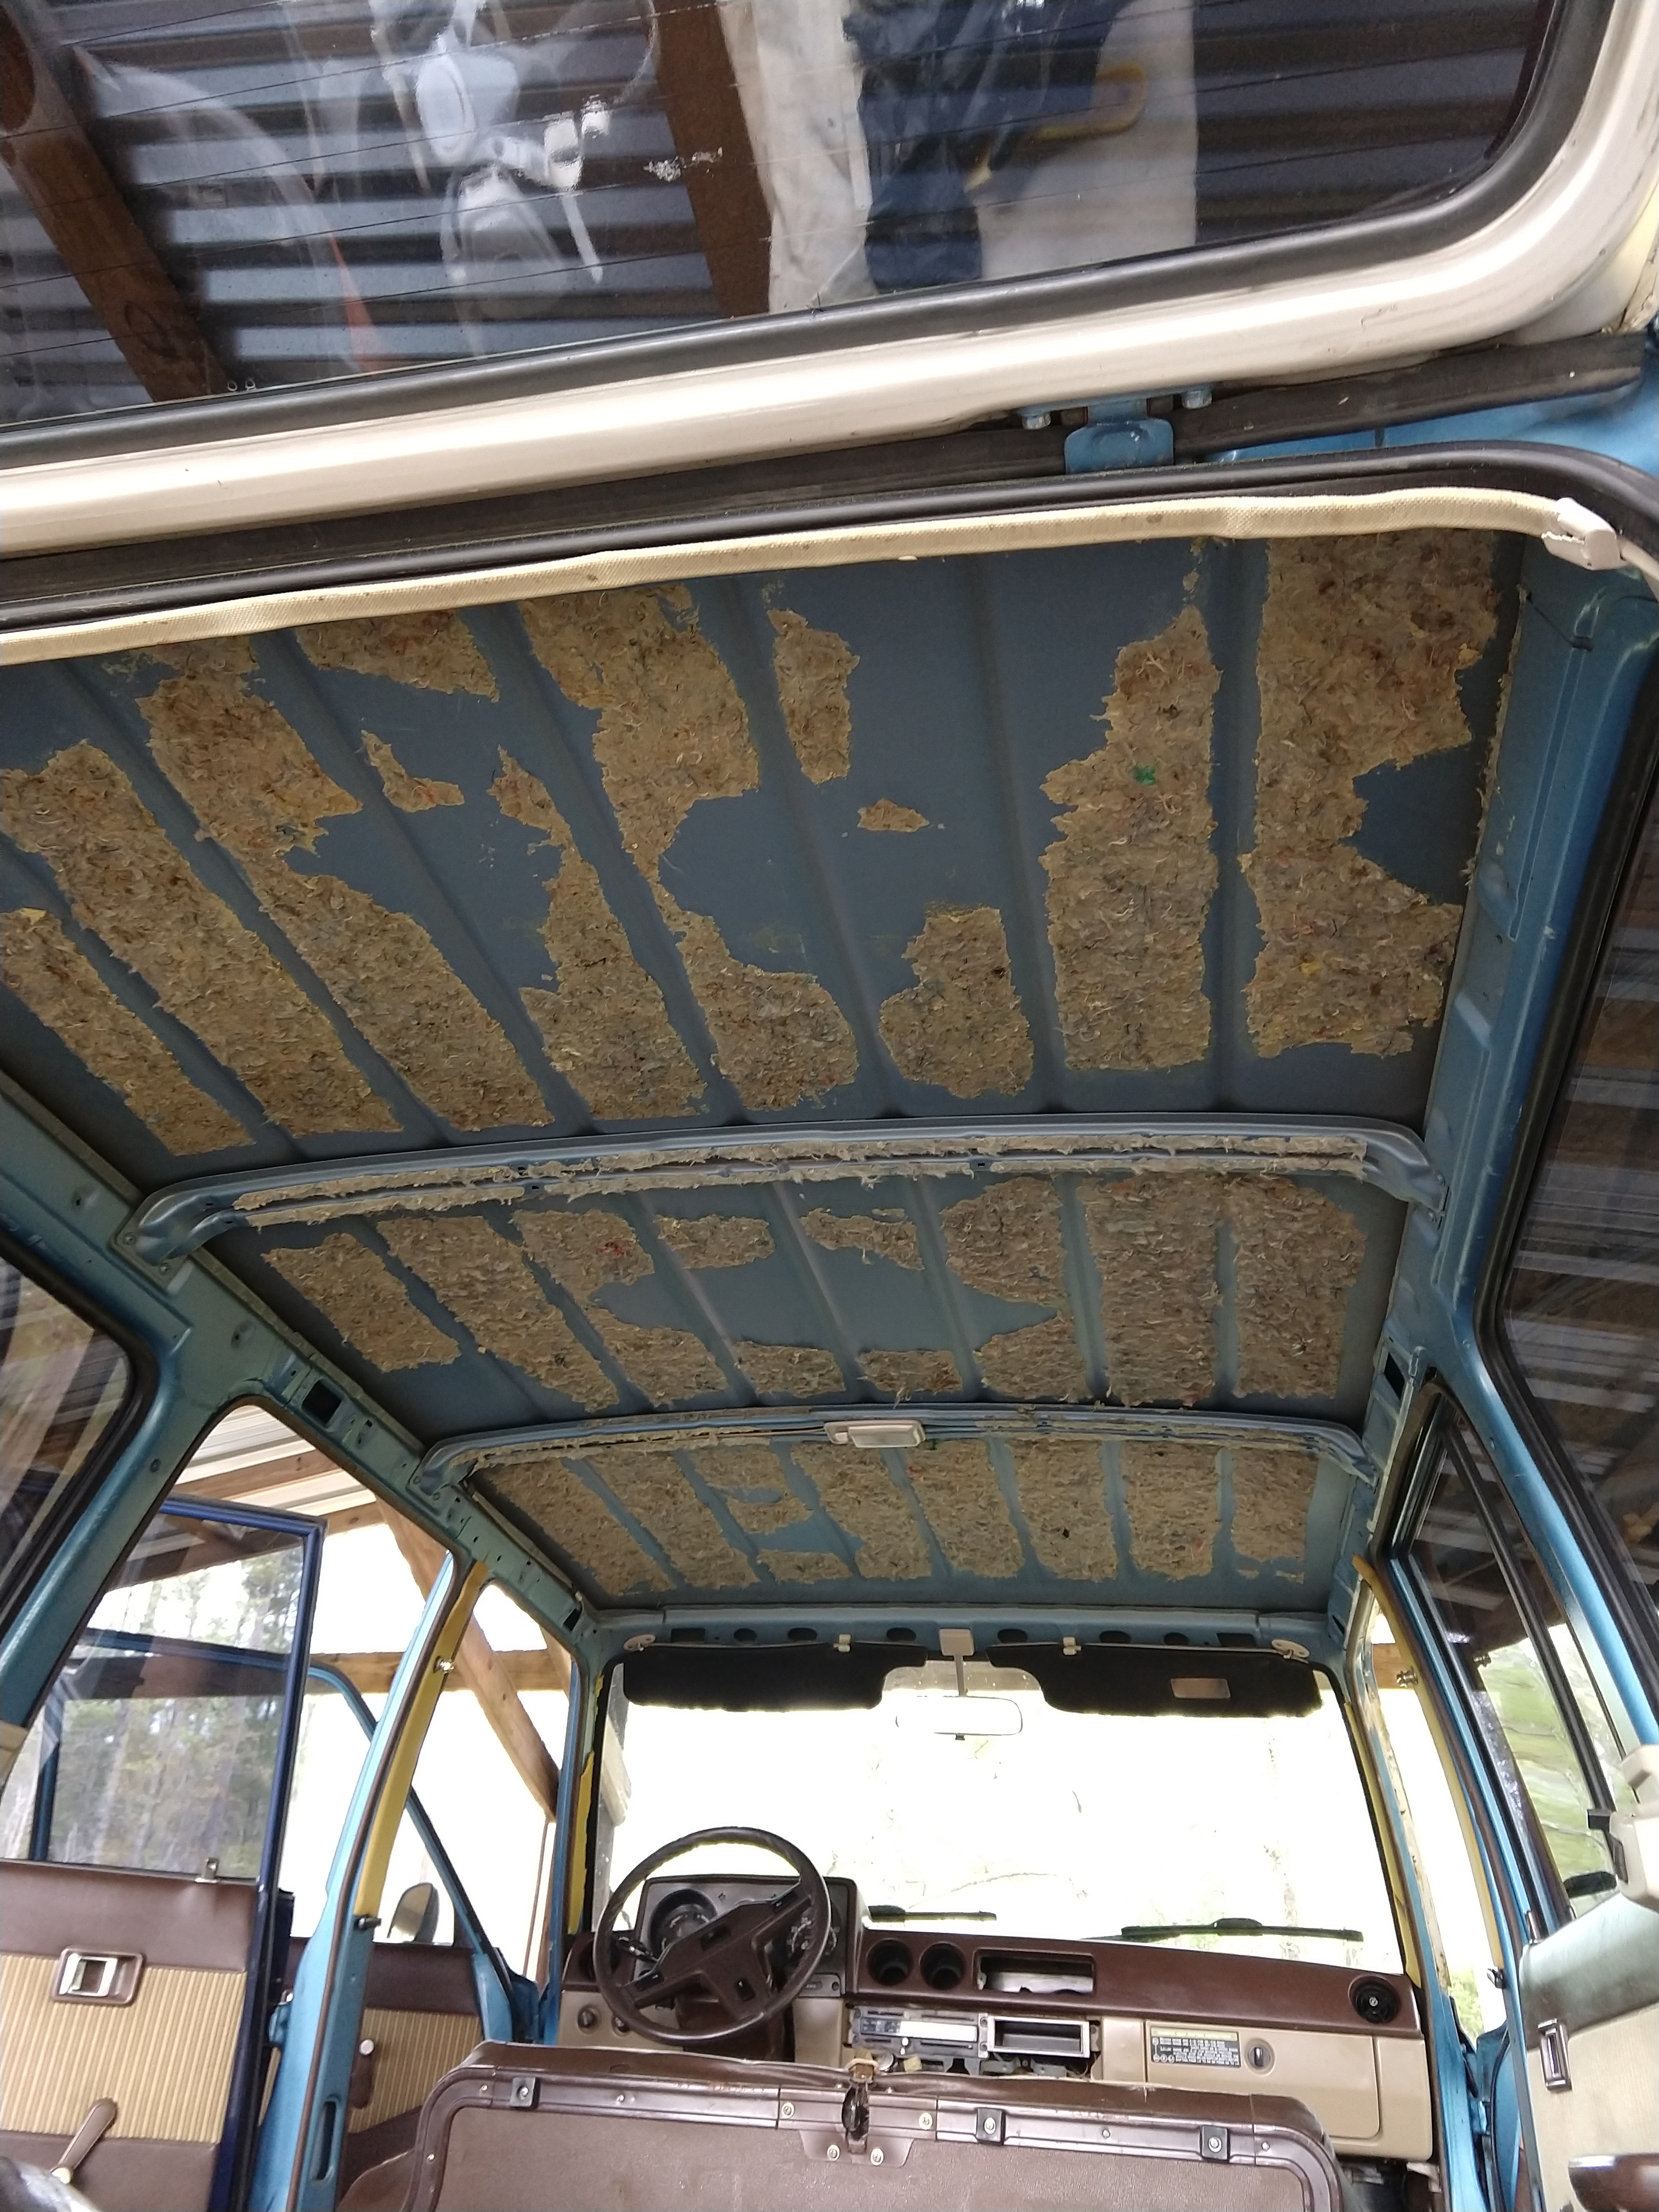
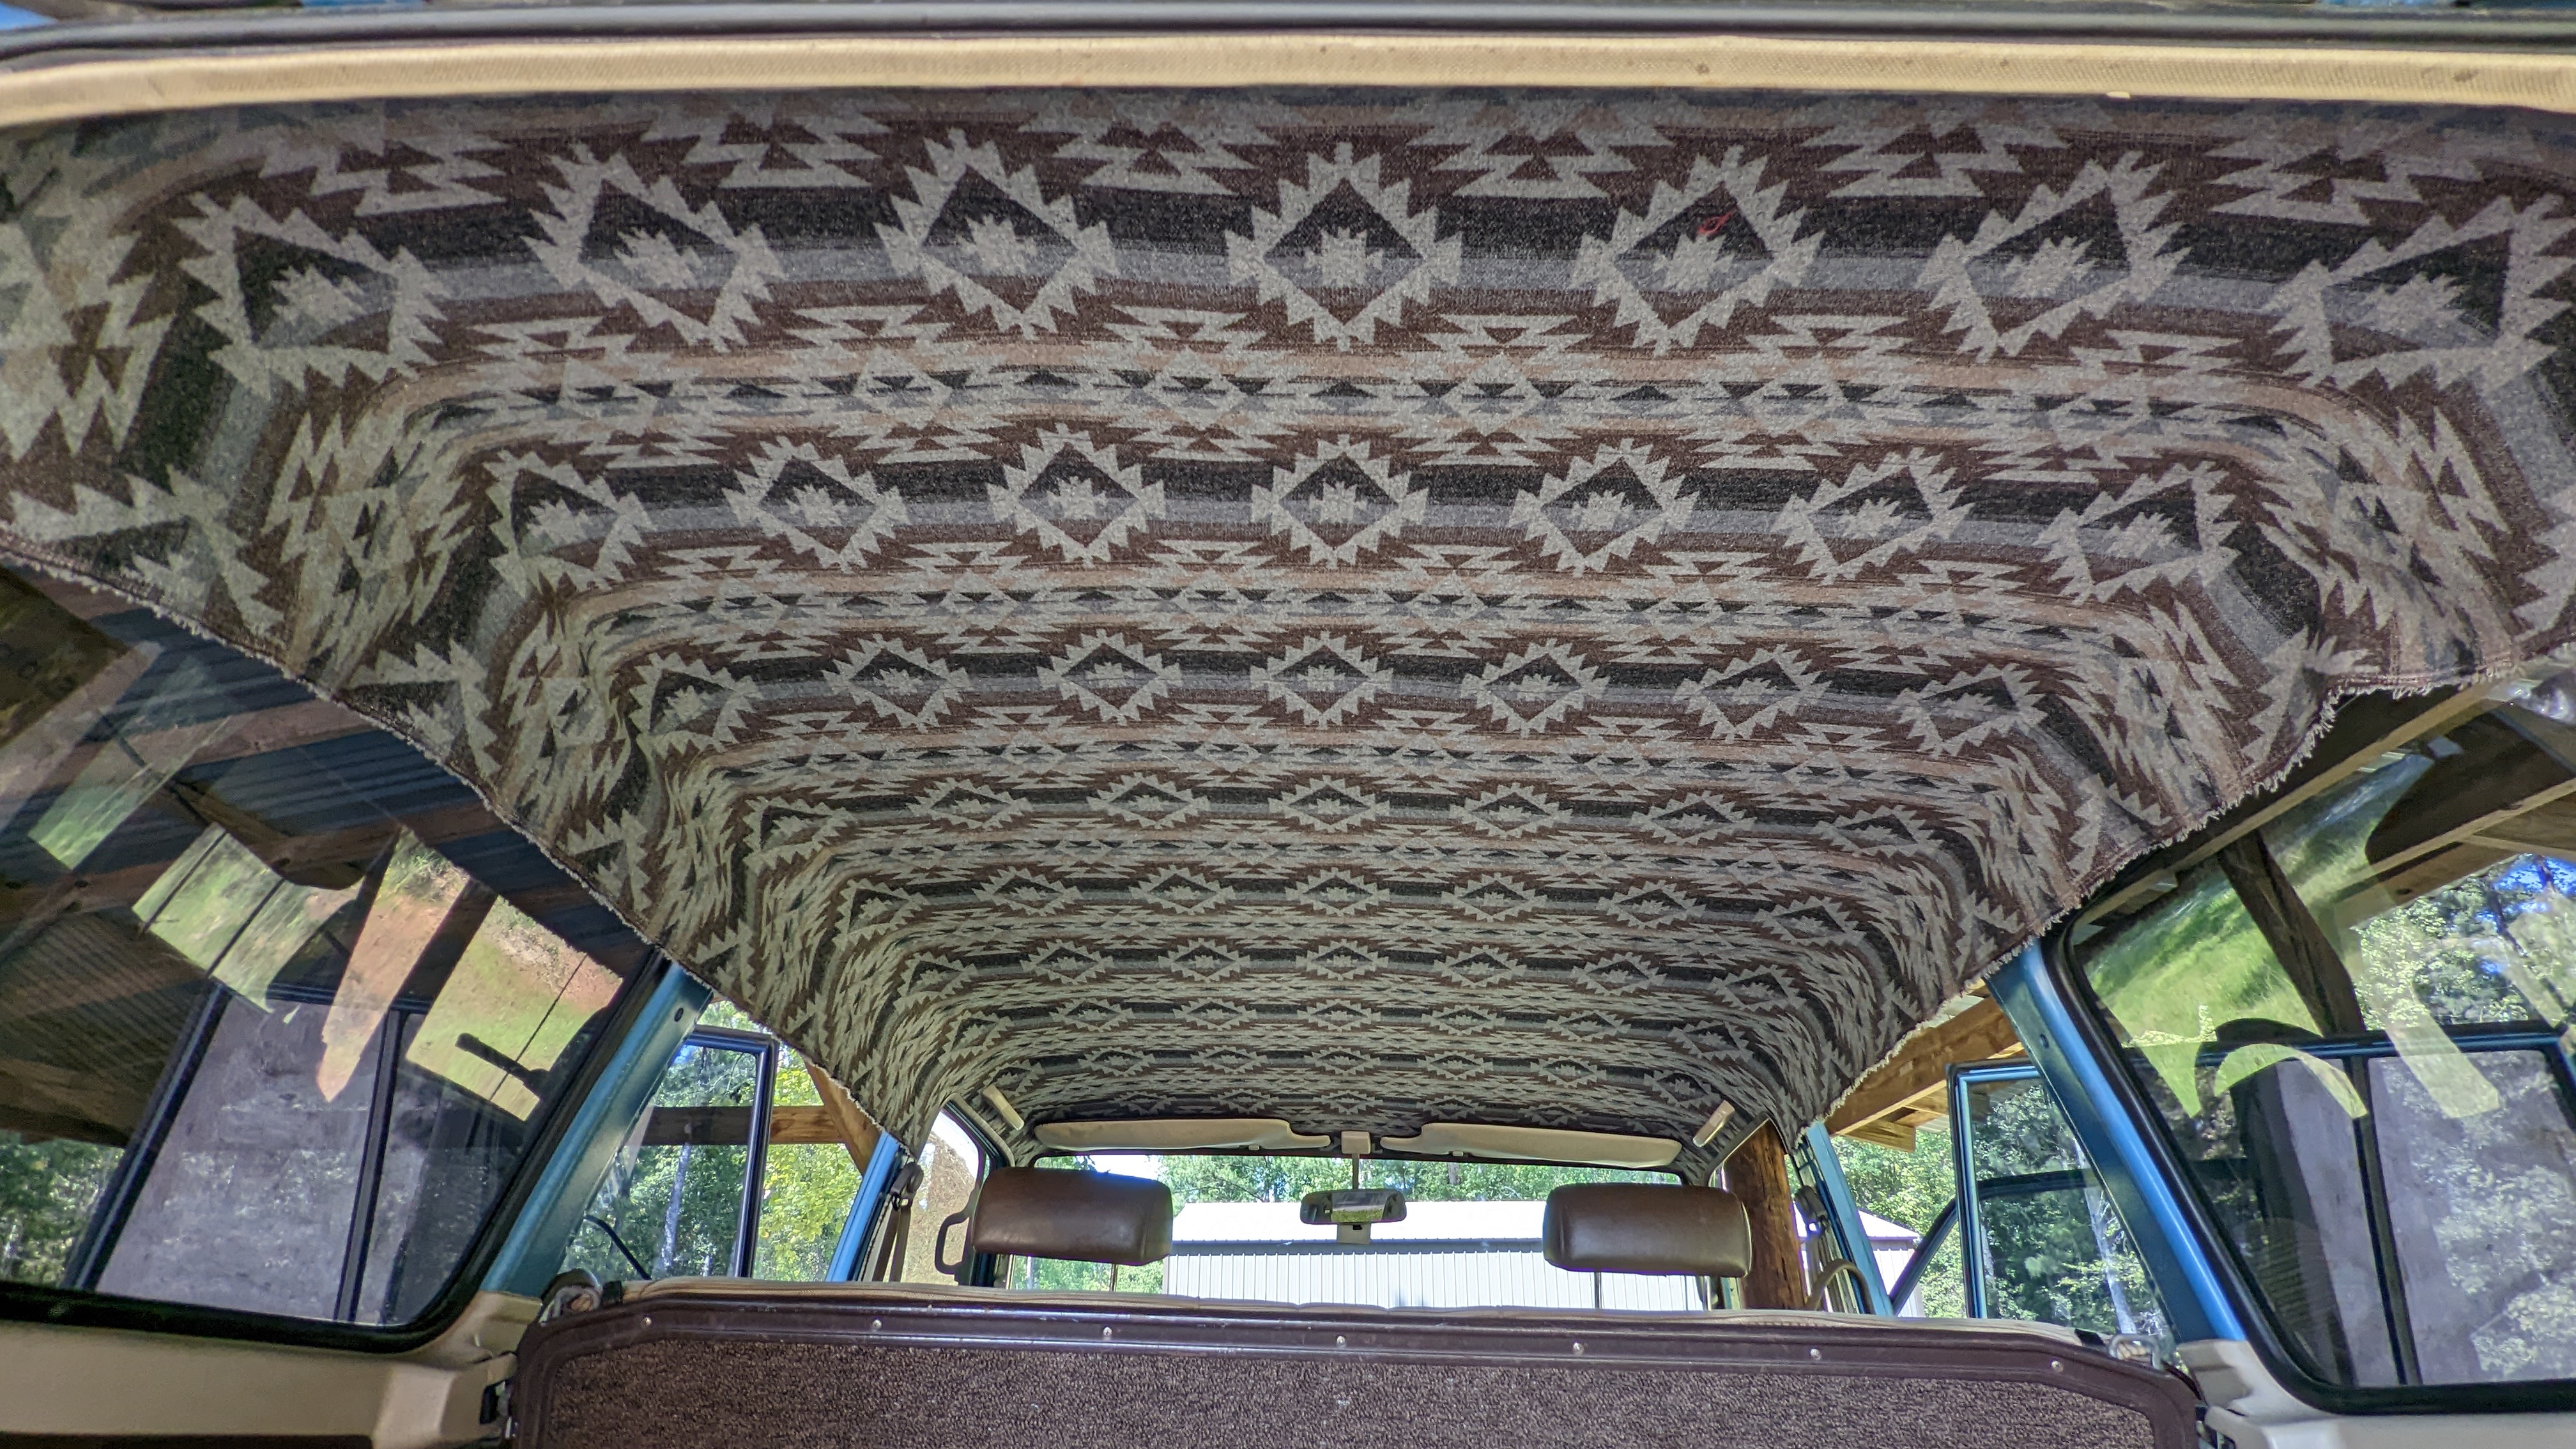
Otherwise I've been discovering lots of new things with Wyoming (Perhaps just Wyo... the old state mail address before it went to WY). Previously I realized that her rear drivers door had been replaced with one from a 62 and some kind folks pointed out that a manual regulator was a plug-n-play replacement. I already have one on it's way. Today I realized the back gate and hatch were replacements too, originally silver and with a wiper... for which I don't have a switch (or washer bag).

So, question #1: Did Toyota use 1 harness for all models, meaning that I can simply connect the correct plugs, install the switch and have a rear wiper and washer (obviously, installing all the other missing parts)?

That leads into Question #2, if Toyota did use one harness, then I probably have superfluous plugs... would these be normally unused?

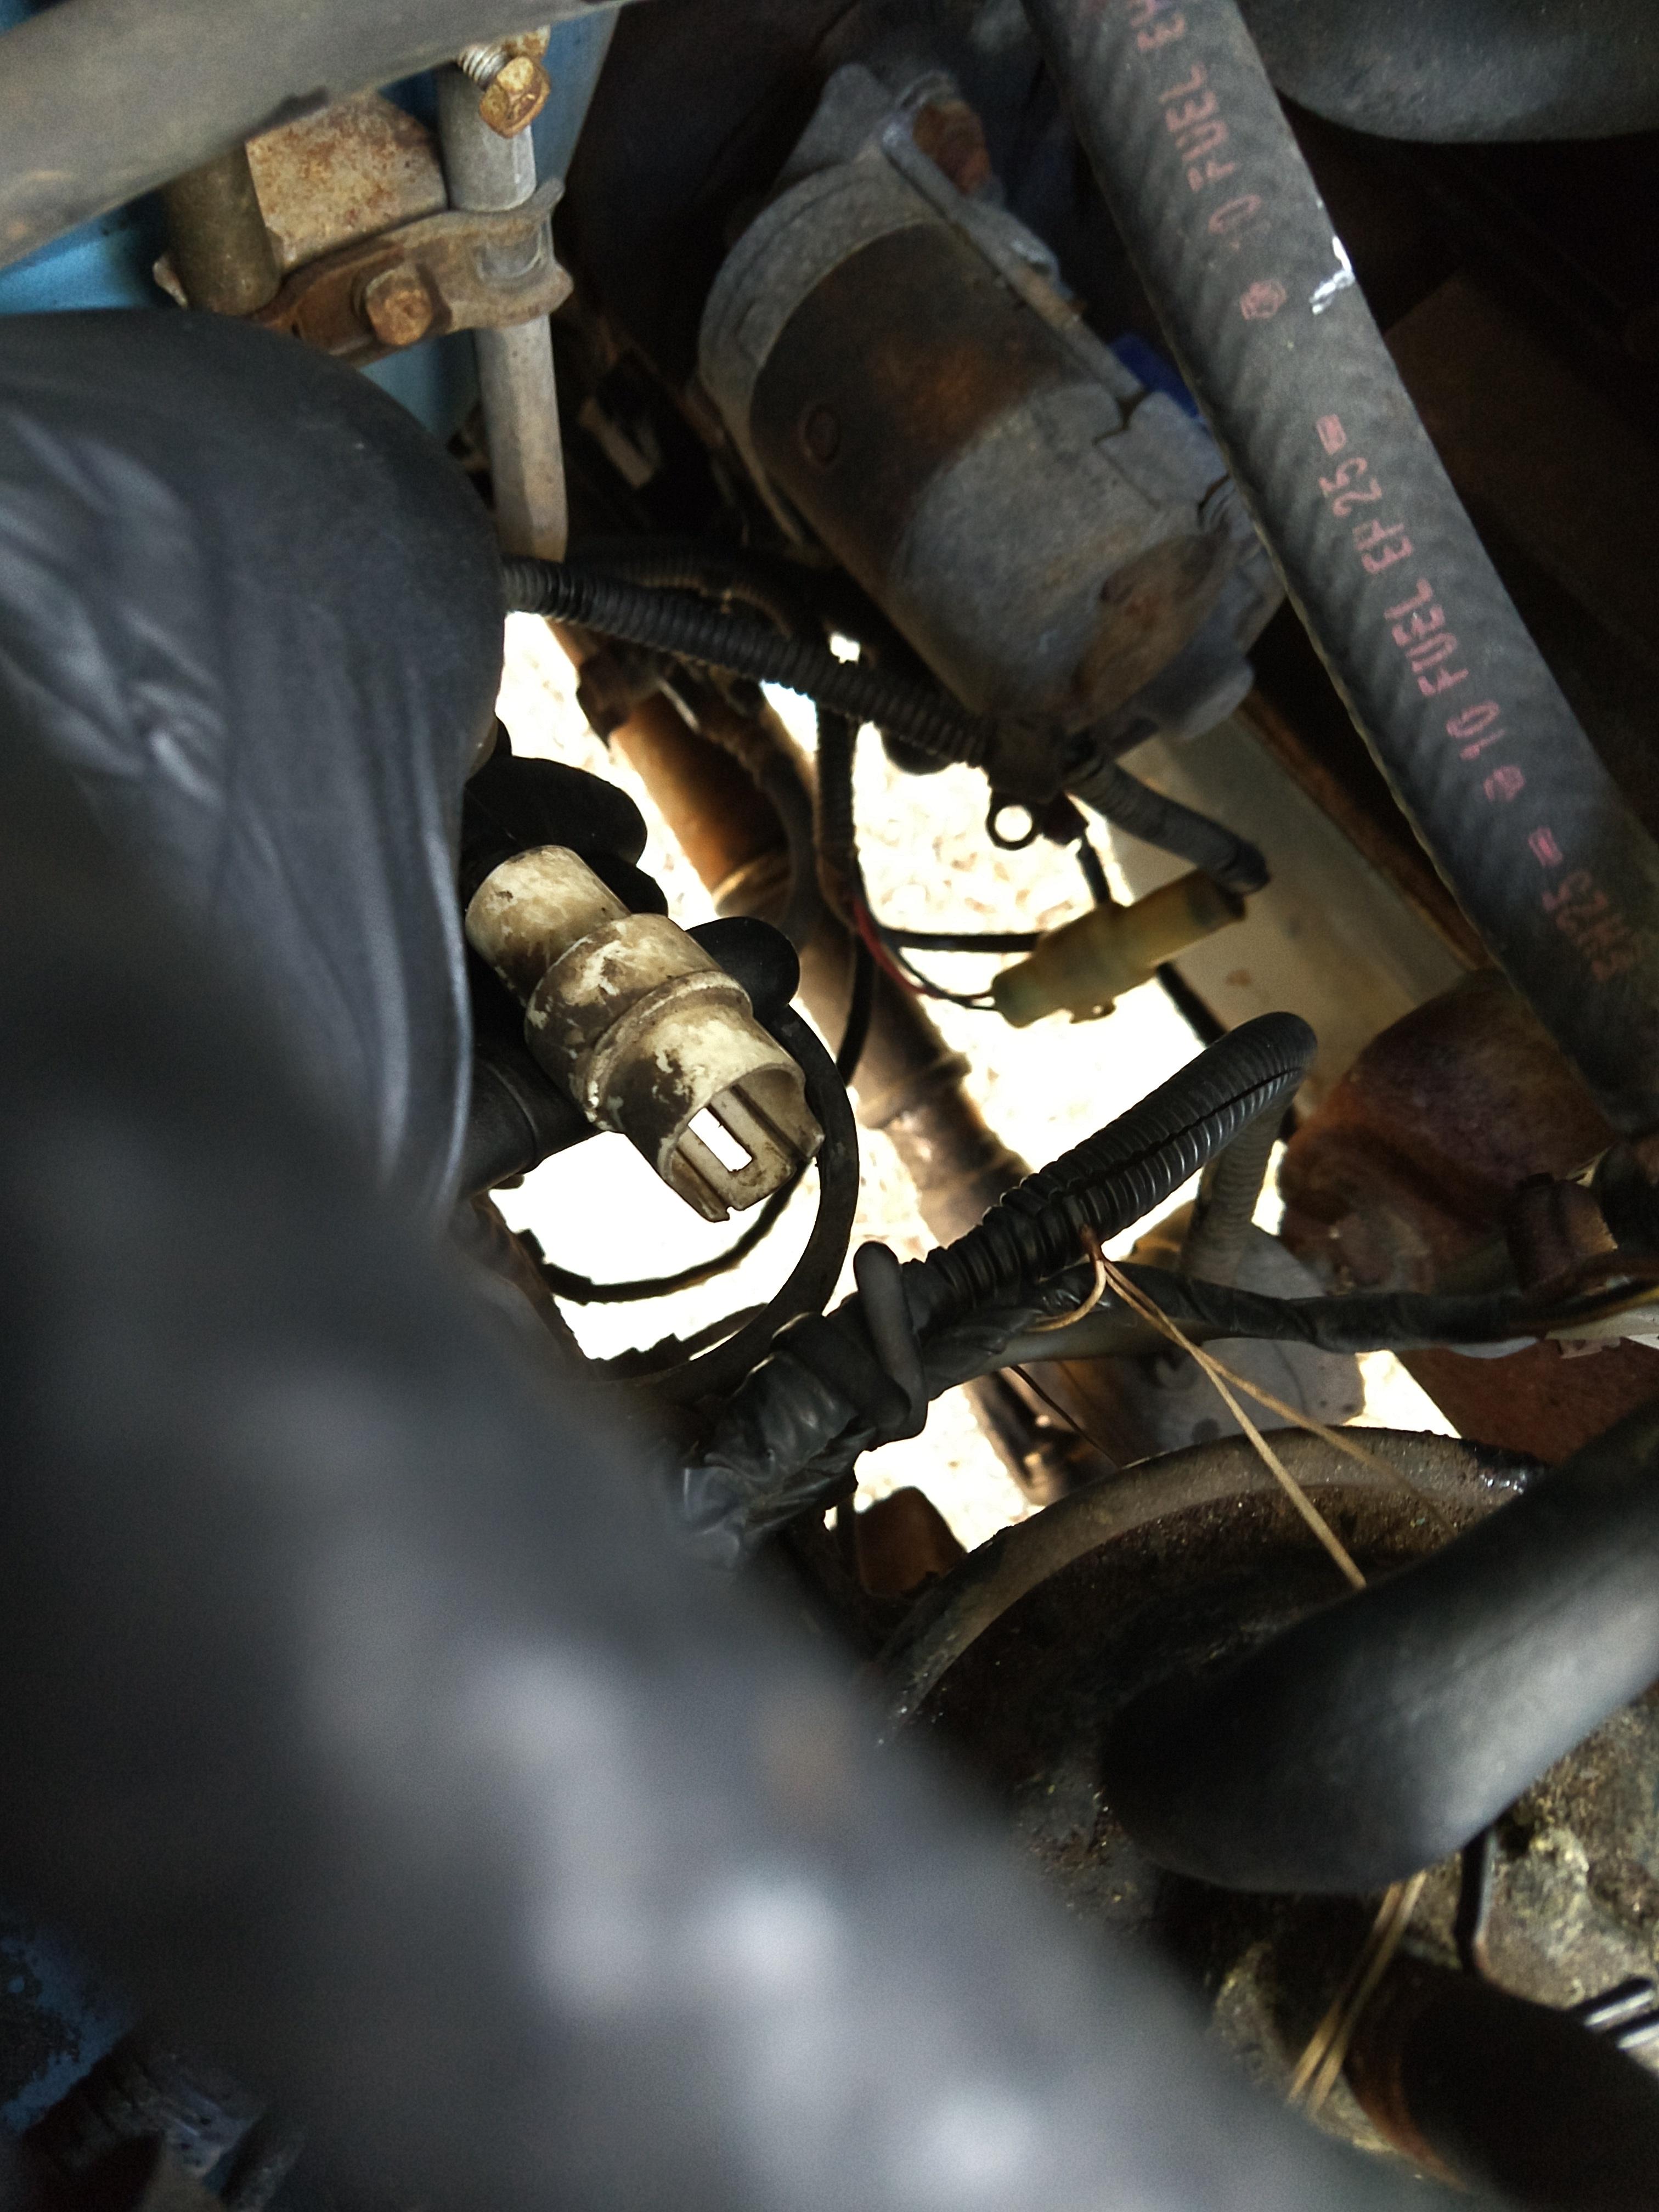
Drivers side, just behind the headlight... bigger gauge so probably power (looks like red and white):

wIlT4k8.jpg


Passenger side, just behind the battery (looks like green and white w/black stripe in my photo):

sYMCtPA.jpg


Pigtail off the starter? Looks like blue and red:

FGcBE7L.jpg


Just under the brake master cylinder, only a 2-pin but I see white, blue and green:

aWAF2AJ.jpg


And then the last wiring question for now, I noticed the brake fluid reservoir has a couple leads for a fluid level idiot light, but I can not find the corresponding vehicle side connection. First thought is that I'm just a blind idiot... second is this FJ didn't have that option and this is a replacement cap.

uHIQcKB.jpg


My search-fu here is weak, I'm simply not finding threads that talk about any of this... and then I get distracted by those threads. Similarly, I'm looking at the manual but its format is different from what I'm used to (no color coded wiring diagram laid out with connectors on the page where you'd find them on the vehicle?), I'm trying, just not finding yet.

Thanks!
 
Phew, 6 months without an update? I suck at build threads... guess this is going to go out of order.

Headliner:

Like all o these rigs with the original headliner, mine was super brittle, torn in a number of spots, sagging like crazy and covered in tar (smoker car by the smell of it). That's no bueno for SHMBO. At first we tried Gear Tape, which works Amazingly on technical fabrics to repair small rips/tears/abrasions, but it wouldn't stick to the 40y/o headliner without pressure, and trying to apply pressure just made more and/or worse tears.

O9XquHn.jpg


So down it came, along with the mouse fur insulation:

NYfDh5U.jpg


tPDktW4.jpg


h3yZqEi.jpg


Wanted some insulation back up there as we're in GA and the sun gets to be a bit much, plus for noise absorption. I've been extremely pleased with the insulation in my conversion van, so I used it here again ~ 3m thinsulate blanket at 1" thick. This was going to be a temporary headliner too, and the black scrim (with painted black headliner bows) looked nice enough for the few months it was up. Oh yeah, happy wife, happy life!

MvpNZpm.jpg


HW37WqP.jpg
 
Then came the headliner. I believe it was 4 yards of 60" wide fabric (wool/poly blend from Etsy.search for Southwest Fabrics), 3 yards is probably enough for a headliner unless you want to pattern match the pillars ~ I have about a half yard left, but also gave myself LOTS of extra to work with. First step is measuring the distances from the back trim to the bows, between the bows and from the front to the windshield so you can sew pockets on for the bows (in the right place). I used scrap vinyl I had laying around:

eTYnGp6.jpg


Install was simply to put the bows through the sleeves and put back in place. I used hog-rings to hold the rear-most bow in place and started at the front.

The #1 question most people are going to ask is about the windows, I left them all in place. I tapped off the rubber trim and used headliner glue right next to the trim to give everything a little hold, then tucked the fabric under the trip using a 2" plastic putty knife and an assortment of plastic trim removal tools (the yellow Harbor Freight set). Start in the middle of the windshield and work left then right to the corners. Then move to the back and do the rear, center left then right to the corners. I took off any trim that was easy, basically everything but the windows. With the front and back in place, I tried to run the A pillars as a 1-piece, uncut section (had left the extra yard and half of fabric hanging there), which worked a treat. Glue, putty knife, tuck, smooth.... then worked around the rest of the vehicle, doing the driver door are, then passenger door, then rear driver, etc... back and forth till it was all pulled taught and smooth. Rear windows were the same as the windshield. Then I used a torch to heat a nail and used that to make holes for all the different things that mount (interior light and hatch light were cut instead of burned as the only exceptions). No foam on the pillars, just didn't see the point. Speaking the pillars, I cut the pieces last, pattern-matched, glued down instead of stitched together... was just easier.

The fabric is doubled-up under the rubber trim, so in the future if I should remove those windows, I ought to have enough to mount the headliner "right", if not, this wasn't hard to do.

This was finished to the front doors:

WloMfiR.jpg


Then the rear doors:

oNZ6jjZ.jpg


Back windows unfinished:

eOtEElq.jpg


C-pillar pattern matched:

OAk4pON.jpg


And the final result

 
Last edited:
@Sumguy This is incredible. Gives me hope that I can tackle this job - not just for looks, but to get some insulation on the ceiling, too.
 
I think your headliner looks very nice. Well done!

I wish I were a more confident seamstress—I tried my hand at making climbing rope bags for a while, but it took me forever to finish any of them.
The headliner seemed like too much for me to tackle so I bought one from Cruiser Corps.
 

Users who are viewing this thread

Back
Top Bottom