- Thread starter
- #821
Oh dang I want this vintage license plate frame!

Follow along with the video below to see how to install our site as a web app on your home screen.
Note: This feature may not be available in some browsers.
This site may earn a commission from merchant affiliate
links, including eBay, Amazon, Skimlinks, and others.
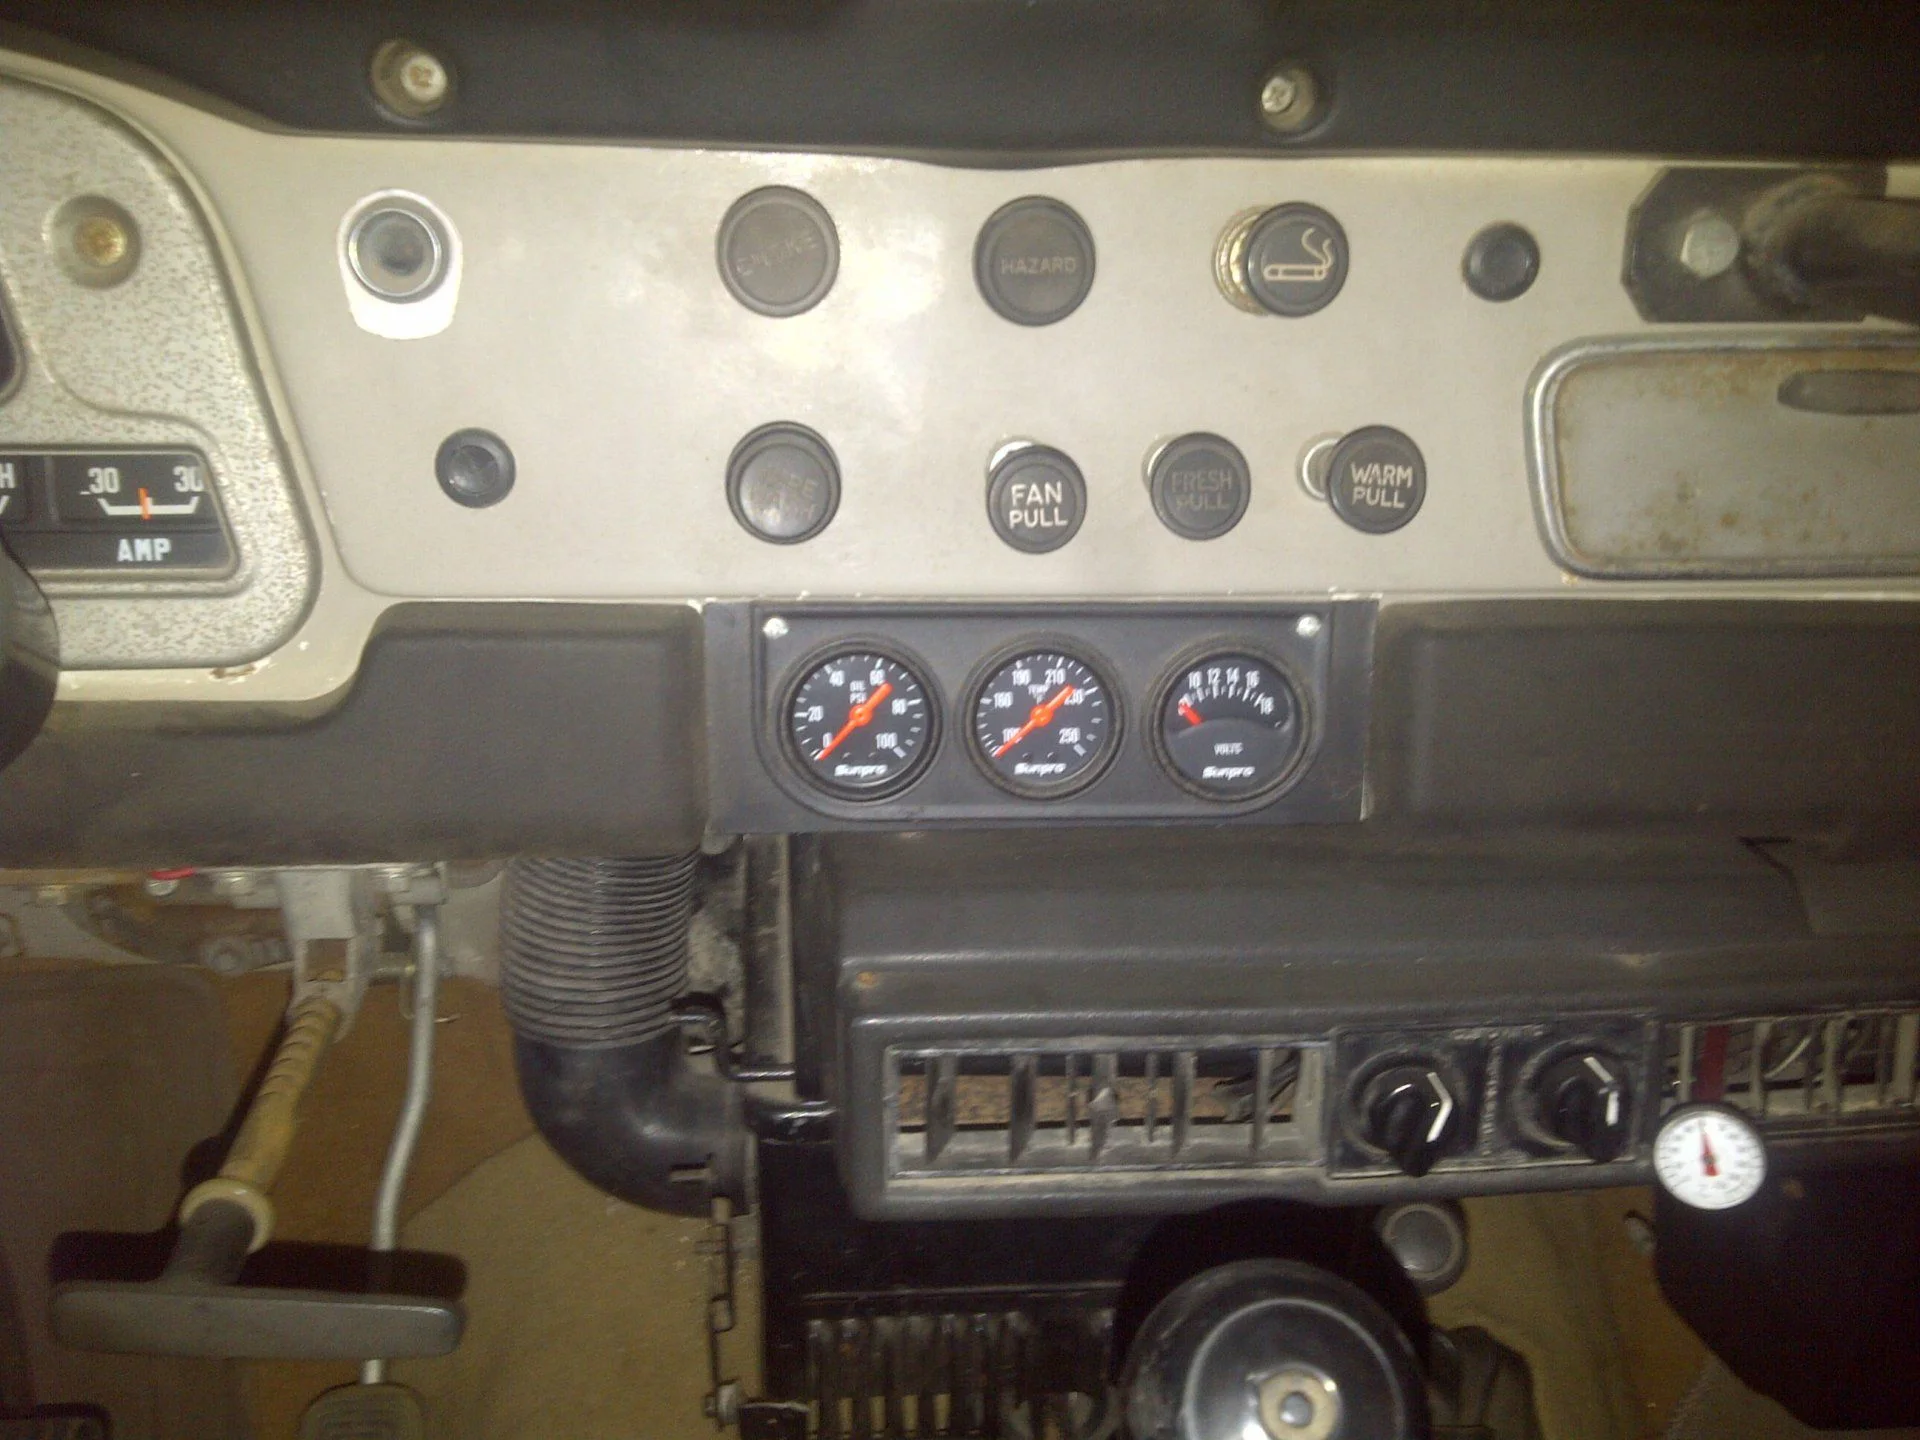
Doing a little test fitting. I don't think I'm going to go with the hinged design after all as after looking at the stock setup I can't flush mount a plate behind the dash without cutting and I don't want to do that. So instead I will paint a plate and surface mount. And then slot the plate so that an unmodified radio delete plate tangs will fit in the slots and fit over the gauges.
View attachment 1118212
Is your radio slot missing the tabs on the sides that the original radio mounted to? Mine has one on each side... Plus a little bracket that juts out from behind at the bottom to support the radio.
")