
Navigation
Install the app
How to install the app on iOS
Follow along with the video below to see how to install our site as a web app on your home screen.
Note: This feature may not be available in some browsers.
More options
Style variation
You are using an out of date browser. It may not display this or other websites correctly.
You should upgrade or use an alternative browser.
You should upgrade or use an alternative browser.
What have you done to your 100 Series this week?
- Thread starter SHUSH
- Start date
This site may earn a commission from merchant affiliate
links, including eBay, Amazon, Skimlinks, and others.
Nice, it sure was beautiful weather this weekend! Hope you guys had a good time too@yotasavg,
Yep that was me, took the fam up to play in the snow for a bit.
I figured that was you from the pics I have seen of your rig on here.
")
Installed my prototype Slee rear bumper city convenience mod (a.k.a., piece of rubber hose). This keeps the drop pin from engaging unless I want it to (just pull the piece of hose off, and the drop-pin functionality is 100% restored).
I find that in my everyday life not having to disengage the drop pin to open and/or close the tire carrier makes dealing with it much more pleasant.

I find that in my everyday life not having to disengage the drop pin to open and/or close the tire carrier makes dealing with it much more pleasant.
No tech this weekend, but I did get out and flex the suspension a bit exploring the Gifford Pinchot National Forest. Found a few obstacles to play with and had a little undocumented fun. Next time I'll take some pictures.
At 274,869 miles Mr. Bubbles' alternator gave-up the ghost. Replaced with reman'd Denso from RockAuto along with a new serpentine belt & tensioner from Toyota.
Couldn't have done it w/o those 'Mudders who have gone before me!
Couldn't have done it w/o those 'Mudders who have gone before me!
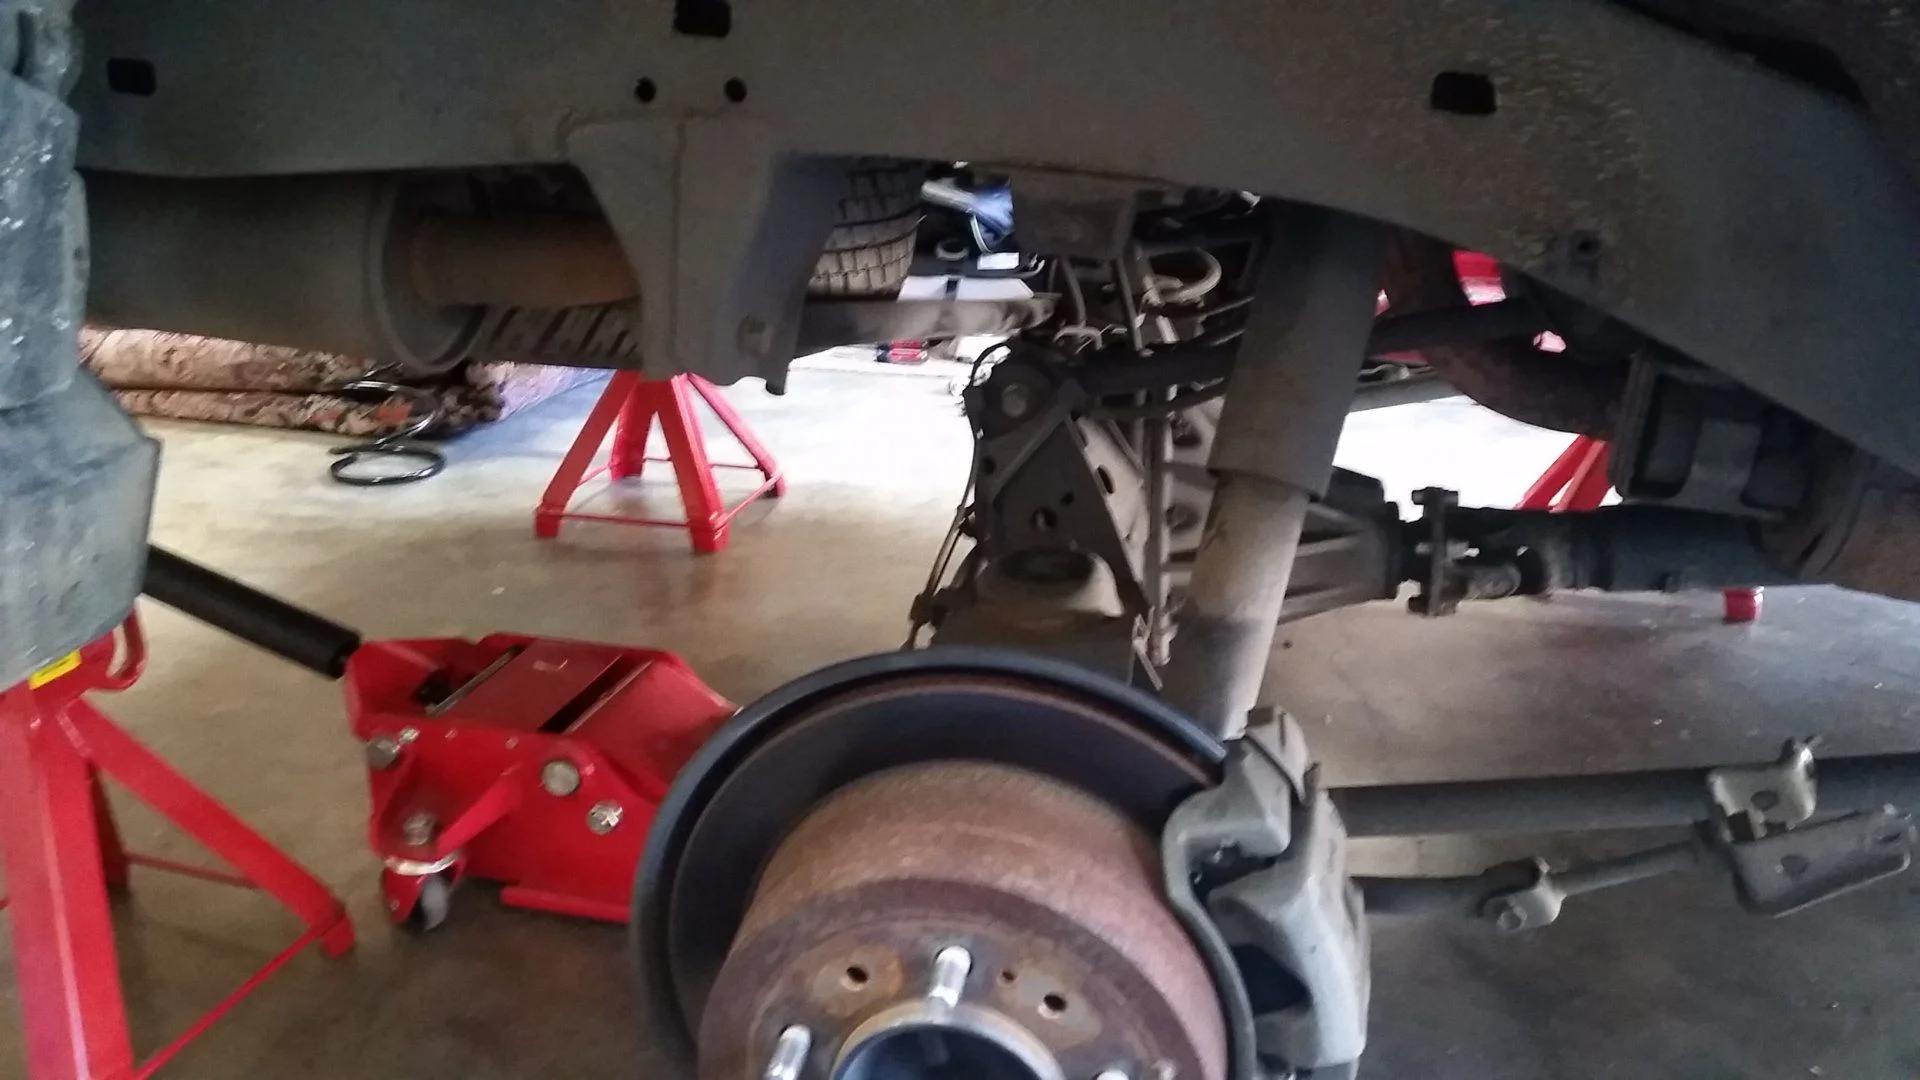
At 166k- installed new rear rotors, new pads, and rebuilt e-brake internals including the rusted-frozen solid e-brake bellcrank hardware. This 100 was a recent purchase from GWN, and from the looks of the bellcranks, the e-brake hadn't been functional for years. The internal brake cable on one side was also frozen solid & had to cut the pin out to get the hardware removed from the backing plate.

- Joined
- Nov 14, 2014
- Threads
- 6
- Messages
- 102
Been a good day... finally got new shoes. 285 75 16 Mastercraft MXTs, painted the wheel wells, cranked the torsion bars 3.5 times, and leveled out the rear-end from an old sag by doing that... Love this thing. The projects are just beginning!!! My name is Frankie, I struggle with constantly thinking about my Land Cruiser, and I'm an addict.


where did you buy them from?
where did you buy them from?
I bought them from Mike at Bump It Offroad:
100 Series Products - Toyota Off-Road 4WD SUV
- Joined
- Dec 25, 2005
- Threads
- 195
- Messages
- 1,552
Think I'll try this next time I'm headed up to the cold country. Tired of having to melt the frozen pin free with hot water everytime I try to open the back.Installed my prototype Slee rear bumper city convenience mod (a.k.a., piece of rubber hose). This keeps the drop pin from engaging unless I want it to (just pull the piece of hose off, and the drop-pin functionality is 100% restored).
I find that in my everyday life not having to disengage the drop pin to open and/or close the tire carrier makes dealing with it much more pleasant. View attachment 1205574
Been a good day... finally got new shoes. 285 75 16 Mastercraft MXTs, painted the wheel wells, cranked the torsion bars 3.5 times, and leveled out the rear-end from an old sag by doing that... Love this thing. The projects are just beginning!!! My name is Frankie, I struggle with constantly thinking about my Land Cruiser, and I'm an addict.
Hi Frankie. Welcome to Cruiserholics.
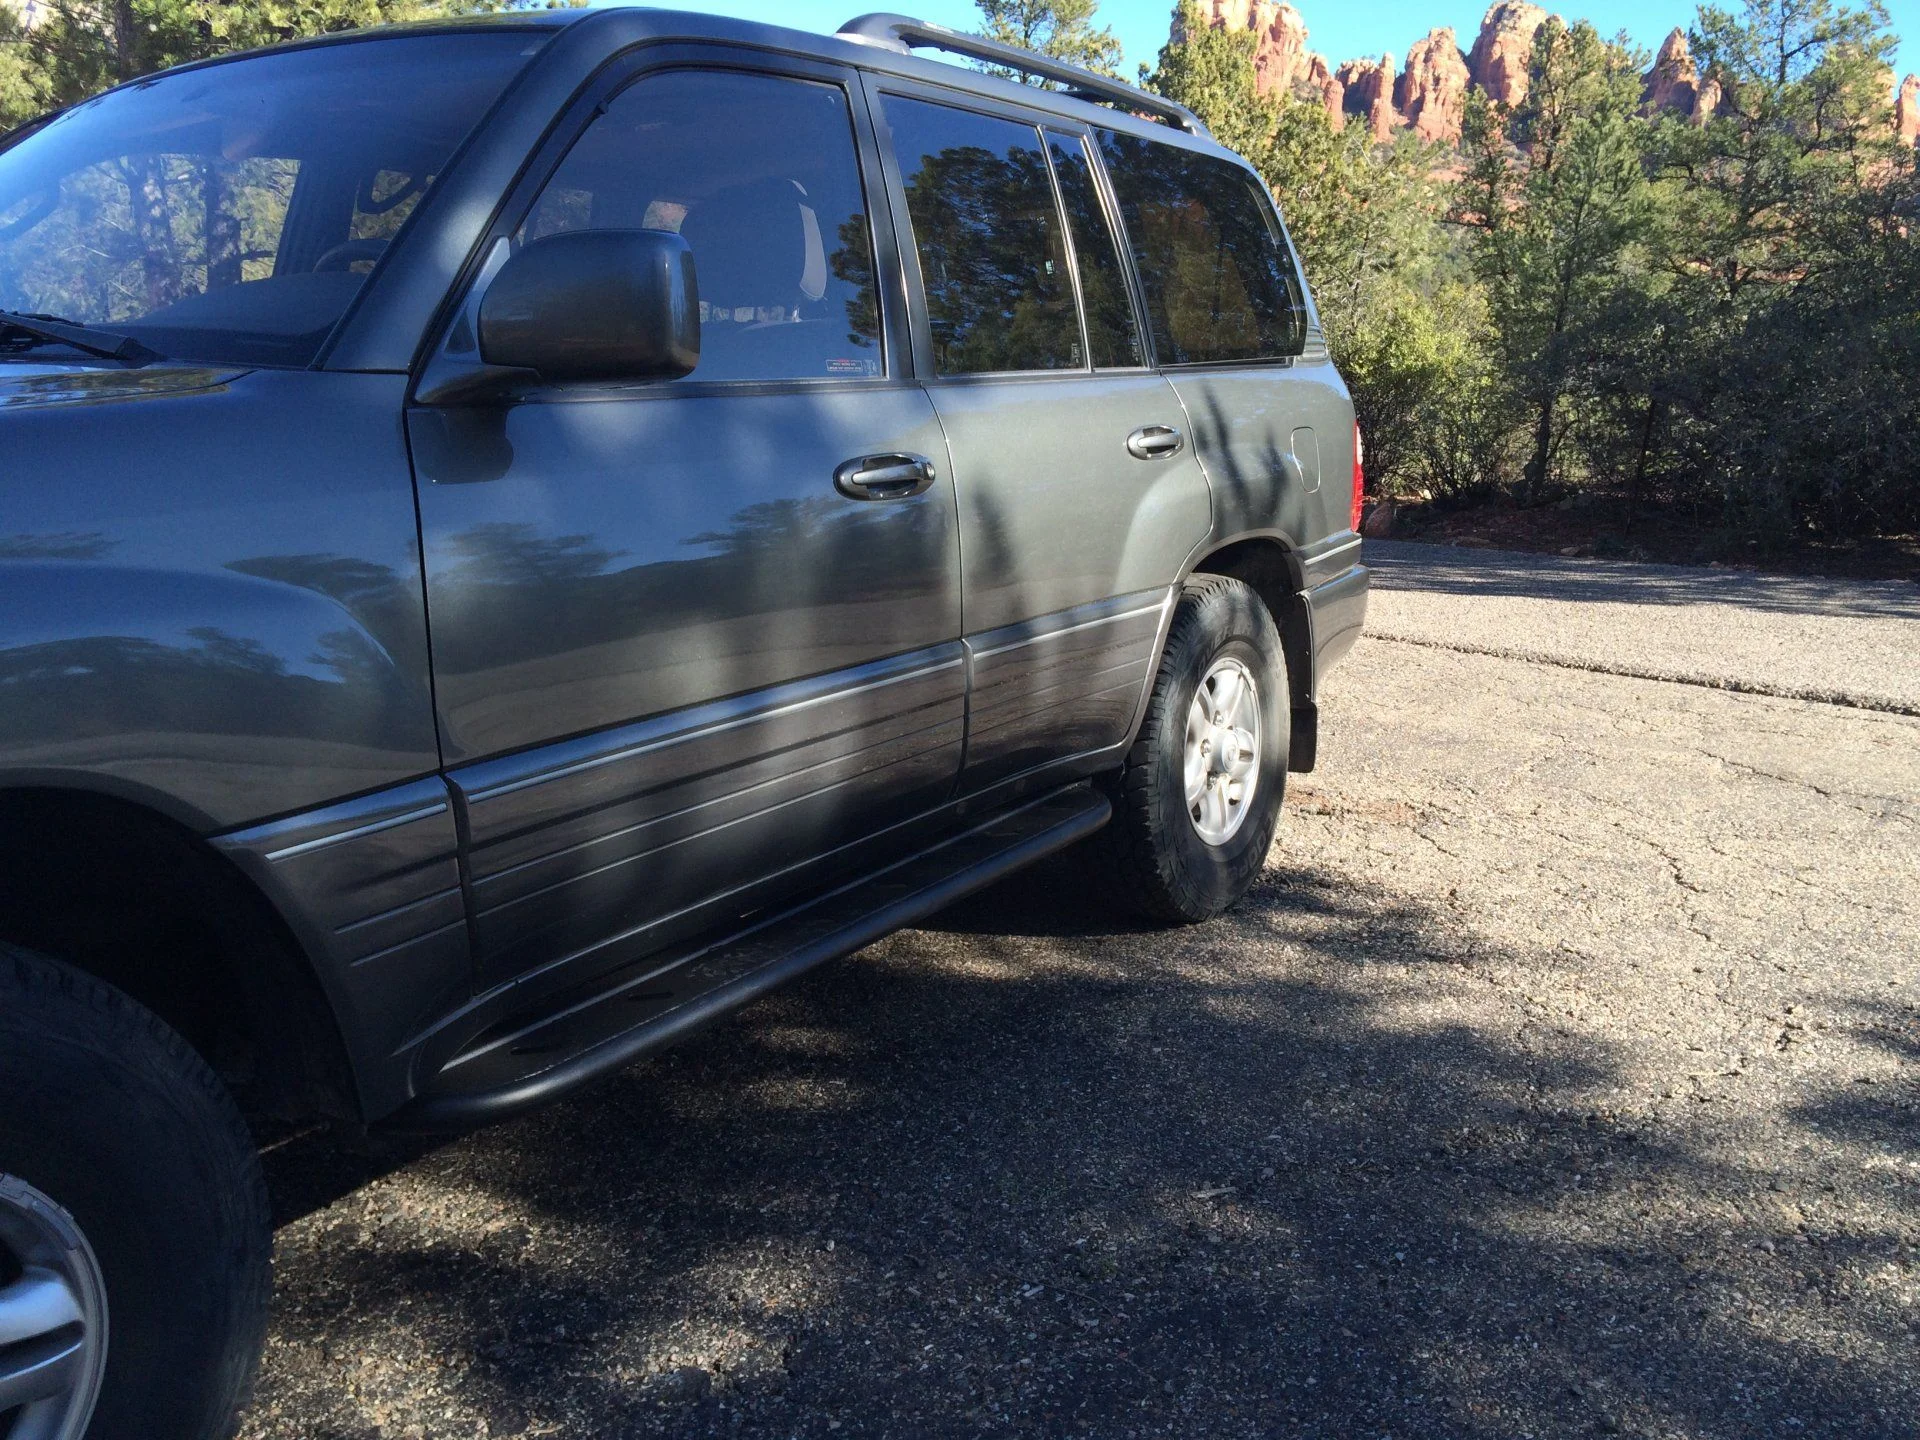
Sliders installed! My wife will be much happier getting in/out of the truck.

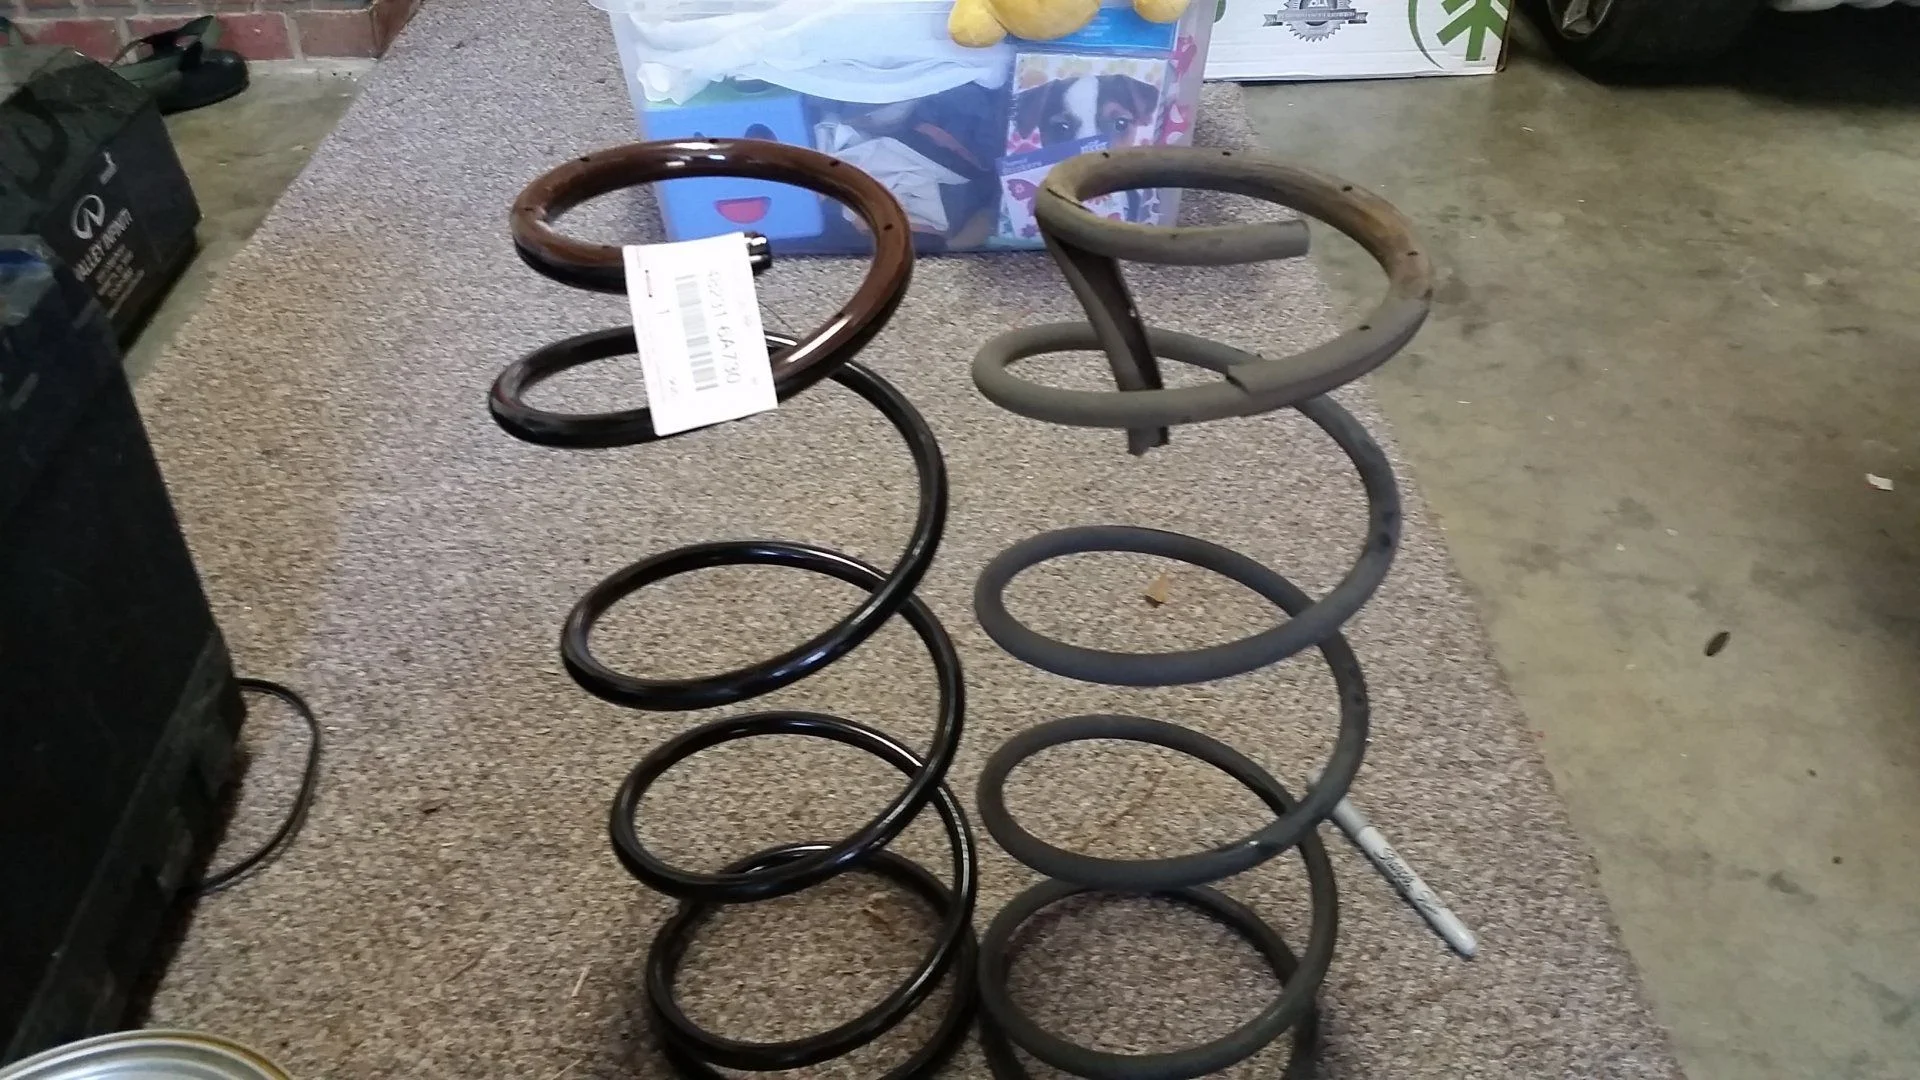
Changed the front and rear differential fluid. Got a 5gal pump from amazon - see below. made this a much easier process than previously. Used simple coastal 80w90 gear oil for front and rear diffs. Plan to use mobil 75w90 syn for the transfer change tomorrow. Also planning to extend the diff breathers using some 1/4" fuel line and fuel filters. Also repeated the front and rear AHC pressures after the fluid change and replacing the rear springs with oem. New pressures 7.0 front and 6.5 rear so within spec. Considering getting 15mm spacers for the rear to bring the rear pressures down even a little more. side to side front level within spec as well and fluid changes 10 gradations from L to H setting. All is well so far.

- OEM Windshield replacement
- Mounted refinished 2014 Tundra SR5 Alloys in Rust-Oleum Matte Black High Performance Wheel Paint (248928) with BFG KO2 305/65/18s
- OEM Running board delete (FOR SALE!)
- Reinstalled refoamed Levinson midwoofers
- De-chromed grill and emblems with black Plasti Dip
- Pfran interior LEDs
- Rear Brake/Tail LEDs
- Rear Turn/Hazard LEDs
- Front Turn/Hazard LEDs


Last edited:
Disassembled inoperable rear driver side window switch and cleaned the contacts. Switch worked again after just wiping a finger over the contacts, but I cleaned them further just to be sure. Fairly easy to take apart, though you'll likely break the tabs getting it apart. I used a little silicone to reassemble to make it serviceable again in the future vs superglue or similar.
I had also ordered a new switch from switchdoctor, but didn't need it and will keep as a spare.
Toyota Land Cruiser Passenger Window Switch 1998-2000
I had also ordered a new switch from switchdoctor, but didn't need it and will keep as a spare.
Toyota Land Cruiser Passenger Window Switch 1998-2000
Disassembled inoperable rear driver side window switch and cleaned the contacts. Switch worked again after just wiping a finger over the contacts, but I cleaned them further just to be sure. Fairly easy to take apart, though you'll likely break the tabs getting it apart. I used a little silicone to reassemble to make it serviceable again in the future vs superglue or similar.
I had also ordered a new switch from switchdoctor, but didn't need it and will keep as a spare.
Toyota Land Cruiser Passenger Window Switch 1998-2000
I'm hoping to resuscitate my PWR/2ND switch(es) in the same manner. Bought it inop. Figured PO spilled a big gulp or sbux latte in there or something at some point; buttons were gummy in movement. Your success gives me hope
