
Picking up one of these ump starters since they are on sale! https://www.amazon.com/gp/product/B016UG6PWE/?tag=ihco-20 the noco branded ones have been mentioned here a couple of times
this deal is back for today for anyone that missed it!
Follow along with the video below to see how to install our site as a web app on your home screen.
Note: This feature may not be available in some browsers.
This site may earn a commission from merchant affiliate
links, including eBay, Amazon, Skimlinks, and others.
Picking up one of these ump starters since they are on sale! https://www.amazon.com/gp/product/B016UG6PWE/?tag=ihco-20 the noco branded ones have been mentioned here a couple of times
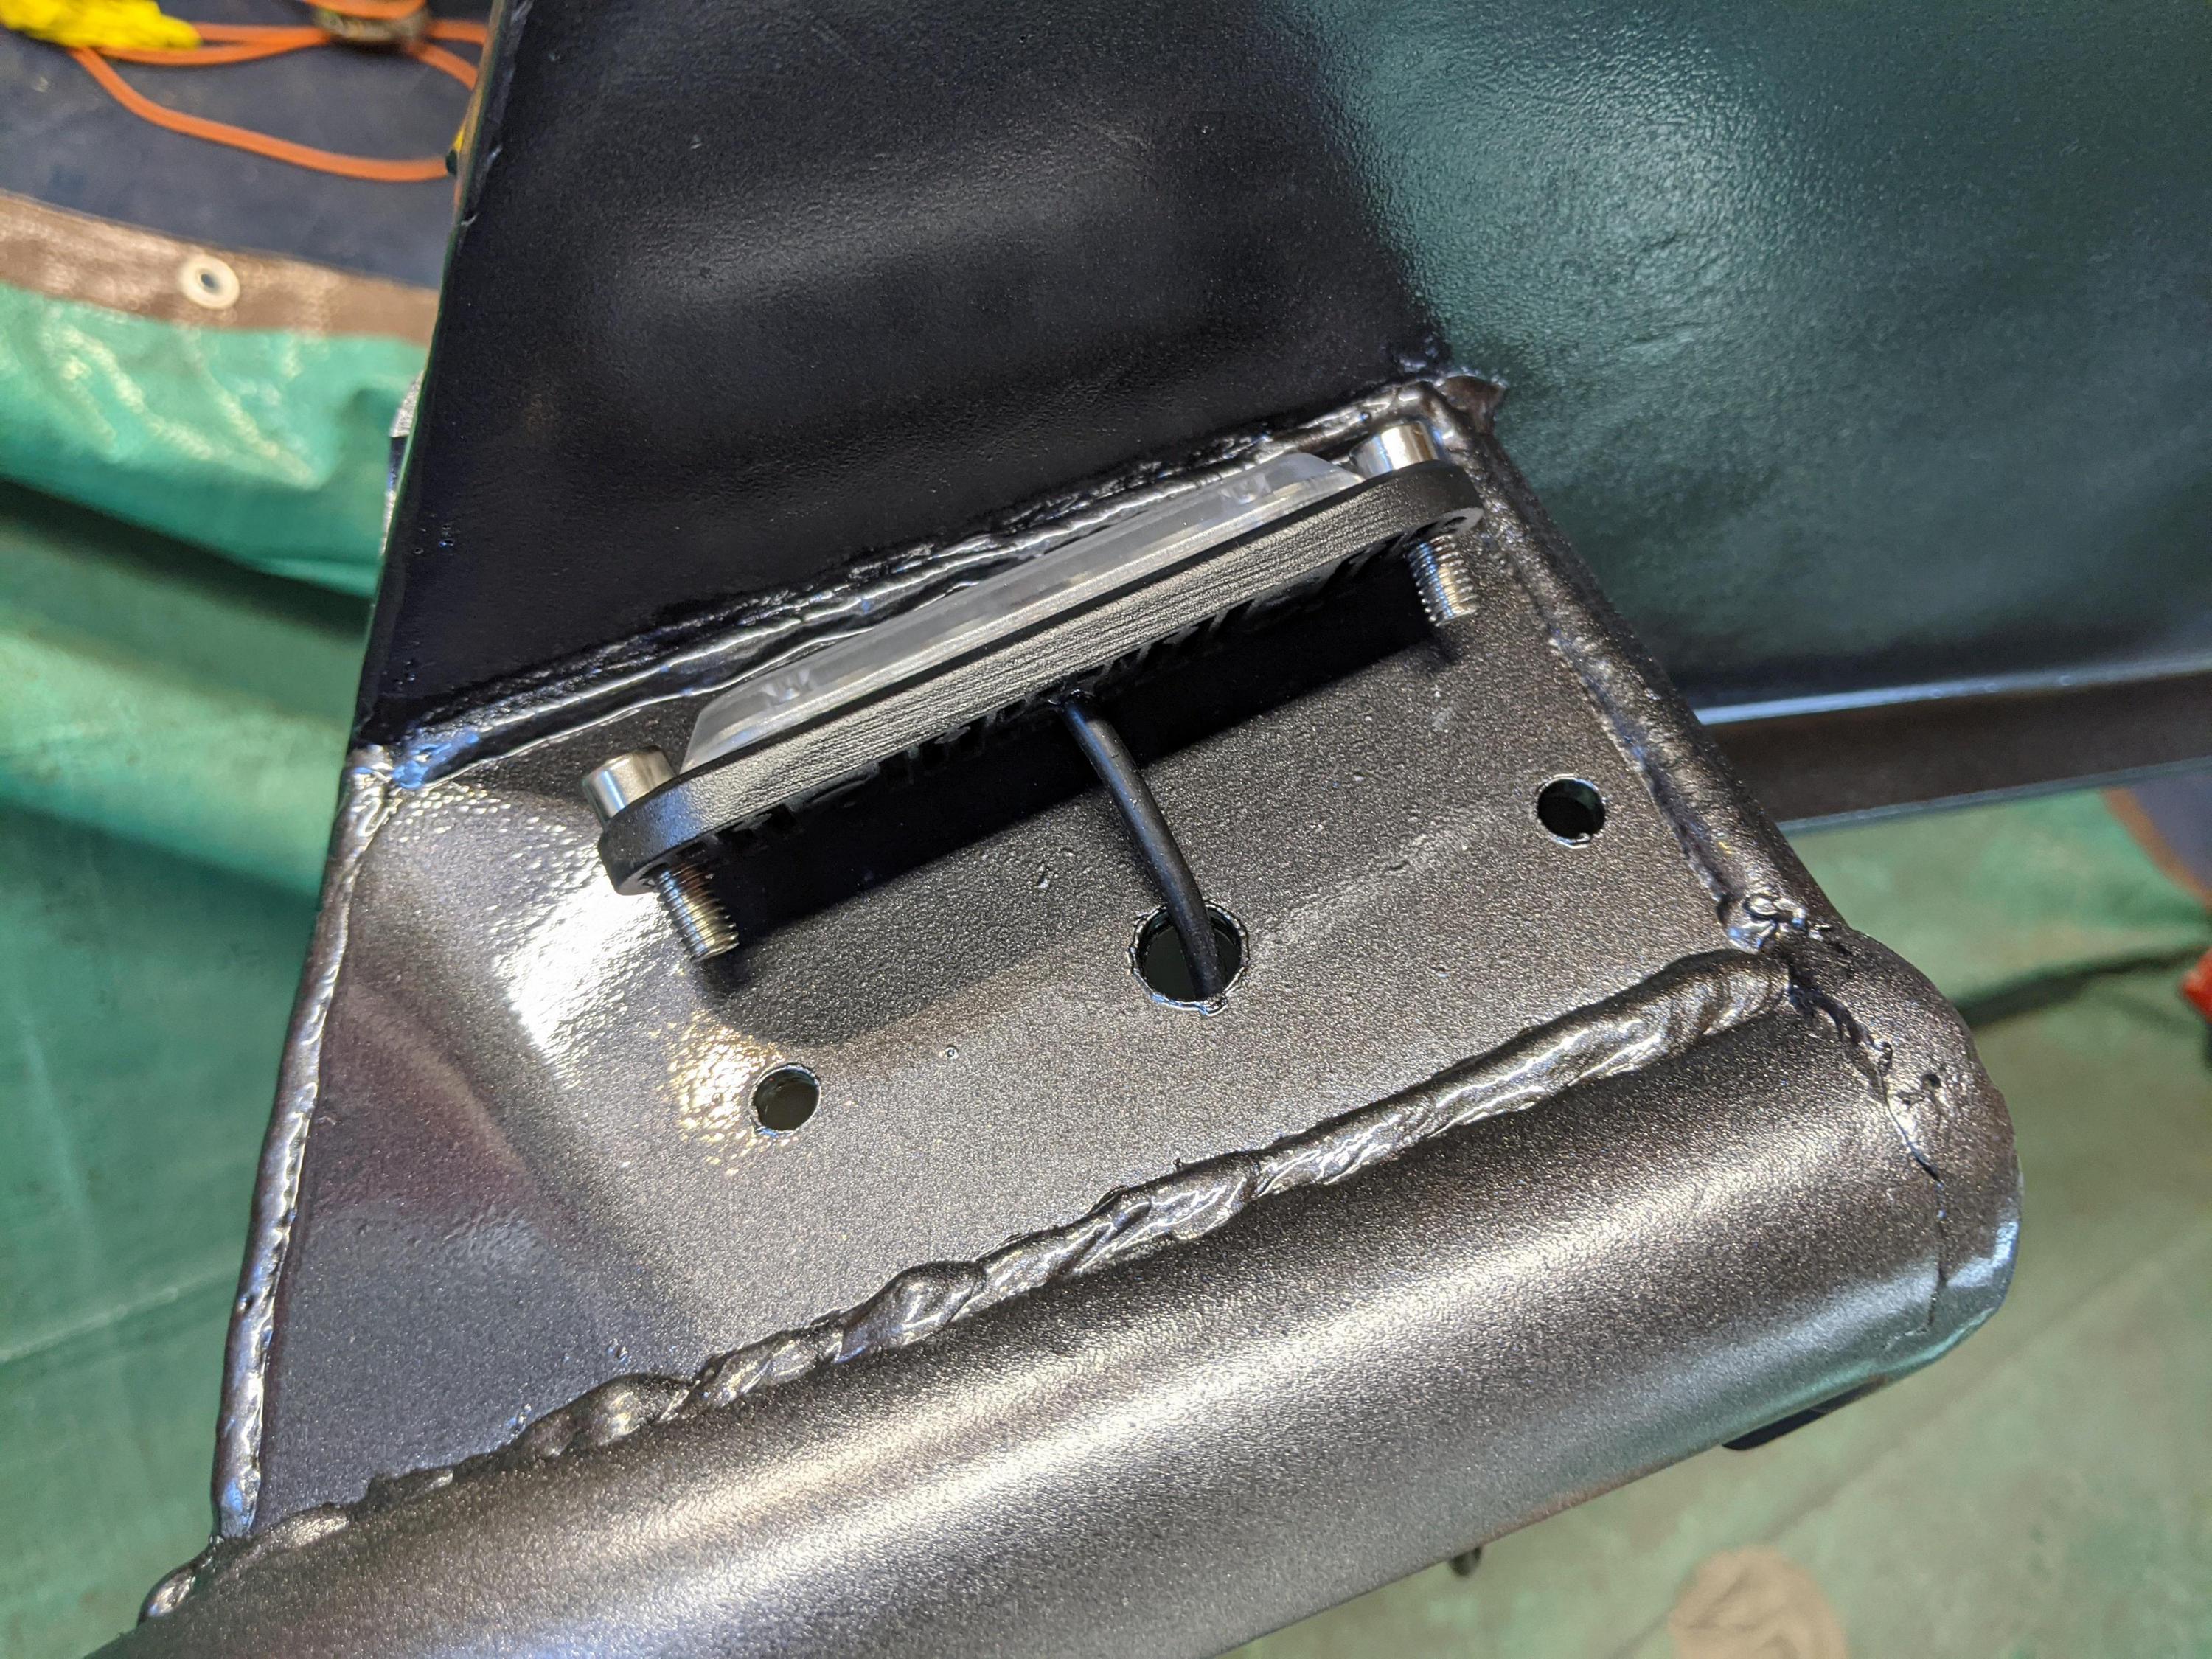
the reviews for these license plate lights keep mentioning it's super thin wiring and you can't remove the plate without cutting them. doesn't make sense to me but you say they are good enough? i'm looking for a new solution now that i got a bumperI got these. Have to paint them lost color from being on sun lol had for over a year
Amazon product ASIN B07MYXNLZ5
View attachment 2509500
View attachment 2509501
View attachment 2509502
Awesome! Thanks - I ordered one.this deal is back for today for anyone that missed it!
Just ordered same set for my 06 LC on its stock rims. I’m Really excited to get them on. How do you like?
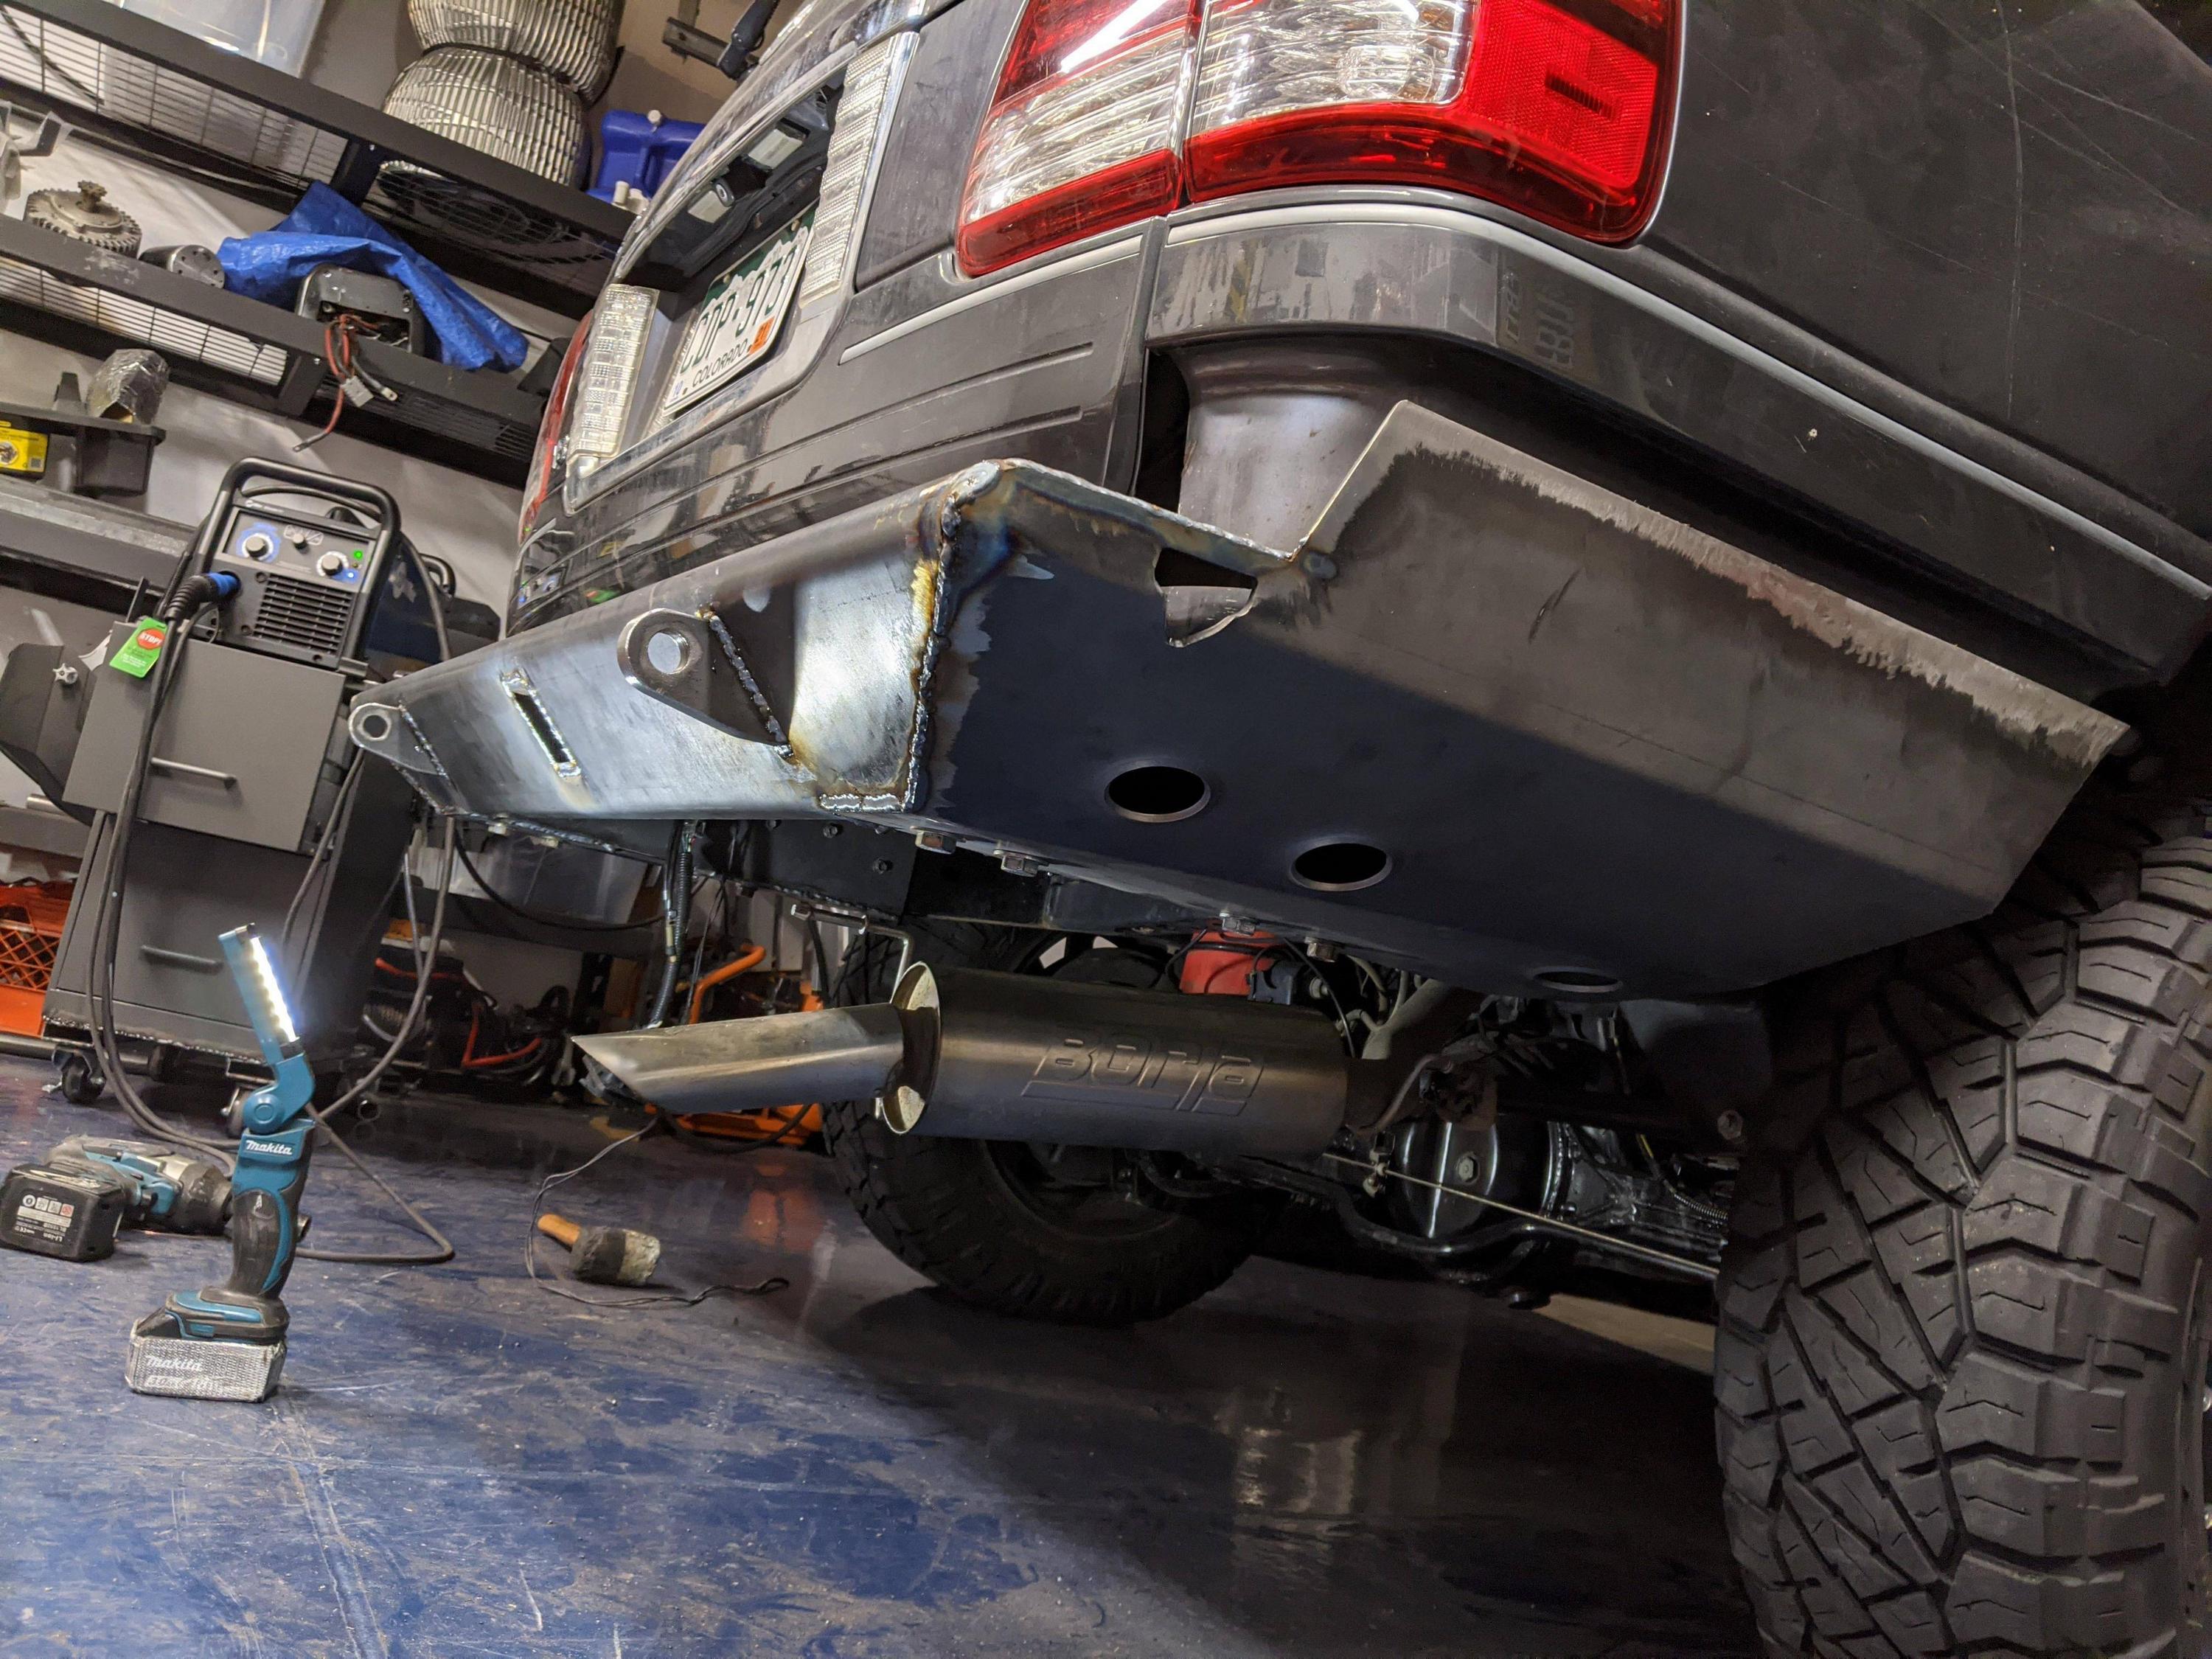
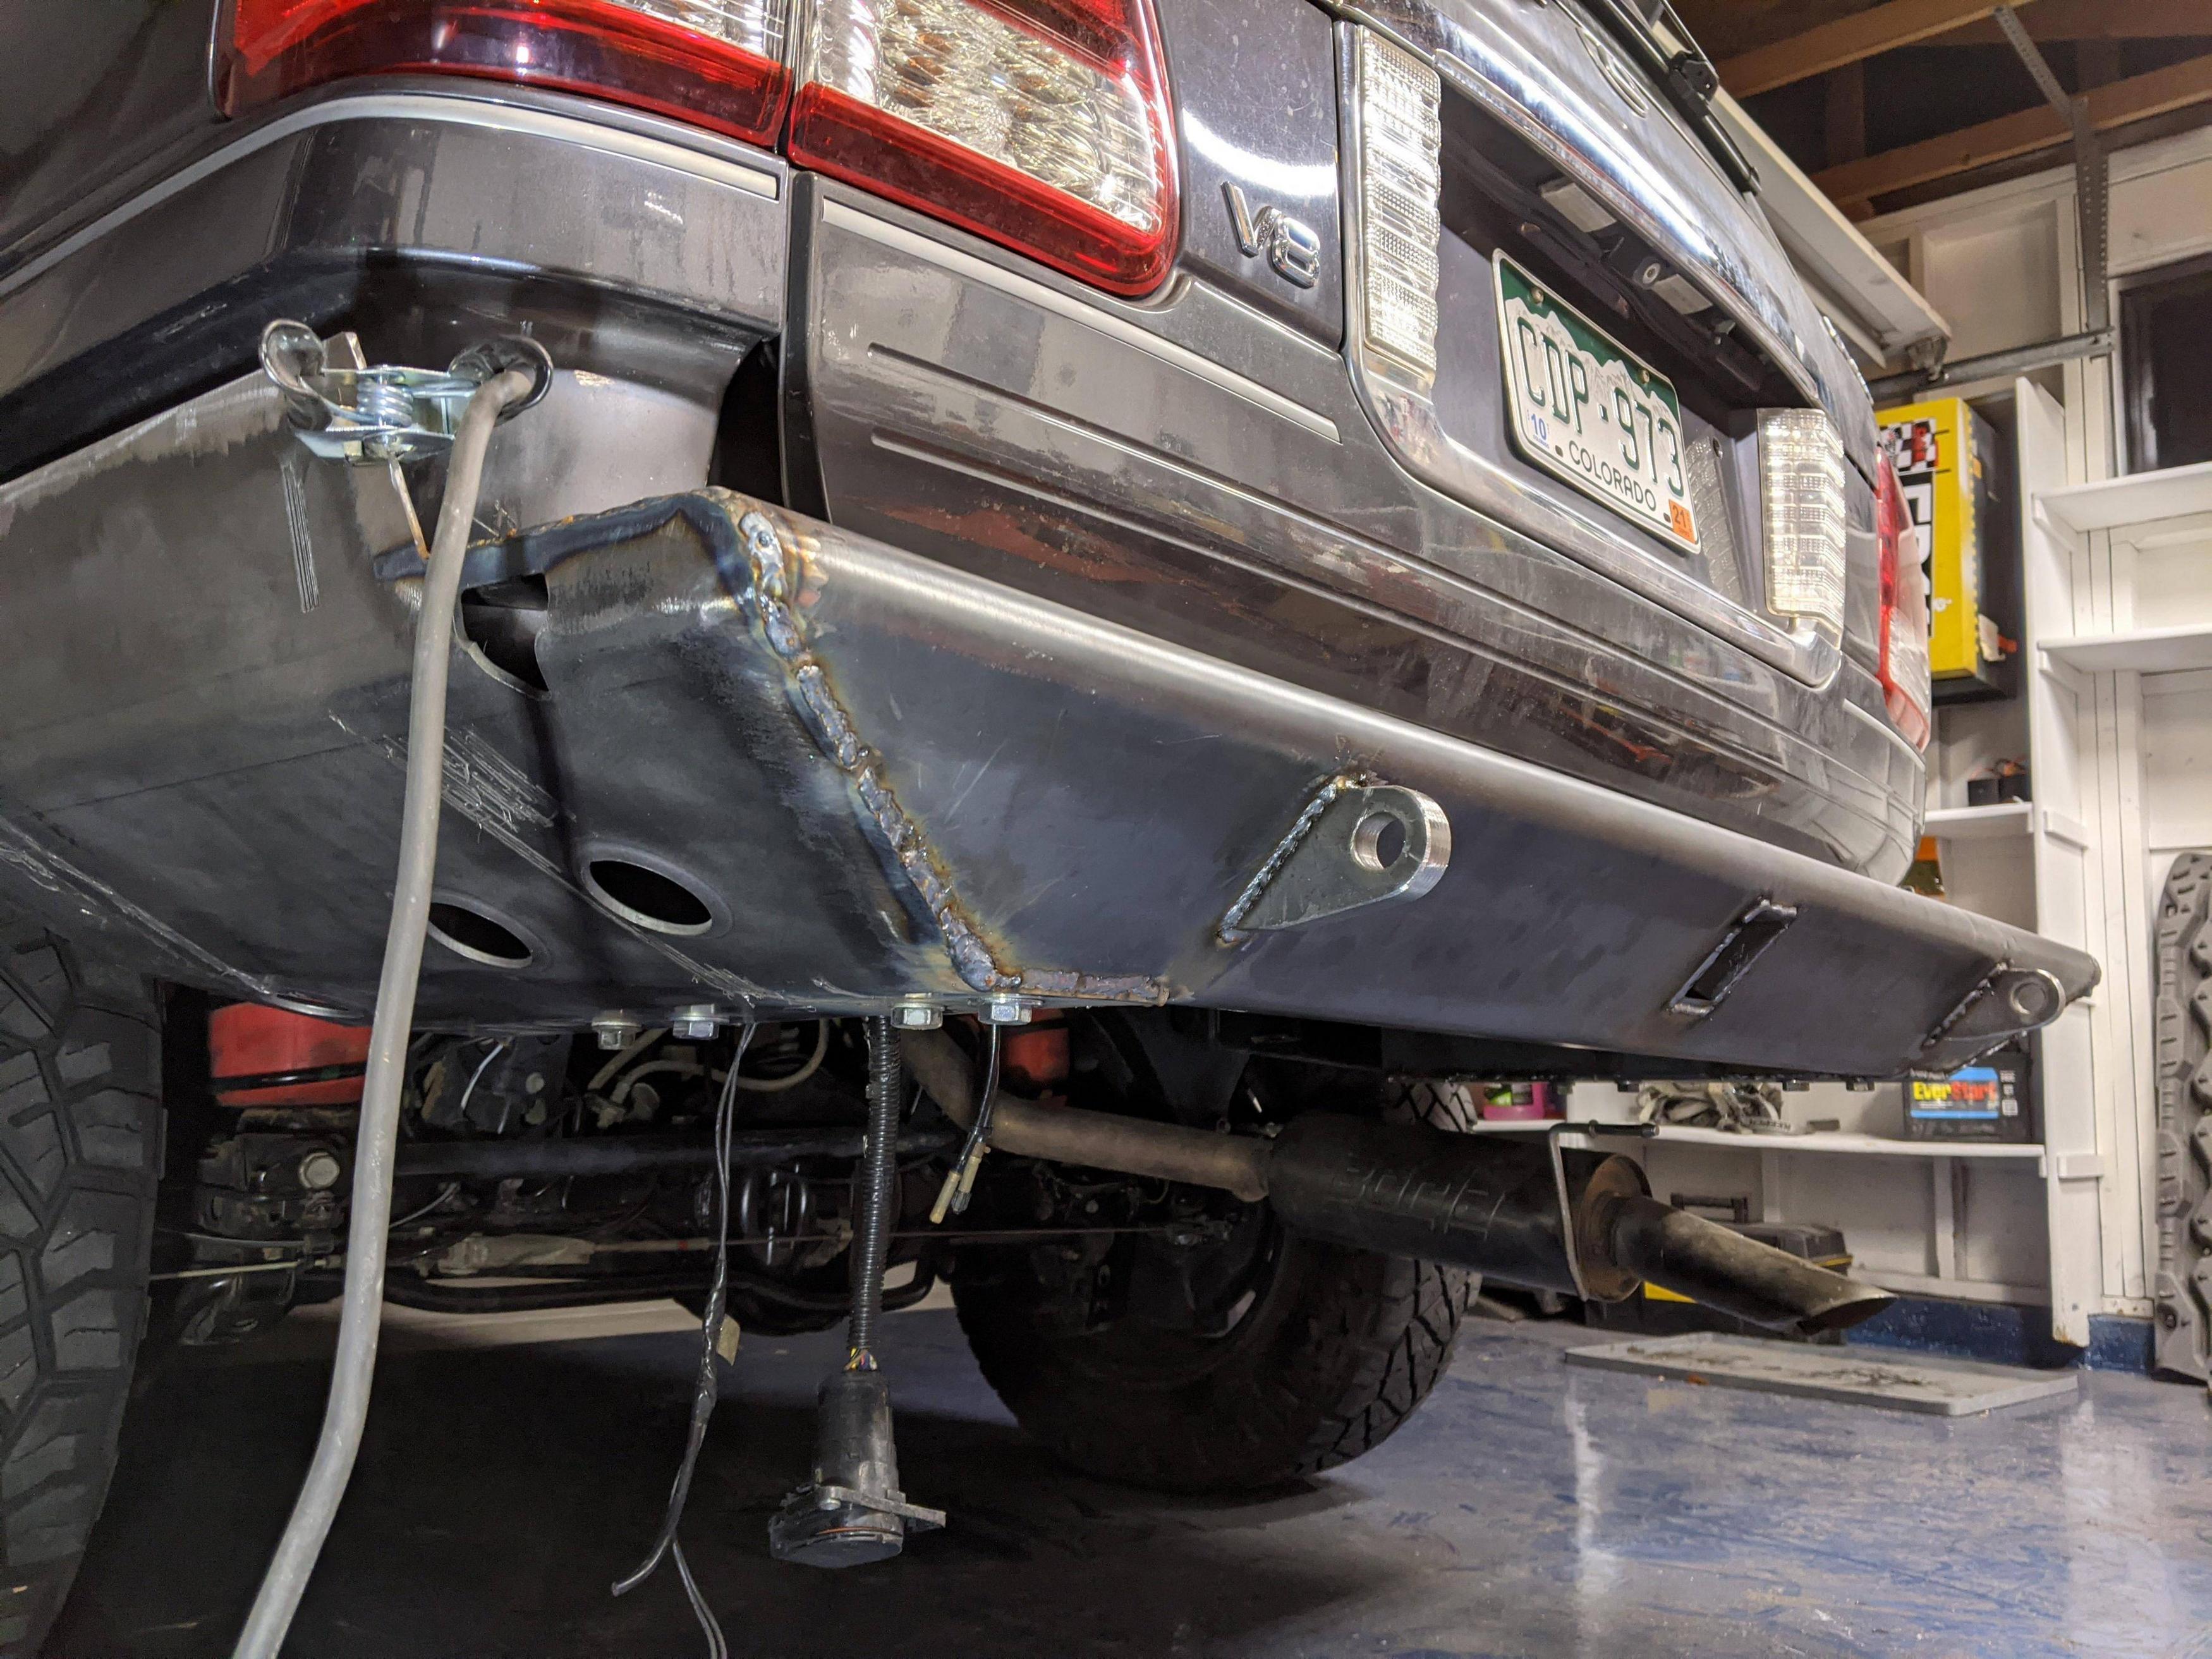
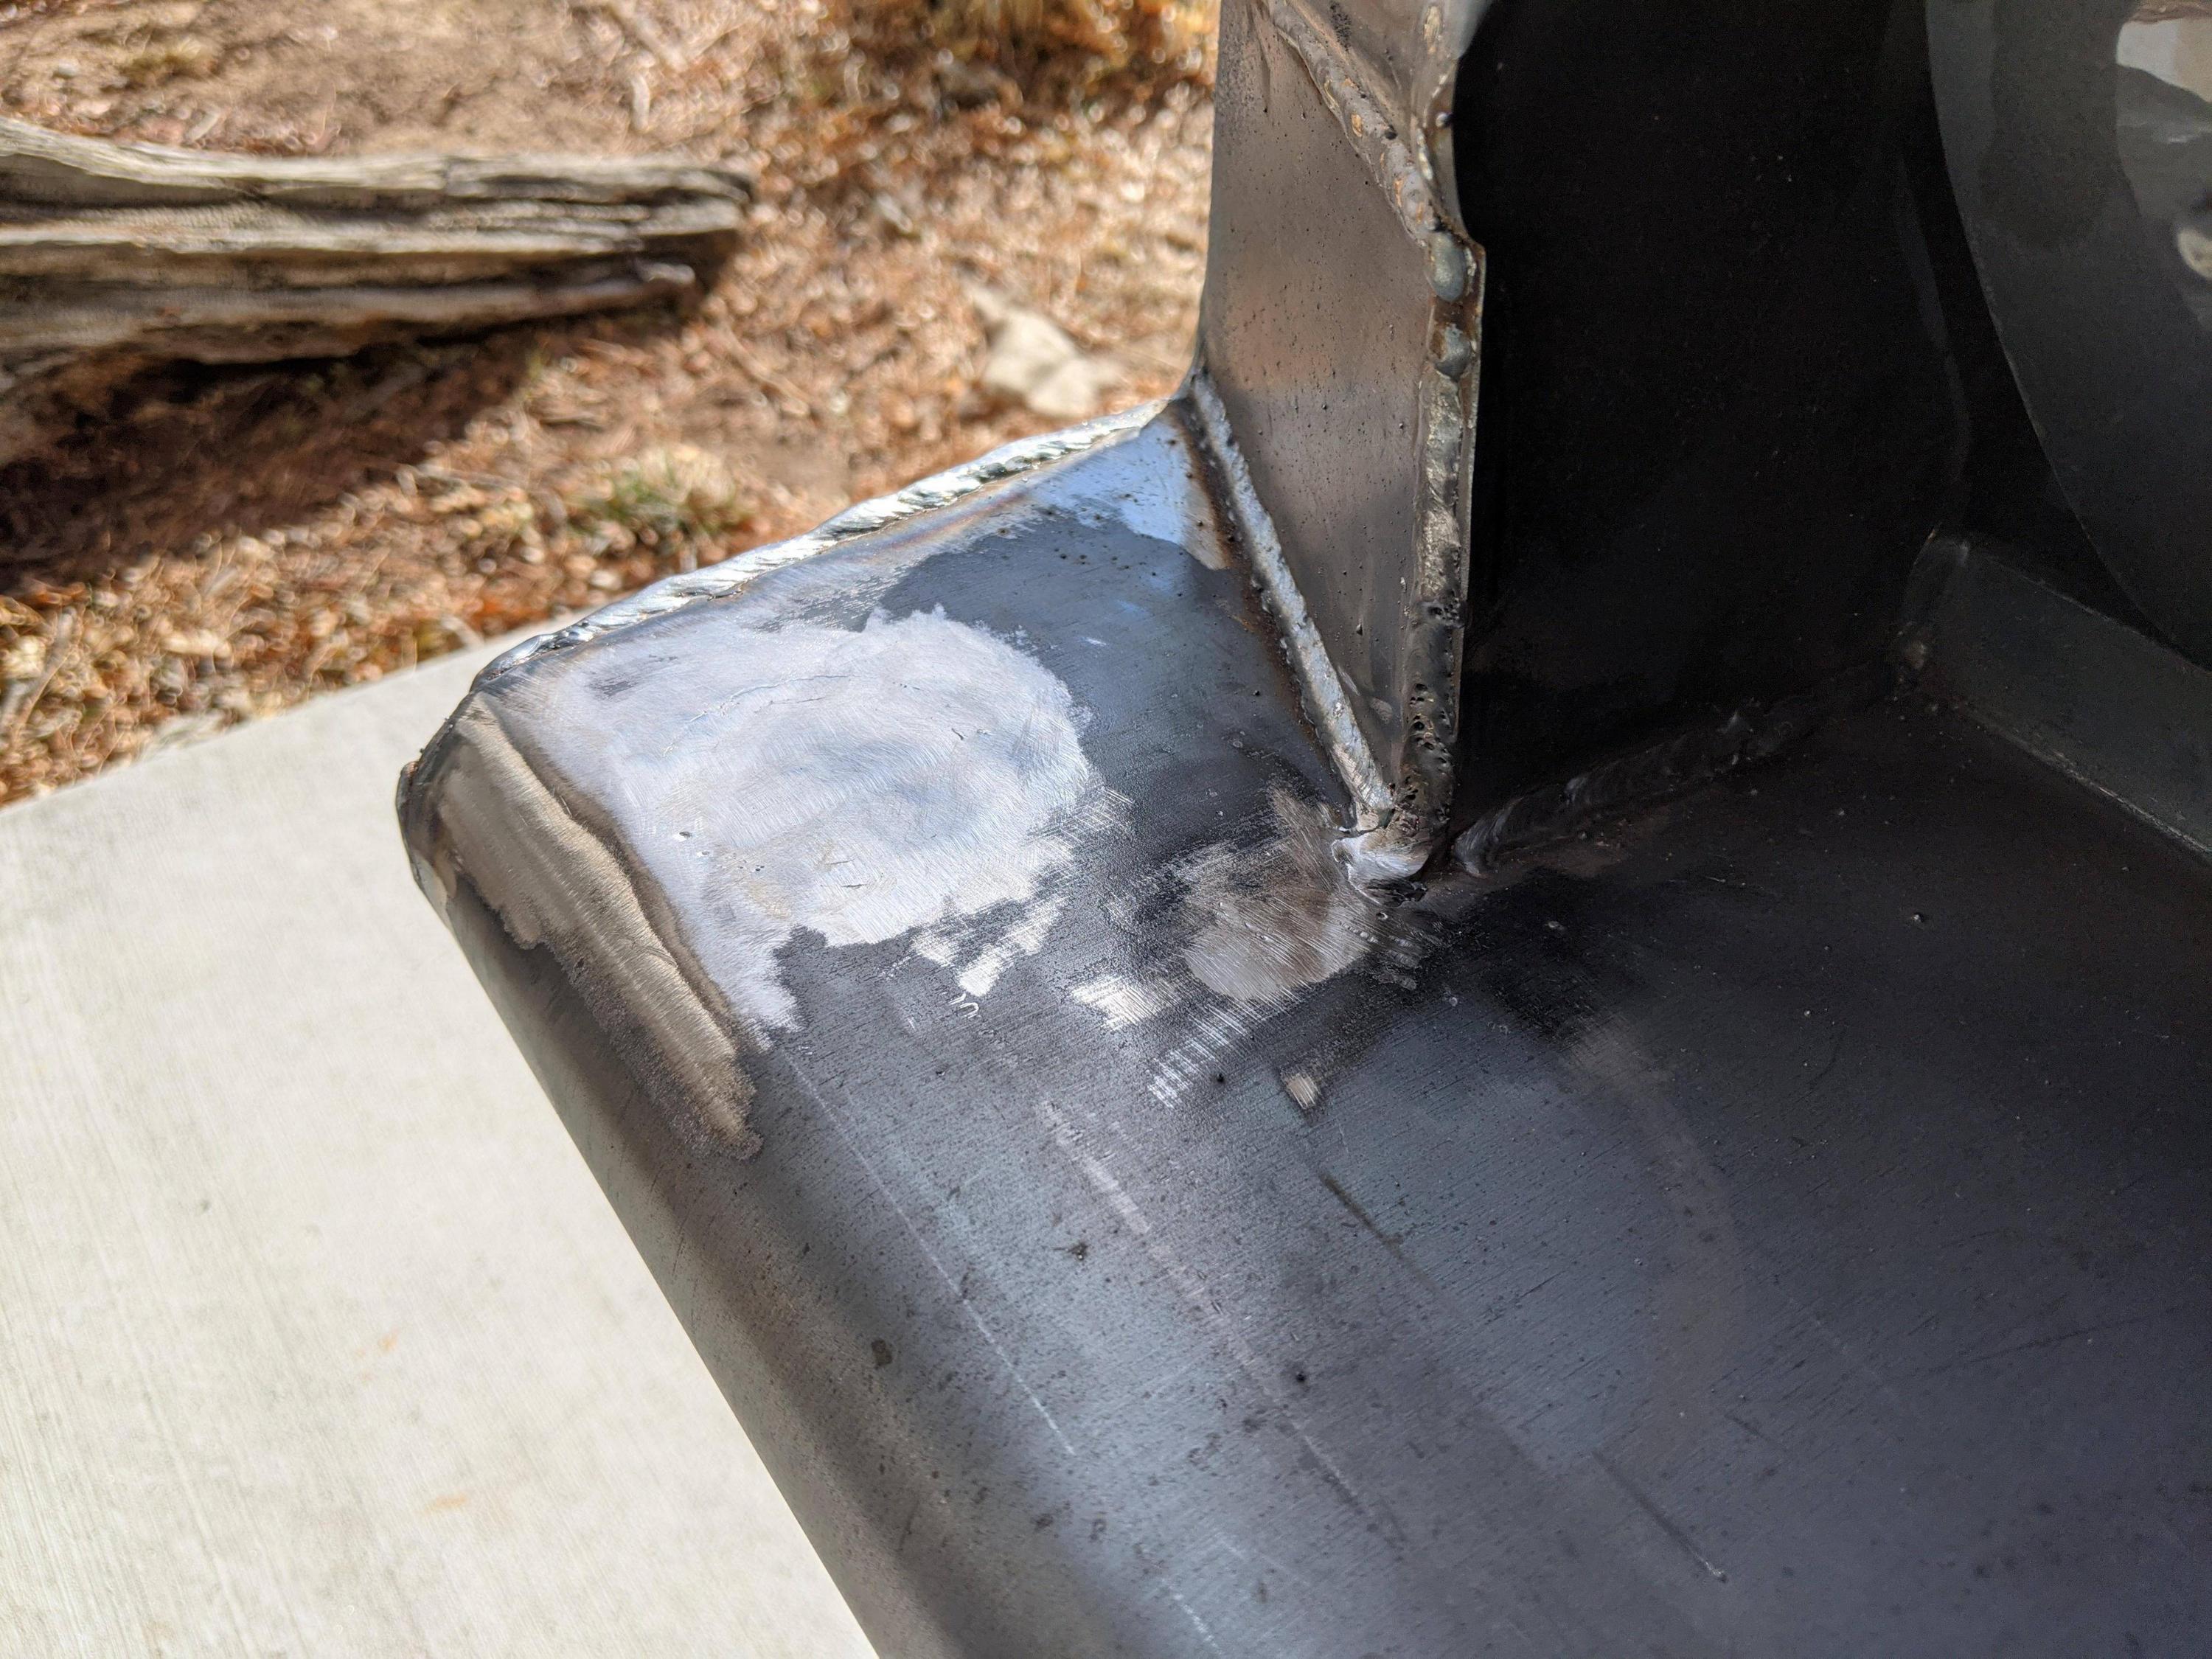
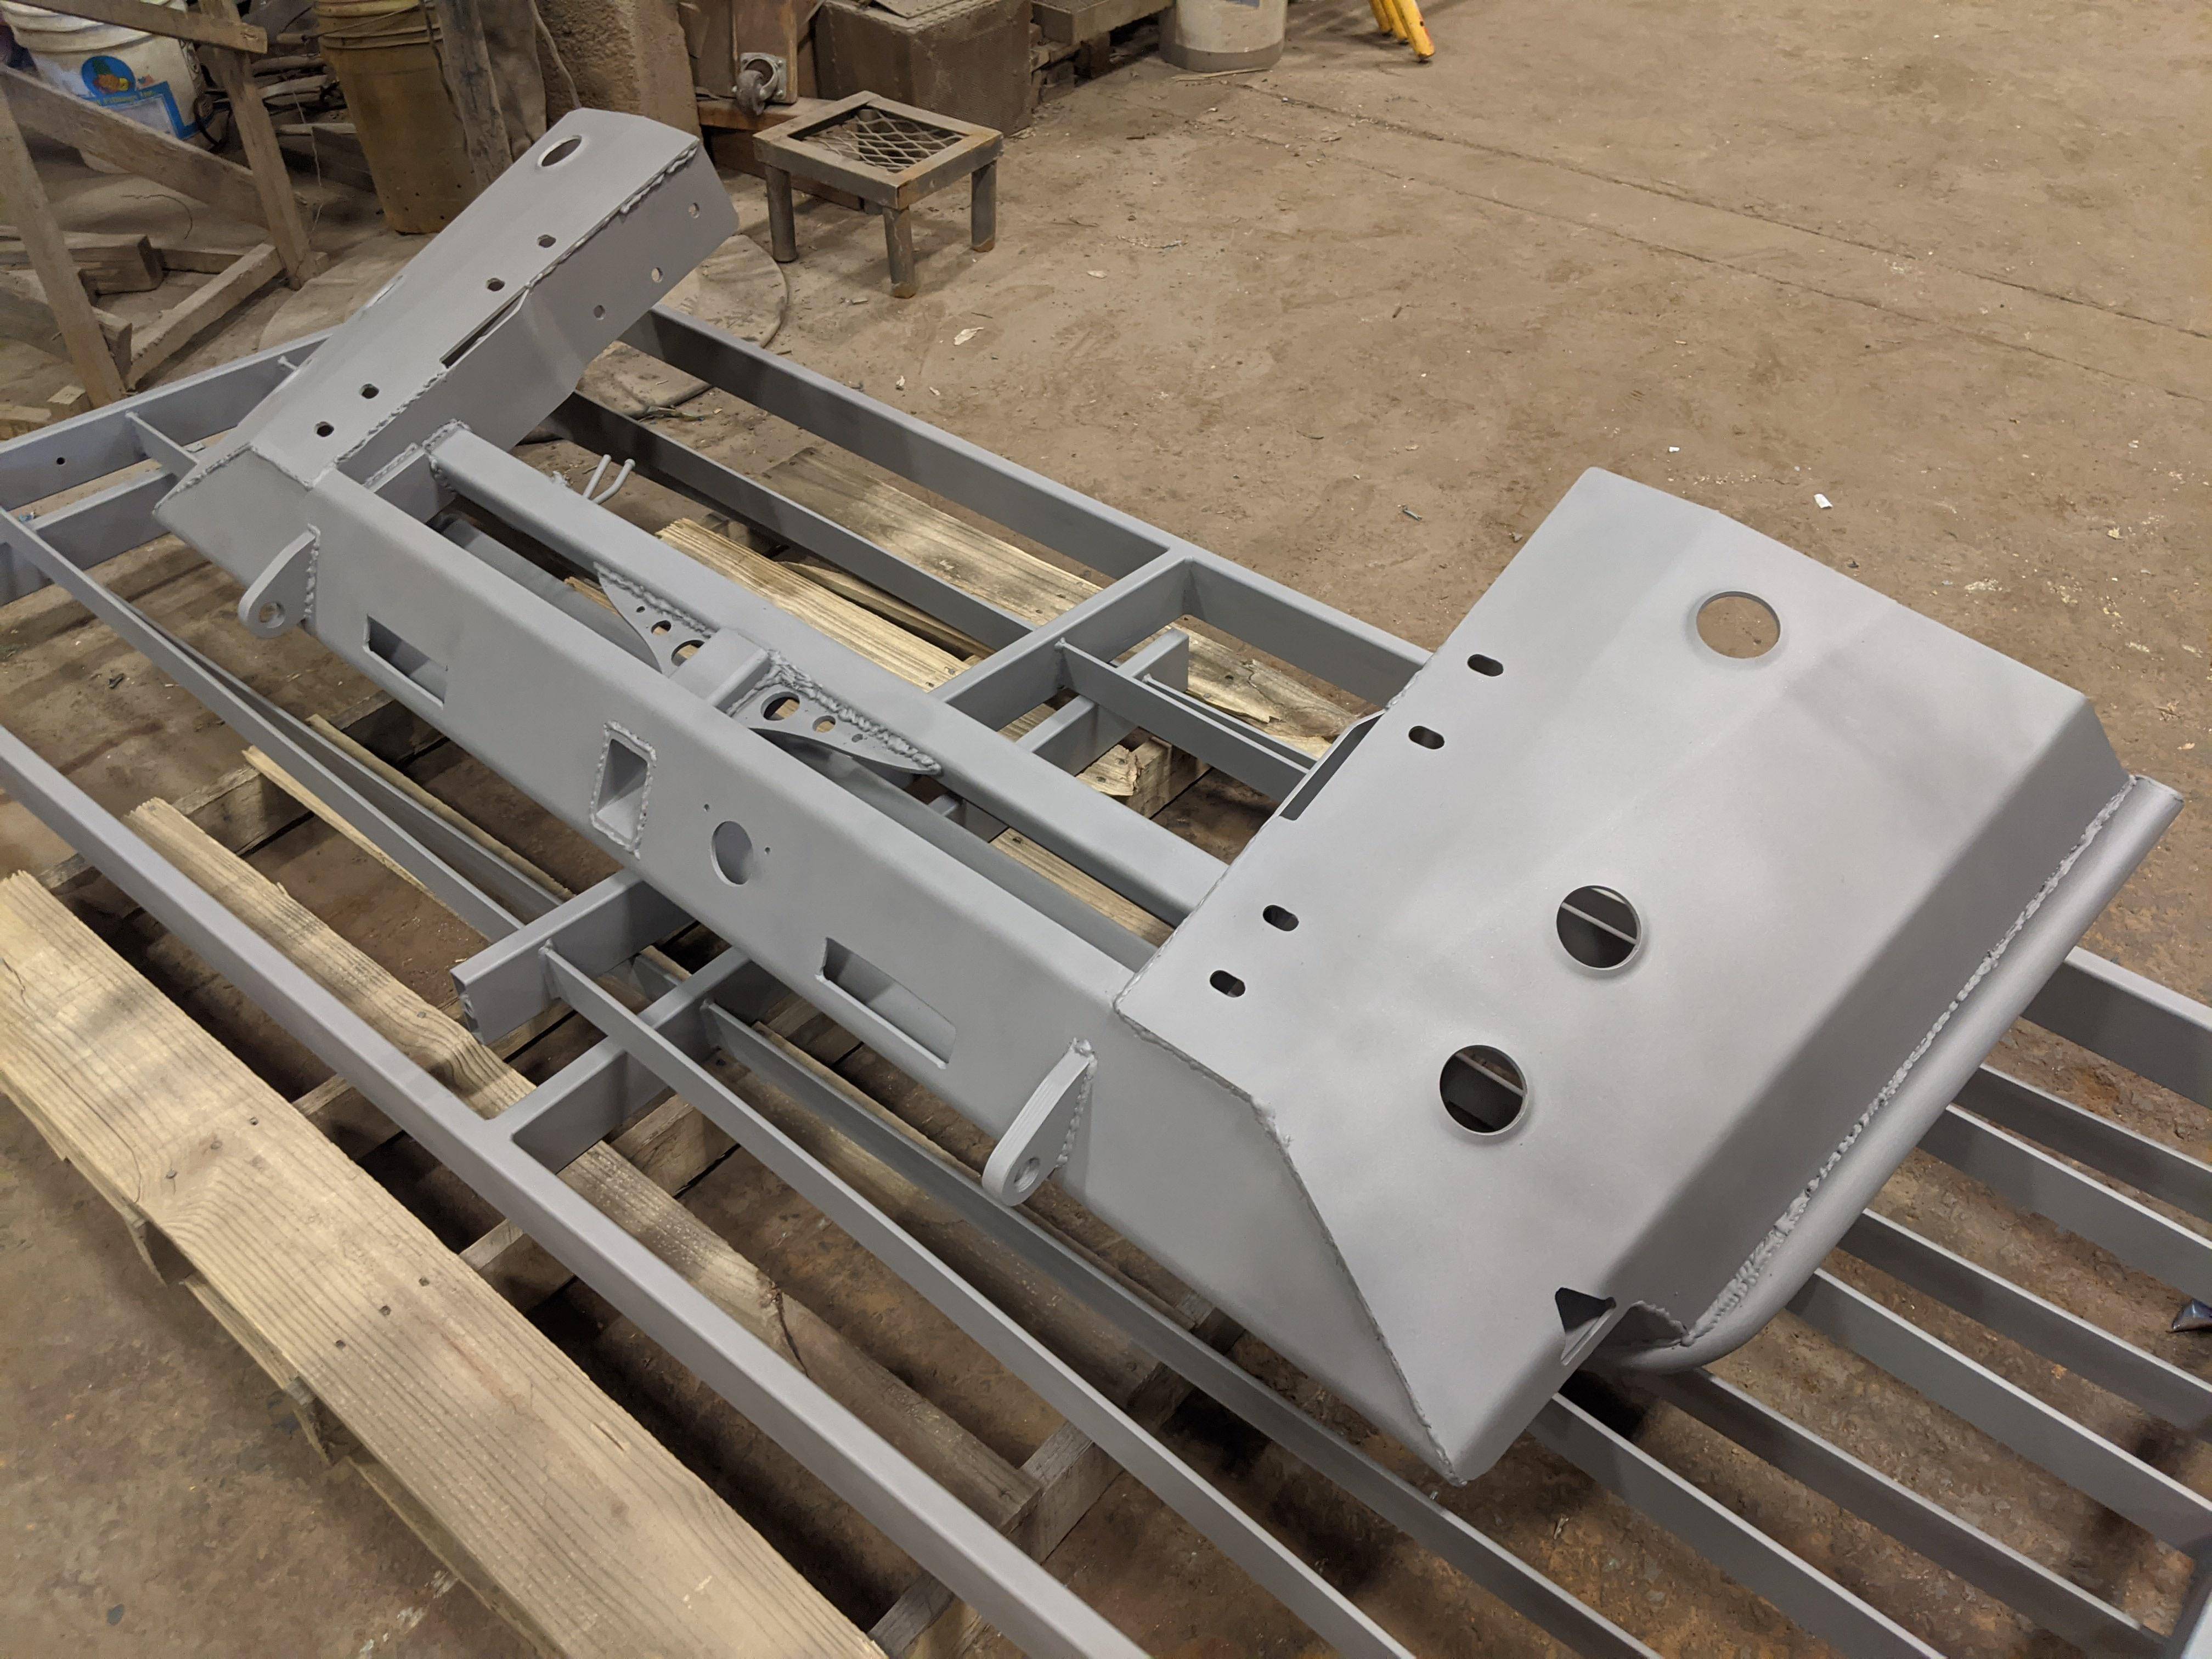
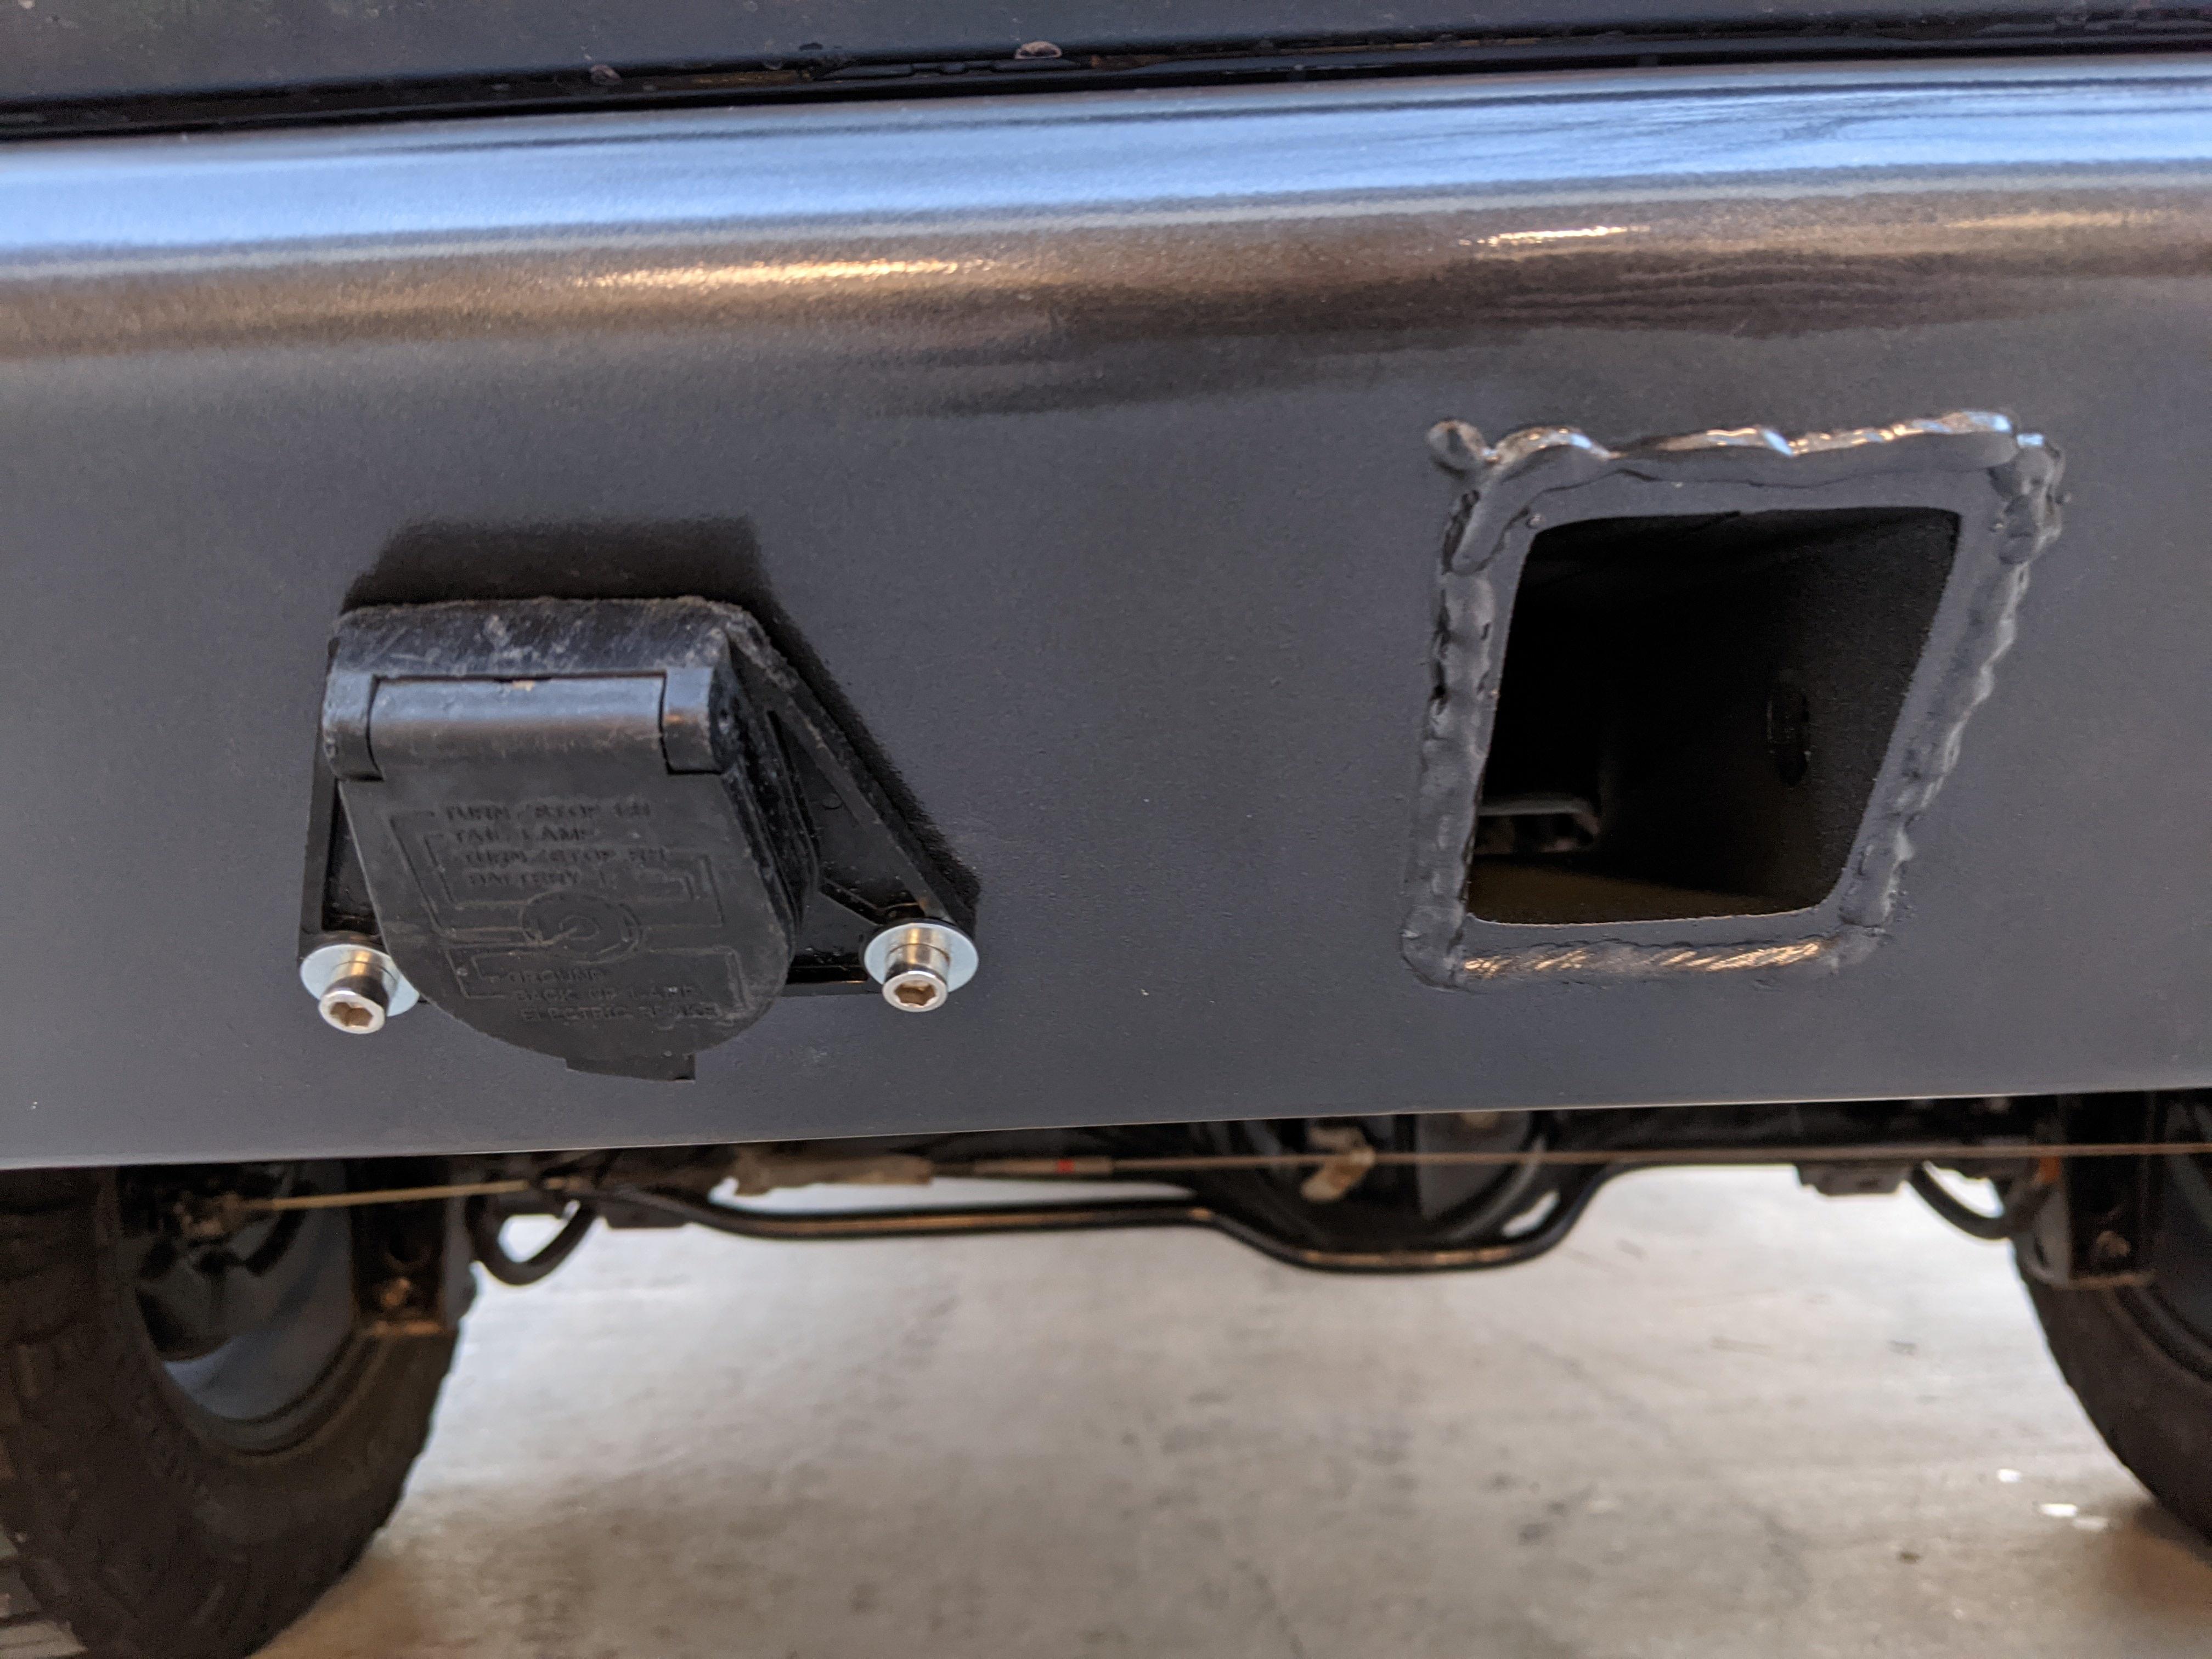
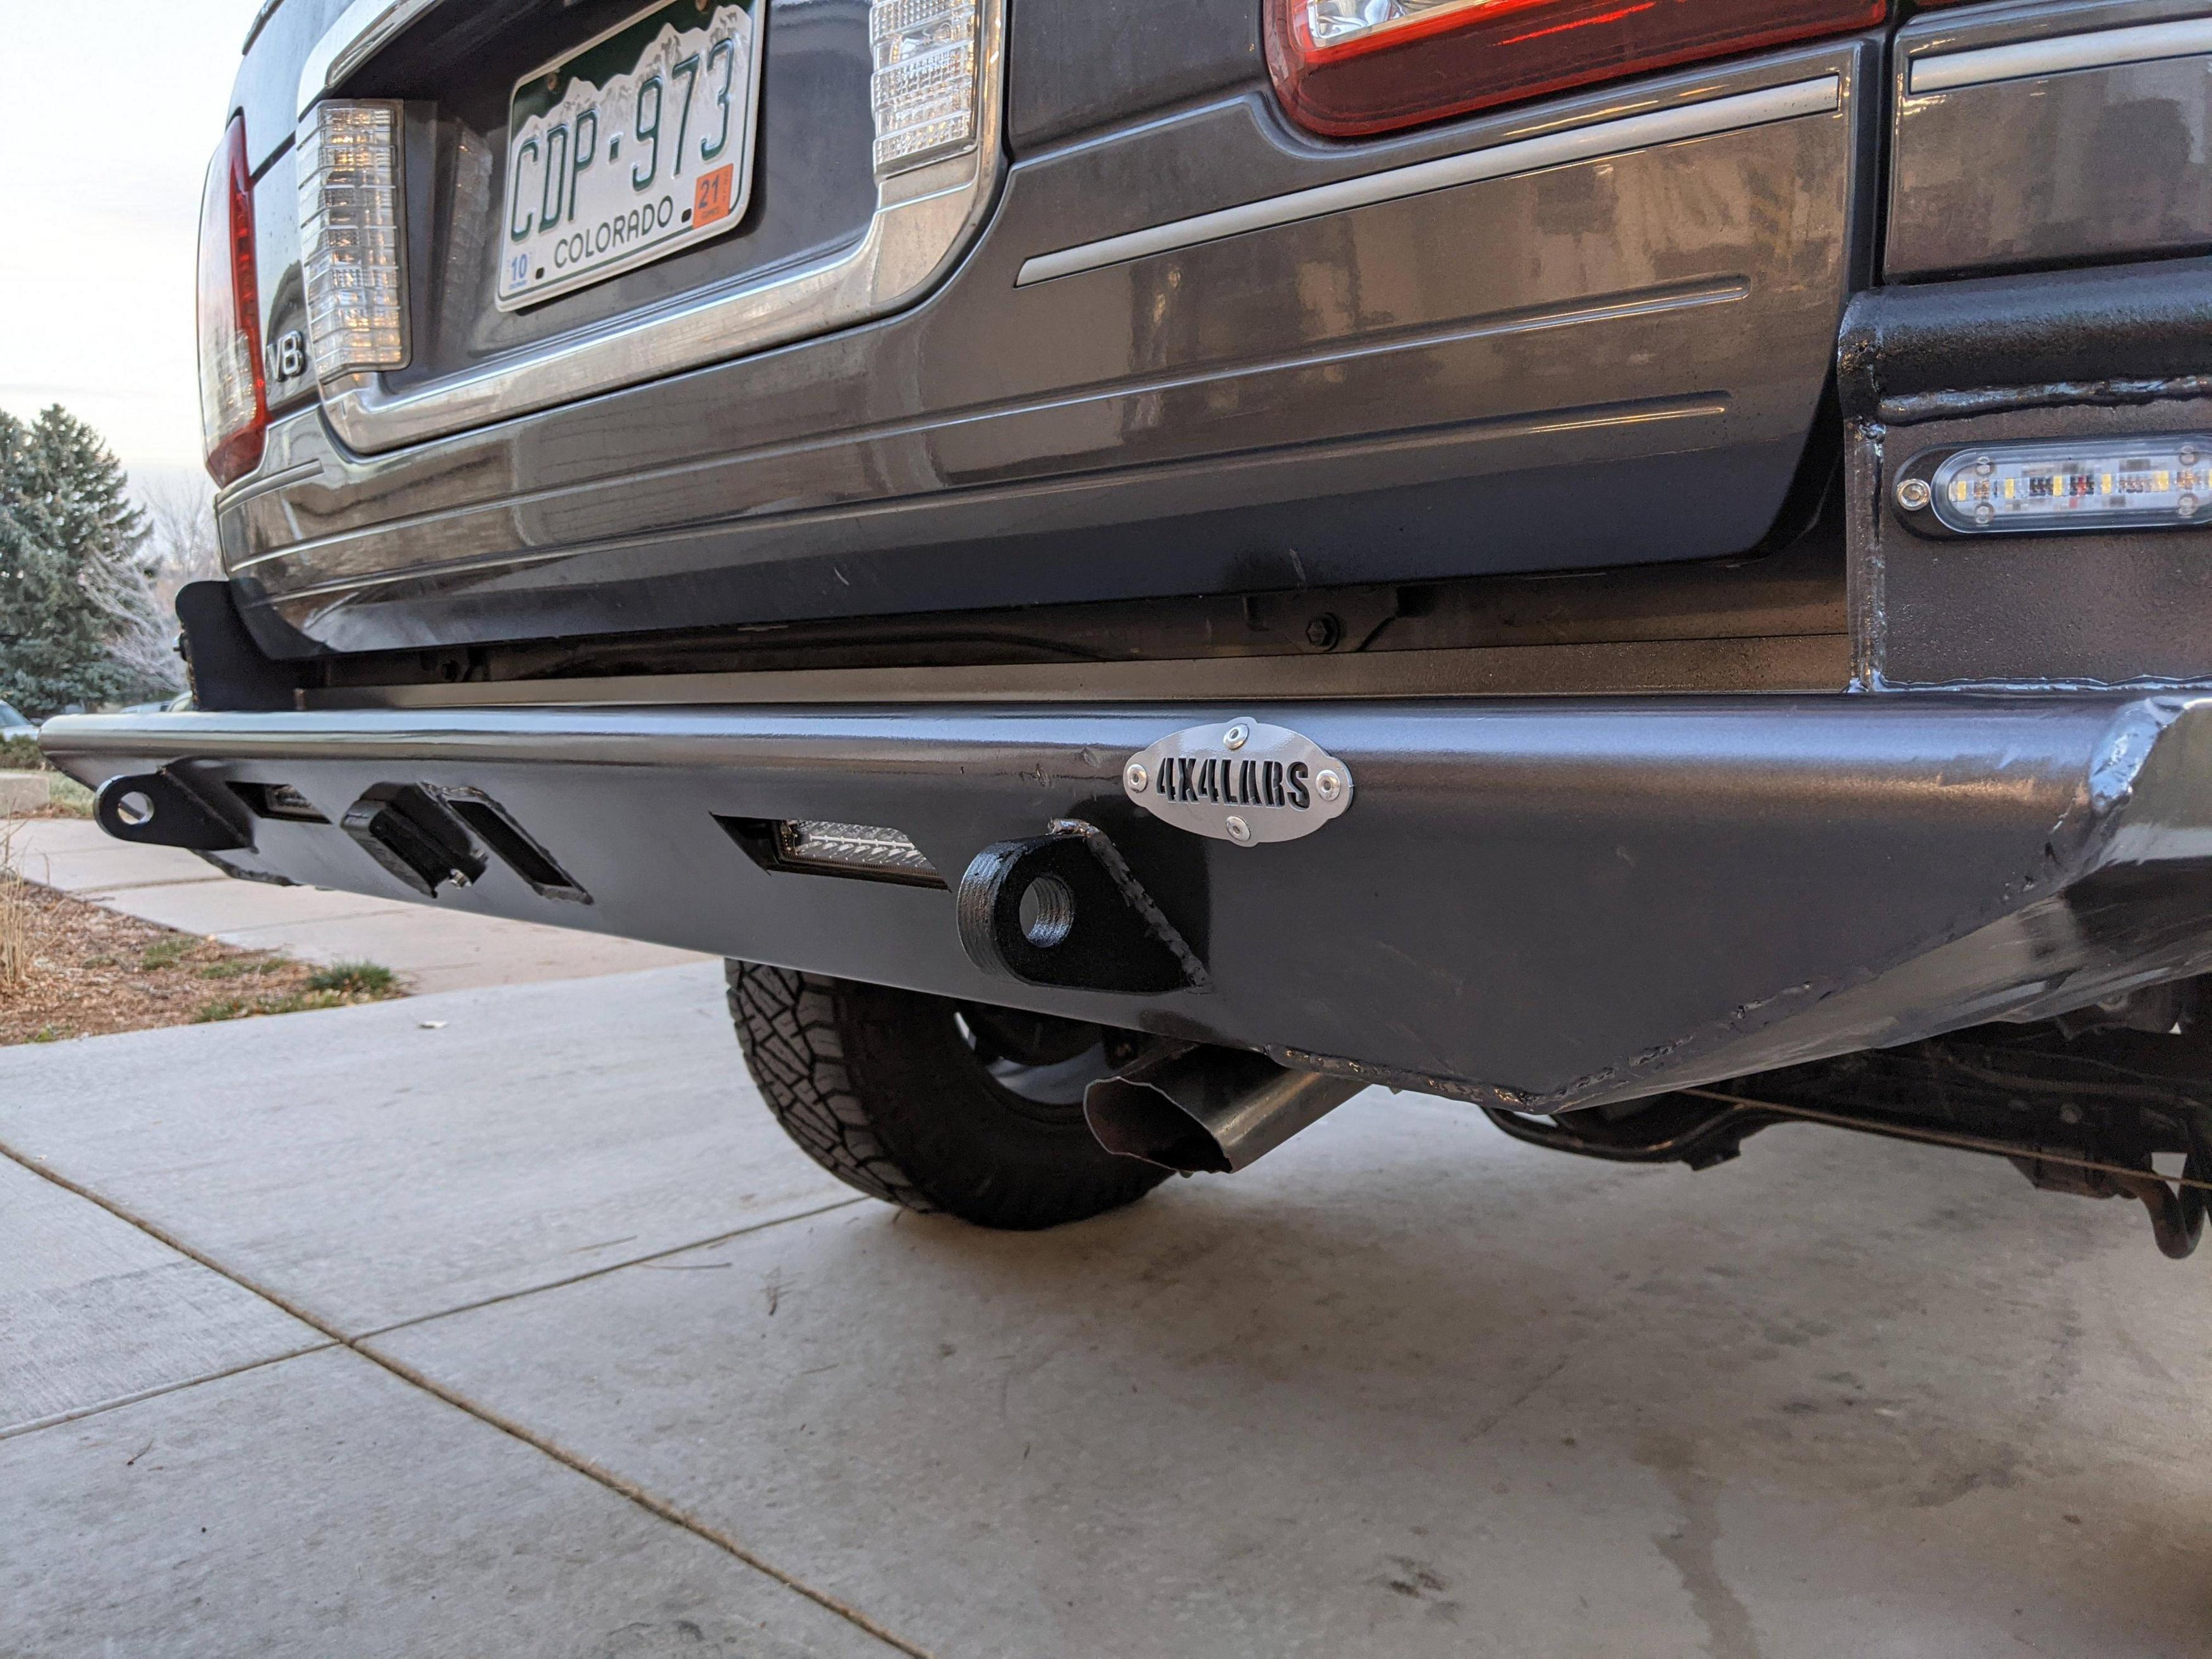
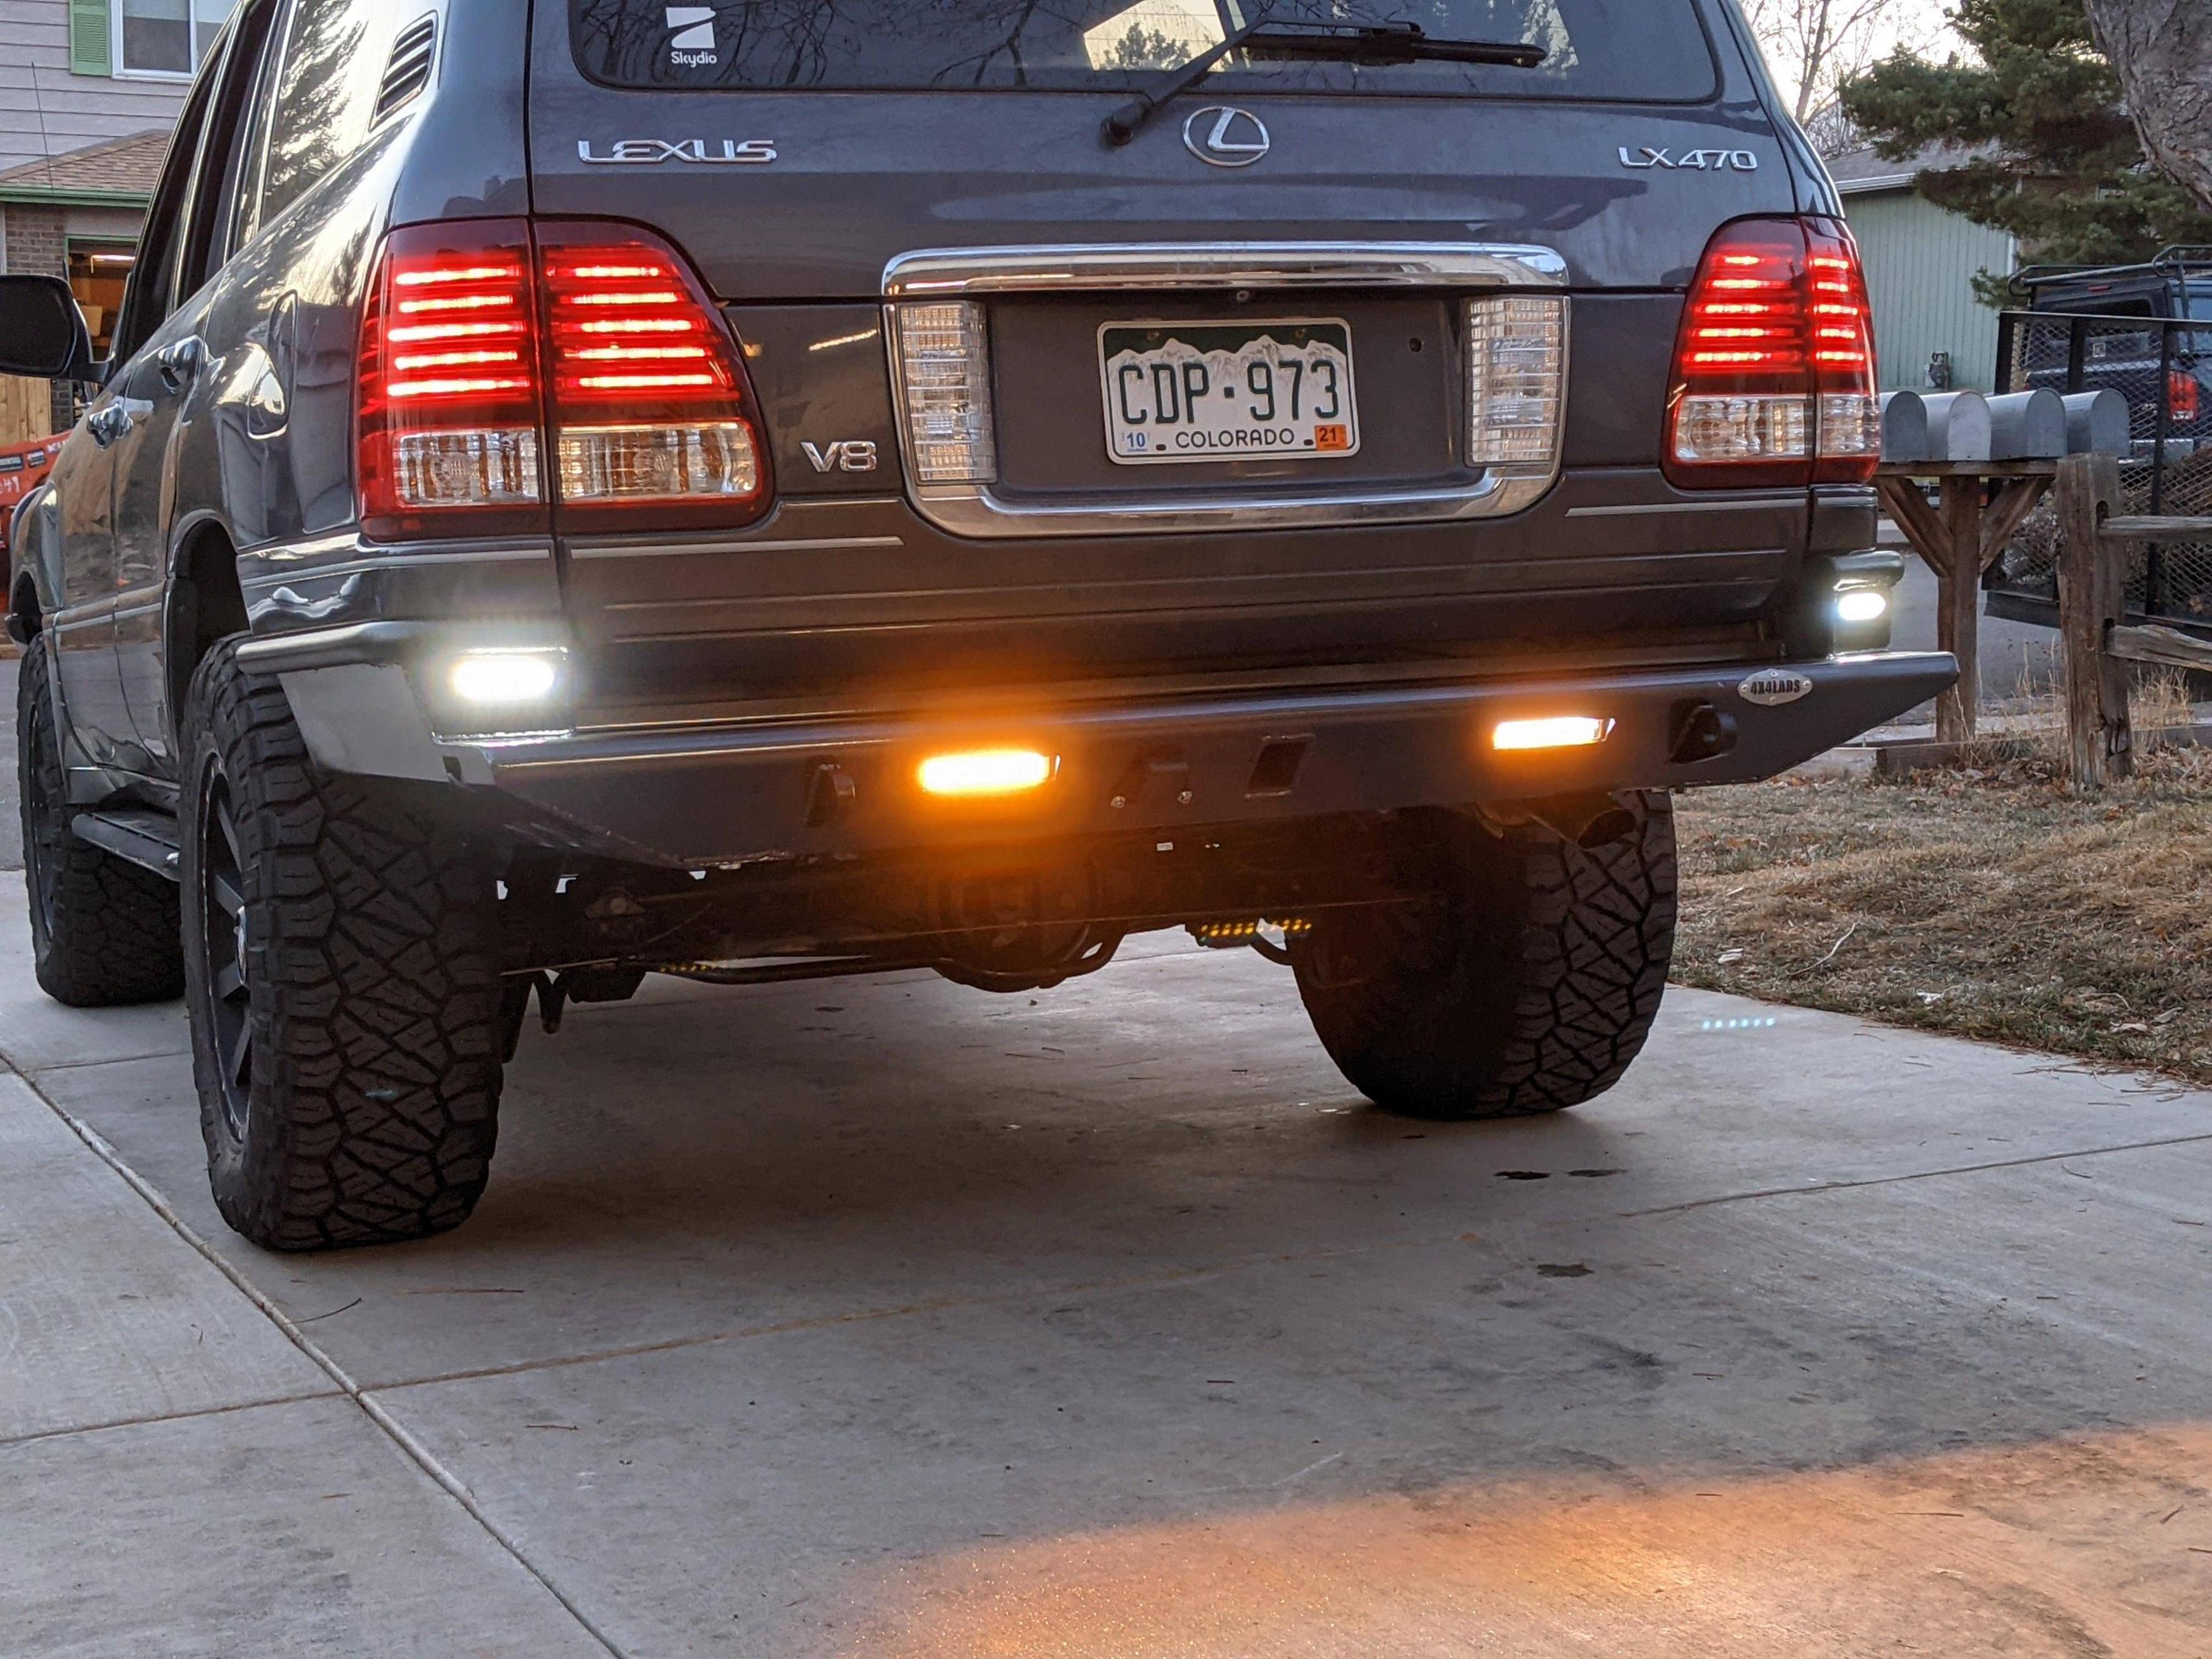
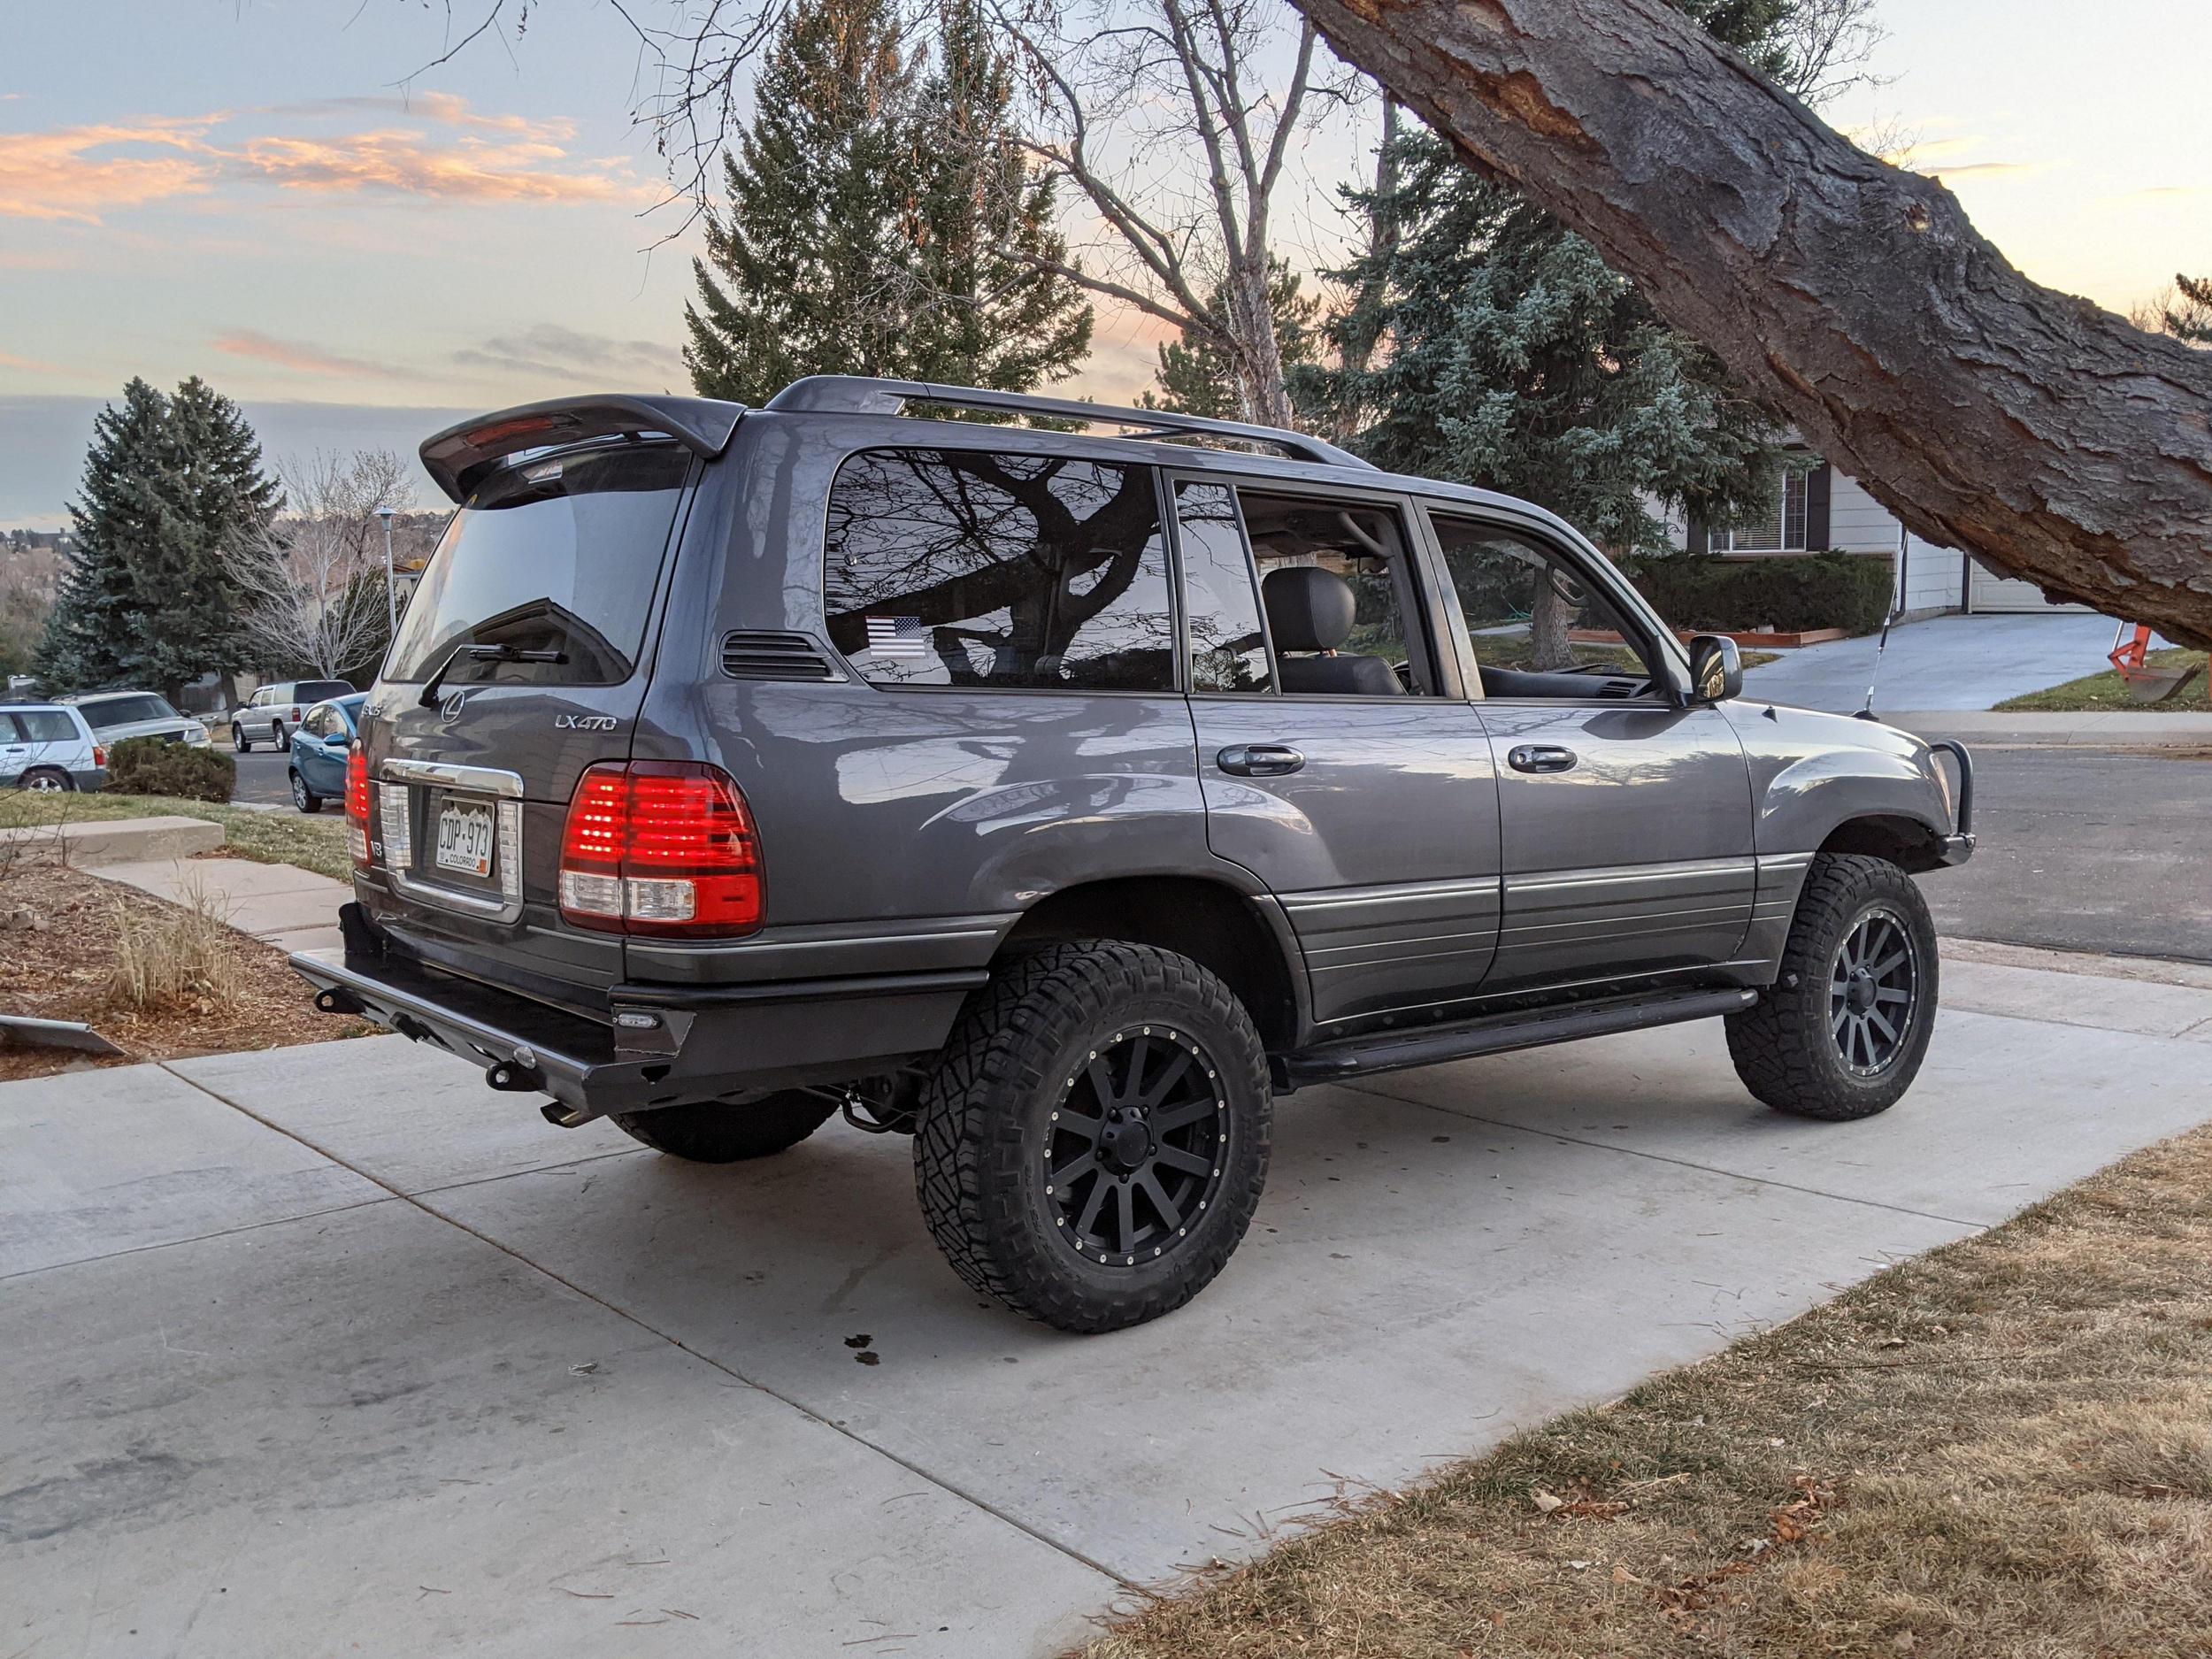
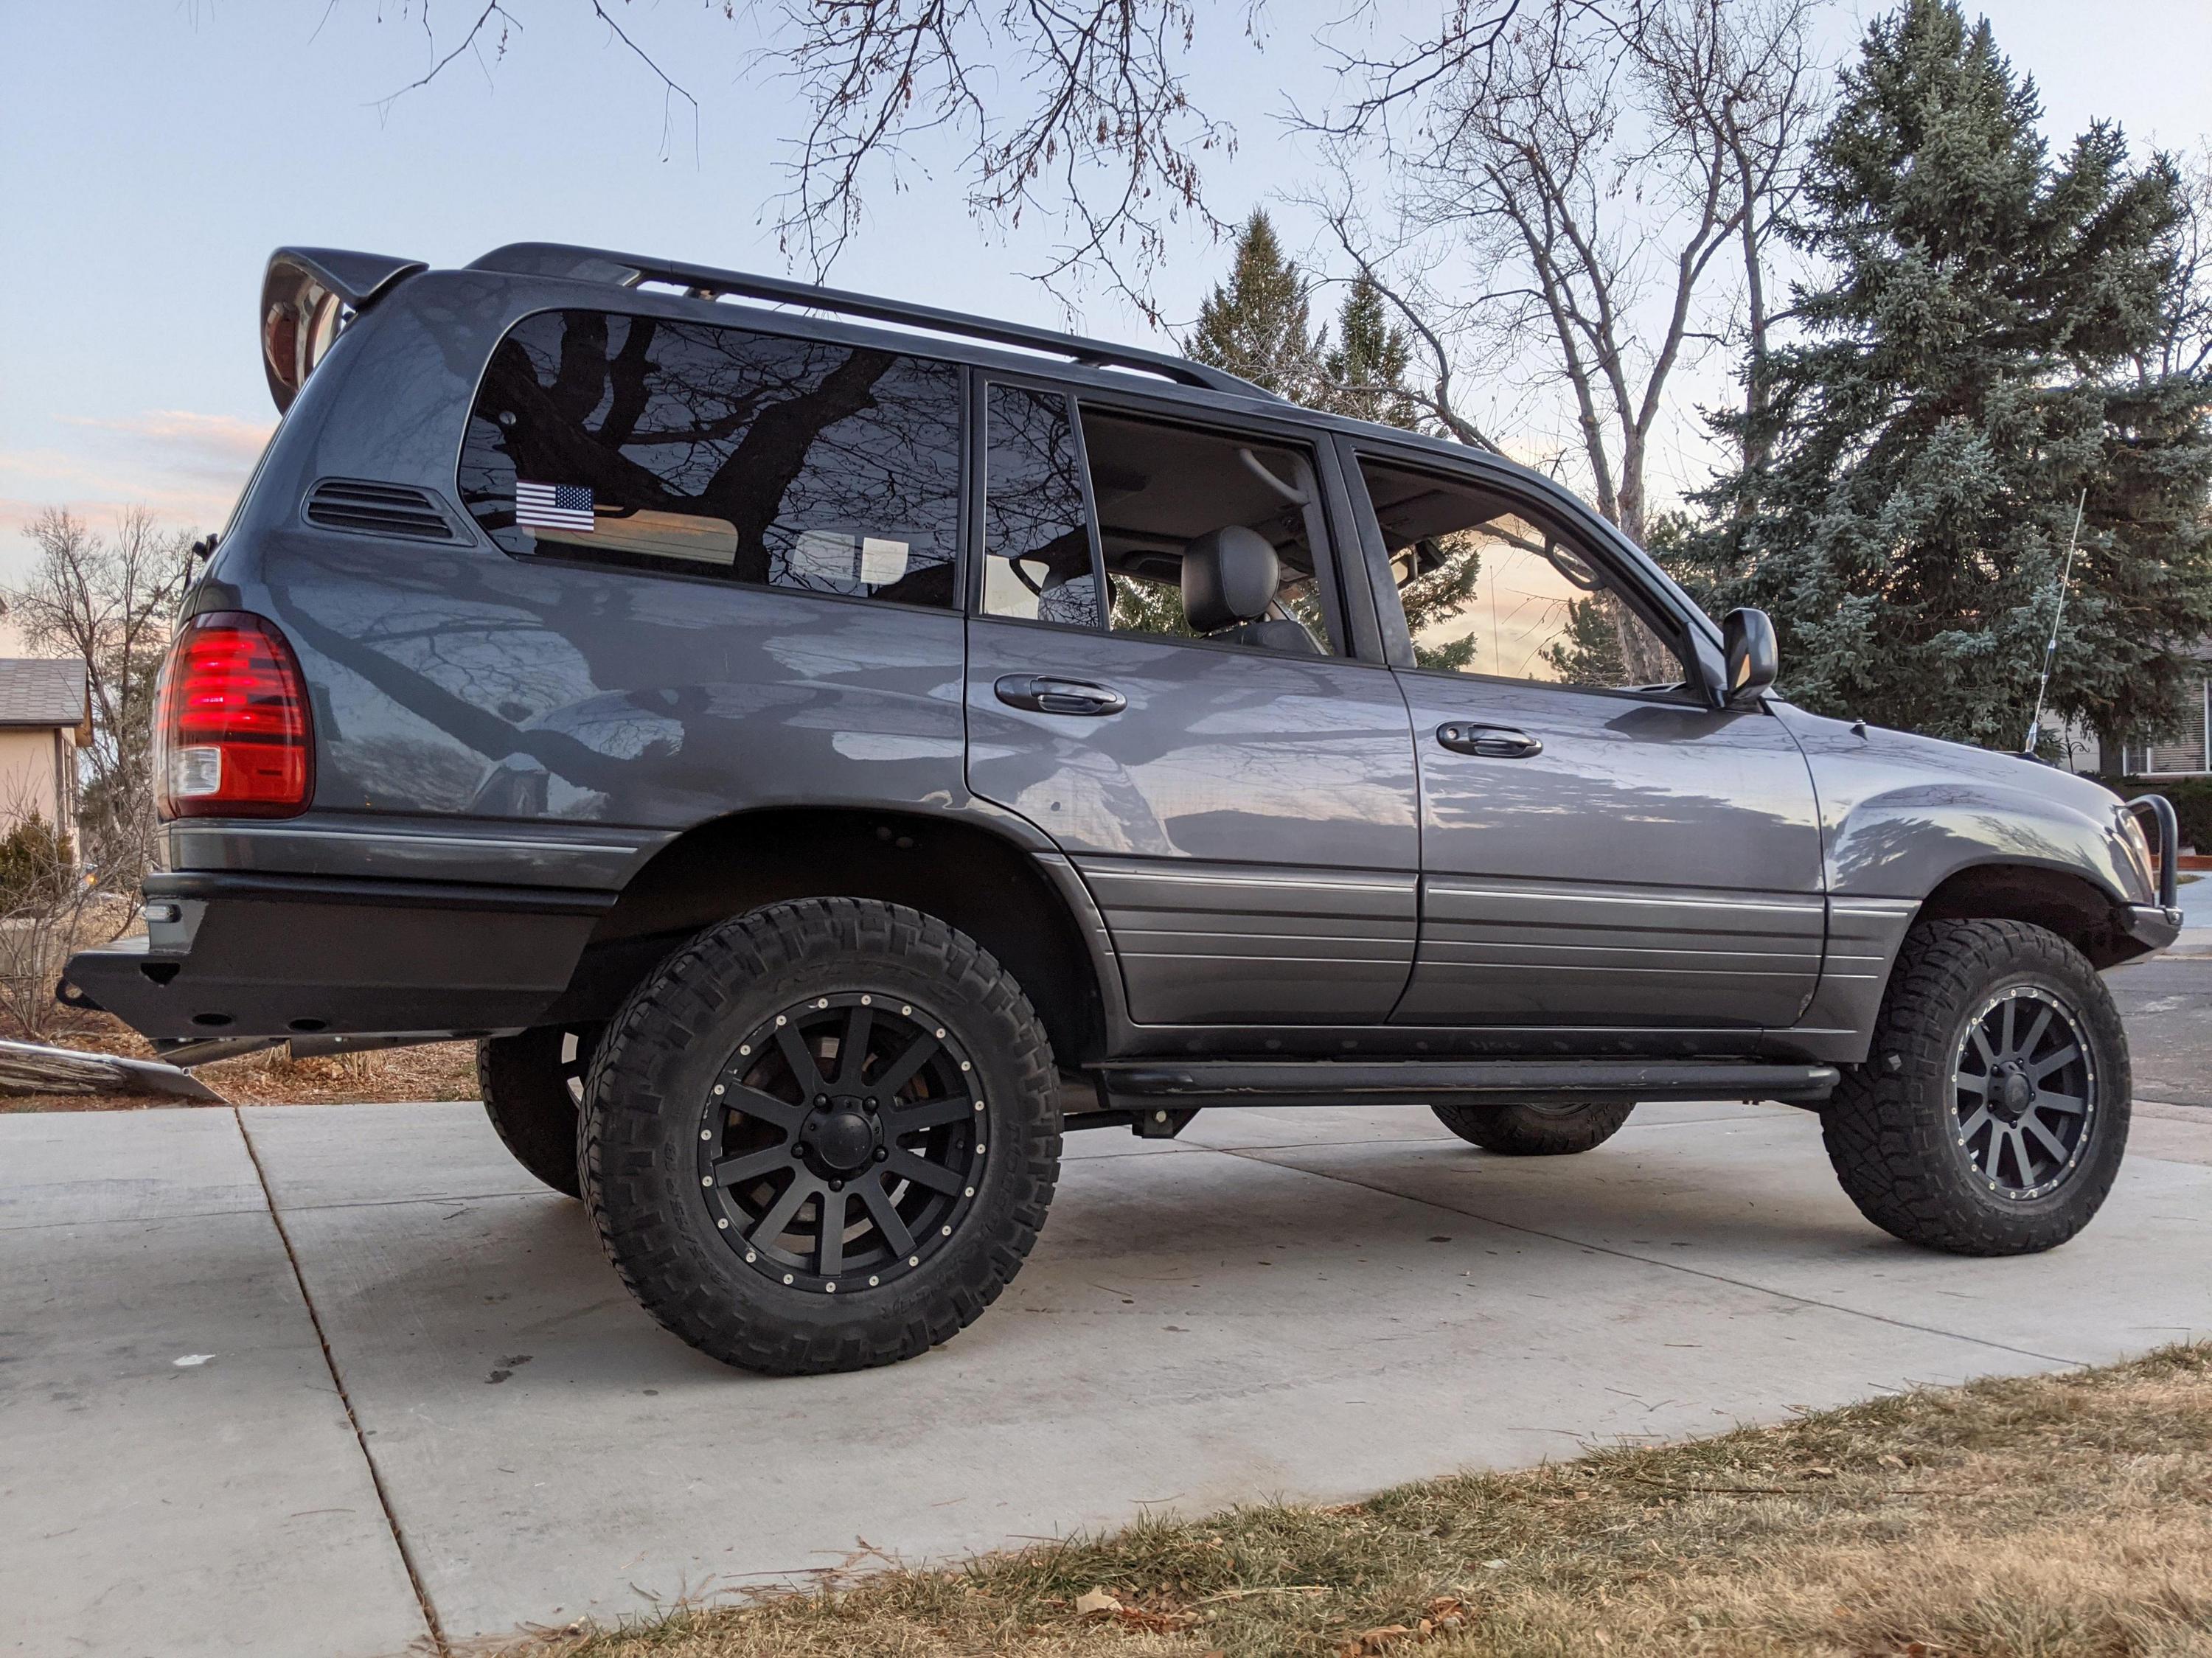
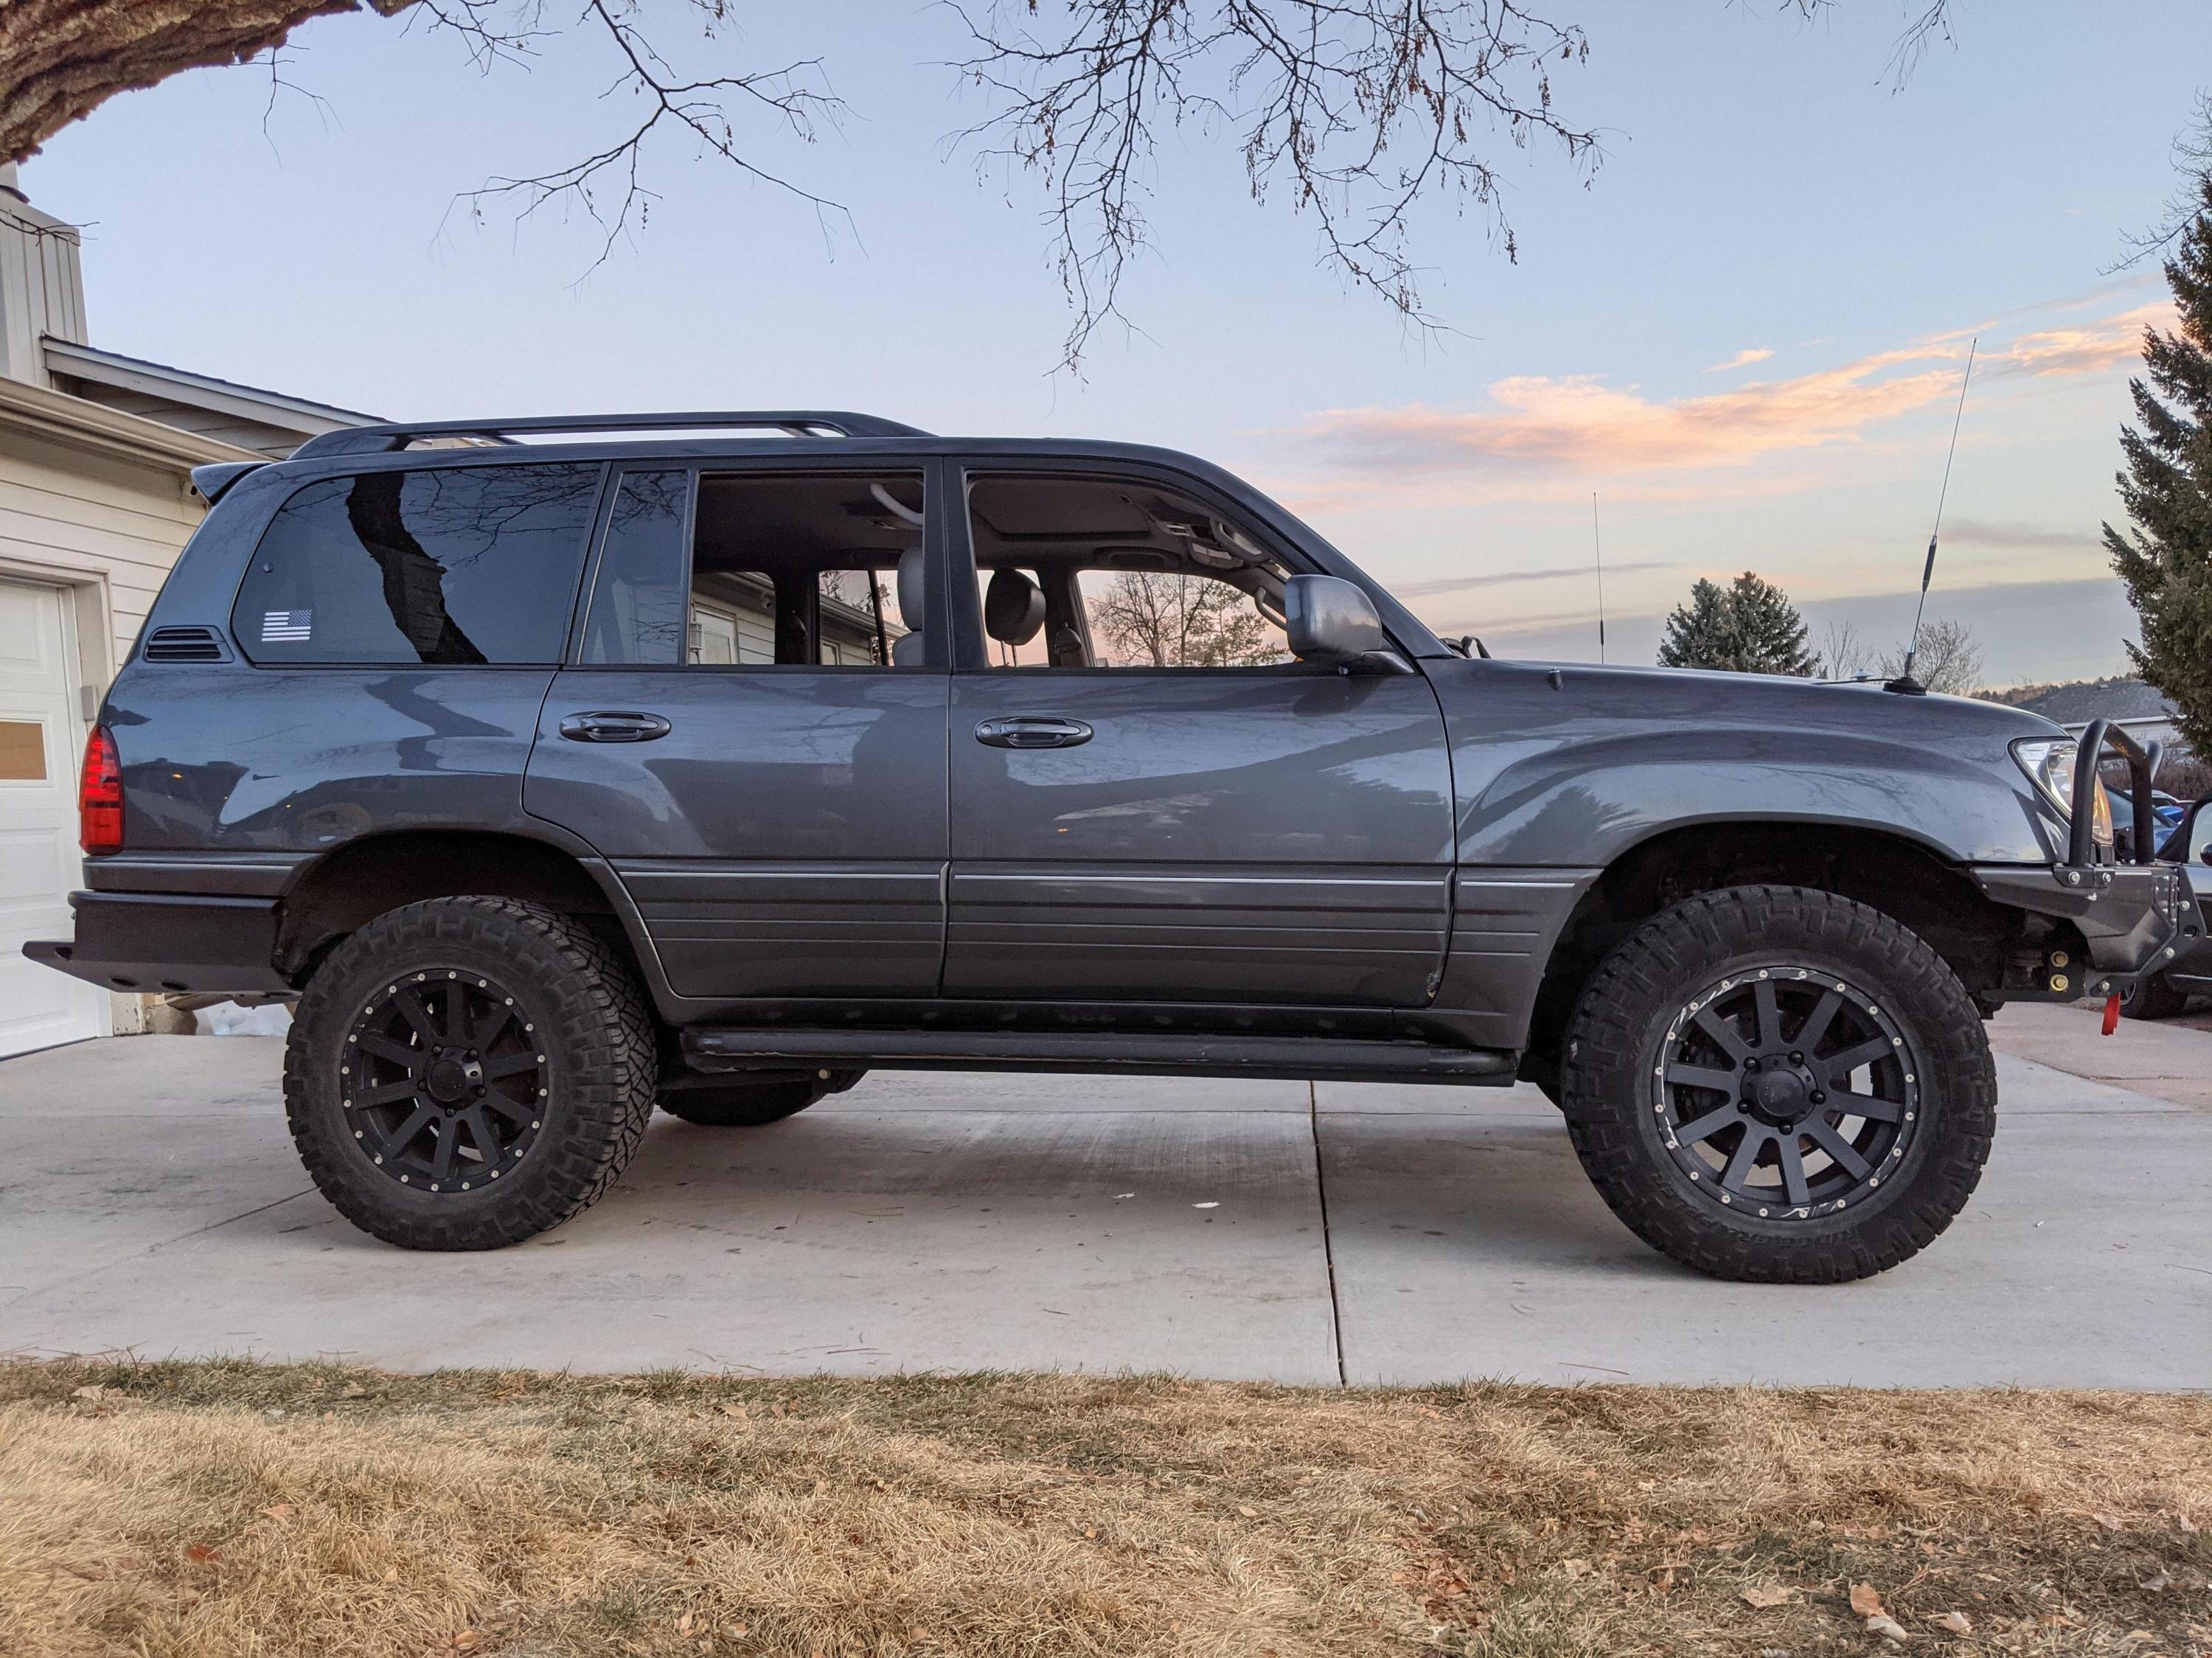
I tow-tested it today and it worked great! I ended up needing a Curt 6" drop hitch to keep my trailer level. The toungueended up being about .5-1" higher than it did with the stock bumper and 2" drop.Finished off my 4x4Labs rear bumper build and damn it looks good! So happy with it! Matches my sliders and front bumper so well. Look at all that clearance!!
Things I used:
Miller 211 welder: Amazon.com
ColorRite Aerosol Toyota 1E9 Galactic Grey Pearl Metallic + clearcoat: https://www.amazon.com/ColorRite-Aerosol-4Runner-Automotive-Touch-up/dp/B00GVPVTO4/ref=as_li_ss_tl?dchild=1&keywords=1e9&qid=1606231839&sr=8-13&linkCode=sl1&tag=imddd-20&linkId=8791bd449f74b297a0f04e6e5b64e763&language=en_US
Seymour Truck Bed Liner - https://www.amazon.com/gp/product/B018Y3JRBC/ref=as_li_ss_tl?smid=ATVPDKIKX0DER&psc=1&linkCode=sl1&tag=imddd-20&linkId=54bd19b1746596a28ef08cd79cd250a6&language=en_US
Nilight LED Amber+White pod: https://www.amazon.com/gp/product/B07SK61Y19/ref=as_li_ss_tl?ie=UTF8&psc=1&linkCode=sl1&tag=imddd-20&linkId=2a1736753cdceec11a557baca3d71c69&language=en_US
Flat mount LED pod #ad: https://www.amazon.com/gp/product/B01LYHD6RC/ref=as_li_ss_tl?ie=UTF8&psc=1&linkCode=sl1&tag=imddd-20&linkId=dd42570a6a8e831a24aee31532a110f7&language=en_US
Milwaukee Hole Saw Kit: Amazon.com


I spent a good hour searching for mine and it had gotten under the magnetic bowl I use to hold bolts and such. I checked under it twice during my search. Eventually, i went to move everything to the garage about to give up before I spotted it. With the said, I am really good about hiding things from myself.Keep very careful track of your caliper springs when doing front brakes and/or wheel bearings! One of my springs boinged into the unknown and my dealership doesn't stock them. Unnecessary delay
the reviews for these license plate lights keep mentioning it's super thin wiring and you can't remove the plate without cutting them. doesn't make sense to me but you say they are good enough? i'm looking for a new solution now that i got a bumper
Hill climb in my 100 yesterday!
Yo check your IM's messaged you about doing the AHC delete.
Would love to see pics!I've reindexed the torsion bars. Only needed it because I was planning a 2" Sensor Lift & was running out of threads. Also took the opportunity to install the Torsion Bar Reinforcement Bracket FK27 sold by Cruiser Outfitters. This took me a day & half but only because of my lack of mechanical skills.
I then tackled the Sensor Lift; pretty much followed @DirtDawg write up. Installed the Japan 4x4 spacers to get the shocks (rams) back in normal position. Also installed the King rear coils. Ended with a 2" lift (now 21.5 front 22 rear) (was 19.5 front & 20.5 rear) my pressures are (now 6.9 front 6.9 rear). Had a hard time installing the PS front spacer had to grind some material off both the spacer bracket & the lower shock mount bracket. Also my DIY bracket to raise the rear sensor took a while to make & remake. Instruction indicate a 1" x 6" strip but that was way to big. Ended with a .75" x 4", with the sensor arm attachment point at a bent angle. Any higher & it puts my rear pressure too high. I may want to redo this with thicker sheet metal & put a angle in the bracket so it lines up better. My rear pressure before was about 7.2MPa to start so my math told me to add .6 for every inch of height less about 3MPa for the King coils so I should be at 5.4MPa. Not sure why I'm this far off.
When I was done my car was jumping/wiggling but after I got an alignment it drives great. Lost a little of handling response compared to factory but really not much.
Took the family on a easy off-road trail & everything behaved on the freeway & trails. Truck looks great & I must admit I'm kind of proud I was able to accomplish this my self.
Still want the 1 in rake plus lower pressure in the rear (thinking of a drawer setup) so I ordered 30mm spacers from Manafrey. Hoping this will decrease rear pressure by .5MPa's. Also ordered front/rear extended sway bar links from Trail Taylor, as a good thing to do per the forum experts, plus the bushings were worn out anyways so I justified it. Should have done the spacer & links while everything was apart, live & learn.
No worries dude, just wanted to make sure you saw the messages, sometimes I dont see the IM's because im checking on phone and desktop.PM replied, sorry for the delay.
I added some pics. Let me know if you need anything specific?Would love to see pics!
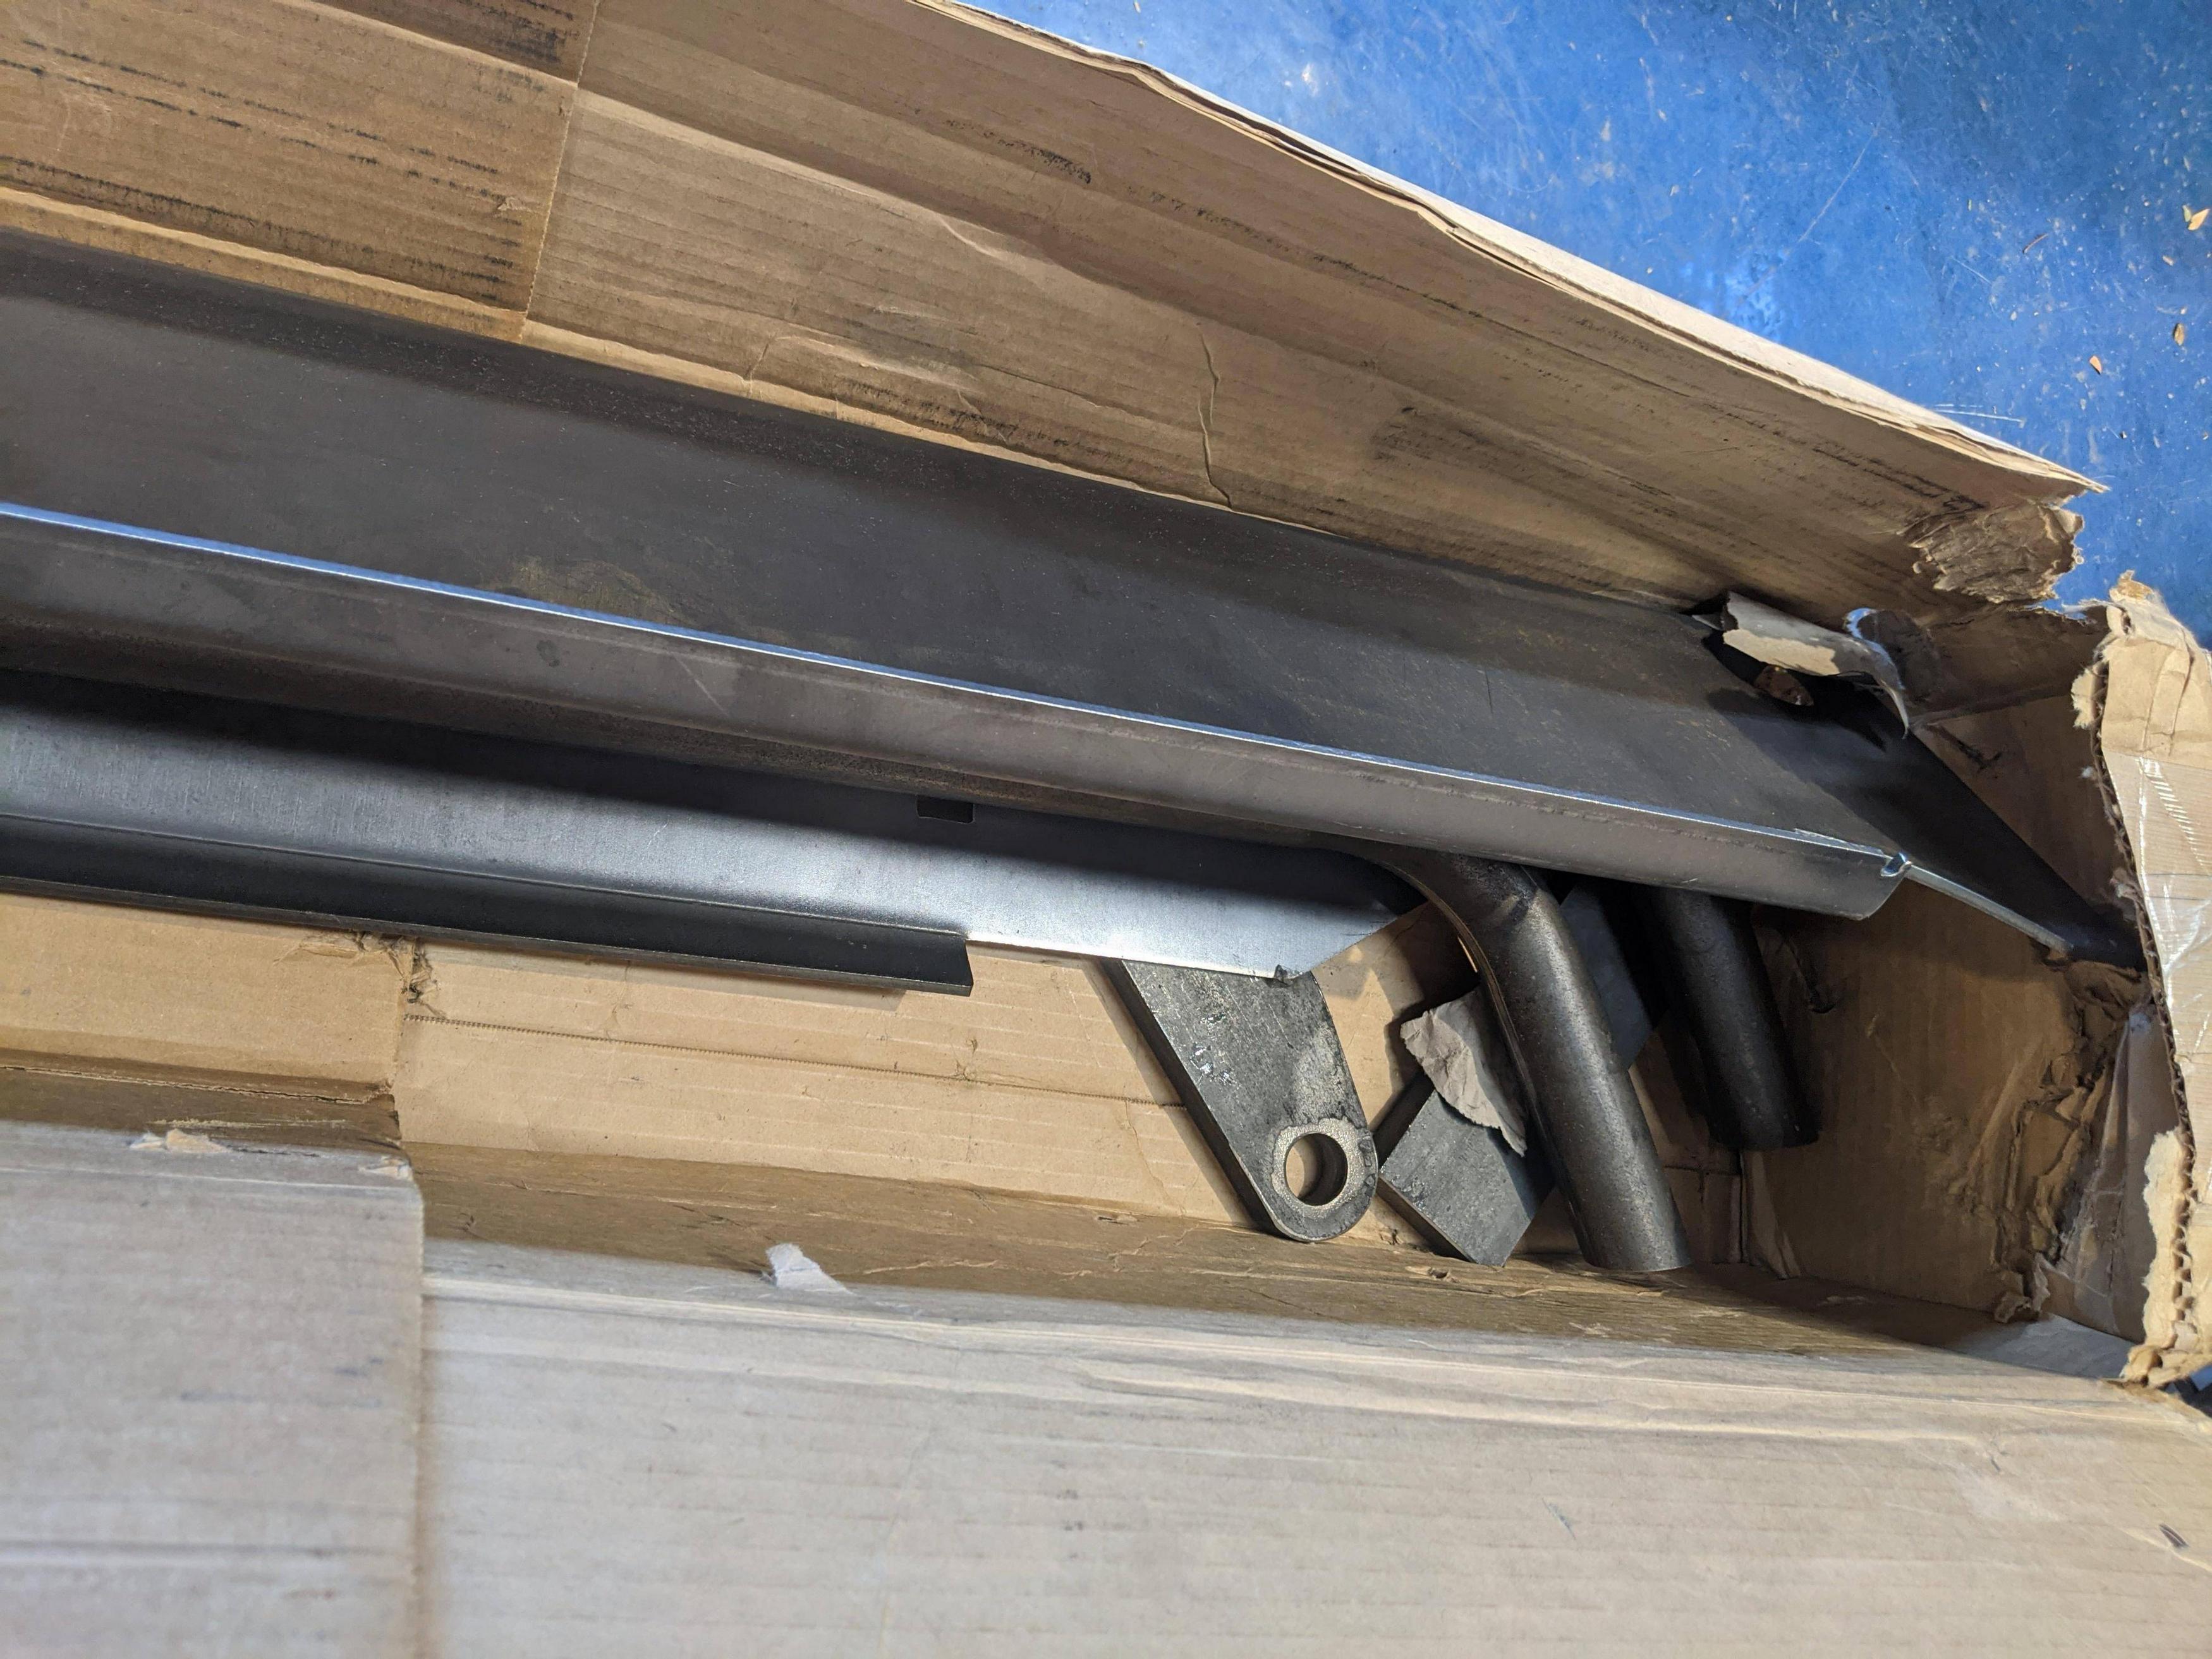
I just finished installing the Huracan fabrication tailgate storage kit.
It came with the truck when I bought it, but was never installed.
It took me 4 hours straight, with a couple extra steps.
Overall, I'm pleased with how it turned out and will definitely put the new storage space to use for emergency only type of stuff.
However, the kit could use some tweaks.
The biggest is that the main panel, and the latch lid are metal; which is fine, except without some sort of gasket - they rattle slightly.
Disclaimer: I'm an OCD rattle guy.
I added a superthin weatherstrip on the underside of the mainplate.
The only rattle now is the lid bumping on the main plate of the kit. Even with the latches as tight as they will go, the corners rattle just slightly, because of the distance away they are from the nearest latch and the thinness of the metal.
I'll have to think on that one because I can't just stick material in between the two pieces, or the lid will be higher than the plate. I also have the latches extended all the way out and they are a tight fit...so maybe a magnet?
The latches aren't super impressive either. We'll see how they hold up. Won't be opening the hatch much I don’t expect.
The plastic tailgate "guard/slider thingy" also catches the back of the latch lid carpet slightly. I think sand ing on the plastic stock piece will correct.
Lastly, the instructions kinda suck. And the pictures used for the 100 series install instructions are of an 80 series.
All in all, was a pretty easy install, it looks phenomenal, and hopefully everything holds up.
I used a grinder with a diamond blade to cut. Used a jigsaw in a couple spots.
Looks like it's for sale for $260 right now. I'd say its worth it if you want the storage or if your stock carpet pad is trashed.
*Previous owner of my truck burnt the stock tailgate carpet with a skillet.
Also, forum only lets me do 5 pics...what are options for more?
View attachment 2512896
View attachment 2512898
View attachment 2512901
View attachment 2512902
View attachment 2512904
What happened exactly? I just started getting a strange humming vibration noise from my front drivers side area and assuming I'm going to have to open all that up and check...not looking forward to it.I properly diagnosed my snap ring failure to a hub/wheel bearing issue. Jesus Holy Christmas what a mess. Looks like a new spindle, axle, hub, flange, hardware, wheel bearings + locking hardware, snap ring, and dust cap are in order.
Would gasket material be thin enough? You can buy sheets of very thin felt gasket material at most auto parts stores.