What Did You Do with Your 80 This Weekend? (81 Viewers)

This site may earn a commission from merchant affiliate
links, including eBay, Amazon, Skimlinks, and others.

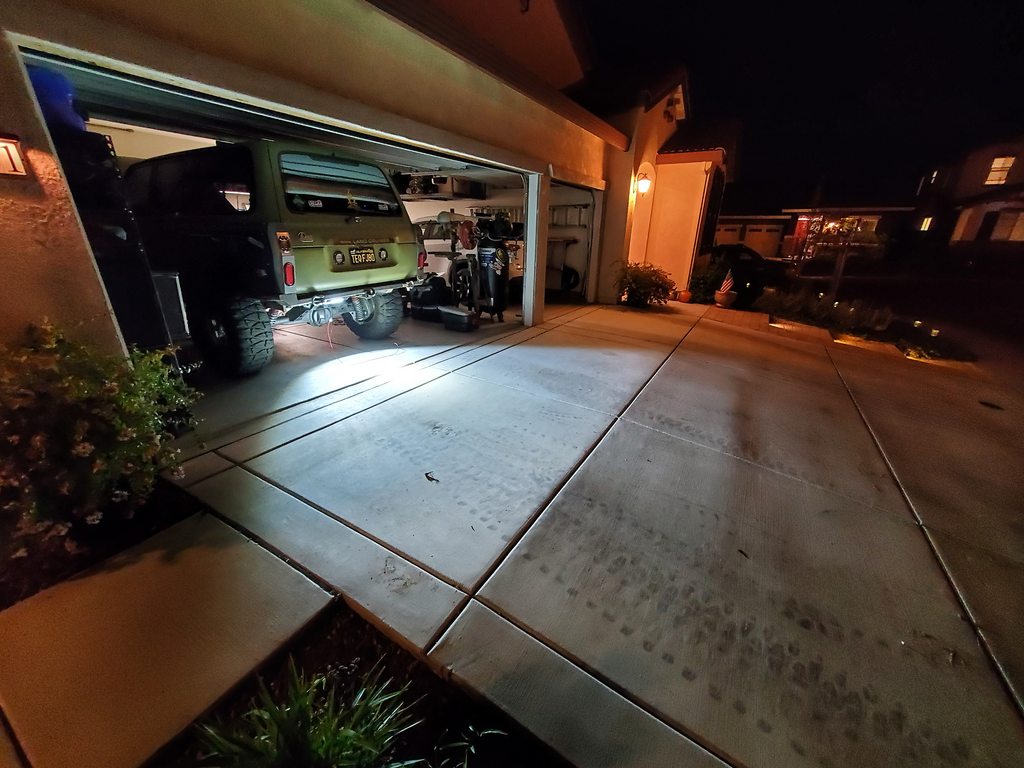
Decided it was time for rock lights. Did a portion of the Rubicon in the middle of the night and that was no fun with just headlights. Had to get out with a flashlight a few times to see where I was going as I couldn't even tell where I was putting a tire.

So I'm installing a mix of various LED light pods and actual small rock lights. And it will absolutely be complete and utter overkill by the time I'm done. I won't even need shop lights anymore when I work under the truck.

7xJ2Dkih.jpg


mOA50Ush.jpg


o6eHWl2h.jpg


WogMXE9h.jpg


xljGCumh.jpg

Rock light are done! About 330w total not counting the ditch lights behind the mirrors.

nRj1Lvqh.jpg


Mb5h0hMh.jpg


hOnfFgWh.jpg


epZbyryh.jpg


WlGKTDph.jpg
 
Certainly not a monumental “thing I’ve done to my Land Cruiser” this weekend. But, I replaced the broken rear nameplate on my ‘96 FZJ80. The most challenging part was the removal of 23 year old adhesive residue. Used Goof Off initially, but the effort was not worth the result. Instead, I used a drill attachment I’d found on Amazon and my 12V cordless drill. Worked pretty well!

The only issue was that I’d polished about a US quarter-sized bit of paint clean off the metal. This was due to my leaning too hard on this section with a plastic scraper...

Otherwise, the drill method worked pretty great. Especially for a noob with little (zero) experience on body work.

The second issue was lining up the new nameplate. I eyeballed the placement and didn’t measure. Though, if you consider measuring by touch and feel; I guess I did.

I think it turned out well, all things considered. Figure that the arid southwest won’t have much negative effect on bare metal underneath industrial adhesive; not worried about corrosion.

AES Industries 51823 Smart Eraser Pad (Made in the USA) with Drill Adapter Arbor Made for Efficiently Removing Decals, Vinyl Graphic, Pinstripes, Adhesive and Double Faced Trim Tape
Amazon product ASIN B00488DDB8

E1E31EED-0104-4F84-A0ED-16182D36C38E.jpeg


A316E0A7-440A-45F3-AF12-69F95F907AB8.jpeg


6EEE568C-7018-438C-B8B0-BBB3CE03F276.jpeg
 
Last edited:
Got my labs bumper in, can't wait to get it on the truck. Overall happy with the purchase, however I will say that I am not impressed with the powdercoat. Looks like it may have been bumped a bit during shipping and part of the powder coat is already coming off in a few places. Finish is definitely on the thin side.

View attachment 2130769

Agreed...
 
Hauled a very large box to UPS freight for shipping to my brother in Hawaii.
96F92683-F83E-4576-82EA-B60E902A590A.jpeg
 
My friend is a well known off-road leader (not money involved). He opened an event for the Jeep Rubicon club and around 40 jeeps showed up at the rally point.
At 4 AM he MSG me via InReach satellite, I forgot the Pita bread can you bring some (he is 200 miles from me at first day night camp) can't have Hummos without Pita bread no?
So I pull myself out of bad stock the refrigerator in the Toyota with beer drive to the near Arab village bakery drink the best coffee with the bakers and drive 4 hours to meet them at night camp in the morning.
This guys from Rubi club are snobs A holes they do not allow other then Rubis to wheel with them even Jeep WJ or CJ and definitely no Jeep Storm (Israeli version assembled in Israel) and Toyota is the enemy. So the plan was that I will deliver them the Pita go into the desert through the first pass and then split I will go solo trip and they will go to hell LOL and we will meet in the night camp. I promised him not to go up the pass only after they will leave the place. He didn't want them to become gloomy after all moded Rubicon cost in Israel around 180,000 US $. I could not resist I went up the pass the last one but some of them were still there.

View attachment 2129674View attachment 2129675


The one who struggled up and went into bad angles I don't have videos.

And the FZJ80

What a PITA!

:lol:
 
Took the dogs out in the 80 for a bit of a ride on a beautiful autumn day.

8469958C-1042-4F0A-9694-726DEDA47F92.jpeg


4EC67C65-3805-4DA3-9102-8938AA8EDFE2.jpeg


FB58A147-F460-40D3-A039-D7A7FAF32DBE.jpeg


FF39D6C7-E360-405C-B116-BC5B47C54CCF.jpeg


72A67747-9211-4C12-941F-408AECB5A1CA.jpeg
 
Last edited:
Took the family to a lost trail in Washington state, found a bunch of old logging roads to go play on... managed to bust the drivers side rear flare off... so I guess its time to remove all of them! Turns out 35's and fender flares don't mix...

20191111_141456.jpg


20191111_155335.jpg


20191111_155411.jpg


20191111_155431.jpg
 
View attachment 2130151
I made a bad choice. Think I ended up screwing the parking pawl, drivers side birf. Blew up my winch as well. Took us 6 hours to get it out of the hole and up the hill. Horrible time

Did you get it out? I heard there was an 80 stuck out in the ghost and a rescue run require this past weekend. I had a bunch of family drive into town for the weekend but really wanted to get out.
 
BUB, while you're doing a nice paint correction, are you planning on removing the old flare rock chip protector thing? I ask because mine are looking cracked and old like yours and I'm trying to find a safe way to remove them without destroying the paint underneath. I tried a 3m eraser wheel on one section and started to mar up the paint a bit.
 
Removed my roof rack. Got lucky and was able to unscrew it without spinning the nutserts. Got even luckier to find no rust! Used aluminum finish washers and stainless button head screws to seal it up. Much cleaner than rubber grommets and easier than ripping out the nutserts and filling holes.
3A1B1EA4-4CCF-42E2-B472-5756AA78286A.jpeg
E6C50656-6814-42CF-9C62-039C4245606B.jpeg


I plan on painting the truck soon so it should blend in nicely.
 

Users who are viewing this thread

Back
Top Bottom