I found how to do this on a Kenwood unit, but the RGB needs to be 5,6,5. Can you adjust your image and send it to me? I don't have photoshop.
Navigation
Install the app
How to install the app on iOS
Follow along with the video below to see how to install our site as a web app on your home screen.
Note: This feature may not be available in some browsers.
More options
Style variation
You are using an out of date browser. It may not display this or other websites correctly.
You should upgrade or use an alternative browser.
You should upgrade or use an alternative browser.
Sony XAV-AX100 Install w/ Backup Cam
- Thread starter baggar11
- Start date
This site may earn a commission from merchant affiliate
links, including eBay, Amazon, Skimlinks, and others.
More options
Who Replied?

Except, I'm not any good on computers...
I've got a bracket in the making to mount an alpine KTA-450 amp to the back of this head unit - will link the file once I'm confident it fits / lasts.
It'll probably screw into the alpine mounts and VHB tape to the head unit.
It'll output 2X the power of the stock head unit and hopefully wake up the speakers a bit.
I'm also really bad on computers so hopefully this works out

It'll probably screw into the alpine mounts and VHB tape to the head unit.
It'll output 2X the power of the stock head unit and hopefully wake up the speakers a bit.
I'm also really bad on computers so hopefully this works out
Last edited:

I also made some brackets for mounting 4" polk coaxial speakers in the dash cavities - they don't quite fit the stock mounts, so I 3D printed brackets to mount them.
Details in this thread :
 forum.ih8mud.com
So the old girl is going from 2 speakers in the front doors to 6 speakers with 2X the RMS power output and an 8" sub with a 250W amp - will let you all know if it was worth the trouble.
Details in this thread :
Audio upgrade for the 21st century
I was going to post in the What Did You Do With Your 80 thread but decided to make a separate thread since I have a lot of pictures and might be useful for others in the future. Over the last few weeks I've been working on a major audio overhaul. Audio was never a priority and I still had most...
forum.ih8mud.com
So the old girl is going from 2 speakers in the front doors to 6 speakers with 2X the RMS power output and an 8" sub with a 250W amp - will let you all know if it was worth the trouble.
Bracket for the Alpine KTA-450 -

 www.thingiverse.com
Alpine KTA-450 to Sony XAV-AX100 Bracket by unclegit
Bracket to mount the Alpine KTA-450 to the Sony XAV-AX100.
www.thingiverse.com
EPIC Cruisers
Supporting Vendor
Bracket for the Alpine KTA-450 -
Alpine KTA-450 to Sony XAV-AX100 Bracket by unclegit
Bracket to mount the Alpine KTA-450 to the Sony XAV-AX100.
Thank you for this! I've been wanting to do this upgrade for awhile. Have you not had any issues with the amp getting hot enough to warp the 3D print? Also any more info (couldn't find your thread) on your install/wiring?
Seems to be fine so far, but it's only been in 4 weeks now - wiring was pretty easy in the end - pre-outs directly to the amp, no extensions needed. Speaker outputs from the amp into the metra harness and bypass the factory amp. Given it's screwed down at all 4 corners I doubt warping will be an issue. If you follow the print directions it's a pretty sturdy print - probably overkill - but it's going in a land cruiser so why not ")
I ended up using a Wago for all the remote power on connections to save a messy splice - head unit remote out, antenna, amp, subwoofer amp and e-Brake bypass chip. Makes it an easier disconnect as well - just VHB'd the wago to the head unit.
I don't have a thread on this - but feel free to ping me with any questions.
Wago
Last edited:
EPIC Cruisers
Supporting Vendor
Seems to be fine so far, but it's only been in 4 weeks now - wiring was pretty easy in the end - pre-outs directly to the amp, no extensions needed. Speaker outputs from the amp into the metra harness and bypass the factory amp. Given it's screwed down at all 4 corners I doubt warping will be an issue. If you follow the print directions it's a pretty sturdy print - probably overkill - but it's going in a land cruiser so why not
I ended up using a Wago for all the remote power on connections to save a messy splice - head unit remote out, antenna, amp, subwoofer amp and e-Brake bypass chip. Makes it an easier disconnect as well - just VHB'd the wago to the head unit.
I don't have a thread on this - but feel free to ping me with any questions.
Wago
View attachment 2234682
I will definitely hit you up if I have any questions during my install. Thanks!
alia176
SILVER Star
I've got a bracket in the making to mount an alpine KTA-450 amp to the back of this head unit - will link the file once I'm confident it fits / lasts.
It'll probably screw into the alpine mounts and VHB tape to the head unit.
It'll output 2X the power of the stock head unit and hopefully wake up the speakers a bit.
I'm also really bad on computers so hopefully this works out
View attachment 2196236
Forgive my newbie questions here but you're adding this Alpine amp deal which I assume has more clean power to drive the speakers? If so, would I simply buy this amp, pay someone to 3D printout this dealio, and off I go. I assume the factory harness is plugging into the back of this Alpine unit? Simple pre-amp output from the Sony HU to this Alpine is all I need to worry about? I realize the power, antenna up/down and parking brake switch grounding hack needs to be done as well.
Forgive my newbie questions here but you're adding this Alpine amp deal which I assume has more clean power to drive the speakers? If so, would I simply buy this amp, pay someone to 3D printout this dealio, and off I go. I assume the factory harness is plugging into the back of this Alpine unit? Simple pre-amp output from the Sony HU to this Alpine is all I need to worry about? I realize the power, antenna up/down and parking brake switch grounding hack needs to be done as well.
Exactly - it's about 2X the clean power of the HU built in amp.
The alpine comes with the harness to connect to the pre-outs on the head unit - you just wire the speaker outs on the Alpine into the metra harness as per the Metra harness instructions. Use the remote on signal from the HU to turn on the amp and I chose to run power for the amp all the way down to the battery.
Thanks for the write up! Finally got around to installing my head unit after having it sit in storage for about a year. Pretty easy install especially with the metra harness. I also used the micro bypass to override the video lockout. Now working on fitting 6.5in Rockford fosgate speakers into all 4 doors.
@alia176 it’s about time for your installation!

@alia176 it’s about time for your installation!
alia176
SILVER Star
Exactly - it's about 2X the clean power of the HU built in amp.
The alpine comes with the harness to connect to the pre-outs on the head unit - you just wire the speaker outs on the Alpine into the metra harness as per the Metra harness instructions. Use the remote on signal from the HU to turn on the amp and I chose to run power for the amp all the way down to the battery.
Thank you for the hand holding sir. When the time comes, I'll order the Metra, alpine and the sony as instructed on this thread. I have this HU in the 4runner with huge success. 4runner has Rockford speakers and this transformed the sound in this vehicle.
alia176
SILVER Star

And pics or advice on how you removed the dash trim. I have taken the ashtray out and removed the two screws and the screw by the right knee. I have been able to wiggle half of the dash out but the corner by the ashtray will not move/pop out. Any advice?The license plate frame was pretty easy. Needed to remove the tailgate carpet and then the running light bracket above the license plate. Was able to run the wires right up into one of the light cavities to connect with the other wires for video, power and ground.
View attachment 1596318
Snaking the wire through the tailgate loom was a bit tricky. I ended up using a large flat head screw driver to gently push the head of the RCA cable through. Then a regular snake for the power and ground wires.
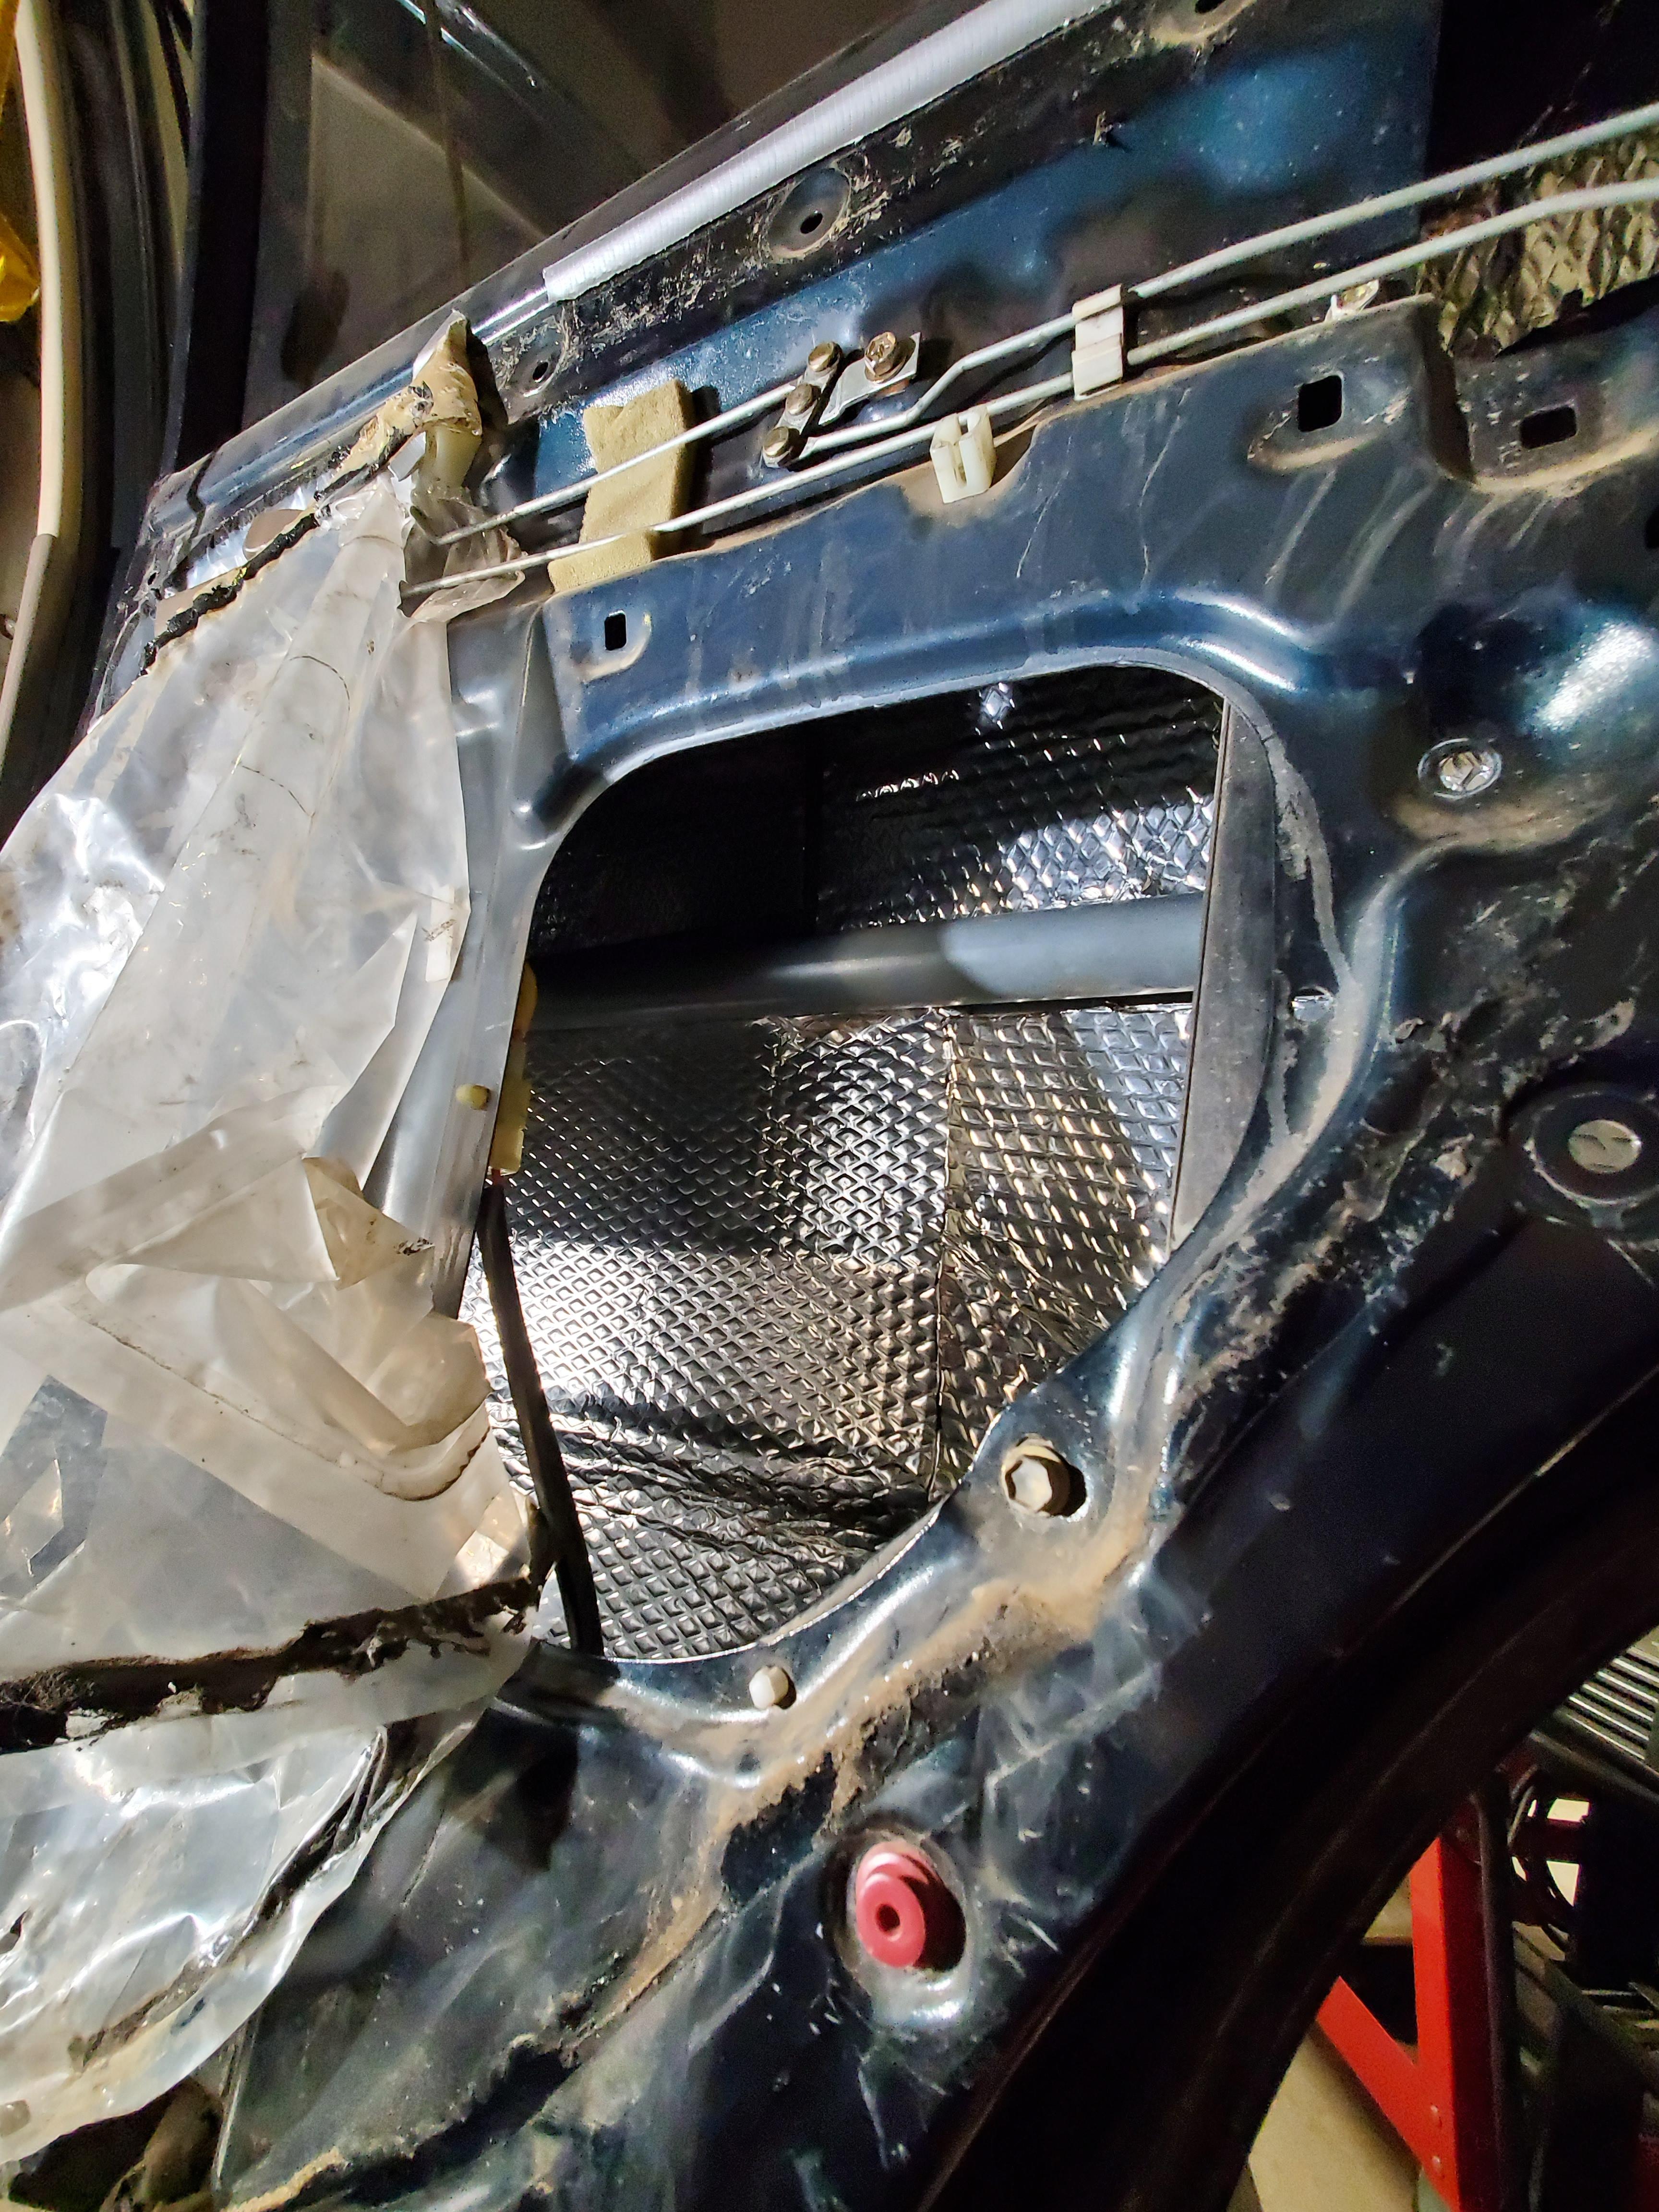
Once into the rear storage area for the driver side reverse light. There is a black with red stripe and a white with black stripe that I used to tap into. I verified these were the correct wires by putting the car into reverse in ON(motor off).
View attachment 1596320
That is the loom you'll want to disconnect from the rear tail light. It's different color on the other side, but I didn't have enough wire to play with to tap it on the light side.
View attachment 1596321
Once that was done, it was working great on the trigger. Oh yeah, the trigger. I triggered the deck off the driver side kick panel wire. No issues there.
View attachment 1596322
MoJ
Moderator
What year?And pics or advice on how you removed the dash trim. I have taken the ashtray out and removed the two screws and the screw by the right knee. I have been able to wiggle half of the dash out but the corner by the ashtray will not move/pop out. Any advice?
Now with custom Land Cruiser startup image!
Thanks to superdavex, he has made a way to modify the startup image on the Sony XAV-AX100. Tried it out tonight. Pretty easy.
View attachment 1608690
If anyone wants this image, you can grab it here --> Custom Land Cruiser Image.
You need to be on superdavex's modified firmware that removes the caution screen to run this mod. Below is what the directory structure of your USB needs to look like to flash it. After you have copied all those files to your USB root, stick it in and it'll automatically restart the unit. No need to run through the firmware update screens for this one.
usb_root:\usbexecute
usb_root:\flash_erase
usb_root:\newlogo.img
Sorry to bring back an old thread but do you have a new download link with this image . Superdavex's comment that "the image is a raw 800x480 RGB32 pixel definition. This is set before you get serial access in uboot so it could be risky if something went wrong." makes me think I can't just upload any photo. Thanks
Oops nvm figured it out. Your file was already in .img thought it was a bad link!
Similar threads
Users who are viewing this thread
Total: 1 (members: 0, guests: 1)