SBC Rams Horn Exhaust Manifold Connection to Downpipe

This site may earn a commission from merchant affiliate
links, including eBay, Amazon, Skimlinks, and others.

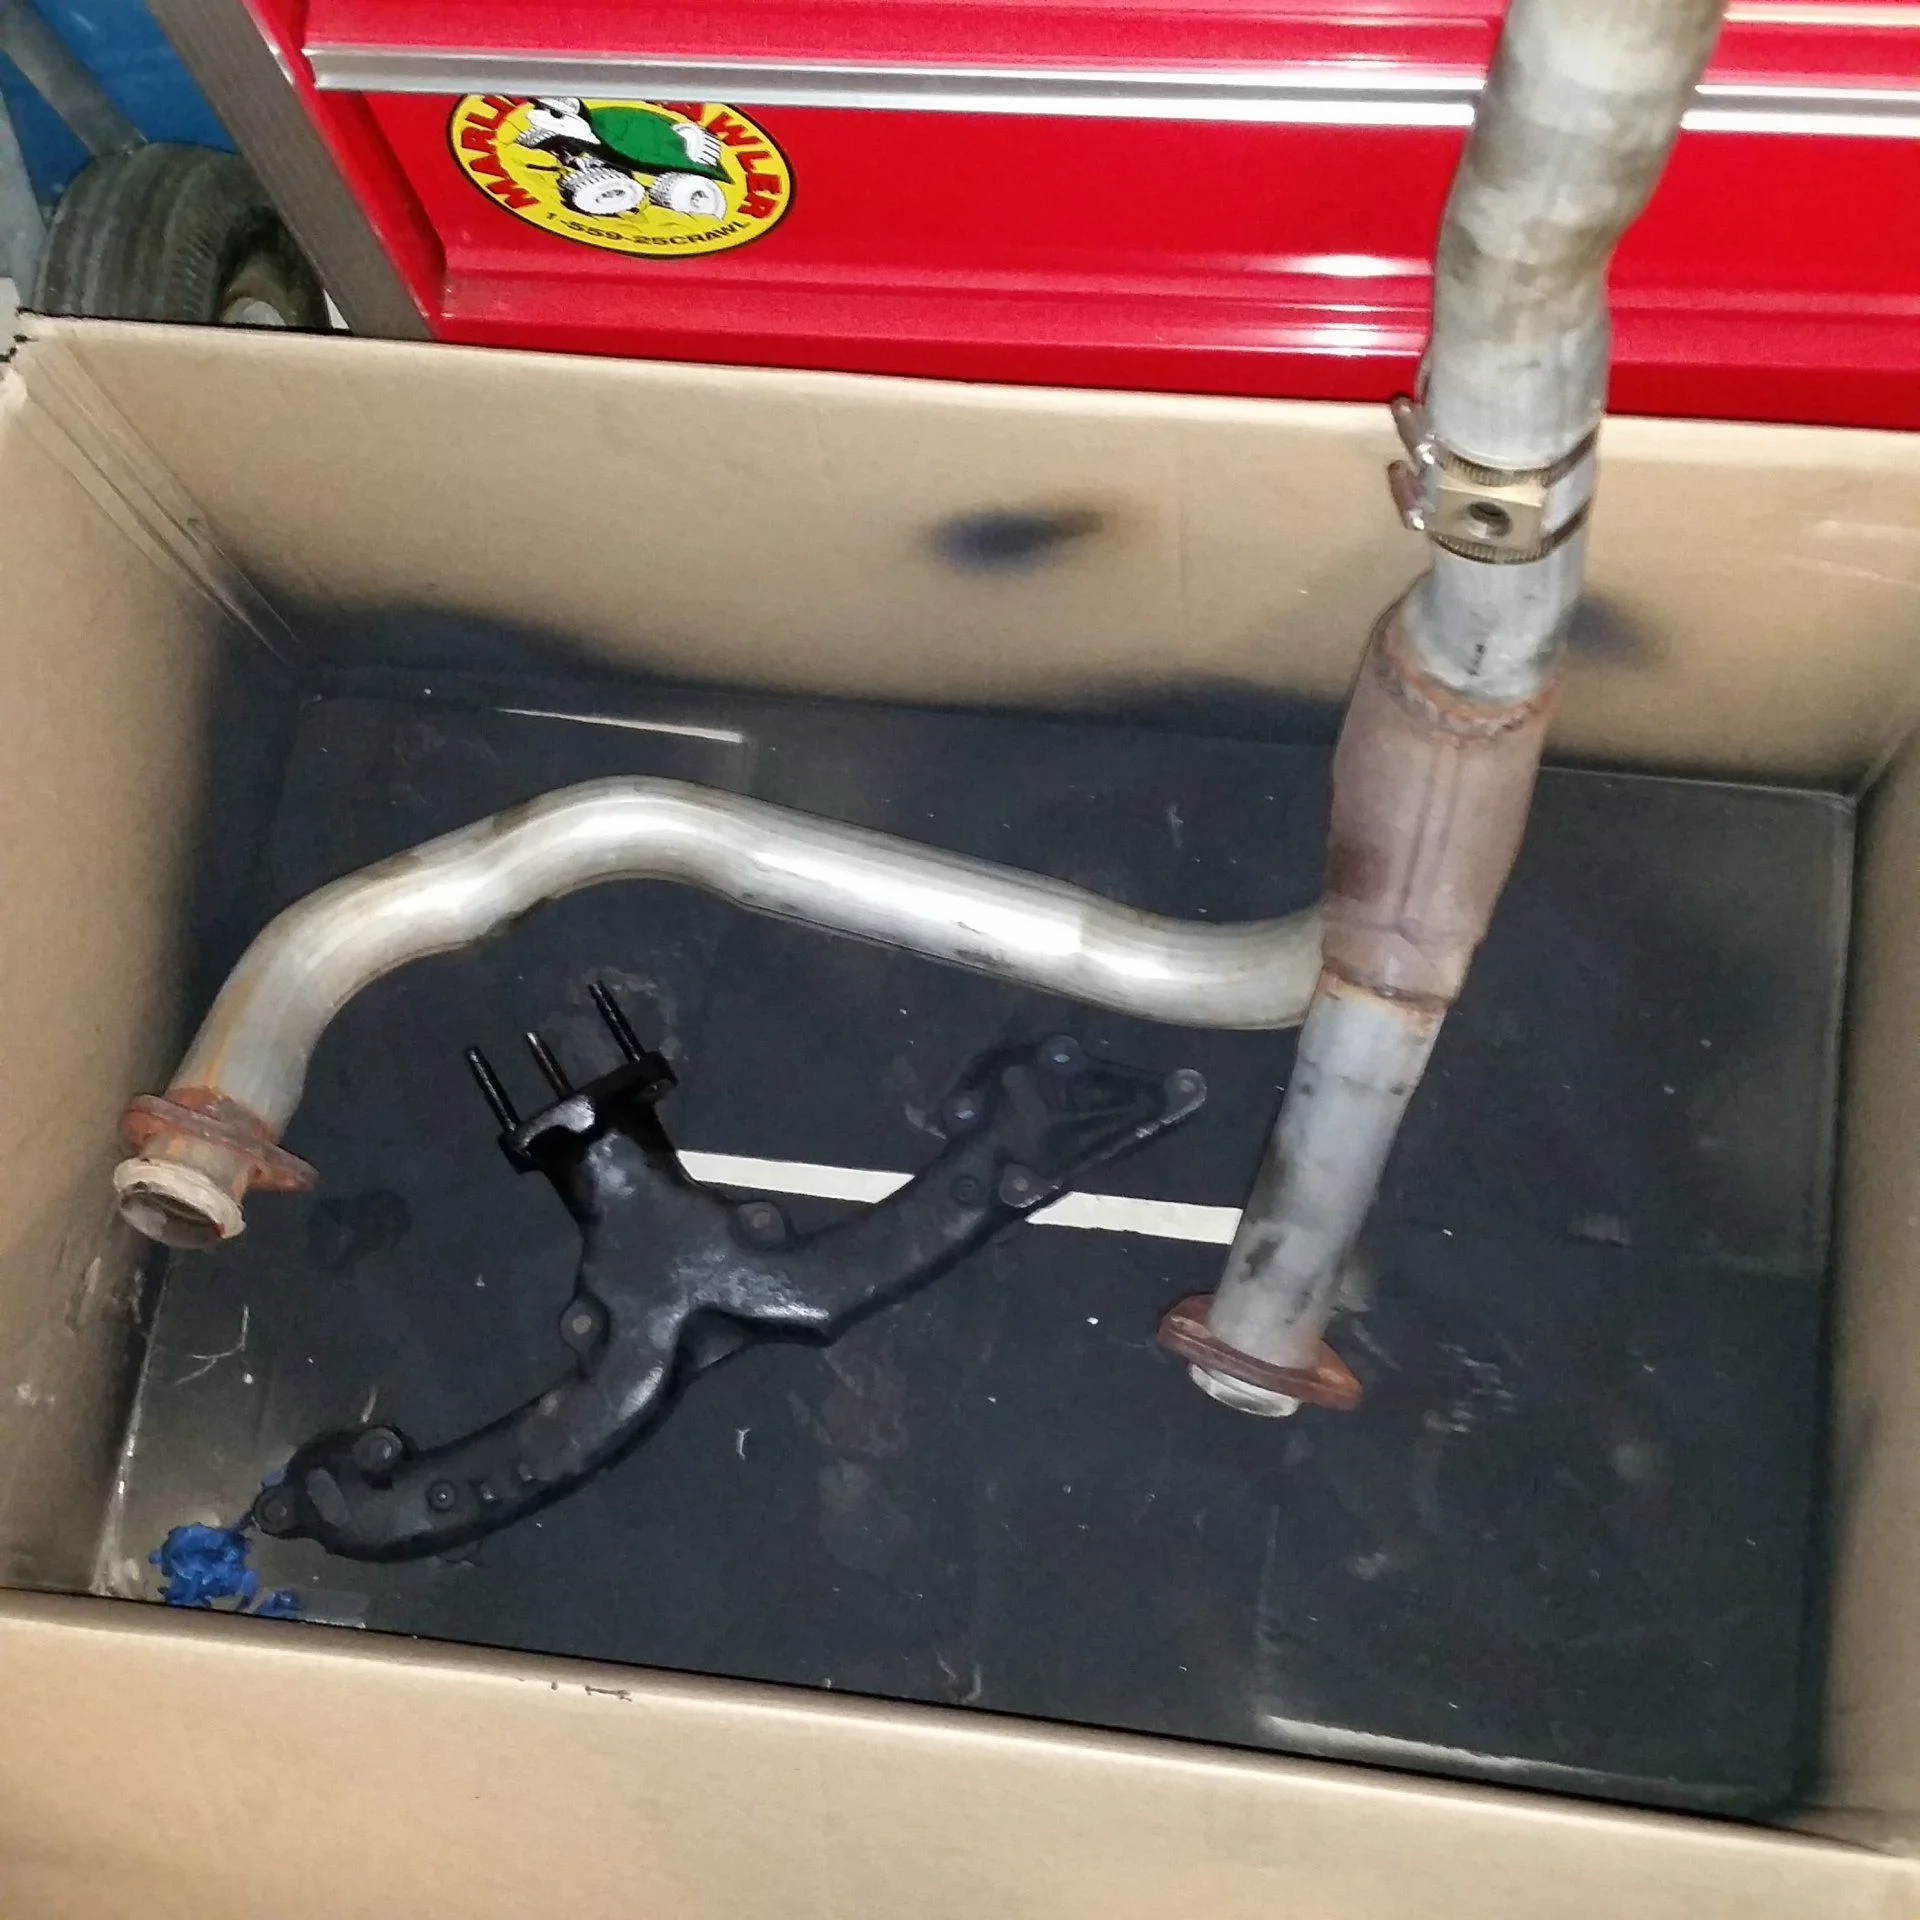
So here is mock up version 2 using 45 degree angle fittings which are closer to actual 90 degree exhaust pipes. They also allow the jog in the drivers side pipe to route it under the passenger side crossover.

View attachment 1022509

View attachment 1022510

I kept the dimensions the same with regard to the passenger side crossover to the exhaust manifold. The drivers side is now below the crossover and I like the fact it is longer. It's actually 2" taller right now but I will adjust the height as needed during the final build. Sectioning 1" out of the 2 45's in the middle of the forward bend should do it.

Pretty cool mock-up
 
My Header Buddy parts came in today.

DSC01476.JPG


I did a quick test fit in the manifolds and everything seems perfect. The pipes fit smoothly into the manifold openings and seemed to mate well to the 45 degree angle of the manifold. The flange also lined up perfectly. I'd picked up a couple 2-1/2" OD x 2-1/2" ID adapters and they fit great to the Header Buddies.

DSC01477.JPG


I'm going to check out some of the local muffler shops to see what they offer for pipe components before ordering what I need via the Internet.
 
Last edited:
Well my exhaust build continues and I have a few more parts. I picked up a Flowmaster Scavenger series 2-1/2" into 3-1/2" Y-connector. Here is how the downpipes mock up:

DSC01536.JPG


My muffler and tail pipe connection has been found as well. It is a set of V-band clamps from Pacific Performance Engineering. They will allow me to easily disconnect the three major sections of the exhaust when maintenance requires it. What drew me to their V-clamps from all the others I've seen is the lap joint of the two flanges.

Pipes_wFlanges_v2[1].jpg


This is what it looks like on the Y-pipe:

DSC01541.JPG


Now I just need to source the 2-1/2" pieces and the 3-1/2" tail pipe kit. The tail pipe kit looks like it will be from Flowmast also as I have not located any from any other sources yet.

Pipes_wFlanges_v2[1].webp
 
Last edited:
Well my 90's finally came in today.

Walker 41441 90s.webp


So after a little deburring and expanding to take shipping dents out of the ends I mocked up the crossover.

Crossover Mock-Up.webp


Without doing any trimming I have about 24" CTC on the pipes. So once the weather clears up enough and I can get back under the car it will be time to trim things down to the proper length and weld it together. I'm thinking about possibly using a clamp on the pipe that goes under the pan. I'll know more once I try and piece it all together on the car. I'm thinking that the angle of the exhaust manifolds being slightly inward might make assembly difficult with it welded together into one piece.

Those that have been there and done it already, did you have a problem putting the crossover on or taking it off with it as one piece?
 
I think you should be able to drop it straight out, if you have an issue you could always put a flex joint/coupler in the middle under the oil pan.. i like the way that looks may do something similar on the other fj40.. and use ram horns..

If you need to you can cut the ends at a slight bevel and but weld them. 1/8 inch is barely noticeable.. another trick is to cut a slot about half way arround bend the tube slightly and weld it back up..

Good luck..
 
Last edited:
I run the walker y pipe and removal is easy. You shouldn't have any problem with the crossover welded. I think the bulbs on the ends of your inlets will allow for some angles. You may have to trim the ends though. You need to keep an eye on the clearance between the frt diff and the pipe
 
Last edited:
i always ran them under the frame and put the mufflers under the running boards and exit before the rear tire less parts and less bends .the plus is when some tuner is next to you one stab of the gas pedal usualy get them to roll up the window
 
Last edited:
well I got out under the car today and started to cut up some of the new parts. I started on the passenger side getting the length right to clear the bottom of the oil pan.

DSC01574.webp


DSC01582.webp


I'm trying to keep everything even or above the bottom of the frame. My prototypes looked OK but didn't want to fit properly in the real world. My attempt at keeping both sides as close to equal length went out the window so I hope what I read about them not being equal wouldn't hurt performance is true.

The drivers side turned out really short. As you can see it was cut almost even with the top of the pipe.

DSC01587.webp


The nice thing is I seem to have the clearance I wanted with the exception of I wish I had more between the front third member and the exhaust. I may trim a little more off the length to bring it closer to the pan and provide more carrier clearance.

DSC01581.webp
 
That is pretty close for sure - I'd consider either using a heat wrap below that oil pan or possibly a standoff shield welded on posts to keep heat off the pan . It looks like you could adjust the angle a bit and gain some to the driveshaft - just depends on the height of bumpstops and how far they can compress when it flexes . Always wish I had a Go Pro or something to mount remotely and watch it in real time when testing new components ...but you could do this with a simple set of jacks or lift .
Sarge
 
looking at your pic i see you may have a small crank seal leak ,my 350 oïl pan look the same , in the next month i plan to install rams horn and cross pipe and i dont know if the heat is going to cook that oïl grime and cause bad smell , i think a shield could help or make things worst as oïl grime accumulat behind the shield
 
Well I fired up the welder today and started putting things together. First the down pipes to the Header Buddie's. I tack welded the second 90 that goes under the pan to the collector. I then took the parts out and fit them to the engine and double checked the witness tape I'd placed on the pieces during the first fitting. Everything looked good so I pulled it apart again and welded up the rest including the O2 bung.

Welded Together.jpg


I still need to grind/sand the welds smooth. Not being a welder it feels like I used 2 lbs of wire but then have to grind/sand off 1-1/2 lbs. :(

Anyway, I took it back out to the car thinking that I might have to drop the front drive shaft for clearance but gave it a try anyway. I was actually able to snake the pipe over the front drive shaft but hit a snag with the mounting studs. I didn't feel like messing with it today but next time under the car I'll start by pulling 2 of the exhaust mounting studs, one from each side. With the extra clearance with them out of the way I think I can get it in the rest of the way. Once I'm sure that it mounts like it should I'll finish smoothing out the welds before painting the pipes.

Rain on the way so it looks like I'll get a day or two of rest.

Regarding the oily pan, yes I need to probably put a new gasket on. It doesn't loose enough oil between changes which is why I hadn't done it before now.
 
Last edited:
I don't know if this helpful or not, Here's a pic of the walker Y pipe, which would be the stk configuration. Its about an 1" or a little less from the pan and further forward.

20150226_185914 y pipe.webp


20150226_190114 ypipe.webp
 
Well it was back under the car today and I discovered that the drivers side pipe got clocked about a 1/2" too far out. That is why I couldn't get things together. I tried to flex the pipe over but no way 14 ga pipe would move that far. Don't get me wrong, I was able to get it to move 1/2" but the spring back just took it back to where it was and didn't feel good about trying to be bend it further.

I ended up making a vertical cut just past the start of the 90 degree bend and went back under to test fit the pieces. I ended up having to take 1/8" off the down pipe to bring the collector in line with the frame. It got late so I'll tack weld it together tomorrow and do another test fit before making, hopefully, the final weld. :)
 
Last edited:
dont forget to High temp paint the welds...
 
Well another day and some more progress. I welded things back together. I thought about just tack welding at first and then a trial fit but got lazy or in a hurry, I'll let you decide :).

After cleaning up the welds I went back under and much to my pleasure this time it fit like a bug in a rug.

DSC01614.webp


There is about 1" clearance between the top of the crossover pipe and the pan. There is also about 1" clearance between the back of the crossover pipe and the pan.

DSC01616.webp


There is enough room to put a thermal barrier over the pipe to keep most of the heat off the pan. I'm a little more concerned with the 1" or so of clearance with the front drive shaft. I'm going to play it by ear for now but one of my thoughts is to space down the axle bump stop to prevent any impact between the drive shaft and exhaust.

DSC01620.webp


I know it may not look it but there is actually 1/4" clearance with the oil filter. I already run an oil cooler but may also put a thermal barrier around the pipes and 2 into 1 collector.

DSC01621.webp


As you can see it tucks up nicely above the bottom of the frame rail and there was just enough room to thread the wide band O2 sensor in.

I am going to paint the whole assembly with the same paint I used on the exhaust manifolds. So other than the paint my downpipes are complete for now. The next step will be plumbing the 3-1/2" exhaust back and out behind the drivers side rear wheel.

DSC01624.webp
 
Last edited:
looking at your pic i see you may have a small crank seal leak ,my 350 oïl pan look the same , in the next month i plan to install rams horn and cross pipe and i dont know if the heat is going to cook that oïl grime and cause bad smell , i think a shield could help or make things worst as oïl grime accumulat behind the shield

Well I pulled the pan today and discovered that no wrench was required, the 7/16" bolts were only finger tight. That means that oil was seeping past the gasket. I ordered a new Fel-Pro one piece gasket today, OS34509T, after measuring the pan and seeing the front was 2.25" which calls for a thin front seal. I stripped the paint from the pan and re-painted it. There was a little surface rust in a few places.

DSC01713.webp


I used a couple of coats of Rust-Oleum rust reformer as the base coats, then a few coats of their hight temp paint. Because it was flat I topped it off with a coat or two of Dupli-Color engine paint. It didn't come out as smooth as I would have liked but I like the semi gloss better than the flat.

Once the new gasket arrives I'll seal things up. By the way, the new gasket set comes with new longer bolts and installation studs to make the install simpler.

375-OS-34509T_1[1].webp
 
Last edited:
It's a 350, it will always have a little leakage somewhere!!! (Ask me how I know!) ;)

Cheers!
 
looks real nice clark,

i dont have that much time, i was lazy and took mine to master muffler, 200$ they did it all
 
Back
Top Bottom