Project: "Not going to do a frame off" Frame Off (1 Viewer)

This site may earn a commission from merchant affiliate
links, including eBay, Amazon, Skimlinks, and others.

Paint color looks amazing...congrats! You must be getting extremely eager to get her done now. :) Looking good on the wiring - if you take your time I think you will find that its not that bad. Once you get that done you will be rewarded with an excellent understanding of how TBI and its many sensors work together.

-Ed
 
Thanks Ed - I've been reading your TBI post over and over trying to figure it out. Like you said in your post, I found myself just sitting there looking at that mess of wires not really knowing where to start.

Nick
 
Nick, if you'd like, shoot me a PM with your email. I have a really handy wiring diagram in PDF format that someone made for a TBI conversion. With one or two exceptions it was an exact match to my system and was a big help to me. The link to it in my thread doesn't appear to be working anymore.
 
Nick, if you'd like, shoot me a PM with your email. I have a really handy wiring diagram in PDF format that someone made for a TBI conversion. With one or two exceptions it was an exact match to my system and was a big help to me. The link to it in my thread doesn't appear to be working anymore.

You have mail! That would be a HUGE help.

Thanks,
Nick
 
great work nick, looks awesome! just needs a few wires hooked up and it's ready to roll! piece of cake

A little electrical tape, some fuses, maybe a wire here and there, pour some gas on it and Voila, TBI. Should be ready to drive to Colorado this weekend!!! :flipoff2:
 
I put off the wiring of the TBI and main wiring harness to do my front axle rebuild and disc brake swap. Turned into a total cluster. Here are a few "help me" threads I started that have me going in the right direction again.

Thanks again to Butch for the advice for the birf.

I started with this one:
https://forum.ih8mud.com/40-55-series-tech/364027-help-i-really-screwed-myself-axle-issue.html

IMG_4989Custom.jpg


61c8e456.jpg


Which then lead it self to this one:
https://forum.ih8mud.com/40-55-series-tech/363920-knuckle-rebuild-help.html

Oh during all of this I found my drain plug was rounded off so I was going to weld a nut onto the end of it to get a better bite. Well, I had my EMPTY oil drain catch (black plastic 5 gallon standard oil catch) over by where I was under the cruiser and I pushed it out of the way before I started welding that nut on. One of the hot pieces of metal somehow made its way down the small 3/4" hole on top and BOOOM!! It exploded and sounded like a bomb went off in the garage! I guess the left over fumes from who knows what was at the perfect mixture and voila. I wasn't hurt, just scared the hell out of me. I had to carry it outside b/c the plastic was smoldering a little. Lesson learned: Even if you think a flamable substance is far enough away, move it farther and then move it farther again.

Nick
 
Last edited:
I could see how that could happen. Vapors, along with available O2 and a nicely heated source = BOOM! You are very lucky. We are glad to hear that you are OK after an incident like that.
 
Nice job so far! Keep plugging away at it. Thanks for all the tips, especially regarding the flammable materials :)
 
I've made some progress over the last few weeks. I finished my front axle rebuild and disc brake swap. While I was at it I put on new TRE and threw on a new coat of paint on my TRs.
IMG_5075.jpg


I also flipped my rear springs. I ended up getting about 4 extra inches which will be very helpful when I get my rear drive shaft made for my LONG drive train (700R4).
IMG_5077.jpg


I decided to sell my EZwiring harness and buy a painless harness. Painless was offering $100 rebate on their harnesses and I thought the painless instructions where better. Once I got it I read the manual and read it again. Then I just looked at the harness and decided to just start pulling wires. I started with the rear first.
IMG_5093.jpg


I realized I needed to be able to put my taillight wires somewhere and since I didn't have a bumper I thought I should start fabricating one. I plan on doing the full blown swing out tire carrier / jerry can carrier but for now I just needed to get the main part done so I can get my lights wired.
IMG_5089.jpg


IMG_5092.jpg


IMG_5295.jpg


IMG_5293.jpg


I'll weld up the ends once I get my spindles installed. Turned out pretty good I think for my first bumper build.
 
Once the bumper was done I finished pulling the wire to the rear. Took longer than I thought it would but this is my first time to rewire a vehicle.
IMG_5096.jpg


Once I got the wire where I liked it I started looming it. I think it really made it look clean.
IMG_5297.jpg


IMG_5296.jpg


That orange wire is a third brake light wire. I may try to come up with something to mount high behind the rear bench seat.

Oh, I had a helper :princess: come and wrench with me. She made sure she was wearing her "work clothes"! :D
IMG_5071.jpg
 
I started to pull the engine wires and front light wires. I also installed a new water pump to replace my new old water pump. Since I was going with a serpentine system I had to have a reverse flow pump. Anyone need to buy a brand new V belt water pump for a SBC?

IMG_5300.jpg


I also installed my new brake booster and new MC from Marlin Crawler. I've got to get better at flaring brake lines. What a pain in the ass.
IMG_5302.jpg


Thats pretty much it for now. I'm probably going to buy a Painless TBI harness also. They are still offering $100 rebate on them until the end of the month and it sure looks more appealing than trying to wire up my old crappy '88 chevy suburban TBI harness I have. We'll see what happens.

Nick
 
have you already sold the EZ wiring harness?
 
dang, alright.
 
Nick,
This is looking GREAT!
For the wiring, is that a split loom cover from summit?
How come you had went with a new MC vs. the stock?
Why did you decide to run a proportioning valve?

These are things Im considering for Jezebel, and am curious as to the advantages you have discovered.

Looking great!
Very NICE work!

Keith
 
I also ordered a set of Corbeau Baja RS front seats with sliders. I didn't order the bracket to install them because I wanted to try and build it up myself. I used some 1" square tube, 1.5" 3/8 flat bar, 5" 3/8 flat bar, and grade 8 - 3/8" hardware. I have a welder but no bender so all my corners had to be square which will work out fine except for the floor mount on the passenger side that has to clear the gas tank. I will have to fab something up that will keep it from being a sharp edge.

So I measure everything and wanted to use the stock holes. I started fabbing everything up and tacking it into place to make sure it fit. This is what I came up with.
IMG_4449800x600.jpg


I then attached my sliders to the bottom of my seats. I attached some 3/8" bar stock to the bottom and created a perpendicular tab that will mount to the 5" flat bar. I had to notch the 5" to allow for my bolts to clear so that I could still easily remove my seats whenever I needed to.
IMG_4450800x600.jpg


I made sure my seat was centered under the steering wheel and a good mid range distance fromt the pedals as the sliders will let me go all the way back against the rear wheel well and forward enough for my :princess: to drive. I had to get the seat height just high enough to clear the gas tank but I didn't want to have it too tall. I'm 5'11" and the seat height is perfect for me.
IMG_4454800x600.jpg


I had to get the seat height just high enough to clear the gas tank but I didn't want to have it too tall. I'm 5'11" and the seat height is perfect for me.

I still have to install the passenger side seat and I am going to order a tuffy center console to put in there. I'll probably order the 6.5" version just to be sure I have enough clearance.
IMG_4452800x600.jpg


Here are a few more pics for those that want to fab there own mount. I just could bring myself to pay for a prefabed one and spend $400. I had all the materials at the house so it worked out well and was cheap and will look good when it done and painted or powdercoated. I plan on putting a lot of 45* bracing on my most of my corners to really stiffen it up. I is already pretty sturdy but want it to be bomb proof.
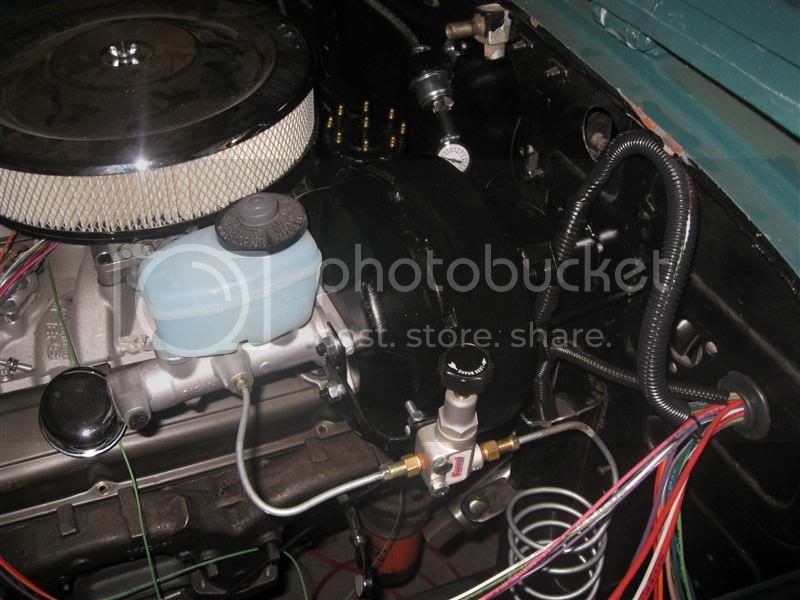
IMG_4455800x600.jpg


IMG_4451800x600.jpg

Did you raise the seat up higher than stock?
If so, how much would you say?
I may have to do this as well, so Im wondering.

I like how you did the cradle system!

Keith
 
Nick,
This is looking GREAT!
For the wiring, is that a split loom cover from summit?
How come you had went with a new MC vs. the stock?
Why did you decide to run a proportioning valve?

These are things Im considering for Jezebel, and am curious as to the advantages you have discovered.

Looking great!
Very NICE work!

Keith

I bought the split loom from Home Depot, it was on sale. I looked online and I didn't feel I needed to buy a entire roll of the stuff. But looking back on it, I've ended up using more of it than I thought.

When I bought the truck my MC looked shot. I read up on several different brake threads and it seemed the porportioning valve was necissary to get your brakes dialed in.
https://forum.ih8mud.com/40-55-series-tech/152126-rear-disc-brakes-2.html

Originally the passenger seat was a different height than the drivers seat to make room for the gas tank. I made the craddle about 1/2" higher than my tank. It makes the entire craddle the same height. I'll measure it when I get home and give you the overall height. All in all if I had to guess, I would say the drivers seat is probably 1" higher than stock, but it is a good height and fits me well as it sits up to my new steering column.

nick
 

Users who are viewing this thread

Back
Top Bottom